-
Posts
13,384 -
Joined
-
Last visited
Content Type
Profiles
Forums
Gallery
Events
Everything posted by druxey
-

Ancient galley rams discovered - photos
druxey replied to Louie da fly's topic in Nautical/Naval History
The size of the casting would have been a great technical achievement in its time. -
Dear Steven. I hope my comments aren't too much of a pain! The issue of planks at bow and stern is because the overlap has to disappear by what is known as the gain. It is achieved by one of two methods. One, a rolling bevel is cut on the adjacent plank edges over the last foot or so into the rabbet (the bevel is 45 degrees at the extreme ends, so that the clinker has become carvel), Or, two, an increasing half-lap is cut into adjacent plank edges to give the same result. A simple example of the easier first option is attached. Illustration 4.psd Dory photo 21a.psd
-
True: it is the set-up that takes most of the time to do. Then you can churn out gratings quite quickly.
- 1,132 replies
-

Sloop from Roslagen by bolin - FINISHED - 1:50
druxey replied to bolin's topic in - Build logs for subjects built 1851 - 1900
You can dissolve white glue and acrylic medium with rubbing alcohol. -

Sloop from Roslagen by bolin - FINISHED - 1:50
druxey replied to bolin's topic in - Build logs for subjects built 1851 - 1900
A little spot of dilute white glue or acrylic matt medium will secure the hanks for you. -
Well, a nicely draped ensign, for one thing!
- 45 replies
-
- Tijger
- Paper Shipwright
-
(and 2 more)
Tagged with:
-

HMS EURYALUS by Matiz - FINISHED - scale 1:56
druxey replied to matiz's topic in - Build logs for subjects built 1801 - 1850
I've never seen upper stern framing constructed off the model before; an interesting approach! Lovely work, as usual. -

HMCSS Victoria 1855 by BANYAN - 1:72
druxey replied to BANYAN's topic in - Build logs for subjects built 1851 - 1900
Or a rock band called Spider?- 1,013 replies
-
- gun dispatch vessel
- victoria
-
(and 2 more)
Tagged with:
-
Welcome, Jared. Check out Model Shipwrights of Niagara if you are near this end of the province. Check it out anyway!
-
You are the captain and can do what you like. So there.
- 45 replies
-
- Tijger
- Paper Shipwright
-
(and 2 more)
Tagged with:
-
By George, I think you've got it! Well done.
- 160 replies
-
- Model Shipways
- norwegian sailing pram
-
(and 1 more)
Tagged with:
-
Oh, Chris! You didn't cut around the thwarts? What would the late, great Danny have to say? Here's to Dan!
- 45 replies
-
- Tijger
- Paper Shipwright
-
(and 2 more)
Tagged with:
-
Is there evidence for the layout of the planking butts as you've drawn them? I'm just curious. The new shape of the hull with higher rise fore and aft looks very convincing now.
-

HMCSS Victoria 1855 by BANYAN - 1:72
druxey replied to BANYAN's topic in - Build logs for subjects built 1851 - 1900
I'm glad that you've come to that conclusion, Pat. I don't think you'll regret it. After all, if the original material for the hull were oak, would you really be impelled to use oak for a scale model? Obviously not.- 1,013 replies
-
- gun dispatch vessel
- victoria
-
(and 2 more)
Tagged with:
-
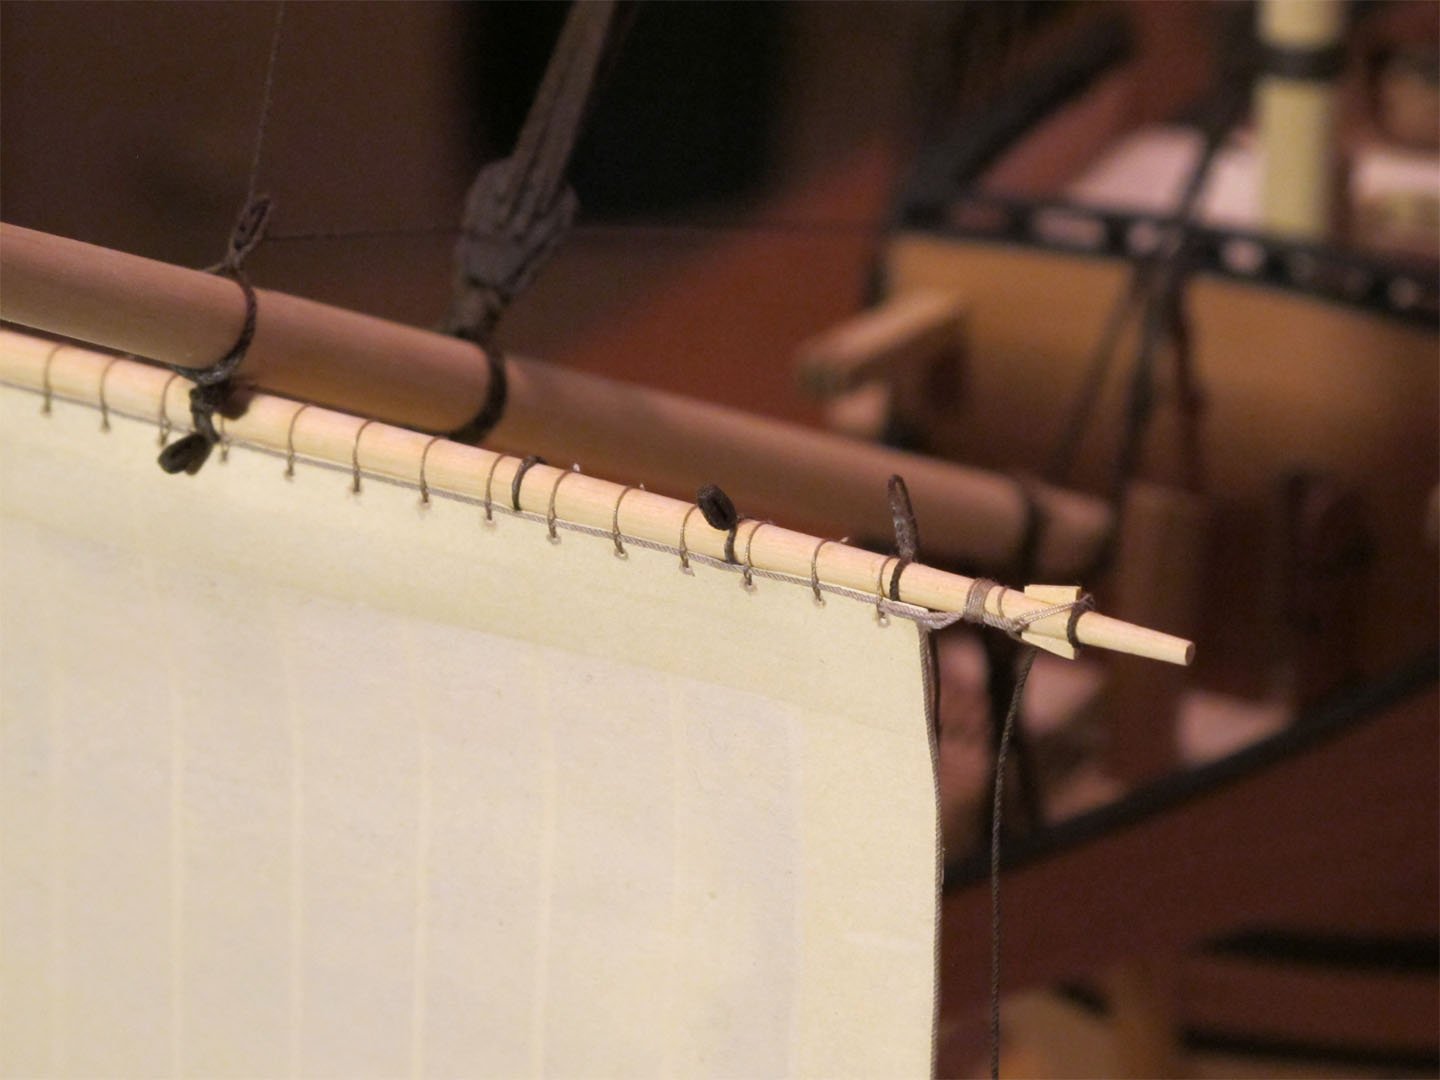
Look at the photo in Step 49, and you'll see that the line hitches around itself on the top of the spar before moving over to the next hole. (The instruction describes this as well).
- 160 replies
-
- Model Shipways
- norwegian sailing pram
-
(and 1 more)
Tagged with:
About us
Modelshipworld - Advancing Ship Modeling through Research
SSL Secured
Your security is important for us so this Website is SSL-Secured
NRG Mailing Address
Nautical Research Guild
237 South Lincoln Street
Westmont IL, 60559-1917
Model Ship World ® and the MSW logo are Registered Trademarks, and belong to the Nautical Research Guild (United States Patent and Trademark Office: No. 6,929,264 & No. 6,929,274, registered Dec. 20, 2022)
Helpful Links
About the NRG
If you enjoy building ship models that are historically accurate as well as beautiful, then The Nautical Research Guild (NRG) is just right for you.
The Guild is a non-profit educational organization whose mission is to “Advance Ship Modeling Through Research”. We provide support to our members in their efforts to raise the quality of their model ships.
The Nautical Research Guild has published our world-renowned quarterly magazine, The Nautical Research Journal, since 1955. The pages of the Journal are full of articles by accomplished ship modelers who show you how they create those exquisite details on their models, and by maritime historians who show you the correct details to build. The Journal is available in both print and digital editions. Go to the NRG web site (www.thenrg.org) to download a complimentary digital copy of the Journal. The NRG also publishes plan sets, books and compilations of back issues of the Journal and the former Ships in Scale and Model Ship Builder magazines.


