druxey
-
Posts
13,363 -
Joined
-
Last visited
Content Type
Profiles
Forums
Gallery
Events
Everything posted by druxey
-
 Great stuff, E&T. It's always a little frustrating having to 'best guess' things. I've often found that I was right on later when more information came to light. I hope you have the same experience. Looking forward to seeing your progress, particularly as you layer it on at the bow. Just checked out your blog: excellent commentary and pictures!
- 346 replies
-
- 2
-

-
- terror
- polar exploration
- (and 2 more)
-
My hat off to you, Peter. A beautiful model indeed!
- 2,625 replies
-
- 1
-
-
- kaiser wilhelm der grosse
- passenger steamer
- (and 1 more)
-
Question about stoves and how the rotisserie worked
druxey replied to Modeler12's topic in Nautical/Naval History
Nice photos but, again, these are modern reproductions, not the original stoves. I believe the the one on Victory today is of wood to save weight from distorting the ship's hull. -
What better way to spend a bad weather day? Your drafting looks very good so far, Alan.
-
HMS Leopard by gobi71 - 1/300 scale
druxey replied to gobi71's topic in - Build logs for subjects built 1751 - 1800
I hadn't looked at your progress for a while, Gabriel. Remarkable work! -
Question about stoves and how the rotisserie worked
druxey replied to Modeler12's topic in Nautical/Naval History
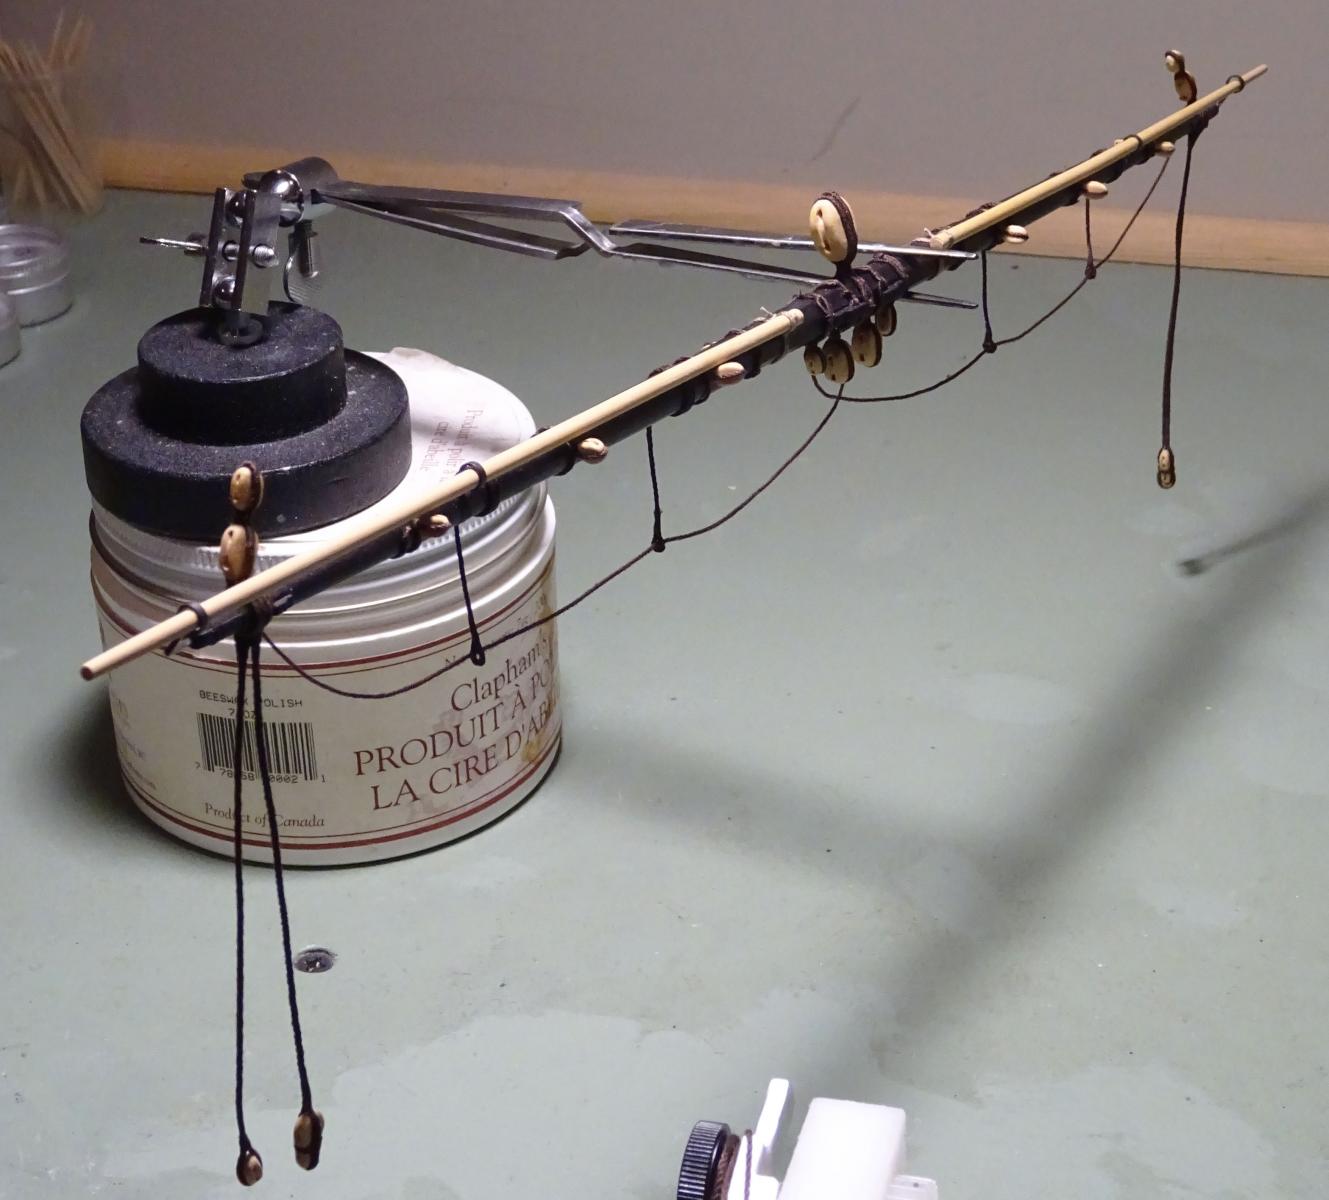
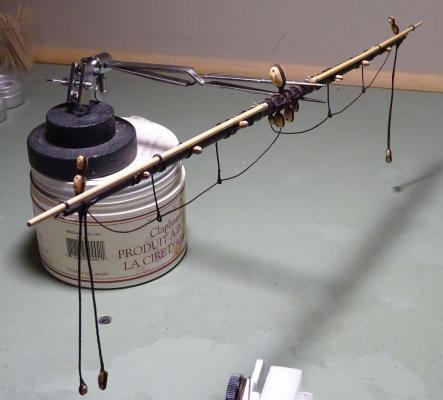
A childhood memory came back to me as I read these posts. At Christmas we had a decoration known as 'Swedish Chimes' which worked on this principle. There was a merry-go-round with four sheet brass angels with small rod-like weights suspended from them. These were attached to a multi-bladed fan. Below were four small candles. When the candles were lit, these angels would whirl around, the weights striking small chimes suspended below them. I remember that (without any Venturi effect!) an effort was required to stop the merry-go-round with one's fingers. Admittedly there was centrifugal force developed, but.... A quick Internet check shows that these chimes are still around. My money would bet that, with a good fire below, the rotisserie worked.
-
Question about stoves and how the rotisserie worked
druxey replied to Modeler12's topic in Nautical/Naval History
A modern reproduction as shown neither proves or disproves whether the fan-driven device worked. -
Looking great, Remco.
-
I tried this, as I've never used that filter - it works beautifully! Thanks for the tip. The hours I could have saved....
- 728 replies
-
- 1
-
-
- le fleuron
- 64 gun
- (and 1 more)
-
ancre La Salamandre by tadheus - 1:24
druxey replied to tadheus's topic in - Build logs for subjects built 1751 - 1800
Nice work on those tricky hanging knees, Paul! -
Read up on planking techniques on the tutorials here under 'Building, Framing, Planking and plating a ships hull and deck'
-
Pandora by marsalv - FINISHED - 1:52
druxey replied to marsalv's topic in - Build logs for subjects built 1751 - 1800
Your planking is coming along very nicely, Marsalv. -
Interesting stairs. The design is a recipe for an accident waiting to happen! Your rendition of them is lovely, though, Gaetan.
- 728 replies
-
- 1
-
-
- le fleuron
- 64 gun
- (and 1 more)
-
Henry: A quarter turn twist will do it, if you've seized the strop and block. (If it is reluctant, wetting the seizing will tame the beast!)
-
That is correct: an eye splice (or reasonable facsimile) at each end of the strop. The strop is passed around the block and seized in. Then the legs of the strop pass around the spar and a lashing made between the eyes. The photograph shows a fore yard in the process of fitting out. Although you can't see the lashed strops, you can see that the blocks are correctly oriented, even before adjusting. Tedious work? Yes, but it gives a good result.
-
18' Cutter by Maury S - Scale 1:48 - SMALL
druxey replied to Maury S's topic in - Build logs for subjects built 1751 - 1800
The plug rim is the top of the wash strake. It can confuse! There are eight strakes for the hull itself. -
A knot won't do what you want. You have to do it the way it was actually done. The block is stropped and then lashed to the yard. That way it will orient correctly. Check any standard book on rigging to see this.
-
Had you considered very fine chain link from a jewelry supply house?
-
Workshop Set Up Question
druxey replied to ChrisLBren's topic in Modeling tools and Workshop Equipment
Please, if you are extracting solvent vapour, you MUST have a sparkless fan motor! -
You'll never go back to basswood now! Enjoy working with quality wood.
- 39 replies
-
- 2
-
-
- cheerful
- Syren Ship Model Company
- (and 1 more)
-
Mark: sorry that I'm late in on this conversation. Read the three tutorials on lining out and spiling on this site before you go too far. Under 'Building, framing, planking and plating...."
-
Workshop Set Up Question
druxey replied to ChrisLBren's topic in Modeling tools and Workshop Equipment
In the Chicago area, you will need to frame, insulate, vapour barrier and drywall the perimeter for sure. You are probably right in calling in a qualified contractor to do all this properly. I have a laminate floor over a cushioned insulating barrier on concrete and this has worked well for me. I do some sawing, etc. in the basement: a shop vac and suitable hook-ups to machine tools are necessary (see Lee Valley). In addition I have a ceiling mounted fine dust filtration system. No complaints from my Admiral. -
I have no idea, Alex, but suspect from its appearance that it is less than 50 years old.
-
Alex: although the Royal George model in your link is beautifully crafted, it is a modern interpretation. Apart from the nibbed plank ends, the butts on two adjacent stakes would never be placed on adjacent beams. This would be a weak construction technique. When researching "How was it really done?", always study the remaining historical records. Modern interpretations, however well made, can be very misleading. Of course, if accuracy is not an issue for you, ignore what I've written!