druxey
-
Posts
13,377 -
Joined
-
Last visited
Content Type
Profiles
Forums
Gallery
Events
Everything posted by druxey
-
 That is a terrific model and setting! I really enjoyed the sociological and sartorial history that you provided as well, Wefalk. Thank you.
 -
Many folk make mast hoops by taking a rod of the right diameter and waxing it. Then they take planed wood shavings, coat them in glue and wrap them around the rod until the desired thickness is achieved. After the tube of wood is dry, suitable width pieces are sliced off.
-
The black stripe
druxey replied to SaturnV's topic in Building, Framing, Planking and plating a ships hull and deck
I agree with Russ. However, sometimes the first strake of planking above the wales was also painted black, the 'black strake'. -
Mark: thank you for your latest comments. I don't think the 'tall' pumps were intended to be worked by crews on both levels. The arrangement was merely to place the team on one set of pumps on the lower deck, the other on the middle deck. As the shafts of the brake pumps were almost in alignment, both sets could not be worked simultaneously at the same level.
-
Some Castello needs a neutralizing color in the mix to 'bring it down' in chroma (color) to match. A tiny amount of green or blue does the trick when you need it. Looks very good, Maury!
-
The Queen model implies one long, continuous chain to the middle deck, not a tandem bike-like affair.
-
I agree that the fore octagonal (discontinuous) chambers on the Queen model's middle deck are simply guides for the chains to the wheel and cranks at that level. There is no intention of lifting water to discharge at middle deck level. The long octagonal tubes to the middle deck are the brake pump tubes. The above confirms the thesis that this arrangement of chain pumps increases manpower on them when required. QED!
-
Do also read the planking tutorials on this site!
-
This looks like a workable solution, Daniel. Grüße, Druxey
-
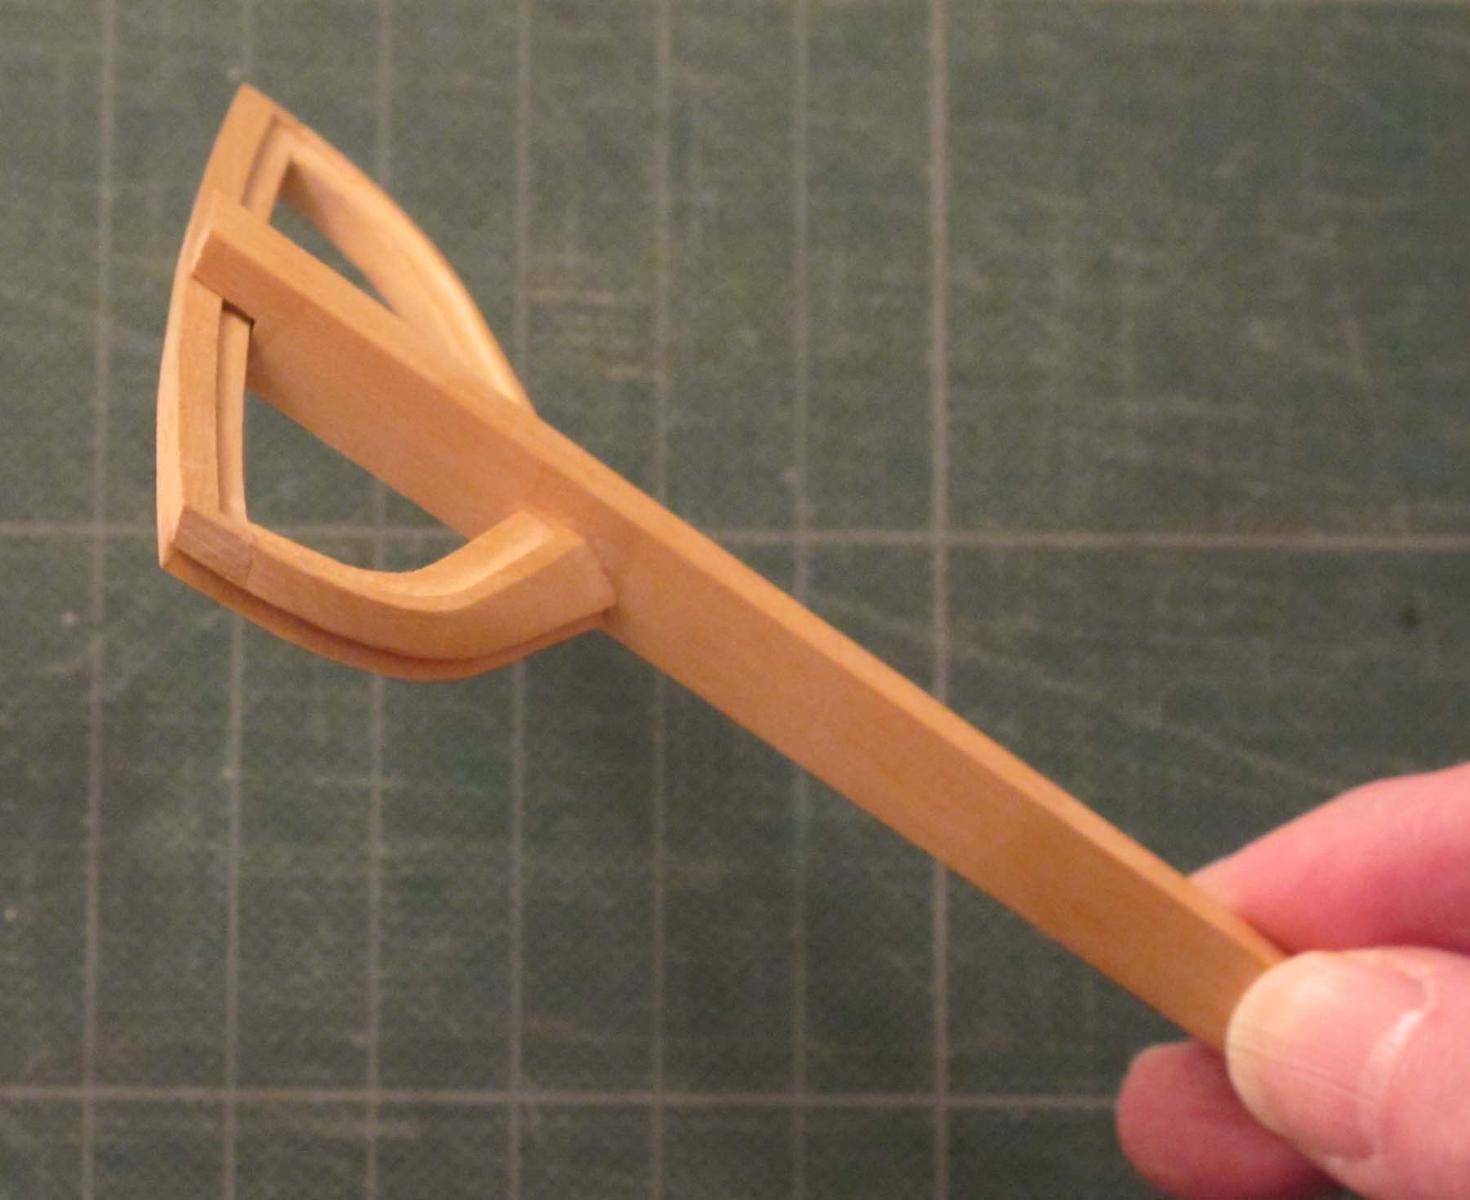
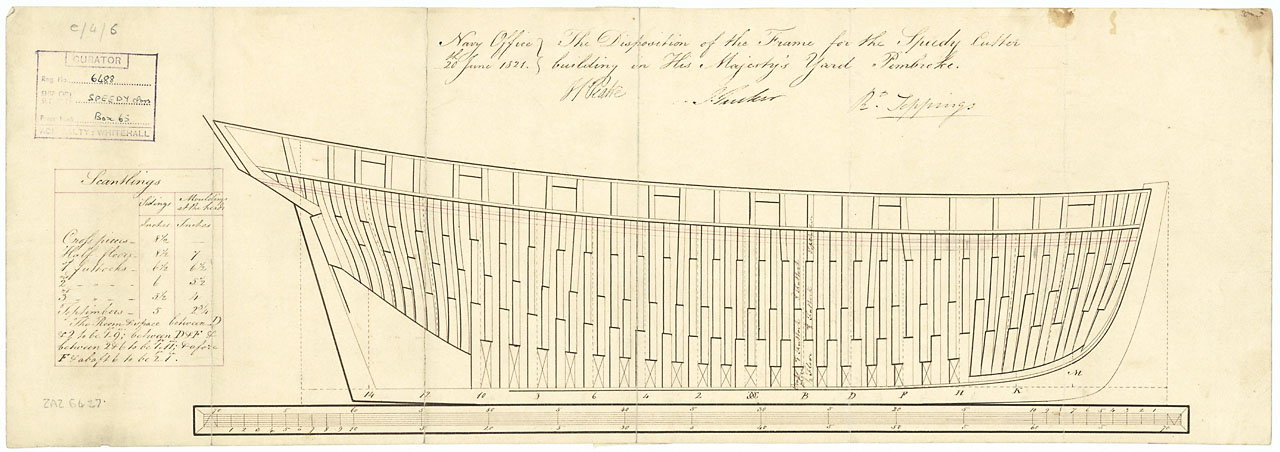
There is a wing transom and fashion pieces. I don't have a picture of this framing on a cutter, but this picture shows something similar.
-
Try mixing yellow ochre (oxide), a tiny amount of orange, and a small amount of titanium white or 'unbleached' titanium white to get the correct tone to match your wood.
-
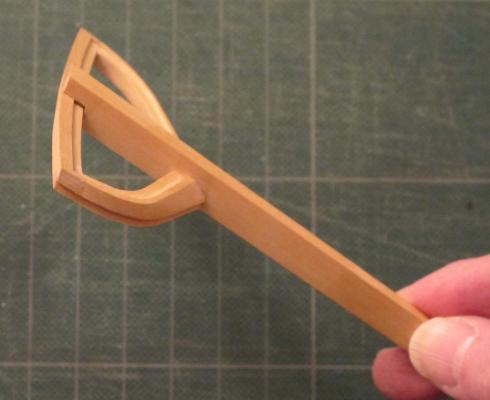
Would this be of any assistance?

-
Planking question
druxey replied to Daydreaming's topic in Building, Framing, Planking and plating a ships hull and deck
To plank a hull properly, some planks will have C- or even S- shapes. Look at the planking tutorials on this site. -
Love the washing, hanging out to dry! One presumes that this is only a drill.... Or is it cunning camouflage?
-
If the list came from the 1980's, then it misses out many great books that have been published over the past 20 to 30 years. And there are many of them, which is a huge advantage for model-makers today.
-
I've never heard of the 'plucked chicken' analogy before, but you are right about that! Your model is looking very good now, Toni.
-
Ah! Something a little different again. Interesting subject, Wefalck.
-
More temptation for the Christmas season!
-
I find that the argument about the dales being too low when the ship is heeled difficult to accept. The dale scuppers are not much lower than the lower deck ports, which have a good amount of freeboard. Counter-arguments, anyone?
-
Beautifully executed so far, Michael. Left-over rebar ties? Never throw any stuff out, "It might come in useful..."
-
Nice result there, Rusty. Well done.
-
Your concept of a thinner sprocket and secondary chain is an appealing one, Mark. The reason for this being the ease of repair (assuming the side of the casing at lower deck level was removable to carry this out). It would be more difficult to fish out a longer broken chain in adverse conditions. However, I've never seen any illustration or description of such an arrangement.
-
Echo by jml1083 - 1:48 - Cross-Section
druxey replied to jml1083's topic in - Build logs for subjects built 1751 - 1800
Your description is correct, Jim. Cross-chocks unite the first futtocks, floor timbers cross the keel.