CaptainSteve
-
Posts
1,858 -
Joined
-
Last visited
Content Type
Profiles
Forums
Gallery
Events
Everything posted by CaptainSteve
-
 Great work, Mundie !!! ... and, Hey, don't sweat the minor mistakes. Let me be the first to admit I made so many mistakes in my own first build that I almost shudder when I think about it !!! I learned a few lessons on the second build ... made a heap of mistakes on my current build ... not as many (hopefully) on the next (Connie) when I get around to her.
 -
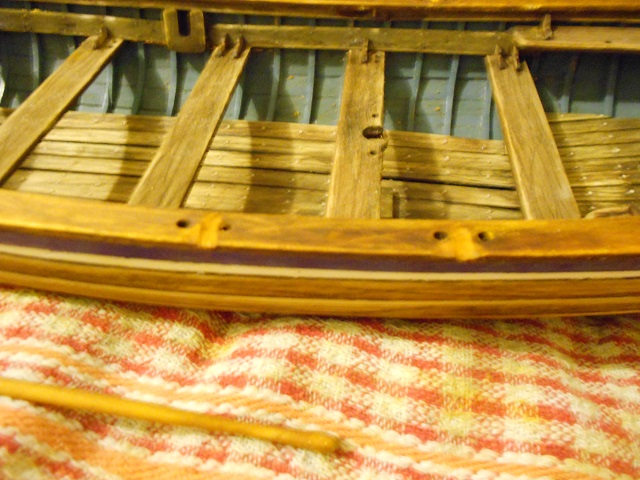
Oh an' whilst I doth haveth me camera out .... "With this pic, I didst tryeth to show the grooves worn into me gunwales from oar usage," CaptainSteve didst begin to boast. But, in truth, he didst merely taketh his circular file to make a groove and then touch-up with the Golden Teak stain used for the wales. (Future pics will show that our Hero hath since re-filed the oar grooves and re-touched/dry-brushed them with the darker Oak stain.)
- 625 replies
-
- 8
-

-
- bounty launch
- model shipways
- (and 1 more)
-
Simply brilliant work on your planking, Tom !!! Please keep the photos coming, (Come New Year and I'll be trying to follow all that you are doing here)
- 1,354 replies
-
- 1
-
-
- constitution
- model shipways
- (and 1 more)
-
Thank you, Mario ... yours was one of the builds which I repeatedly checked out when agonizing over the look I wanted to create !!!
-
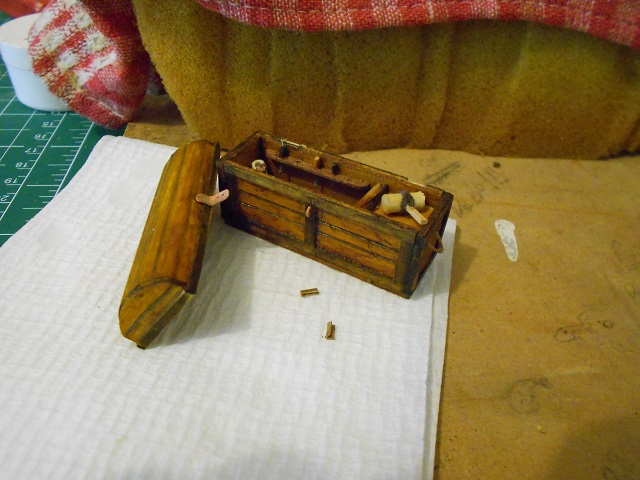
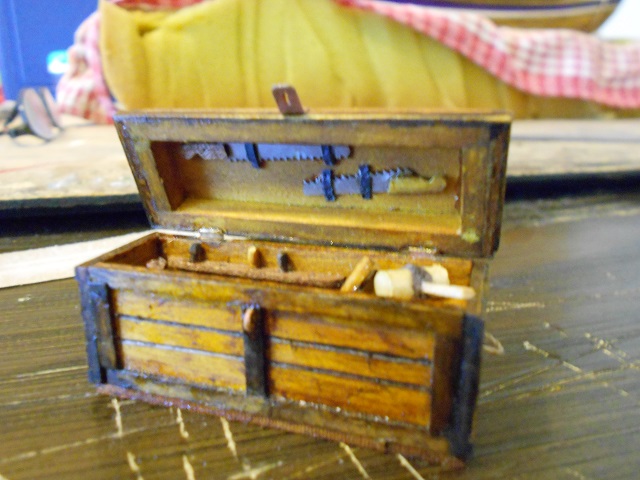
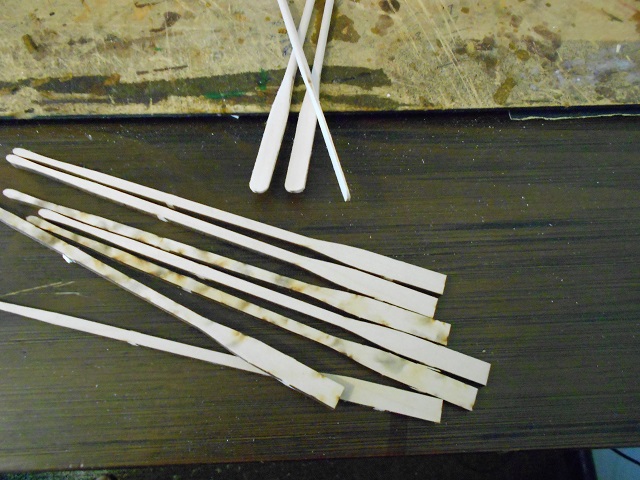
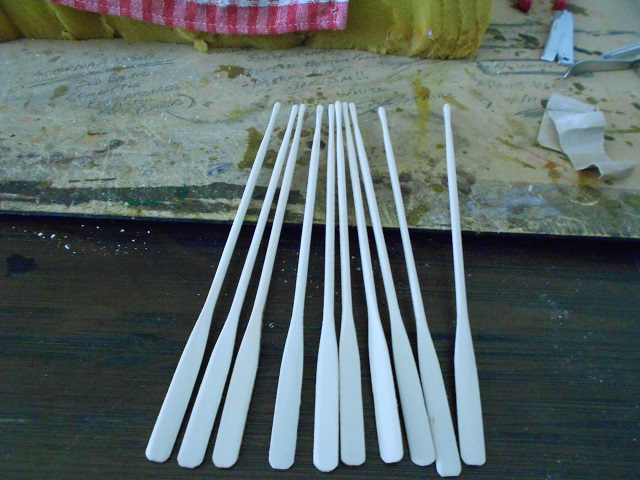
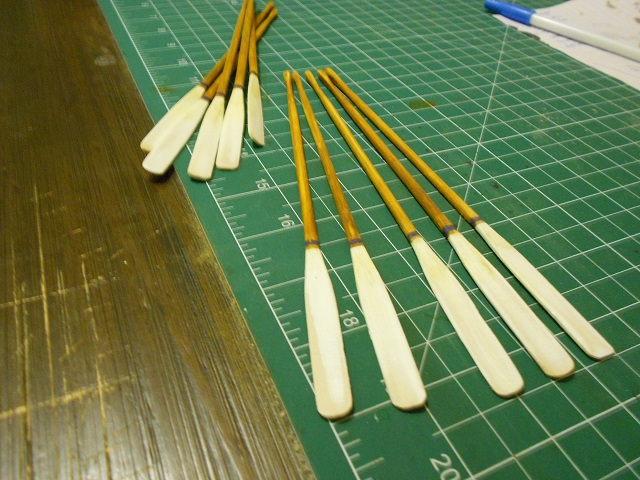
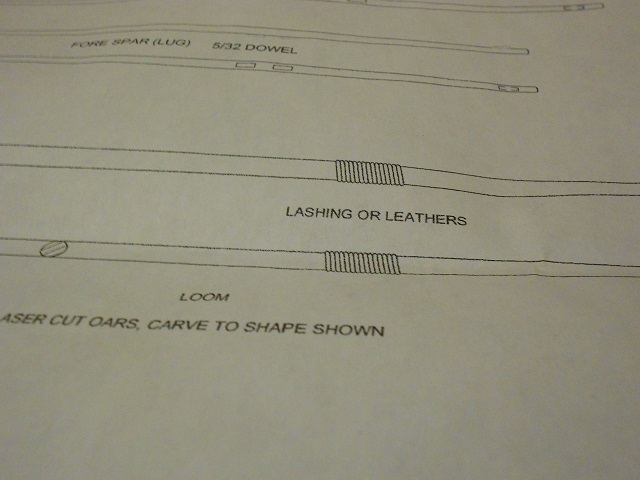
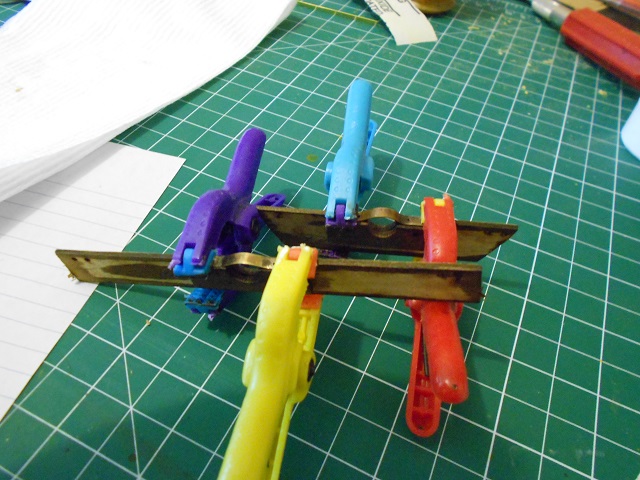
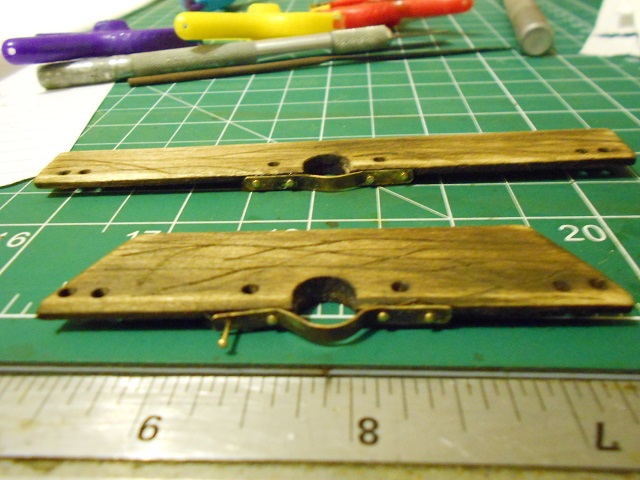
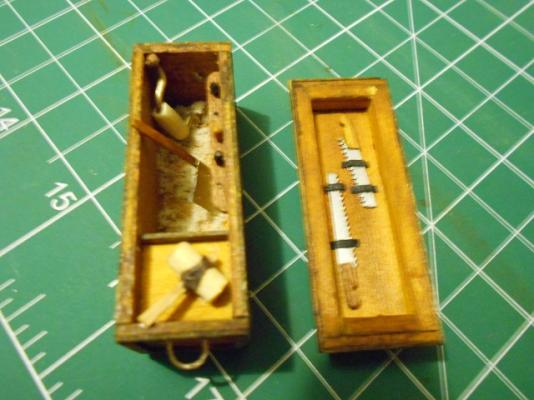
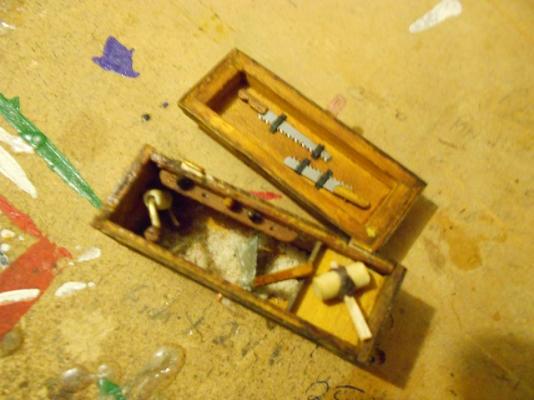
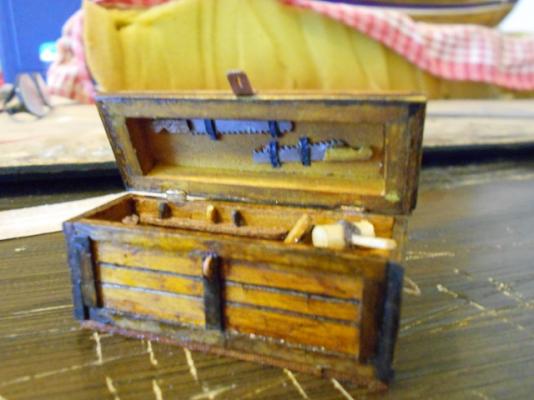
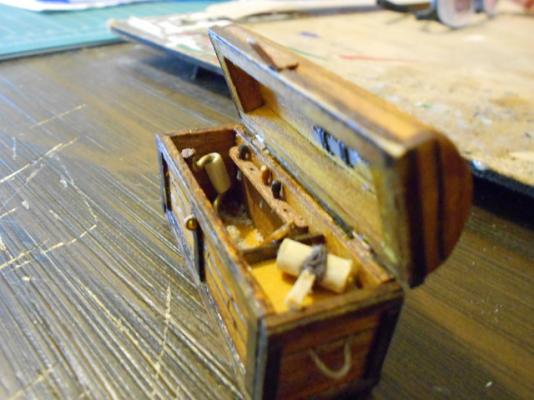
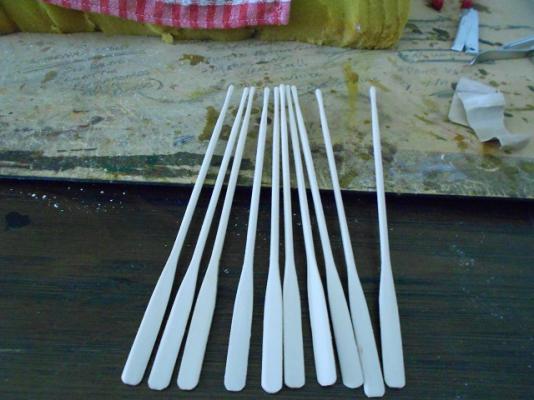
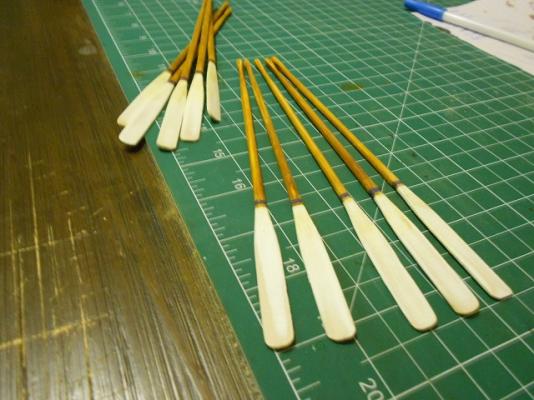
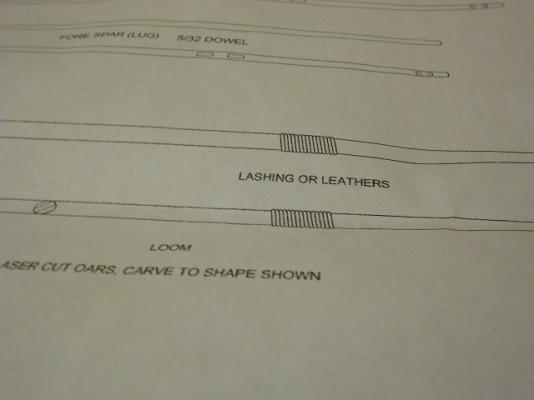
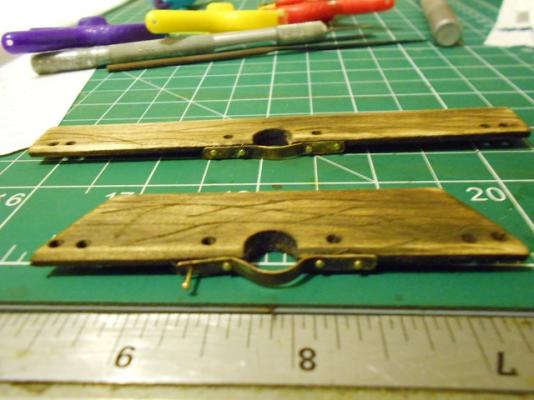
Arrr … It ‘as been awhile since me last update, but that be only ‘cause I ‘as been busy in the shipyard … Occasionally … For starters, me thwart knees now be in: Although there was only the one vote cast (Thank you, Jesse), ultimately, CaptainSteve doth be a fan of democracy. … and me Tool Chest be lookin’ like this: EDIT: For those with a quick eye, the brace 'n' bit in the above pic has not yet been fixed into place EDIT: Here, our Hero didst simply applyeth a thin layer of PVA glue to the inside o' his chest, and didst thence add a few pinches of saw-dust. "Let thee glue set," CaptainSteve did addeth. "And then invert the tool-chest, tapping rapidly upon its' base to unsettle any residual traces." "Incidentally", CaptainSteve didst helpfully add, "I forgetteth to mention that thee straps holdin' me saws in place I didst maketh wi' strips o' black card." "Oh yeah !! An' me chisels ... well, they once was the 'legs' trimmed from a couple o' staples ... merely simple office supplies. And thee saw-blades they-selves, were salvaged from an Exacto mini-sawblade I didst breaketh just the day afore." "Arr .. ye shall be needin' a rubber neck to spot me saws once the tool-box be finally a-fixed into position." The hinges and trunk clasp were both made using the kit-supplied copper strip which hadst been oxidised in the blue patina purchased earlier. Our Hero didst merely cutteth a single link from a piece of costume jewelry and thence oxidised it to create the lock loop at the front o' the chest. Nonetheless, our Hero confesses that he didst kinda, sorta cheat with the hinges ... “Look," didst CaptainSteve most humbly admit, "Mario's hinges they be stunning !! But thee bluddy things they be no more ‘an 4mm across, so I didst thinketh unto me own self, ‘Self, why the f*** wouldst thou doest that untoeth thine own self ??’” In the end, CaptainSteve didst simply fold the 4mm long pieces of copper in half lengthwise. Next up, our Hero didst decideth to tackle the boat’s oars: “Firstly, I didst cutteth-out and shapeth the templates supplied … “ “ … and thence didst I applieth some colouration unto them.” (Yes, that doth happen to be a band of Docker Purple immediately above the oar blades.) Having painted his oars, and wishing to continue the theme of creating a well-travelled and weather-beaten appearance, our Hero didst next lightly sand them back …. And here, CaptainSteve doth sigh most heavily … “Thusly, we dost cometh unto me latest conundrum. This next pic cometh directly from the plans … and showeth lashings upon the oars.” Our Hero explains: “Whilst I haveth narry aproblem wi’ lashing me oars, I doth wisheth to know which COLOURATION of thread I shouldst use for doin’ these lashings!!” Wouldst oar lashings have been tarred (black thread) … or nay (tan thread) ??


- 625 replies
-
- 8
-
-
- bounty launch
- model shipways
- (and 1 more)
-
Bill, Your Connie just gets better and better with every shroud !!!
- 335 replies
-
- 1
-
-
- Constitution
- Mamoli
- (and 3 more)
-
Harvey, your work is simply stunning !! With regards your flag-lockers (and especially trying to bear in mind the scale you are working with), in my opinion, you should fill just a small number of the lockers with rolled tissue. Just enough to show their purpose, without being too over-powering by having too much tissue.
-
Brilliant tutorial ... superbly laid out !! (And, may I suggest, something that needs to be PINNED)
-
As an extremely curious total novice, may I ask Gaetan and/or Chris what ratios you would recommend ?? For example, how much bitumen powder would you add to 100ml of Tung Oil ??
-
I agree ... I also like seeing knots. OK. How about combining ideas ?? Sew your thin rat-line thread through ... create the sag as you want ... spot glue the ends ... THEN, tie a clove-hitch knot over each shroud/rat-line juncture.
-
Just a suggestion to consider, Matti, but I have seen at least one builder here one MSW who has sewn a thinner thread straight through the shrouds. This is INSTEAD of tying all those clove-hitches. I think they tie the line off at each end with a clove-hitch - plus a spot of glue. I've never tried this method (I used to have nightmares involving being swarmed by clove-hitches), but it would make your job of creating sag a lot easier.
-
Please say it will be behind glass ... safe from sticky, little fingers as well as paws 'n' claws.
- 555 replies
-
- 2
-
-
- sovereign of the seas
- mantua
- (and 1 more)
-
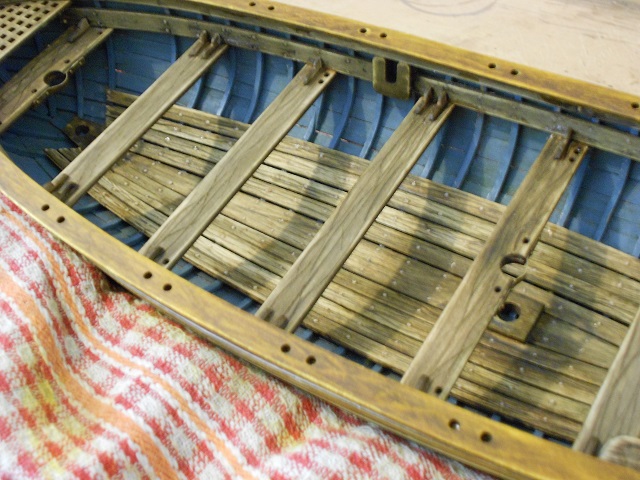
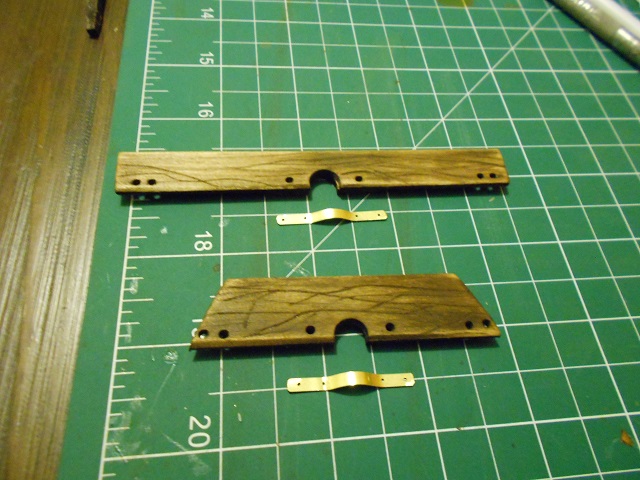
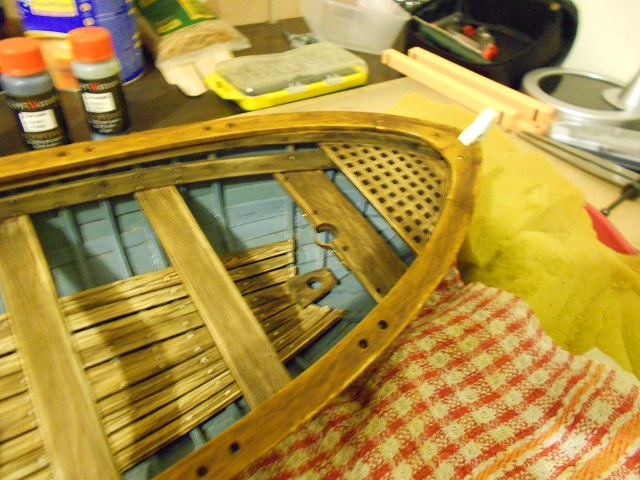
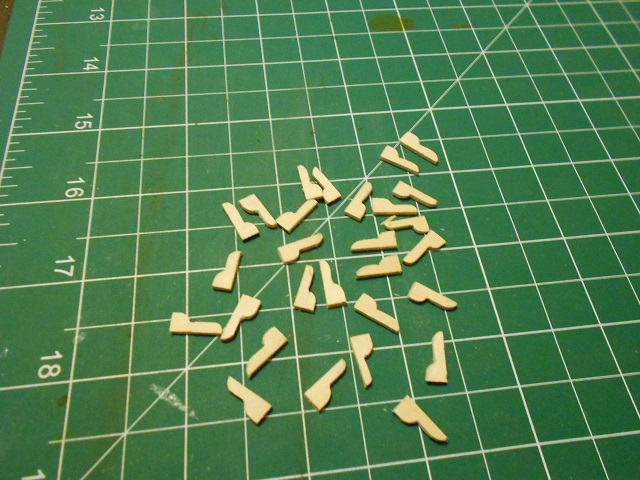
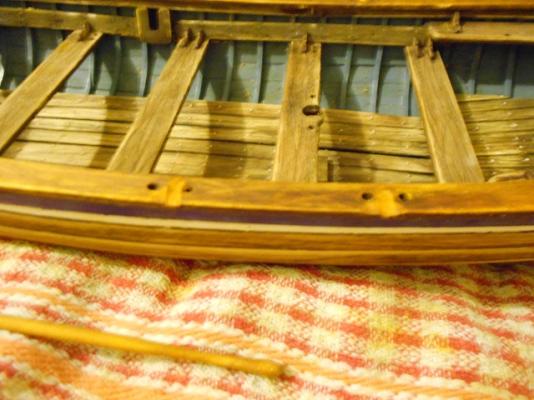
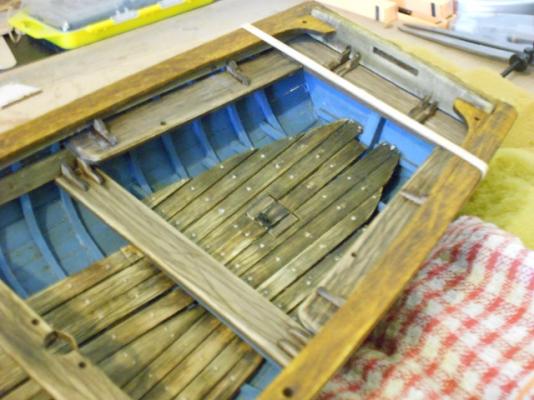
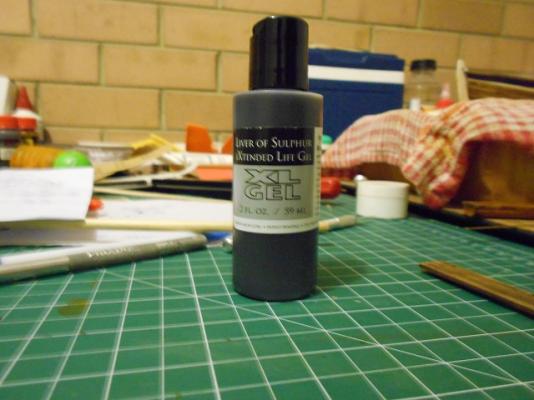
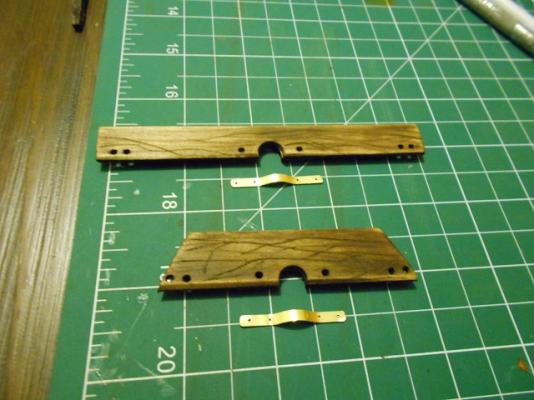
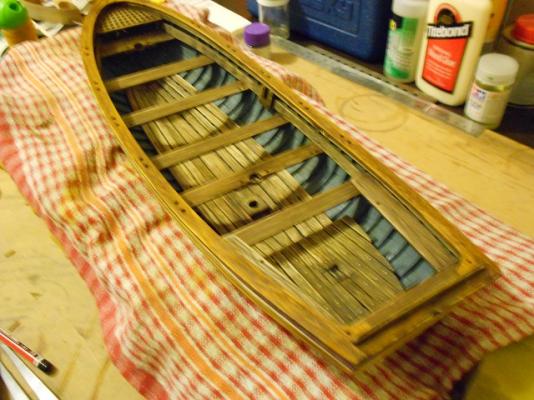
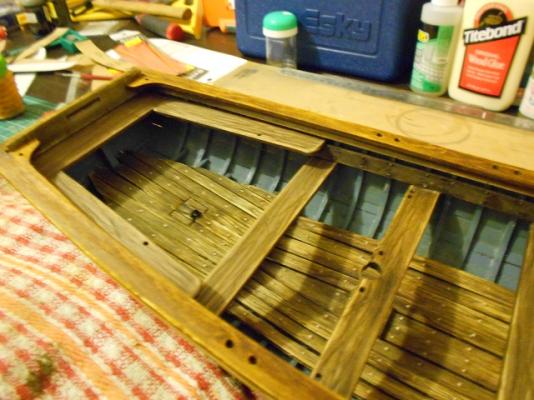
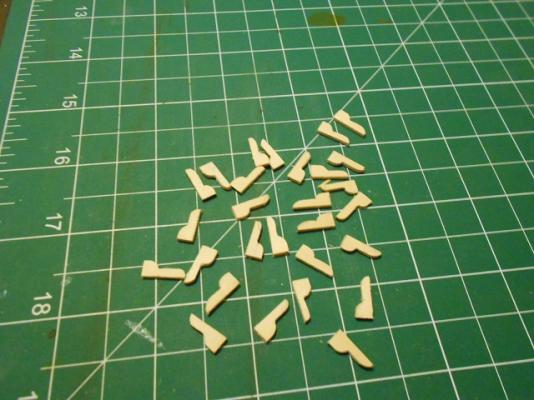
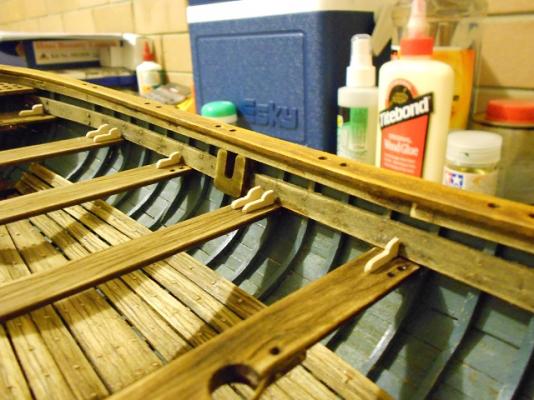
Whence last we left our Hero, he was searching for alchemical suppliers in order to acquire a blackening agent for metal pieces. The answer came whilst searching thru Dan Vadas’ HMS Vulture build and learning that he uses Liver of Sulphur to blacken metal. Further, this stuff was easy to purchase in Oz (just check out OverTheRainbow here) !! “Verily doth this stuff stinketh unto thee highest heavens,” proclaimed CaptainSteve. “But within a matter of minutes, me mast partners be suitably blackened !!” Thus, finally, Our Hero couldst moveth onwards and upwards, and the installation of bench thwarts didst take place. “Noteth that me thwarts they be positioned ‘neath the thwart-riser,” CaptainSteve didst helpfully pointeth out. “’Twas not the way of the Plans, but methinks this doth looketh better,” he explained. With the thwarts in place, our Hero didst use a strip of scrap to fashion some thwart-knees … “There be more ‘ere than whats me will be needin’,” said CaptainSteve. For now, these just be dry-fitted for demonstration purposes. What your Captain now wishes to know is … how shouldst these be coloured ?? They currently be the pale-white of untreated pine. On the one hand, I couldst stain ‘em the same colouring as the thwarts and risers. Probably best, what with this being just a work-boat … But, I be sorely tempted to colour them the same blue-grey as was used to paint the interior o’ me Launch. ‘Twouldst make for a nice contrast, methinks. What sayeth the Horde ??


- 625 replies
-
- 7
-
-
- bounty launch
- model shipways
- (and 1 more)
-
Cutty Sark by NenadM
CaptainSteve replied to NenadM's topic in - Build logs for subjects built 1851 - 1900
I was going to suggest you try using tape. But you seem to be doing just fine without it !!! -
Great work on the flags, Denis. (Oh, and sorry for leading your build-log into a flag-practicum ... I was merely curious)
- 555 replies
-
- 2
-
-
- sovereign of the seas
- mantua
- (and 1 more)
-
Nice touch with your flags, Denis. They really add to the overall effect !! So, how did you do them ?? Starched cloth ?? Aluminium can former ?? Something else ??
- 555 replies
-
- 2
-
-
- sovereign of the seas
- mantua
- (and 1 more)
-
Denis. If you are worried, then label your gallery entry as "First Attempt" ... ... just don't expect people to believe you !!
- 555 replies
-
- 2
-
-
- sovereign of the seas
- mantua
- (and 1 more)
-
Sorry to disagree with you, but that is more than worthy, Denis !! I, for one, would definitely like to see more pictures. So, I beg you to re-consider.
- 555 replies
-
- 5
-
-
- sovereign of the seas
- mantua
- (and 1 more)
-
Mark, I'm trying to avoid that situation ... but my paint-brush hand is gettin' a little twitchy !! I figure that at this scale, it just wouldn't look right ... so the hunt continues.
- 625 replies
-
- 1
-
-
- bounty launch
- model shipways
- (and 1 more)