mtaylor
-
Posts
26,273 -
Joined
-
Last visited
Content Type
Profiles
Forums
Gallery
Events
Everything posted by mtaylor
-
If you hadn't said anything, we wouldn't have known they were upside down. I, for one, don't know how anyone can work with those parts at that scale. To me it's amazing.
-
I noticed that also. No drama here. I'm thinking it's the weather but I'll take another run at it with the sandpaper as I may have missed it. There's a few other spots now that I look closer that need it too. I used a product called Micro-Glaze from Model Expo.
-
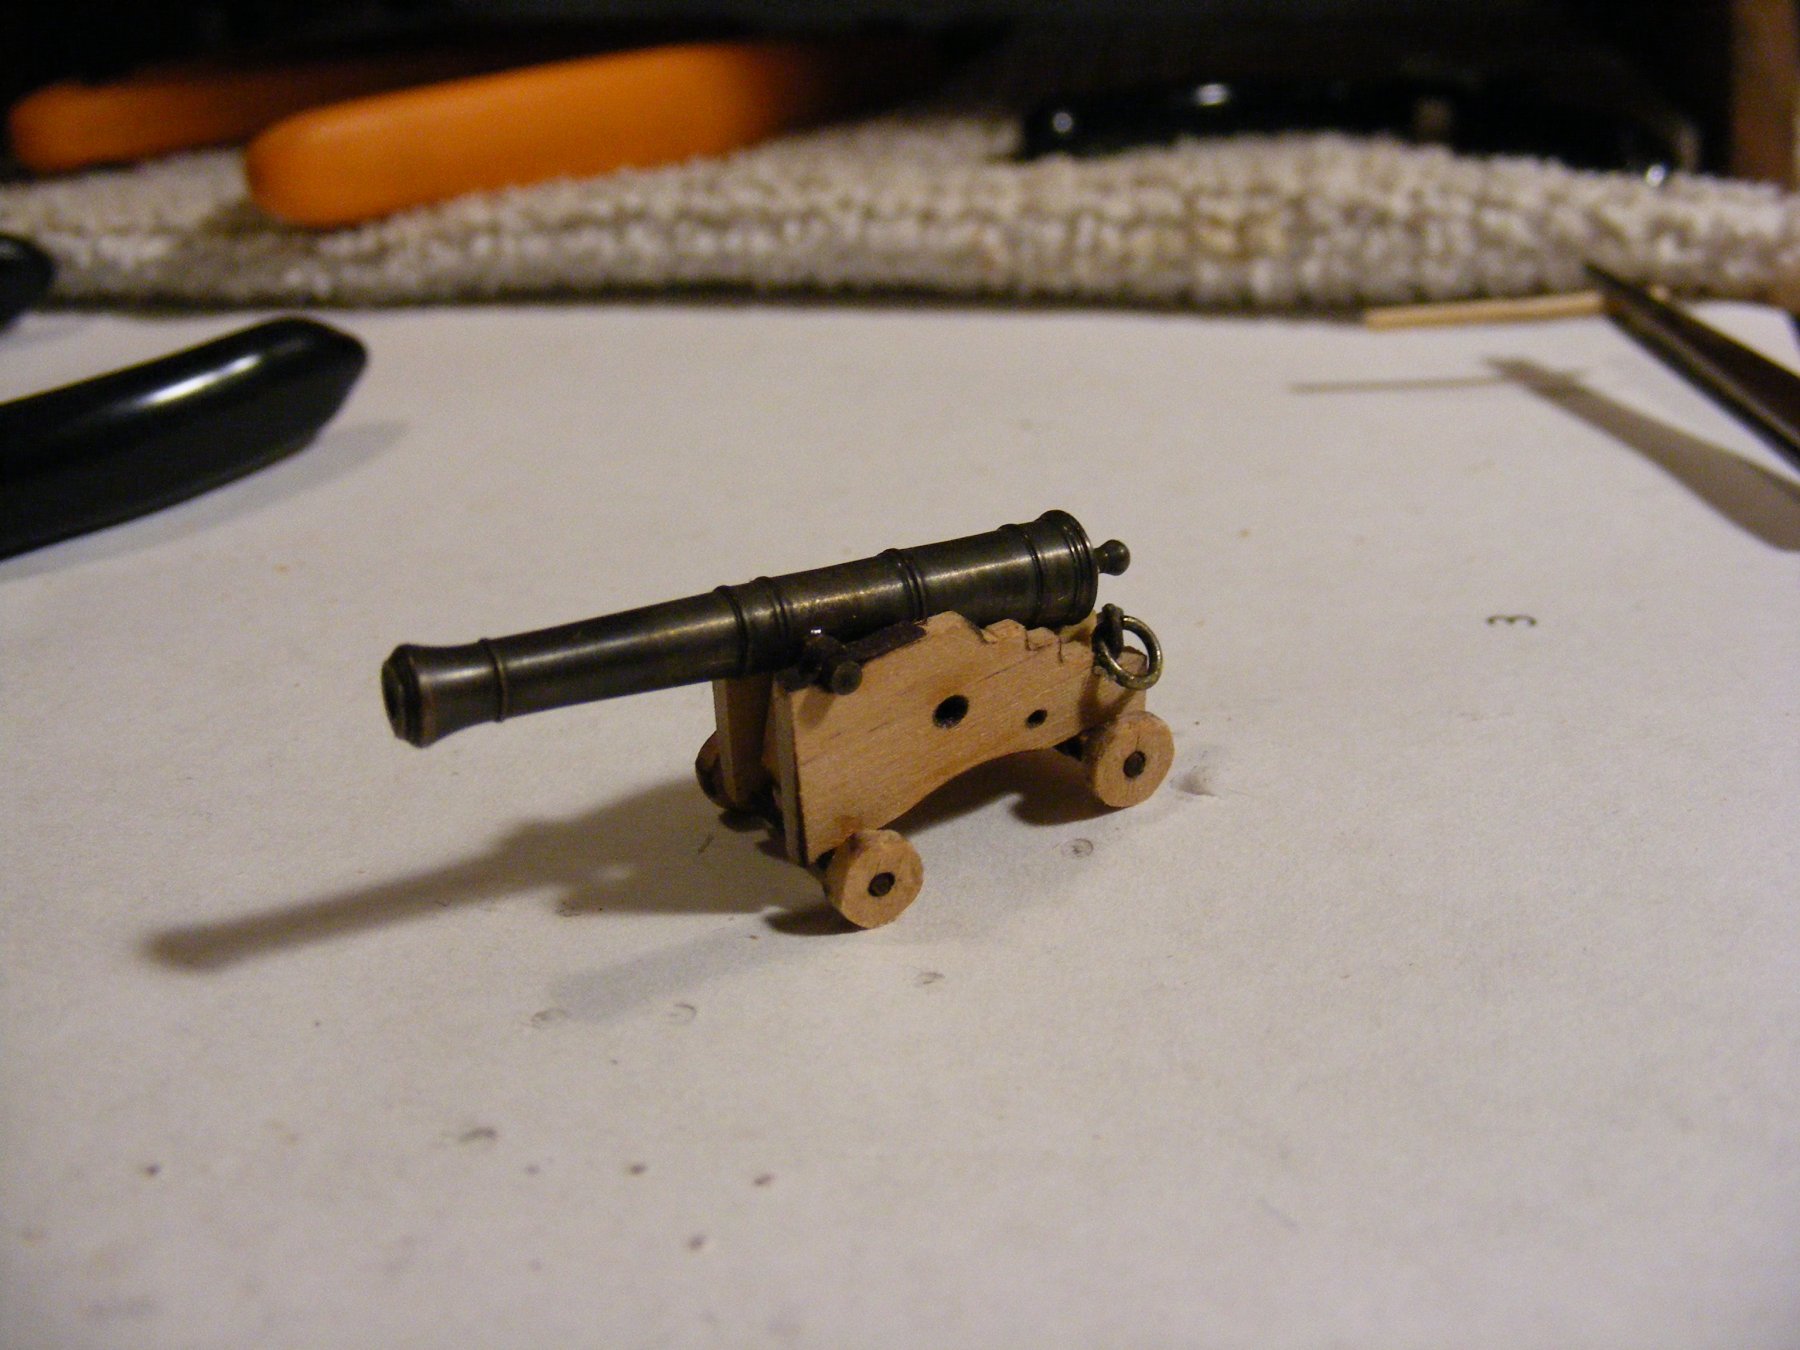
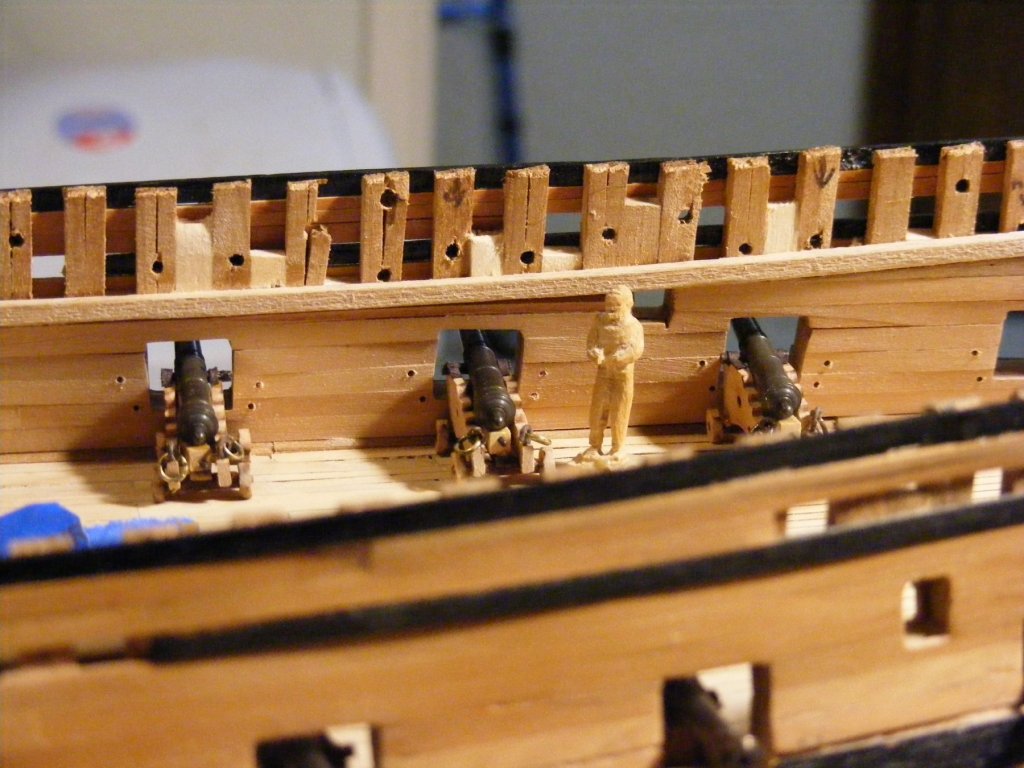
Thanks for following along, for the likes, and commentary... Still fussing with cannon... I drilled the holes for the rings and hooks that fit to the bulkhead. The first photo shows the machining jig and drilling tool. All the barrels are in the carriages and the appropriate hardware added to them. I also added the trunnion caps made from black paper soaked in CA. (Barely visible in the last photo). The 2nd pic shows 6 in position to check alignment, etc. So far... so good. Now for the fun part... hooks, blocks, and rope for the training gear. Once that's completed, I'll start adding the breeching and installing the hardware to the bulkhead and connecting everything up. My only comment is "This stuff is tiny. Next time, a bigger scale. Admiral permitting of course."

-
Welcome to MSW, Noctavigant from a former Buckeye. Can you tell us your name? it's more personal than a handle.
-
Sunbeki by palandoken - FINISHED - 1/60
mtaylor replied to palandoken's topic in - Build logs for subjects built 1751 - 1800
Beautiful work, Adam. -
Use the search (upper right) for "confederacy" and "rigging". I see 84 results but without going through all of them <shrugs> I have no idea if a rigging plan exists.
-
Personally, I'm drawn to the Billy Ruffian (Bellerophon) due her history but for lines and sheer beauty, the French 74's have it.
-
Hi Mario, Looking good. Question for you.... the build board... are both sides equal? I found mine wasn't quite as equal as they should be... distortion of the print or the master (Hahn plans). Check the arc as frame row into the stern on both sides. BTW, the Hannah would not have had the "USS" as there really wasn't a US navy at the time. As I recall, it was first ship of the Navy.... I might be wrong but I thought "USS" came about much later.
-
Number of planks?
mtaylor replied to torpedochief's topic in Building, Framing, Planking and plating a ships hull and deck
My guess or my rule of thumb was to find the plank widths for the ship as different ships had different plank widths. Mark out the largest frame and count the planks. Add 10 to 25% for "oops" and "oh crap's". Note that some plans have a cross section drawing at the dead flats (widest part) and the planks are drawn. Just count them then. -
From where I sit, Jud is spot on. This is an impossible judgement at the least a very subjective one. If it's purely British and French then it's a toss up. Other factors come into play such as maintenance, the training of the crew, tactics (these three alone did in the French at Trafalgar). But ship to ship and taking out the crew factor, I would say they were pretty much equal all things considered. Others will have their assessments...
-
You might try a trick I learned eons ago with automobiles. Use toothpaste to rub out the pain. If you're careful it will take down the highspots. Rinse extremely thoughly and then use a good top coat like you are planing. BUT always test on scrap just in case.
-
i'm sorry to hear of the health issues, Doris. I hope you get well soon and make a full recovery.
- 1,035 replies
-
- 7
-

-
- royal katherine
- ship of the line
- (and 1 more)
-
MS Katy of Norfolk kit issues and parts replacement
mtaylor replied to kearnold's topic in Wood ship model kits
Scale rulers are available here (it'll save you some Googling): It- 14 replies
-
- 2
-
-
- schooner
- katy of norfolk
- (and 4 more)
-
MS Katy of Norfolk kit issues and parts replacement
mtaylor replied to kearnold's topic in Wood ship model kits
If you'll go to the Kit area, there's a pinned topic at top titled: Quick Find Indexes. It's a pdf and searchable (and updated regularly) that should help you find any model. Here's a link if you can't find the topic:- 14 replies
-
- 2
-
-
- schooner
- katy of norfolk
- (and 4 more)
-
MS Katy of Norfolk kit issues and parts replacement
mtaylor replied to kearnold's topic in Wood ship model kits
Have a look at the main page and sponsors. You may have to check quite a few and order from multiple places to find what you need.- 14 replies
-
- 1
-
-
- schooner
- katy of norfolk
- (and 4 more)
-
You should be pleased. It looks as if all those parts belong together and didn't come out of the scrap box. Super nice work, Kevin.
-
Wonderful, Dan. The crew just adds the touch to make one smile.
- 287 replies
-
- 4
-
-
- michelangelo
- ocean liner
- (and 1 more)
-
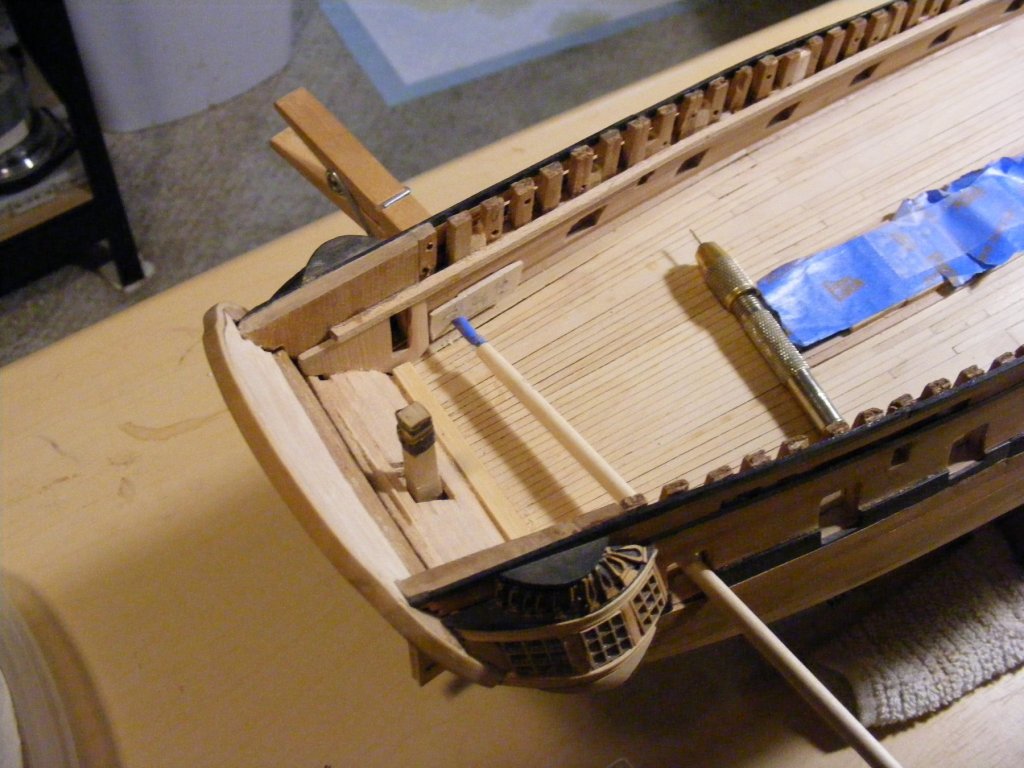
Mario, Looking good. A couple things I found out the hard way... make sure all the frames are glued before sanding that way you'll get a smooth planking surface. For the inside, you'll have to figure out some custom tools... curved pieces of wood, etc. with the sand paper glued to the sanding blocks you make. I also found that sandpaper attached to some flexile cardstock or thin plastic stock worked well too. It's tight inside the hull but doable. I think we all have our favorite ways of doing things so there is no "wrong" way. You'll just have to try different things and find out what works for you.
-
Using your 3D and CNC isn't crazy at all. There's some of us using laser cutters to cut the planks out.
-
My First Attempt At Metal Blackening
mtaylor replied to Osmosis's topic in Metal Work, Soldering and Metal Fittings
I think Ed gets it online. -
Thanks for the support. Been spending time re-blackening the barrels as they weren't black but looked like darkened bronze. I'm happy with them now. Also sorting out the production line... 6 guns at a time, prep the hardware, install it as much as possible off ship, install to ship and go to "next". This will take some time but I'm shooting for consistency. <fingers crossed> Ah.. I see the eyebolt. Note that this image is for a 74 with port lids as the frigates didn't have lids but bucklers fitted as needed. That eyebolt in the overhead is for when the lid/buckler is closed and the gun secured. Basically a rope would be fitted to the eyebolt and rope from it to the muzzle of the gun as the guns were "stored" with the muzzle raised as high as possible.
-
Dan, Fascinating project. Sounds like you had to pull more than a few strands of hair sorting things out. For restorations, see this post:
- 287 replies
-
- 7
-
-
- michelangelo
- ocean liner
- (and 1 more)
-
My First Attempt At Metal Blackening
mtaylor replied to Osmosis's topic in Metal Work, Soldering and Metal Fittings
For copper, use liver of sulphur. EdT, uses it extensively on his clipper scratch build.