mtaylor
-
Posts
26,273 -
Joined
-
Last visited
Content Type
Profiles
Forums
Gallery
Events
Everything posted by mtaylor
-
They're pretty hefty, Paul. Look at the pictures of Vic's or the Constitution's.
-
Jon, Are you annealing the brass and/'or copper? Heat redhot and let it cool although some quench in water. Softens the metal up quite a bit.
-
Copyright - beware
mtaylor replied to dvm27's topic in Using the MSW forum - **NO MODELING CONTENT IN THIS SUB-FORUM**
Jud, Given the way things are, laws trump opinion. So we gotta' deal with the laws. -
Can't even tell that it was broken and then fixed, Pat. Excellent repair. BTW, your puddening looks great.
- 517 replies
-
- 3
-

-
- Endeavour
- Artesania Latina
- (and 1 more)
-
Weird... I have no idea why the deck "camber" would matter then. There's a waterway, right? I'm thinking they meant the sheer because that curve will dictate how the bulwark planking runs. I looked at Dubz build (bulwark planking starts on page 5) and it looks like his planking follows he sheer of the deck.. Same for Sal's (again page 5). <scratches head><shrugs>
-
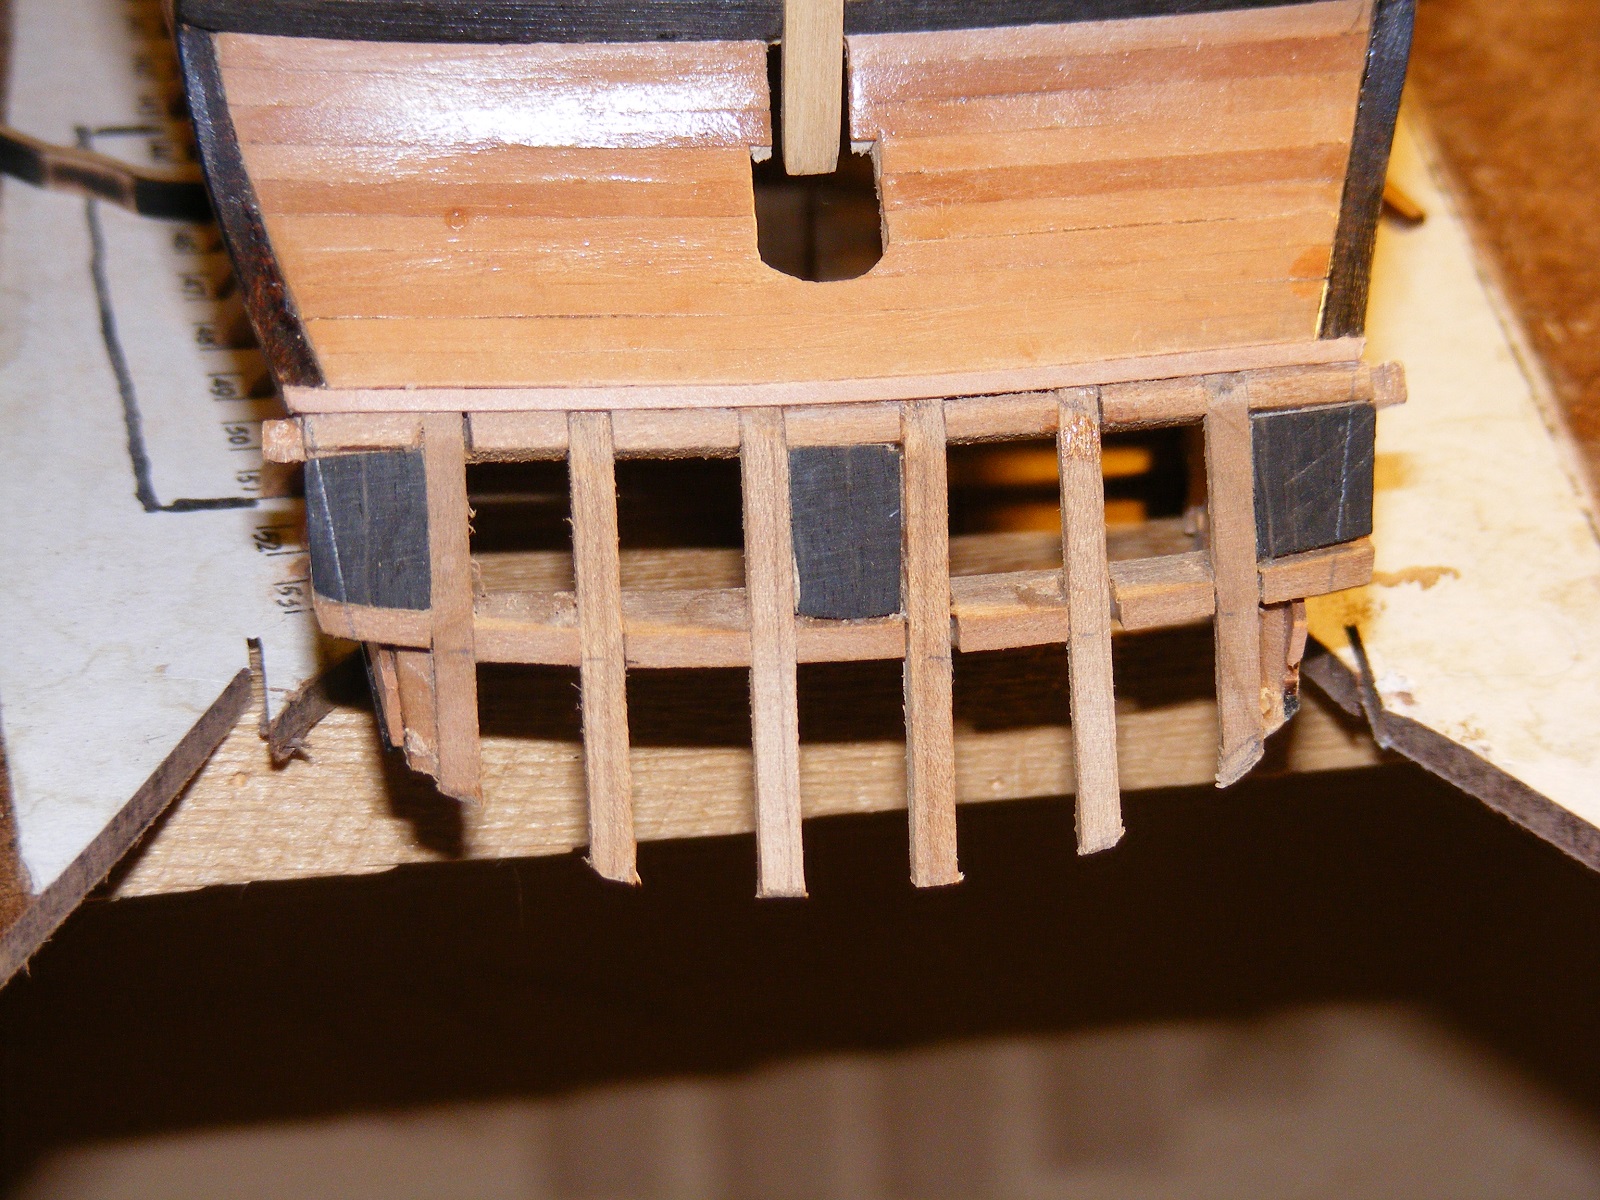
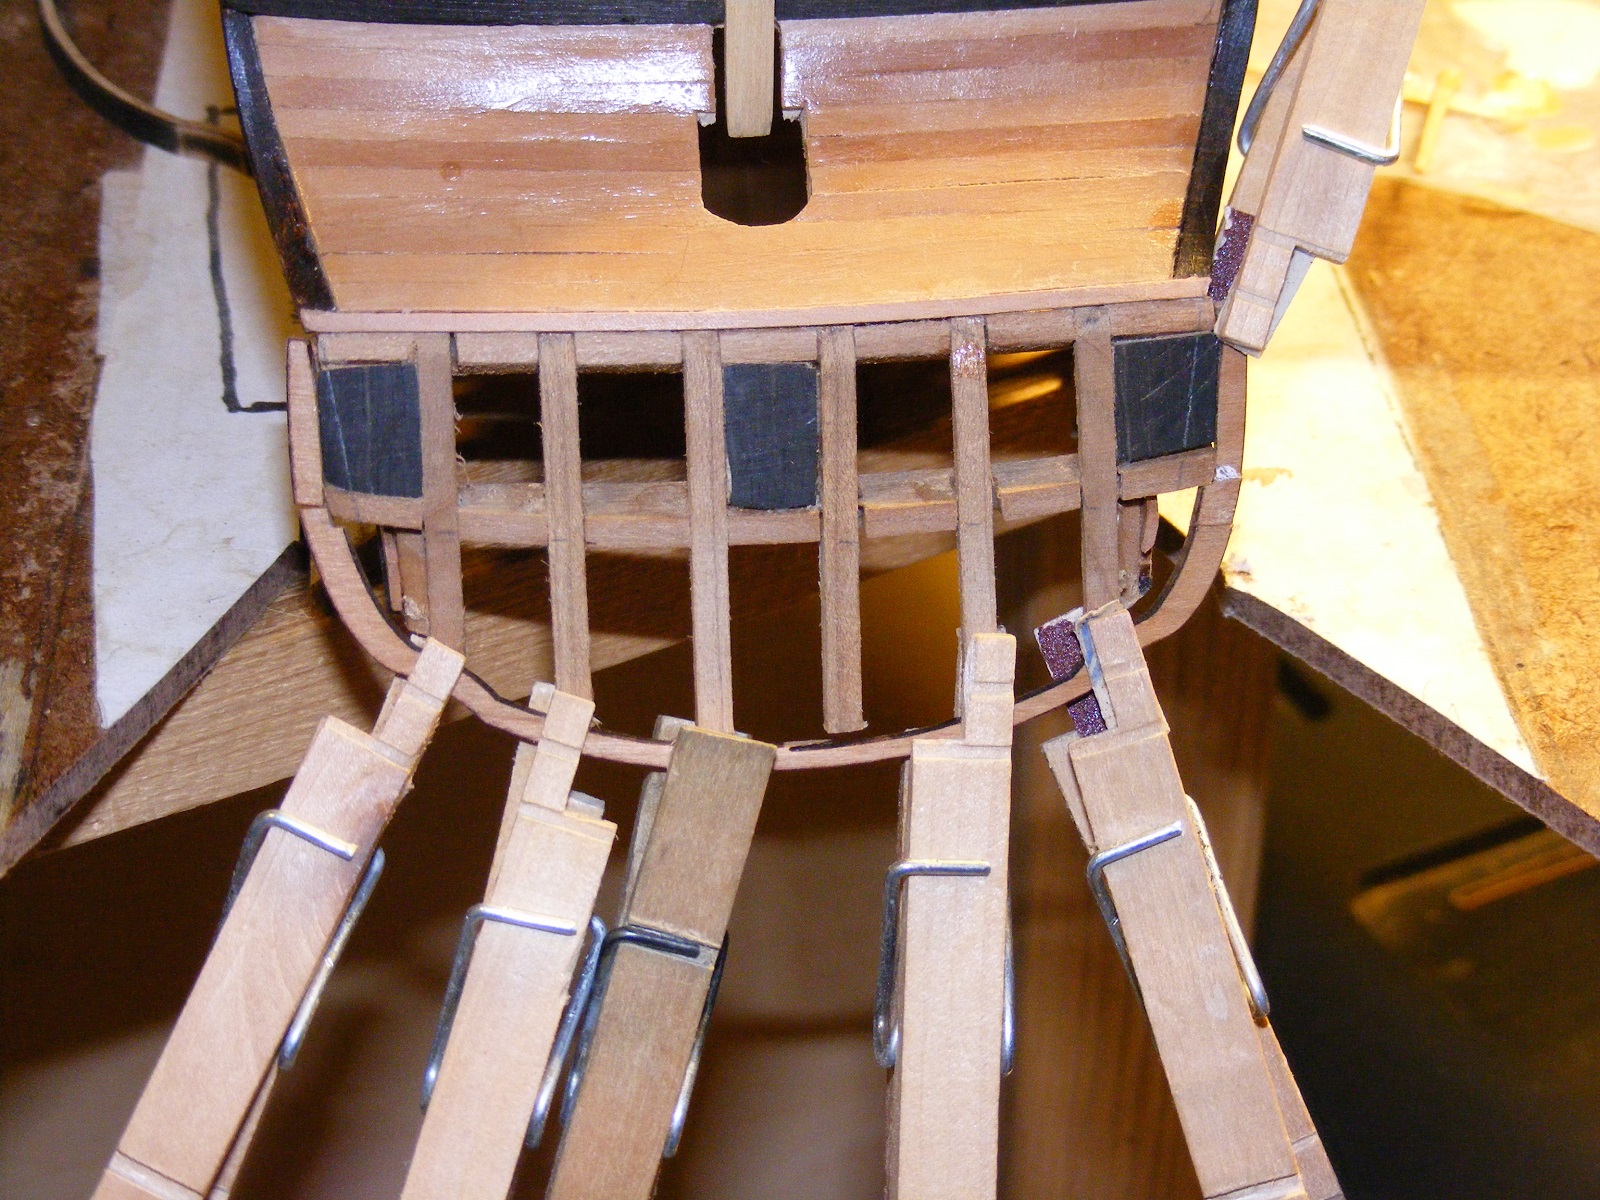
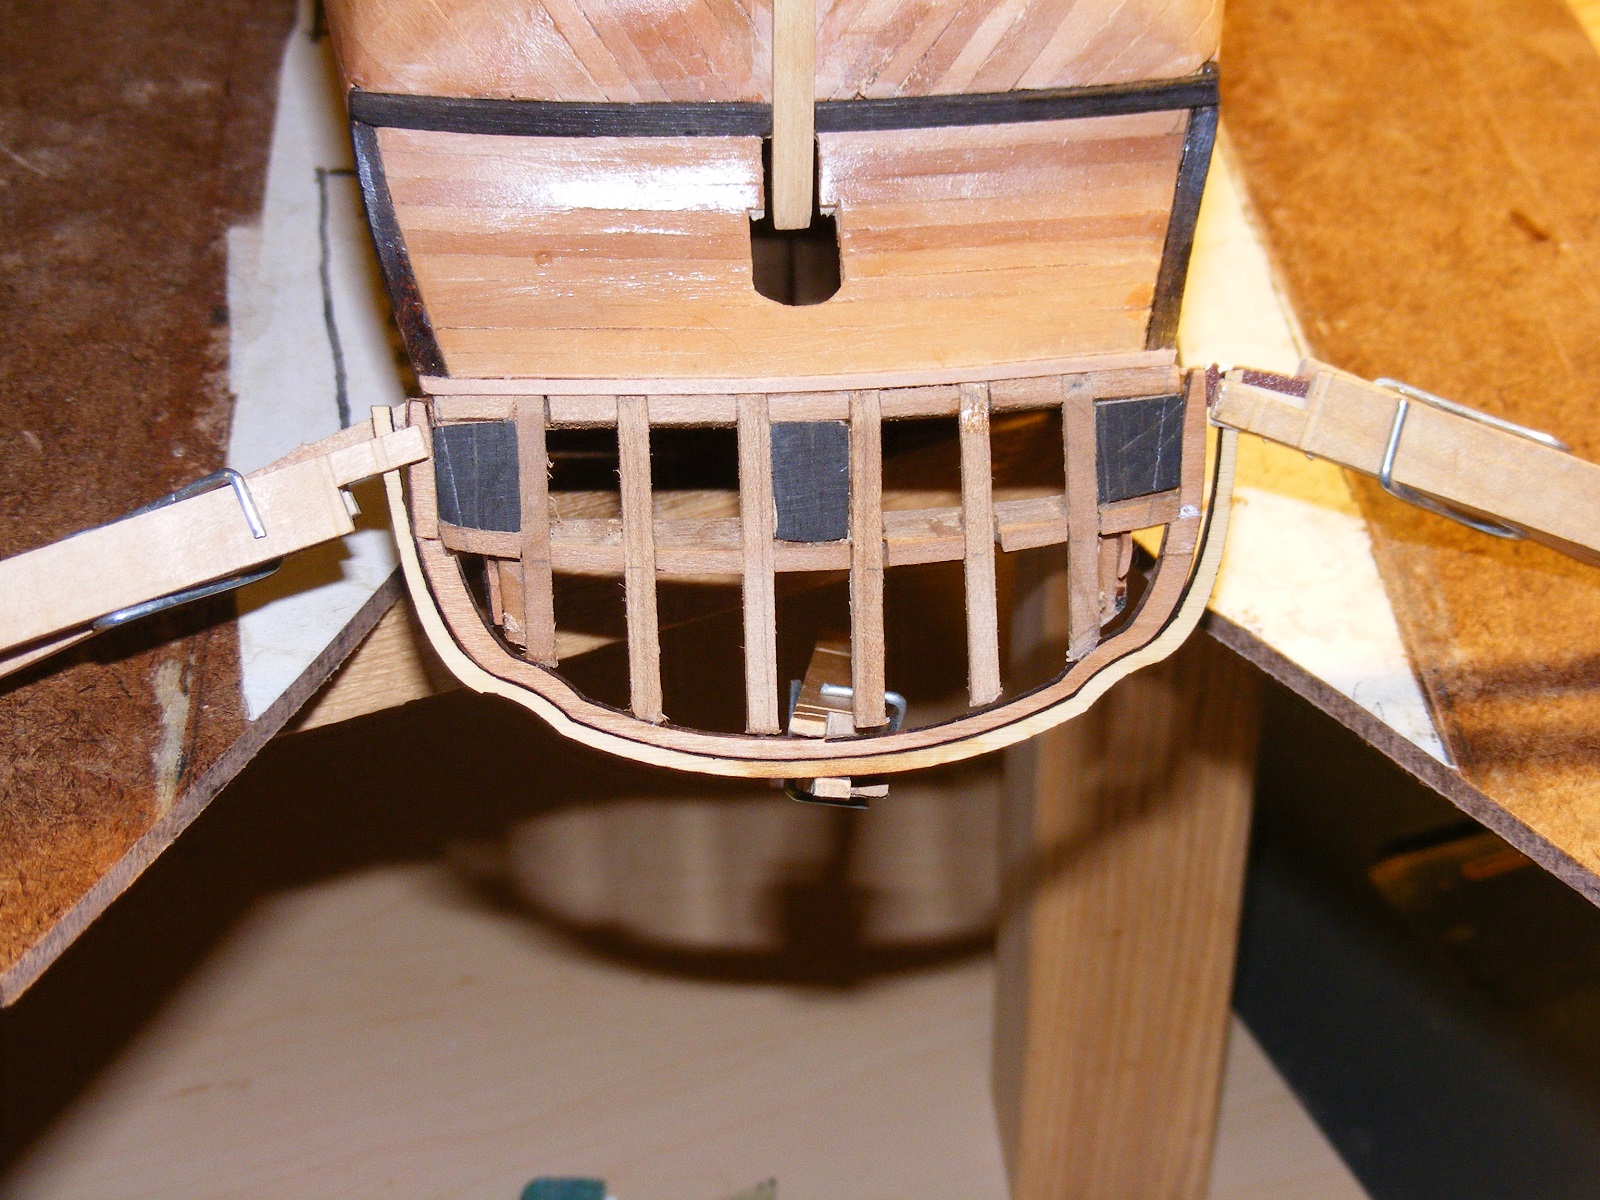
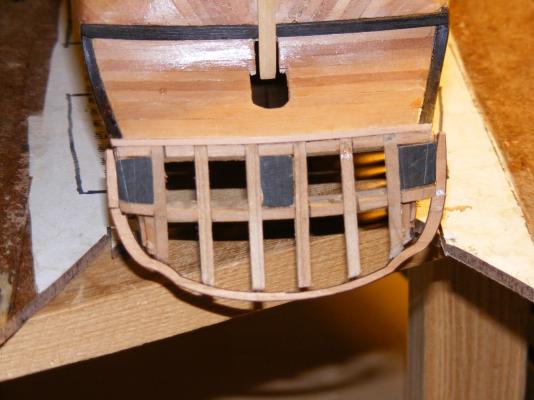
Bagged it!!! Still needs a bit of work to strengthen, probably some knees as this is pretty flimsy. I suspect the planking will help but I'd rather keep Murphy away.... First.. the deconstruction... cleaned out the debris and shaped it a bit better. Then attached the framing. This is where the problems hit... not that flexible and didn't get the shape of the existing frames just right. Also, the mortises on the existing frames crumbled.. could be the wood, could be me. And broke several frames filing and cutting them in. Gave it up, cleared off the damaged areas and glued it in place. Clamps removed and tarffrail set into position. It'll need a bit of fitting shaping and all the char removed but I'll hold off until this is completely planked. Looking a lot farther ahead in this area, will be the carvings. Still sorting out what the NMM plans really show and also what was common in the French frigates of the time. I suspect there will be some trade-offs because what Hahn shows would be really tiny. Not sure if they eyeball are up to it even with magnification. We'll see. I'm going to let this sit overnight and cure out completely while looking at other things needed and maybe making the knees. I think where the stern is now looks 100% better than where I started. Every step is a learning step or so it seems and this way is a darn sight easier than the way Hahn did it.


-
Camber or sheer, Robbyn? Camber is the curve of the deck from side to side. The sheer is the curve from fore to aft. I'm thinking the instructions mean sheer. You might ask some of the other Syren builders....
-
Thanks for the "likes"and the comments. Mortises are out as the wood is too thin and fragile. I'm now on (for lack of a better term) taffrail frame #4. I'm exploring a different method now but one that should work and give me foundation for the planking. It's saving me a lot of hours, Pat and a lot of headaches. I can pop out pieces pretty quick once the artwork is done. You want to use this to cut away something on the ship? I don't think that would work out well at all... I predict smoke and massive amounts of damage. I've used the German version as that's what my grandmother taught me... Lately, the metaphors have become, shall we say, more colorful... Uh... no. At this point, it's just the upper stern transom where the taffrail sits. I hope I don't screw things up that a total rebuild becomes necessary.. so far, so good. The toy just cuts the parts, sir. Clean up is still by hand. including all the char. Thanks Jose. I agree entirely about it being better and helping the confidence level. Back to finessing and fitting small pieces of wood to make a big piece of wood....
-
Keep the snowblower no matter what, Denis. Maybe it will be a talisman and keep the snow away as long as you own it.
-
That has the look of a hammock crane, Paul. Rotate it 90 degrees clockwise and you'll see it too. Size? I would guess about 3 to 4 feet where the hammocks went, but that's only a guess... and a not very scientific guess either. You might ask this in the fittings/deck furniture area.
-
A beaut of a setting for displaying her Cathead. I'm thinking about that cargo.. I would add any as it will definitely detract. One sees pictures of these vessels loaded and heading up or down river and all sense of difference is lost. BTW, I love the Black&White shots... very period looking.
-
Lovely and fascinating work, Druxey. That keel is tiny by any standard. Take care of business, we'll be patient.
- 641 replies
-
- 4
-
-
- greenwich hospital
- barge
- (and 1 more)
-
Congratulations on a great build and for giving us an education, Cathead. This has been a fascinating trip.
-
You got me smiling, Mike. The fairing looks great. I thought I was the only one who tried a plane on frames? I also used it sparingly on the planks when I could.
- 967 replies
-
- 4
-
-
- hahn
- oliver cromwell
- (and 1 more)
-
Looking good, Dave. The lids really came out well, in my opinion.
- 962 replies
-
- 6
-
-
- sovereign of the seas
- ship of the line
- (and 1 more)
-
To spile or not to spile...
mtaylor replied to fish's topic in Building, Framing, Planking and plating a ships hull and deck
Looks good, Chris. You'll get faster and yes soaking to make the bends takes time. Try dry bending on scrap. Use a curling iron, soldering iron, heat gun and see if that doesn't work for you. -
What you said, Crackers... bits and pieces. As the price comes down, the hulls maybe, etc.
-
I've come to the conclusion that a re-do is 99% of the time the right thing. I just don't want to start a 3rd build log of this beast.
-
Nicely done on the buoy, Pat. The overall shots are impressive. Looking forward to seeing your fix on the chainplate.
- 517 replies
-
- 2
-
-
- Endeavour
- Artesania Latina
- (and 1 more)
-
Nicely done on the building slip, Jack. I was wondering how you were going to solve that problem. I'm looking forward to seeing the rest of the build process.
- 170 replies
-
- 1
-
-
- gokstad
- dusek ship kits
- (and 1 more)
-
That is a well done model, Tim. All the PE and added details make it special. Congratulations.
- 144 replies
-
- 2
-
-
- basilone
- BlueJacket Shipcrafters
- (and 2 more)
-
Hi Robbyn, It's great to hear that the surgery is over and the foot is healing. Nice work on the cap rail as that looks to be a tricky piece of work.
-
Jack, I'm just catching up. Nice work on the windlass and an excellent job of sorting out the "mystery part". Flagstaff cap, huh? My impression was that it was a roller for a chain or something. Good going on the build.
- 203 replies
-
- 3
-
-
- artesania latina
- marie jeanne
- (and 1 more)