Old Collingwood
-
Posts
12,000 -
Joined
-
Last visited
Content Type
Profiles
Forums
Gallery
Events
Everything posted by Old Collingwood
-
 No need to applogize kevin I think it takes at lot to keep up momentum or even do loads on our builds in one go, you are doing a Fantastic job and its a pleasure to look at and read through. OC.
- 1,319 replies
-
- 4
-

-
- caldercraft
- Victory
- (and 1 more)
-
Wait till I get started on the standing rigging and shrouds - that will test my patience...........and everyone elses.😧 OC.
-
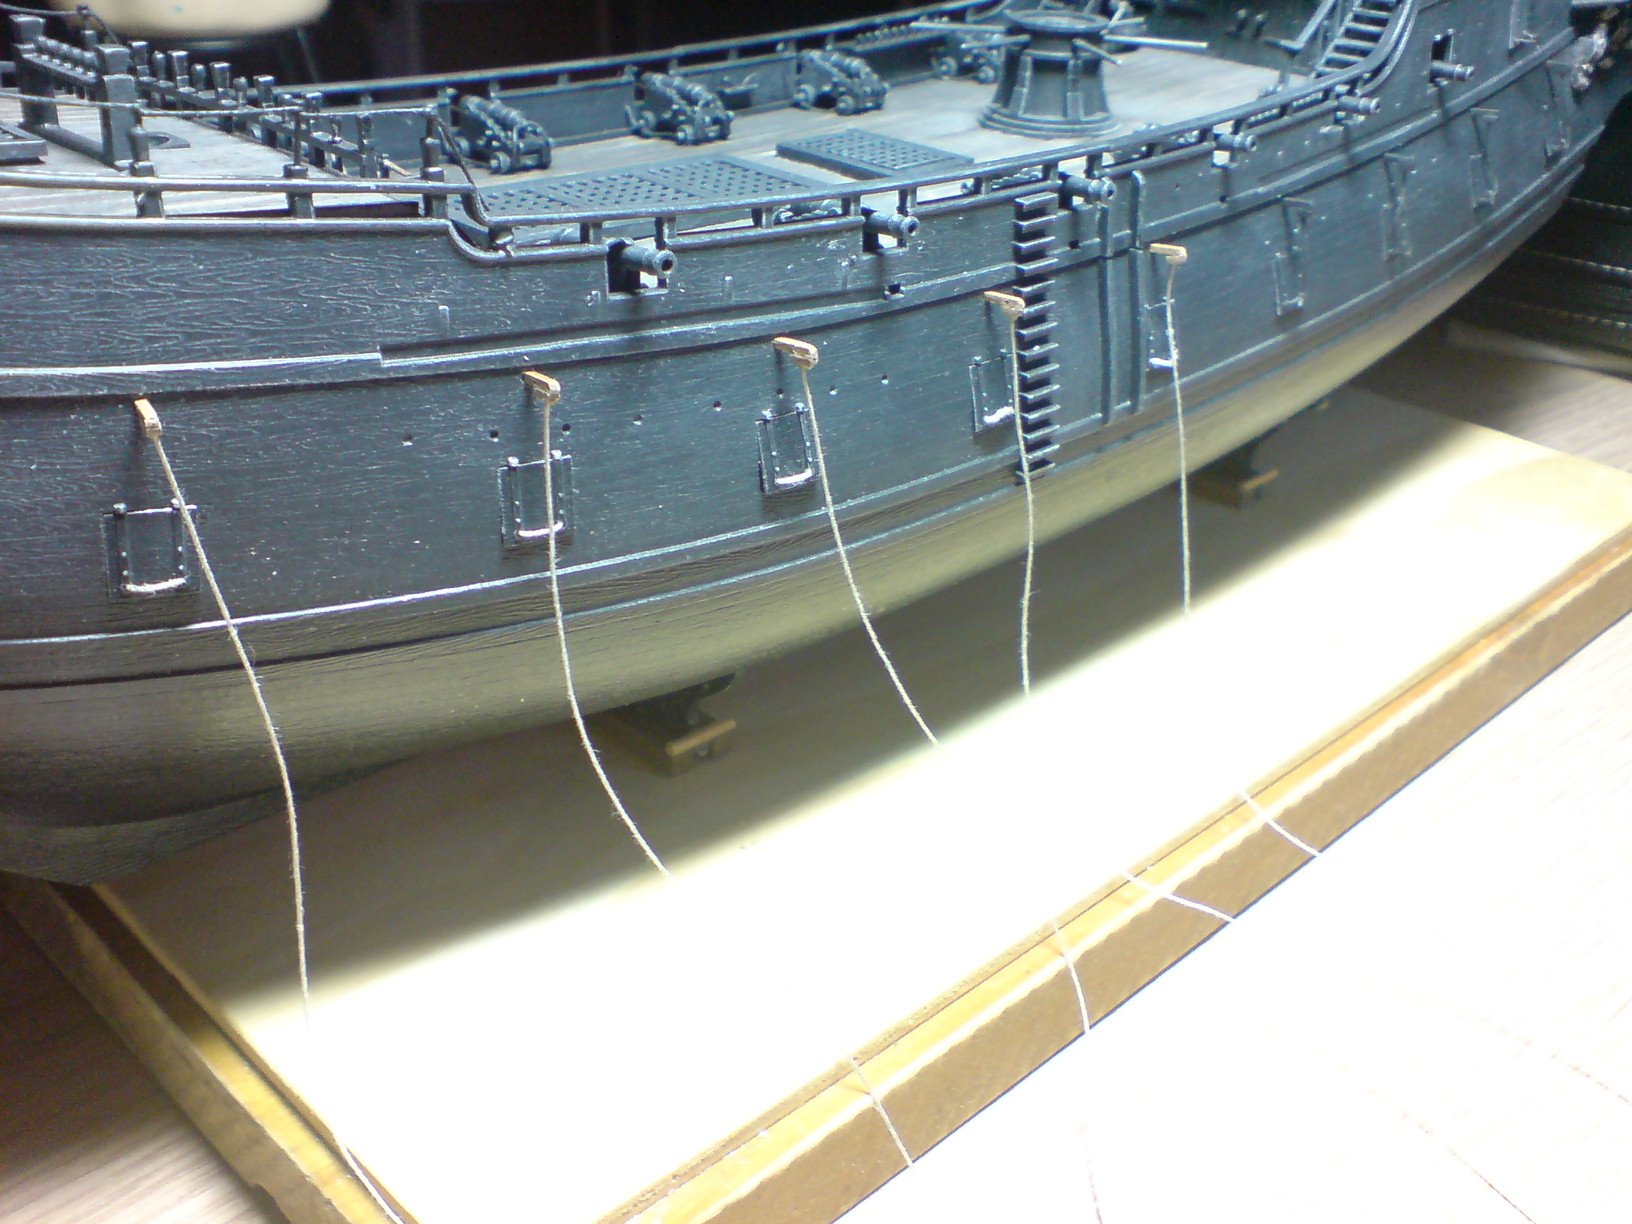
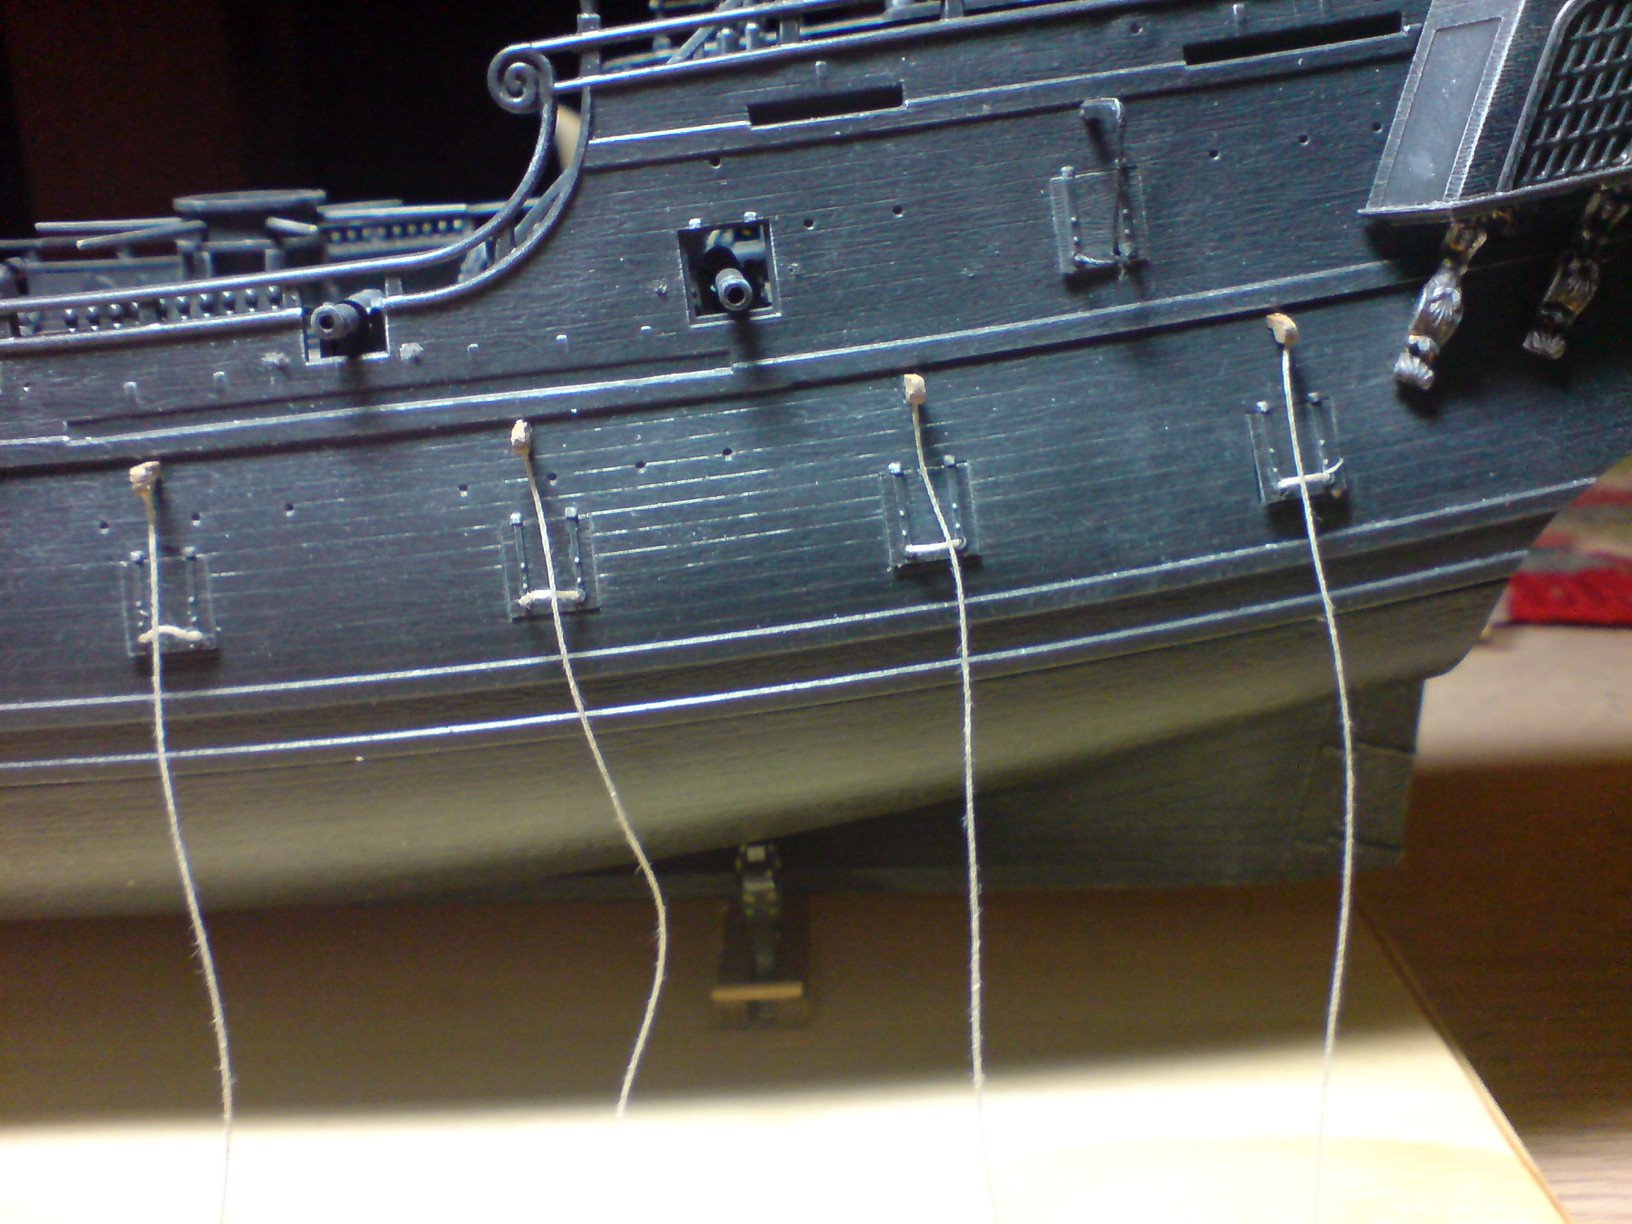
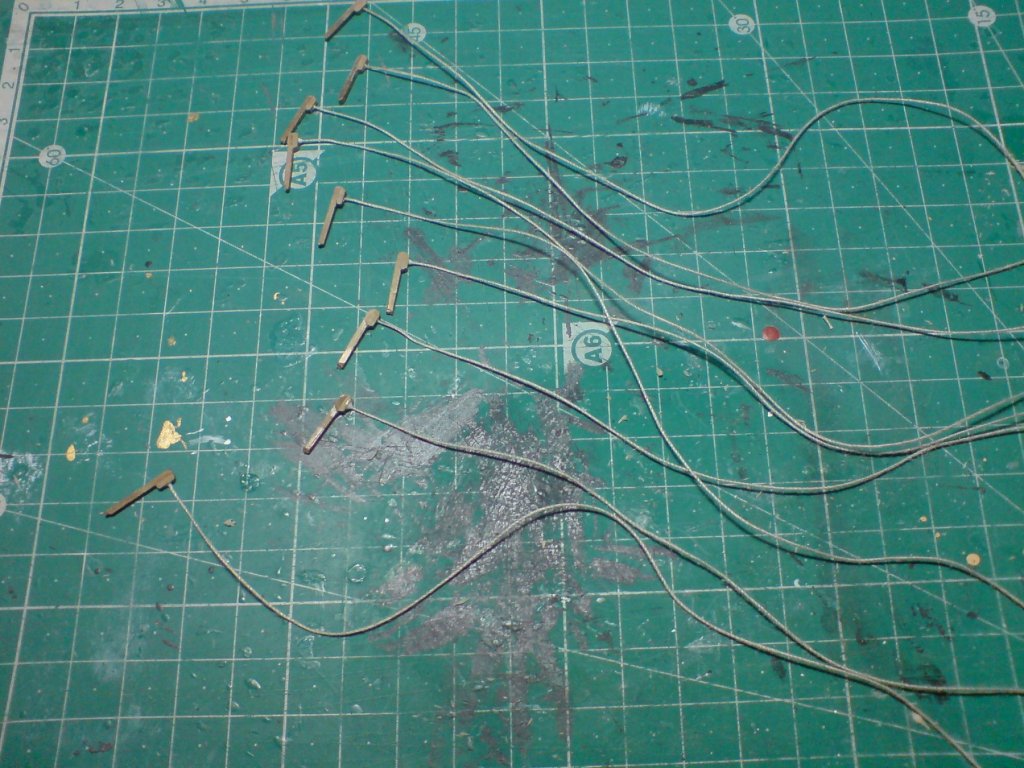
More work today - I cleaned up the lifting beams then drilled a hole in the center/top of each, then I cut nine lengths of rope and stiffened the ends with some pva, then I glued the ropes in place as before. Just a couple of pics - OC.
-
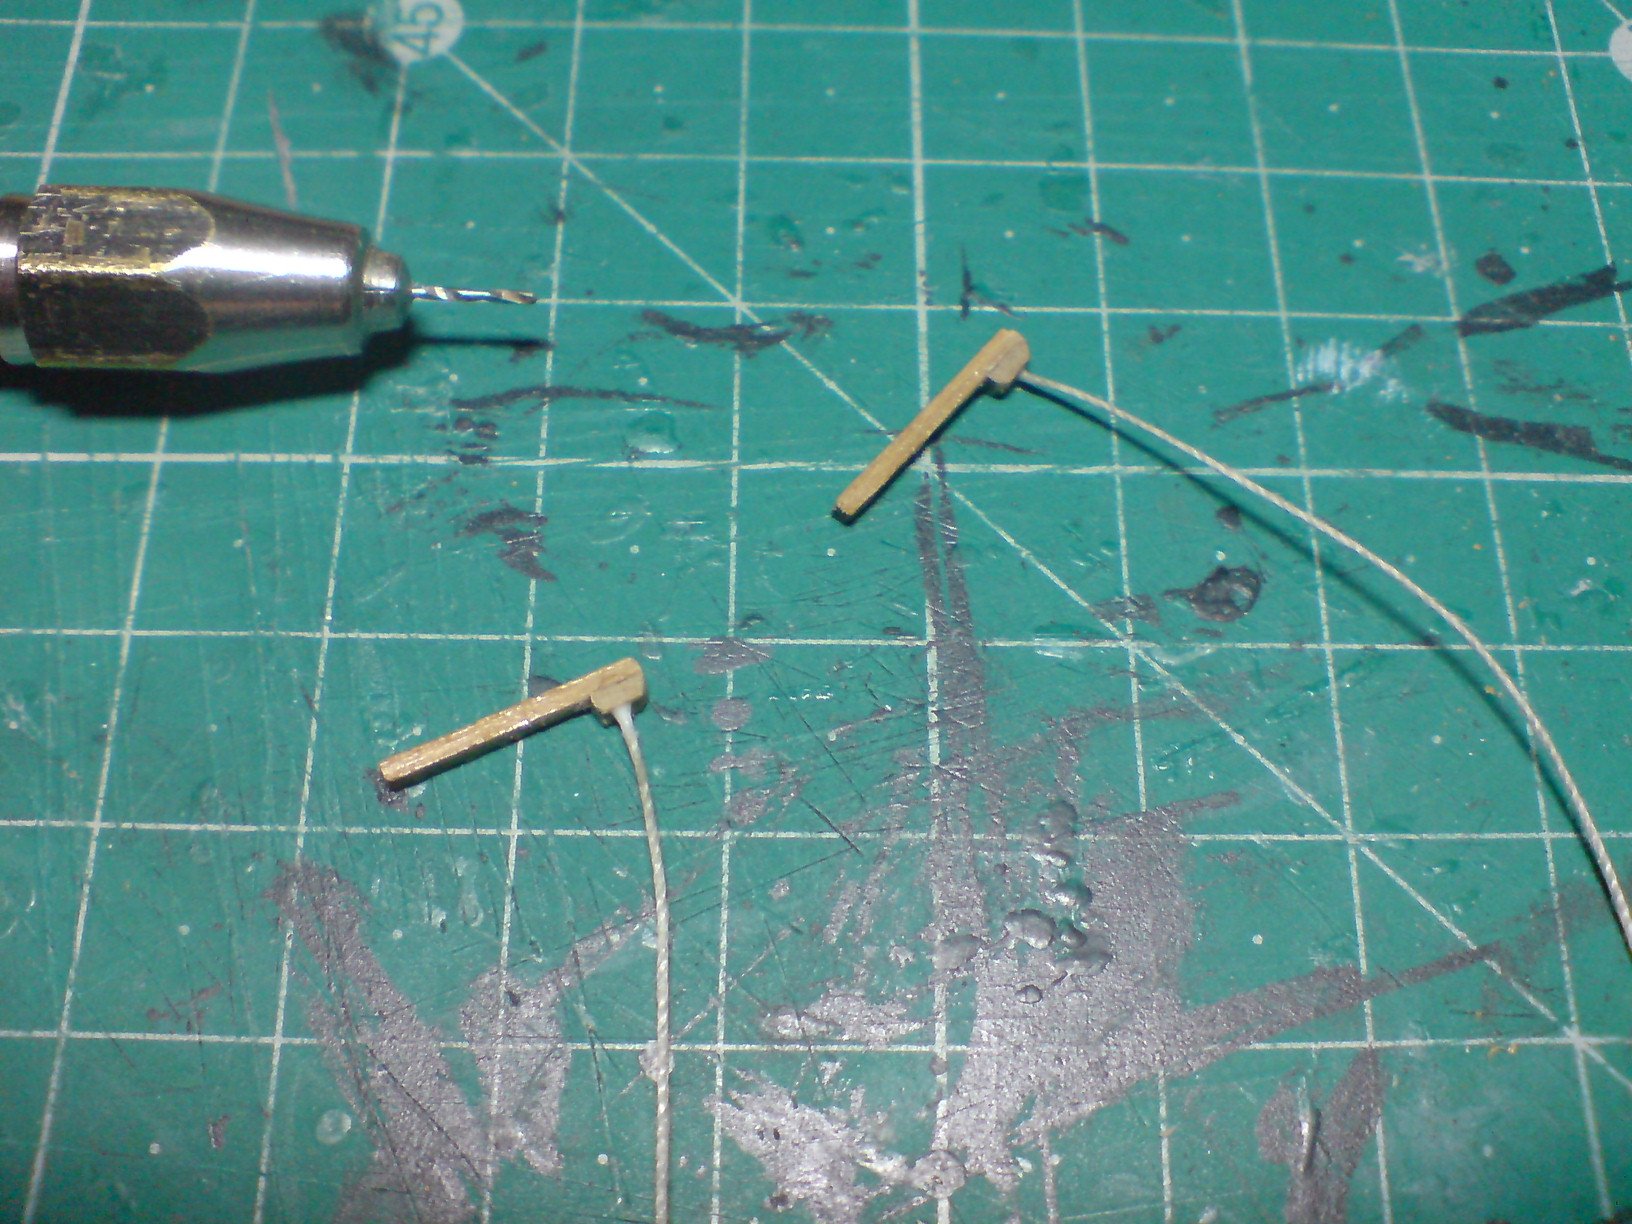
Good day all, Thank You sincerely for all the likes it certainly helps, anyway back on the pearl today - nothing of any significant interest, I constructed the nine rope lifting beams for the other side - just a length of 1x1mm with a small block glued onto the ends, just need them to set now before drilling a hole in the ends. No pics as its just the same as previous pics. OC.
-
Interesting looking build. OC.
-
WOW I see you have the same kit of HMS Warspite as I built, and also many other excellent kits begging to be built. OC.
-
If you mean joining the two blocks in your first diagram with the letter A, I think you need to widen the gap between them then wind some thread round and through them like in the diagram. OC.
-
Welcome to our little family looking forward to seeing your builds in here, its great you managed to join. All the best OC.
-
Looking very tidy. OC.
-
Like lou said - the best way to work at such small scales is to take it in tiny steps, I had to do that often with my Warpy build (hence why it took years to finish) kind of recharges your batteries for the next go. OC.
- 122 replies
-
- 5
-
-
- tamiya
- King George V
- (and 2 more)
-
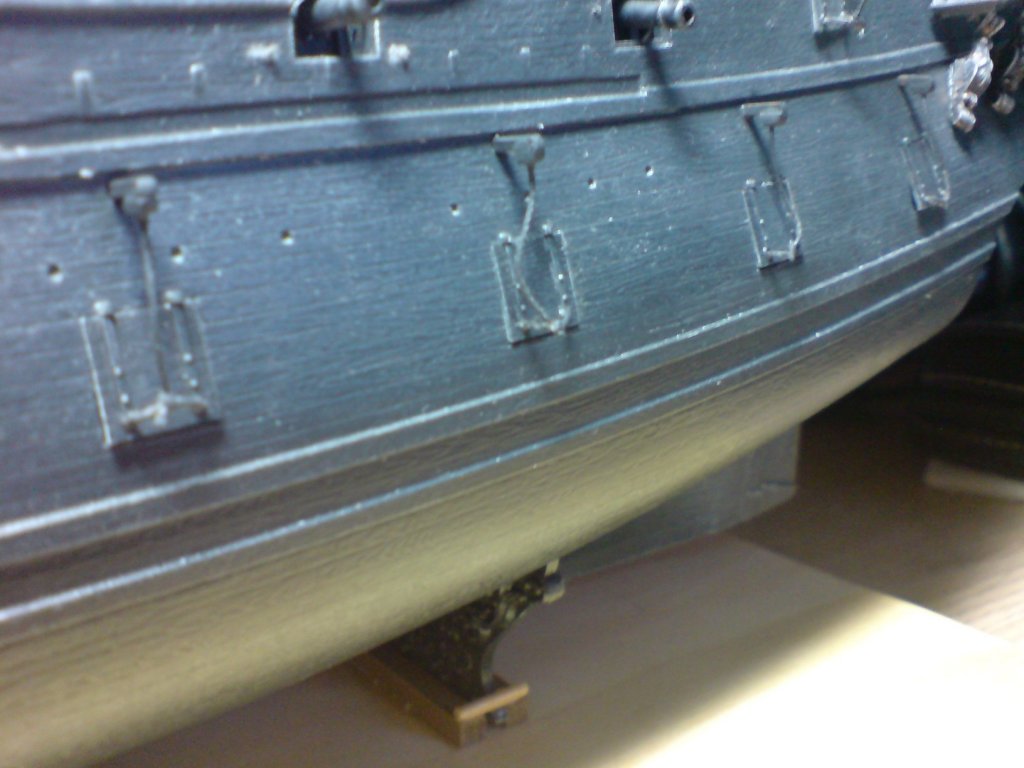
More work today - painting the first of the lid lifting tackle - then I fitted the remaining five - next off tie them and add a bit of paint. Then it will be on to the other side. OC.

-
Its certainly best doing it in small sections to break up the repetition, I have the remaining five built and drilled waiting on the ropes to be glued in place - tomorrow. Then the same for the opposite side. OC.
-
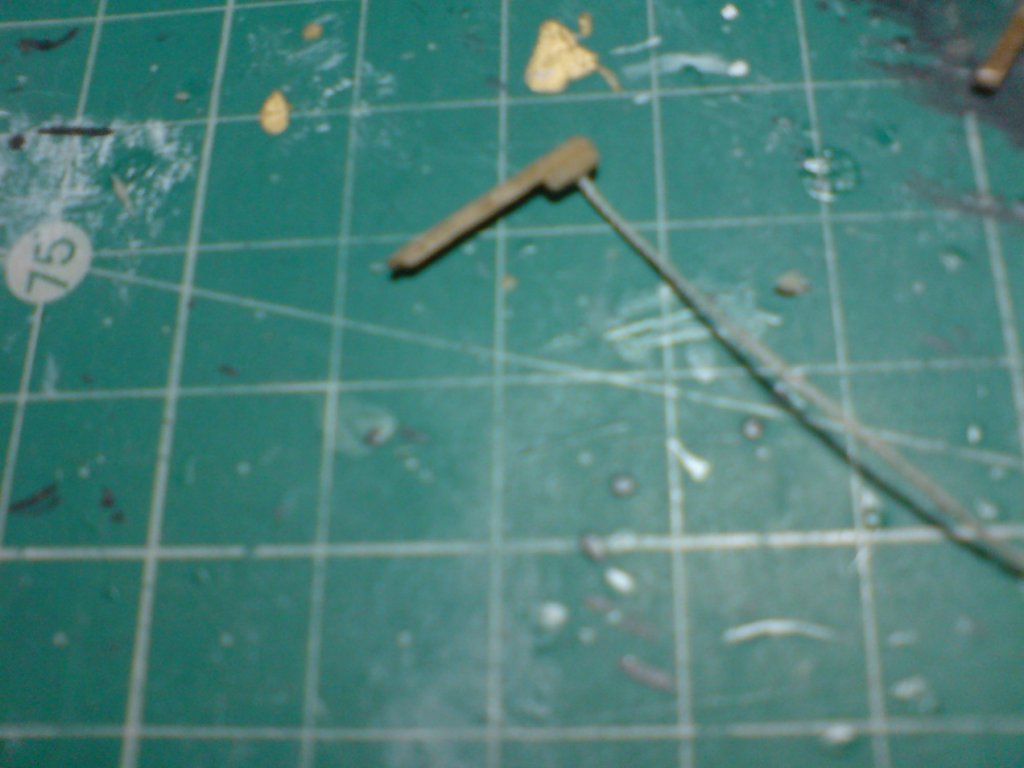
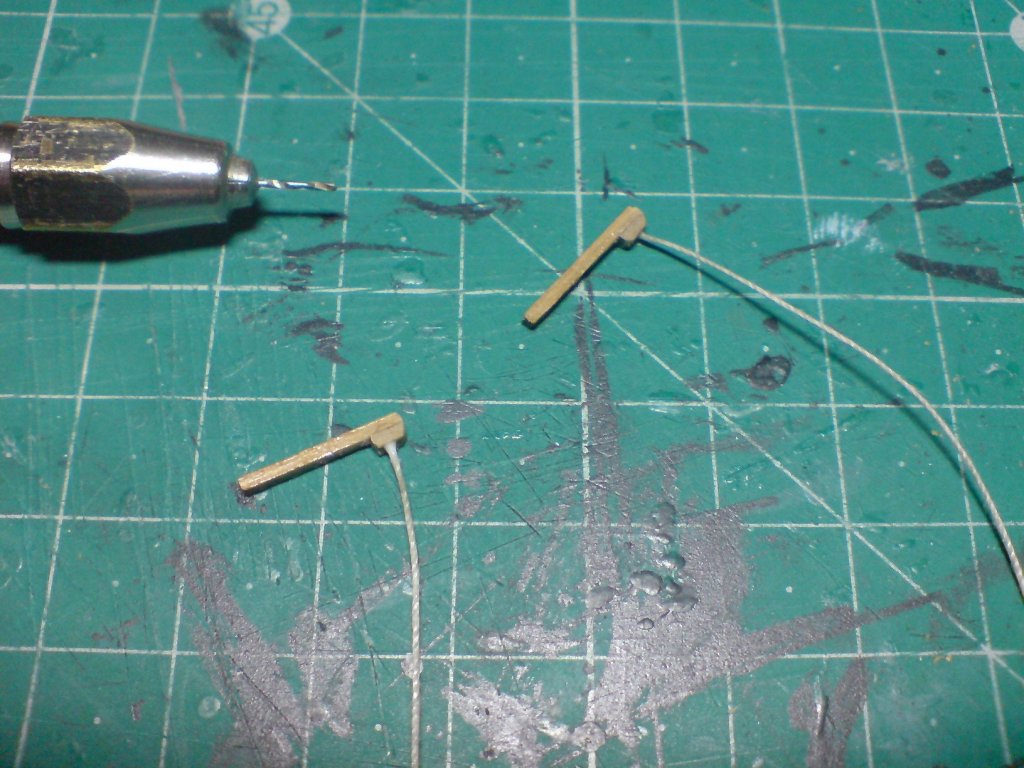
So - the work begins on the lid lifting devices consisting of a piece of 1x1mm with a piece glued onto the end, then a fine drill in the center of the end, and some rope(thread) glued into this, two done 16 to go. OC.
-
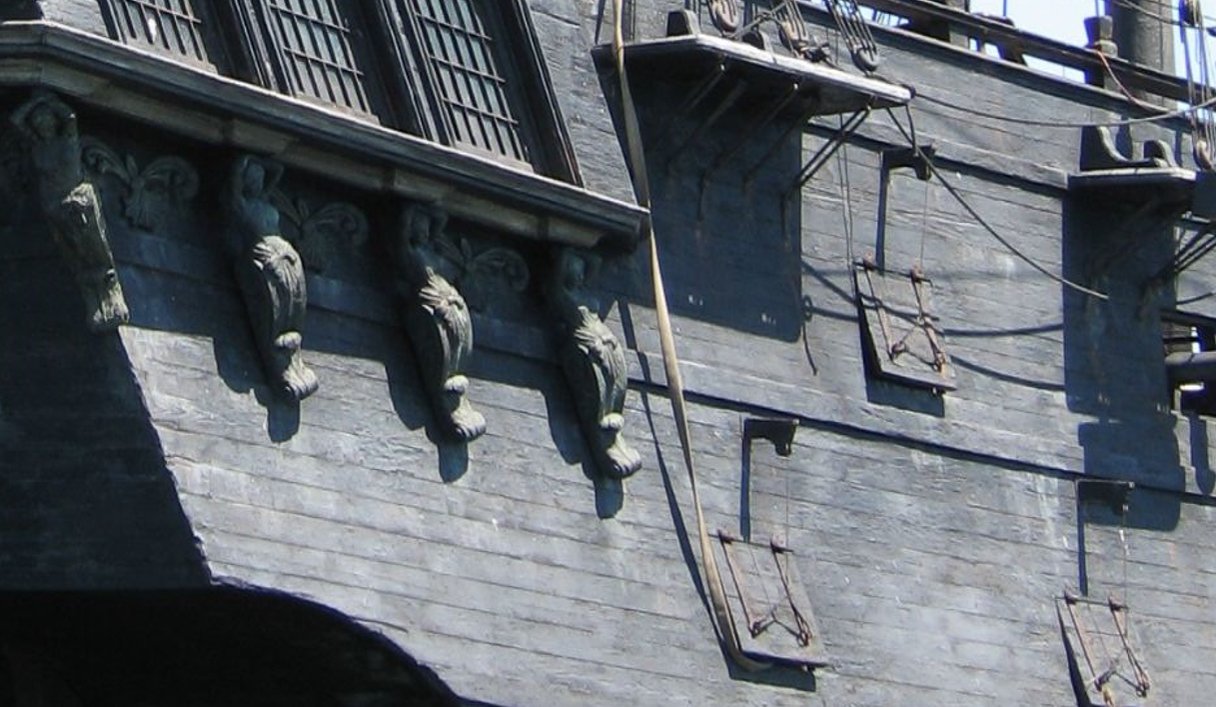
Here is a close up pick of the actual ship off the net - shows the lid devices. OC.