HOLIDAY DONATION DRIVE - SUPPORT MSW - DO YOUR PART TO KEEP THIS GREAT FORUM GOING! (Only 36 donations so far out of 49,000 members - C'mon guys!)
×


captain_hook
-
Posts
685 -
Joined
-
Last visited
Content Type
Profiles
Forums
Gallery
Events
Everything posted by captain_hook
-
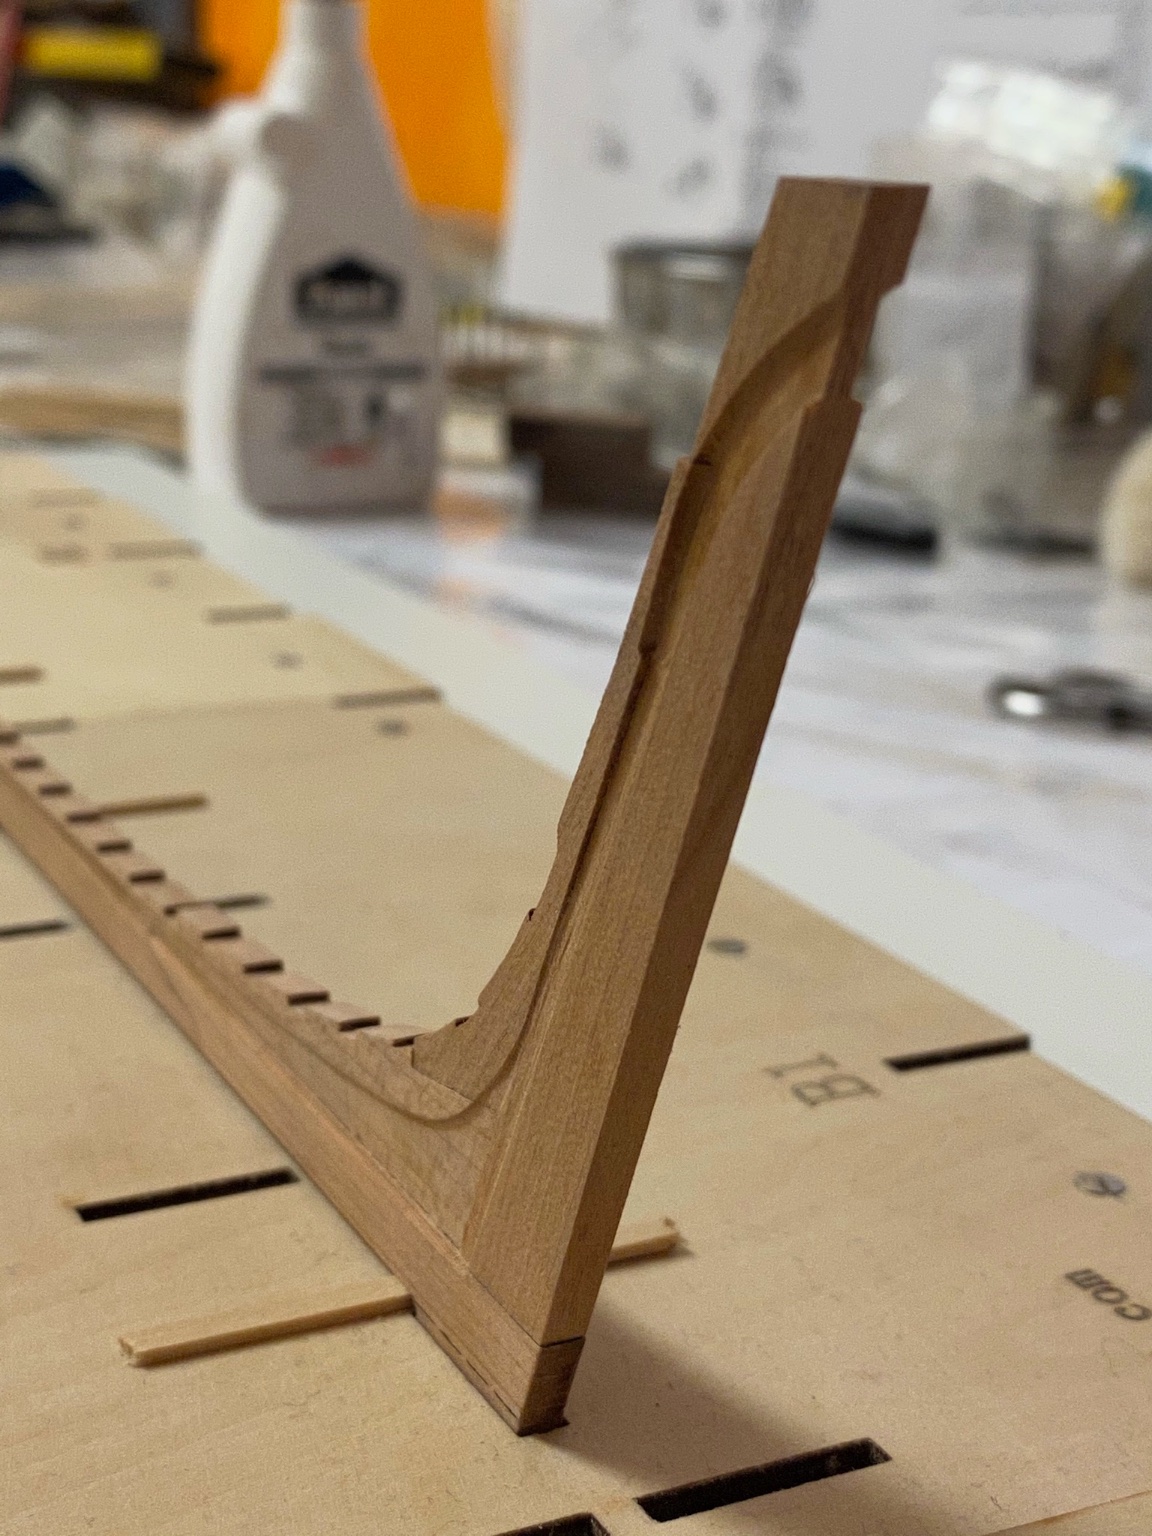
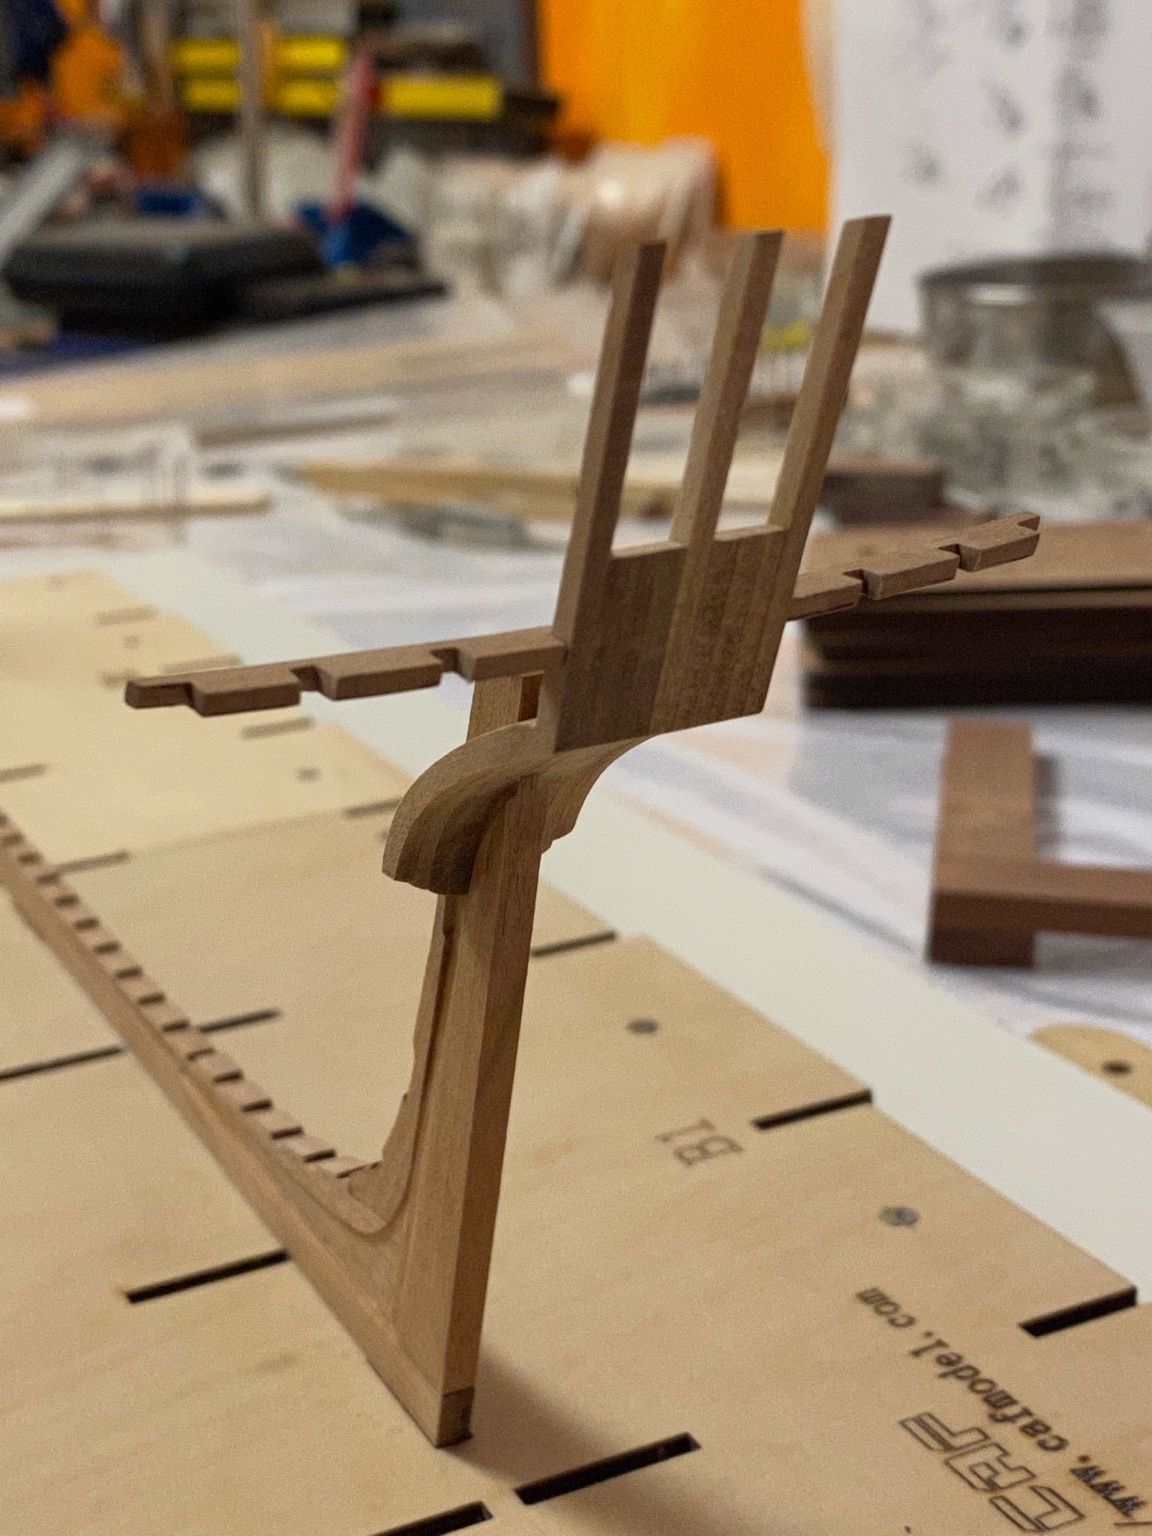
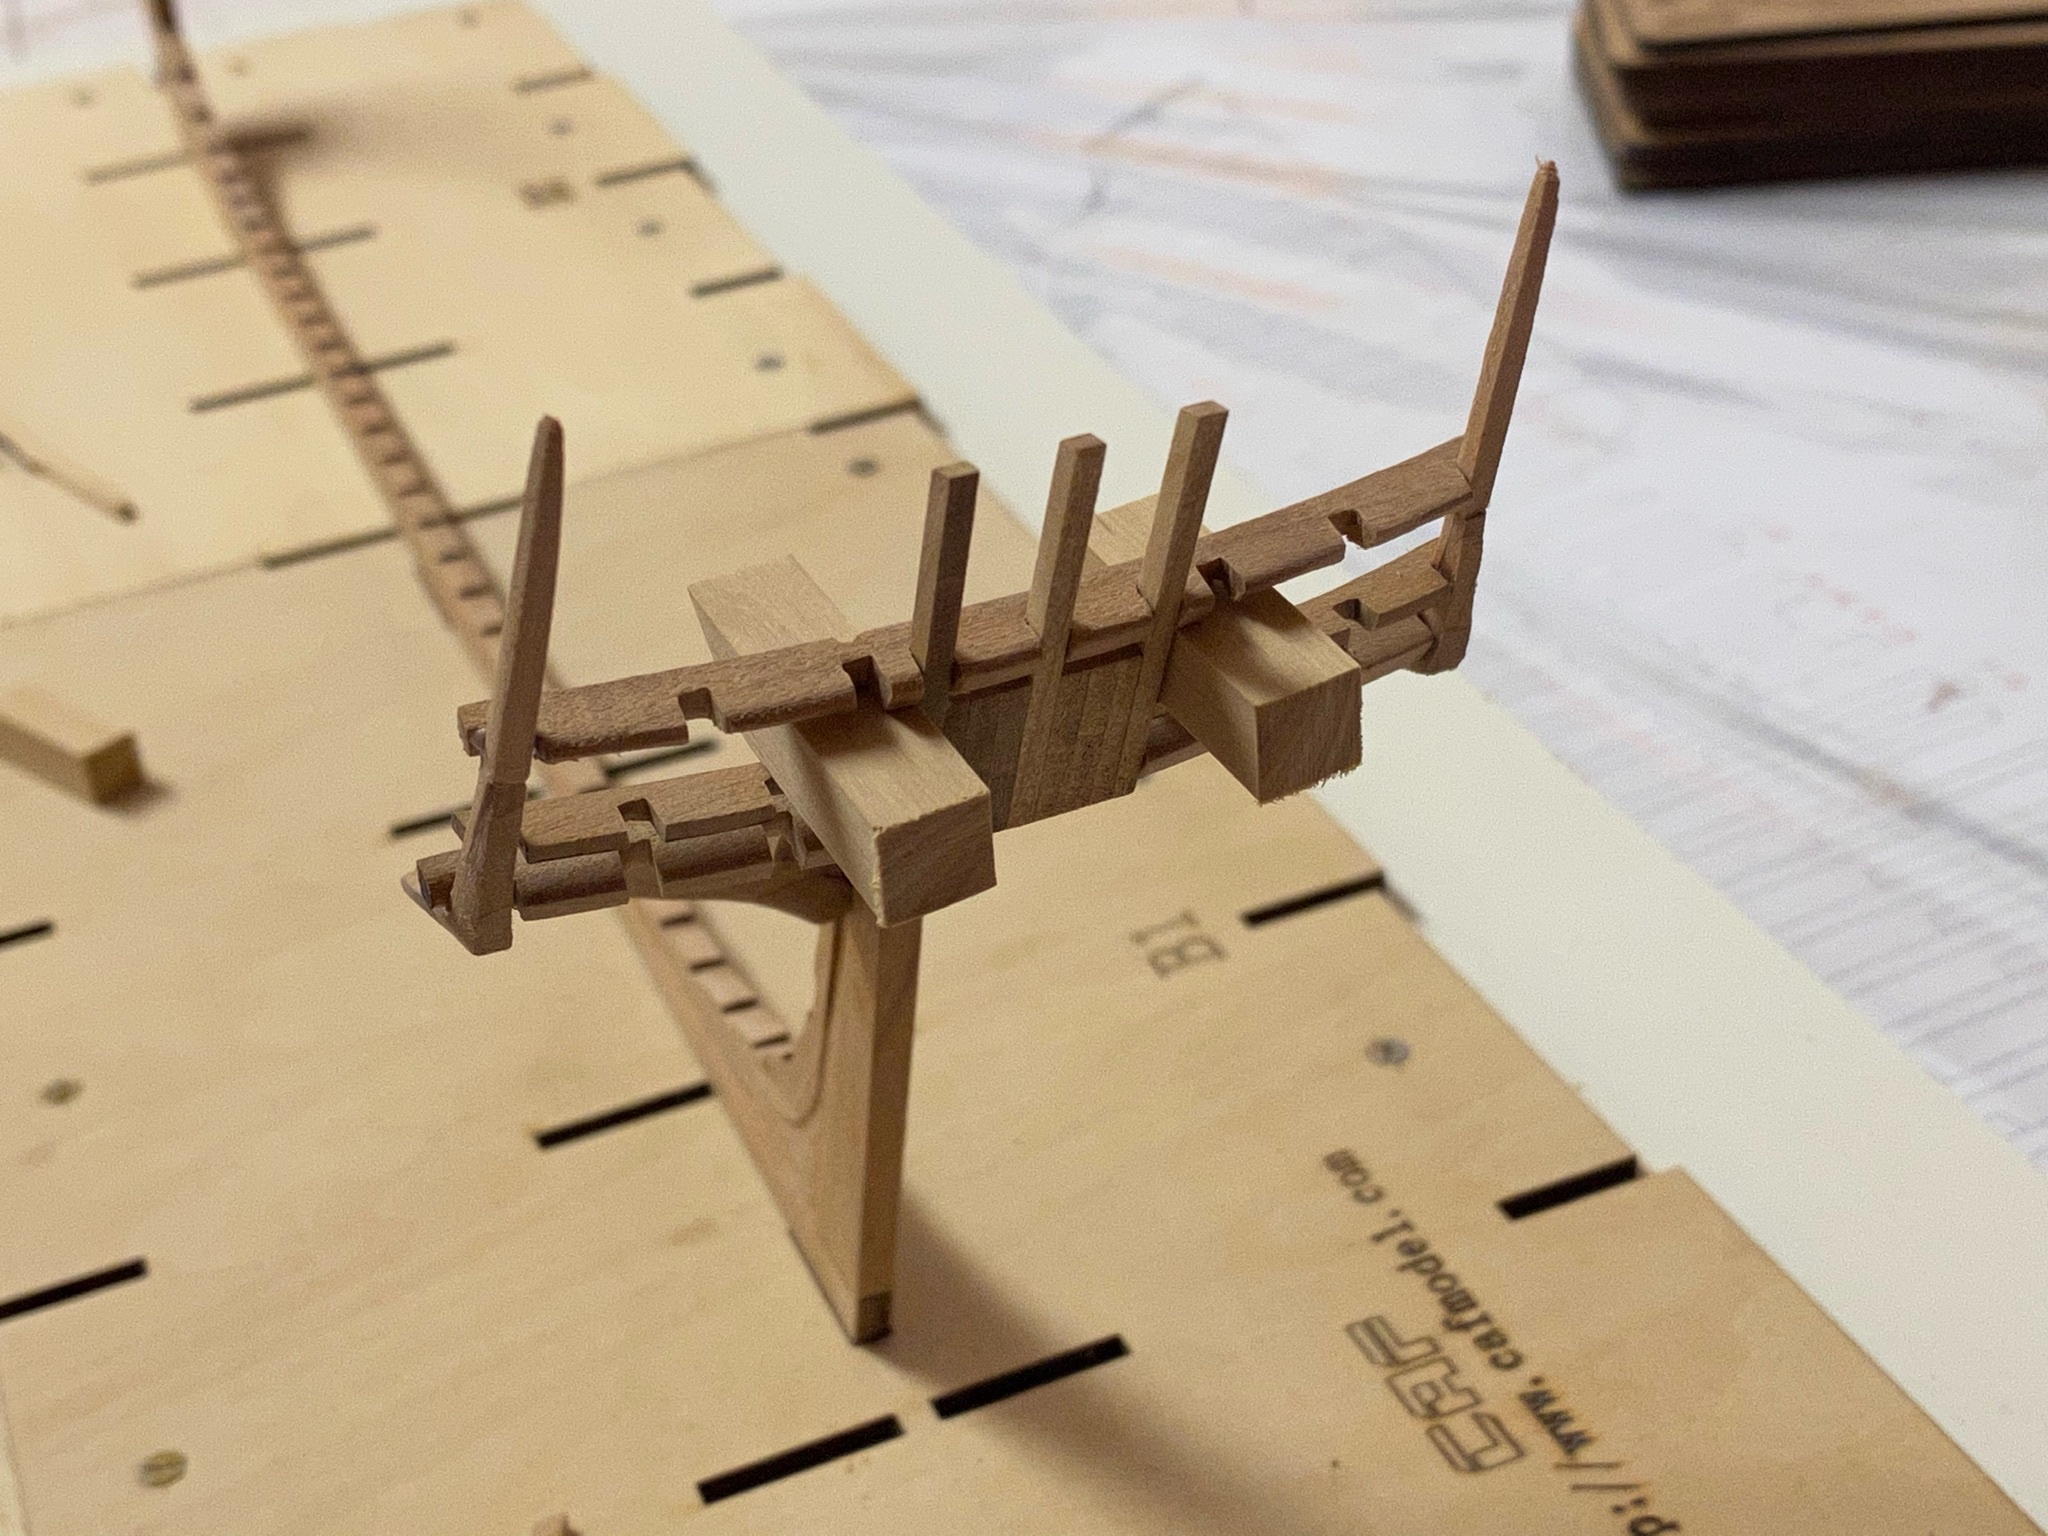
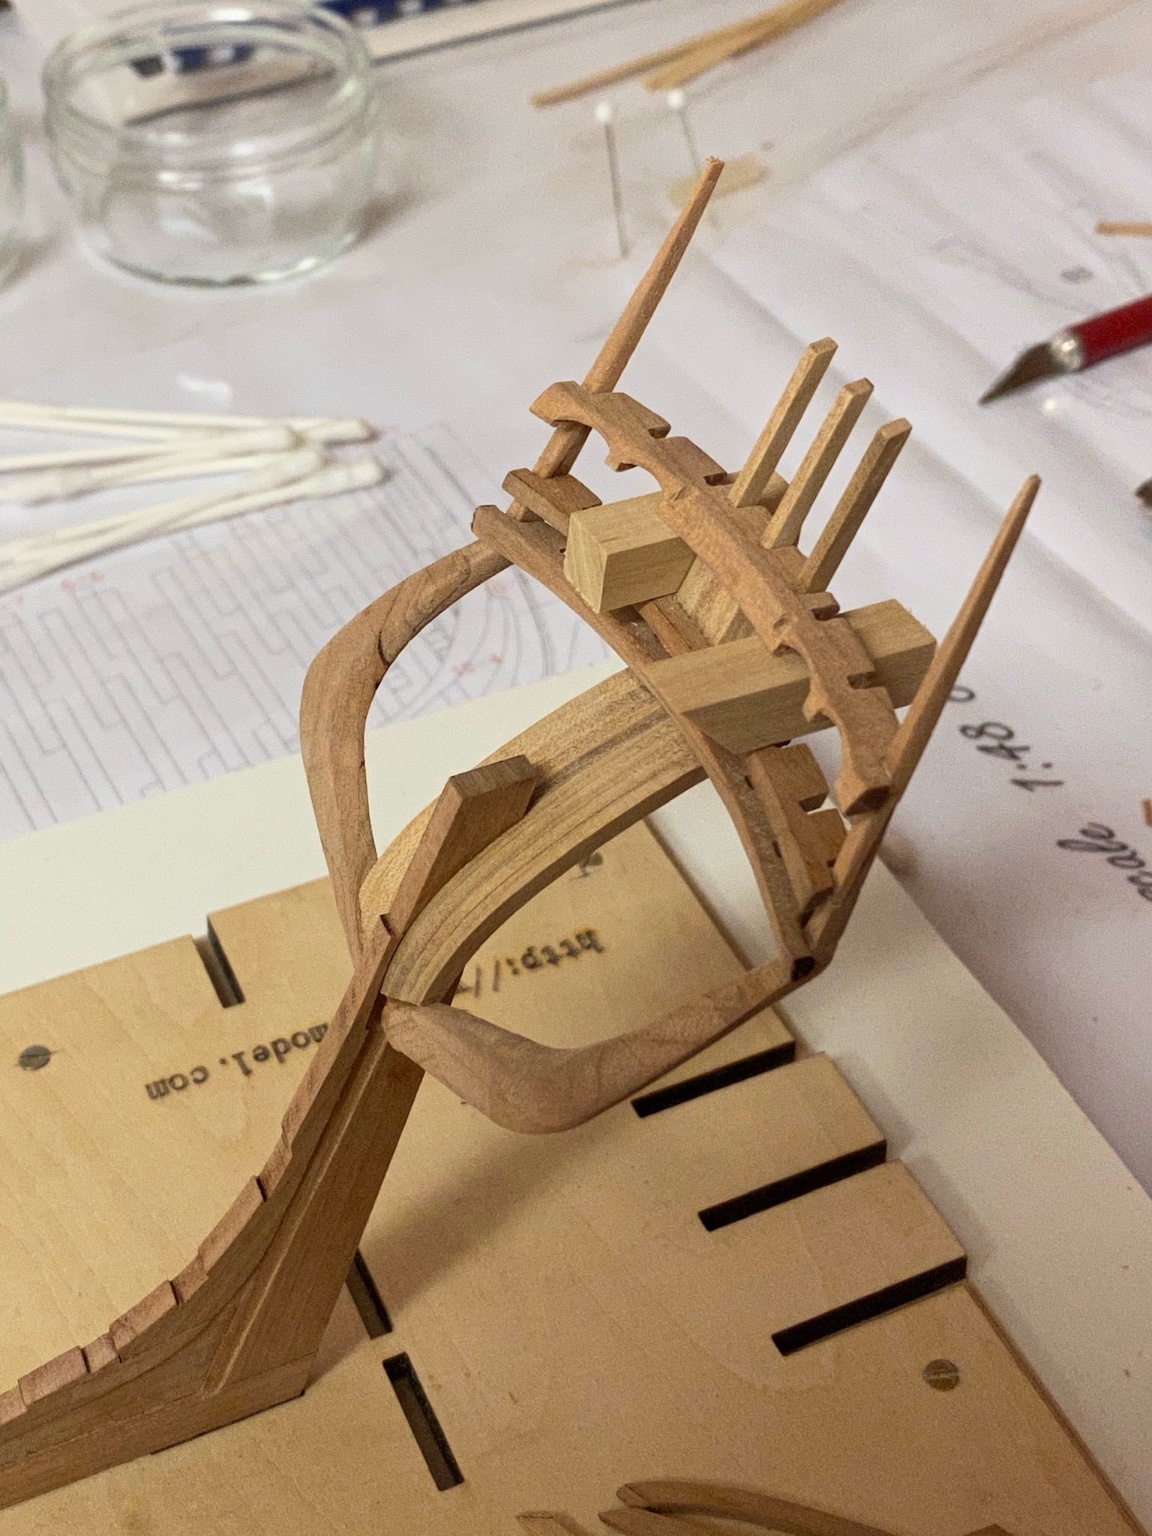
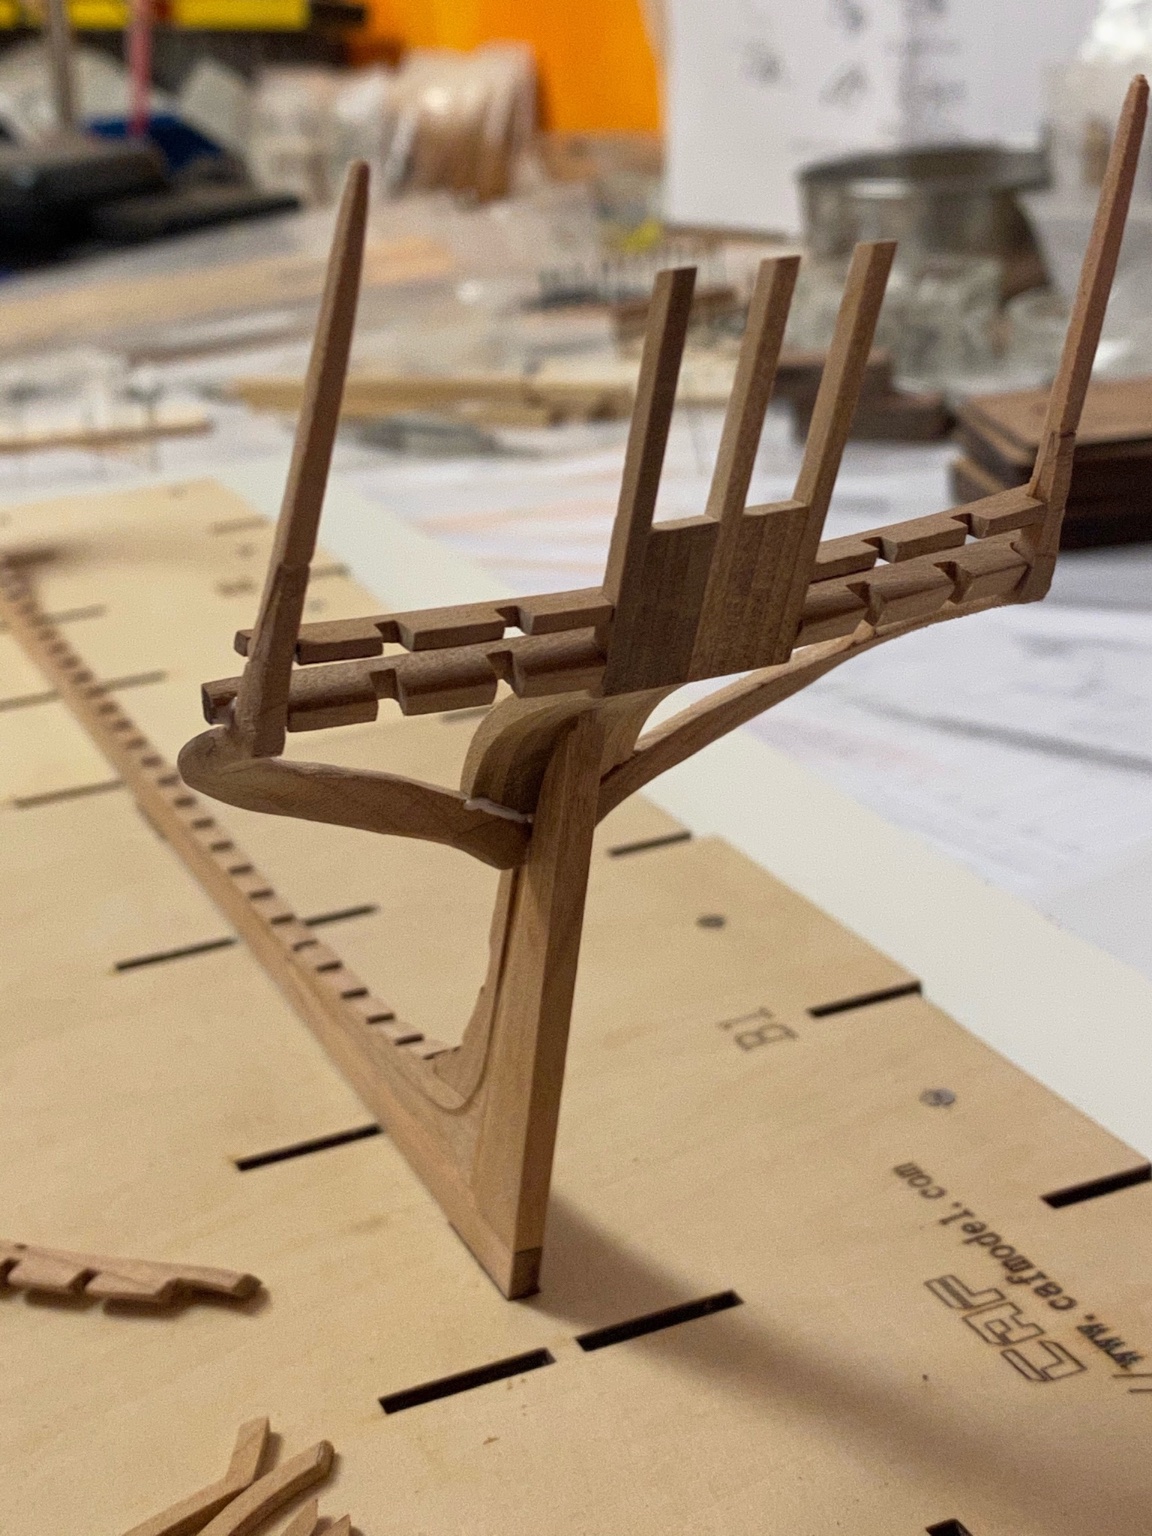
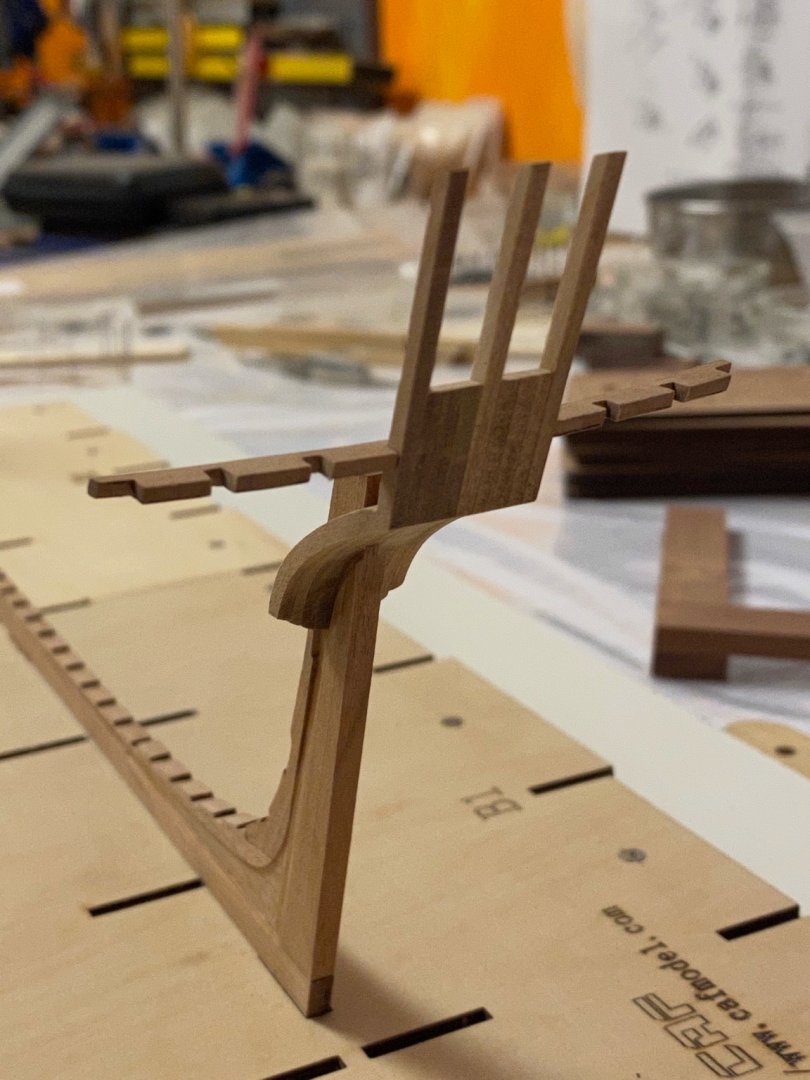
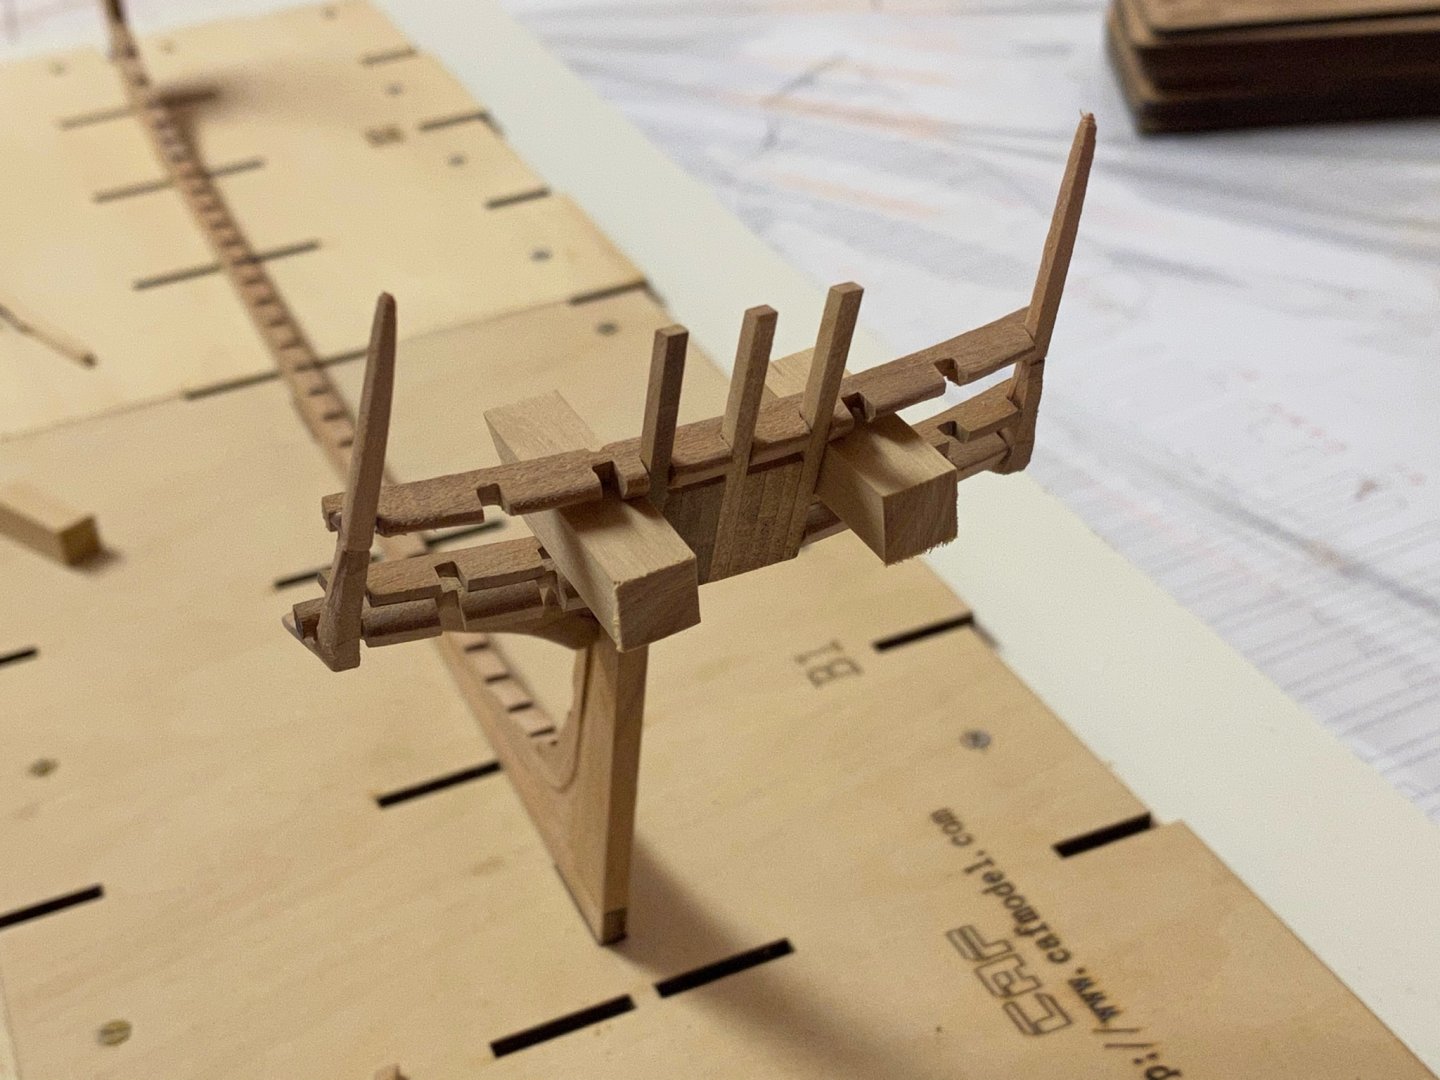
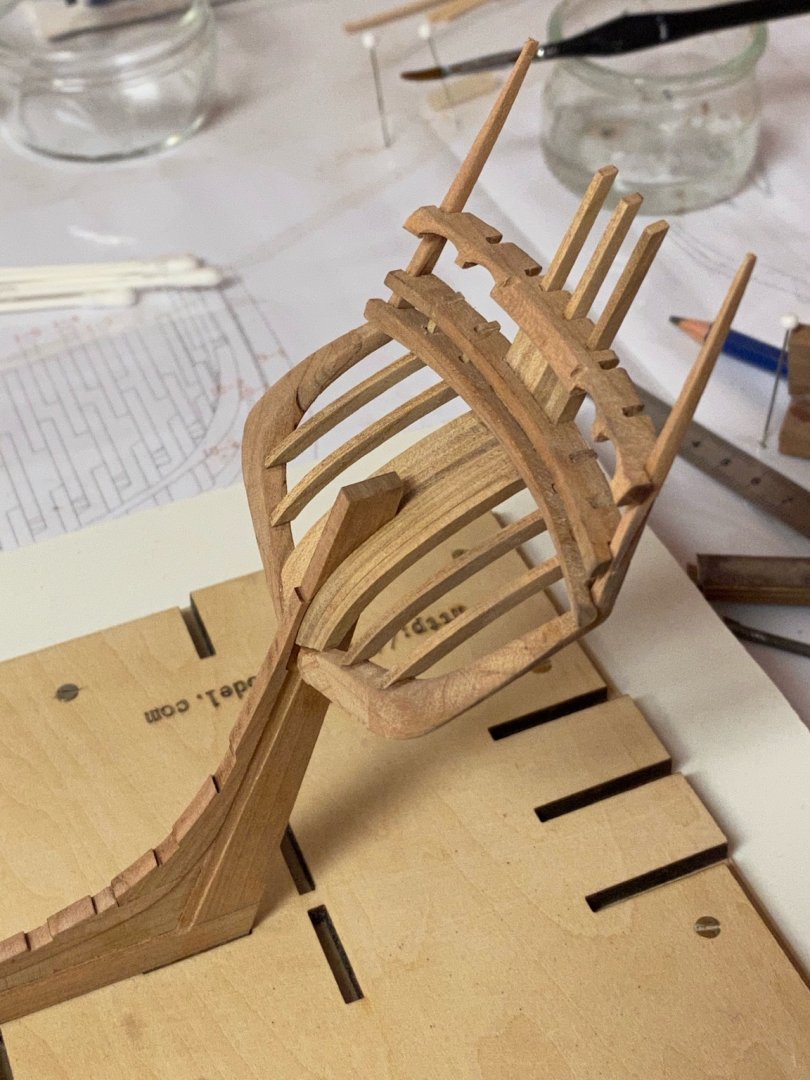
 To assemble the stern and counter frames I used the supplied jig parts as reference. I started construction with the 9 middle stern timbers that are glued together to form the center piece. This piece is glued into the notch already milled into the stern post. iAs PoulD has pointed out all frames glued together are much too thick so they require some sanding, These stern frames were the first to be installed and then I used the rear jig parts for reference and installed the center horizontal timber. The lower part was done next. The counter timbers are pre-milled but they still need some post-processing. They come in three separate parts that have to be glued together. After some sanding they were ready to be installed. The last piece to be installed was the one that sits above the windows. I used some wood blocks to equal the height (8 mm) on both sides. Then the rest of the stern timbers were added.


-
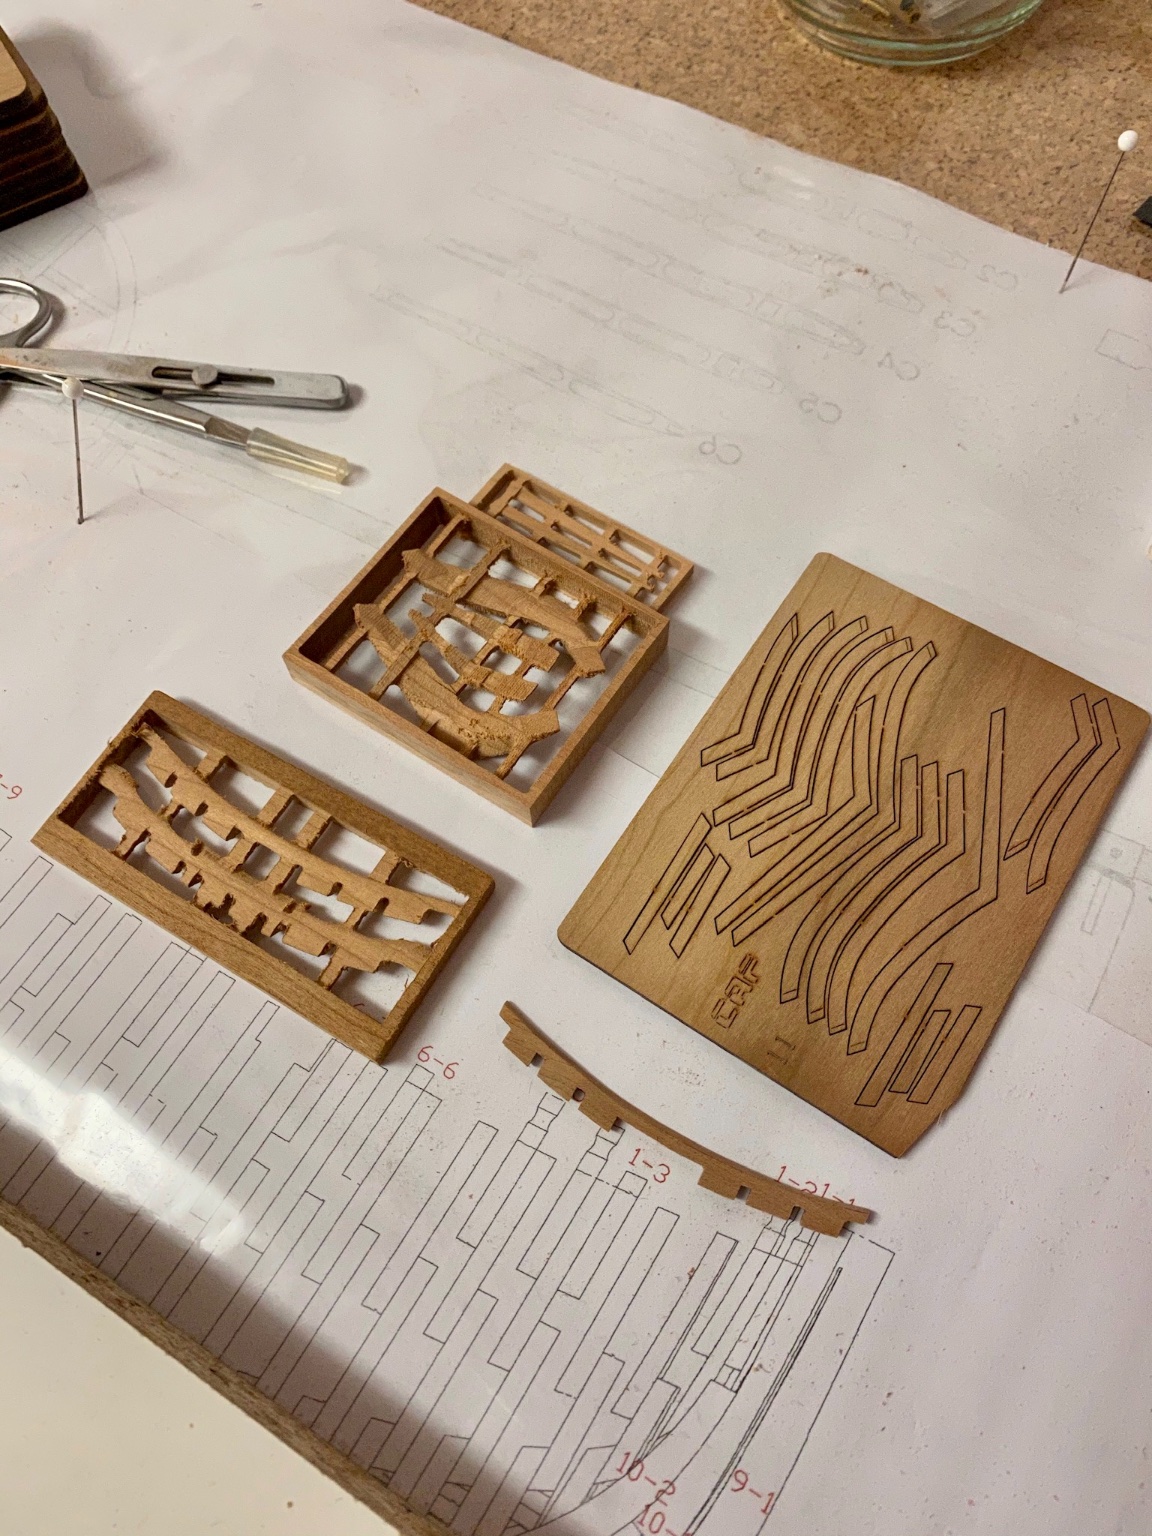
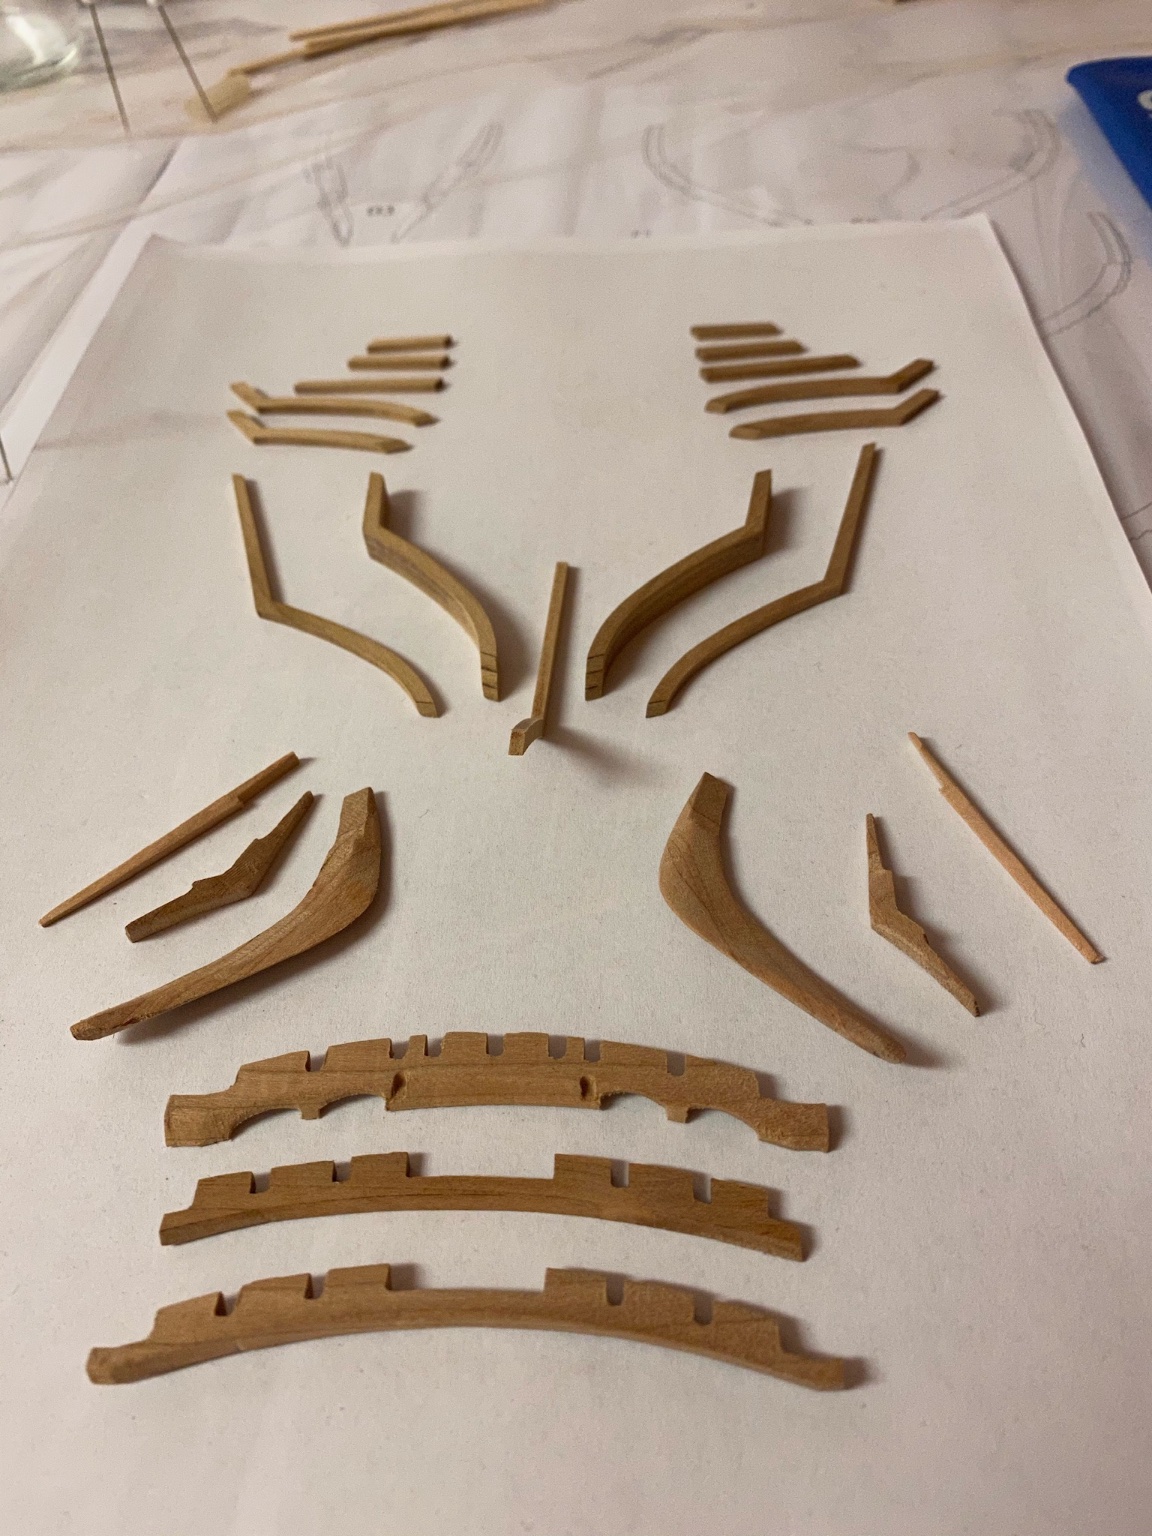
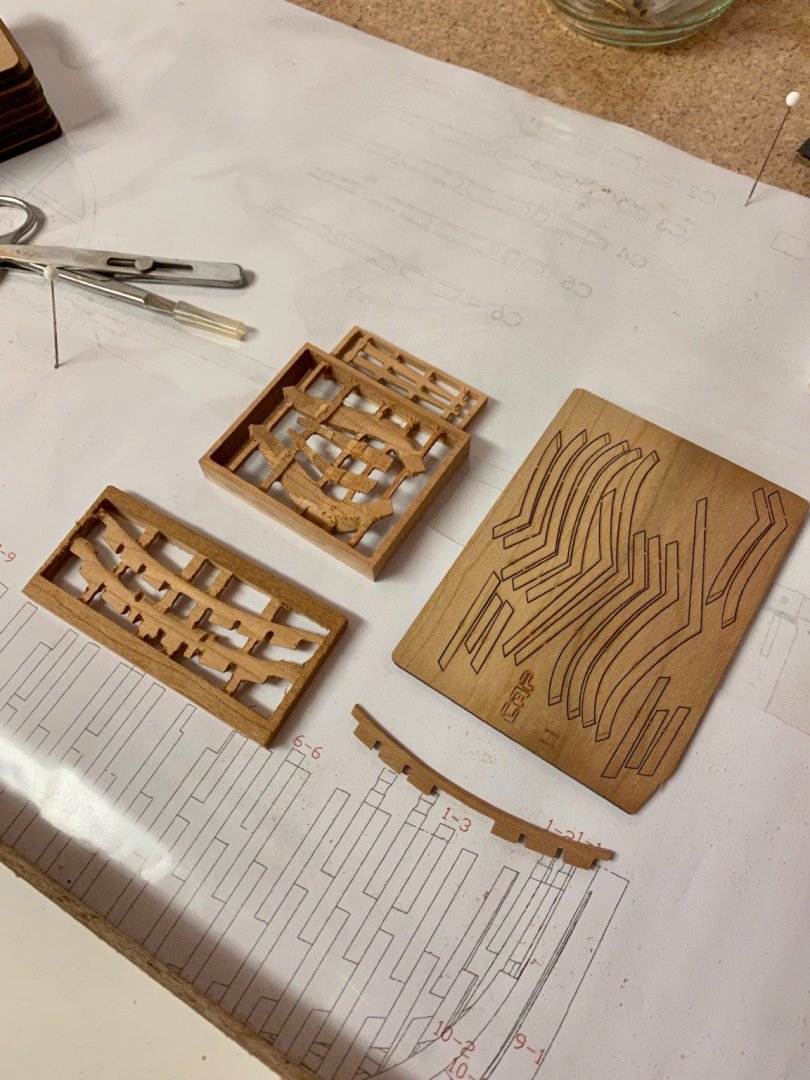
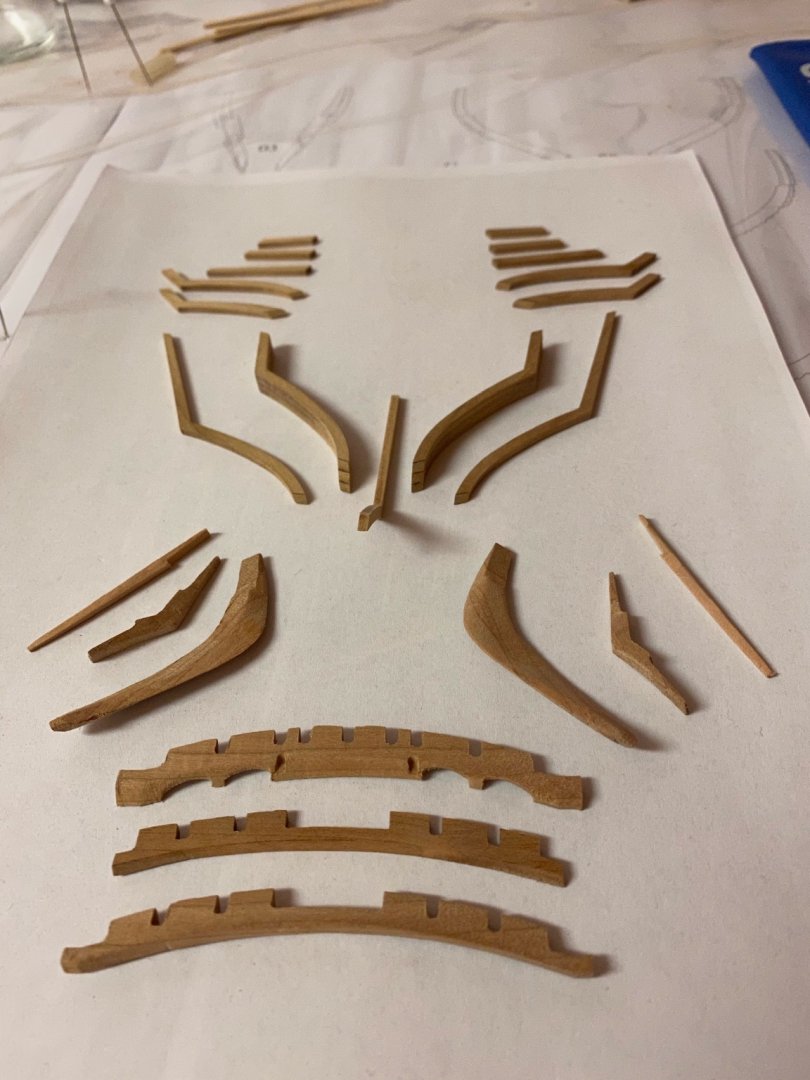
After some recovery I am able to continue the.build. Before assembling the counter and stern timbers the parts have to be released from the trays. Although CNC-milled they need some post processing to get rid from the holding bars. I used different needle files and sanding paper to clean them. The stern timber’s are laser cut, so they have to be cleaned too to get rid of all the laser char (again this took most of the time). The sanding has to be done very carefully as some parts might easily break along the grain. Now all parts are ready for installation ... which will be done tomorrow. Stay tuned... and save.
-
Nice perspective photo shots. You can be proud of her.
- 950 replies
-
- 3
-

-
- syren
- model shipways
- (and 1 more)
-
Thank you all for the nice words. A smaller cyst can be treated with puncture but unfortunately not mine. I have passed the operation yesterday and will return home tomorrow. ASAP I will start with the counter and stern frames. Stay tuned .. and save.
-
Kaiyuan Temple by RichieG - CAF Model - 1/75 - WOOD
captain_hook replied to RichieG's topic in Non-ship/categorised builds
Very nice! Looks more like a 3D-puzzle than a kit. -
Very nice! Meanwhile there are a bunch of nice medieval kits out there.
-
Looks amazing - true museum quality.
-
Fantastic paint job. And they all have an individual look! Very nice.
-
What a great and fast build!
-
Nice job on the planking. The pearwood has such a nice warm colour.
- 382 replies
-
- 1
-

-
- Vanguard Models
- Duchess of Kingston
- (and 1 more)
-
😉 It is only a thyroid cyst removement (but I am like a scared rabbit).
-
Thank you for your interest and all the likes. Yes, there are a bunch of new kits coming which will bring the hobby to a new level. I‘m going to a endocrine surgery tomorrow, so I will be off modeling for some days but hopefully will continue the build before Christmas. Stay tuned ... and stay safe.
-
Amazing build so far. Looks great! I also like the color variations of the basswood (?) planking, that gives the ship a more realistic touch.
- 950 replies
-
- 3
-
-
- syren
- model shipways
- (and 1 more)
-
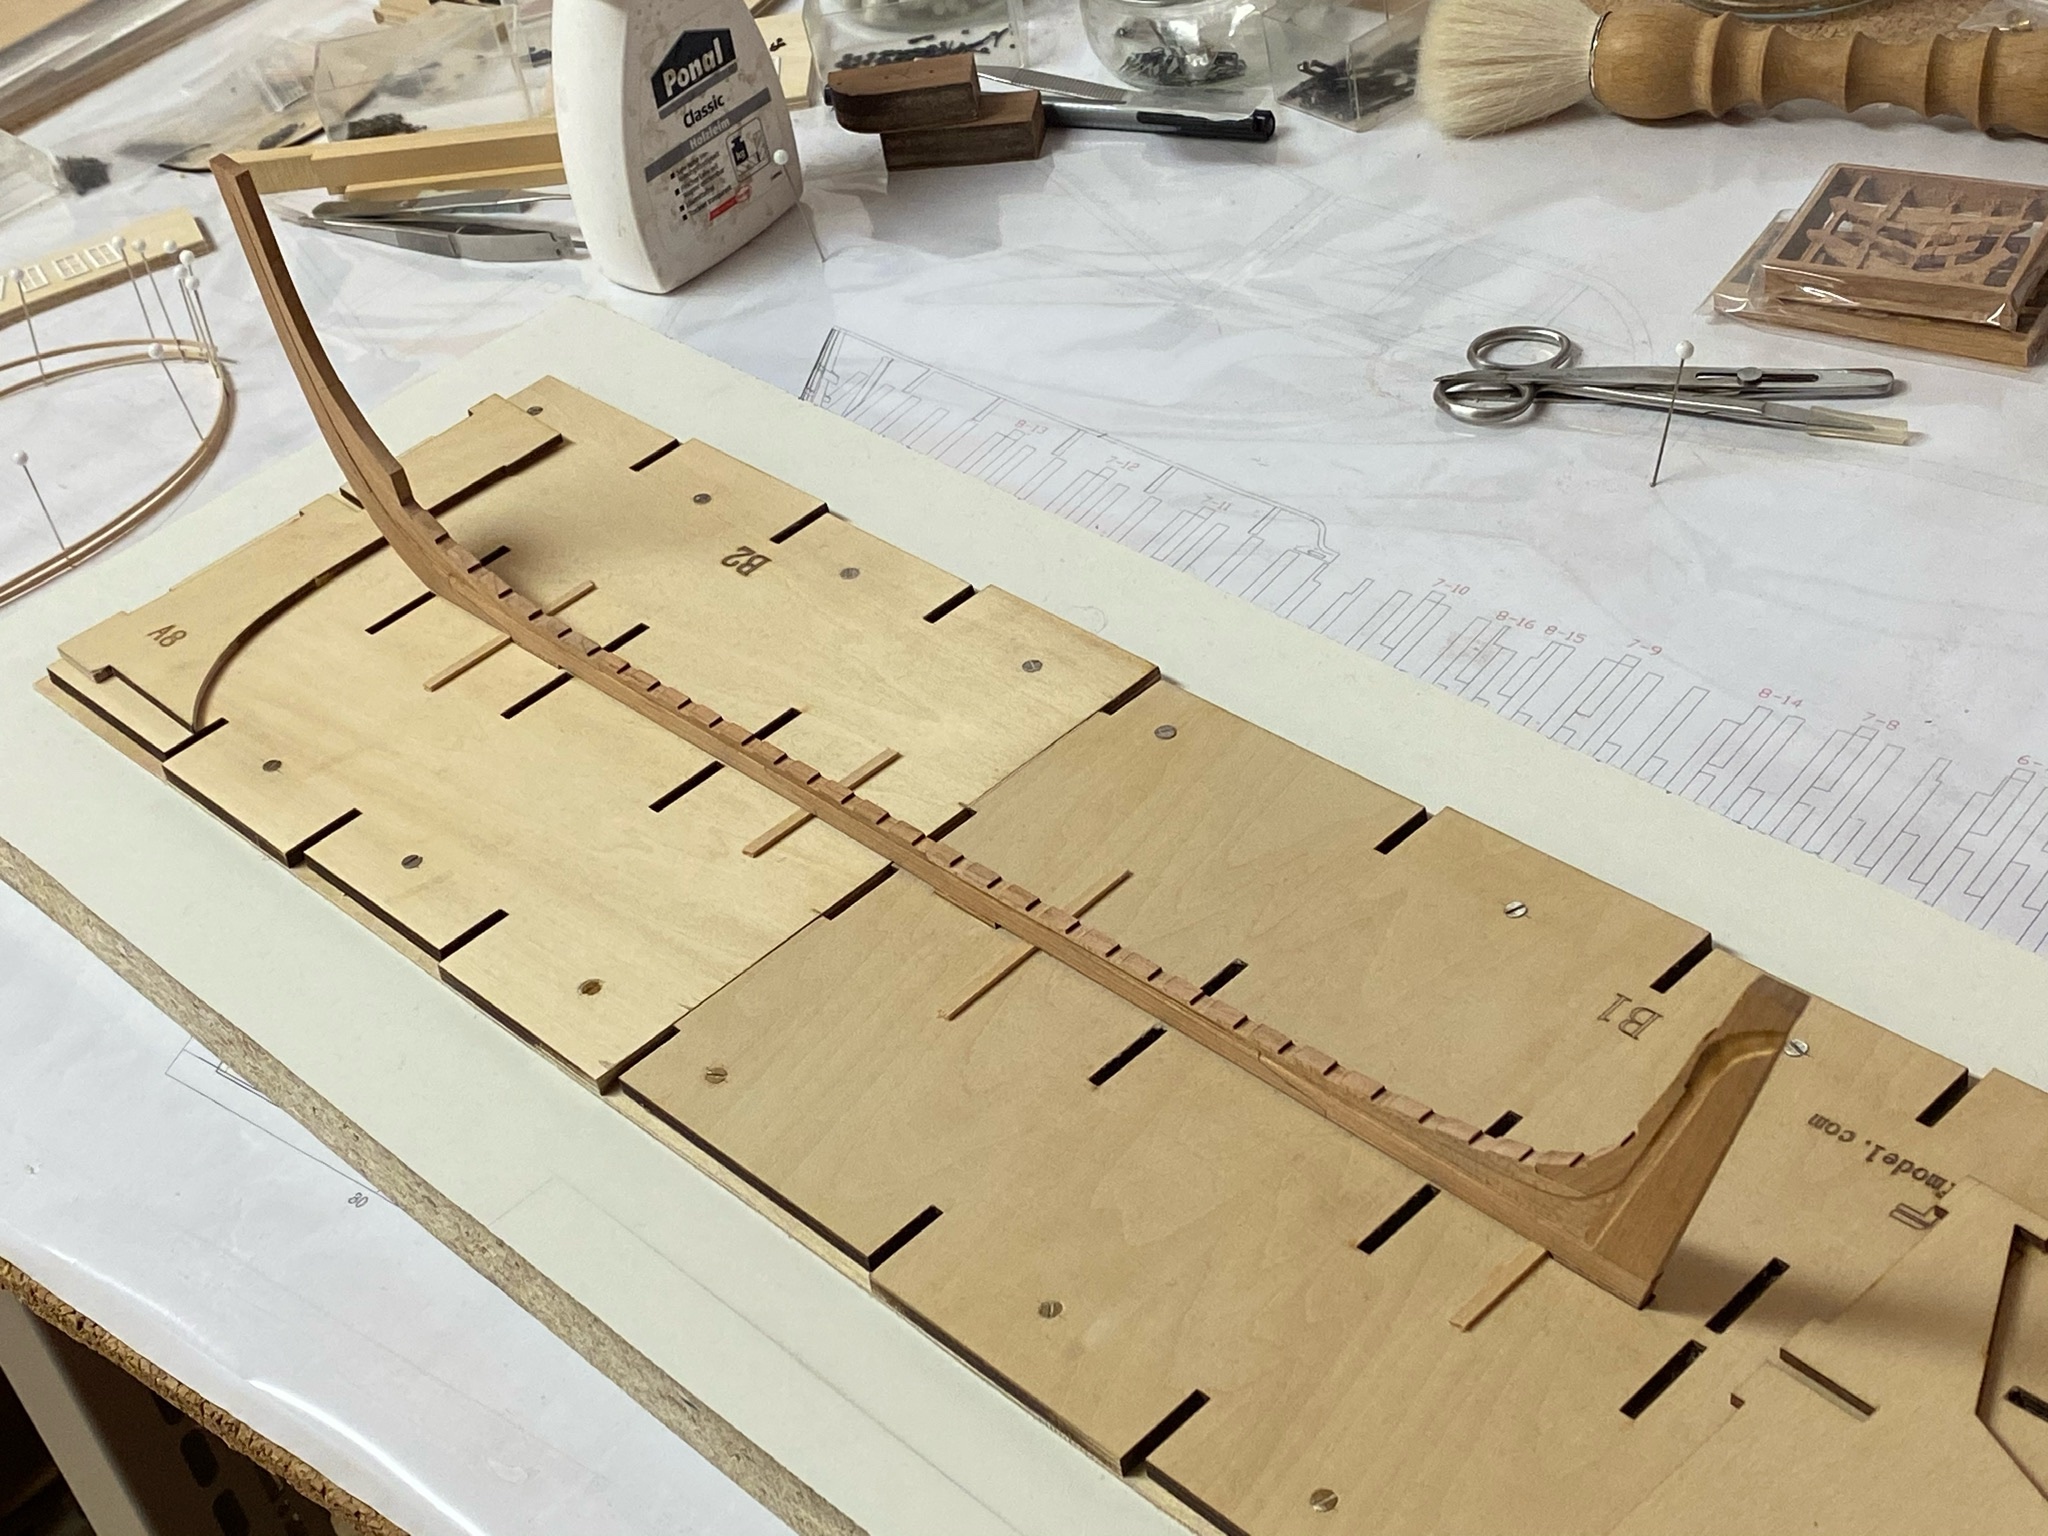
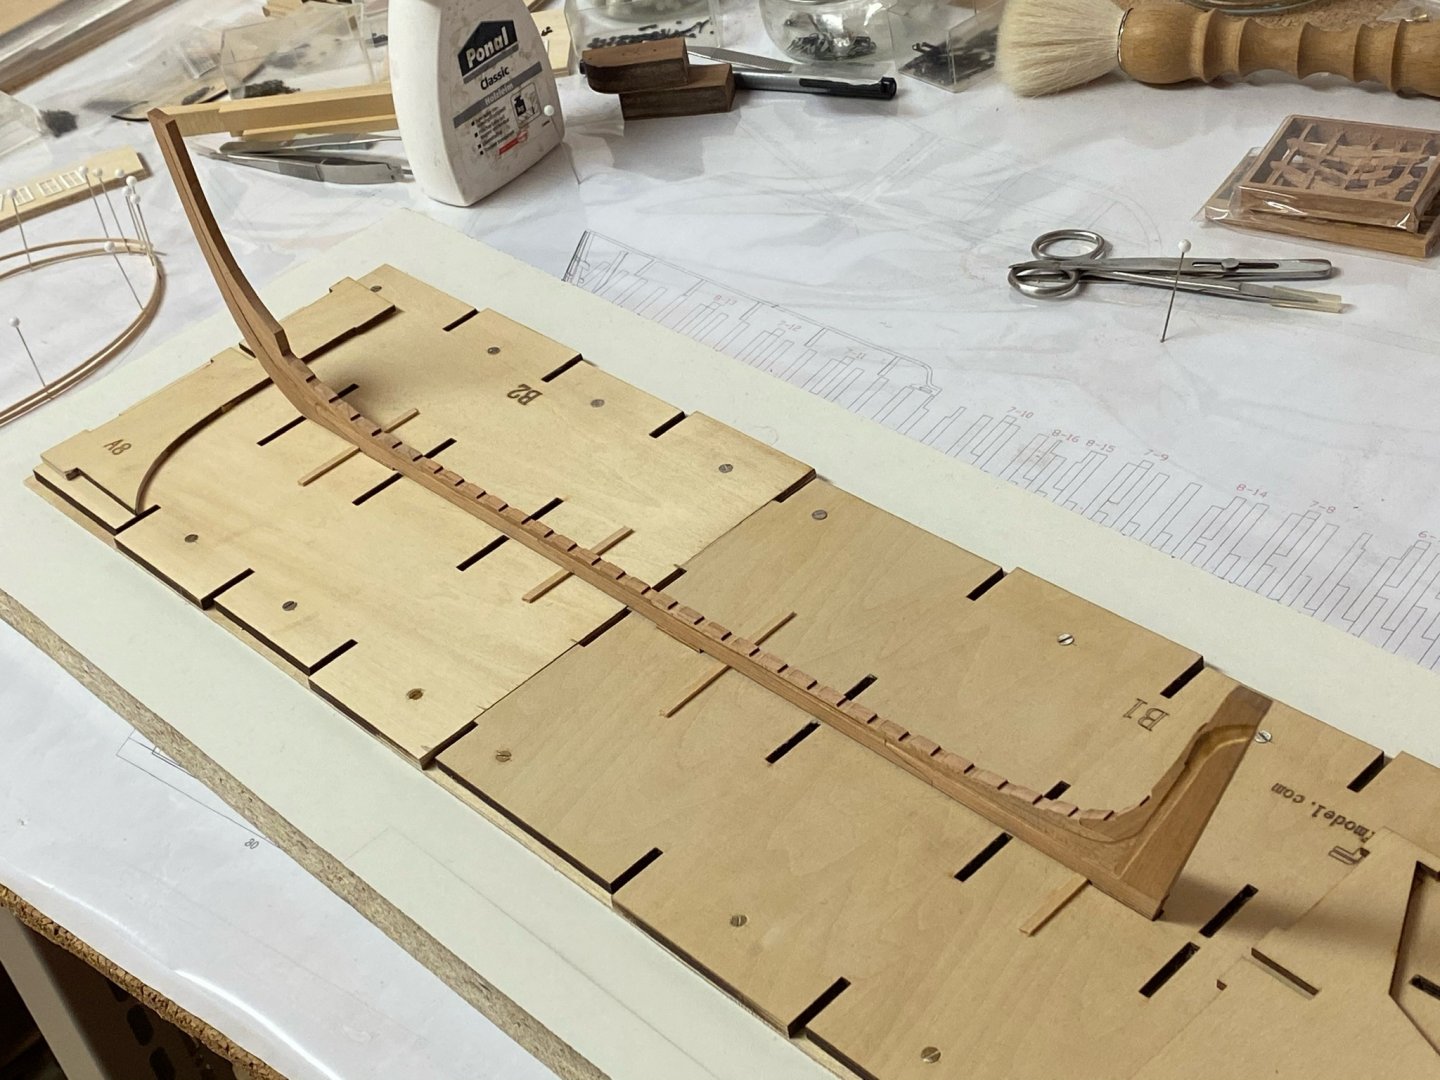
Some of my jig parts are warped too. I didn‘t use the supplied parts for the bottom, instead I glued B1 and B2 onto a 1,5mm plywood sheet I had in stock and fixed that assembly onto a heavy MDF-Board with 12 screws.
-
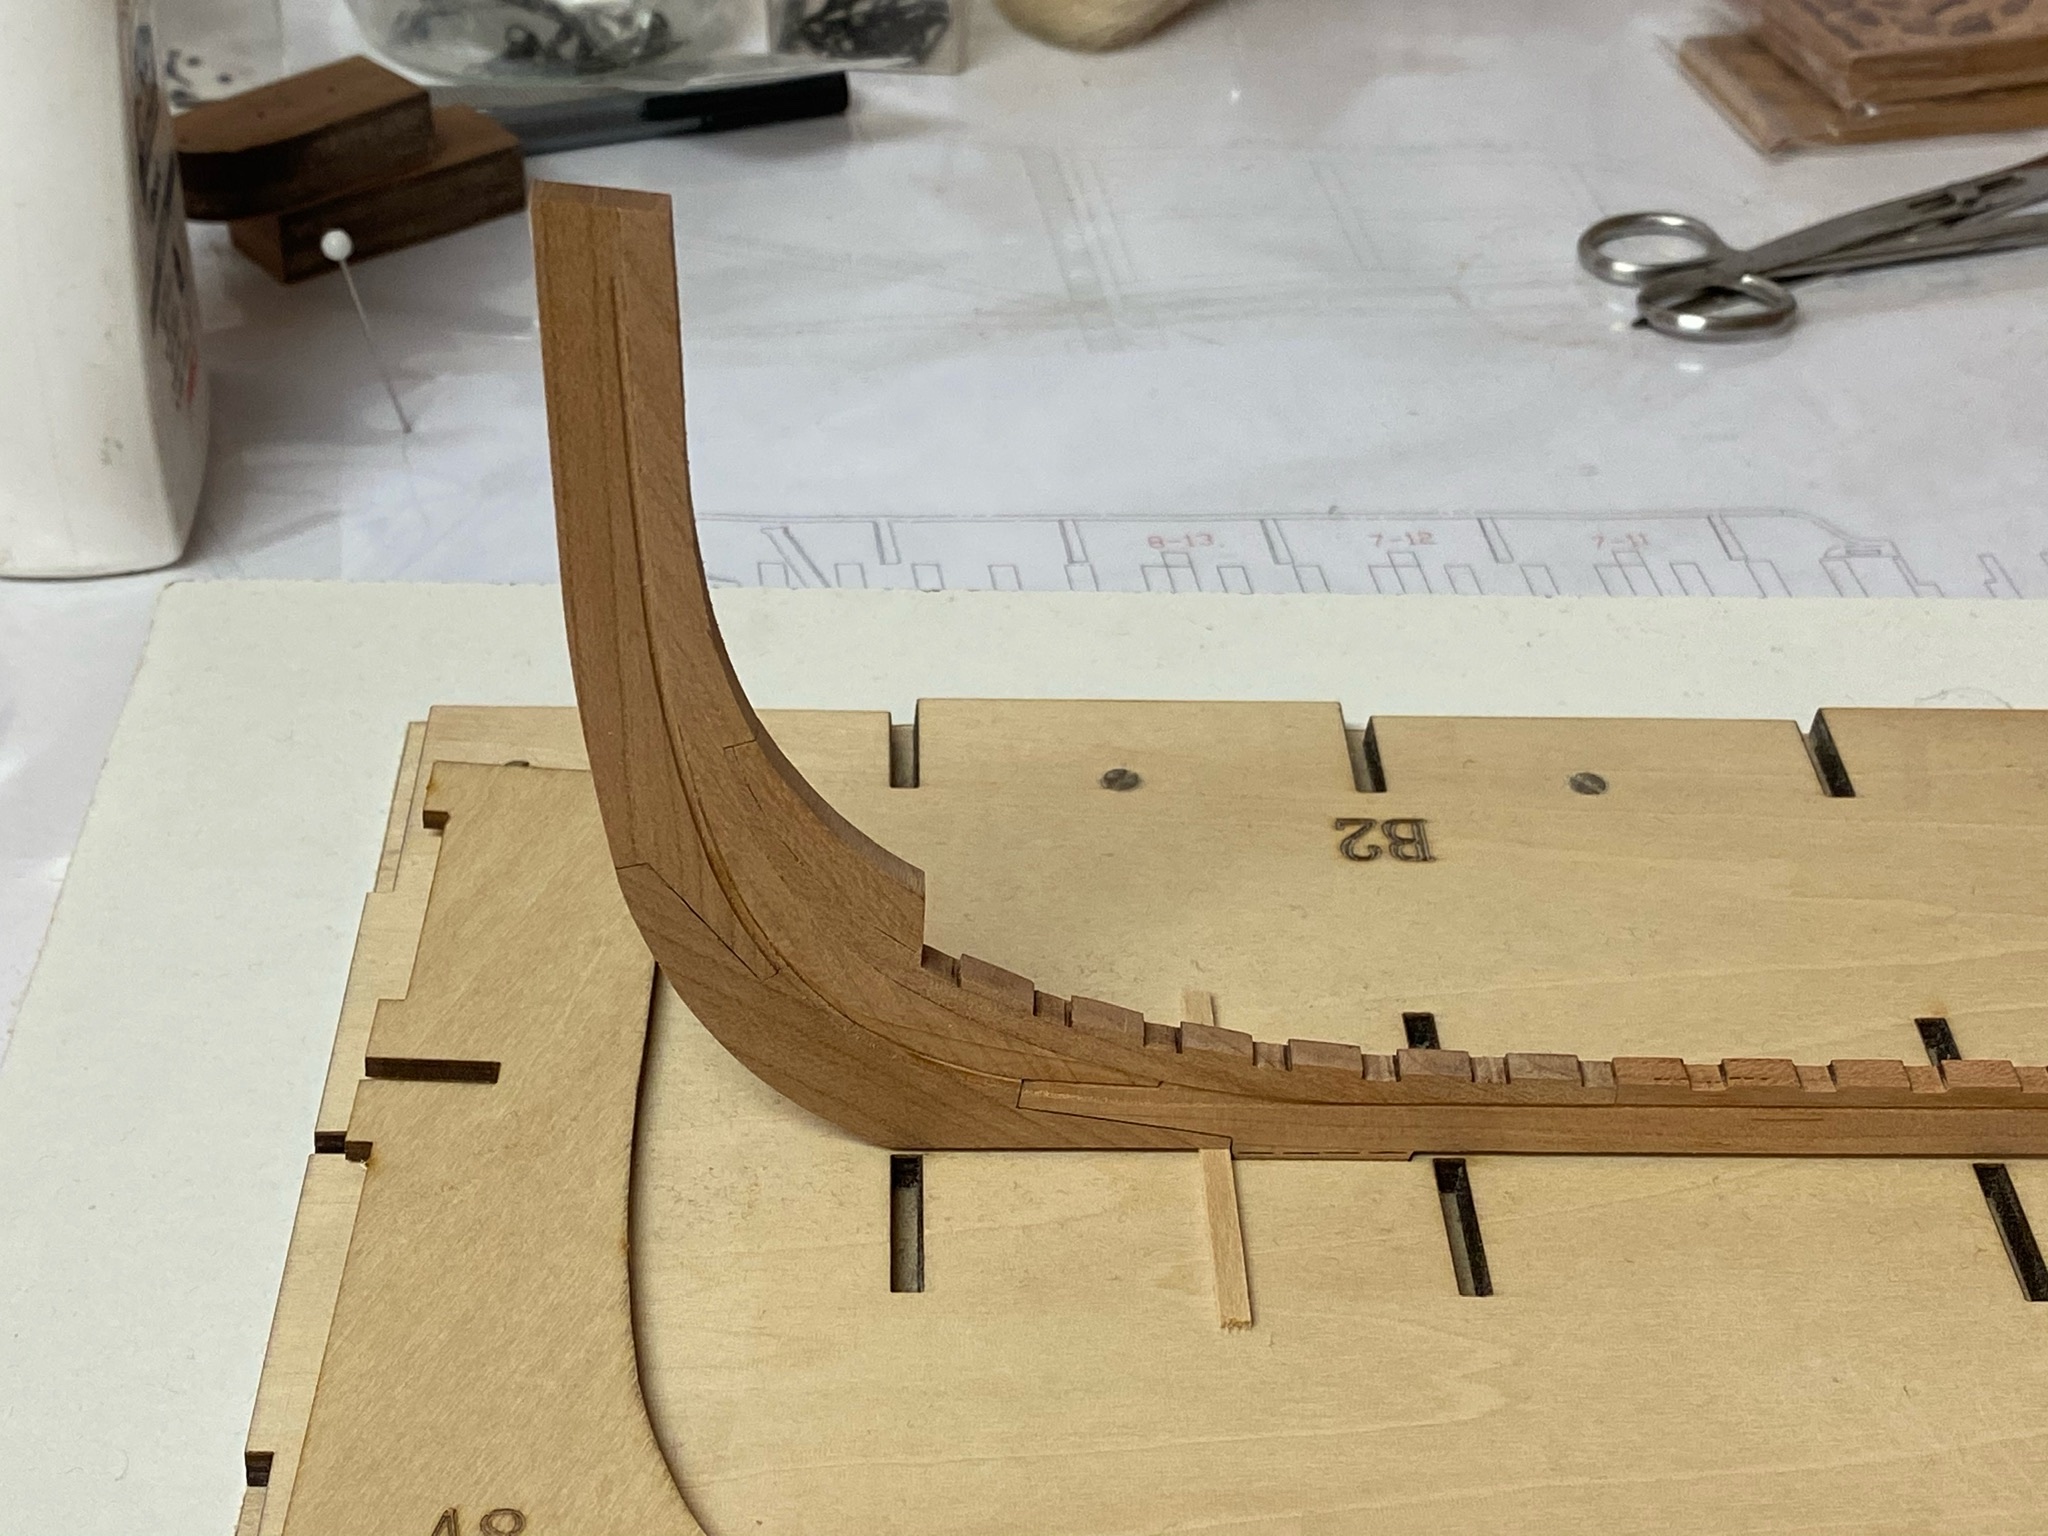
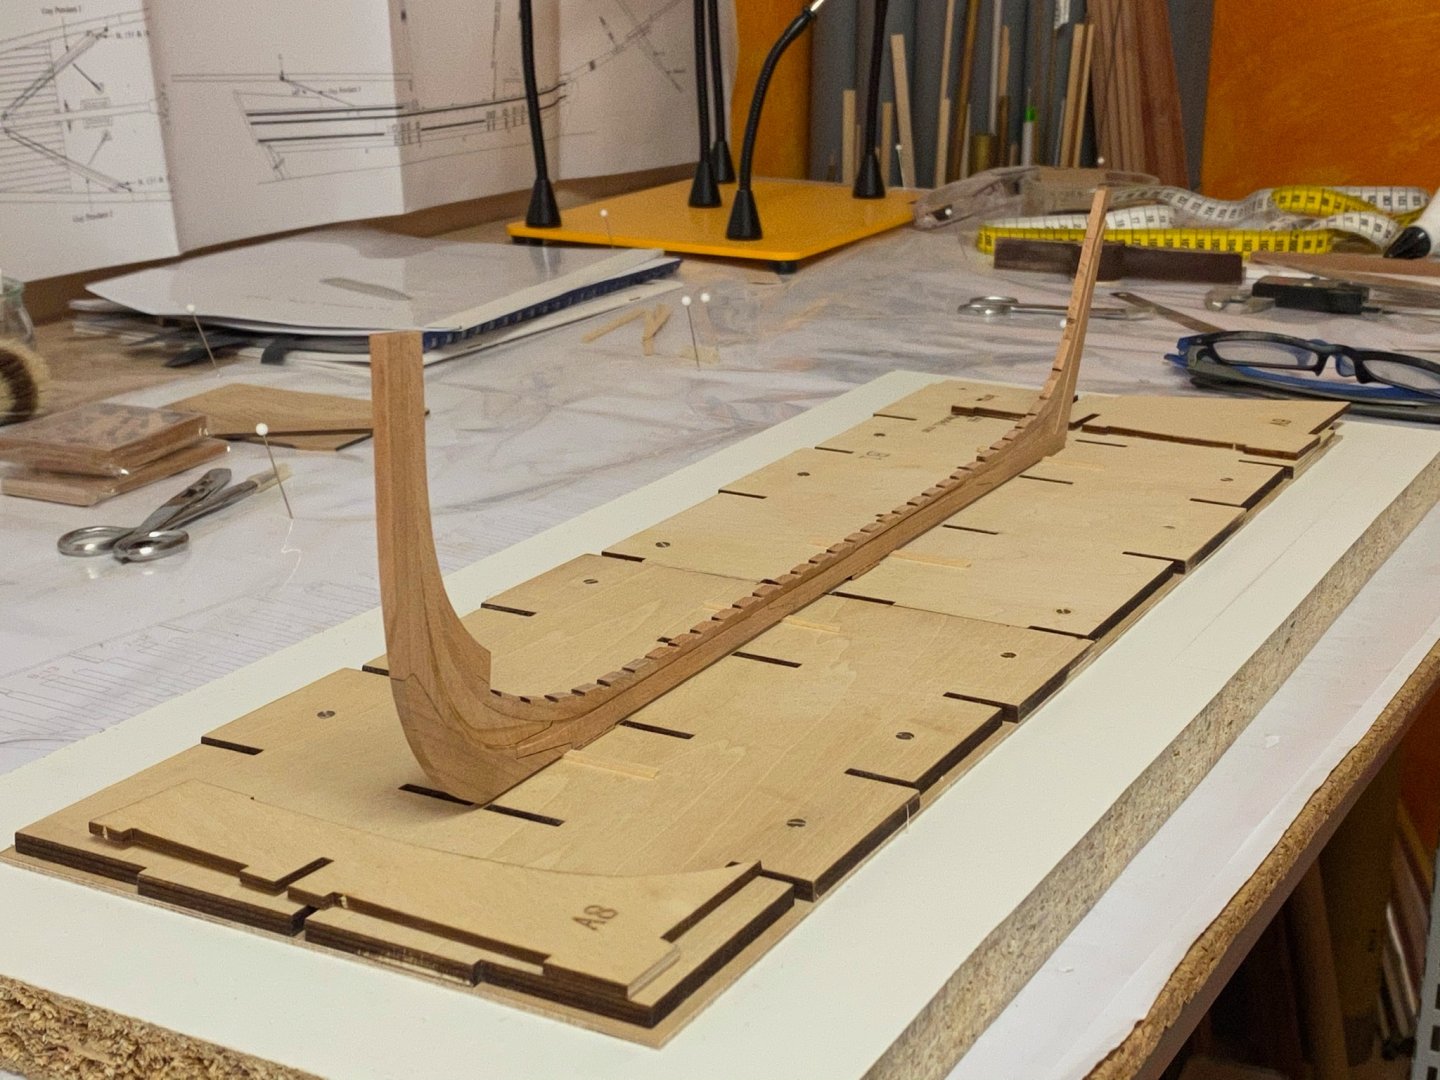
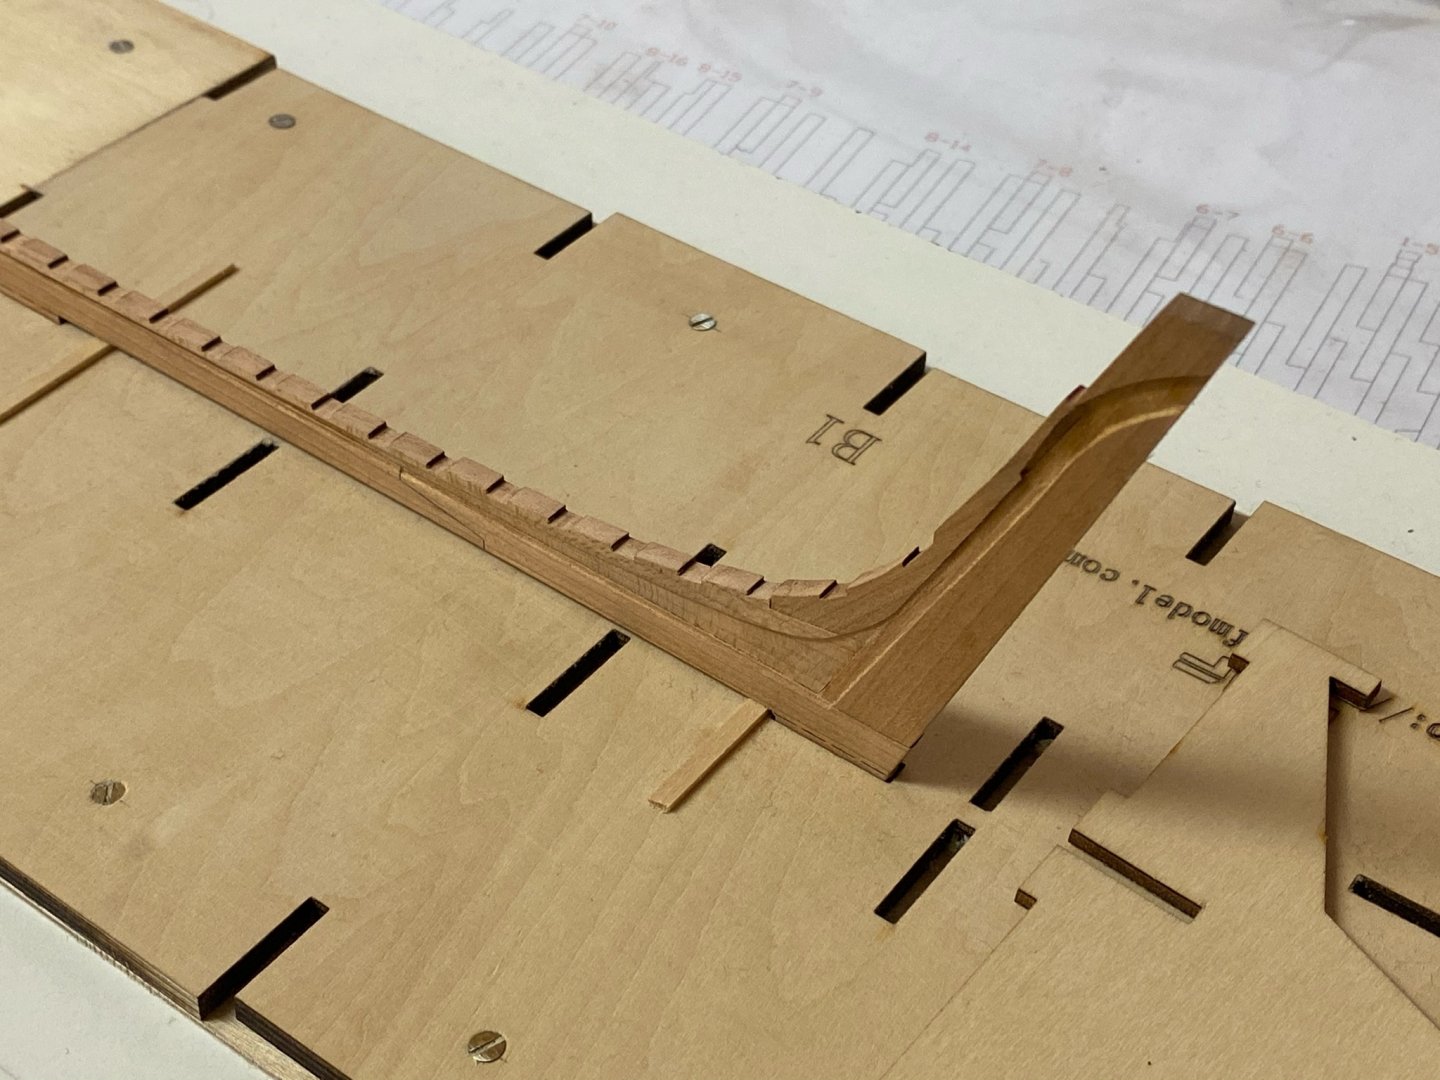
The keel is finally assembled. Removing the laser char took most of the time. Test-fit into the slots of the building board...passed 😉

-
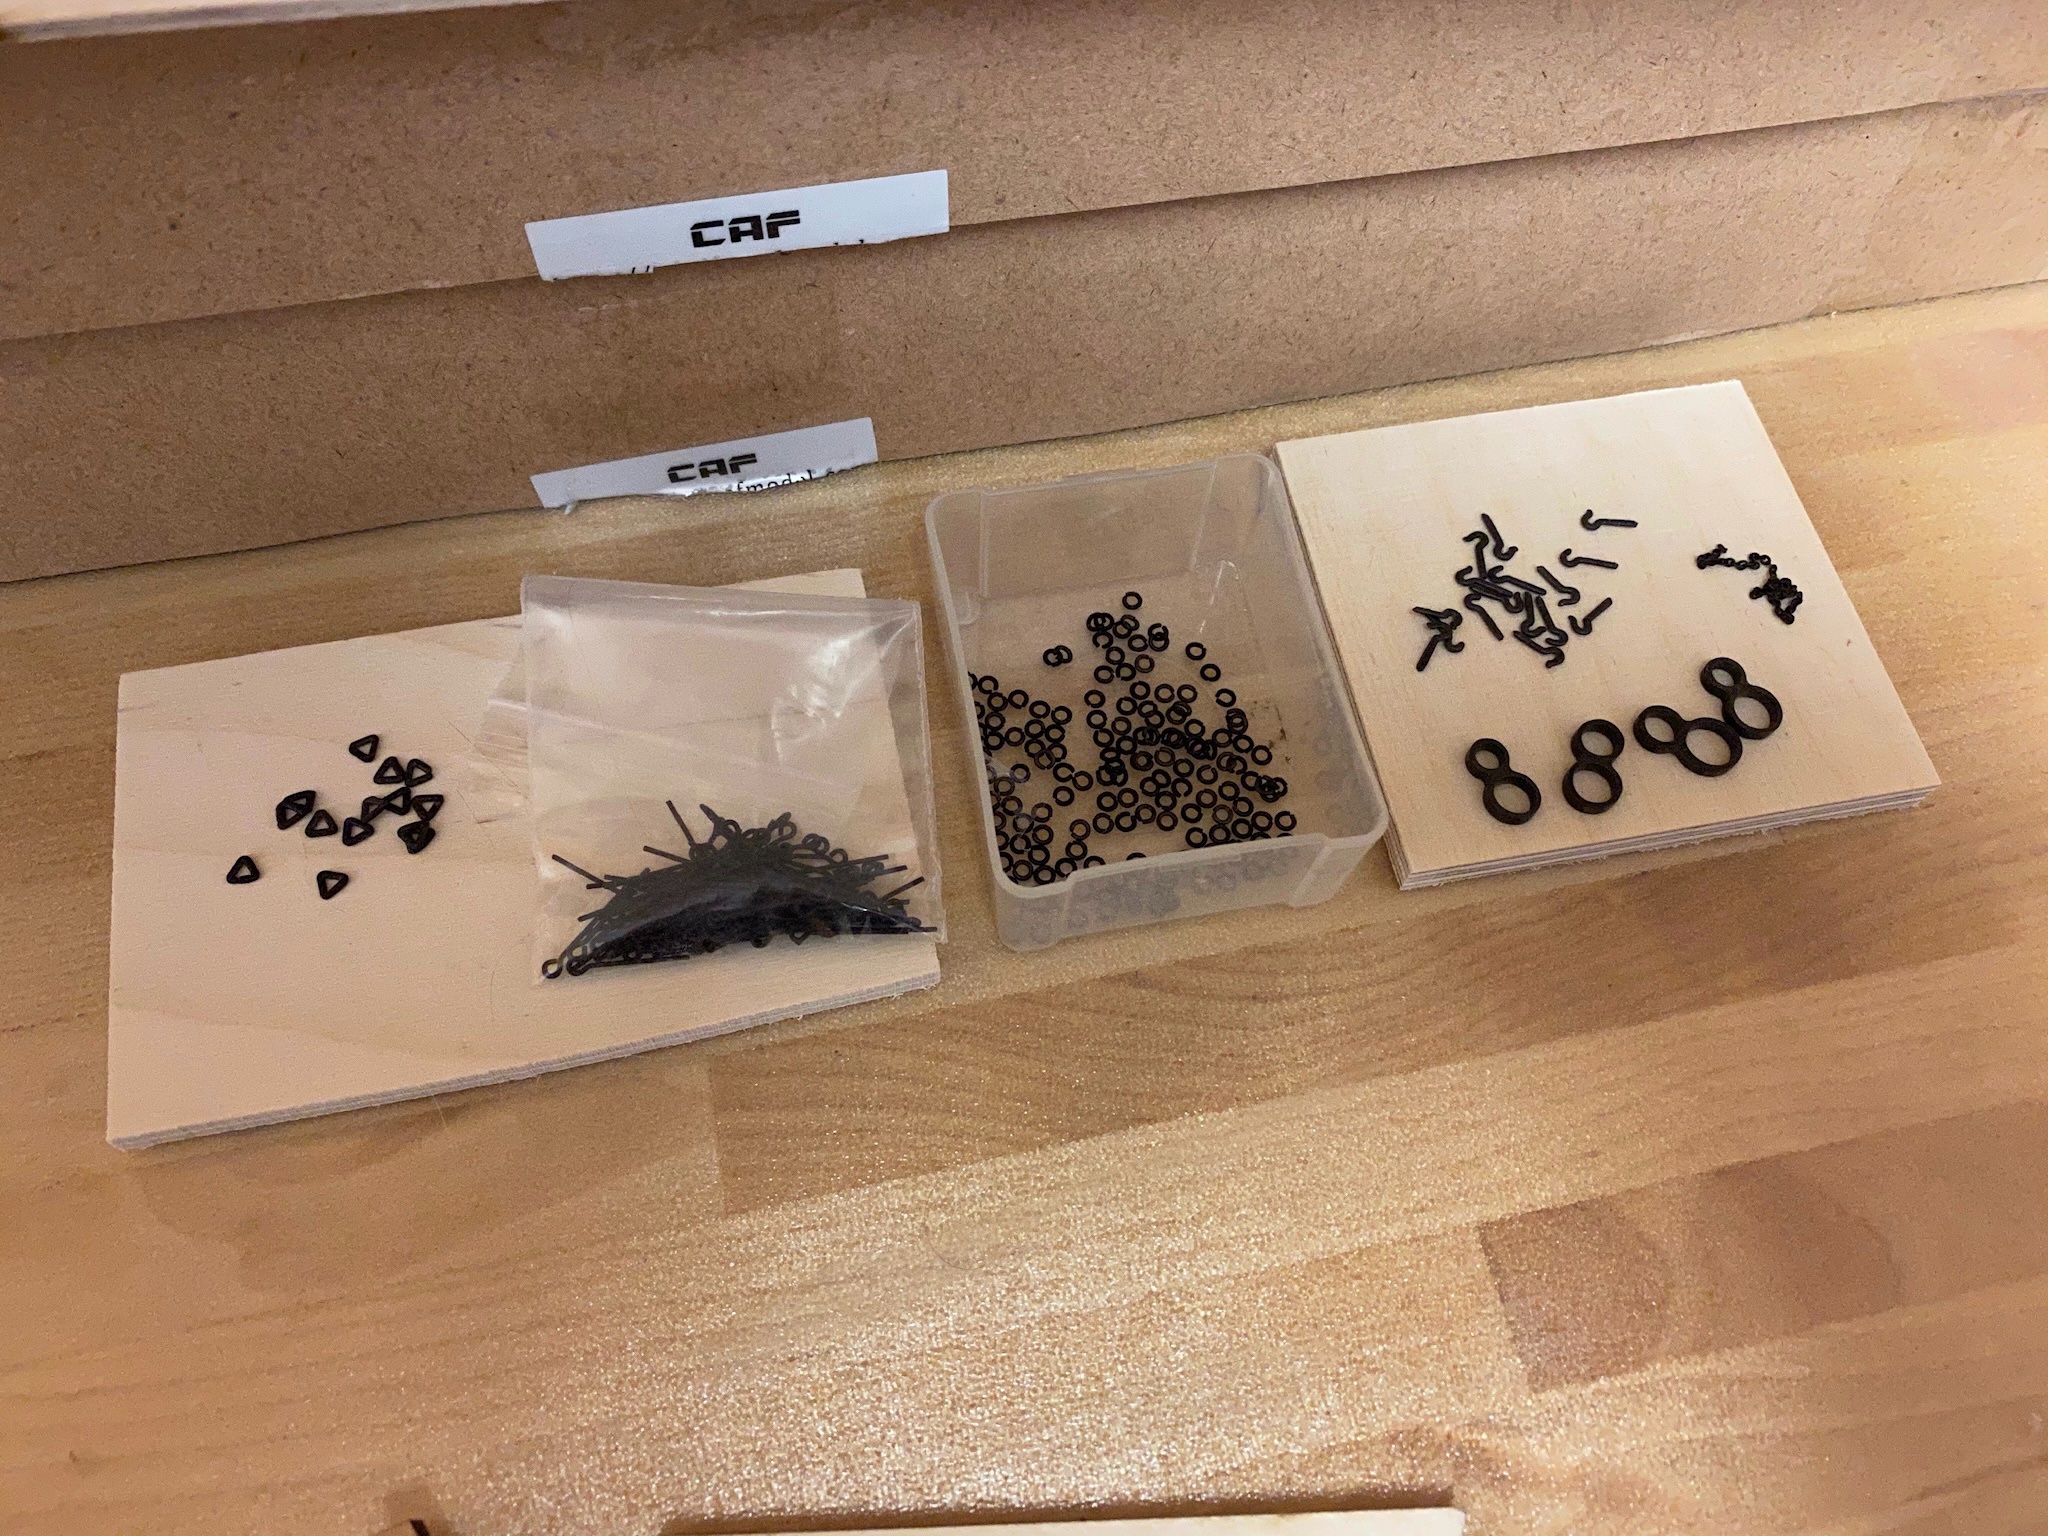
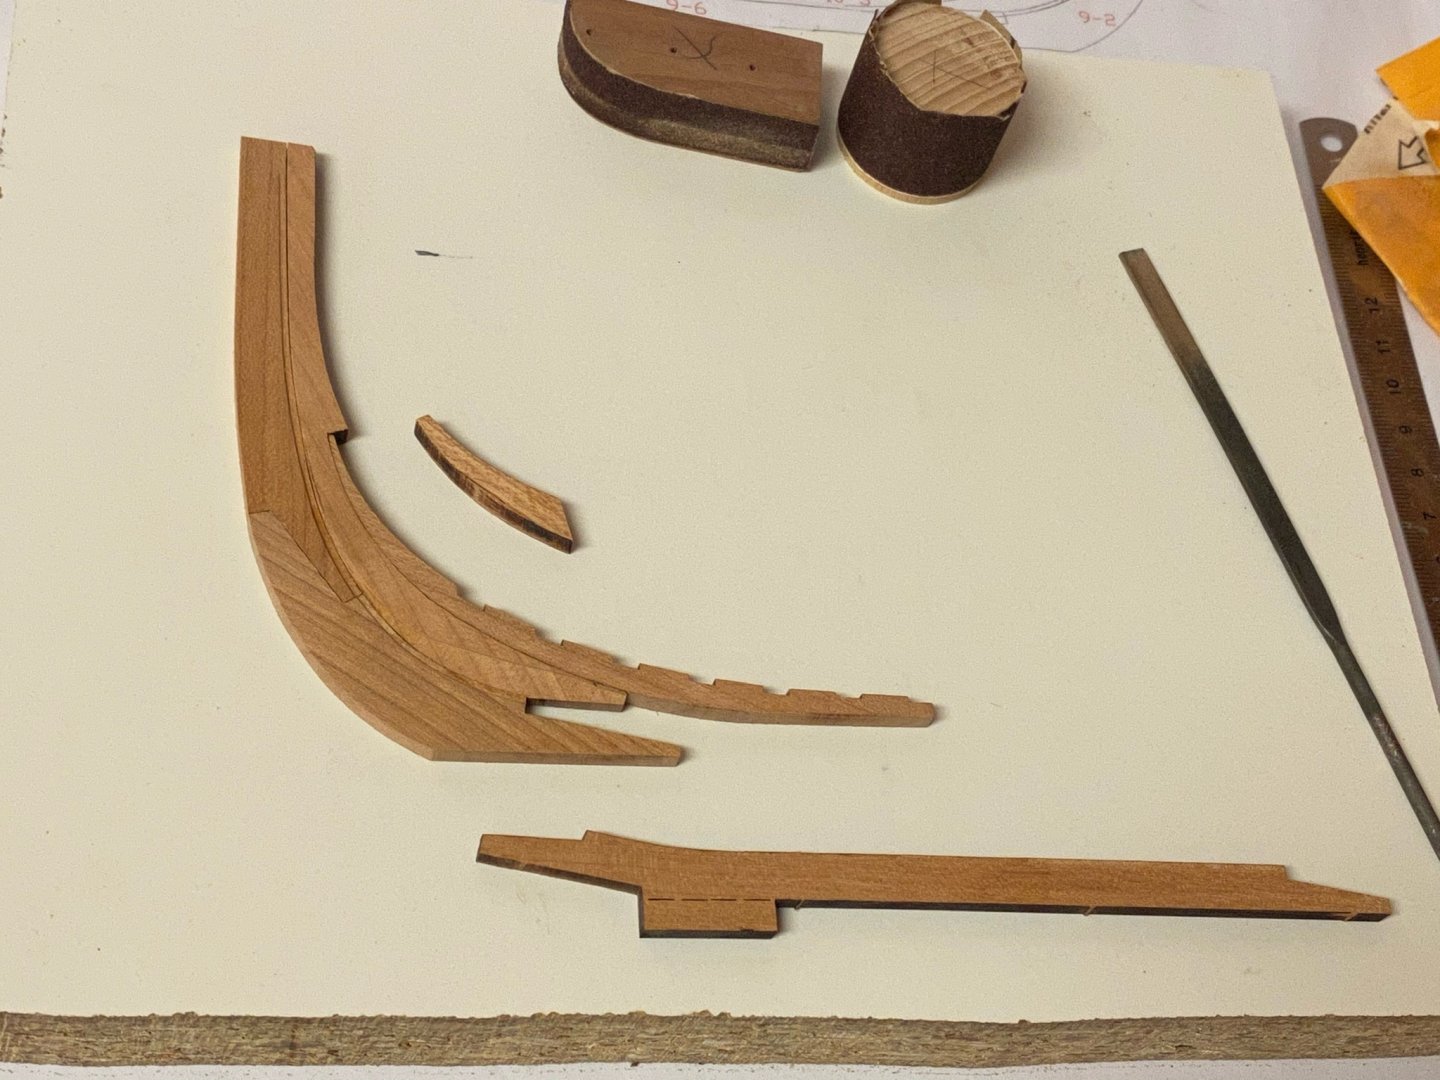
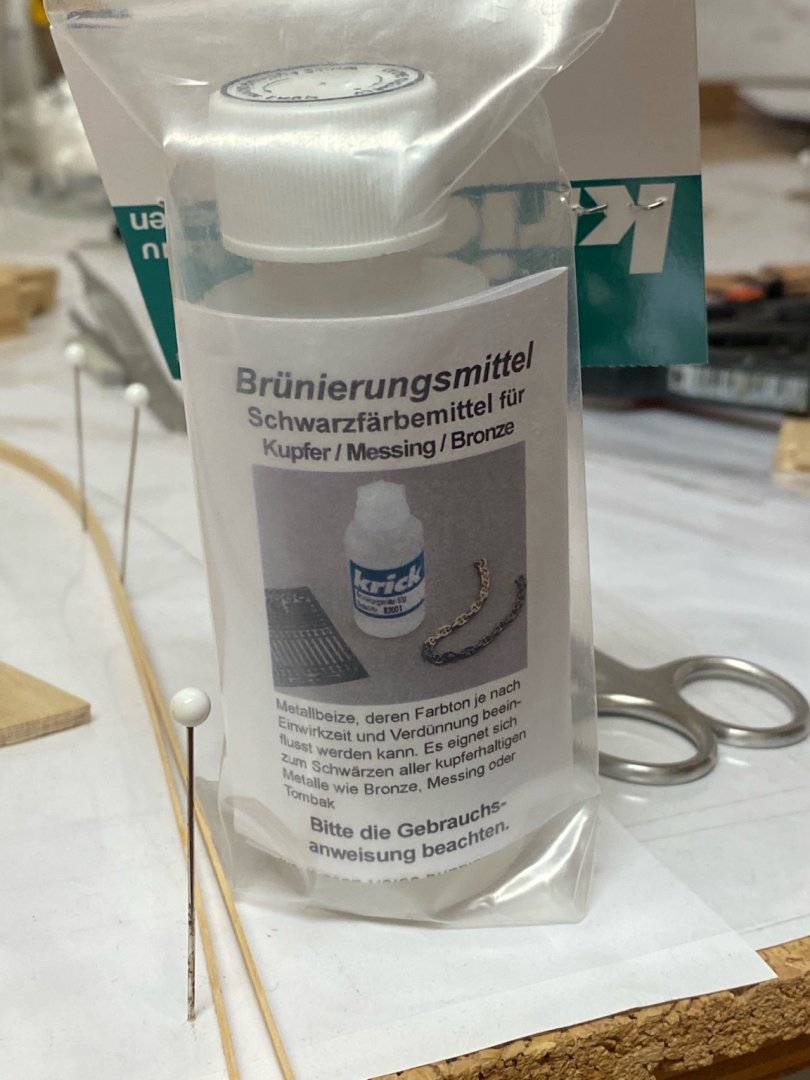
Started to clean the keel parts and dry-fit them on a flat surface. As the laser cuts with an angle, the sides have to be carefully sanded to get them orthogonal to the surface. Will continue tomorrow... @JJT I use a chemical blackening from a German company called Krick. The parts have to be threatened with cleaning petrol first (to remove fat and fingerprints) and then cleaned with distilled water. Then the parts can be threatened with the Krick „Brüniermittel“. It is heat activated (more temperature means faster blackening) and the colour depth is depending on how long you put it into the chemistry. After another cleaning with water the parts are ready to use. Very easy application. Works with copper as well.
-
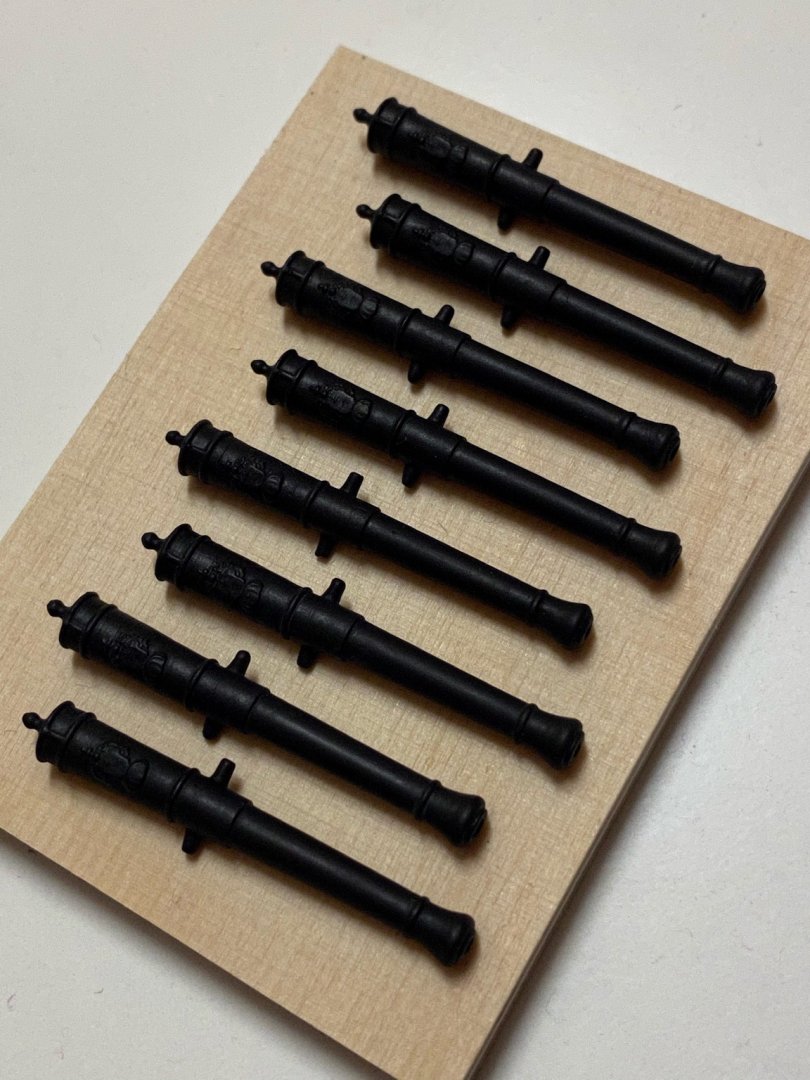
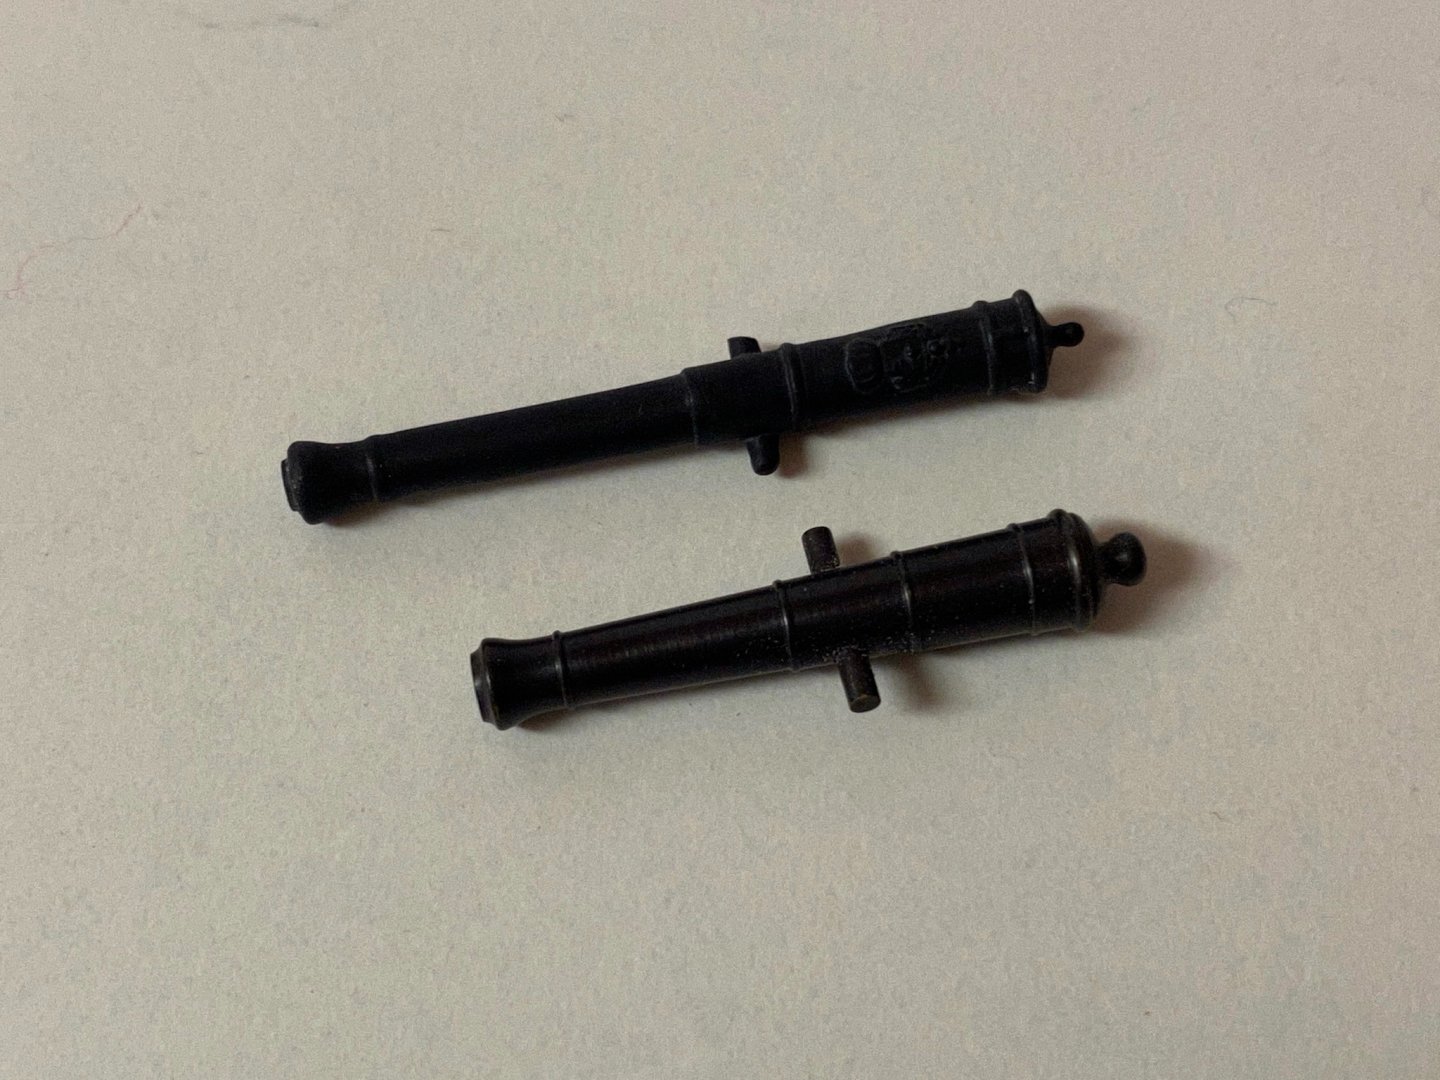
For comparison: The upper one is the supplied 2-pounder and below a 4-pounder gun barrel which will be used for the Badger - both 1:48 scale. I believe these long low-caliber guns were called ‚falconet‘ - a kind of sharpshooting gun. Not able to penetrate any ship’s hull but able to target crew members.
-
I also started to chemically colour the brass parts. These are brass casting parts that need some post processing. The gun barrels for example are nicely detailed but had to be sanded, drilled and to be bend to shape. Now they are ready for installation (which won‘t be done soon). BTW they seem to be largely oversized for 2-pounders but matches the ones shown in the Le Coureur Manual and plans from Ancre that has arrived meanwhile. Stay tuned...