HOLIDAY DONATION DRIVE - SUPPORT MSW - DO YOUR PART TO KEEP THIS GREAT FORUM GOING! (Only 13 donations so far - C'mon guys!)
×


Jeff-E
-
Posts
699 -
Joined
-
Last visited
Content Type
Profiles
Forums
Gallery
Events
Everything posted by Jeff-E
-
Thank you very much Dragzz.
-
Hi Glennard, I agree with Gary definitely do the bearding line before attaching the bulkheads, there should be a drawing of it on the plans.
-
Hi Greg, You have made a very nice start to your Bounty, a good idea to go with bow filler block it will help to hold the shape of the planks in this area. May I also suggest you add a few filler blocks in the stern area between the last couple fo bulkheads this will aid to keep the planking smooth in this area when the start to curve under the stern. I will follow, with interest , your build
-
Hi Ron, Very nice work on the hatches and rudder opening. Merry Christmas and a Happy New Year to you
-
Hi Dragzz, I just had a look back through your log and it looks to me that the slot the frame is sitting in, in the last bulkhead, will need to be sanded down to allow the frame to sit flush with the top the bulkhead also, looking at your second photo, the edge of the frame sitting against the bulkhead will need to be carefully sanded so that the tang fits into the slot in the keel to keep the line of the stern post true. Hope this helps
-
Hi Richard and Dragzz, Thank you both for looking in and your kind words and thank you to all those who clicked 'like' Dragzz, Yes I did plank the stem and keel the plans do call for this section to be planked but not in the way I did it, a photo of their way of doing it is on page 9 of this log, I have planked it similar, I hope , to how the keel and stem were made on the actual ship going by drawings from C Neapean Longridges book .
-
Hi Danny, Great work on your construction of the gang boards and steps they look fantastic, especially the steps, and thank you again for sharing your construction methods, most helpful
-
Hi Antony, Beautiful work, as always. I am looking forward to seeing the completed deck
-
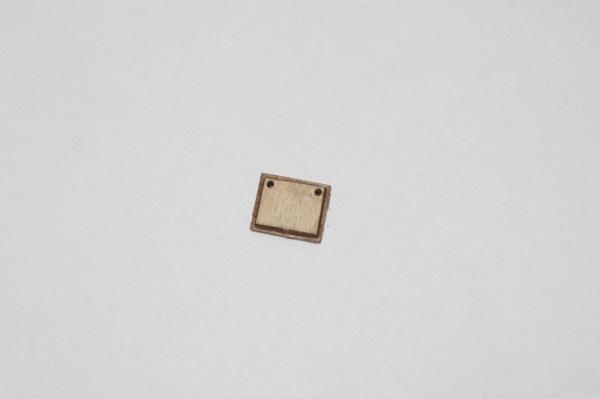
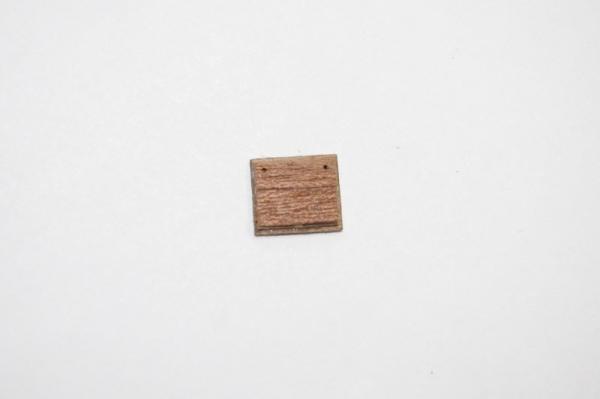
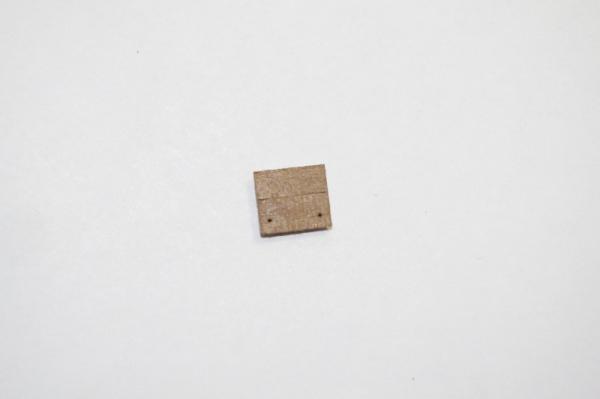
Hi All, A bit longer than I expected, due to work issues but the stem planking is complete and sanded.The two holes drilled at the front edge of the stem are for the bobstays, I was going to drill the hole for the mainmast stay collar but seeing as there wont be one fitted I omitted it Some pics follow The next job is to mark the water line and the position of the wales and then to make and fit the wales


-
Hi Ollie, You are corrrect I made my margin planks for the Norfolk from 10 x 1.5mm limewood and used three pieces on each side of the hull and then joggled the deck planks into them I would say what John sends you will be a very good pattern on how to plank the decks with a magin plank fitted The cutaway area looks fantastic
- 803 replies
-
- 2
-

-
- colonial cutter
- modellers shipyard
- (and 1 more)
-
Hi Dragzz, The frames look good fitted all kook nice and square and seem to be sitting in the keel nicely. Well done
-
Off to a good start on the second layer of planking Richard
- 55 replies
-
- 1
-
-
- mercury
- victory models
- (and 1 more)
-
Hi Dragzz, Please be careful before you start to sand your frames. I agree with Popeye, your dry fit of the frames looked great, I would double check your plans to make sure they are 1:1 with the model. If all of your frames are out by the same amount as in your picture it would suggest to me that the plans are close to 1:1 but not exactly. I just checked my plans for the Unicorn by Corel against the false keel and the decks and they are out, not by much but they are out. If you want to check the symetry of the frames can I suggest Frank Mastinis' method which is to draw an exact centre line on each frame then make a template of each frame on a piece of thin card, like a manila folder, copy the centre line onto the card template and then fold the the card in half along this line and staple it or glue it together then trim off any overhang, if any from the edges, now place the card onto either side of the frame, with the folded edge along the centre line marked on your frame and you will see if there is any small differences betwween either side that needs to be sanded off and you should end up with a perfectly symetrical frames. I hope my description of his method is not to complicated I would post some pictures fom his book but I'm not sure about copyright rules I have added some photos of the plans I hope you don't mind As you can see in the last 2 photos there is a difference as to what is drawn on the plan and the actual dimension I don't know if the plans for the Victory are differrent but these plans have no scale printed on them any where which makes me ask the question are they 1:1. I hope this helps


-
Hi Ollie, Yes I think they would be the same rig a other cannons , a breech rope, side tackle and train tackle. I just ordered a set of small drills yesterday from "my tool store" , I think they are based in Brisbane, the set comprises of 20 drills ranging from 0.3mm to 1.6mm, it steps up in size by 0.05mm to 1mm and then by 0.1mm to 1.6mm. I thought they were very reasonably priced. The link is there if you want to have a look at the site
- 803 replies
-
- 2
-
-
- colonial cutter
- modellers shipyard
- (and 1 more)
-
Hi Glennard, I also tried to use thread as chaulking on my Norfolk build but found it fuzzed and pulled out when I sanded the planks, so I with the HB pencil for the chaulking and I was quite happy with the result . I think you have made a good choice to go with the HB pencil you will be suprised how well it shows when the deck is sanded and varnished
-
Hi Dragzz, Looking good. I like your new keel holder. Take your time and enjoy the build , like you say make sure everything fits to your satisfation before bringing out the glue
-
Hi Ollie, Great work on the bell, it does look much better as polished brass. The cannons look fantastic also, the wooden axles look much better thn the metal ones . Are you going to fully rig them?
- 803 replies
-
- 1
-
-
- colonial cutter
- modellers shipyard
- (and 1 more)
-
Hi Mobbsie and Dragzz, Thank you both for your kind comments Yes Mobbsie I am going to copper the hull and paint the upper works in the same pattern she currently wears at Portsmouth dock with black, yellow ochre and blue
-
Hi ZyXuz, Great work on your cannons and their carriges. The jigs you made are fantastic I will make a note of this page aas it will be a great help when I start building my guns. Thanks for sharing your method.
-
Hi Glennard, Well you have made a start nice to see a razor saw cutting timber I will follow your build
-
Hi Mobbsie, Excellent work on your lower mizzen shrouds, futtock shrouds and catharpins, I don't think the latter look to thick in your photos they seem to be about the same size as the shrouds which I think is about right, according to John Mckay's anatomy of the victory the mizzen lower shrouds were 5" in circumferance and so were the cartharpins. Thanks for the link to Anew's log about making the mouse I will defineately use his method when I get to that stage of my build
- 1,279 replies
-
- 1
-
-
- agamemnon
- caldercraft
- (and 1 more)
-
Hi Vivian, Looking very nice, presonally I like the look of clear varnished timber but that is just me. Do you have a vice you could mount your dremel in so that your hands are free? or maybe you use a 'G' clamp and clamp it to your bench Very nice work though, the posts look great as does your windlass, pity that some kits still supply infeior parts like your deadeyes, a good choice to buy some wooden ones
-
Hi Richard, Very nice clean lines on your gunports. They look better than the supplied ones
- 55 replies
-
- 1
-
-
- mercury
- victory models
- (and 1 more)
-
Hi Dragzz, A very nice gesture to your friend, a beautiful model, Looks like you have made a good start I will follow your build with interest
-
I am also trying to replcate the run of planks with the gunports , fortunately most of them have only two planks runnig through them but a couple of the lower ports have three with the centre being a full plank and the outer ones cut at different widths