Seventynet
-
Posts
797 -
Joined
-
Last visited
Content Type
Profiles
Forums
Gallery
Events
Everything posted by Seventynet
-
 All that work will pay off in spades for your planking. Nice job! Ian
- 653 replies
-
- 4
-

-
- trabakul
- marisstella
- (and 1 more)
-
Thanks Don and Michael, my attitude has been adjusted . I am taking an inordinate amount of time figuring out how to attach the pintel, gudgeon, rudder and tiller assembly. I can see I'm going to have to use CA to attach the white metal fittings to the transom - at least I hope that works. I've drilled holes to receive brass pins in the various pieces but figure those are really only decorative and won't be doing the real work as attachment points. Ian
-
Hi Marcus, that's a rather ingeneous solution for those of us who forget to step the mast (ahem). I may just be doing the same thing. By the way, how are you planning to attach the boom?
- 165 replies
-
- 2
-
-
- cape cod catboat
- Finished
- (and 1 more)
-
Thanks Zoltan and thanks for the likes Russ and Elijah. You boost my my enthusiasm for shipyard work which for some reason is diminishing the closer I get to finishing this boat. Thanks Marcus, the hatches are black, which I regret. I can't imagine black being used on the hatches of any boat as they would sear your paws on a sunny summer day. I had made the hatches out of that Padauk red wood and that just didn't look good. Best, Ian
-
Looks like an interesting challenge getting those curves in Don, but no doubt a welcome diversion. Nice looking lathe and centering chuck. Best, Ian
- 653 replies
-
- 5
-
-
- trabakul
- marisstella
- (and 1 more)
-
Very nice job on the lower counter and the quarter qalleries Robert. I made a mess of my lower counter and had to replank it. Best, Ian
- 527 replies
-
- 1
-
-
- caldercraft
- victory
- (and 1 more)
-
Thanks for looking in and the comments Don, Bob, Brian and Russ, and others for the likes, much appreciated. Ian
-
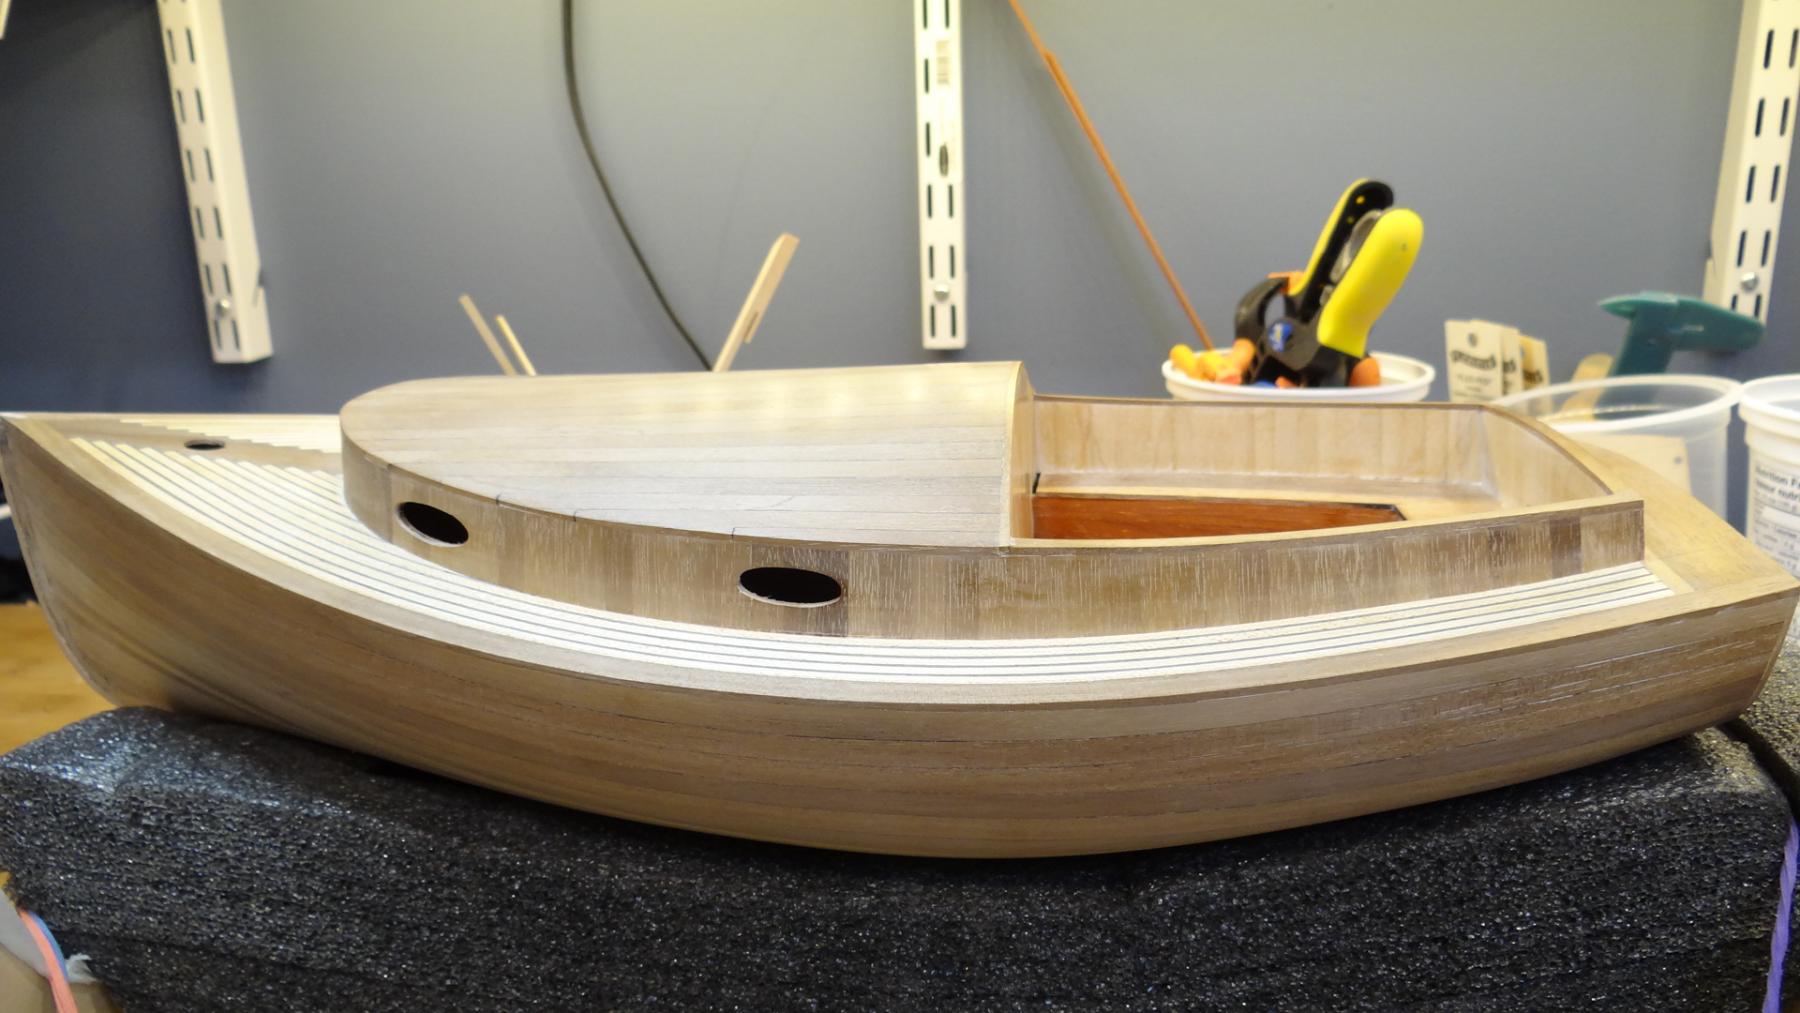
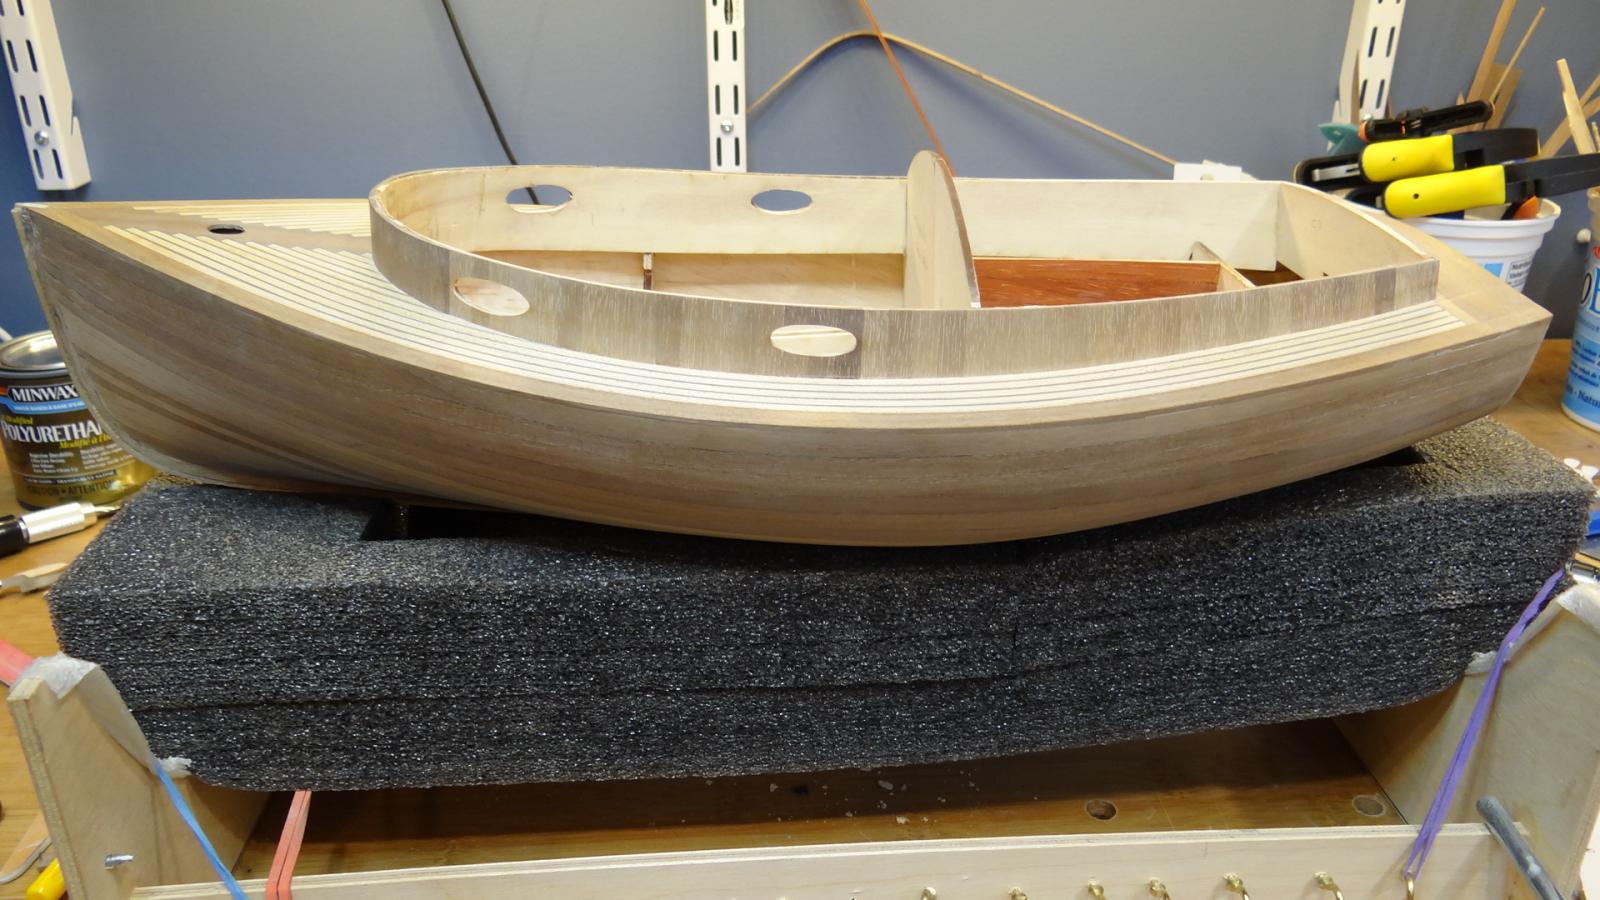
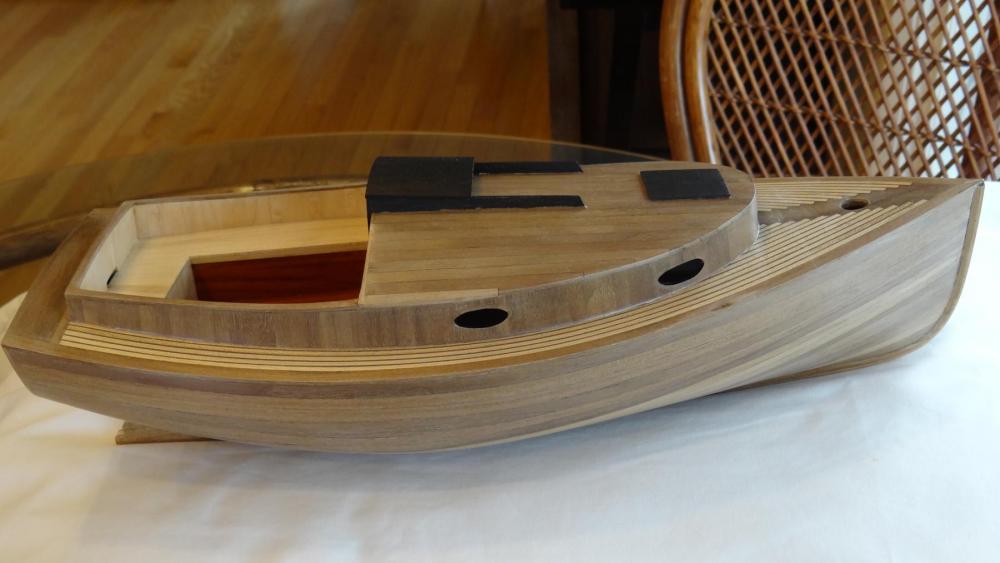
Good day, Well there hasn't been much work going on in the shipyard of late but I did manage to put several coats of poly (water based) on the boat and get the hatches on. I've tapered the mast and boom and will do the gaff today. A few little pieces to make and things to figure out. I think I'm at the 90% completion mark so I'm feeling good. Best, Ian
- 86 replies
-
- 11
-
-
Thanks for the support Russ, Marcus and Bob and for the likes Elijah, much appreciated. Ian
-
Thanks for looking in Mario. Wow, I just had a look at your Chesapeake Bay Flattie. Beautiful detail and wood. Lots of tips and tricks for me to copy. Best, Ian
-
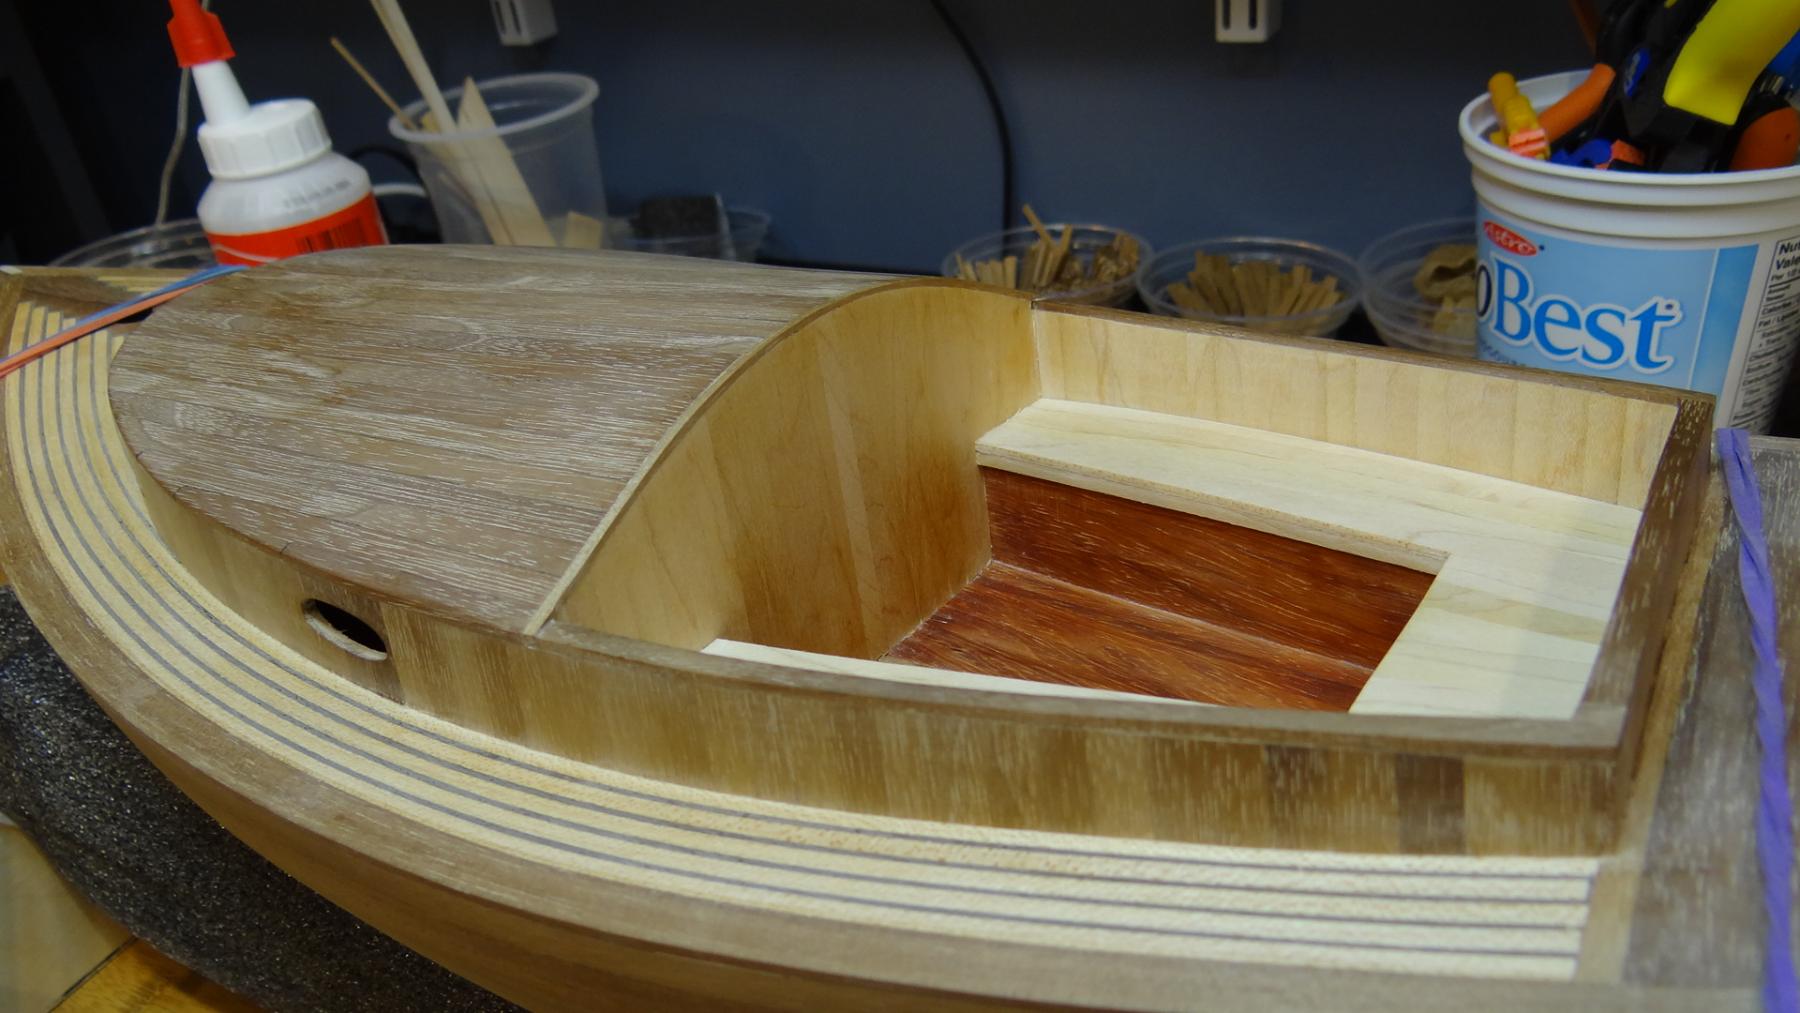
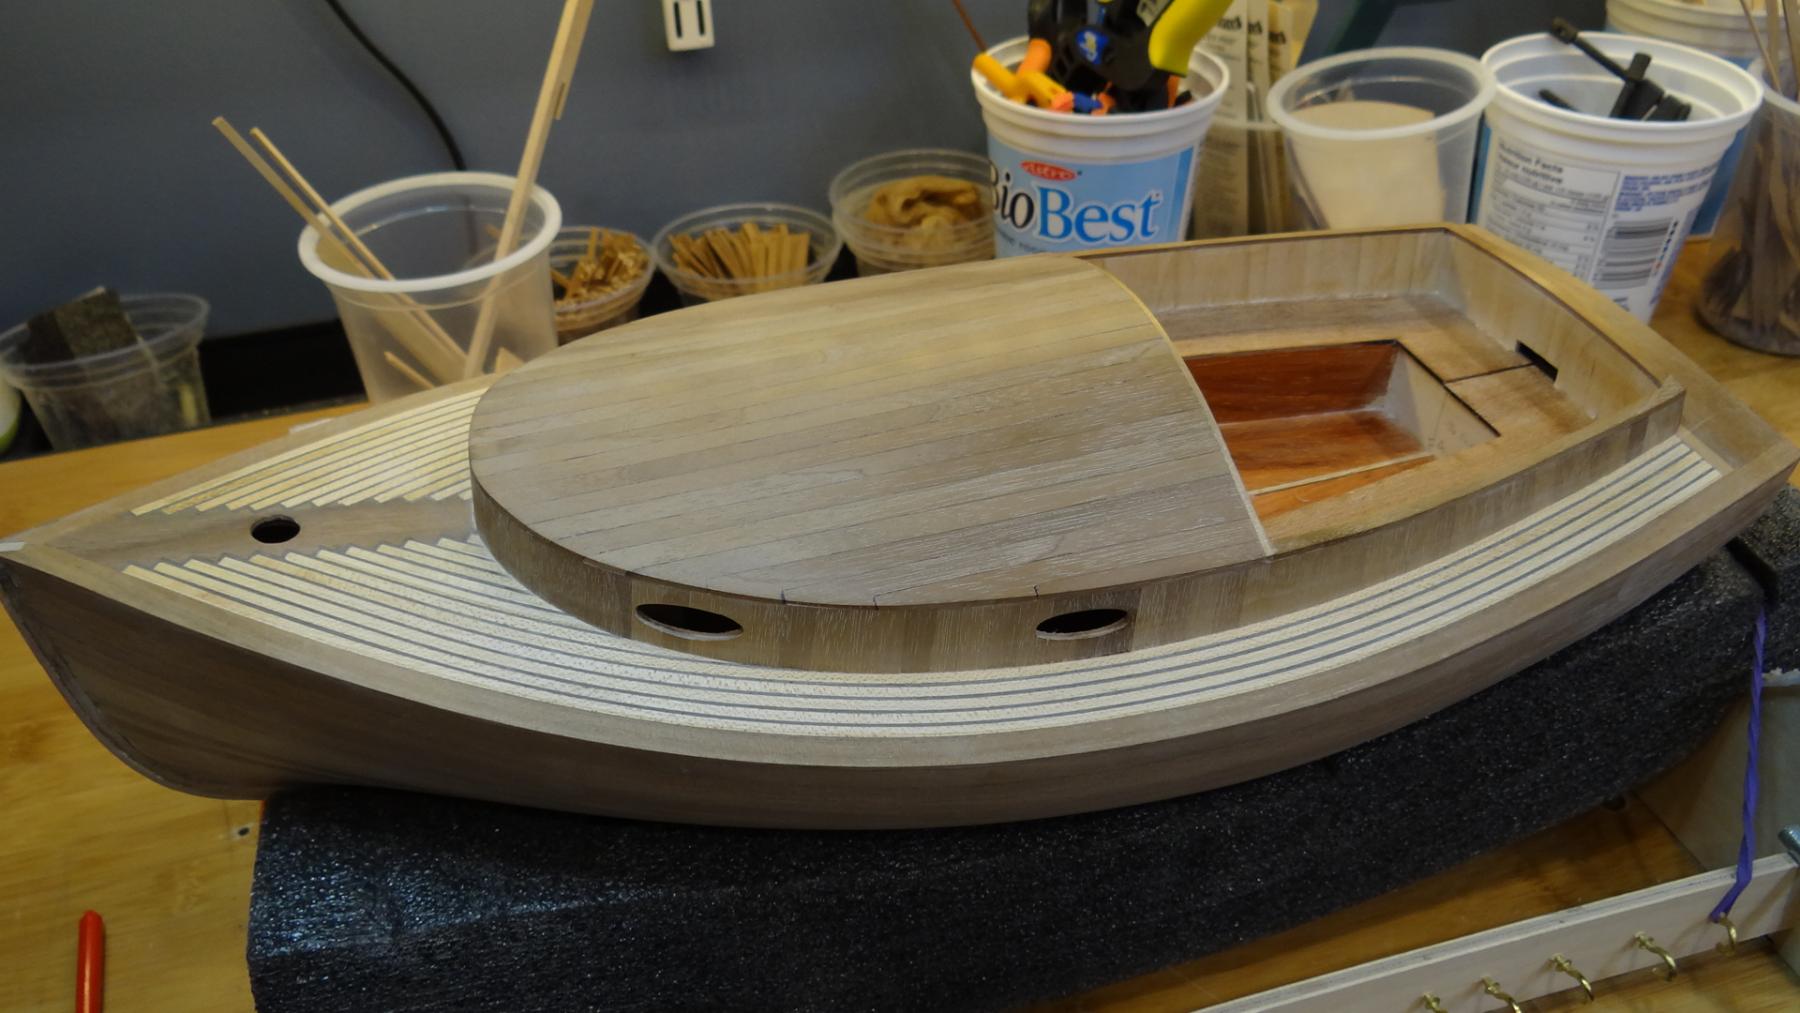
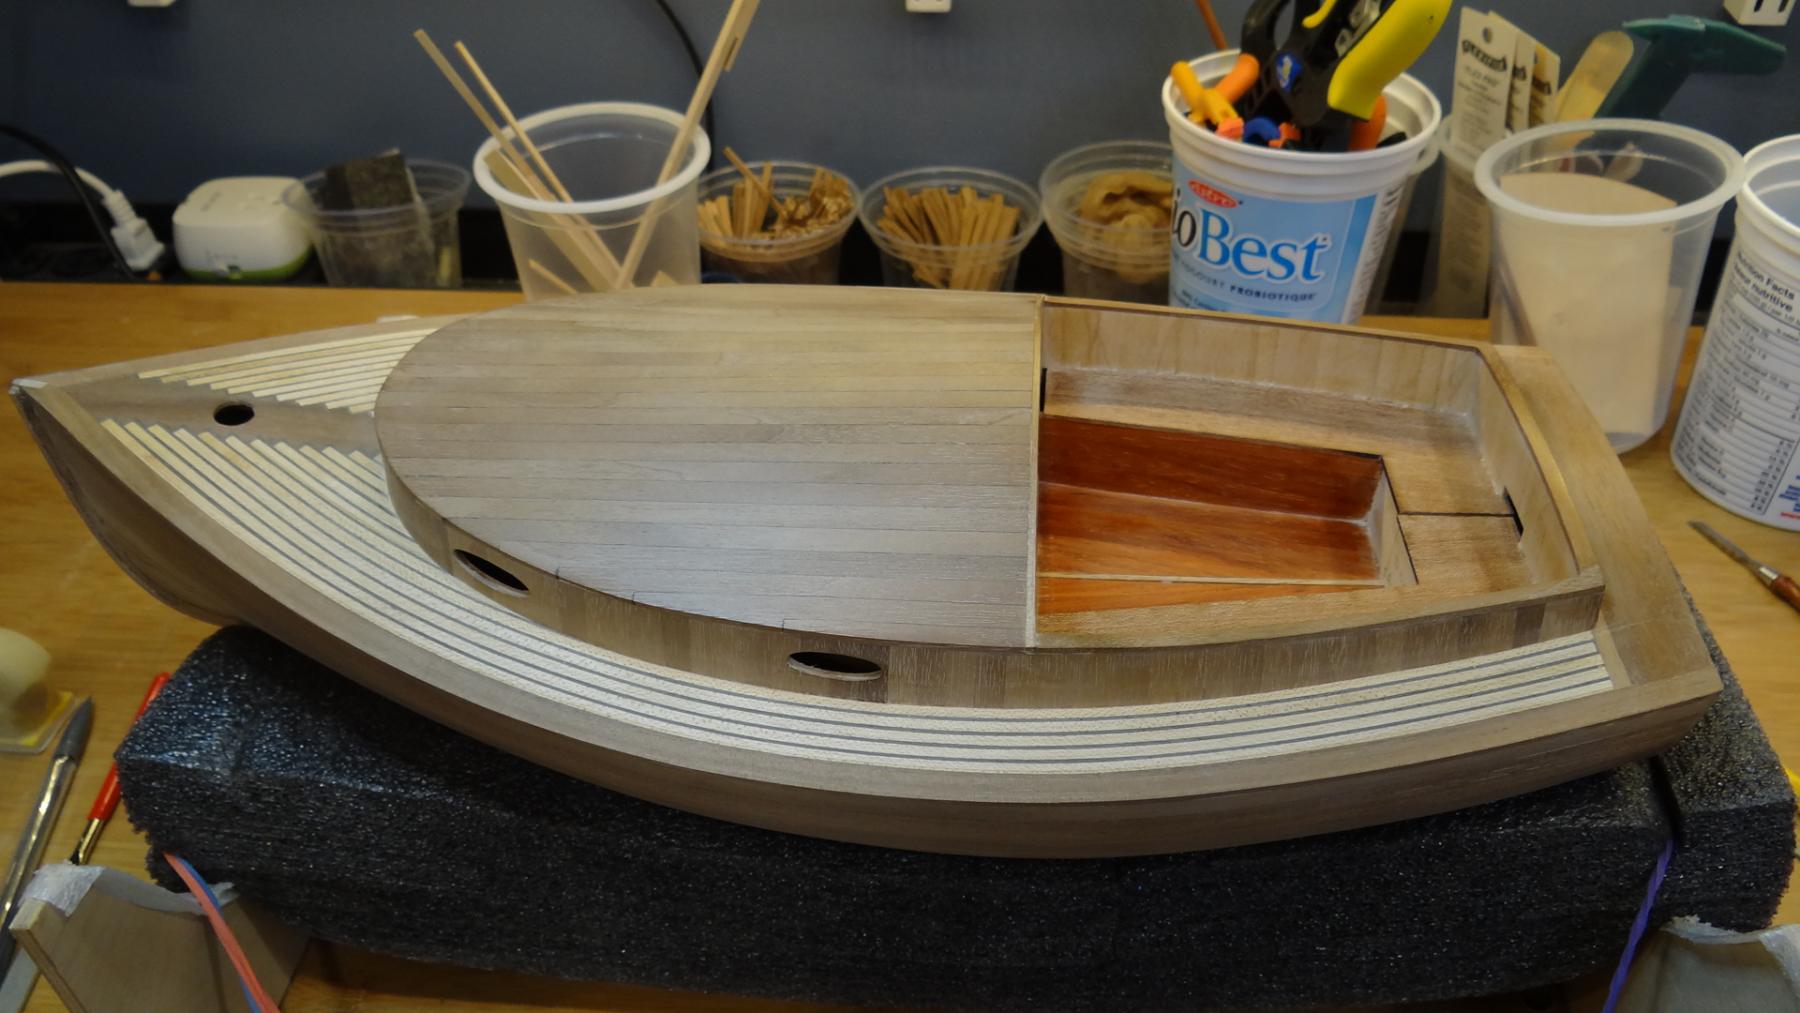
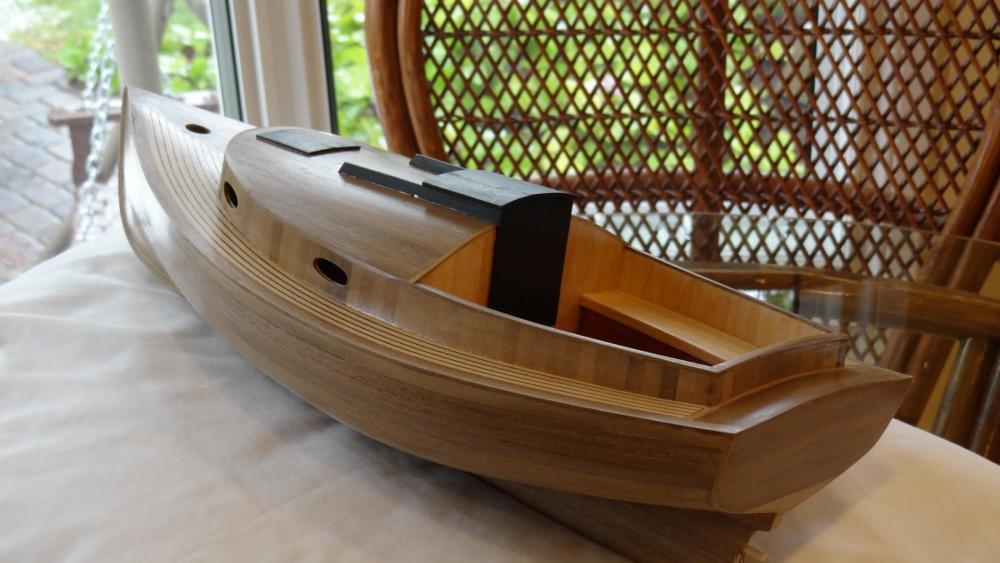
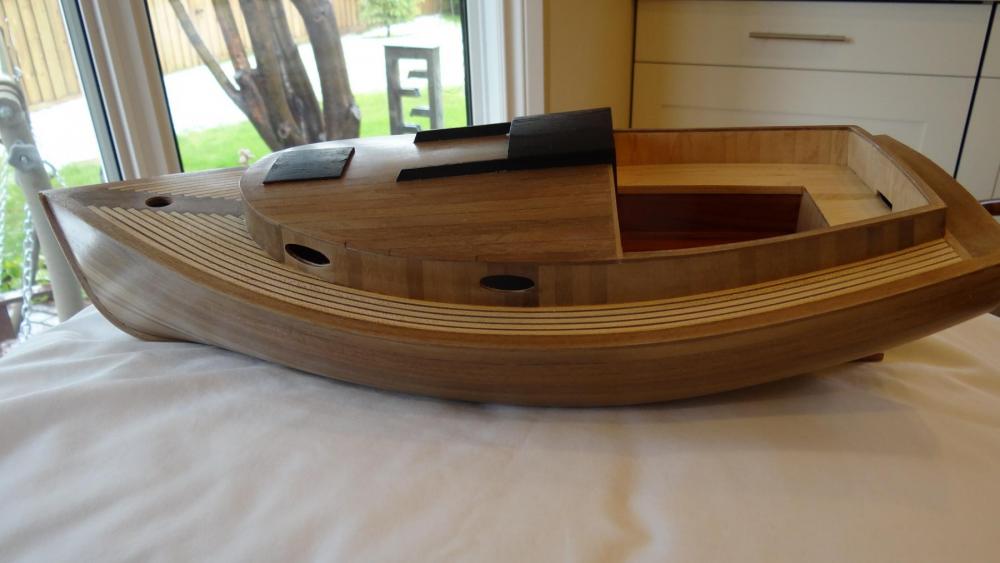
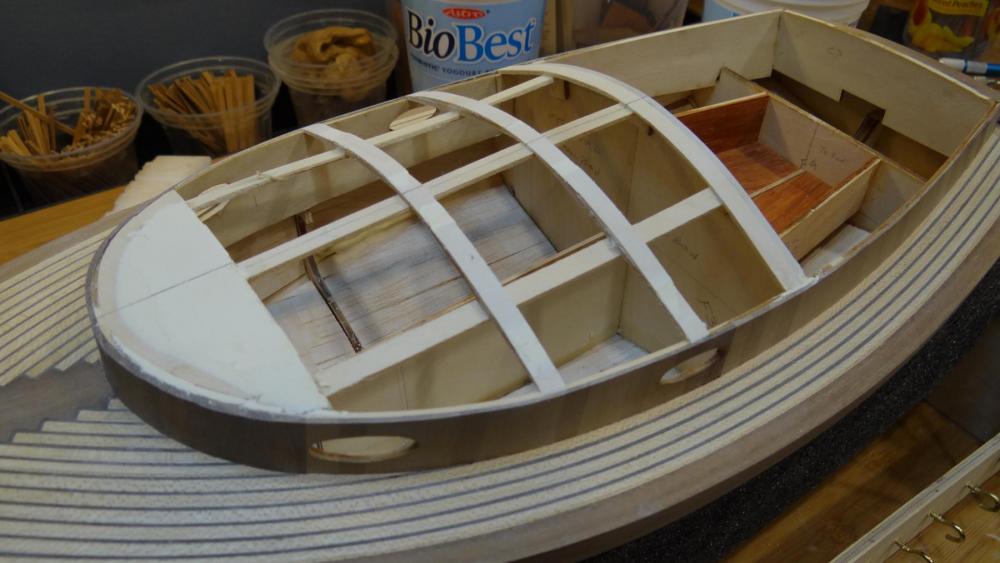
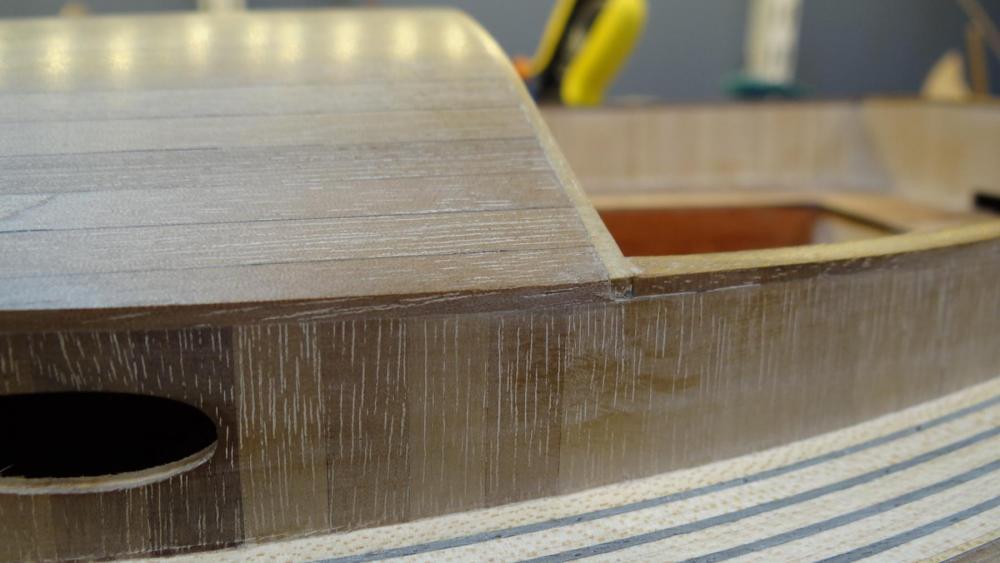
Thanks Marcus, Don and Brian, your comments keep me going and thanks for others pushing the like button. I've been stuck doing a bunch of accounting the last several days and have lost my shipbuilding energy. Anyway I may as well post a picture since I'm on. I've finished the bench planking with maple. I hope it looks ok with the other 2 woods in that area. I need to get the hatch covers and companionway done and a few other details then it's time to get the WOP on.

-
Count me in Brian. I've got this build on the shelf for sometime this summer. Ian
-
Thanks for looking in and the kind words Russ, Bob and Bob and for the likes Elijah and Matt. Doing this build has been really good for my learning process and has allowed me to experiment a bit more than I feel comfortable doing on the Victory. Plus it will allow me to actually finish a build for the first time soon which for some reason seems to have become very important to me. Best, Ian
-
Just beautiful work Mike. The faired frames look so precise. Ian
- 969 replies
-
- 5
-
-
- hahn
- oliver cromwell
- (and 1 more)
-
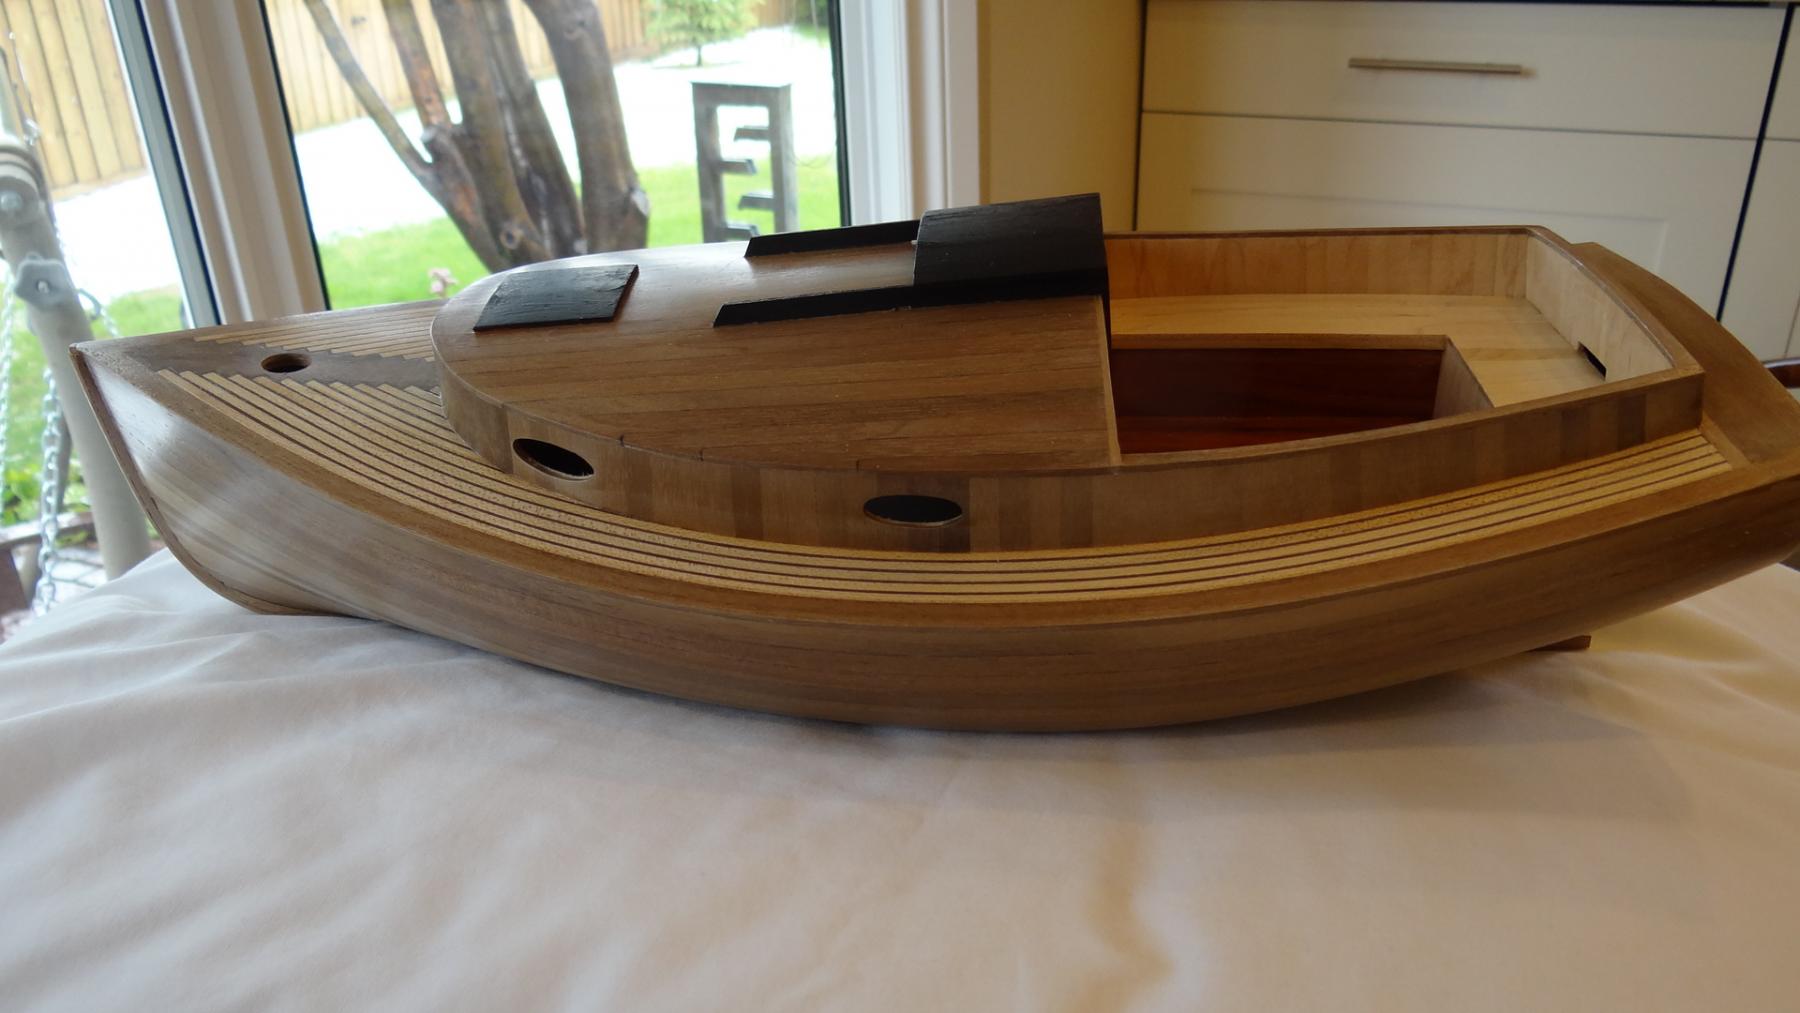
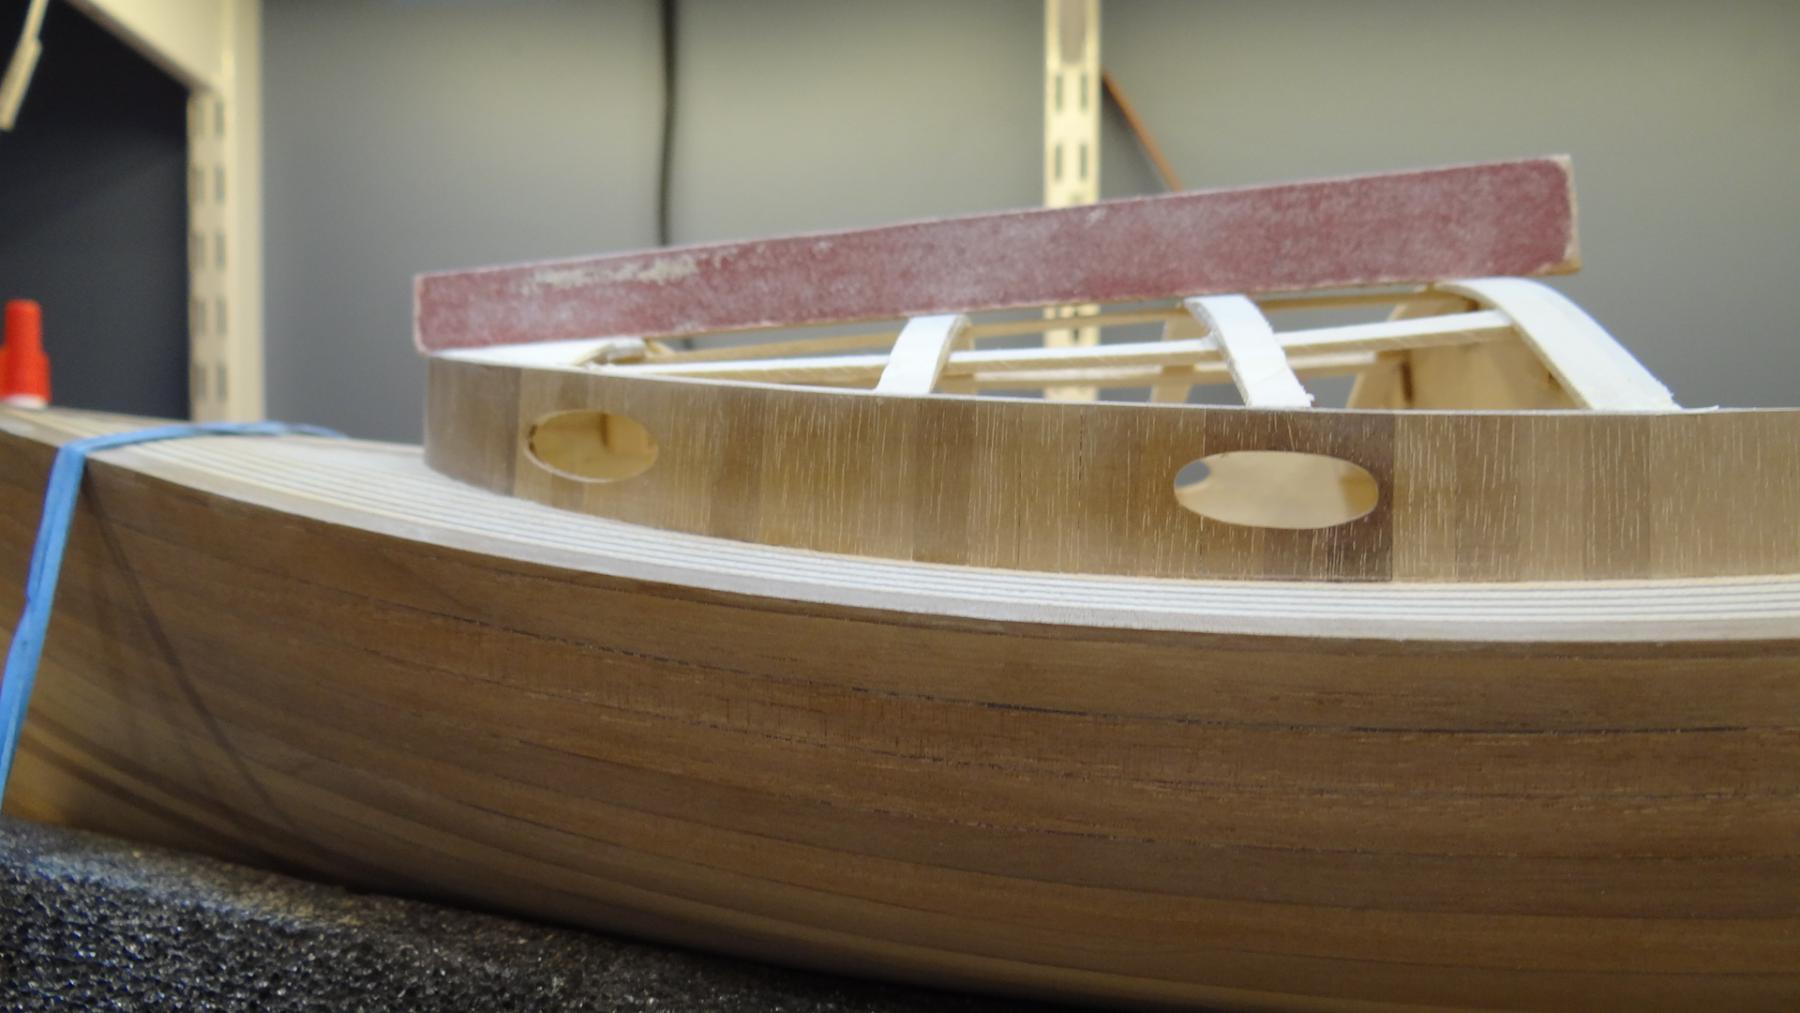
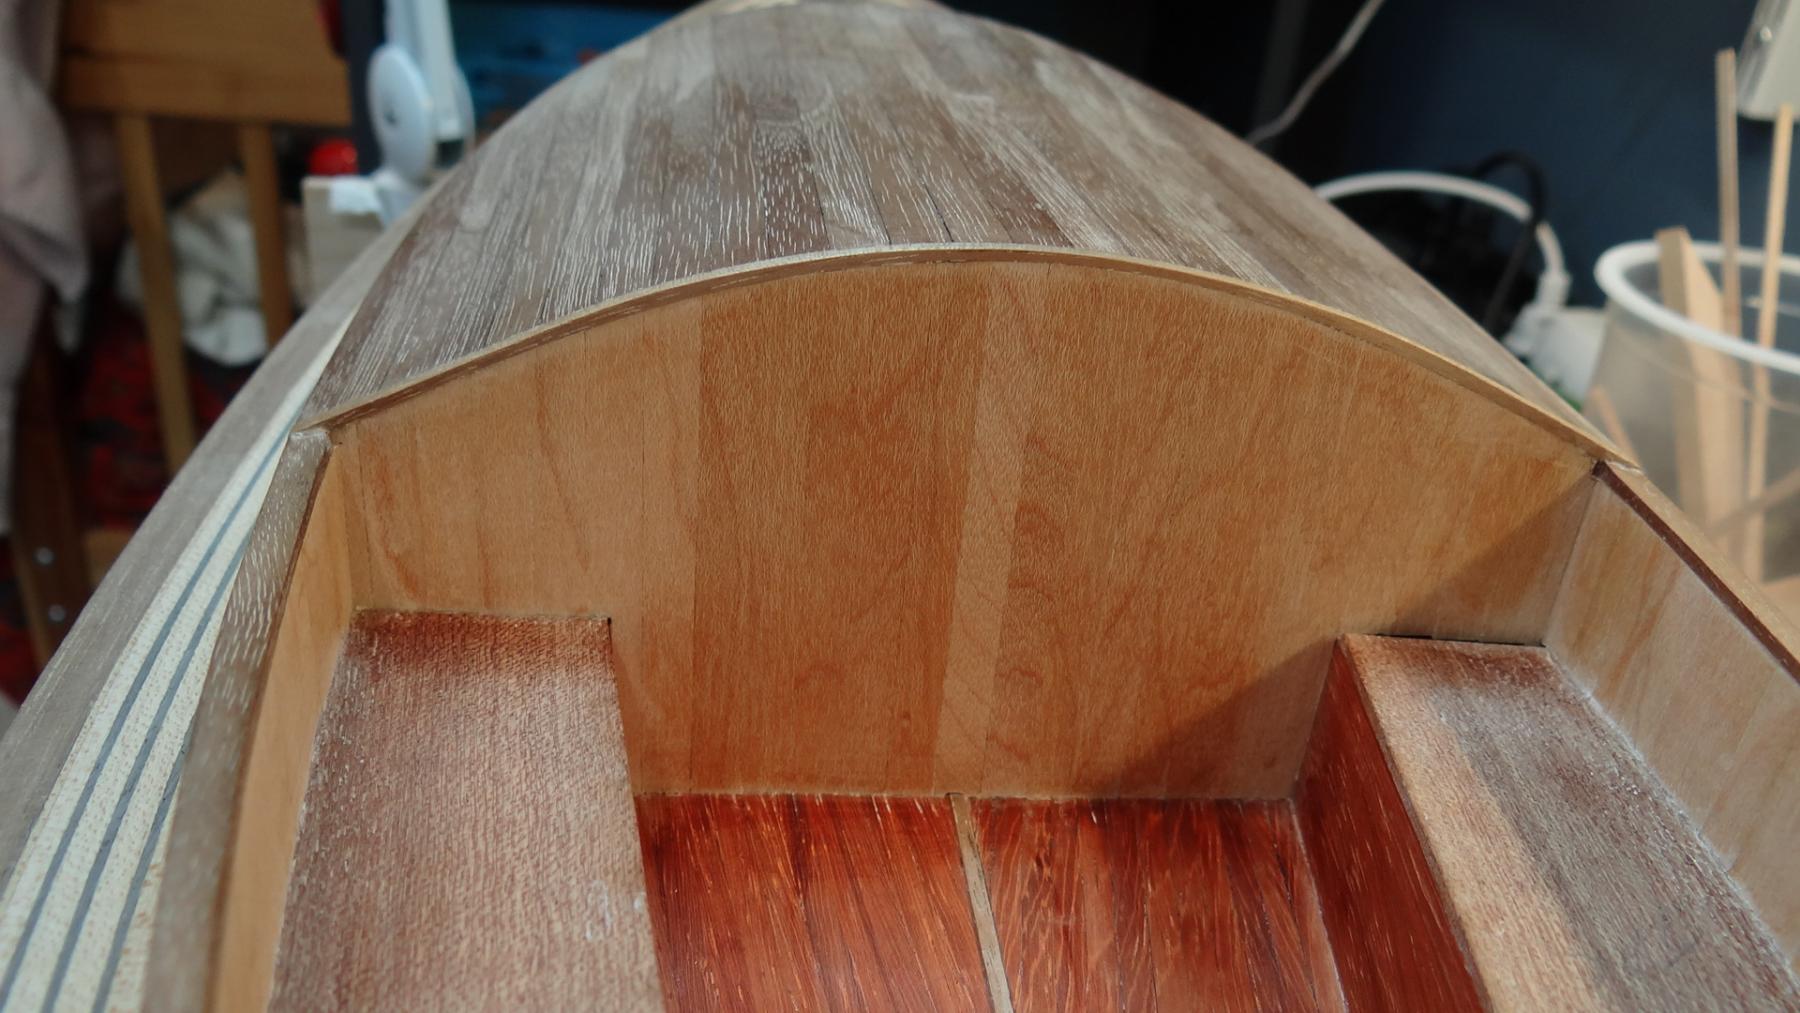
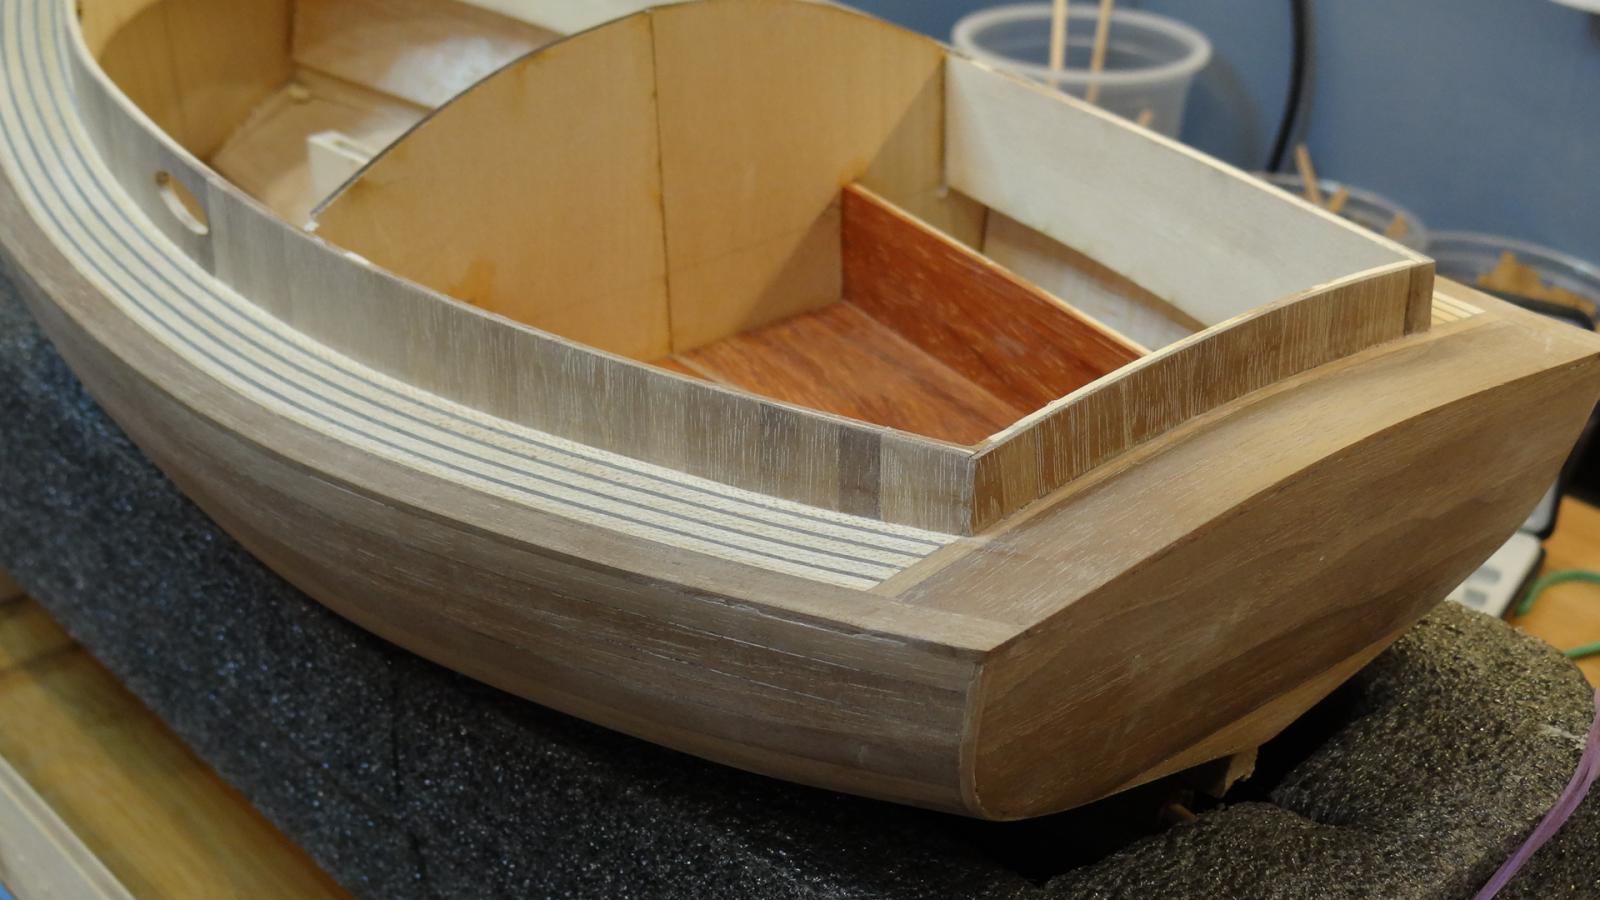
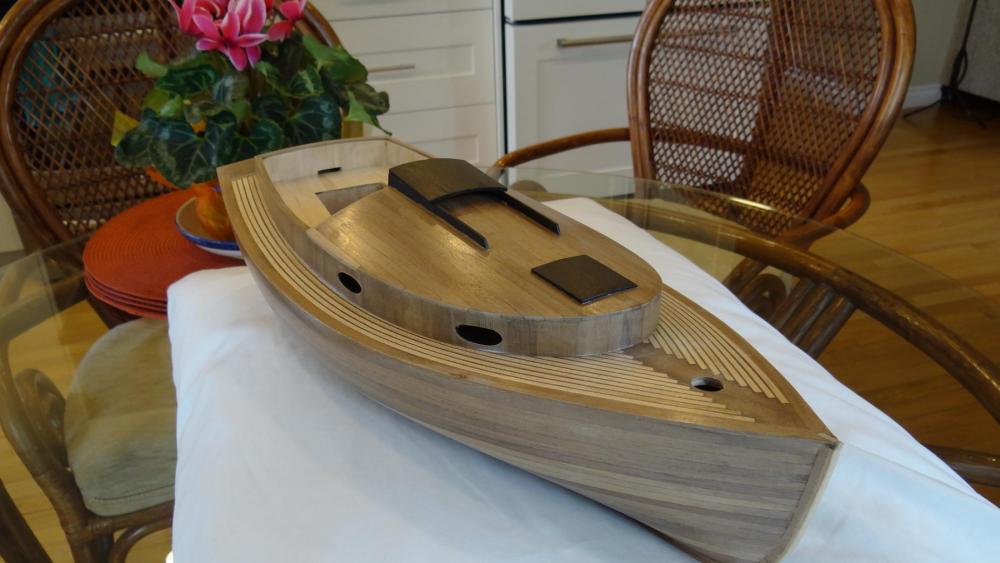
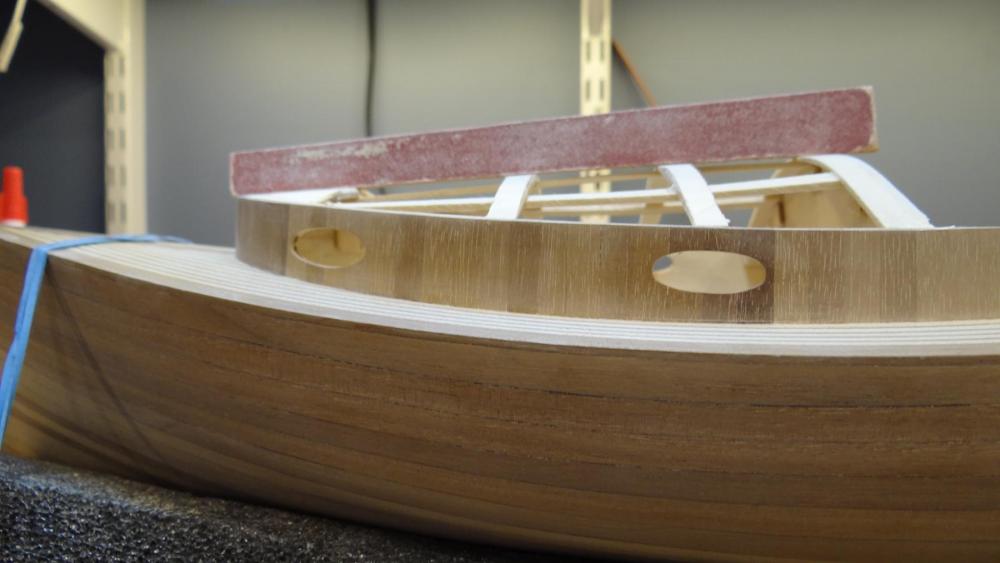
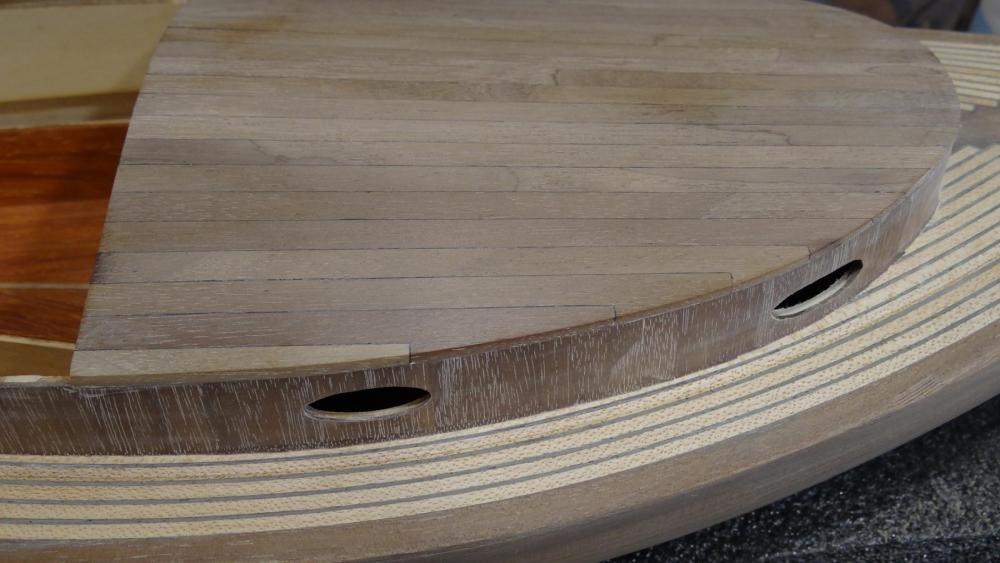
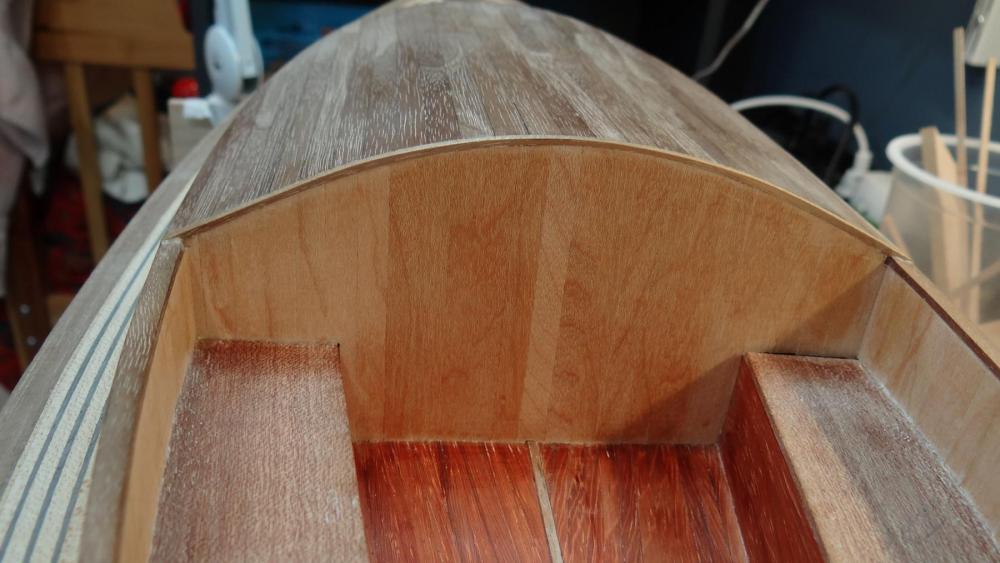
Hi Folks, A quick update for the catboat. Thanks for the comments and likes Bob and Elijah. Much appreciated. Since last time I have installed the cabin roof, completed the maple vertical planking in the cockpit and added the cap rail pieces. I have yet to plank the benches with maple and to decide whether I should replank the cockpit floor and bench sides using maple to hide the Paduak. I think it will become clearer once I have planked the benches. I also need to finish the trim piece around the base of the combing - which has turned out to be more of a challenge than I first thought it would be. Anyway getting there. All comments welcome. Cockpit frame and fairing the frame: Cabin top completed: Cabin top with trim, vertical maple planks in cockpit, cap rails and general pictures: All the best, Ian


-
Thanks for the words of wisdom and the compliment Bob. I really appreciate people looking in and sharing their knowledge. I am a novice builder and will learn the most when people constructively criticize my work. I like the compliments too. . Best, Ian
-
Bob this is really nice work. I'm going to have to take lessons from you on cannons, yours are really sweet. Ian
- 206 replies
-
- 3
-
-
- battle station
- panart
- (and 1 more)
-
Thank you Michael, Marcus and Don! Thanks others for the Likes. It is much appreciated. Hey Marcus, if you ever want to build another one of theses I'll build another one right along with you. We could simply use the plans to cut out the frames (and make them much thicker). Anyway a quickie update. I fitted and glued the combing and it was not a graceful thing to behold. I did a very sloppy job of bending and the basswood kept cracking at the bow where the two pieces join. It is a severe bend to say the least but with care there is no reason it couldn't be done. I resorted to sawing grooves and cracking the bend in. It worked but it looked like crap. However it's planked anyway so at the end of the day no evidence is left with which to indict. The planking called for is vertical using basswood. Of course I used my dwindling supply of walnut. The portholes are cut afterwards. I'm going to try to make some porthole frames later. My next job is to make a footing for the combing - something with a little style. Then make some framing for the cabin top planking. Best, Ian


-
Don, in my opinion you don't ever have to want for balsa if you are thinking of filler blocks at least at the bow or stern (no offence to those who use it successfully). I've used it on both builds but only for shaping in areas that will not require pins or separational torque (not sure how to put that). It cannot hold a pin or screw under that kind of tension. I use basswood anywhere near the bow and stern where there will be torque and it works fine. In fact the only reason I use balsa at all is that it is so easy to sand - the wood almost melts away. You have to put much more effort into shaping basswood but the effort is worth it IMHO. Best, Ian
- 653 replies
-
- 6
-
-
- trabakul
- marisstella
- (and 1 more)
-
Dave I completely understand about what you are saying. My solution, as you can see clearly from my first planking attempt on my Victory, was to taper and edge bend but mostly I let the planks go exactly where they wanted and used drop planks. I didn't do any spiling for my first planking (that I can remember anyway). Since this was my very first planking attempt I didn't want to try anything so "advanced" as spiling. But I achieved a very good surface to work on and that made spiling easy (to the extent that the stock I had allowed me to do it). Just some thoughts and it doesn't mean that you couldn't achieve a better result with scale lengths for first planking. Best, Ian
- 79 replies
-
- 5
-
-
- lady nelson
- amati
- (and 2 more)
-
Looking good Chris, I'm really enjoying your build. Best, Ian
-
Dave, very nice step by step review. Thanks for sharing. Just my two cents, and really only that, but you may want to reconsider scale length planks for your first planking. It will just present an additional challenge of the plank butts for those bulkheads that don't have filler blocks. Of course you could supplement the bulkheads that present those challenges with small appendages to join the butts, but you will still get a better curve if you use full planks. I really like your work. Best, Ian
- 79 replies
-
- 5
-
-
- lady nelson
- amati
- (and 2 more)
-
Lovely work Sal. So much for me to learn from your build. Thanks for sharing. Best, Ian
- 659 replies
-
- 6
-
-
- syren
- model shipways
- (and 1 more)