-
Posts
4,825 -
Joined
-
Last visited
Content Type
Profiles
Forums
Gallery
Events
Posts posted by gjdale
-
-
Hi Egilman,
Welcome aboard. You should definitely have a go with your Fiat. If you get hold of one of Paul Koo’s DVDs, you will find that even the most intimidating aspect can be overcome with a little guidance.
- Keith Black, Canute, Ryland Craze and 5 others
-
 8
8
-
Hi Yves and welcome to the build. I hope this will rekindle your desire to build your own kit. Thanks for the tip on Model Motorcars, though I had already found them back when I was researching. I may have already purchased or two items from them.......😎😎😎
And don’t worry, I won’t be rushing this one. Heck, it took me more than three years just to open the box! 😉 Seriously though, the posts above represent about six weeks work on and off.
- lmagna, Egilman, Old Collingwood and 7 others
-
 10
10
-
Hi Jim,
Yes I do indeed recall our conversations of a few years back. Nice to hear from you and welcome along for the ride. Interesting that you have the MB 540K Roadster kit. I was considering that one but opted instead for the “Rumble Seat” version, which I am acquiring through Paul Koo.
-
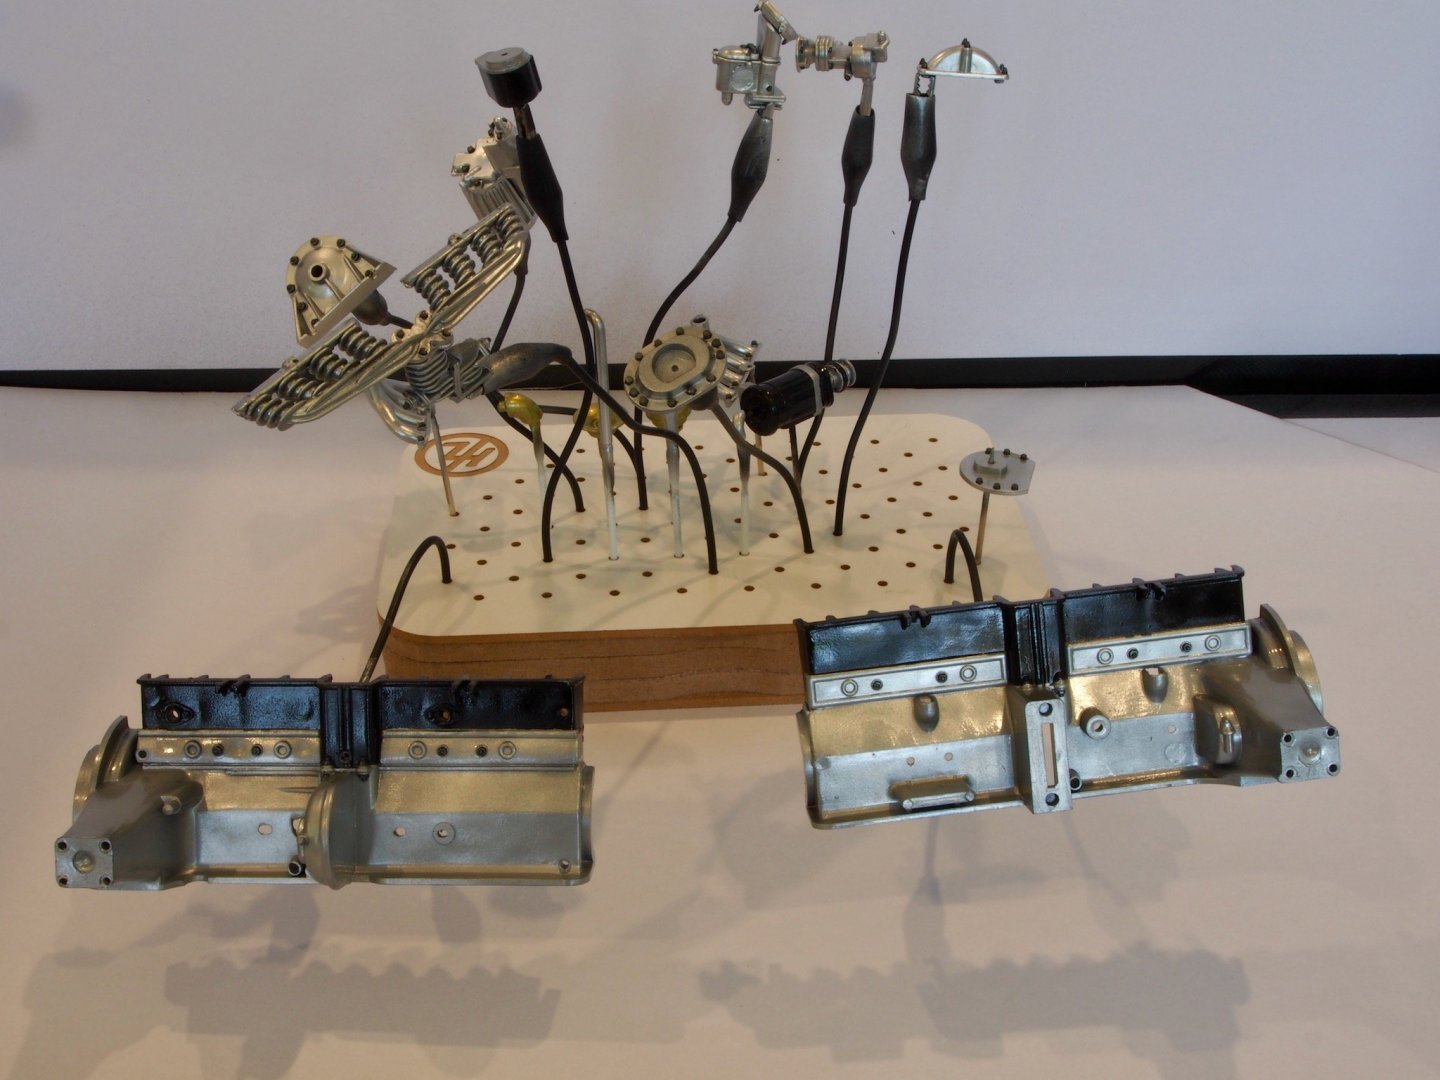
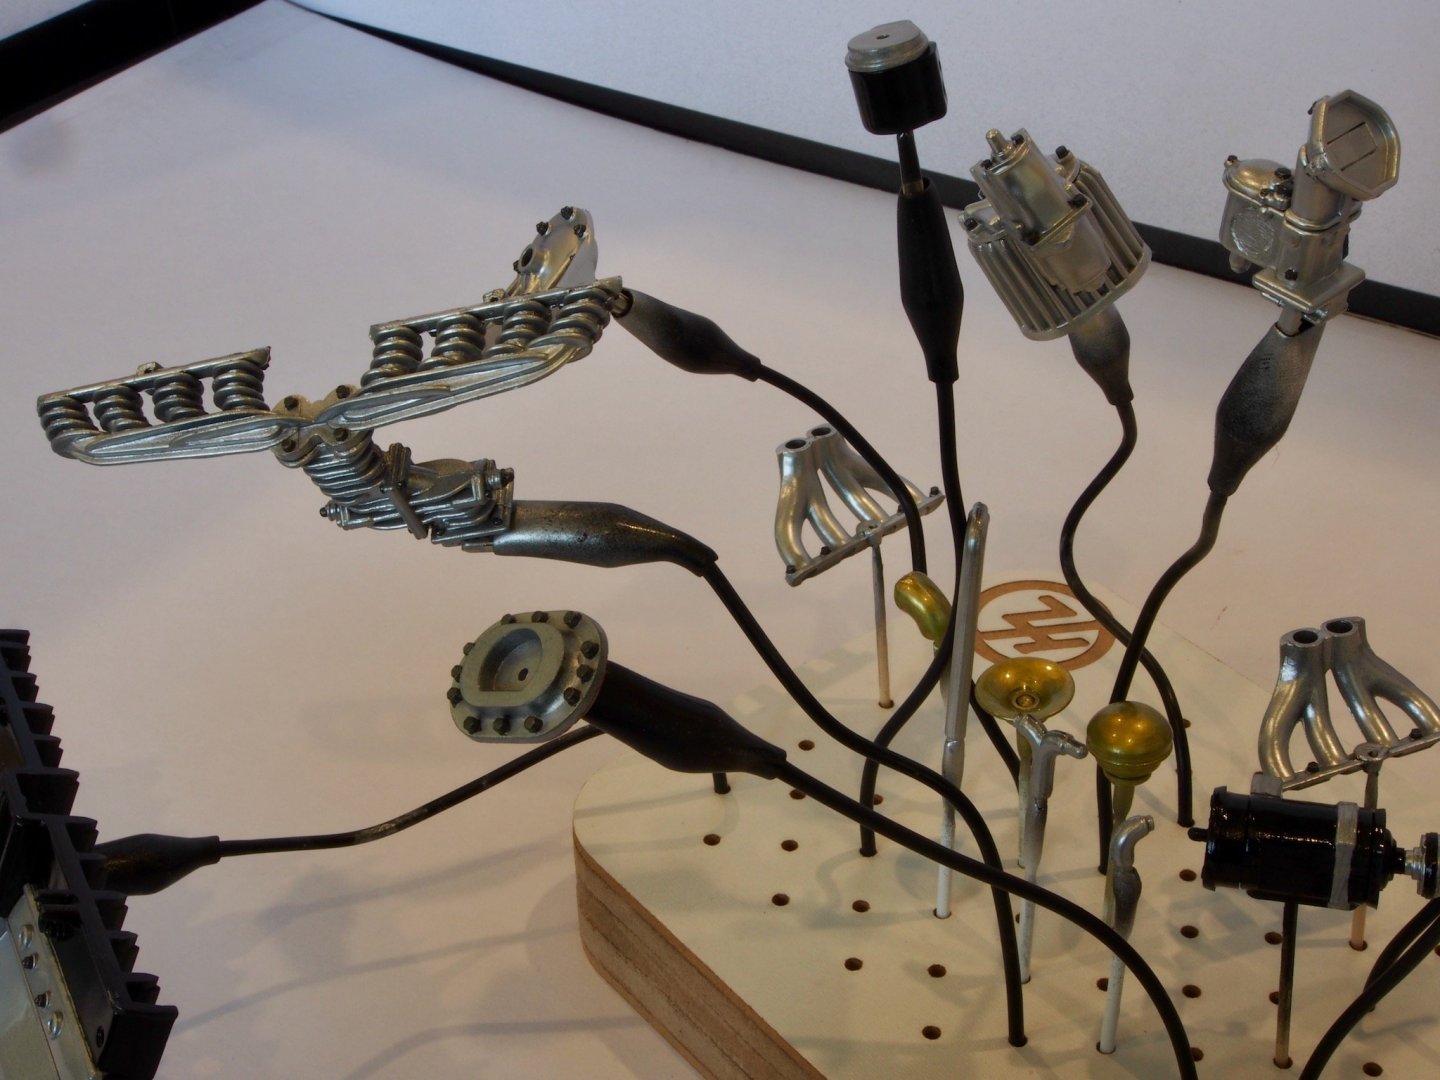
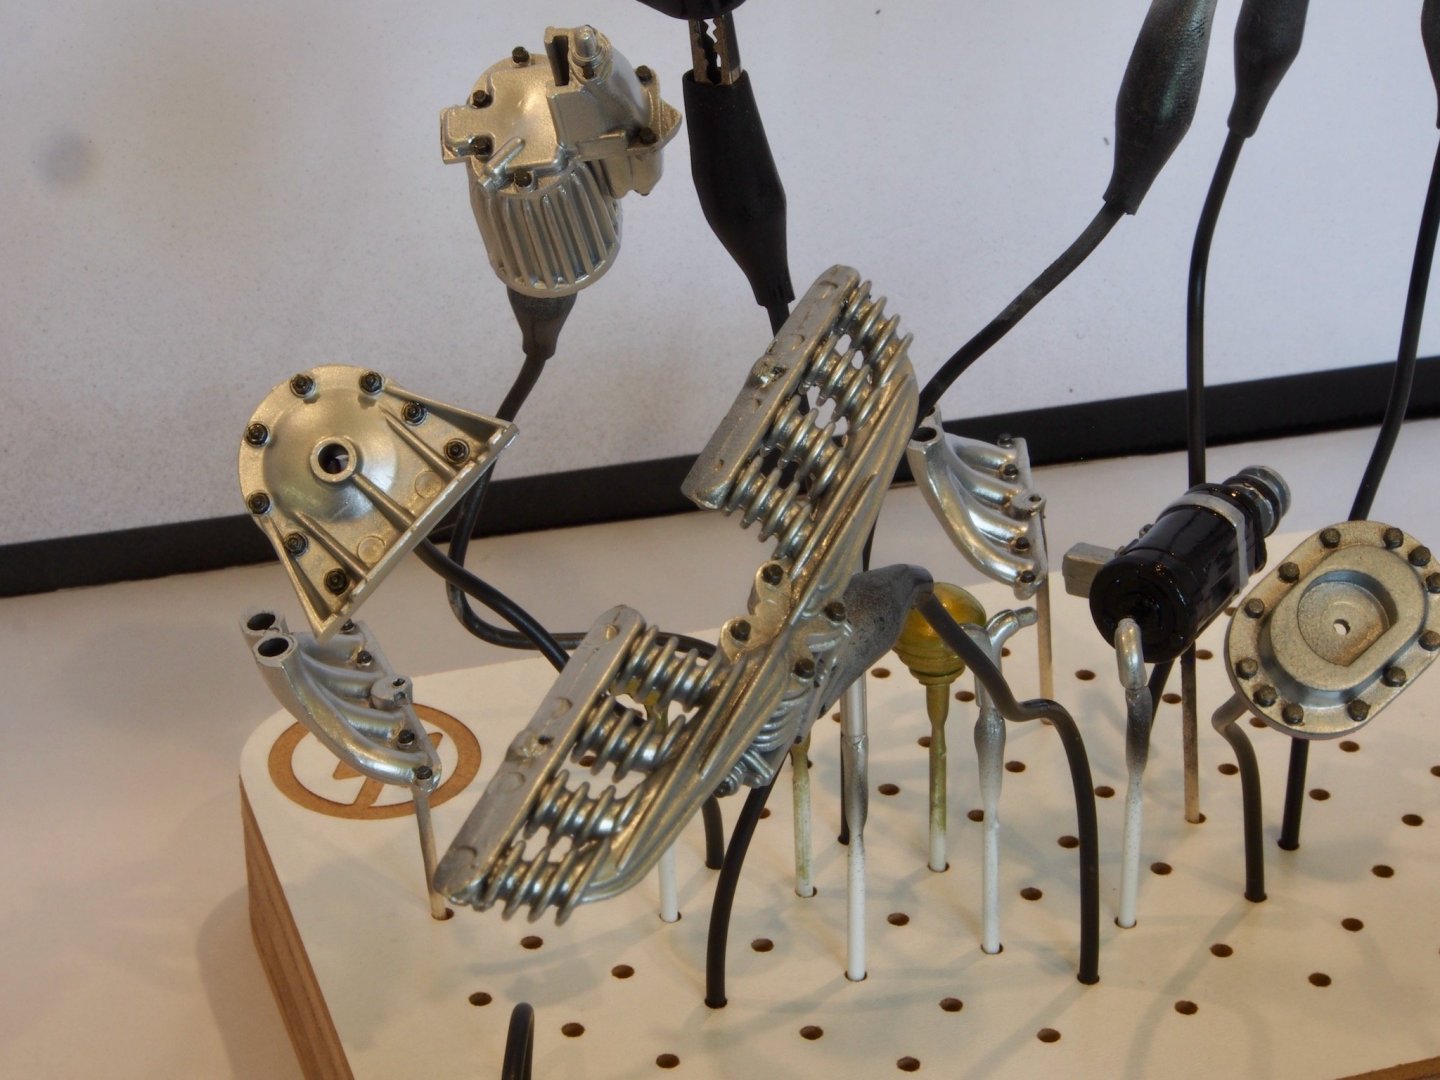
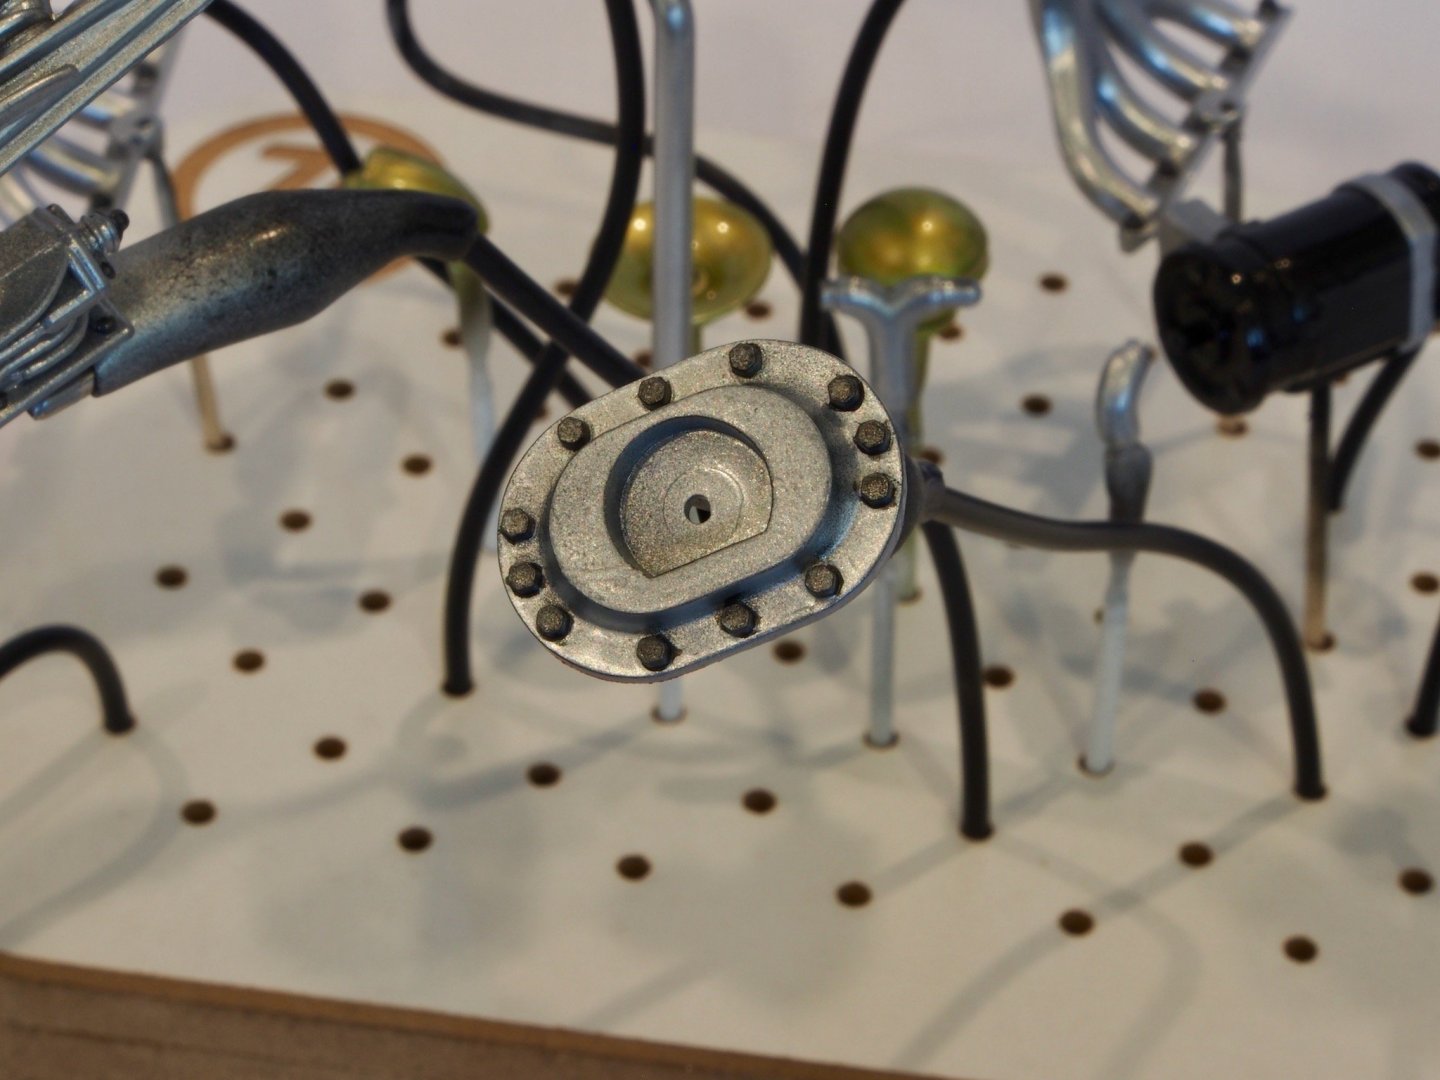
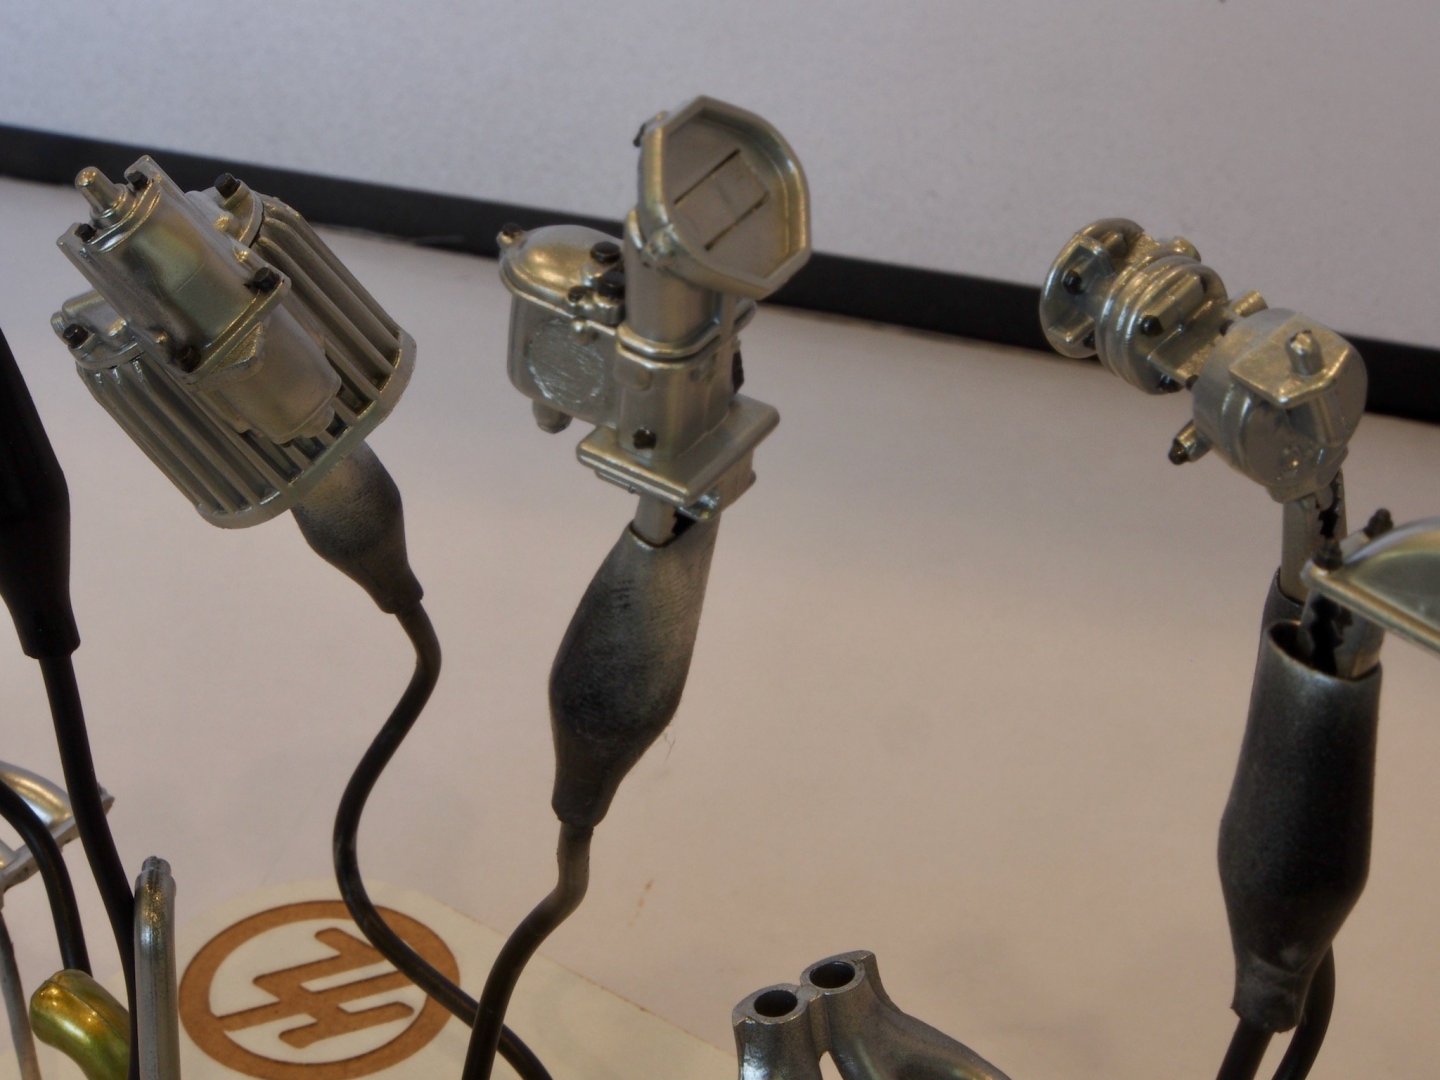
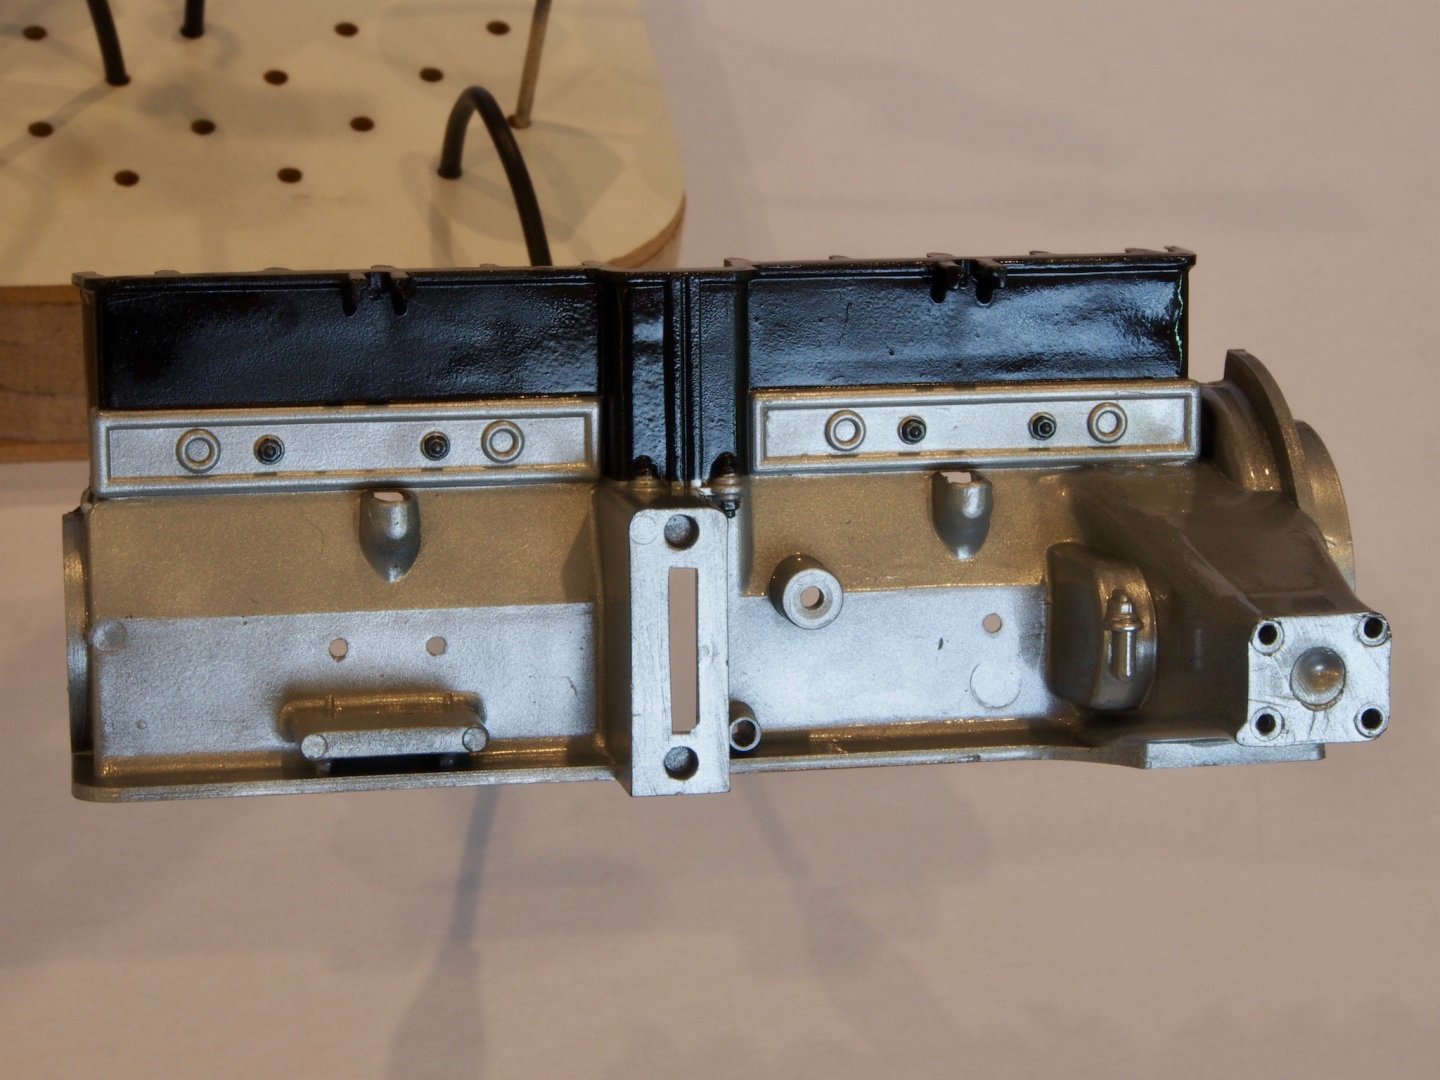
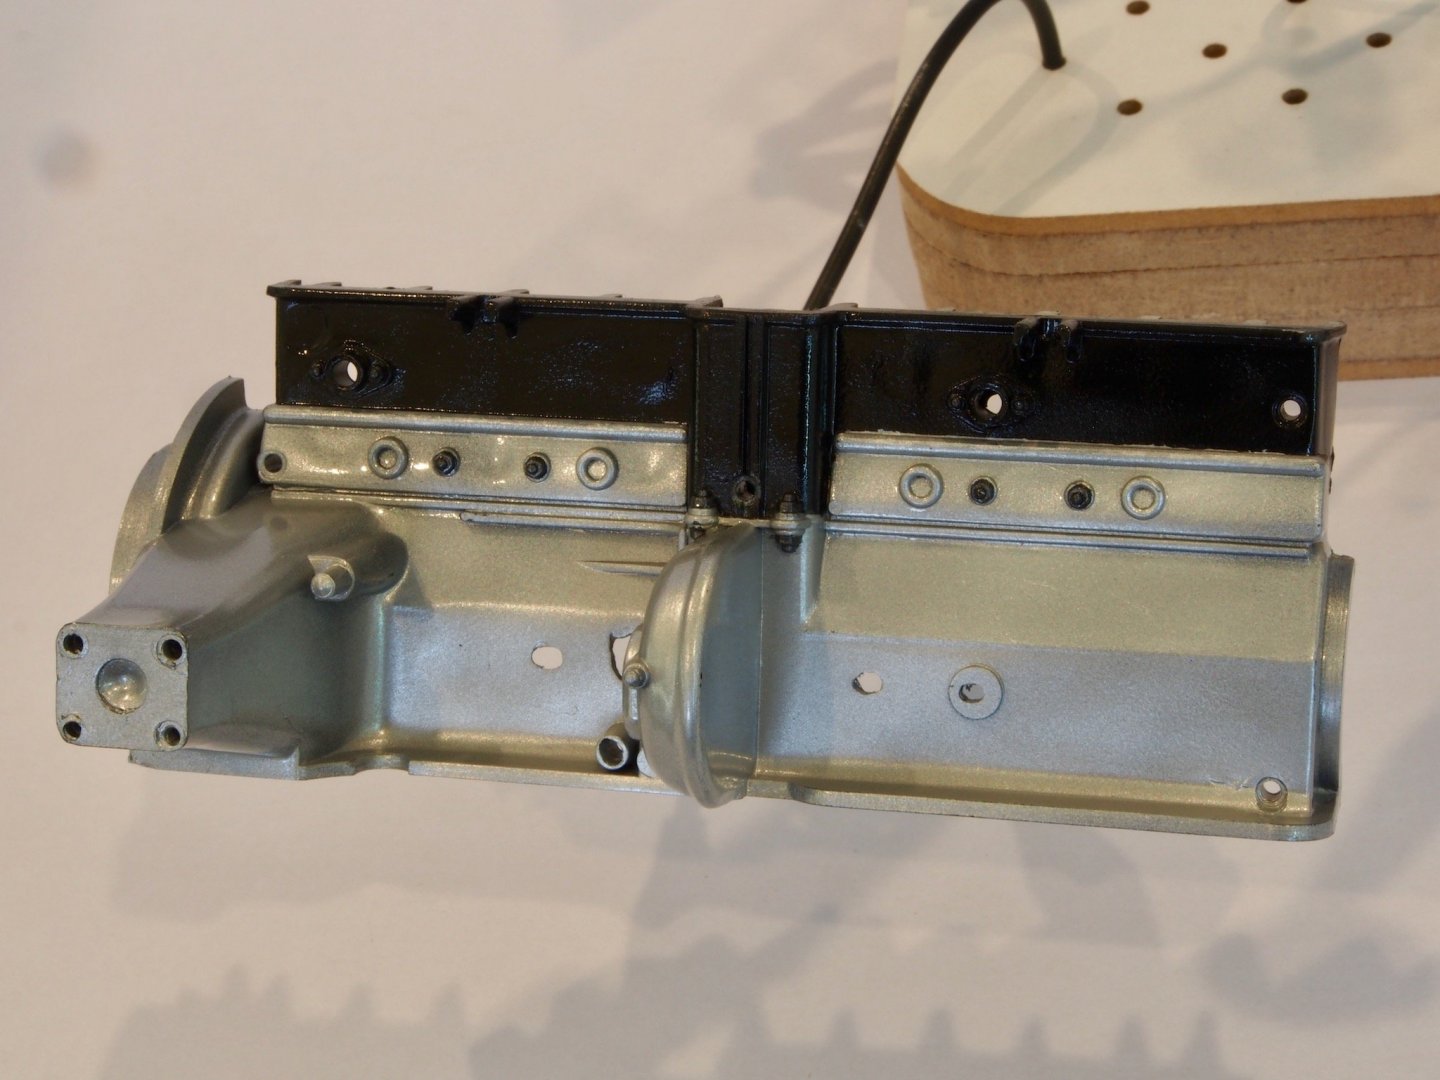
The main engine block in the street variant of this car was aluminium with a cast iron cylinder head. I sprayed the majority of the engine components with Vallejo Dull Aluminium and then went back and hand painted the simulated bolt heads with Vallejo Gun Metal. The main block was sprayed with a two-tone effect using Dull Aluminium and Black for the cylinder head. Everything was then given a coat of Metal Varnish to finish. Here are a few photos to show the overall painting, along with some close ups of the various components.
These components are now ready for assembly.
-
The Engine Block
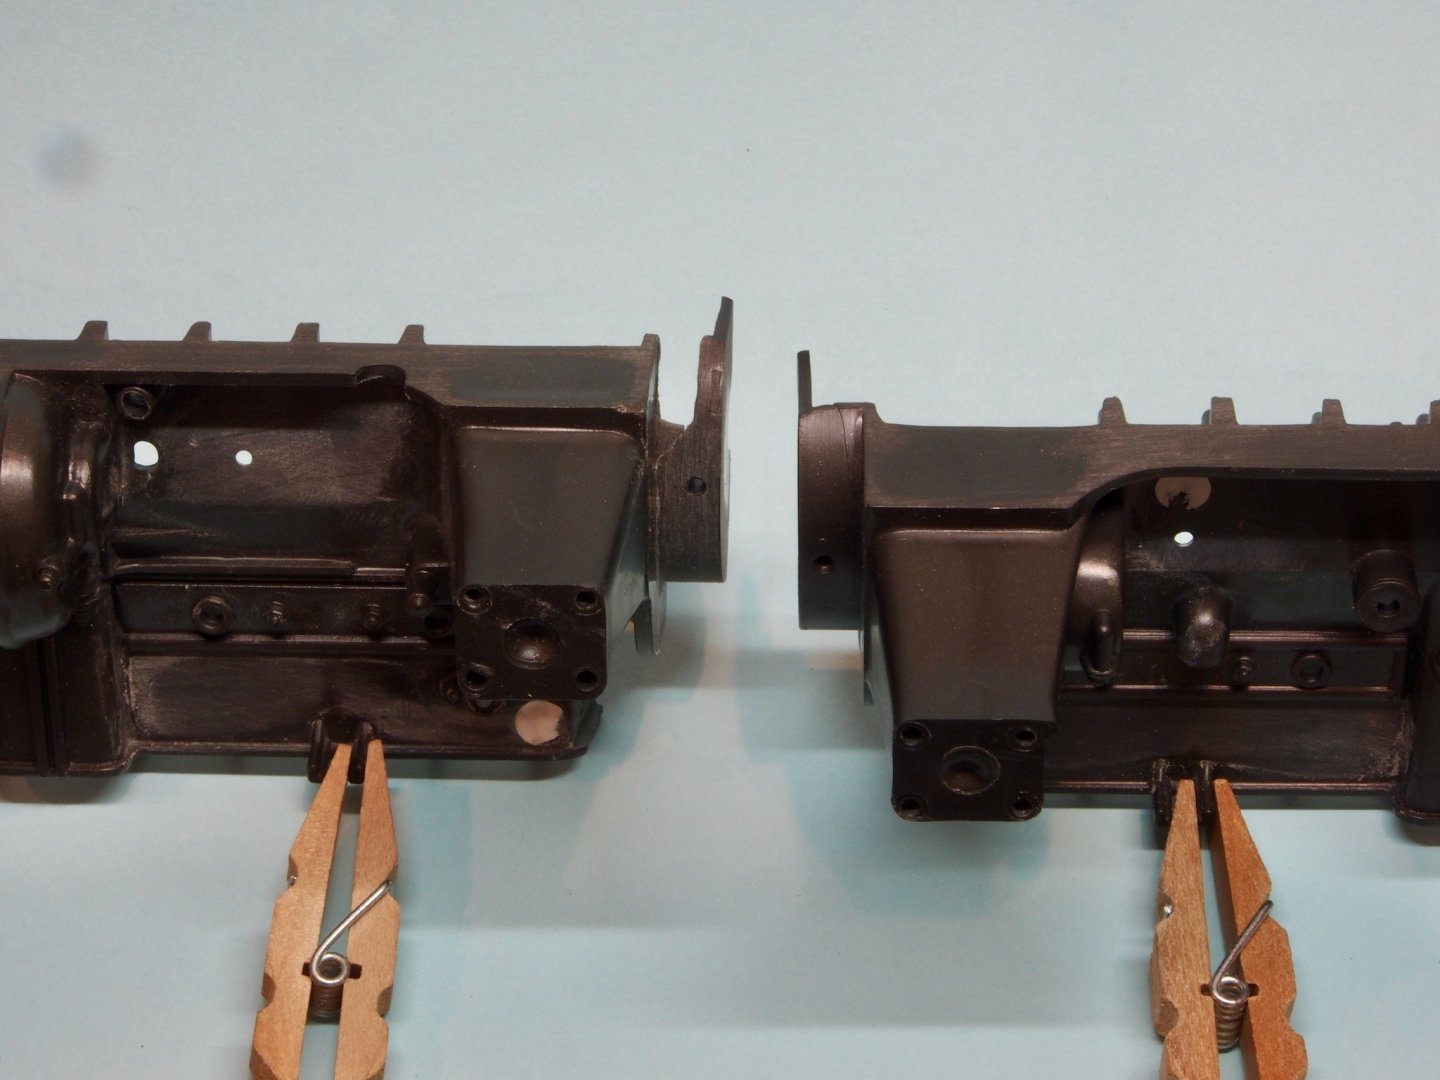
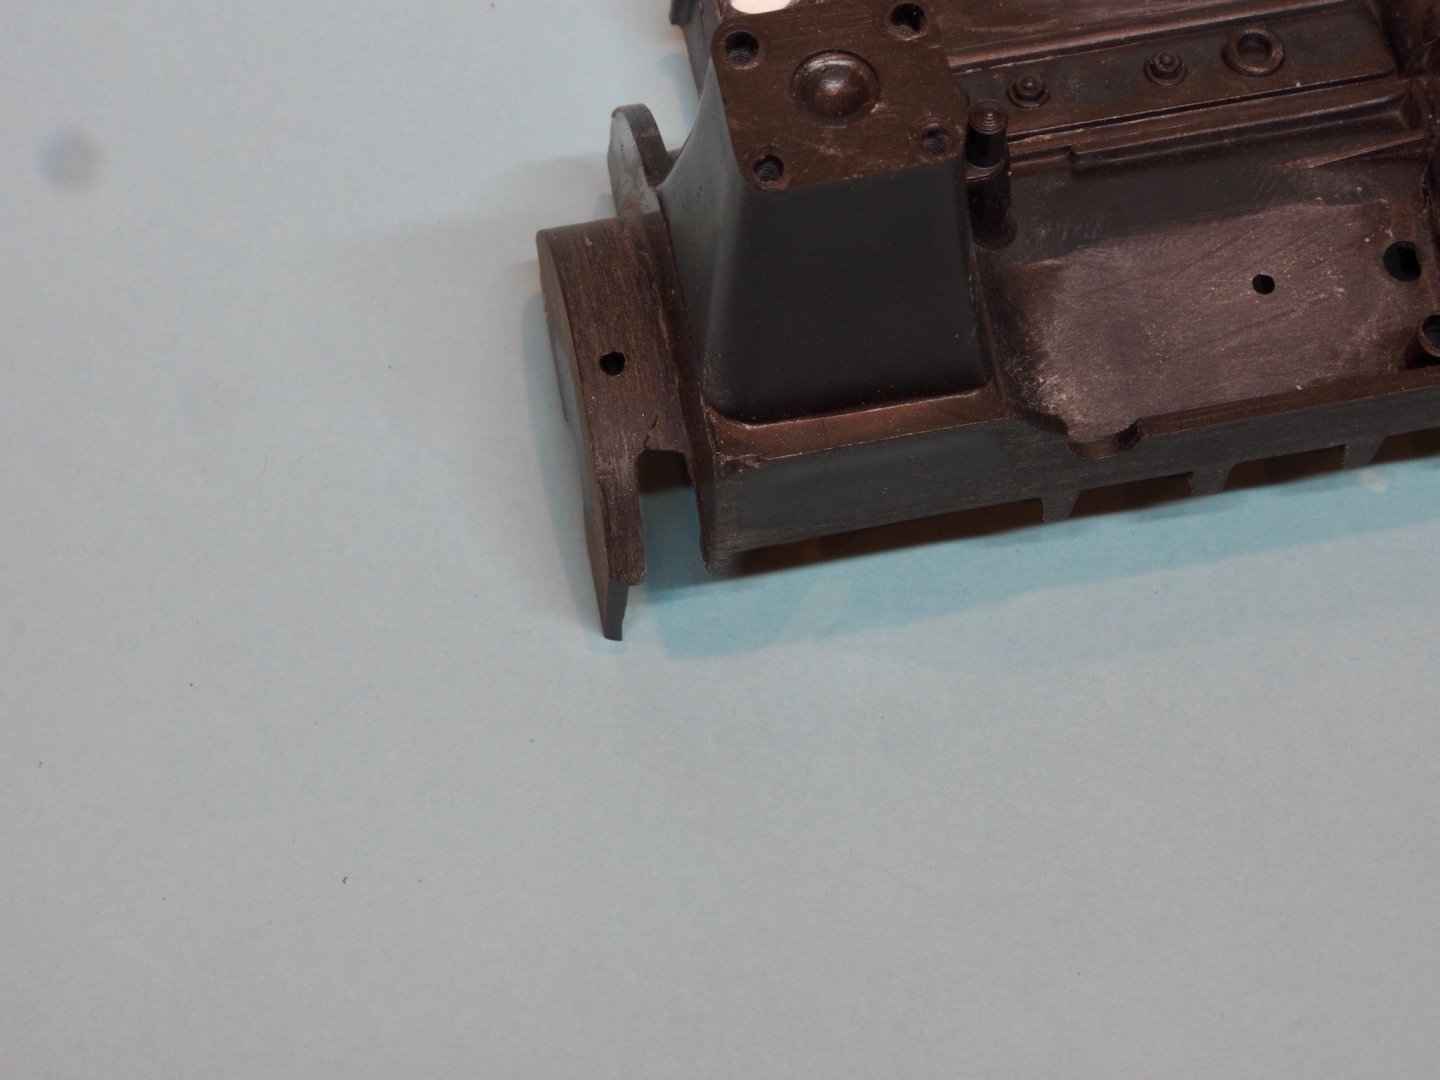
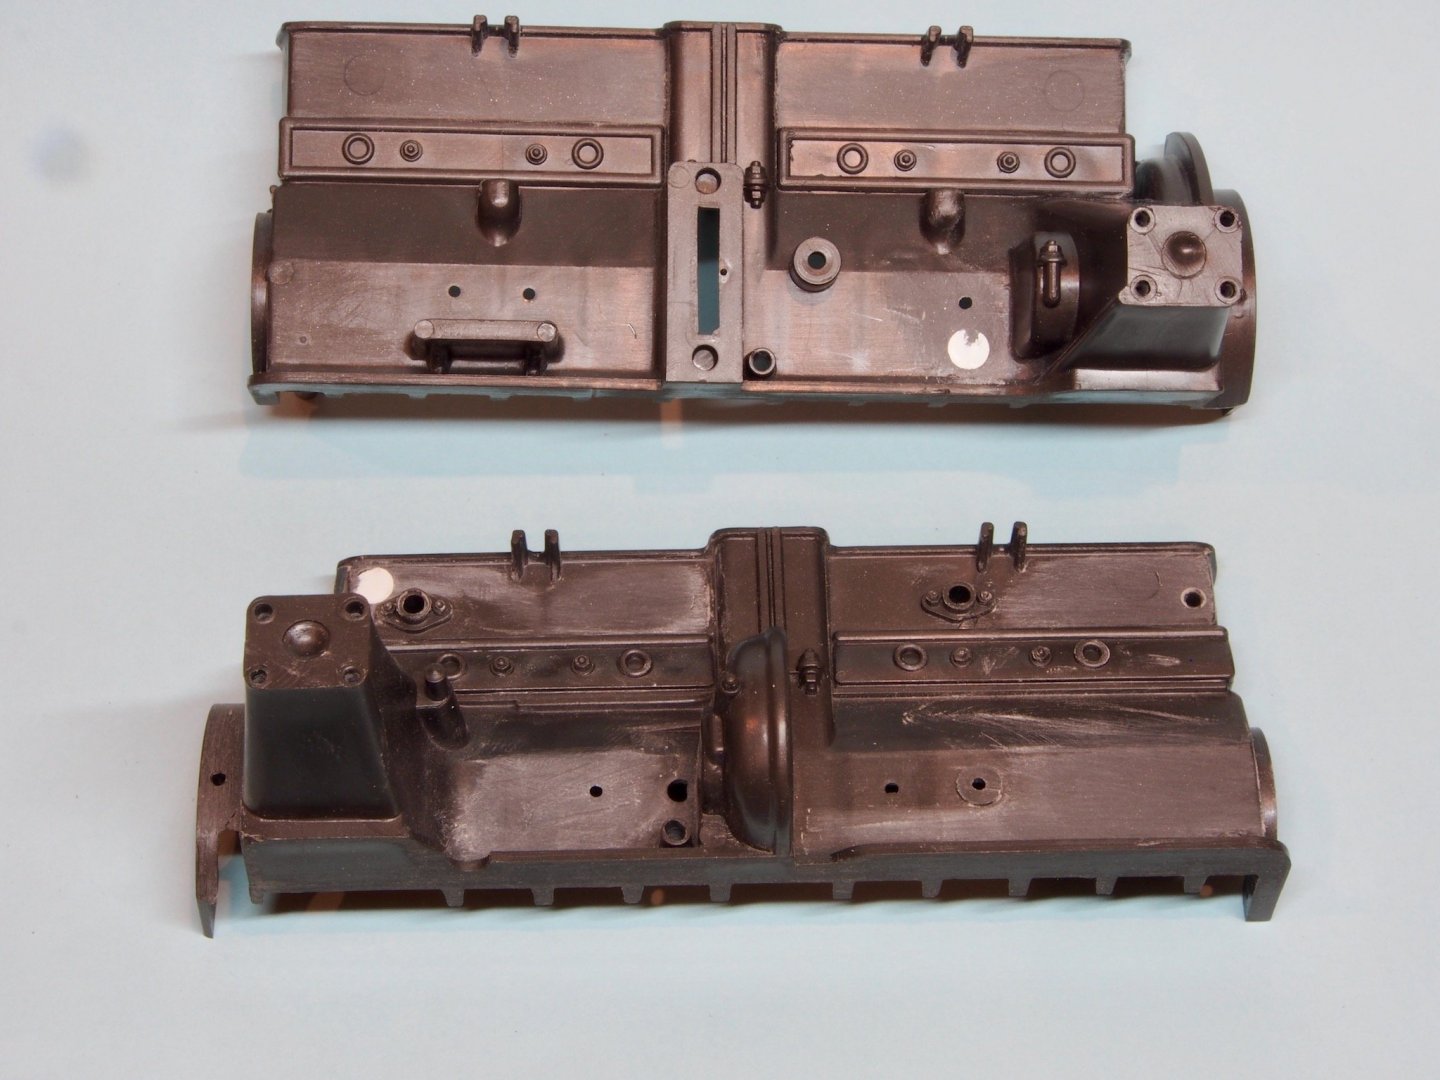
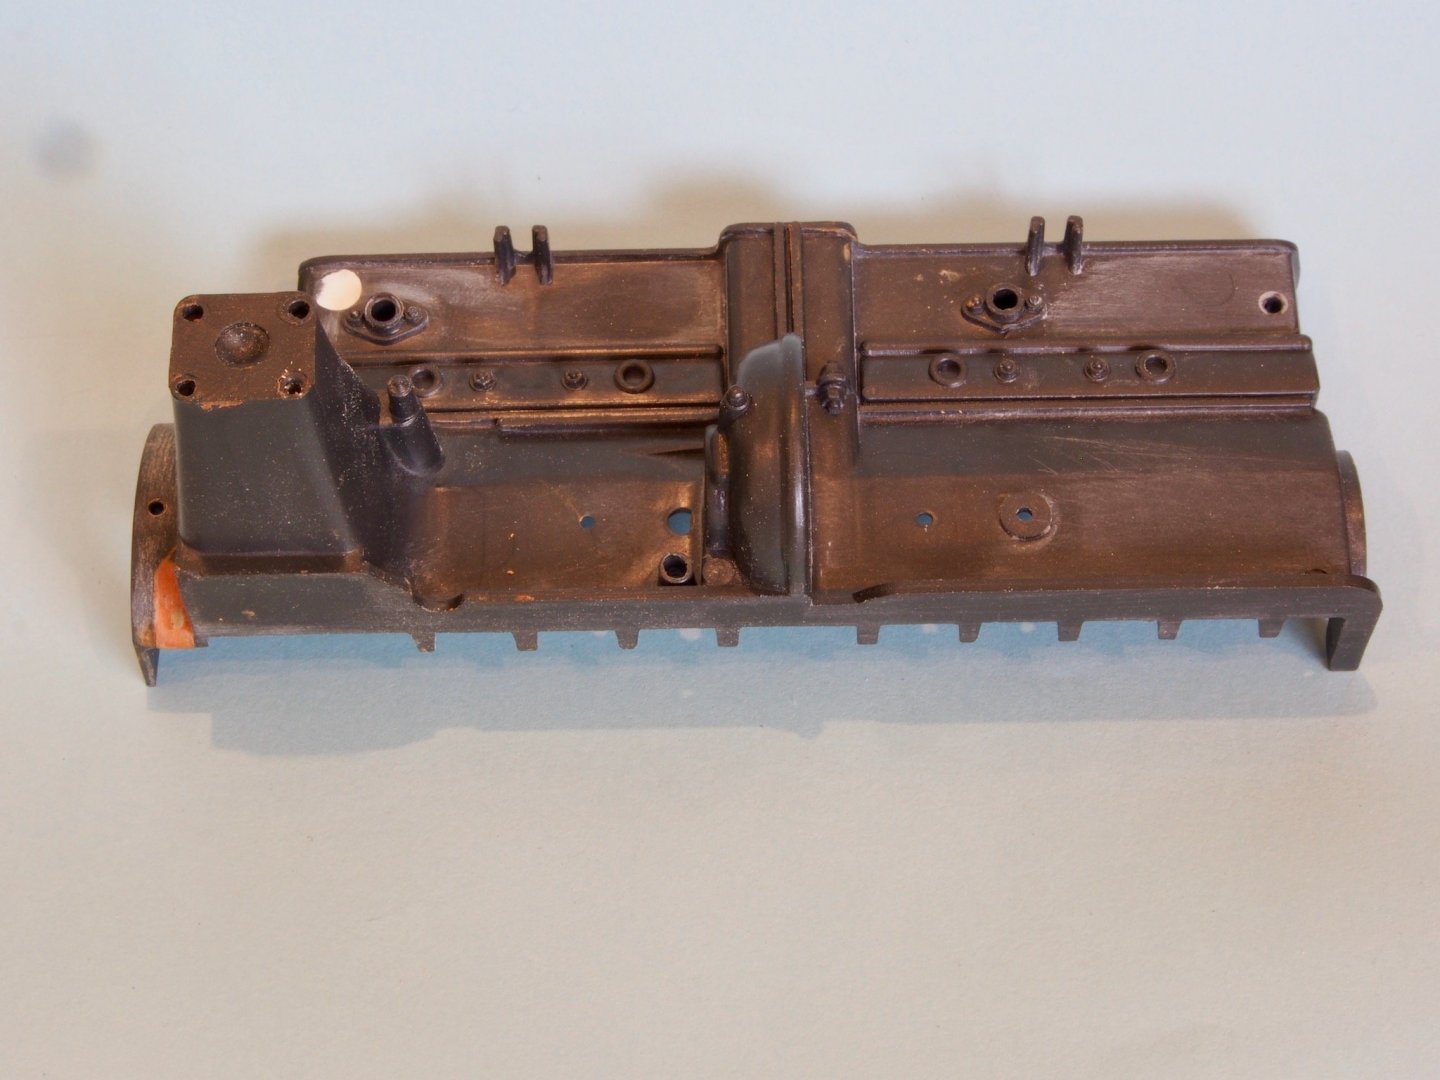
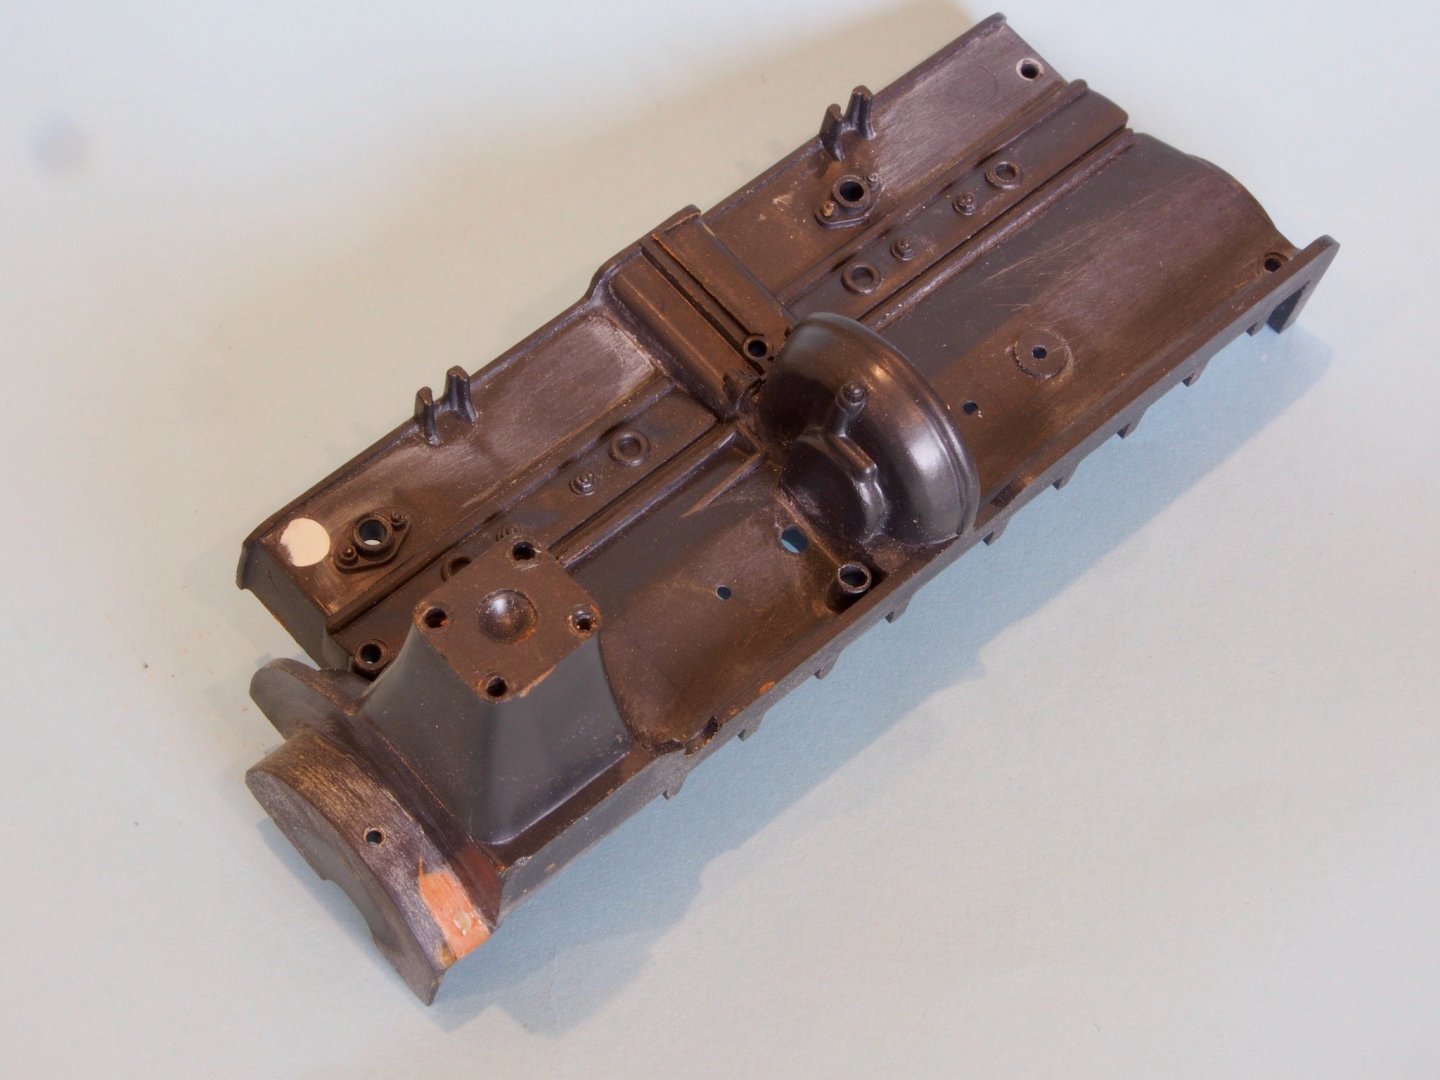
For this entire build, the basic sequence is to test fit the parts for each build step, adjust the fit, then disassemble, paint and re-assemble. However, before I could even start on the test fitting, I found that I had to address some significant defects in the main engine block. Whether caused by mishandling at some stage, or just through age and the plastic becoming brittle, I found a large chunk taken out from one end of one half of the engine block. There was also a significant amount of clean-up required.
I was able to repair this using some Milliput epoxy putty. I also used some Tamiya white putty to fill some of the mold marks.
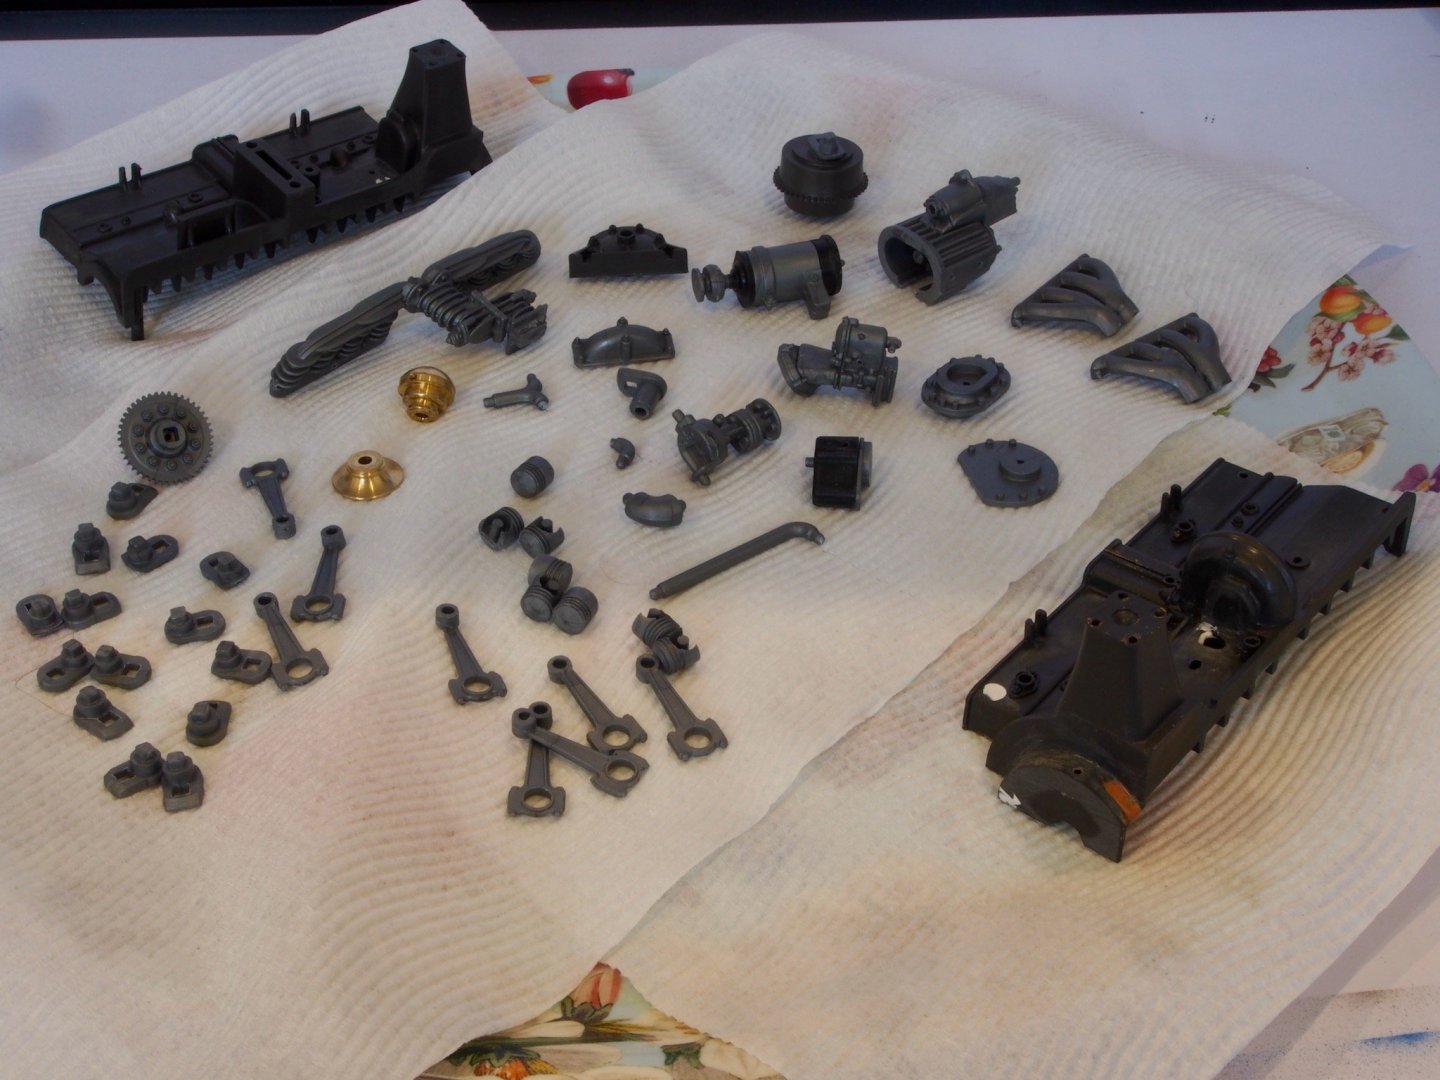
There is very little glue used in the construction of these models. A lot of the parts are screwed together using some very small screws. However, the holes in the plastic are invariably too small and are prone to cracking if forced. On the engine block and the component parts all of the screw holes were first drilled out using a 1.2mm drill and then tapped by screwing in the screw by itself first. This puts a thread into the plastic and makes it significantly easier to assemble. Additionally, a lot of screw holes are misaligned and needed to be moved or otherwise modified. Thank goodness for Paul’s instructions here – he identifies every single one of these misalignments and shows photographs of how to adjust the fit. Once this had been done, all of the component parts could then be disassembled in preparation for painting. There were a few components that made up into sub-assemblies that were able to be glued together prior to painting, however most were stripped back down to individual parts. Here are the parts ready for painting.
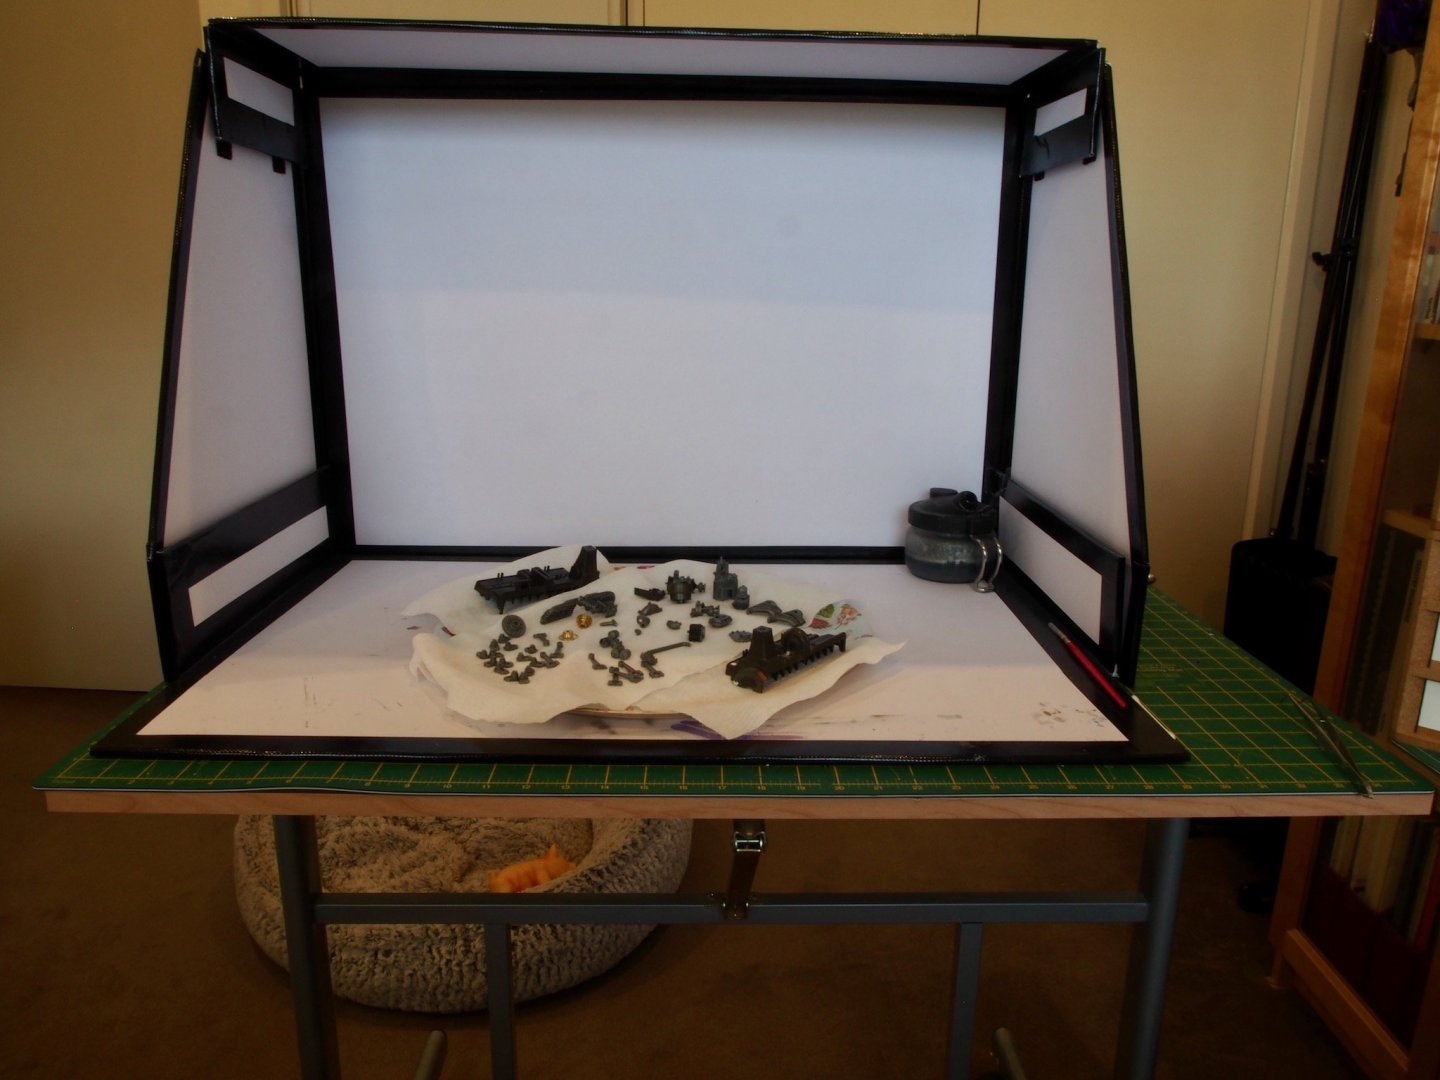
I’ll be breaking out the airbrush for this project, so I decided to take a diversion and build a collapsible spray booth so that I could spray inside. As I’m using Vallejo acrylic paints, I don’t need to worry about ventilation, so the booth is just to protect from overspray. It is built of poster board and “hinged” with a tape similar to duct tape, so that the whole thing will fold flat for storage is as light as a feather. In use, it fits on a small portable table that sits at 90-degrees to my main workspace, so it is quite convenient. The top of the spray booth can also be folded back to allow more light on the work surface.
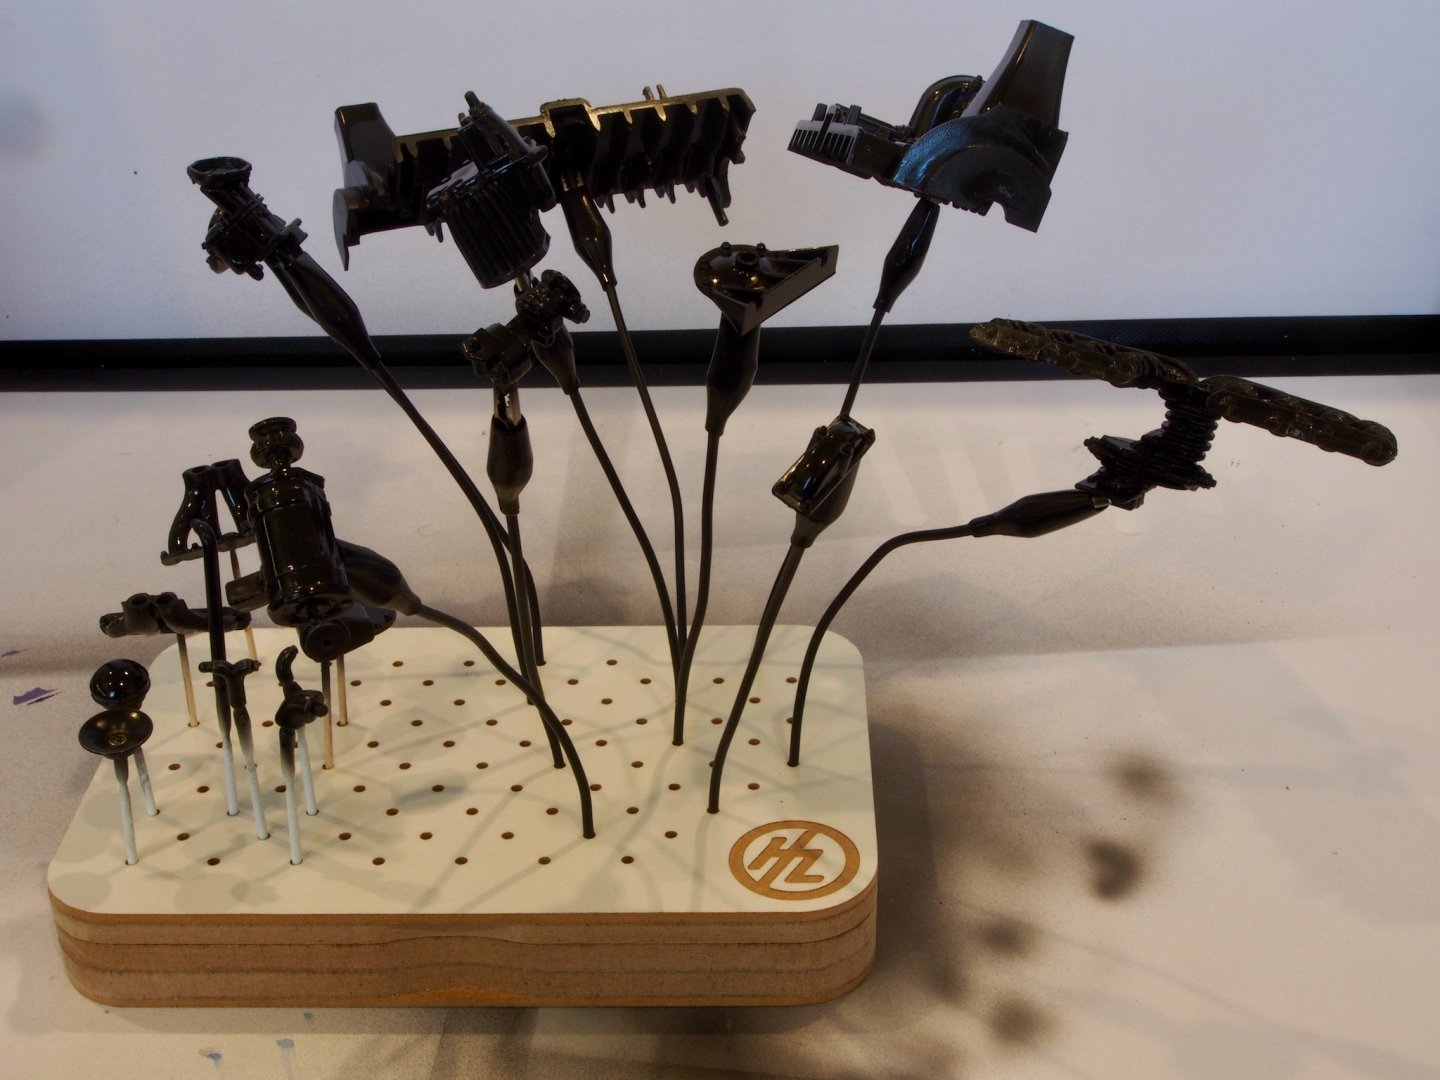
I’m using Vallejo Metal Colour for painting these parts and Vallejo specifies a gloss black primer coat for these. So here are the parts with a coat of primer. The stand is something I picked up from Hobby Zone. It is actually a box construction. The top with the holes comes off and then the “arms” (10 of them supplied) are all stored within the box when not in use. The arms are a stiff but flexible plastic with an alligator clip at the end. It’s quite a neat little set up.
Continued in the next post....
-
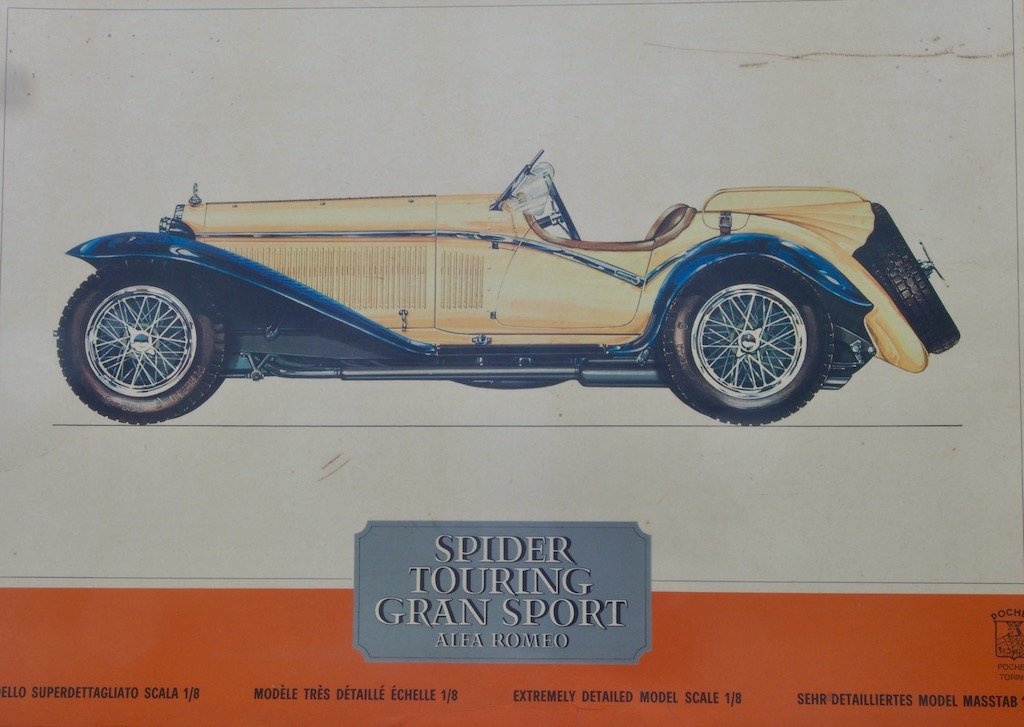
I had never heard of the Pocher range of model car kits until a fellow modeller on MSW (Moonbug) took a diversion from building ships to building one of these (actually a Rolls Royce). After following his build, I knew I had to have one of these kits. After much searching online, I came across someone in Sydney selling the Pocher Alfa. The price seemed quite fair but he advertised “pick up only” – these kits are in large, quite heavy boxes so clearly he did not want to deal with packing and posting. As it happened, I was due to be travelling to Sydney the next weekend and would be quite close to his proximity. I told him I would definitely like to buy subject to physical inspection.
That weekend, my wife and I drove to Sydney and I visited the seller. He turned out to be a very nice old chap who had not one, but several of these kits to sell. He had bought four of them when his four boys were very young, with the intention of presenting them a finished model on each of their 21st birthdays. The youngest son was now 48 and three of the models had not even been started, including this one. Everything was still in the original sealed bags inside the box, so that was good enough for me. As I was leaving, he asked if I’d be interested in his Rolls Royce Sedanca Coupe as well. I politely declined, fearing what the Admiral might say. Anyway, as we were driving away, I cautiously mentioned to my wife the latter part of the conversation and to my great surprise, she asked if I’d like the second kit as a Christmas present. Needless to say, we turned around and bought the second kit as well.
That was in October 2016. I finally got around to making a start on this model in late February 2020.
Anyone who is familiar with these Pocher kits will know that they are famous for two things: the amazing level of detail they provide, and the equally amazing poor quality control and parts fit. Furthermore, the instruction manuals are little more than a series of exploded parts views. Having done a lot of research I came across a guy in the US by the name of Paul Koo, who has made a series of detailed instruction manuals for all of the Pocher classic car range. His DVD contains very thorough step-by-step instructions that forewarn you of all of the “problems” with each kit, and how to remedy these, BEFORE you find out the hard way. The DVDs also contain hundreds of photos showing everything from parts identification, to assembly sequences, and even how to pack the parts back into the box. There are also many reference photos from actual cars still in existence. On top of that, he carries an extensive range of spare parts that he has collected from partial models over the years. If you’re missing a part, chances are Paul can provide it. He is also an extremely nice and helpful fellow with whom it is a pleasure to do business. So much so, that I have subsequently added another two kits to my stash…….
What’s in the box?
A lot! There is so much packed into this kit, that Paul’s DVD contains 68 photos to help identify the various bags of metal parts and all of the plastic sprues. Here are a few photos from the DVD to show the contents by “layer” within the very large box. These are essential if you are to have any hope of getting everything back in the box again!
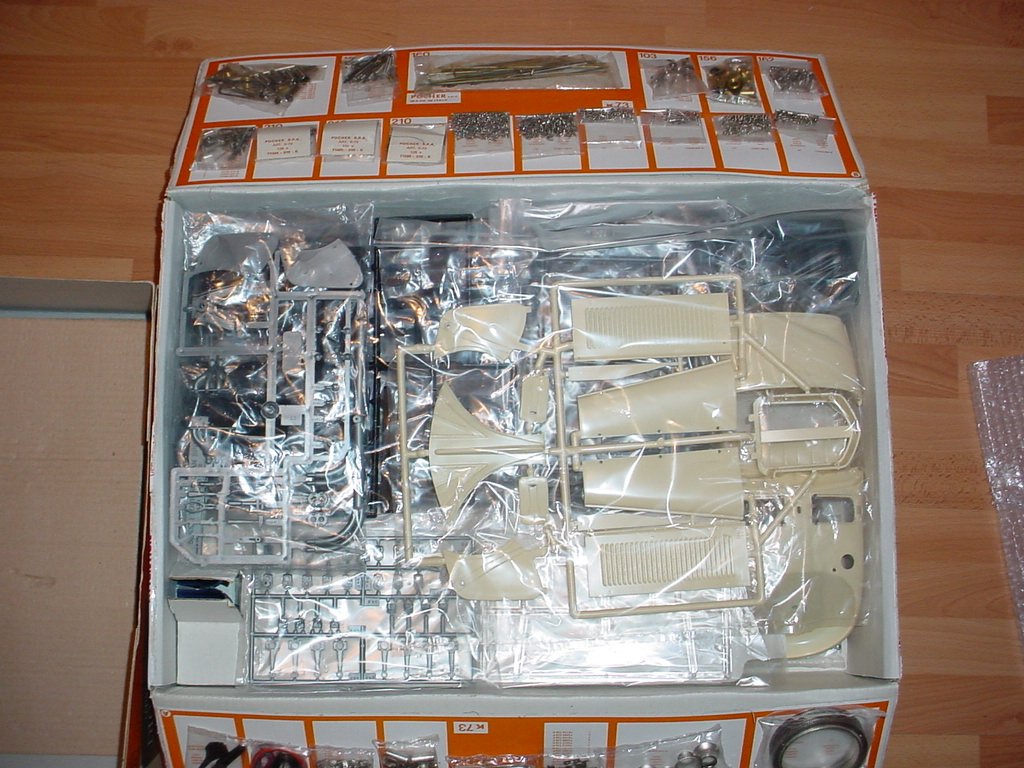
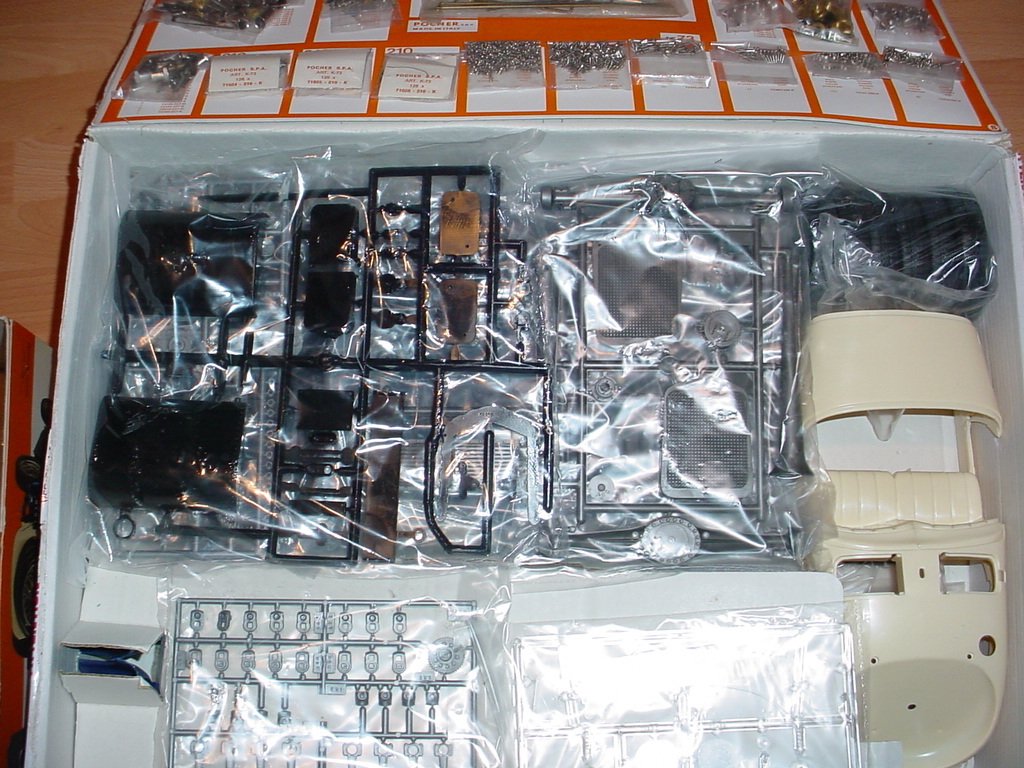
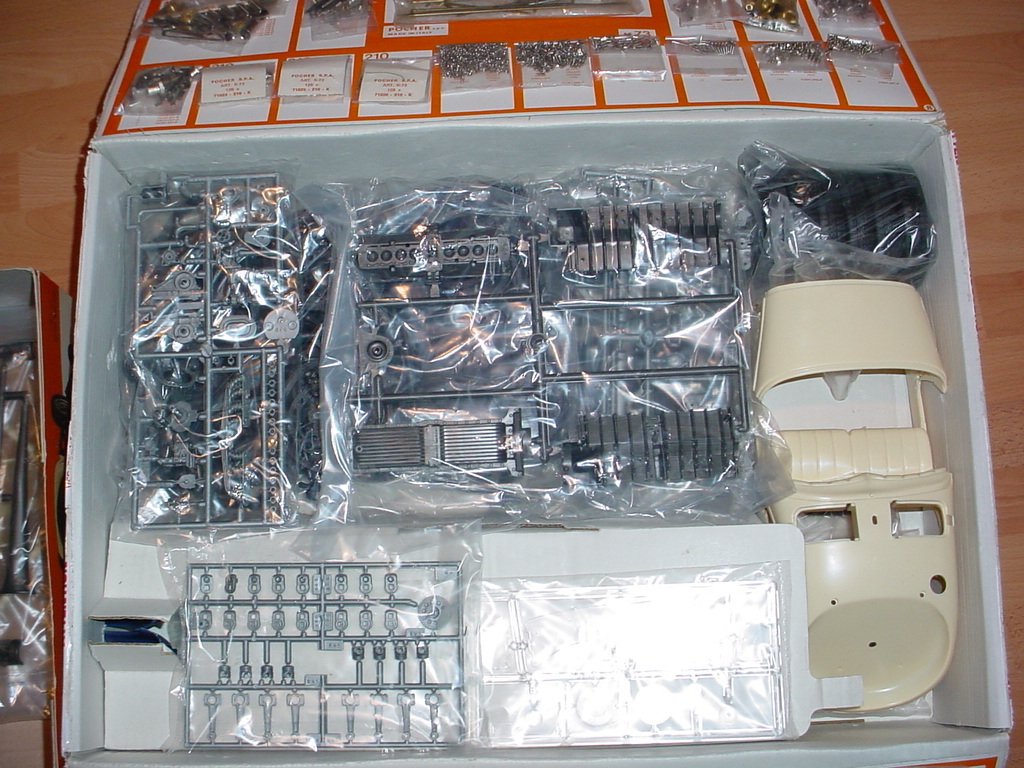
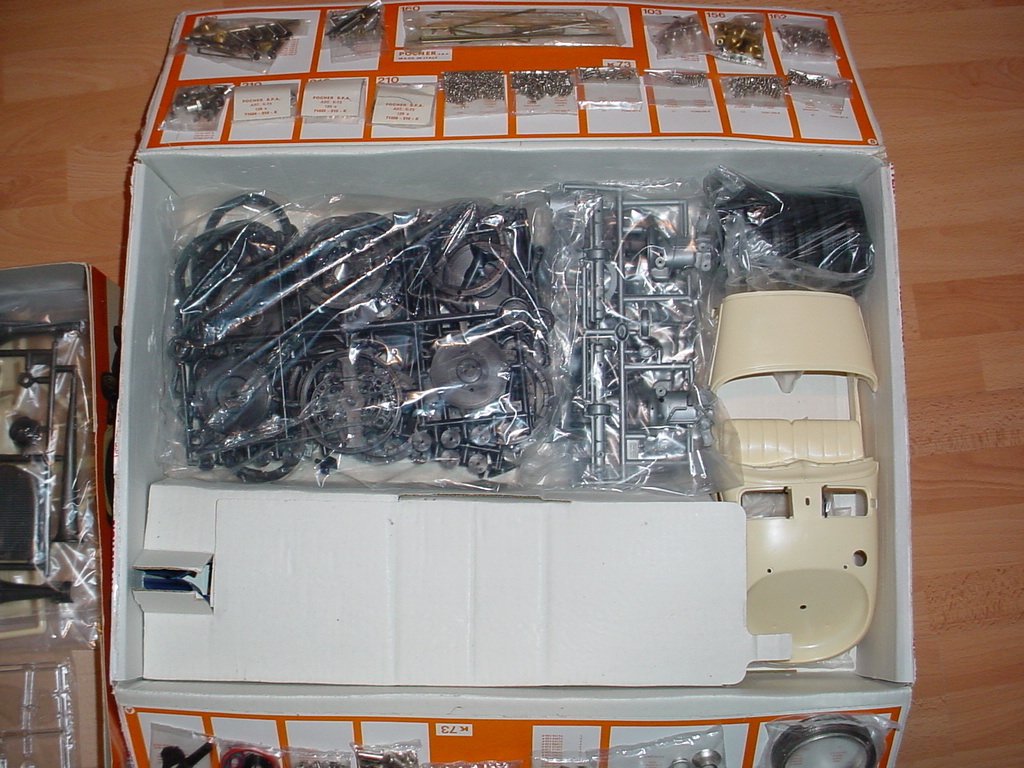
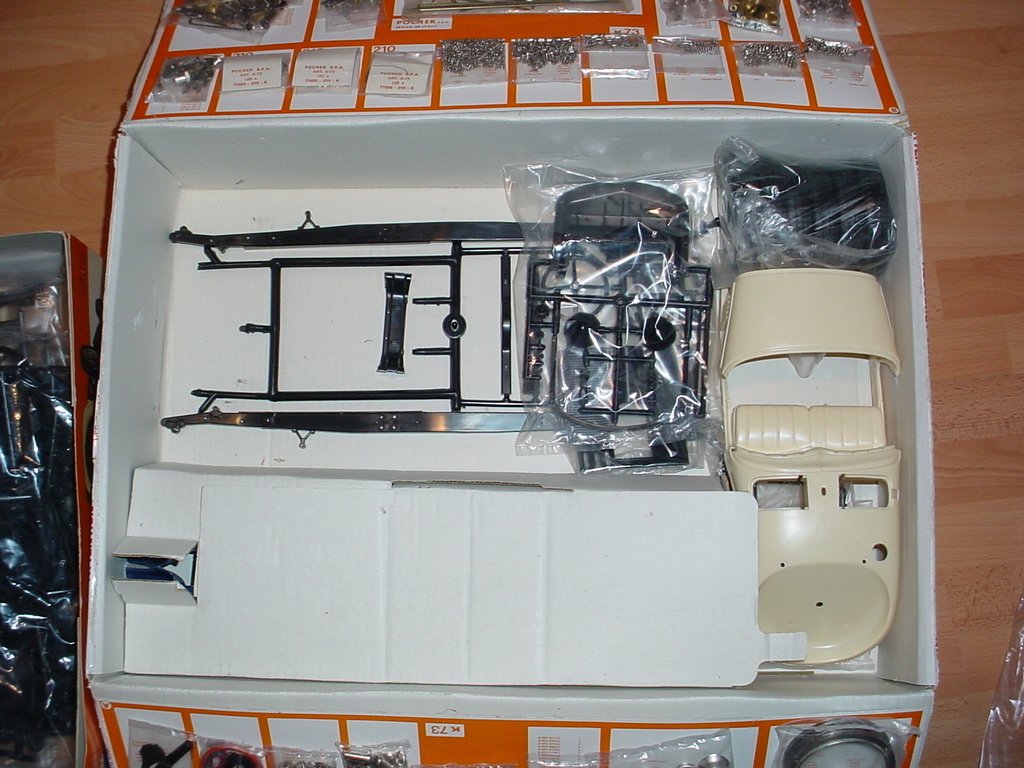
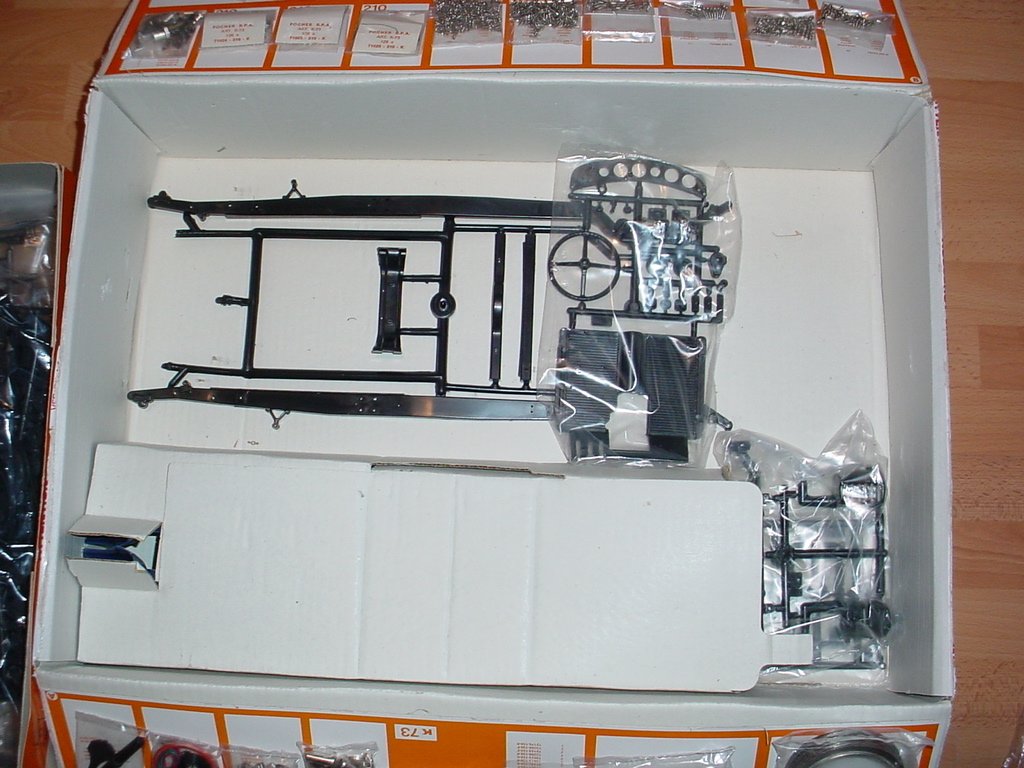
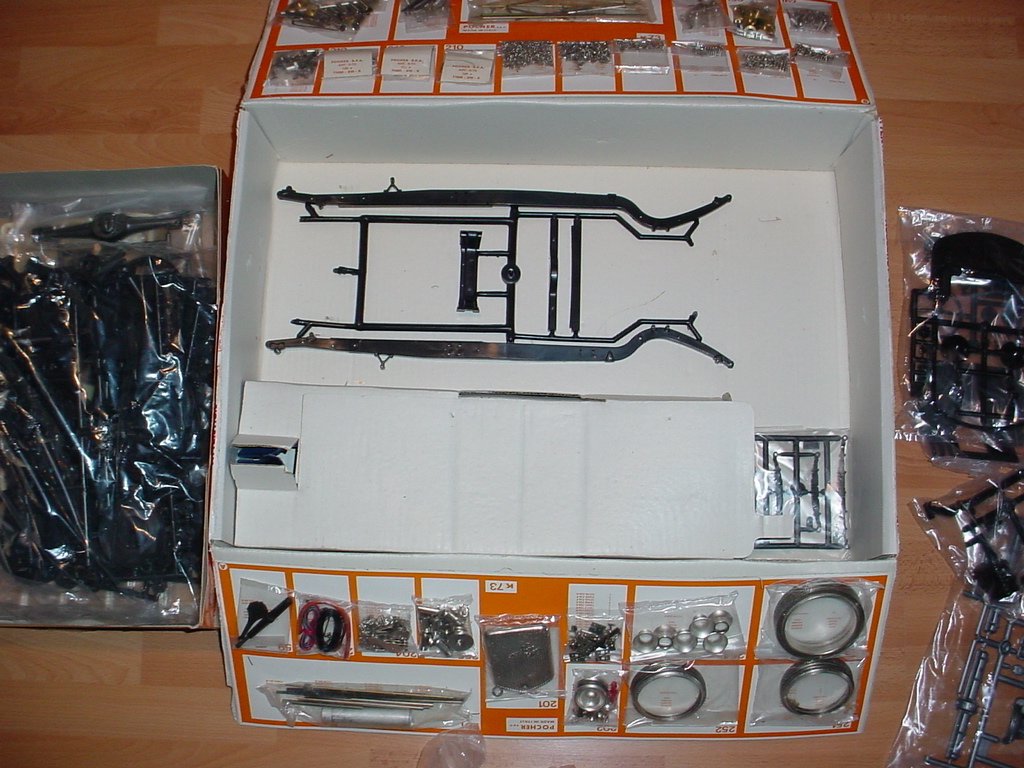
Not showing above are the two wing panels that are hidden under the final piece of cardboard at the front of the box in the last picture above.
Continued in the next post...
-
Progress looks good Chris. 👍
-
-
-
-
She’s looking stunning David. Great work!
-
This looks like a fun build - I’m in!
-
Congratulations on another truly fine model B.E. It is always a pleasure following your builds.
-
-
Repair job looks good Chris. 👍
-
Nice to see you back again Chris.
-
Hi Doug and welcome to MSW. There are quite a number of us Aussies here. I can’t answer your question directly, but another Aussie here is a real whiz on the plastic side of things. Here’s a link to one of his many builds. I’m sure if you post your question directly in one of his logs, or even send him a PM, you’ll get your answer.
-
Another masterpiece for your final model Danny. Please also see my comments on your other post.
- Canute, thibaultron and mtaylor
-
 3
3
-
Well, I have some bad news and some good news....
First the bad news. I went ahead and added the two extra strakes for the whales, and then removed the hull from the build board and cut it free from the frame supports as per Chuck's instructions. That part of the process all went according to plan and once again, Chuck's thoughtful and well executed design made this quite easy. Unfortunately, once the hull was free from all of the supports, I was able to see what a truly horrible job I had done with the planking. Being able to hold the hull up to the light, I was able to see a number of ugly gaps in the planking - this apart from the two bigger botches noted previously. I though about patching and then painting the lower half of the hull, but some of the gaps would still be visible. I ummed and ahhhed about this for a few days and then after a PM discussion with Chuck decided that I was never going to be happy with this. It was going to destroy my enthusiasm for the rest of the build. In the end, the decision was clear - it was time to terminate the build.
Now the good news. The hard part was making the decision to terminate. Having made that decision, I did not want to walk away from this project entirely. Again, in discussion with Chuck, I've decided to re-start the project from the beginning. I have ordered replacement parts for all of the keel, transom, frame, and planking parts - a total of 17 sheets! Chuck has already shipped those so it will only be a week or two before I can re-start the project, hopefully applying the lessons learnt to date.
On reflection, here are a few of my key observations/lessons. They may be Blinding Glimpses of the Obvious (BGOs), but might also help someone following along from falling into the same traps.
1. Take your time. Even though model time can be a rare commodity, resist the urge to rush ahead when you do finally get to the shipyard. Looking back over some of the excellent build examples already on this group project, there is a common theme of just how much time was spent in shaping the planks, even though they are pre-spiled for us. So, go slow to go fast!
2. Glue. I have previously resisted wherever possible using CA glue. I have a sensitivity to it (like many others) and can get flu-like symptoms from even the smallest exposure to it. However, the way this kit is designed, and the fragility of the parts, makes using PVA pretty much a non-starter. So, get the respirator mask out, check the filters are in date, and wear it - EVERY time! I suspect that dust from the AYC might have irritant properties as well, so again get the mask out and use it!
3. Glues ain't glues. Even once I switched to using CA glue, I was using what was purportedly a "thick" CA. It was still pretty runny. I ended up using some accelerator with it, which in turn tended to leave a white residue behind. When I glued the second layer of the whales, I used a CA gel glue that I found. So much easier!
4. Gluing technique. I had been (like many others I suspect) applying glue to not only the frames, but also along the plank edges. This was not only difficult, but extremely messy as well and took a lot of clean-up. I was surprised to read recently in someone else's log where Chuck said he doesn't glue along the edges - only on the frames. Of course, I couldn't find that post again, so I asked Chuck via PM and this is what he said (and I'm quoting verbatim here):
"I only glue a little spot to the frames. I dont apply glue to the edges of the planks. Just in case I have to remove it. Maybe once in a while after a plank is on and it pops above the adjacent plank a bit.....in that case I will just add a very tiny amount of CA to the edge that is popped above the adjacent plank. Then I just push it down quickly flush and lightly sand it. But that is only after the plank is glued in position. It's a rare occurrence."
I have the glue side of things sorted - got the "good oil" on technique straight from the "horse's mouth"; found a decent CA gel; have the respirator and new filters.
To help with the first point, I've decided to run a parallel project. While this might slow down the overall completion of this kit even more, it will hopefully give me something else to work on while I am taking my time with this one. To that end, I will be starting a new log soon in the Shore Leave section as it's a non-ship build.
Rather than starting a new log for this build, I will continue this log once the new parts arrive in a week or two. I look forward to "resumption of play".
-
That looks great Ben. This will really make your build a “one-off”. Well done!
- Trussben and FrankWouts
-
 2
2
-
-
Beautiful job Marc - almost too nice to use!
-
-
Thanks Bob - it was certainly an interesting diversion.
- Canute, popeye the sailor, Egilman and 2 others
-
 5
5


Alfa Romeo Spider Gran Touring by gjdale - FINISHED - Pocher - Scale 1:8
in Non-ship/categorised builds
Posted
Thanks Ken - welcome aboard.