


gjdale
-
Posts
4,894 -
Joined
-
Last visited
Content Type
Profiles
Forums
Gallery
Events
Everything posted by gjdale
-
 Thanks Popeye, Good pick-up. Yes, it's a tight squeeze in there. I had to re-locate the position of the receiver on the port side so that the hatch stay cleared it as it went down. Starboard side is okay, but still tight.
- 339 replies
-
- 3
-

-
- dumas
- Chris-Craft
- (and 3 more)
-
Thanks Ragove and Sam, Sam - the hinges and stays came from MACK products (http://www.mackproductsrc.com) ; the screws are from Jim Morris company (https://jimorrisco.com).
- 339 replies
-
- 5
-
-
- dumas
- Chris-Craft
- (and 3 more)
-
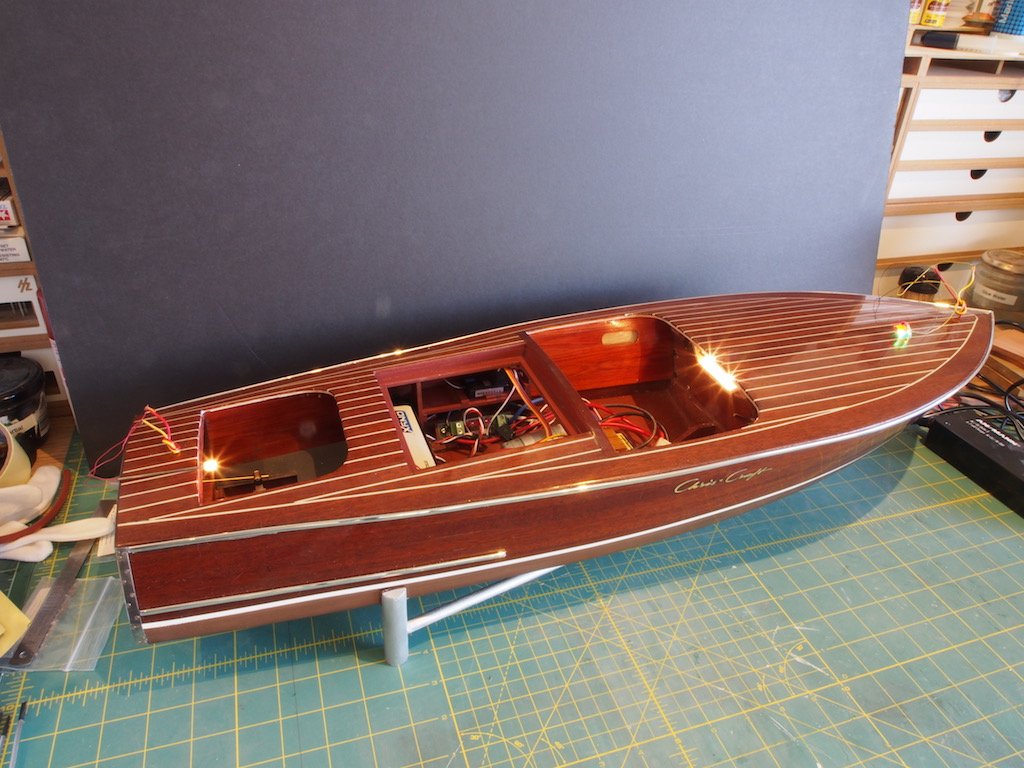
Thanks again for the kind comments and all the "likes". A minor update today – the Engine Hatches have been installed. I diverted from the kit plans here. The kit provides for a single, one-piece hatch, that is to be removed for access to the engine compartment. I elected to make a two-piece hatch, hinged, as per the real boat. I also elected to make the trim pieces from stainless steel, rather than the sticky tape provided in the kit. The trim pieces have all been drilled to accept 000-120 screws, countersunk flush with the trim. I also installed two hatch stays to hold the hatches open just past 90-degress. For these, I used a product from MACK products. Here is a picture of the trim in place, ready for the screw shaft holes to be drilled. And this view shows the hatches in the open position, with the hatch stays visible at the forward end. Although not perfect, I am happy enough to call this experiment a success. Next up, drilling 130 holes to accept the 000-120 screws and epoxying them in place.

- 339 replies
-
- 20
-
-
- dumas
- Chris-Craft
- (and 3 more)
-
Thanks Wefalck, I mentioned the plating kit a couple of pages back when discussing the cutwater, but didn't post any details. Here is a link that will tell you more: http://www.caswellplating.com.au/plug_N_plate.html I am using "copy chrome", which is actually cobalt. The kit is inexpensive and works very welll. However, just as with blackening processes, preparation is the key to success. The parts must be highly polished first and absolutely clean. In the case of the step plates, I progressed through 15 grades of abrasive paper, from 120 to 12,000 grit to achieve a polished surface and then soaked them in acetone for 30 minutes before a final rinse in distilled water. After plating, they were dunked in distilled water again, and then buffed with a metal polish and a felt pad on a rotary tool.
- 339 replies
-
- 5
-
-
- dumas
- Chris-Craft
- (and 3 more)
-
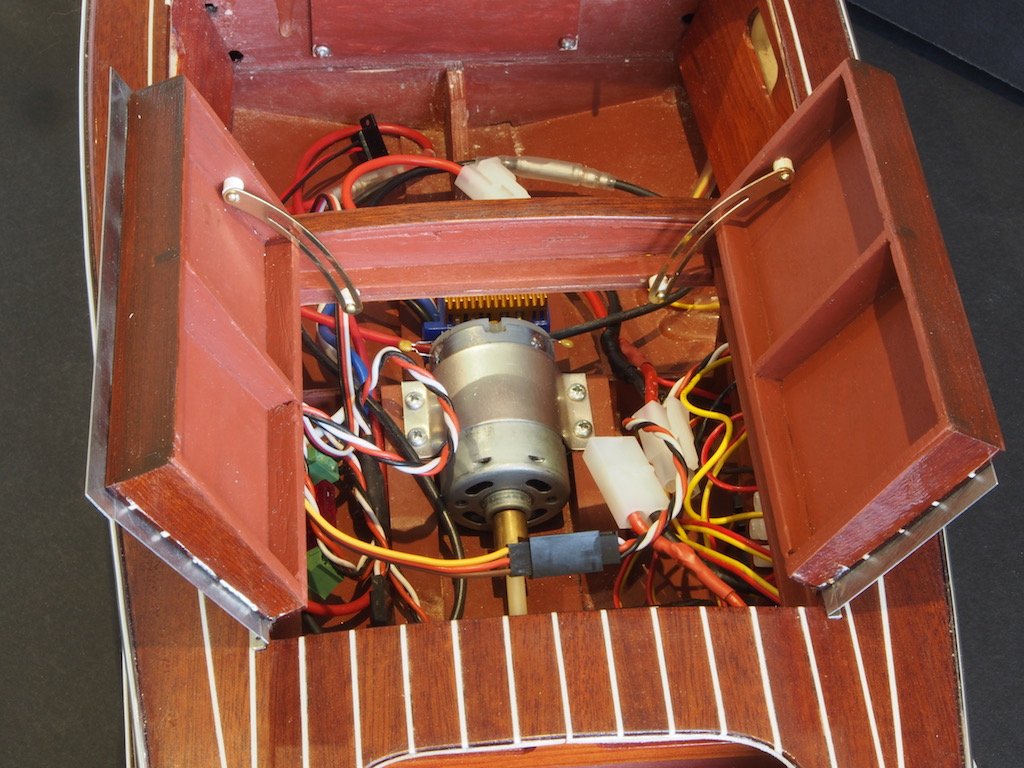
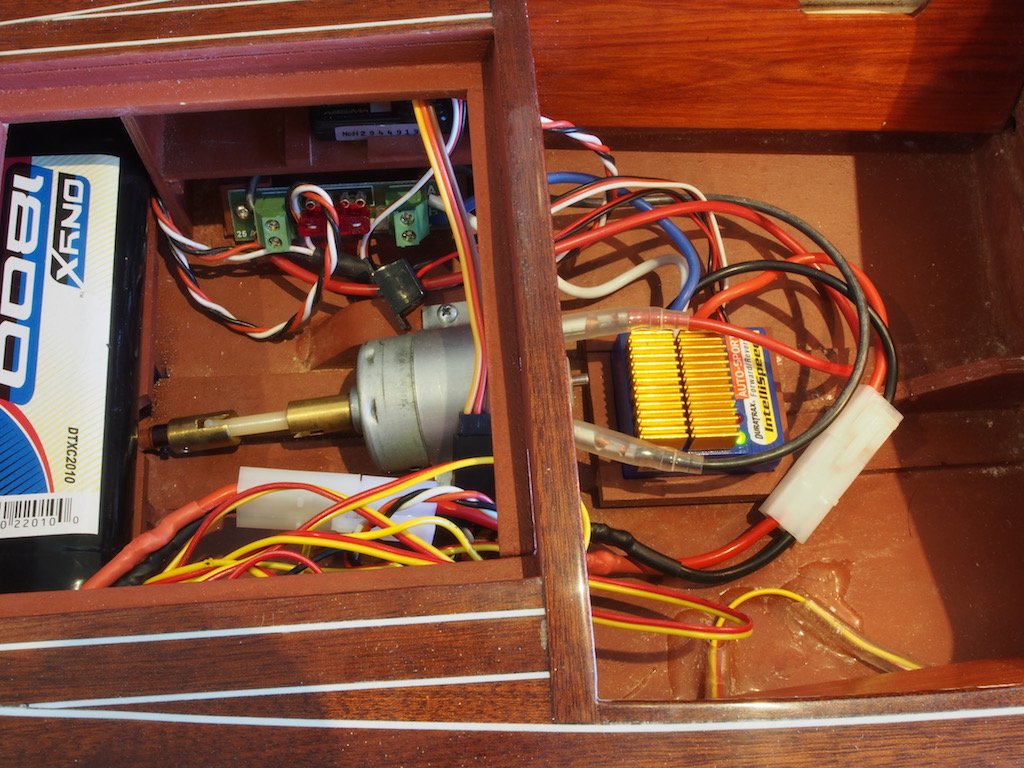
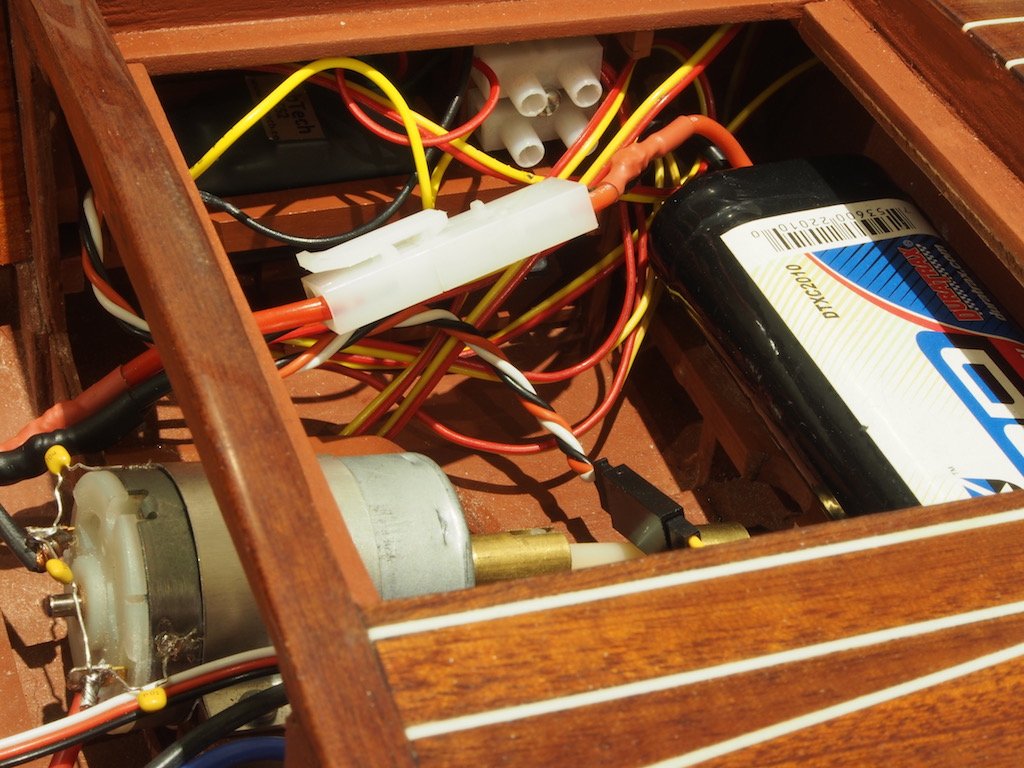
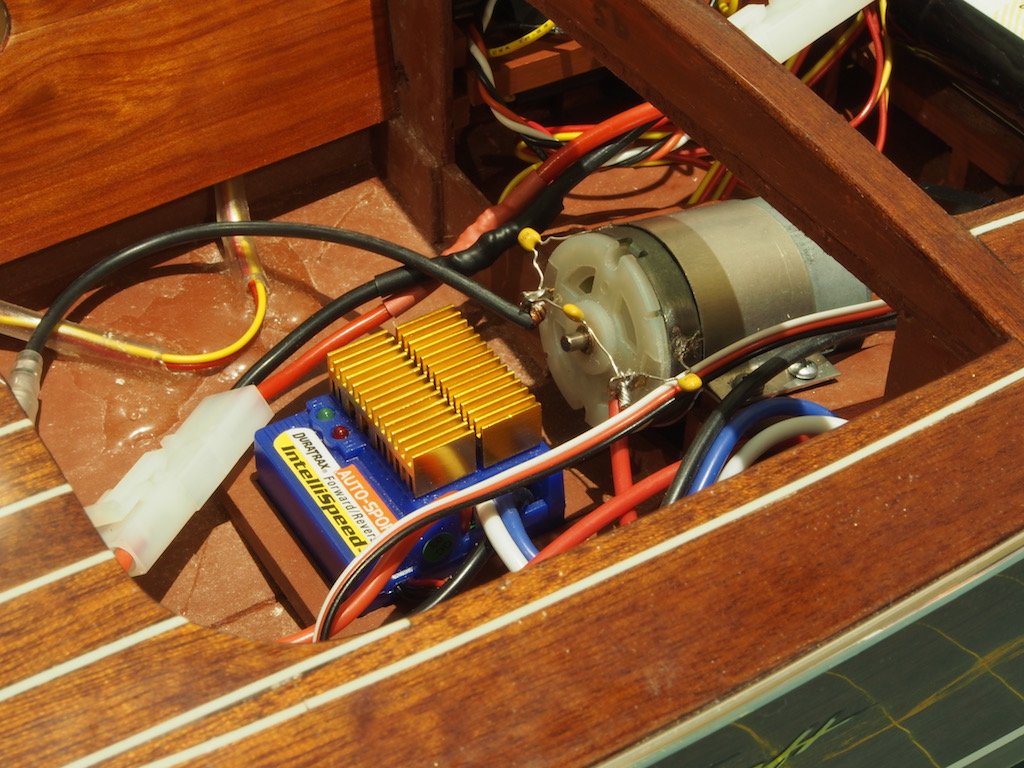
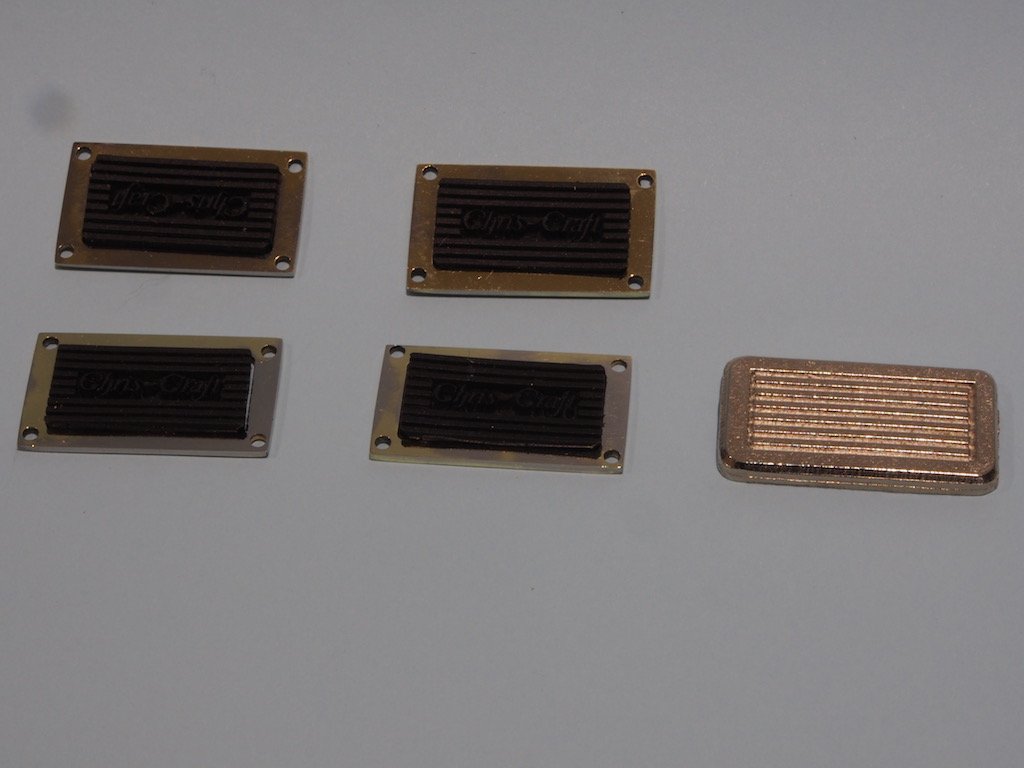
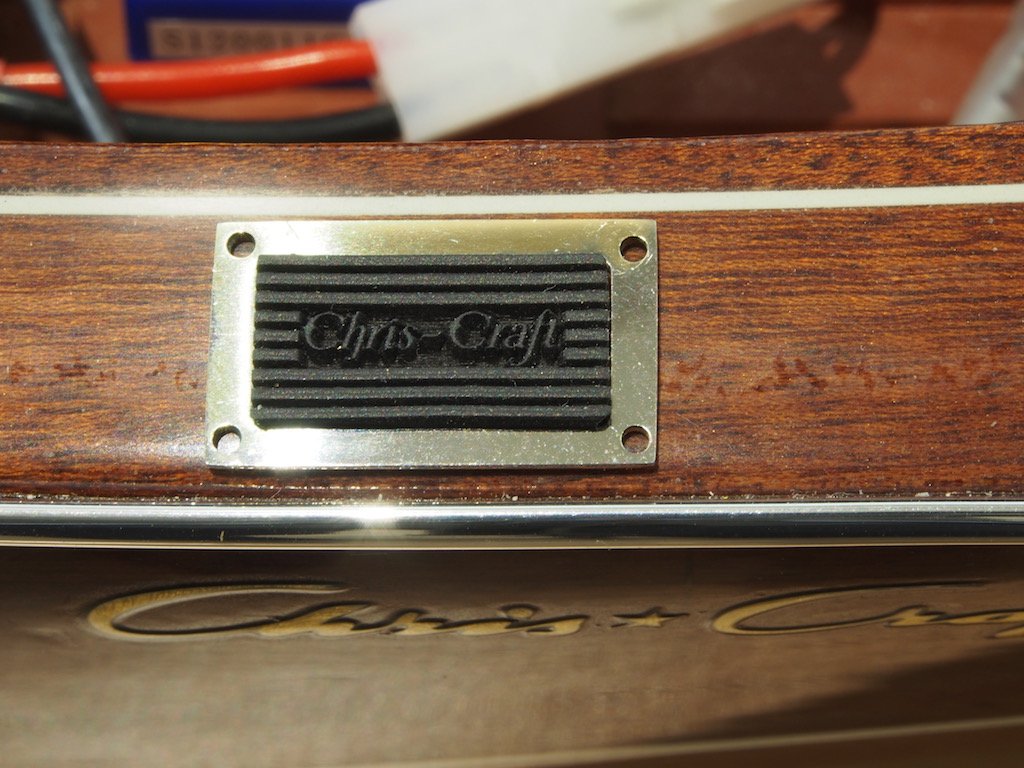
Thanks for all the kind words and the "likes" folks. Now that we’ve proved that she floats, it was time to (semi) permanently install the electrics and test functionality. I had previously built some racks to hold some of the gear, but it is still a very tight fit in that engine bay! Anyway, first up – testing the lights. I temporarily attached the bow and stern lights and gave all controls a test – all good! Here’s a couple of close-up shots inside the engine bay. First the port side: And the starboard side: Although the motor/drive shaft and steering all worked, there was a considerable amount of radio interference from the motor, so I soldered in the three “optional” capacitors. That made a big difference. Here you can see them wired across the engine terminals: The next job was to make the frames for the foot step-pads. Way back at the beginning of the build, I had some rubber stamps made up to use as inserts for a metal frame, rather than using the kit-provided cast parts. I made these by milling out the centre of some 2mm thick brass strip and then polishing and chrome plating it. It might be only a small job, but it took me most of the weekend to do this. Here is an overview of the step plates with the kit part provided for reference. In my custom built ones you can see the Chris Craft logo in the rubber. And here is a shot with one temporarily placed on the boat: As you can see, I’ve also drilled these to take 000-120 mounting screws. Some time ago, I orderd a gross (144) of these, along with the the 00-90 screws used on the cutwater and stern fenders. I will use the 000-120 on both the step plates and the engine hatch trim, so I spent quite some time individually plating 144 very small brass screws. Then I had another look at the number of screws on my engine hatch trim pieces….. it seems that my design calls for a total of 130 screws around the hatch trim, and I need a further 16 for the four step plates……total 146…..leaving me two screws short, even assuming the carpet monster doesn’t steal it’s fair share of them. The worst part is, that the postage for these cost more than the screws did and I didn’t fancy paying the better part of AUD $100 for a few extra screws. A little digging on the internet turned up some stainless steel screws of the same size. Although the individual cost was higher, the package size offered was smaller, and the postage was only US $8.00 instead of US $40.00. I will hold off installing the step pads until the new screws arrive, just in case they look slightly different. I’ll use the existing bundle to install the hatch trims – coming up next.
- 339 replies
-
- 20
-
-
- dumas
- Chris-Craft
- (and 3 more)
-
Recommendations For A Good Milling Machine
gjdale replied to Thistle17's topic in Modeling tools and Workshop Equipment
Sherline also offers a 10,000 rpm pulley set for about US$80, so higher speeds for wood and small diameter cutters are no problem. The "standard" pulley set runs at speeds up to 2,800 rpm. The upgrade set is very easy to install. -
Congratulations on completing a fine build Kevin. If this was to "teach myself airbrushing", you seem to have mastered it very well indeed.
-
Recommendations For A Good Milling Machine
gjdale replied to Thistle17's topic in Modeling tools and Workshop Equipment
I'll add my vote for the Sherline. A quality machine that is reasonably priced and with a huge range of accessories. And remember, "quality is remembered long after price is forgotten". A quality tool is a joy to use and I find great enjoyment every time I use my Sherline. -
I see no starved cows here Slog - only well nourished ones! Great job. Looking forward to more progress.
- 244 replies
-
- 5
-
-
- borodino
- dom bumagi
- (and 1 more)
-
Nice to see you back with an update Joachim. She's looking fabulous!
-
Congratulations on completing a fine build Gary. You can be justifiably proud of this - a really significant achievement!
- 85 replies
-
- 1
-
-
- finished
- caldercraft
- (and 1 more)
-
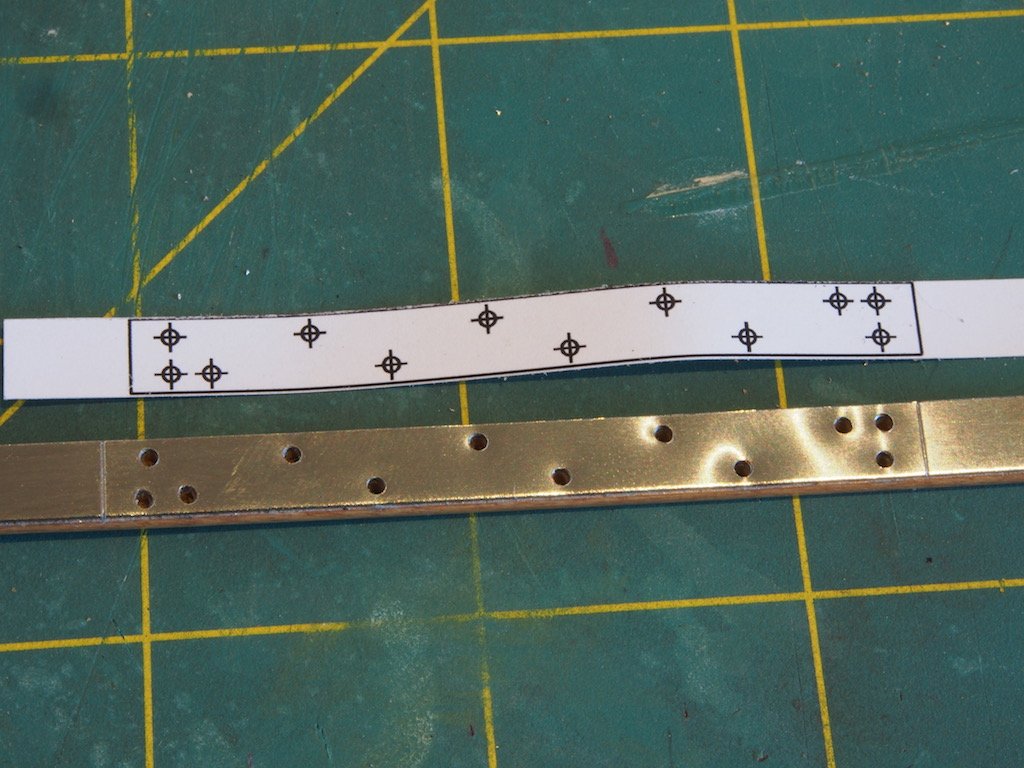
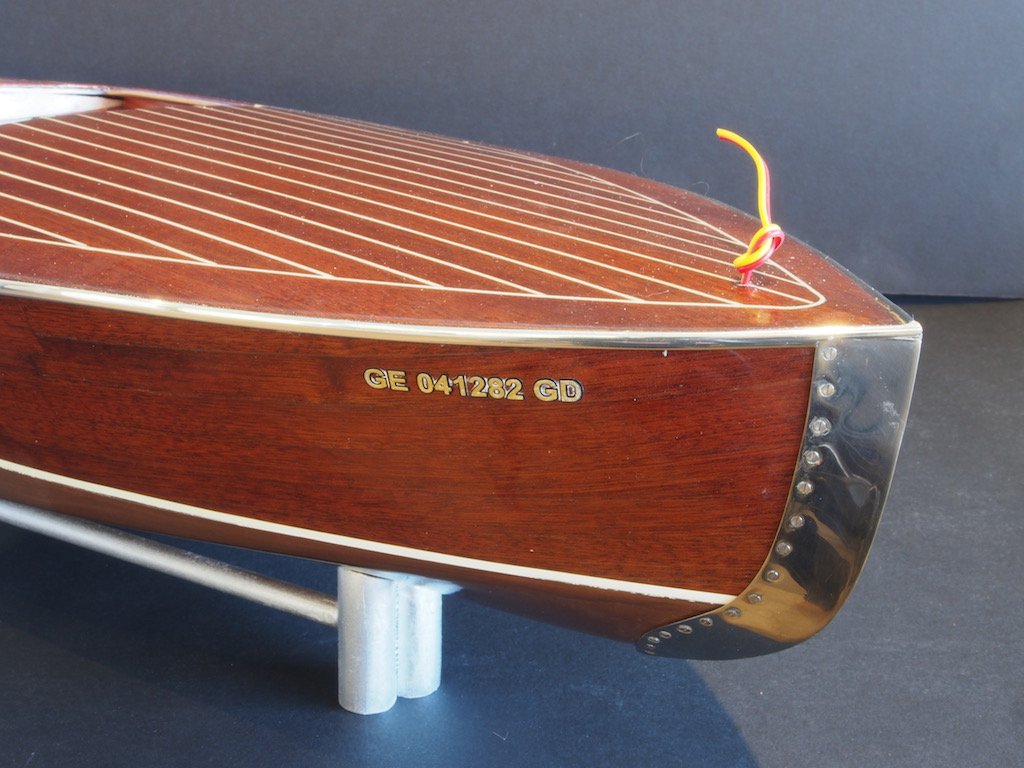
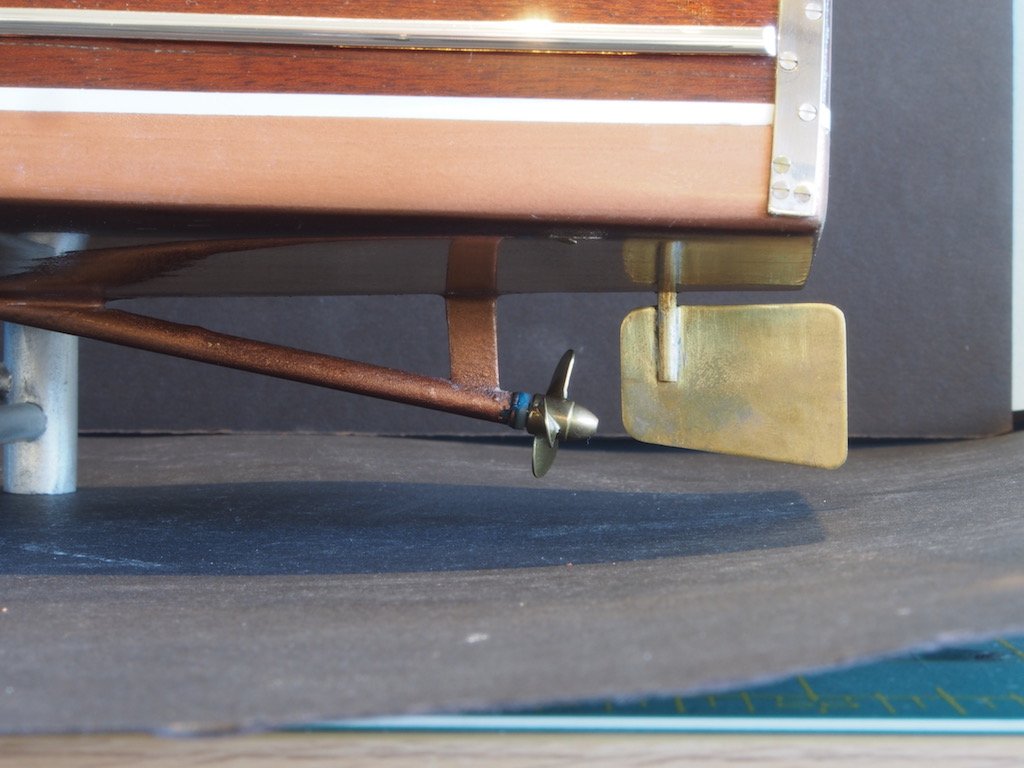
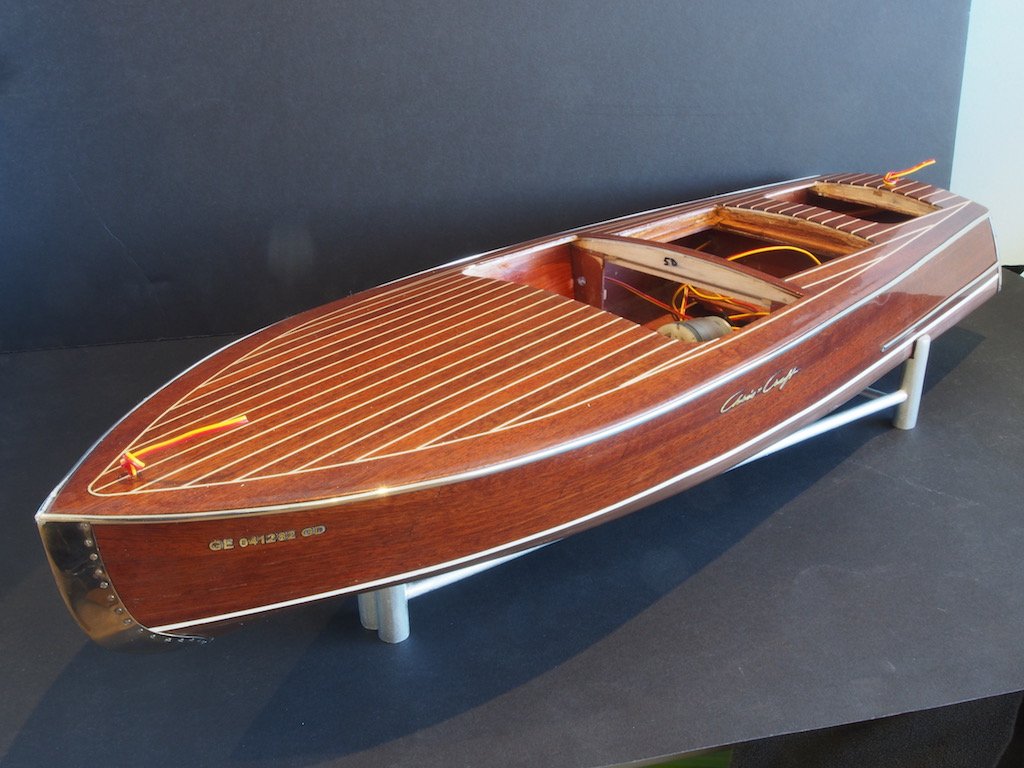
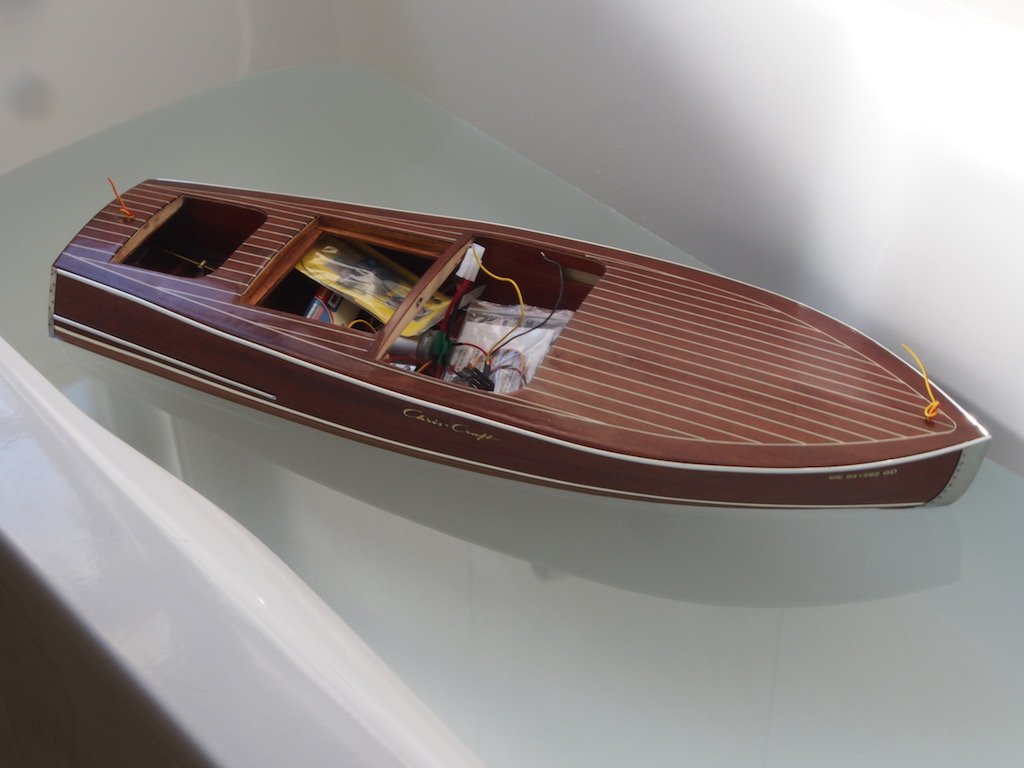
I can’t believe a month has gone by without posting progress. It seems to have been a month filled with small steps that suddenly arrived at a major milestone. The next job was to make the Rear Fenders. Again, the kit provides sticky aluminium strips for this, but I decided to replace these with polished stainless steel, complete with 00-90 screws. I first created a template for the screw holes in CAD and printed this onto sticky label paper. The 0.5mm thick stainless steel was ripped to width by temporarily sticking it with double sided tape to a carrier of scrap timber and passing it through by Byrnes saw. The template was then attached to the stainless steel blank and the 1/16” screw holes drilled on the drill press. The ends of the piece were marked by scribing through the template and then cutting by hand with small hack saw. The piece was then polished up prior to removal from the carrier and installation on the hull. Double sided “attachment tape” from MACK products was used to install the fenders. Holes were then drilled into the hull, using the pre-drilled fender holes as locators, and the 00-90 screws epoxied in place using 15 minute cure epoxy. A similar technique for the screws was used on the cutwater, the difference being that the main cutwater piece itself was also epoxied in place. Here is a close up of the cutwater – although the photo shows that it has suffered a little from handling and needs another polish-up. I then installed the rub rails. These run the full length of the hull at the sheer, with a second, partial one just above the water line that runs from the rear fenders forwards for about 8 inches. Instead of using the kit provided material for these, I used another MACK products item, which was very easy and quick to apply. It comes with a self-adhesive backing, although mine had suffered from heat and/or packing and postage, and was basically unusable. I stripped the remains of the adhesive off and replaced it with a narrow band of attachment tape, which achieve the same outcome. It was then time to prepare for the maiden voyage in the domestic testing facility. In preparation for testing, lithium grease was packed into the shaft stuffing tube and the rudder tube, and the running gear re-attached. This photo shows the brass prop and rudder in place (both also in need of a polish). You can also see here the brass strut that I made to replace the solid plastic skeg to support the stuffing box/shaft. I also decided that it was time to start installing the interior gear prior to installing the engine hatches, before space got too limited. This started with running the wiring for the bow and stern lights, through the conduit that I had previously installed. Here’s a couple of overall shots prior to tank-testing. You can see the ends of the wires for the lights in these shots, as well as the rub rails. And finally, we got to the tank test – she floats! And she doesn’t leak! Next up will be to finish installing all of the electrics prior to fixing the hatches in place and commencing on the final trim pieces. We’re getting close!

- 339 replies
-
- 14
-
-
- dumas
- Chris-Craft
- (and 3 more)
-
Great job Daria. Make sure Dad doesn't take over too much - it's too much fun!
-
Sorry to hear of your health scare Mark, but glad to hear you're on the road to recovery and back in the shipyard.
-
Outstanding Danny. Both model and presentation are first rate - as we've come to expect from you!
- 193 replies
-
- 3
-
-
- cerberus
- paper shipwright
- (and 1 more)
-
Definitely NOT hitting the "like" button on that one Bob! Hope your repairs go smoothly.
- 682 replies
-
- 5
-
-
- halifax
- lumberyard
- (and 1 more)
-
Congratulations Danny, another fine model. Looking forward to your next one.
- 193 replies
-
- 4
-
-
- cerberus
- paper shipwright
- (and 1 more)
-
Tedious it may be, Bob, but well worth the effort! Looking very nice indeed.
- 682 replies
-
- 3
-
-
- halifax
- lumberyard
- (and 1 more)
-
Sopwith F.1 Camel by jablackwell - Model Airways - WOOD
gjdale replied to jablackwell's topic in Non-ship/categorised builds
Think I'll join th crew following this one John, as I have this kit in my stash for "one day". You're certainly off to a great start. -
Lovely work Gary. Your attention to precision is really paying off.
-
Nice to see you back at the workbench Daria. Good effort on the first planking - can't wait to see you complete the second planking.