Ian_Grant
-
Posts
2,023 -
Joined
-
Last visited
Content Type
Profiles
Forums
Gallery
Events
Everything posted by Ian_Grant
-
 Nice! I'm interested in that cooling fan because I'm toying with building an RC galley using servos for rowing and sweep servos may need some active cooling. Is your fan for the ESC, or the motor, or both?
- 15 replies
-
- 2
-

-
- lumber hooker
- Oscoda
- (and 4 more)
-
Festool shop vacuums - a quieter option
Ian_Grant replied to druxey's topic in Modeling tools and Workshop Equipment
I have bought a lot of my tools on Black Friday, or at least the Canadian equivalent. Got an incredible deal on my air nailers, and on my portable table saw. In the case of the table saw, Home Depot gave me their "10% less than competitors" price, below Canadian Tire's Black Friday price!!!! I was a happy camper. My old shop vac just happened to pack it in shortly before another Black Friday. -
Beautiful work, clean and crisp.
-
Good God!! How do you work so precisely??!! Colour me green..............
- 2,623 replies
-
- 8
-
-
- heller
- soleil royal
- (and 9 more)
-
Hi Bill, those are actually misnamed booms for the main lower studding sails. They attach to the eye and crutch on the main channels as shown in step 28 "Various Assembly" (also shows the boat davits). There should also be booms for the fore lower studding sails however Heller omitted them. They don't seem to attach permanently to the fore channels, probably because attempts to stow them swung back like the main booms would be obstructed by the sheet anchors. I presume they were rigged when needed. I made two (lengths are in Longridge) and lashed them down between the boat skid beams.
-
Interesting! Thanks Chris. Boy, that's a slow-moving training video; I can imagine the audience falling asleep in a haze of cigarette smoke.
-
Chris......."sky lookouts"? Are those for the lookouts to rest their elbows on while holding binoculars to the sky?
-
Festool shop vacuums - a quieter option
Ian_Grant replied to druxey's topic in Modeling tools and Workshop Equipment
I bought a Rigid a few years ago after my old Shop-Vac burned out (again; their motors are junk quality). The Rigid came with a "muffler" which can be plugged into the exhaust port. It makes quite a difference although I think it is still loud. -
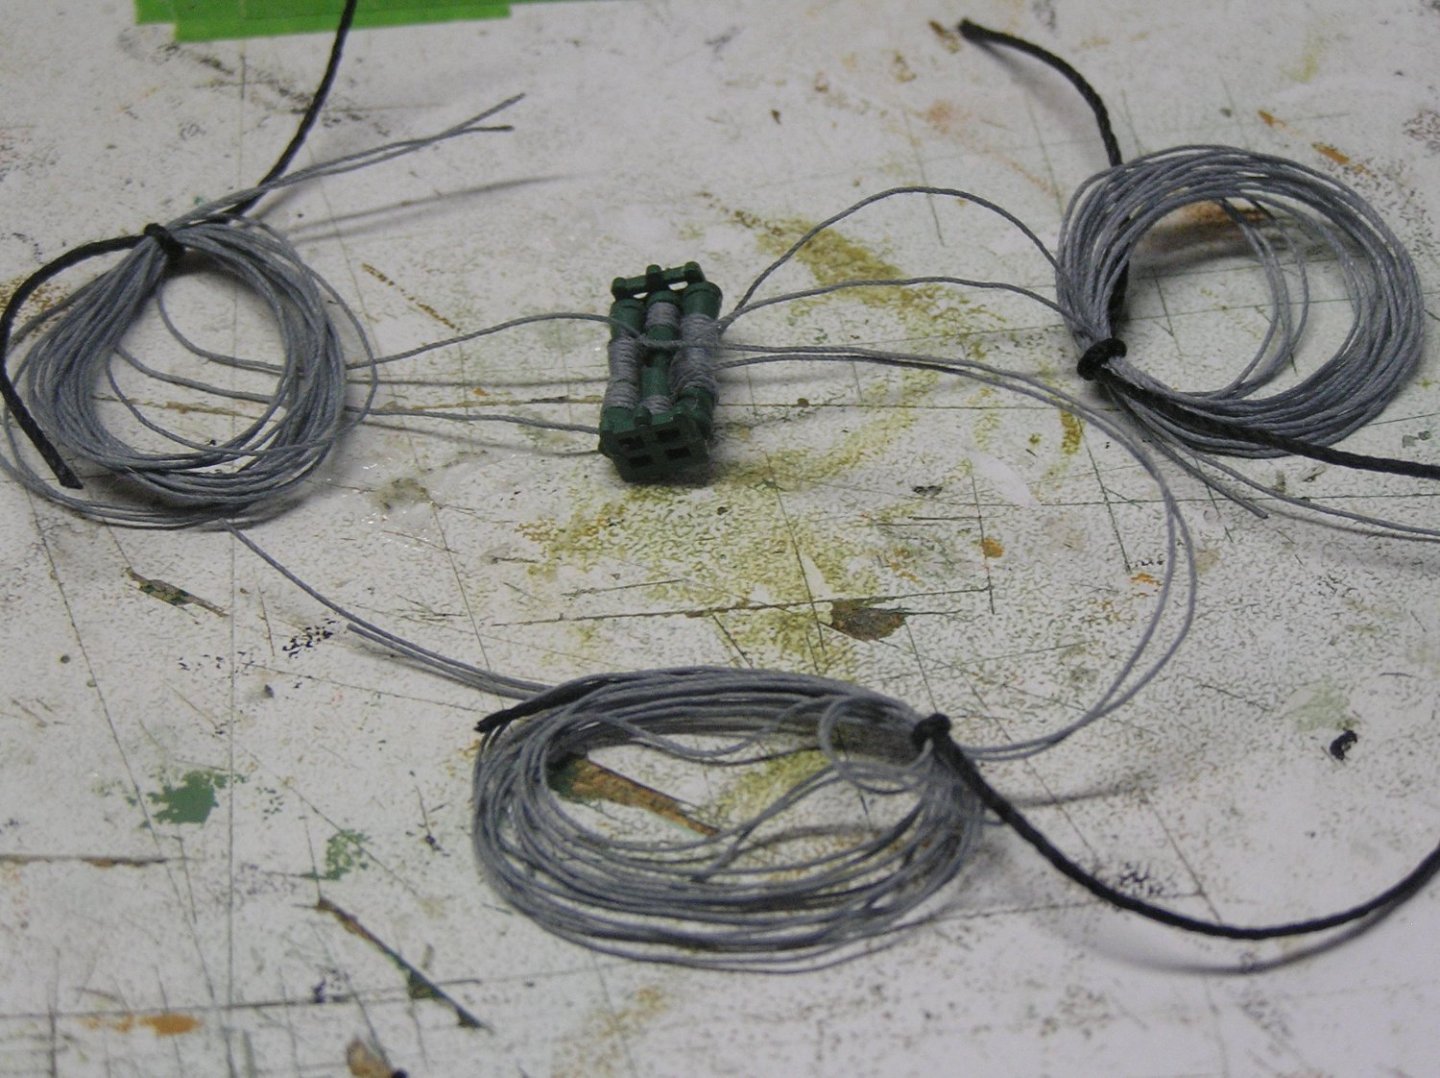
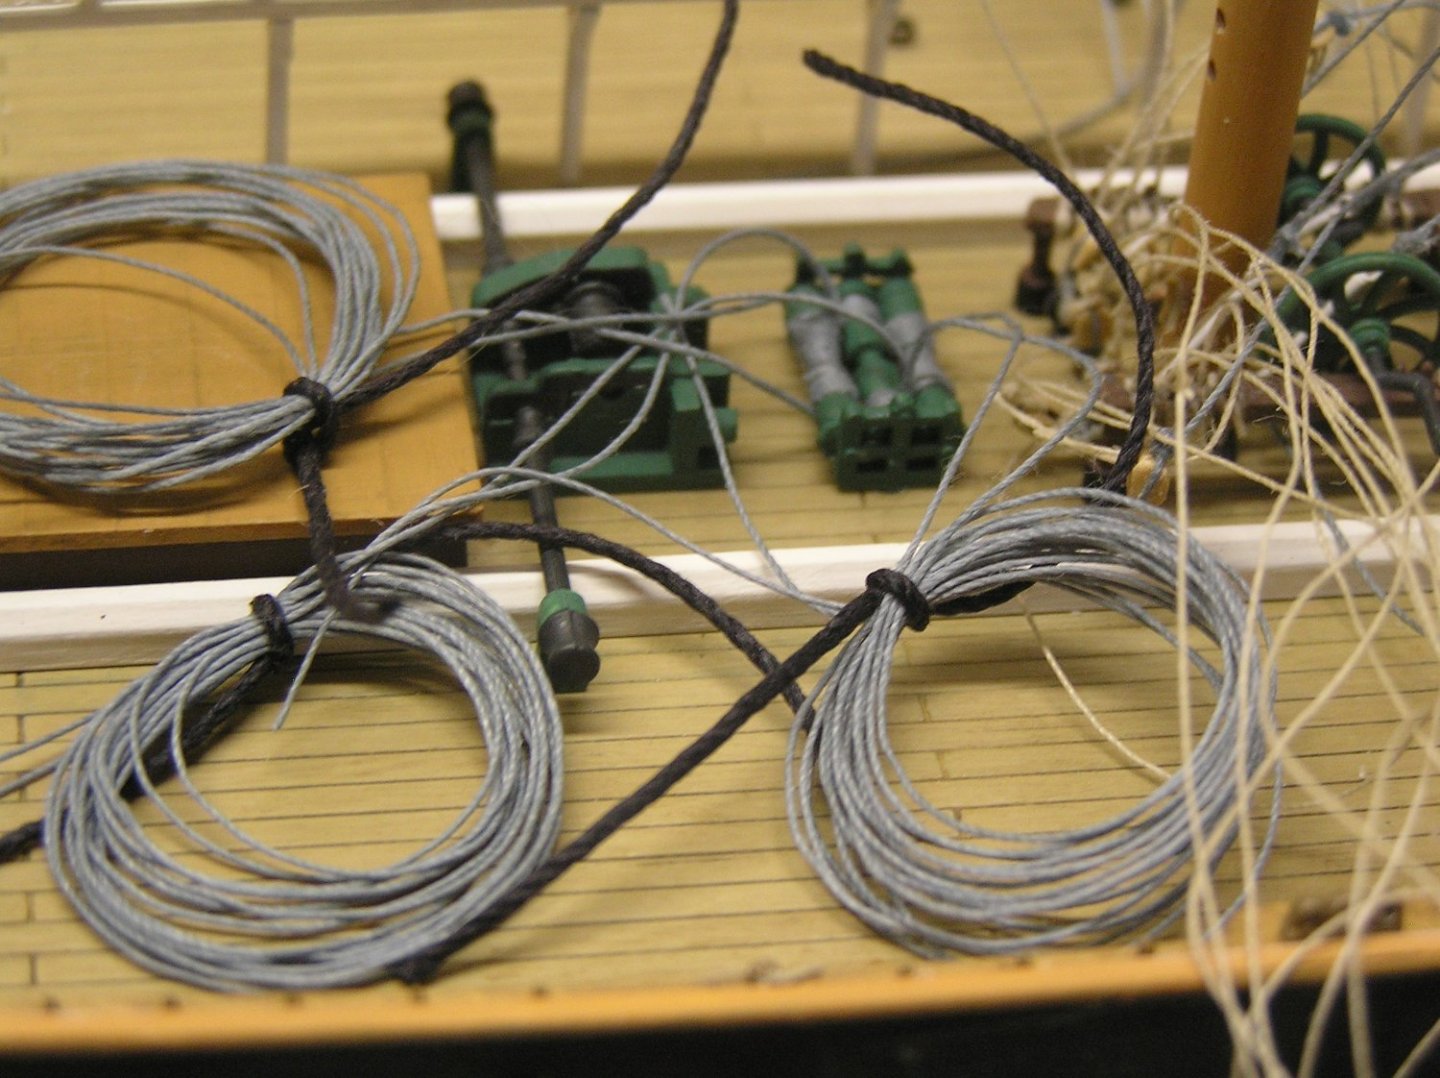
Plodding along. I find my tolerable sitting time at this is quite short which does not bode well for a quick finish. Still working on tying lines off at deck level. Pretty tedious. Added shrouds at another mast, and rigged another brace winch just to change things up. Three of these to go, what joy! Main issue is that I want to carry on from my experimental RC galley rowing mechanism (see below) to further testing which will need the pool open, and spring is coming..............
-
BIll, I don't think you're too far off the real thing although from books I have the real thing has them a little far apart too.😏

-
Wow I'd love to do that.......when I was aboard I wondered what would happen if I just did it......arrested I guess.... During Royal Clipper cruise they provide opportunity to ascend mainmast shrouds but only to the top. As this mast projects from the highest deck on the ship (thus lowest height above deck), and that side of the top is rigged through a lubber's hole as opposed to futtocks, it's not very exciting. Hope the "Cutty Climb" becomes a perennial thing.
- 444 replies
-
- 2
-

-
-
- Cutty Sark
- Revell
- (and 2 more)
-
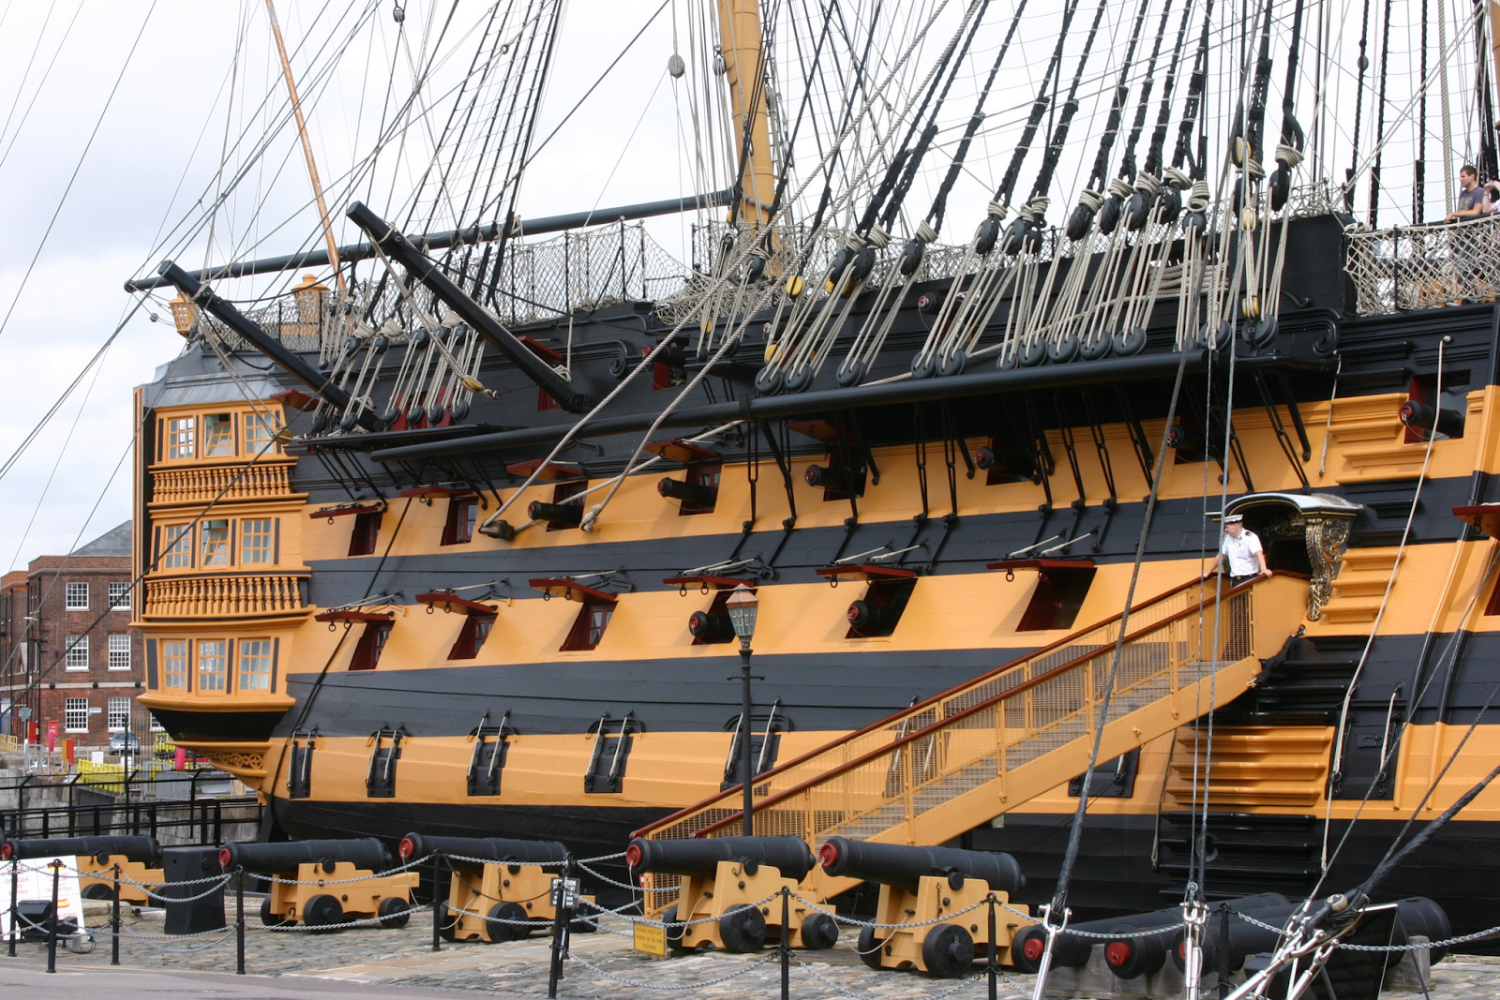
Heller 1/100 HMS Victory - Question on size
Ian_Grant replied to Bill97's topic in Plastic model kits
Dear Prolny -- Just stumbled onto your post. This is pretty much a dead thread with few viewers (no followers); I suggest you post your question as a new topic in this category. Make the title indicate you want to commission a Heller build 😃. -
This article just published in the Toronto Star. Take a bow, plastic modellers! https://www.thestar.com/life/together/people/2022/02/27/model-citizens-hobbyists-explain-why-putting-together-plastic-kits-is-hardly-kids-stuff.html
-
- 7
-
-
So interesting to see this never-seen-before version taking shape! Just out of curiosity Daniel: how many Heller Victory kit hulls do you have? 😃
-
Glad to see you're still at it. Three weeks is not a long time compared to my own sporadic updates. 😆
- 326 replies
-
- 2
-
-
- Sophie
- Vanguard Models
- (and 1 more)
-
Hi Bill; I see what you mean in close-up, but realistically no one will ever notice naked eye especially when deadeyes and topmast shrouds, and jeer strops, and the sling are installed in front of them on the completed model. Looks great my friend! My only comment is that the clinches of the shroud pairs should be staggered back as they rise, ie not all be on top of each other. See Plan 8.
-
https://www.smithsonianmag.com/smart-news/track-marine-archaeologists-searching-icy-antarctic-seas-ernest-shackletons-endurance-180979581/?utm_source=smithsoniandaily&utm_medium=email&utm_campaign=20220225-daily-responsive&spMailingID=46458966&spUserID=OTY4MjUzNzkyMTQ3S0&spJobID=2182891929&spReportId=MjE4Mjg5MTkyOQS2
-
Andrew also talked about seeing one of their model makers open the trunk of his car, and it was stuffed with plastic model battleships etc, as a source for gun turrets for model spaceships 😄. Another aside - While living down there, he played goalie on a hockey team of Canadian expats. One day Lucas had some NHL goalie come in to save shots while wearing one of those suits with all the sensors for position on them, however they work. Anyway Andrew later got a call from an admin, asking "You play hockey, don't you; do you know a goalie?". Apparently an entire pack of NHL-level goalie sticks was received just for that goalie's session in the suit and he left them all behind. "Do you want them?". Andrew said he was turning cartwheels across the parking lot 😃. Sorry Chris for all the distractions. Back to your card model, which is looking great!