Tigersteve
-
Posts
1,327 -
Joined
-
Last visited
Content Type
Profiles
Forums
Gallery
Events
Everything posted by Tigersteve
-
 Dave- don’t post your email publicly. You’re inviting spam. Better to PM. Steve
 -
Very nice! Steve
-
Sharp work! Steve
-
I think they need to be a lot thinner. Steve
-
Pandora by marsalv - FINISHED - 1:52
Tigersteve replied to marsalv's topic in - Build logs for subjects built 1751 - 1800
It was a pleasure to follow along. Steve -
Very nice! Welcome back. Steve
-
Nice progress! Congrats on the finished planking. Steve
- 574 replies
-
- 3
-

-
- cheerful
- Syren Ship Model Company
- (and 1 more)
-
Yes, Zachary, start a log. Steve
-
Chuck, is this the method you used for the previous planks? Was there any edgebending earlier? Also, is this method better for a hull like your Confederacy? Steve
- 421 replies
-
- 3
-
-
- medway longboat
- Syren Ship Model Company
- (and 1 more)
-
I agree with Mike on this one. Steve
-
And so it begins.. glad to see you’ve begun! I think you need to follow Rodger’s advice and remove all the rigging after you photograph everything. (Save all blocks and dead eyes) Don’t worry too much about cleaning the decks to perfection. Remove as much dust as you can with the swabs or whatever gentle techniques you can think of. Remember, you will do some light sanding with fine sandpaper (320 or finer) before you refinish. There are many wood finishes to consider when you reach that point. Some leave more shine than others. I think many will agree the less shine the better. I would advise against using any stain, as that will alter your grandfathers work too much. Minwax Wipe on Poly (satin finish) is used by many to provide a finish that will give you a polished look without too much shine. More on application later. There are many approaches to each project. You’ll figure out the best methods for yourself. I’m sharing how I would approach this if my grandfather left it to me. Steve
-
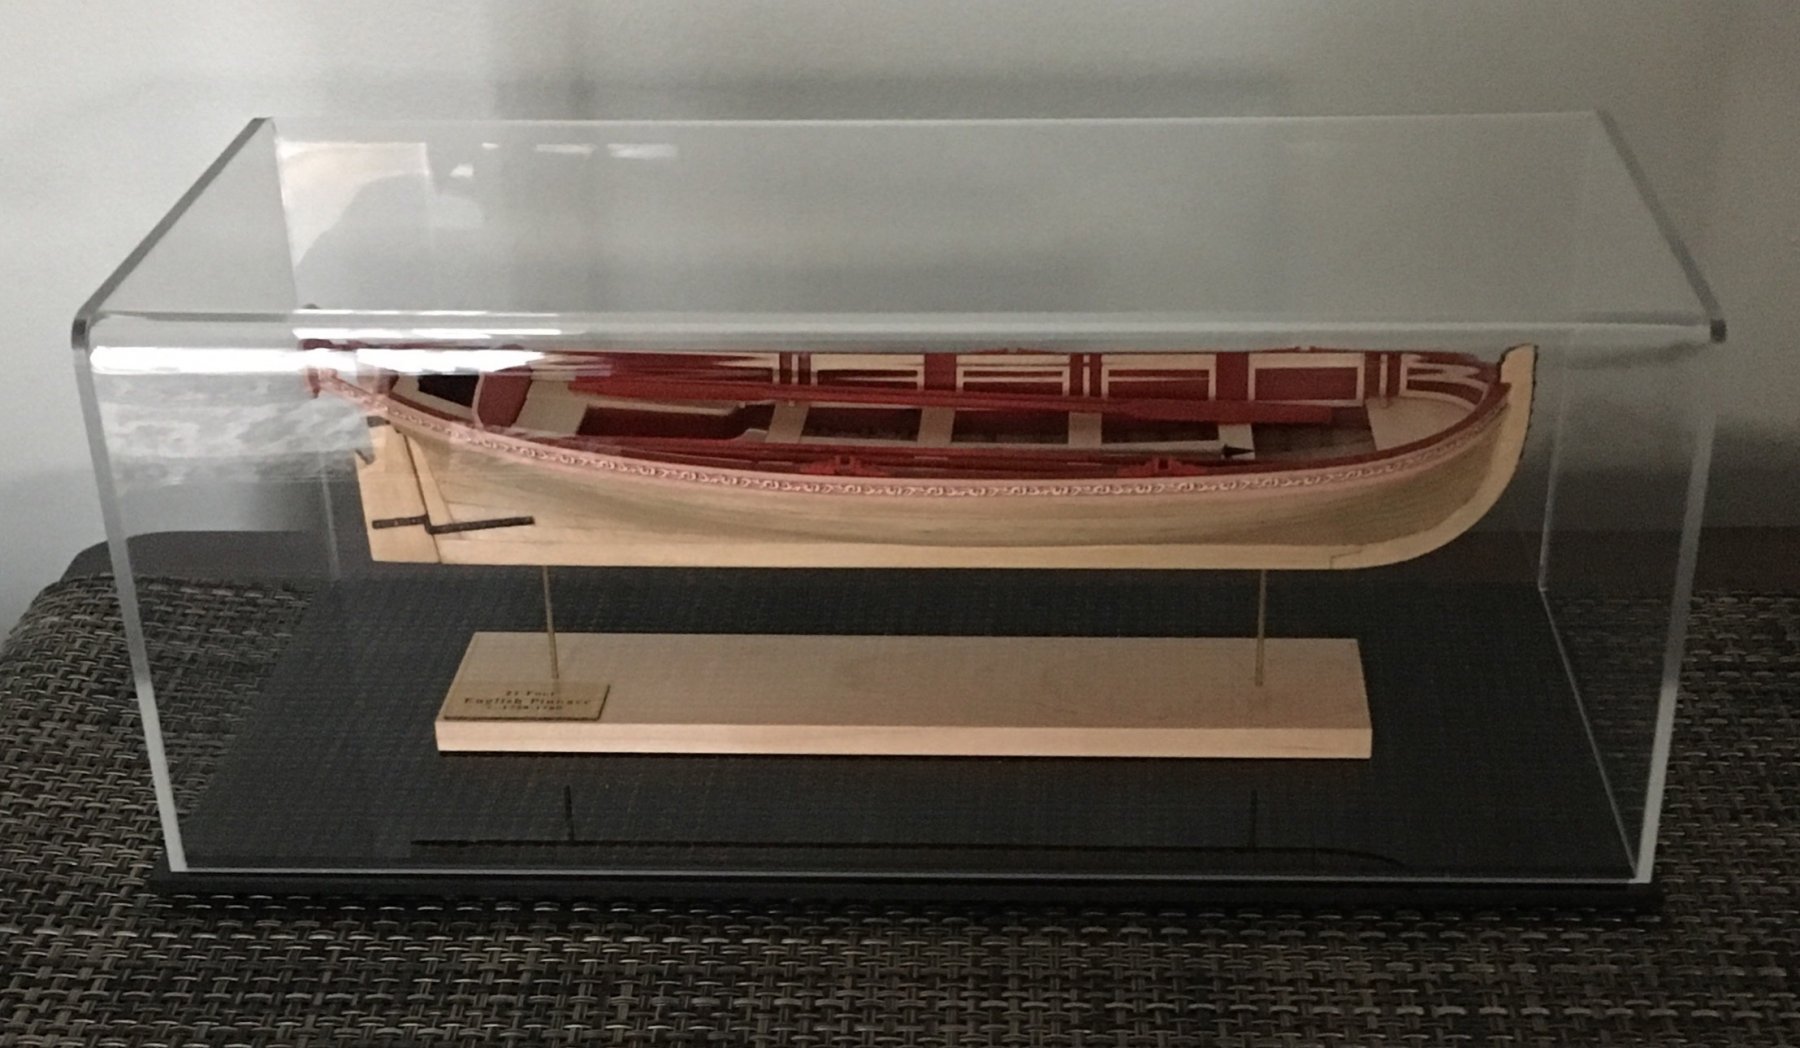
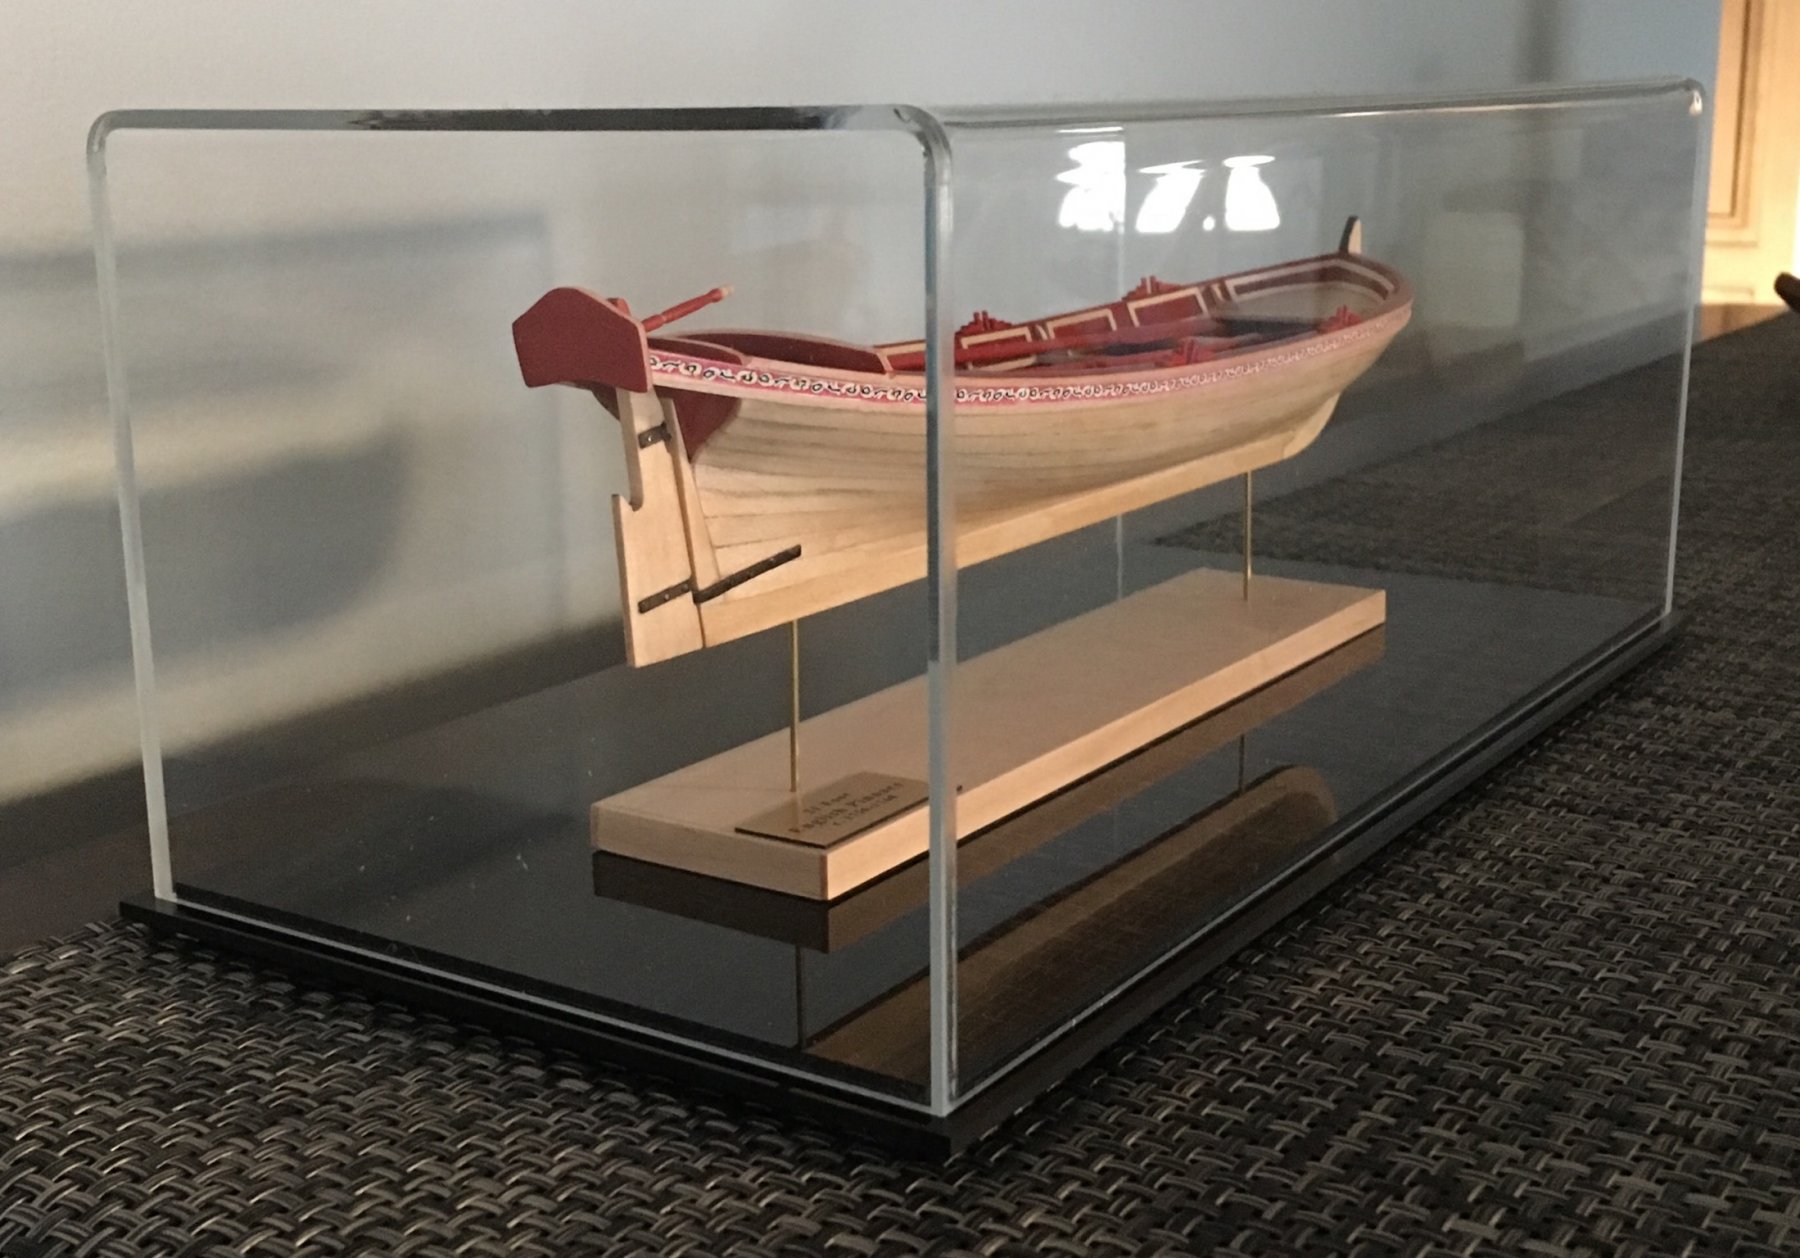
Thanks for the compliments and likes. Mike- I like the black base. It is a glossy finish, but that doesn’t distract from the model. I just wish I had increased the dimensions a bit. I’ll have to get used to it. It’s a bit different design and finish than the case for the longboat. Steve
- 190 replies
-
- 2
-
-
- pinnace
- model shipways
- (and 1 more)
-
One of the best designed and crafted display bases I’ve seen. It compliments the model very well. Beautiful work! I thought your other base was great too. Steve
-
Model Expo also has plans available for purchase. Maybe another good resource. http://modelexpo-online.com/charles-morgan-plans Steve
-
The acrylic display box arrived from https://www.casesforcollectibles.com/ I did not order from the previous company because of high shipping costs. The box arrived well packaged and I am pleased with the quality. However, I did not realize the top surfaces along the width would be rounded. This distorts the view from some angles. The case should probably be about an inch taller and perhaps an inch deeper. This was another tricky photographing session. It’s much more clear in person. Steve


- 190 replies
-
- 12
-
-
- pinnace
- model shipways
- (and 1 more)
-
Gondola by AntonyUK
Tigersteve replied to AntonyUK's topic in - Build logs for subjects built 1901 - Present Day
Interesting build. Steve -
QUICK-FIND INDEXES to BUILD LOGS FOR KITS
Tigersteve replied to Dan Vadas's topic in - Index of all kits by brand and subject
Mark one more small craft finished. -
That’s some very nice work all around. Steve