HOLIDAY DONATION DRIVE - SUPPORT MSW - DO YOUR PART TO KEEP THIS GREAT FORUM GOING! (89 donations so far out of 49,000 members - C'mon guys!)
×


Tigersteve
-
Posts
1,327 -
Joined
-
Last visited
Content Type
Profiles
Forums
Gallery
Events
Everything posted by Tigersteve
-
 Yes- I think you will need to thin those down with water. It won’t change the color. You will just need many coats. Steve
- 90 replies
-
- 1
-

-
- english pinnace
- Finished
- (and 1 more)
-
All is looking great. Steve
-
I think after you get the sekeleton of the model completed you should switch to a harder wood. Steve
-
What a great first model. You are learning a lot from chuck’s practicum. Before you know it you will be sitting back looking at a completed model thinking to yourself, “I made that!” And then your wife will be asking, “where are we putting this thing? 😉 Steve
- 449 replies
-
- 2
-
-
- sultana
- model shipways
- (and 2 more)
-
I don't know. It looks more scratch than kit built to me. You took plans and designed a whole set of bulkheads! Steve
- 222 replies
-
- 2
-
-
- sultana
- model shipways
- (and 1 more)
-
Nicely done. This should really be a scratch project. Don’t you think? Steve
- 222 replies
-
- 3
-
-
- sultana
- model shipways
- (and 1 more)
-
Finally, a Flying Fish! Best of luck. Sitting in on this one. Steve
-
MS should be paying you to re-design their kit! Steve
-
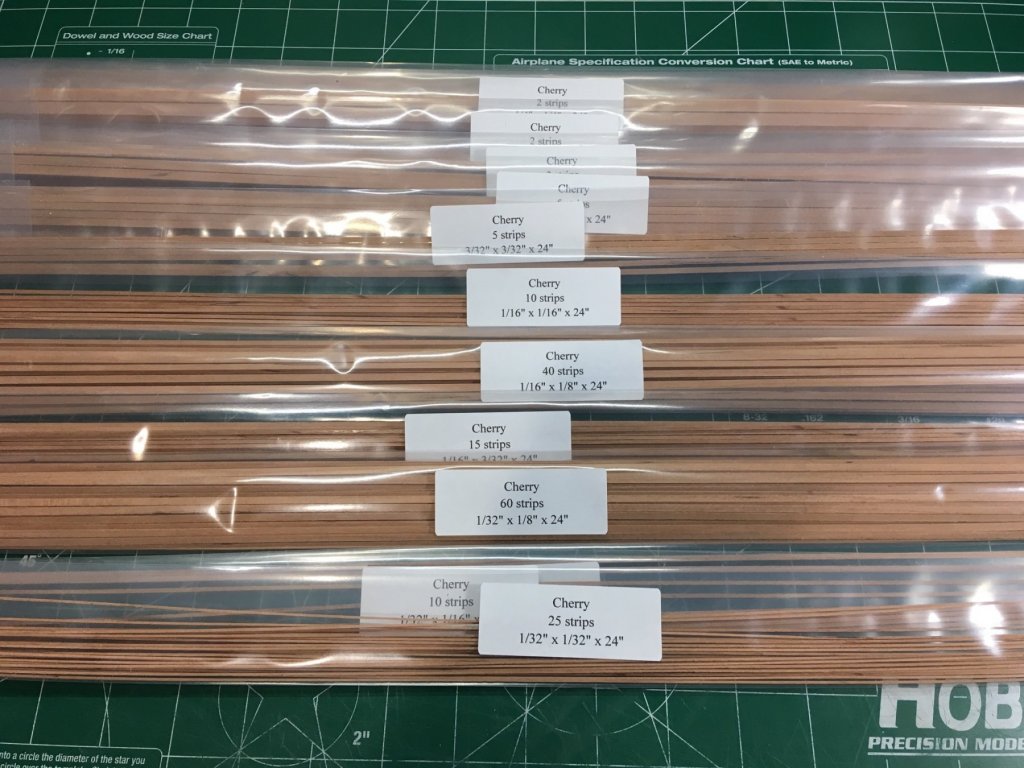
Received my cherry order from https://www.crowntimberyard.com/. The photos don’t do it justice at all. Jason stated to me in an email that the color is closer to steamed pear. I have to agree and it’s a beautiful color. Two of the sheets I ordered had a couple of small cracks. I did email Jason to let him know. That was my only disappointment. However, I believe I have enough cherry for this project. Steve

-
Take the instructions into consideration also. Unless Chuck Passaro has written the instructions, Model Shipways istructions leave much to be desired. Also, cost should be a factor. Constitution kit is very expensive and that’s a lot to spend on a first ship build. So many options and cheaper. You can supplement better wood on other options for less than the cost of the Connie. Steve
-
Hi Ed-Just wondering if you were going to separate standing and running rigging on some of the rigging plan sheets in the upcoming volume. I’m sure the planning and assembly of this next volume is daunting. Steve
- 3,618 replies
-
- 3
-
-
- young america
- clipper
- (and 1 more)
-
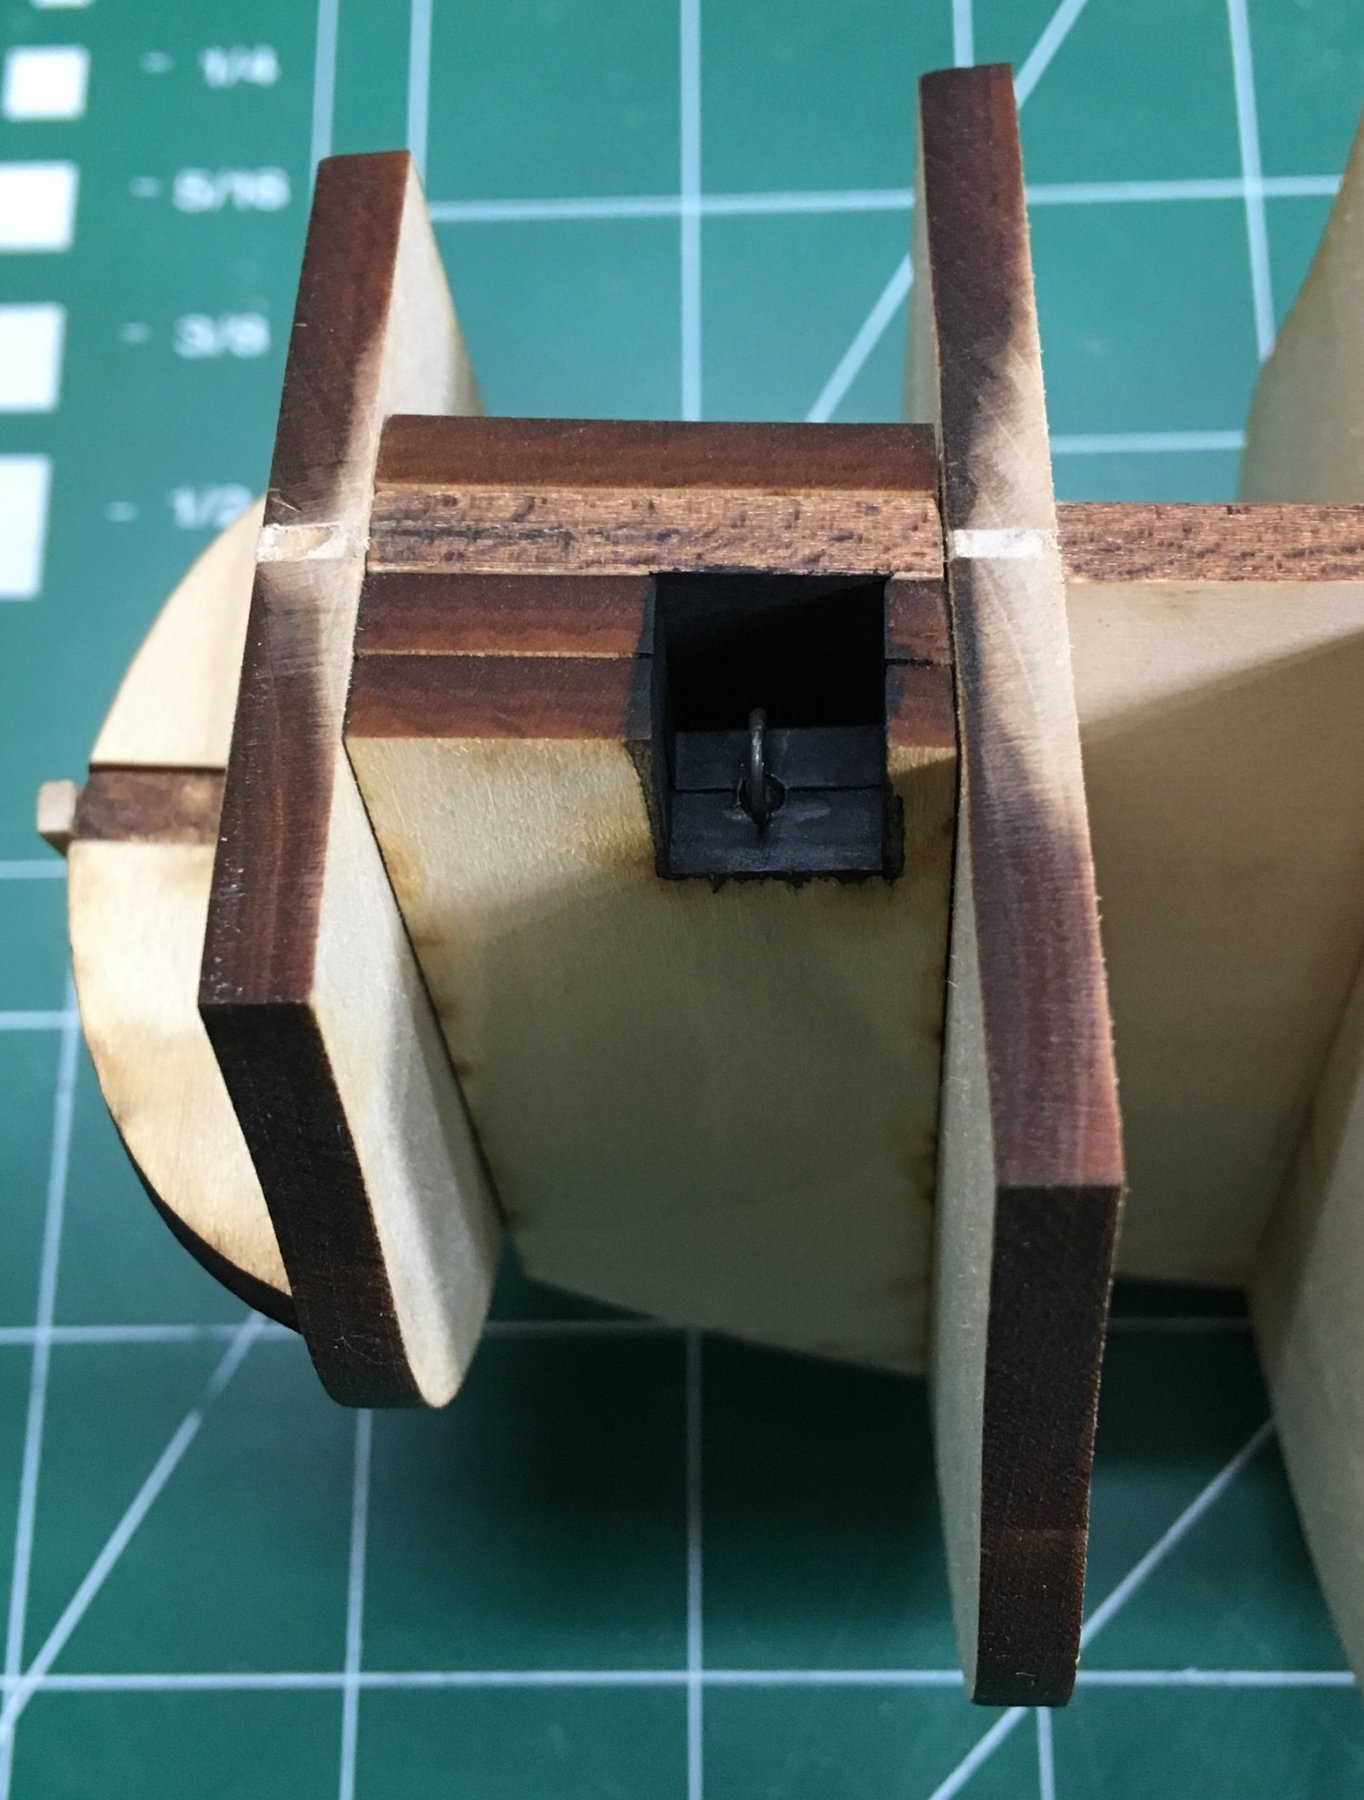
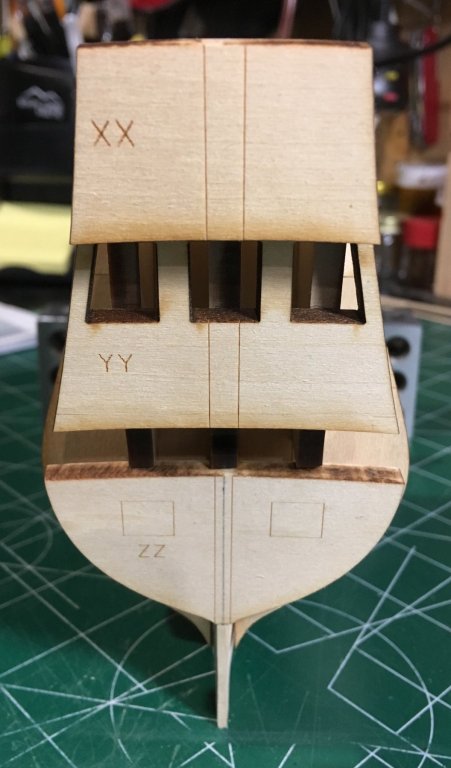
Repositioned ZZ one more time. Bulkheads A and B were shifting out of square on the port side so some strips of basswood were used to shift them back in alignment before the dummy cannon support strips were added. The eyebolt at the foremast was created and added after the void was painted black. Now to put together a wood order consisting of cherry. The decks will be planked with cherry as well. Thanks Mike and Chuck for your input. Steve


-
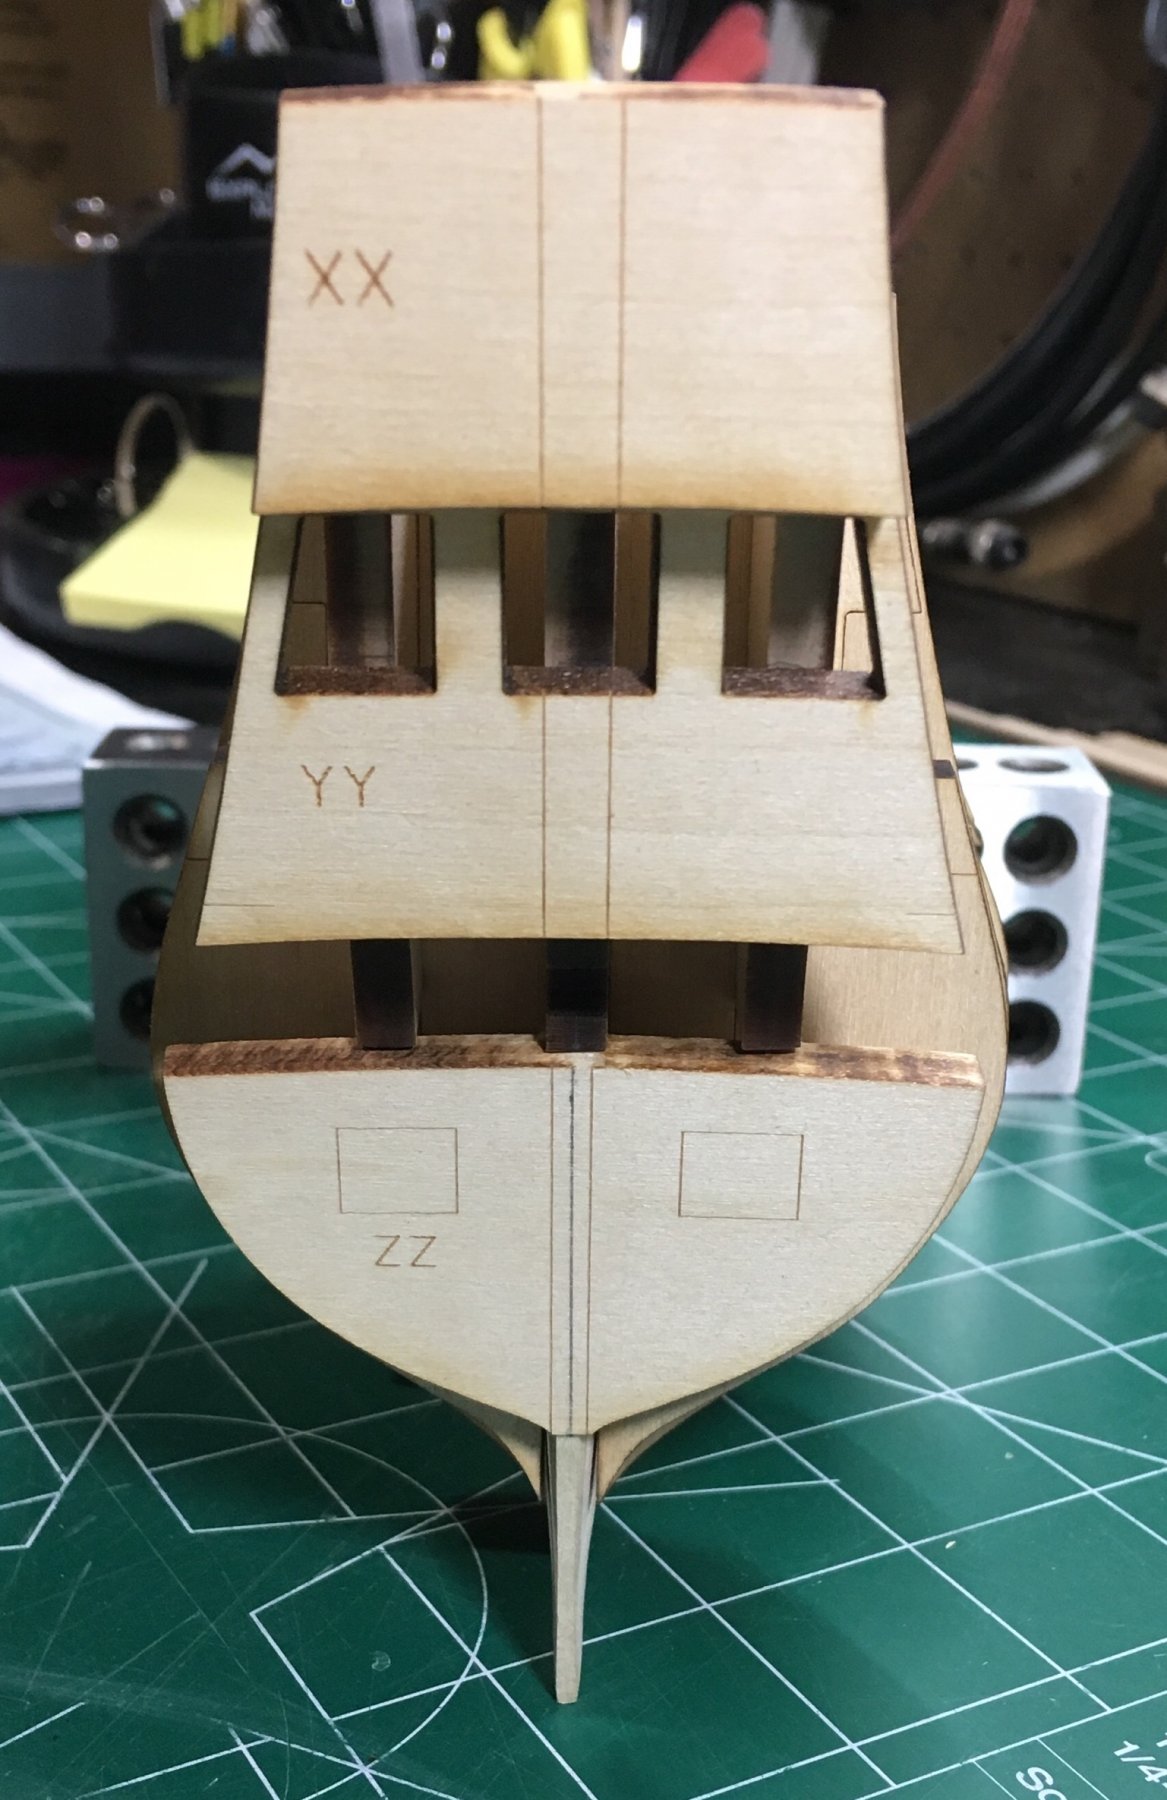
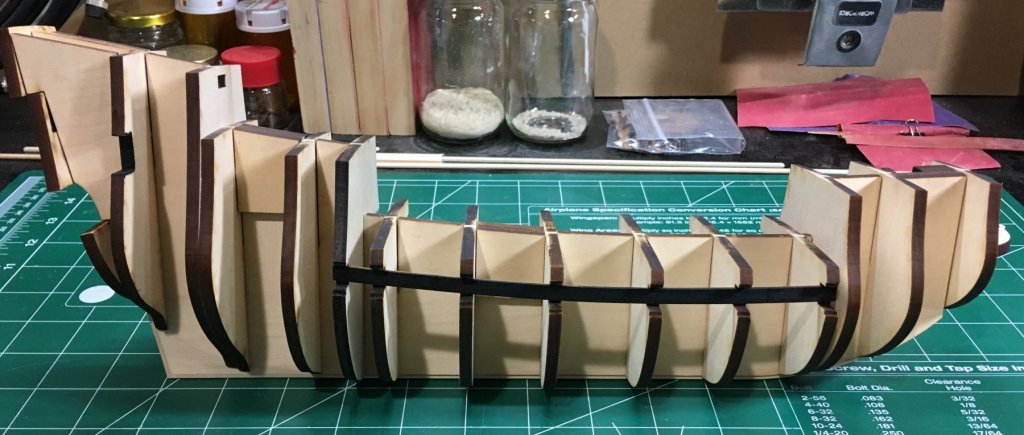
I received some new plywood bulkheads from Model Expo. Although the sheet was warped, I was able to salvage bulkhead 2b, which was the one I needed. Bulkheads are set and stern framing is complete. The stern was especially tricky to align and frame. I hope the fairing will balance any symmetry errors. I’ll have one more update before I put together a wood order. The laser cutting on the wood in this kit could be better. Very inconsistent, non square edges. Steve

-
Nope, you won’t be using any nails. Not sure why they’re included. Steve
- 50 replies
-
- 1
-
-
- model shipways
- 18th century longboat
- (and 1 more)
-
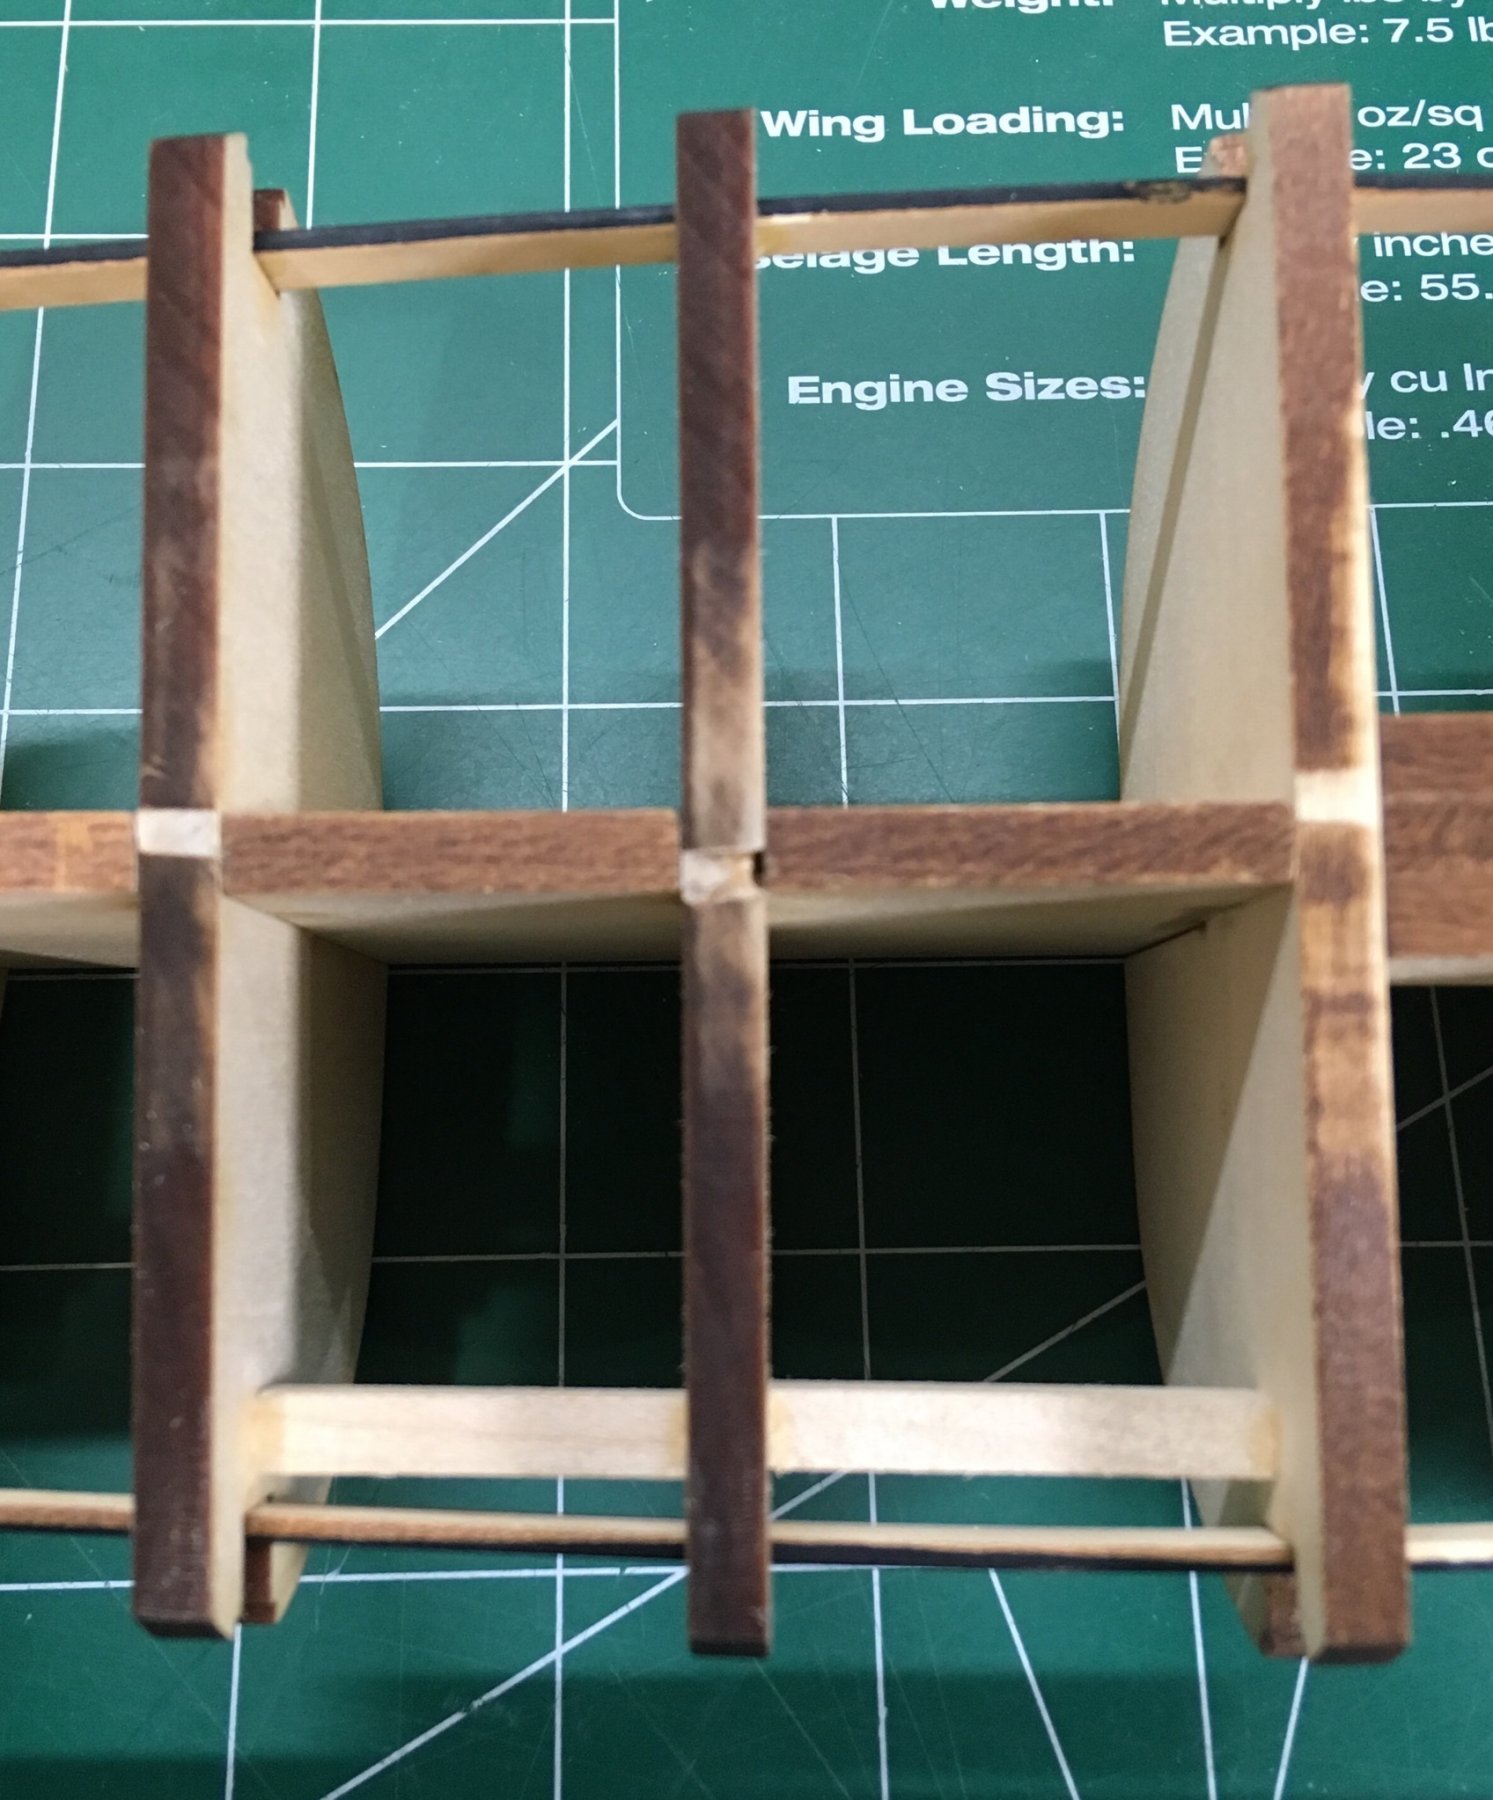
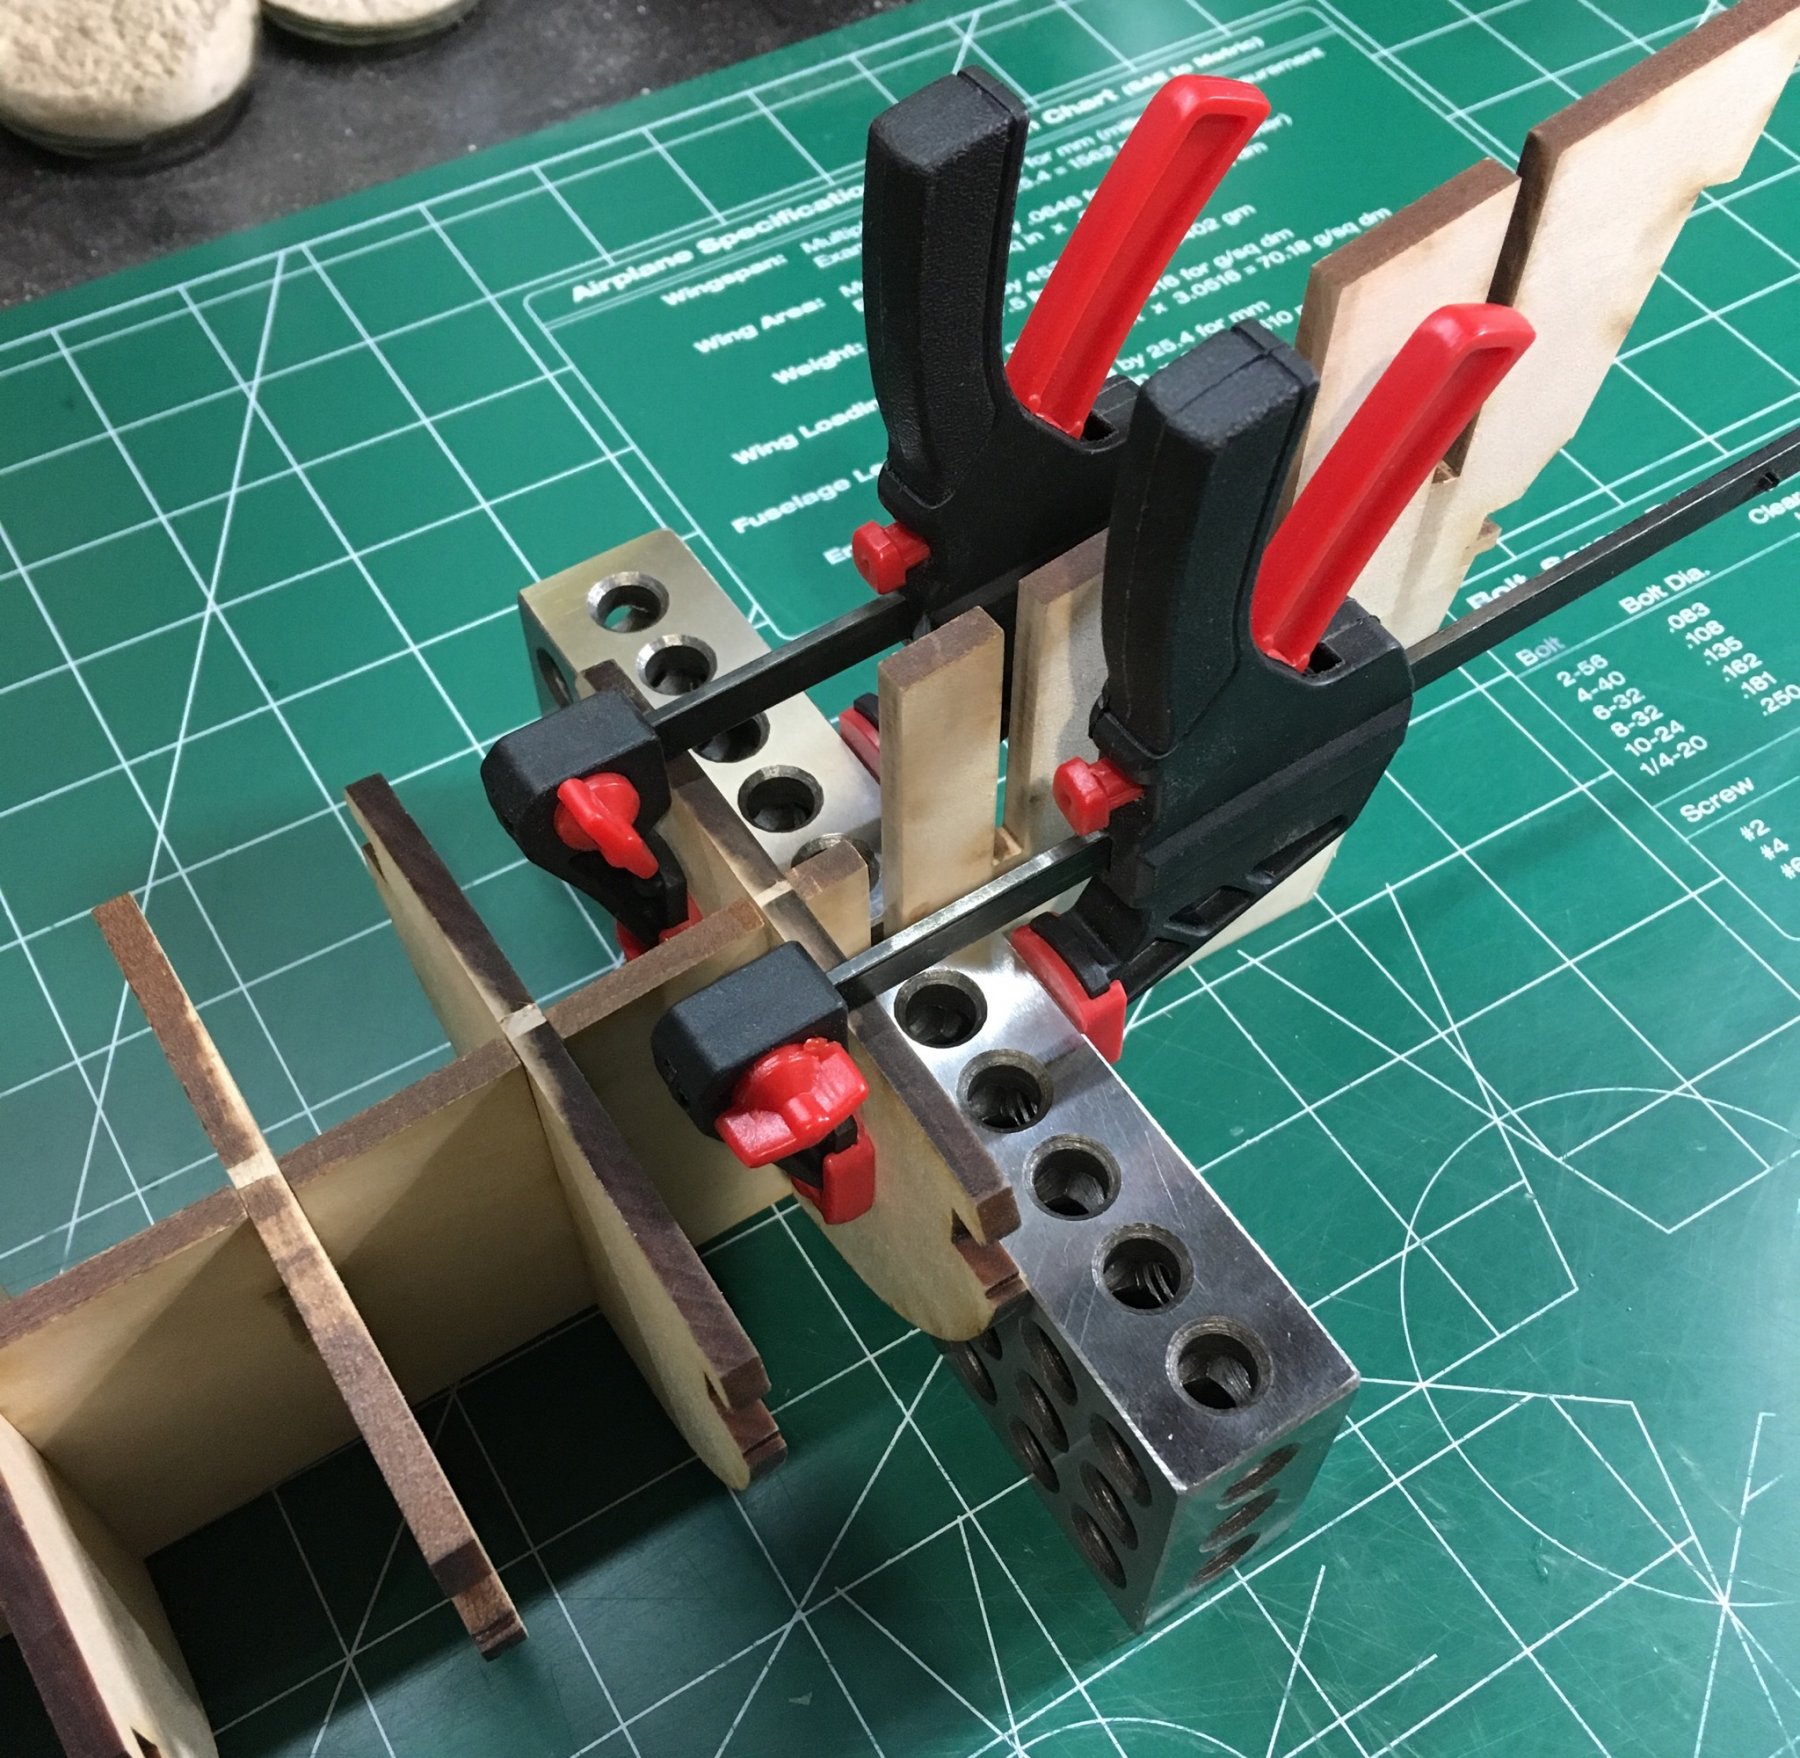
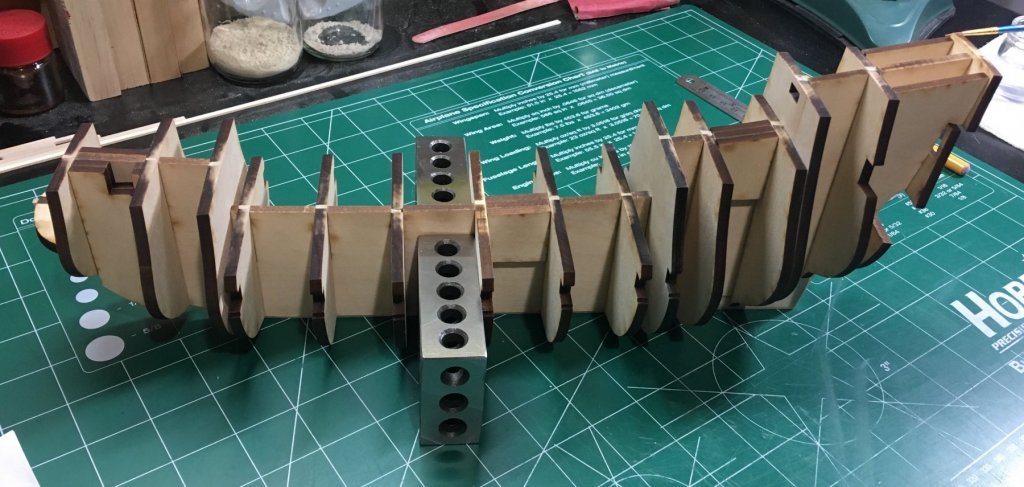
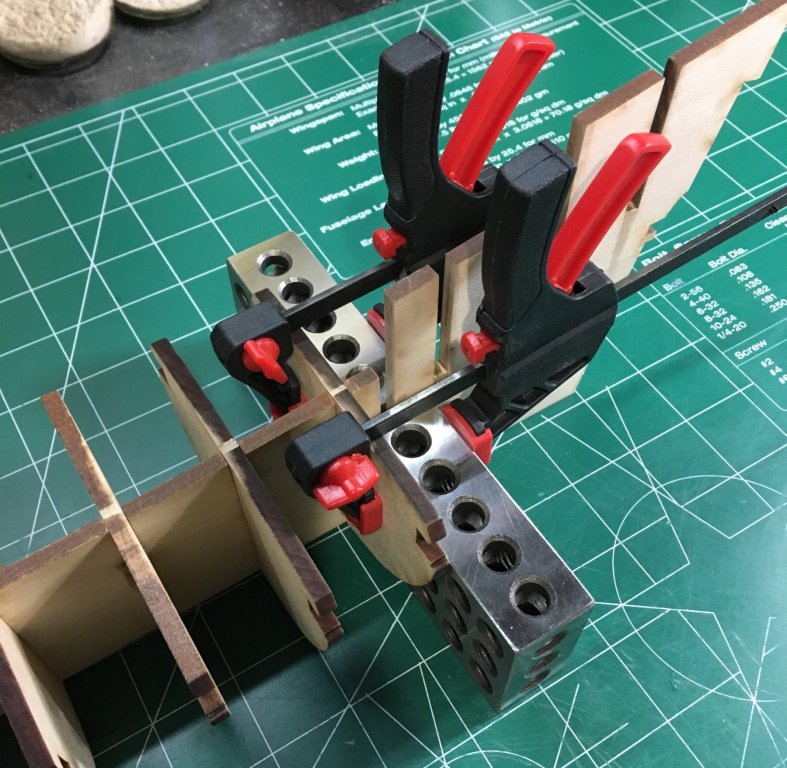
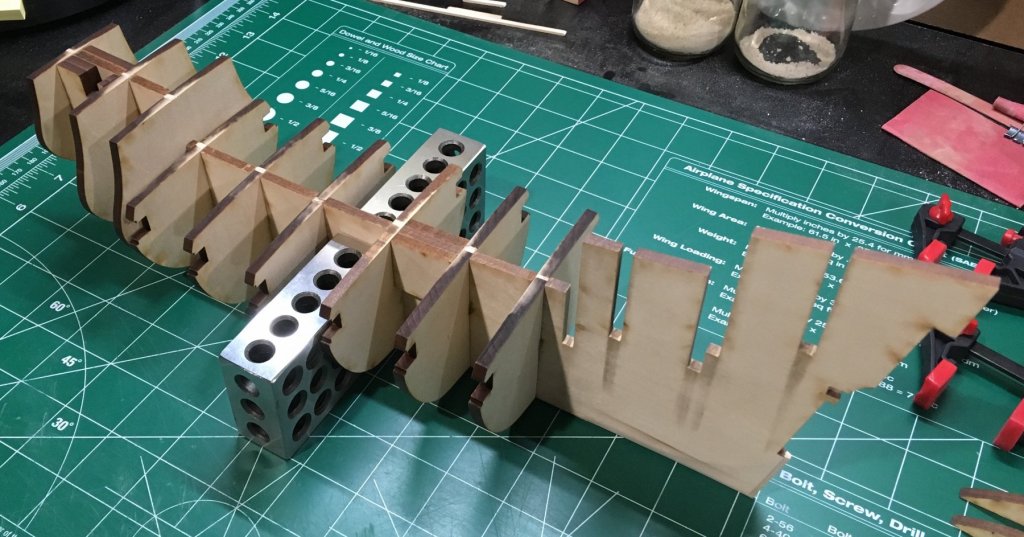
I used 1“x2”x3” steel blocks to square the bulkheads. It worked well. Some of the mast filler blocks are installed while I wait for the replacement bulkhead from Model Expo. The remaining bulkheads cannot be squared until bulkhead 2b is installed. I dry fit the bow filler blocks and beakhead platforms. This will be tricky to install as you need to center the platforms with the reference lines on the bulkhead. I will use the bullwork templates to check the lines before I install the bow fillers and platforms. Steve
-
Get well soon! Crazy level of detail. It’s so much fun to follow your work. Steve
- 1,035 replies
-
- 8
-
-
- royal katherine
- ship of the line
- (and 1 more)
-
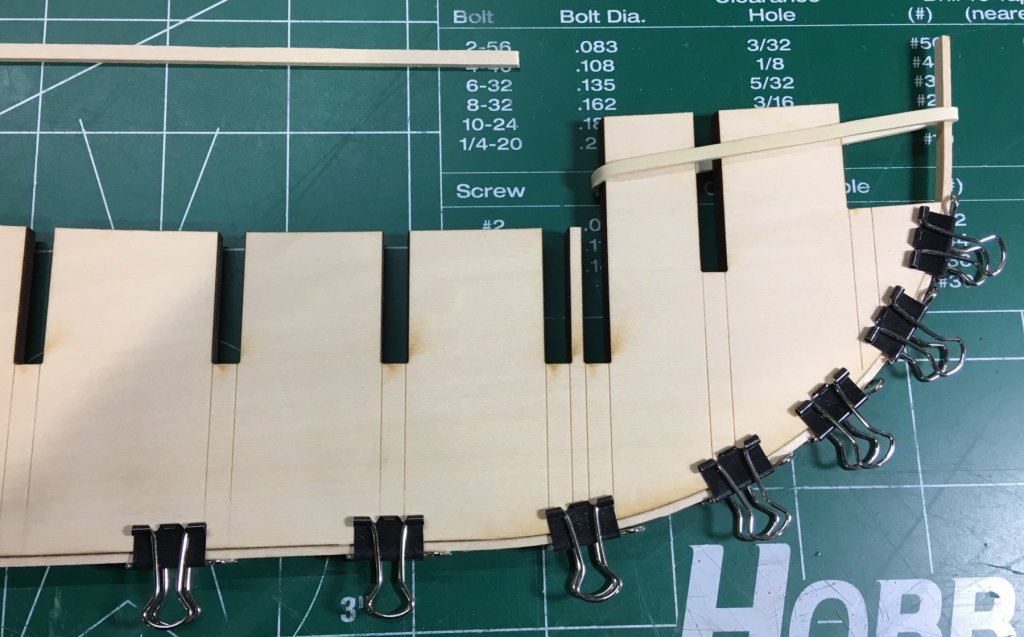
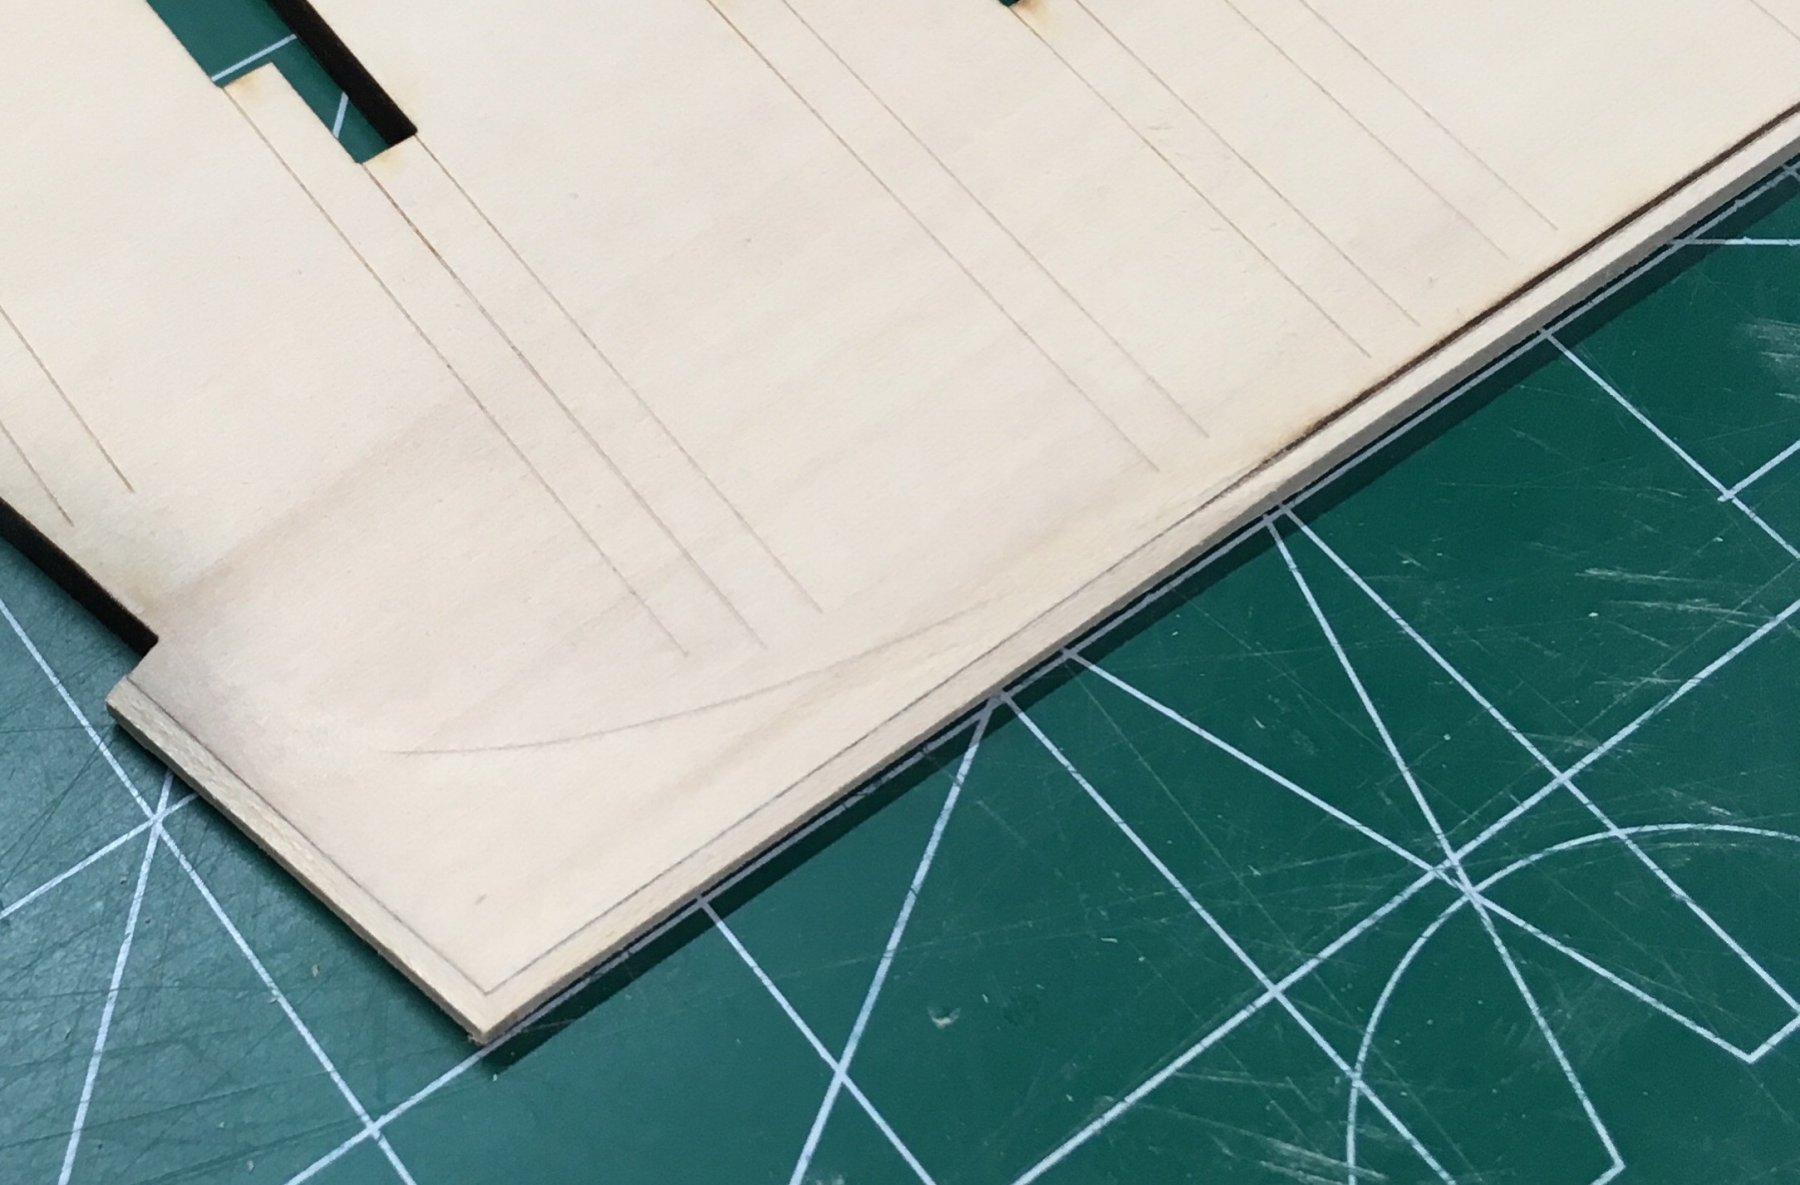
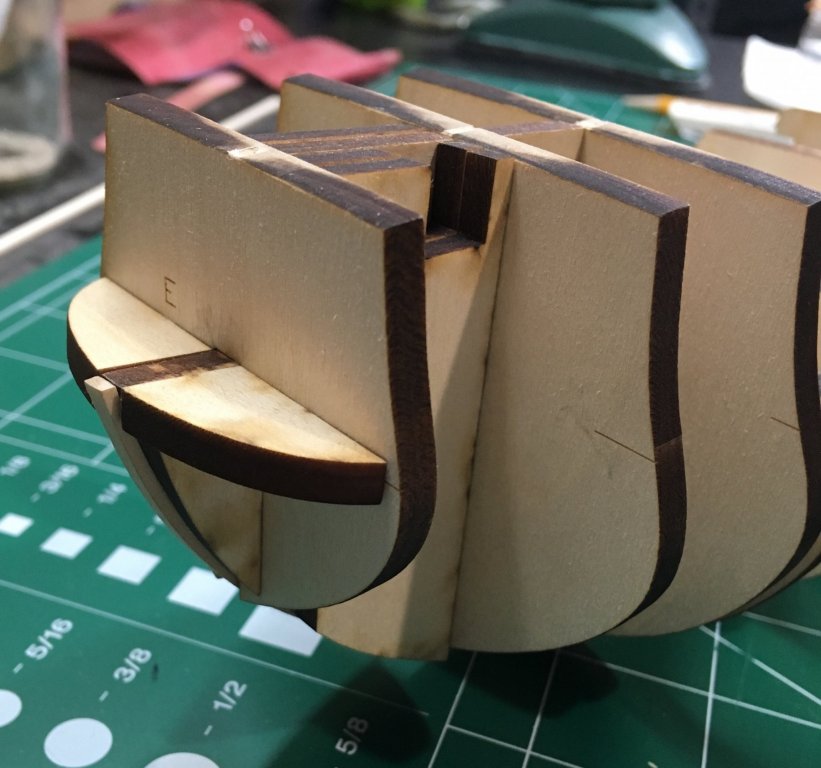
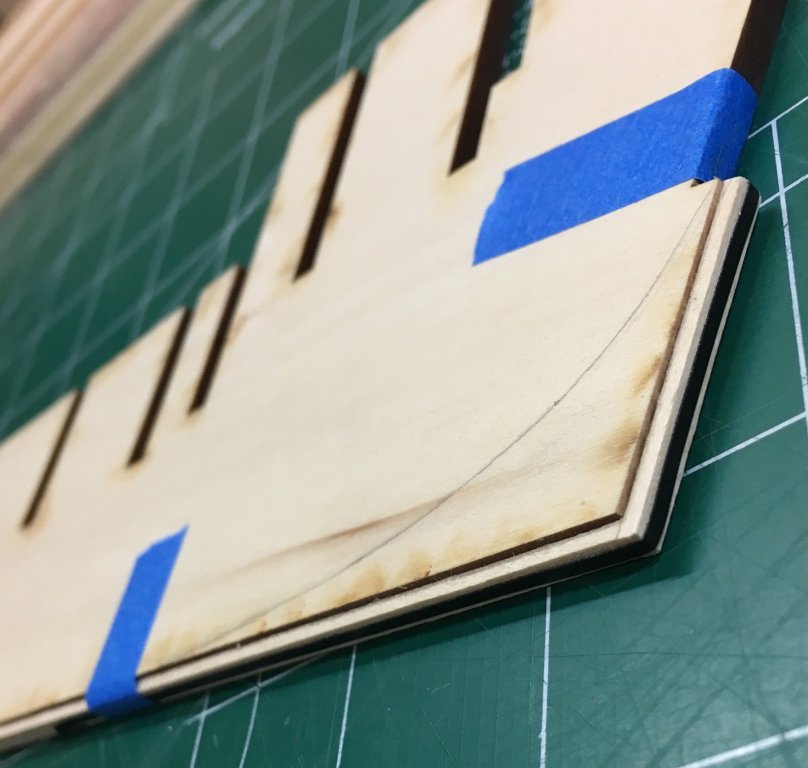
Preliminary sanding of the bearding line into the rabbet. I’m sure additional sanding will be required at the time of planking. Down to about 1/16” at the rabbet. Hoping the taper is correct. Steve

-
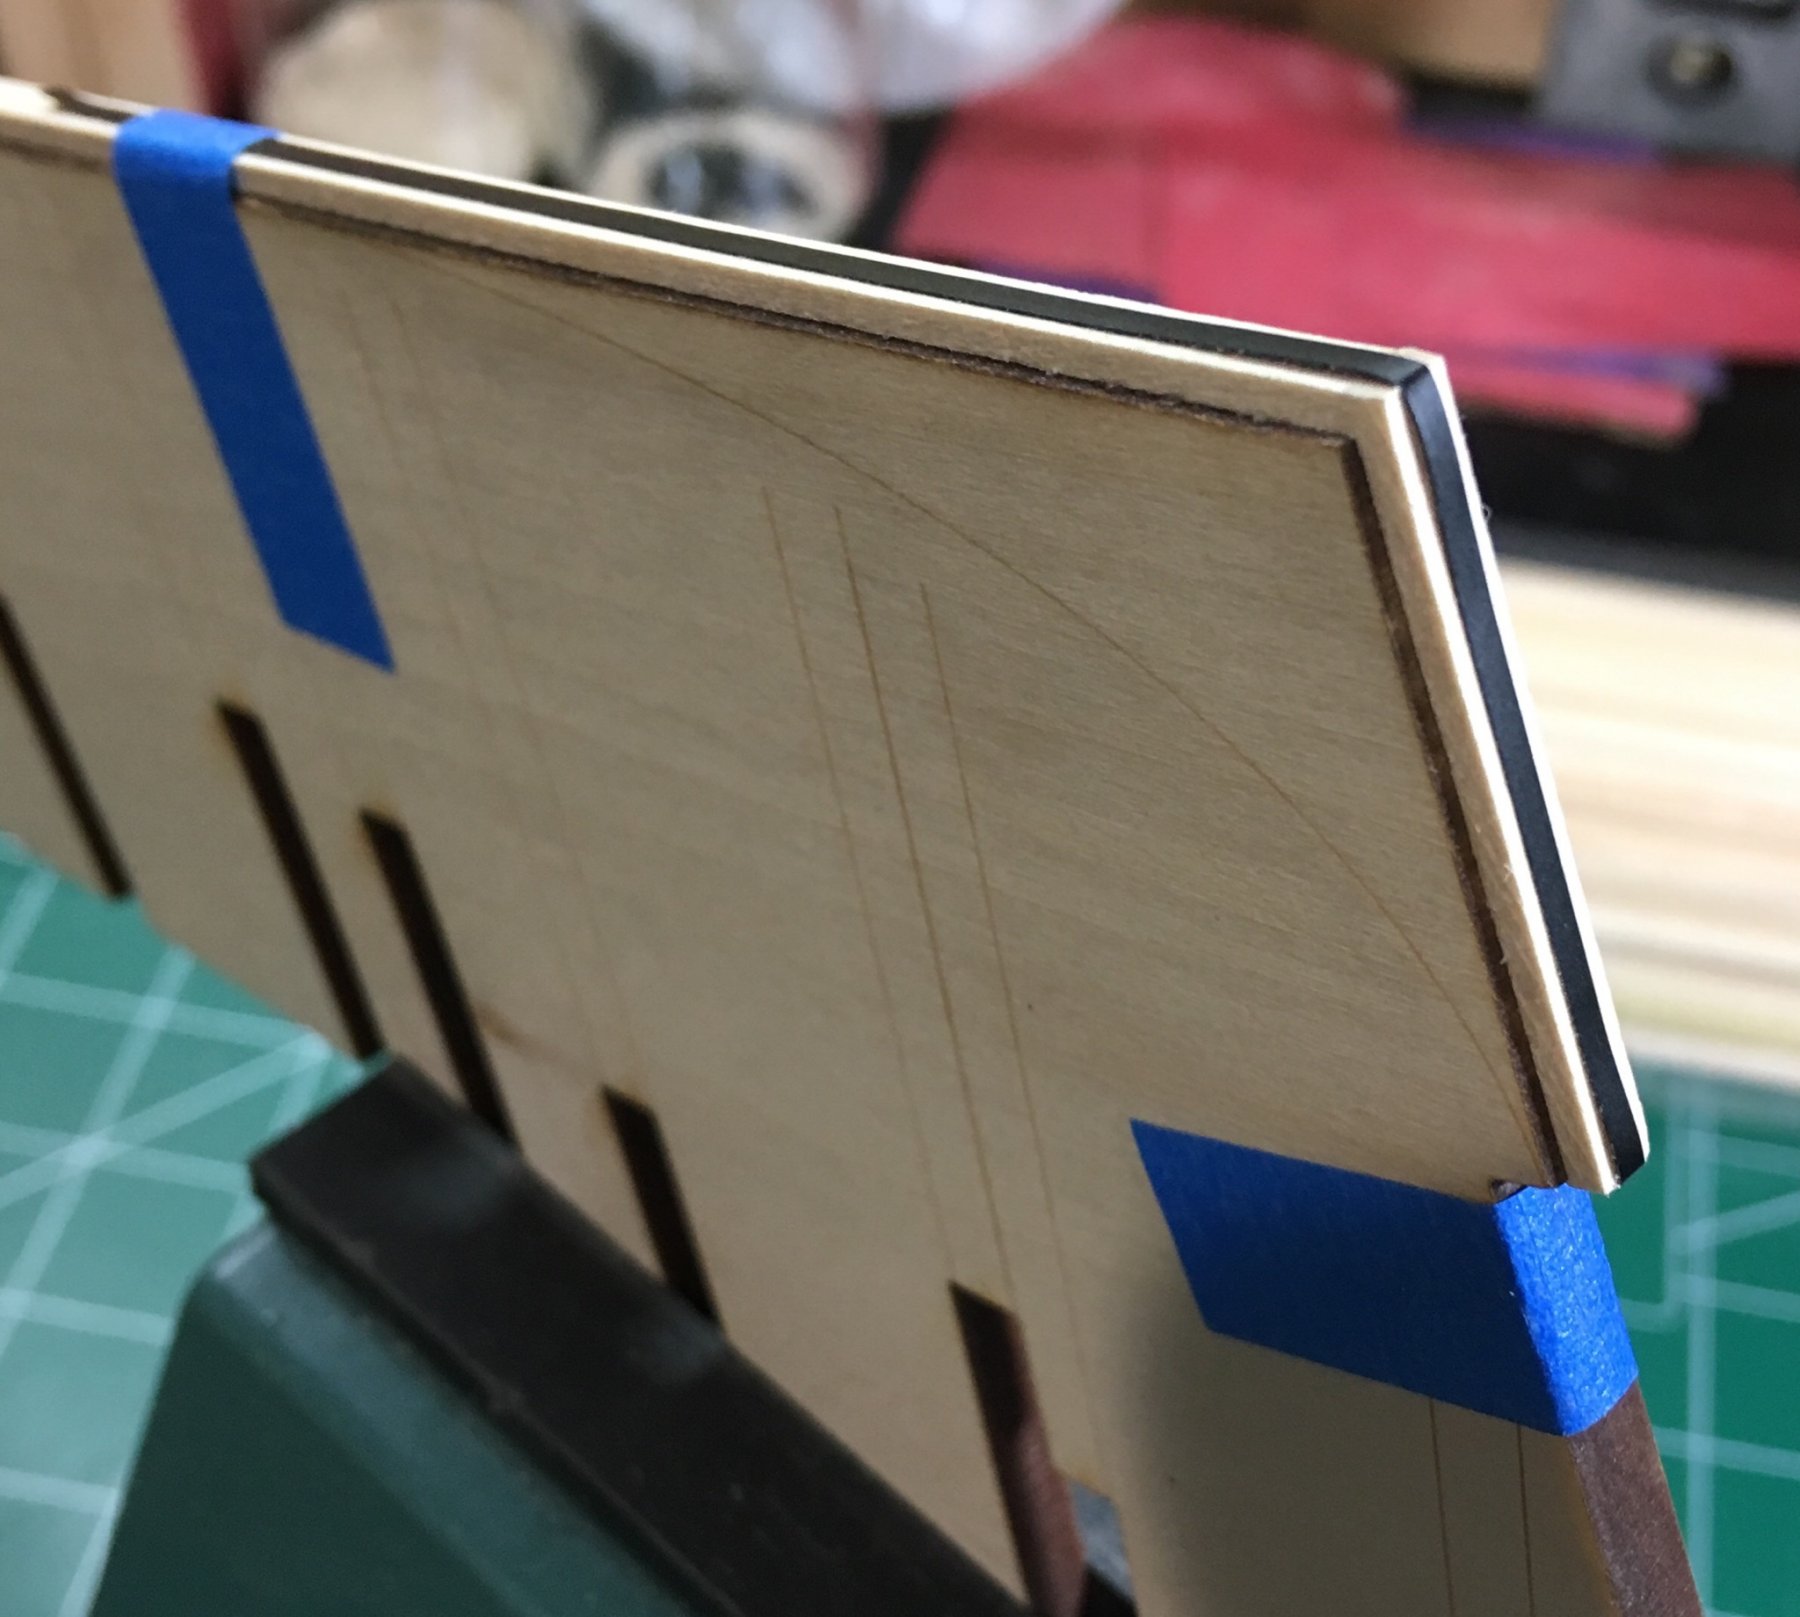
The pinstripe tape is just a guide. It will be removed after the taper is achieved from bearding line to rabbet. It worked surprisingly well for my English Pinnace. Steve
-
Thanks. It’s another trick from Chuck’s English Pinnace project. You do have to check often that the tape stays straight. Steve
-
The bearding line was transferred to the other side of the bulkhead former. In preparing to create the gradual taper from the bearding line to the rabbet, I attached 1/16” pinstripe tape. Instructions call for a taper to 3/32”, but referencing a discussion in Mike’s Mayflower build, it must be tapered more to accommodate a smooth transition into the 1/8” stern post after planking. The hull will be planked with 1/16” thick planks. Steve

-
Thank you. I actually did email them the photos several hours ago. They’re sending to the parts department. I’m in the process of gluing the rabbet strip. Steve