

tlevine
-
Posts
2,020 -
Joined
-
Last visited
Content Type
Profiles
Forums
Gallery
Events
Posts posted by tlevine
-
-
Absolutely gorgeous. Do you have any more photos of her you could share? They would come in very handy for if I decide to tackle Atalanta's figurehead. Or else I could simply commission David

- WackoWolf, Ryland Craze, robin b and 4 others
-
 7
7
-
Druxey, your work is an inspiration to us all. Mounting the sweeps on the baseboard is a reasonable solution. But it would also be interesting to have a few sweeps mounted to add "action" to the model.
- Canute, mtaylor, Gerhardvienna and 2 others
-
5
-
-
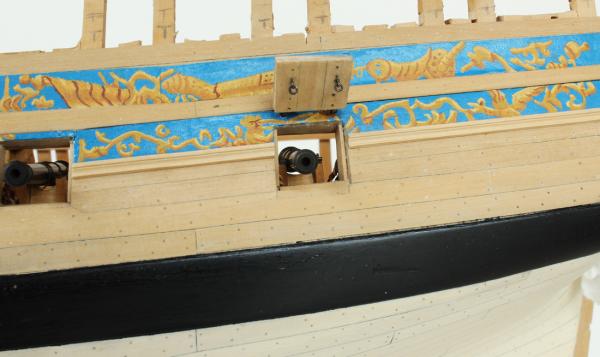
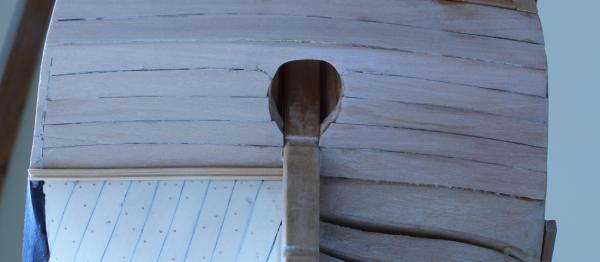
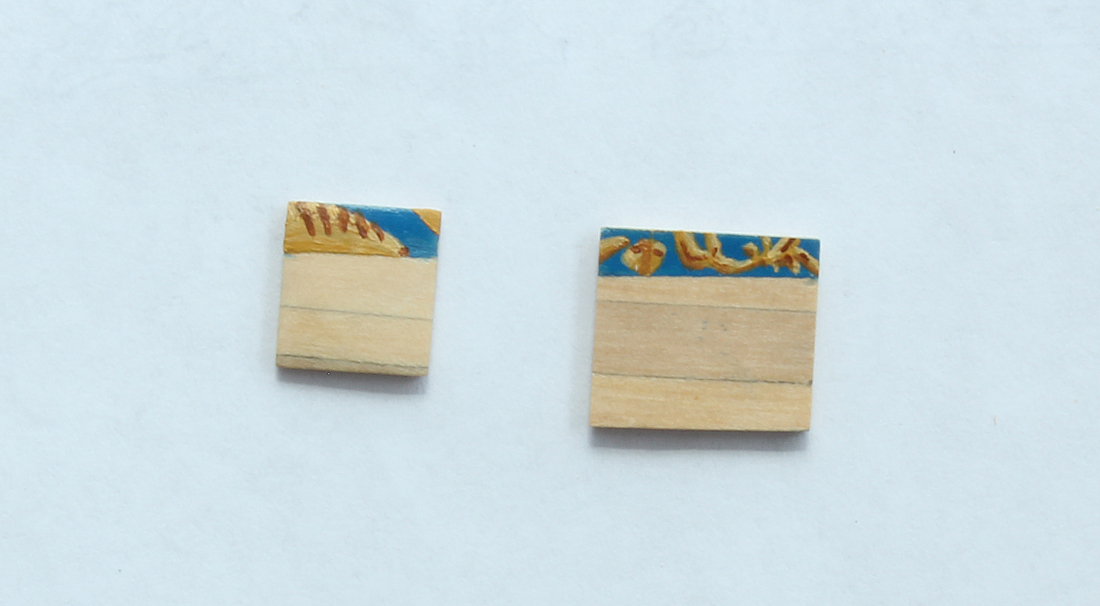
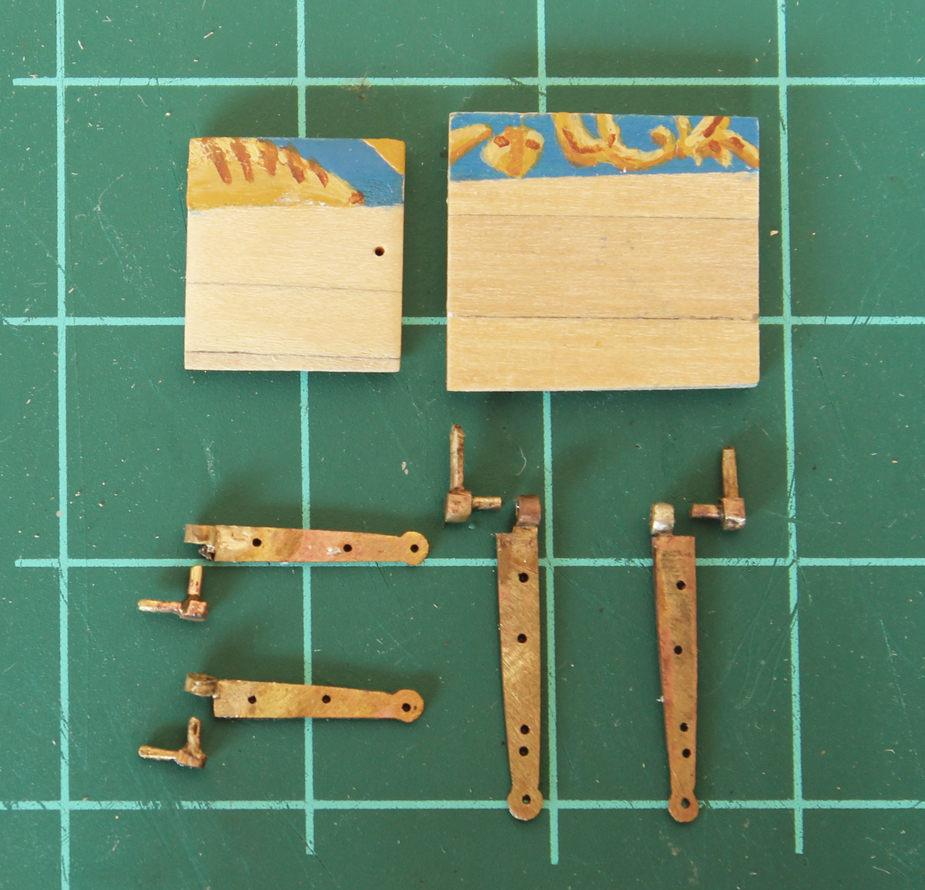
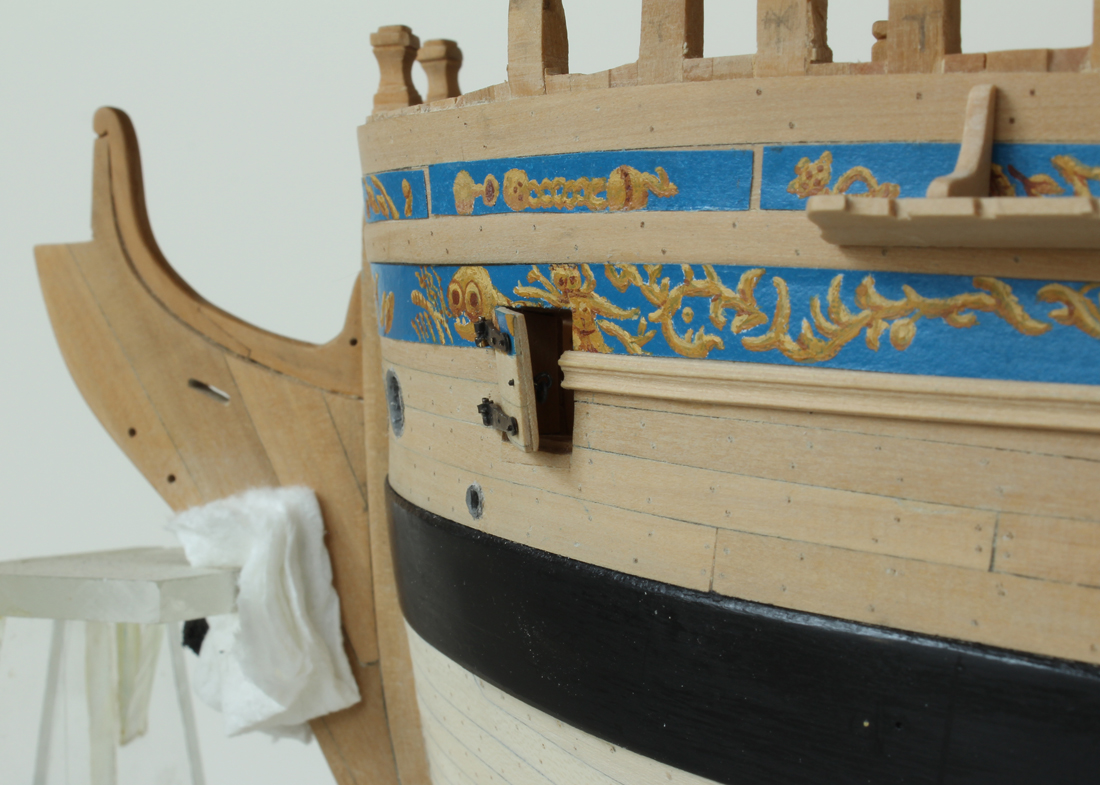
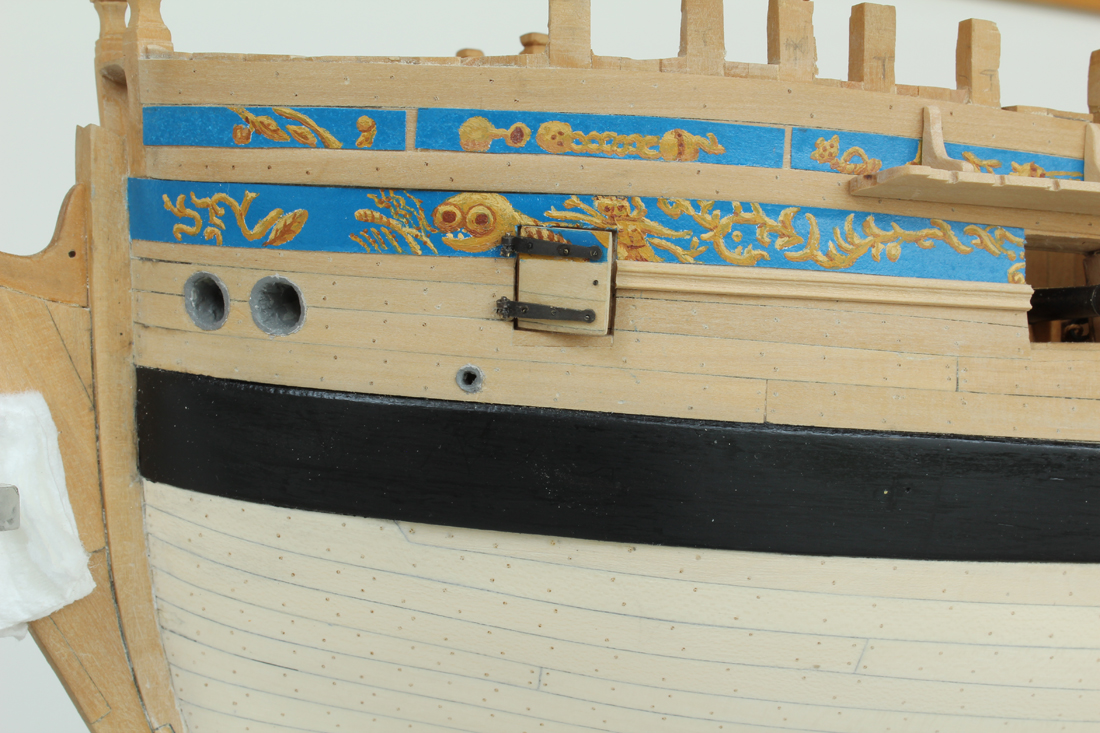
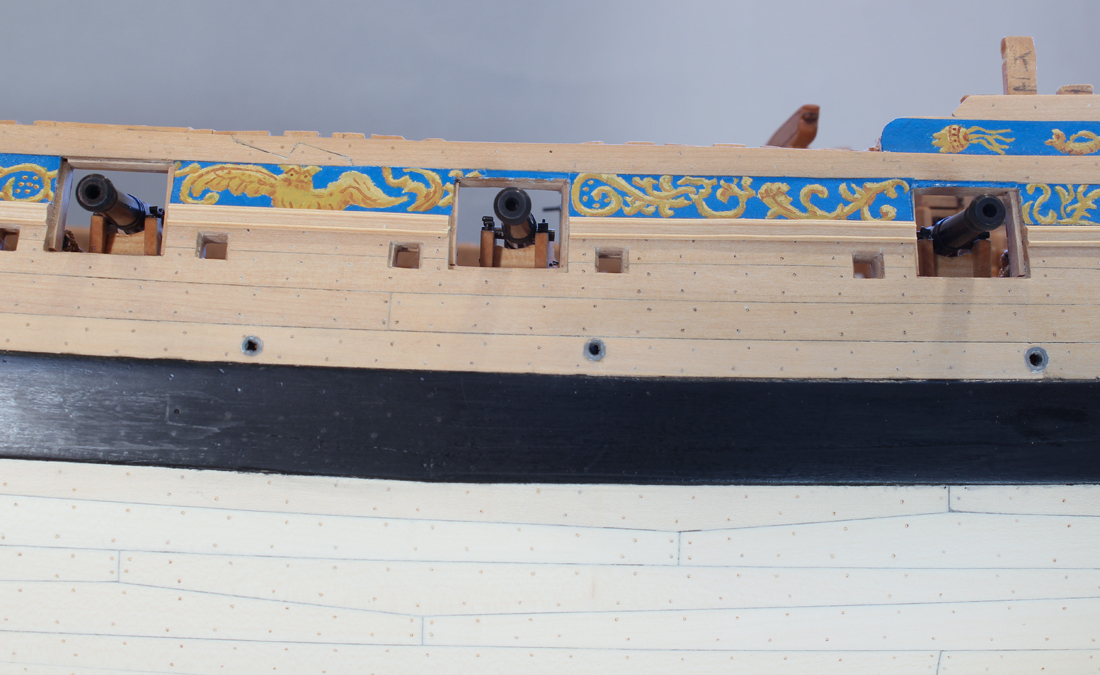
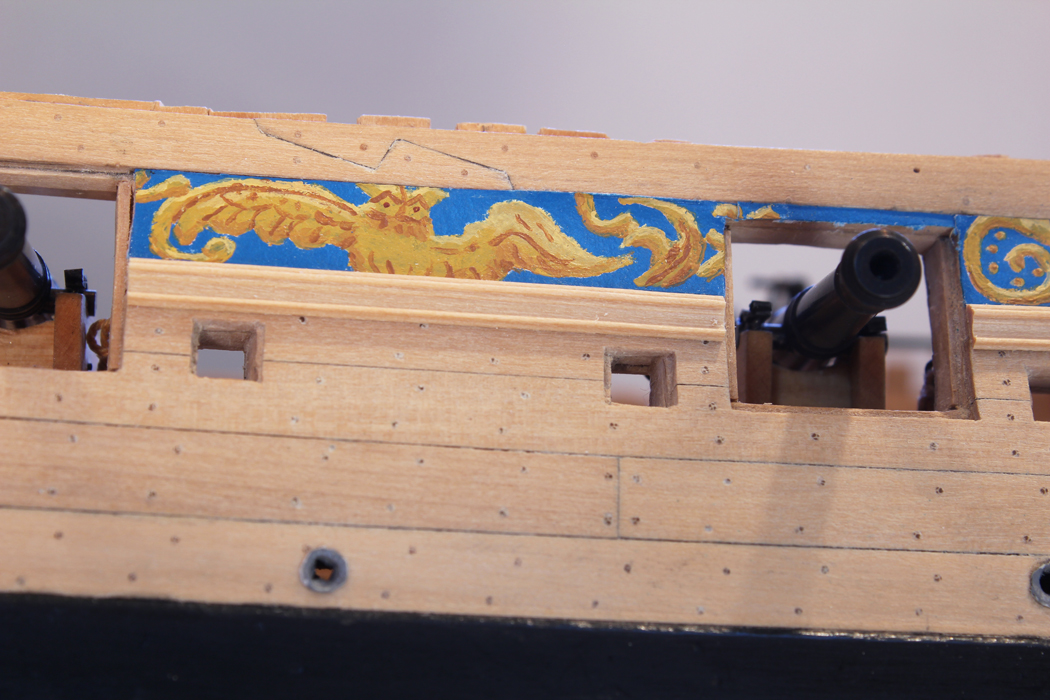
There are only two port covers. The aft one is for the last cannon. The covers are made of two layers of wood; the interior is vertical and the exterior matches the run of planking. The frieze was painted before the hinge straps were added.

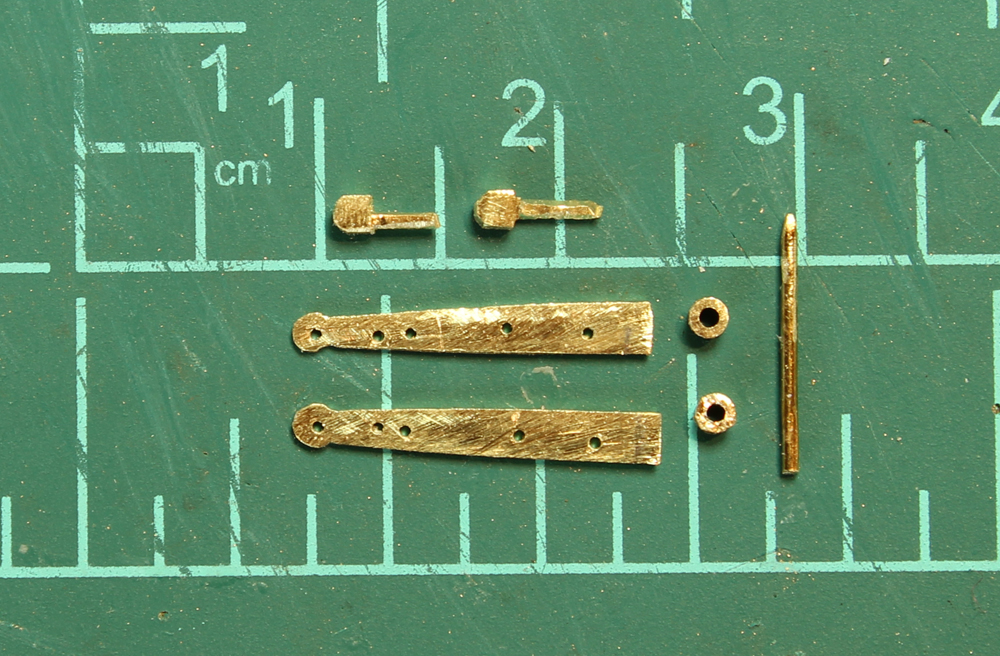
The hinges were made of the pieces seen in the photograph and then silver soldered.


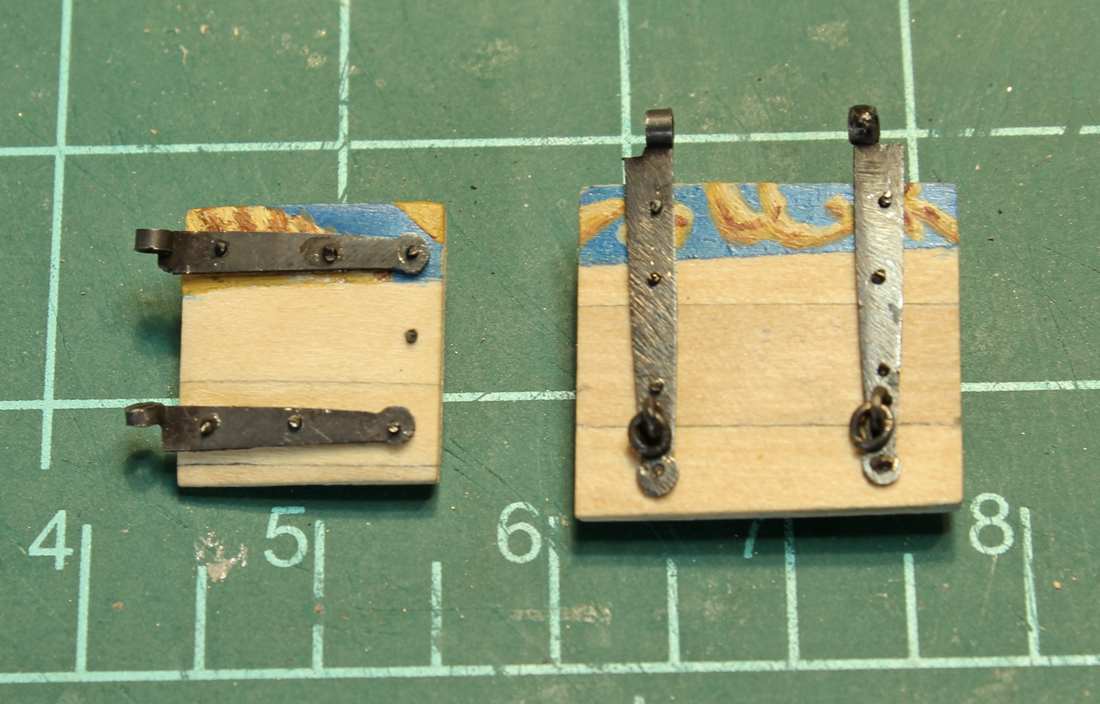
There are eyebolts on the inner and outer faces of the gun port and three additional bolts. The rigging will be added after the exterior hull is a little more complete to prevent damage.

The fore port cover is smaller and allows airflow to the fore part of the ship. It is hinged on its fore side to prevent it from being blown open. There is an eyebolt on the inside face. It appears to be hanging lopsided. This is an optical illusion caused by the curved shape of the hull.


-
-
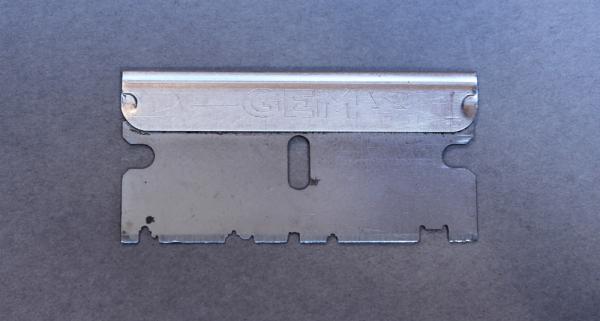
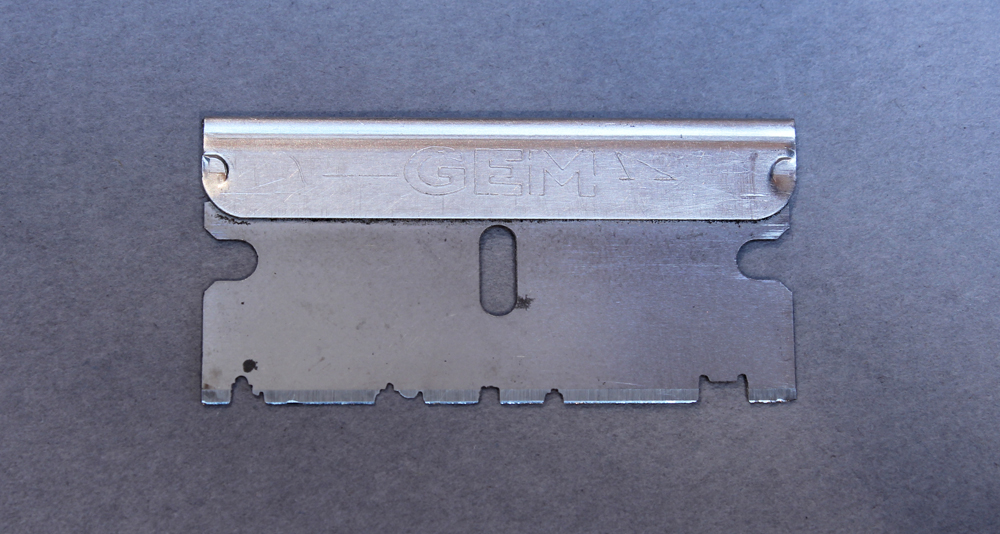
Thank you Druxey and Elijah. Nils, the key is to get the super thin cutting discs. I have also made these with Exacto chisel blades. Those are sturdier but for the few feet of molding required in this build, I consider it overkill. The razor blades are much easier to cut fine detail into.
-
-
Mark, Christian and Albert thank you for you comments. Kurt, I agree. I wish it was a little more portable. Mine is wall-mounted. When I was in training, these are the exact type of drill that we used to learn how to perform ear surgery.
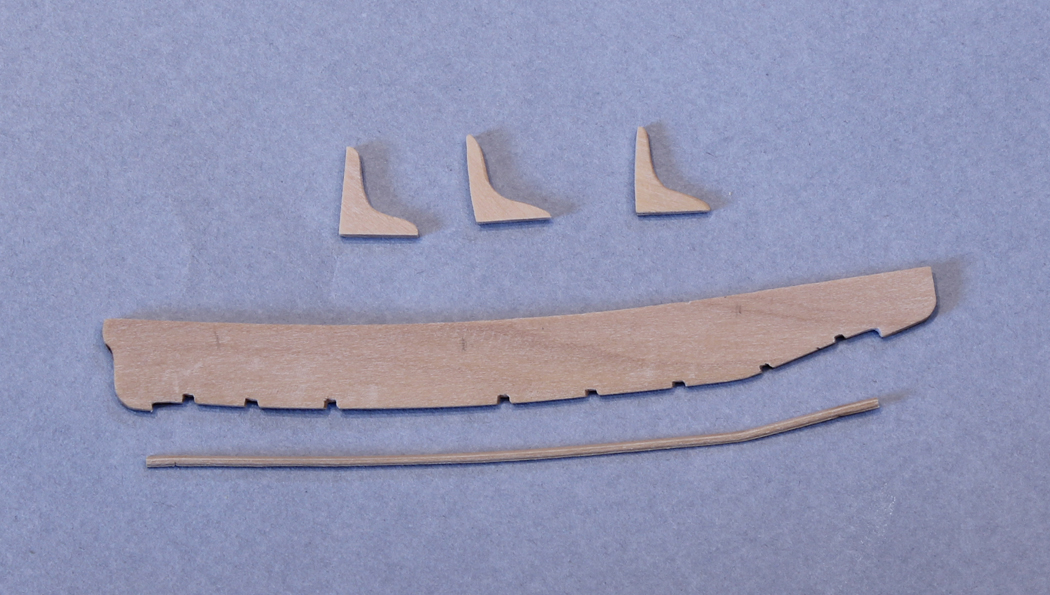
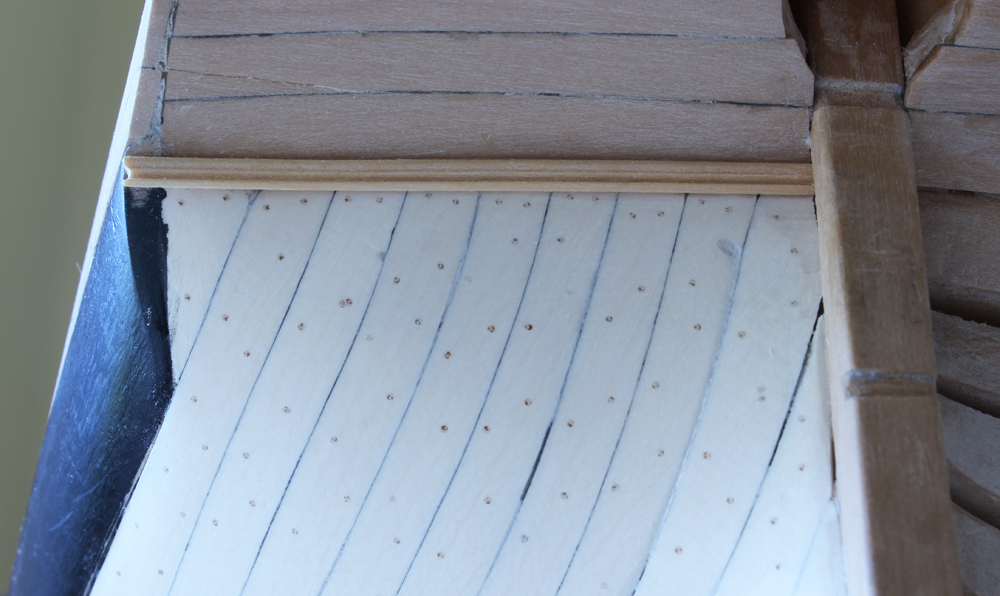
A little more work got accomplished today. The fore channel has been cut out and thinned towards the outer edge. A rebate is cut into it for a strip of molding. On the razor blade the profile is the second one from the right. I wet the molding to navigate the bend in the channel and clamped it until dry.
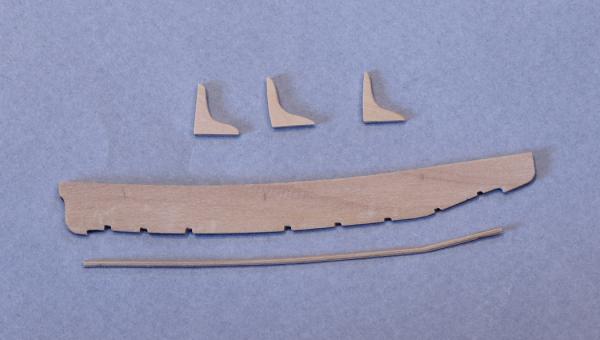
The chain plates are drawn in on the masking tape. This allowed correct placement and angle of the notches in the channel. Three knees prevent upward pull of the channel. In the picture it looks like the channel is angled upwards. It actually is parallel to the waterline.

-
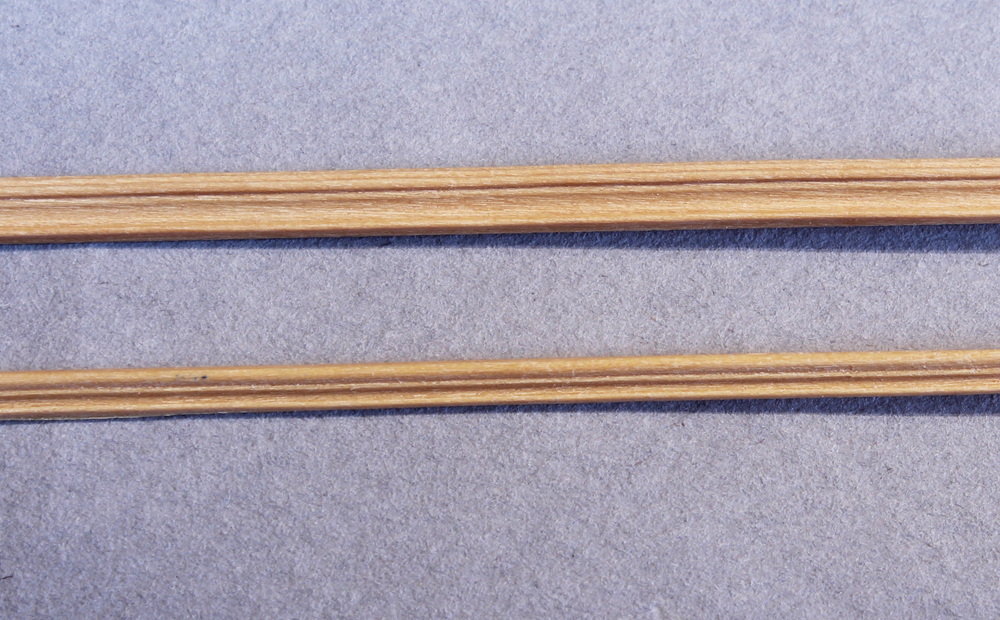
It is time to make some of the decorative rails. Suggested patterns for the rail profiles are given in TFFM. I use thin dental cutting discs which are 0.009" in thickness. They are inexpensive and readily available on EBay. Of course, they are brittle so eye protection is a must. I am lucky to have an old Emesco dental engine which gives me slow variable speed without any play in the handpiece. I cut the profiles into the sharp end of a regular single edge razor blade. On this razor blade I have four different profiles and one oops. I have also used Exacto blades for this. Stock which is slightly oversized is used for the moldings. This prevents the cutter from moving too much side-to-side during the scraping process.
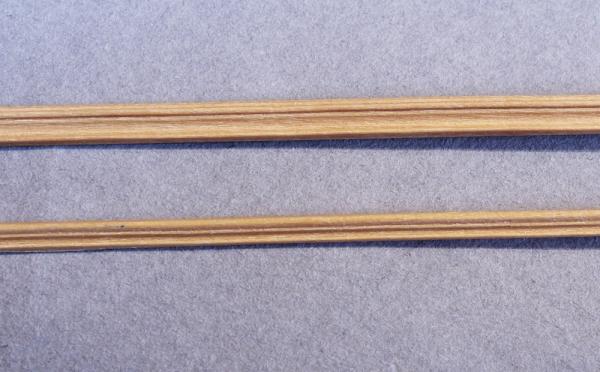
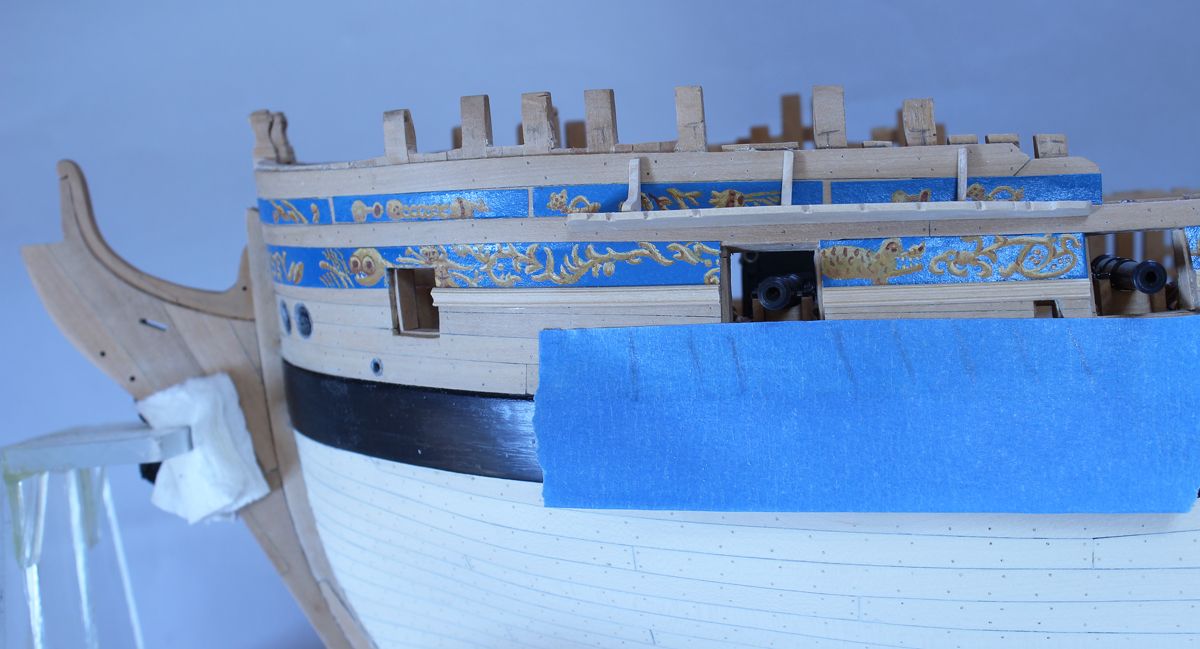
The tuck molding is located at the junction of the hull planking and the lower counter. This molding has an undercut on its back surface to compensate for the curve of the hull. The profile was carried over to the outer edge of the molding. The discoloration in the wood of the counter is bleed through from applying finish internally and (hopefully) will not be seen when the exterior finish is applied.

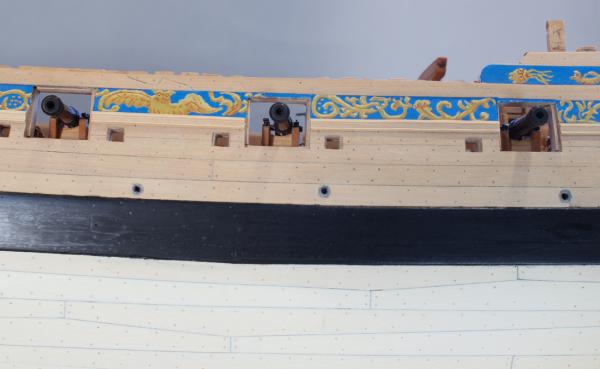
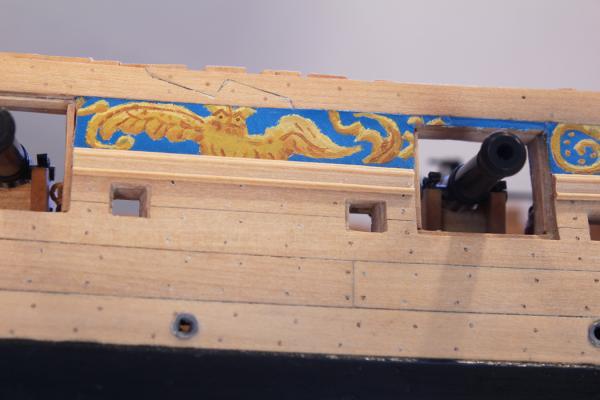
The waist rail is located just below the frieze. I will add the extreme fore and aft pieces after the rails and quarter badge have been installed.

- albert, gjdale, Geoff Matson and 28 others
-
31
-
-
-
-
-
Jose, Tom, Elijah, Greg and Mark thank you for your comments. Druxey, if I had to rig one more cannon I think I would have gone postal. Truthfully, if this were a larger ship I would probably have done only one or two cannon with all the trimmings.
- mtaylor, michael mott, Elijah and 1 other
-
4
-
-
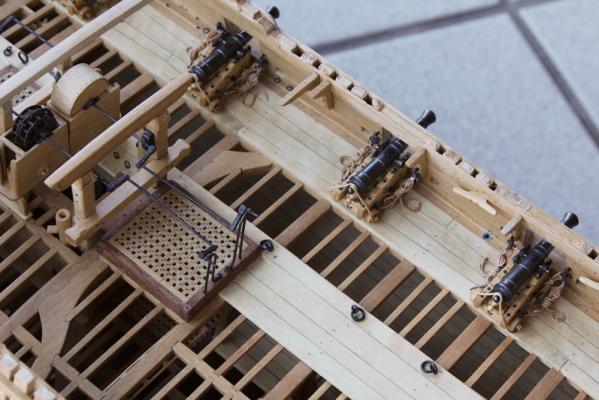
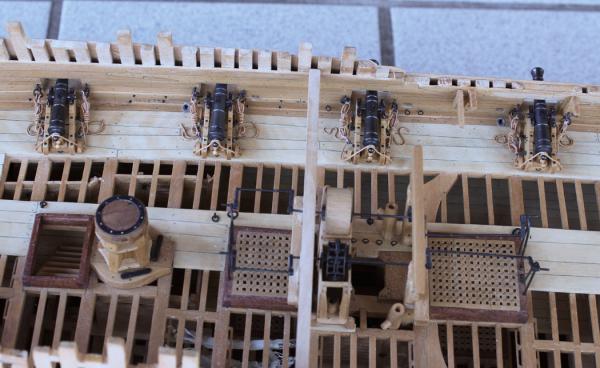
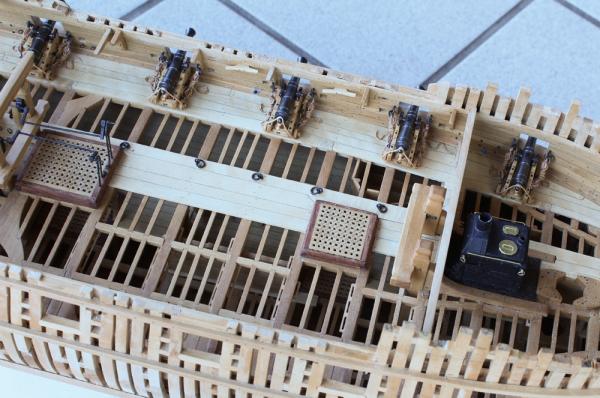
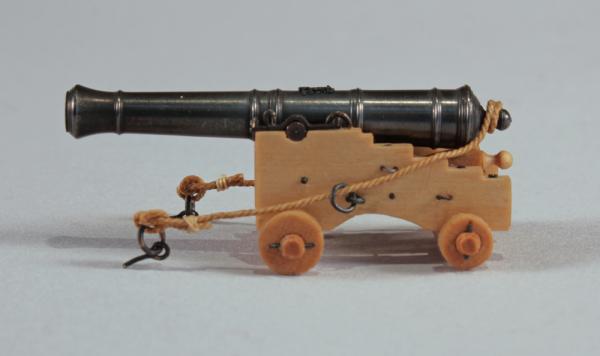
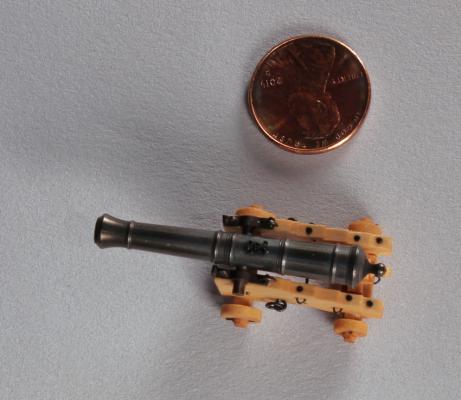
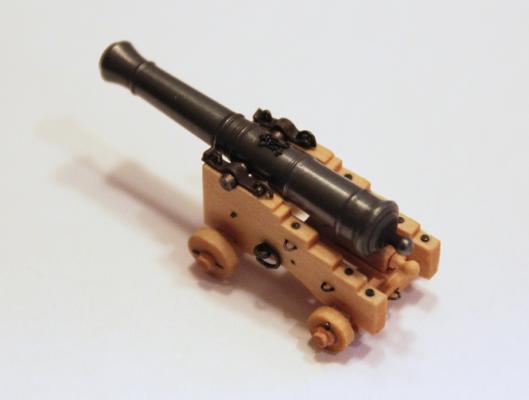
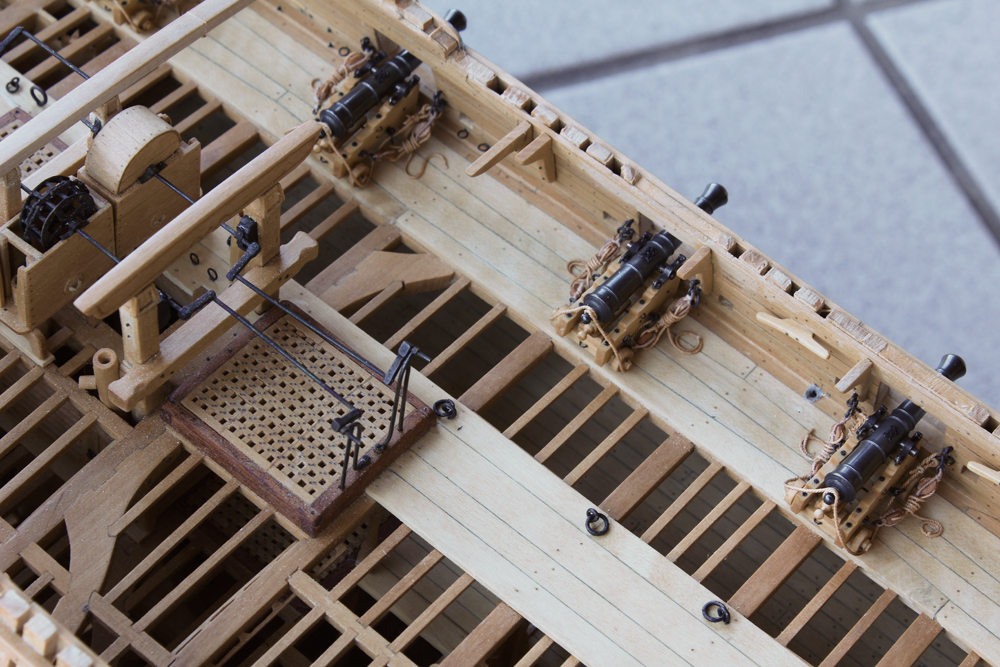
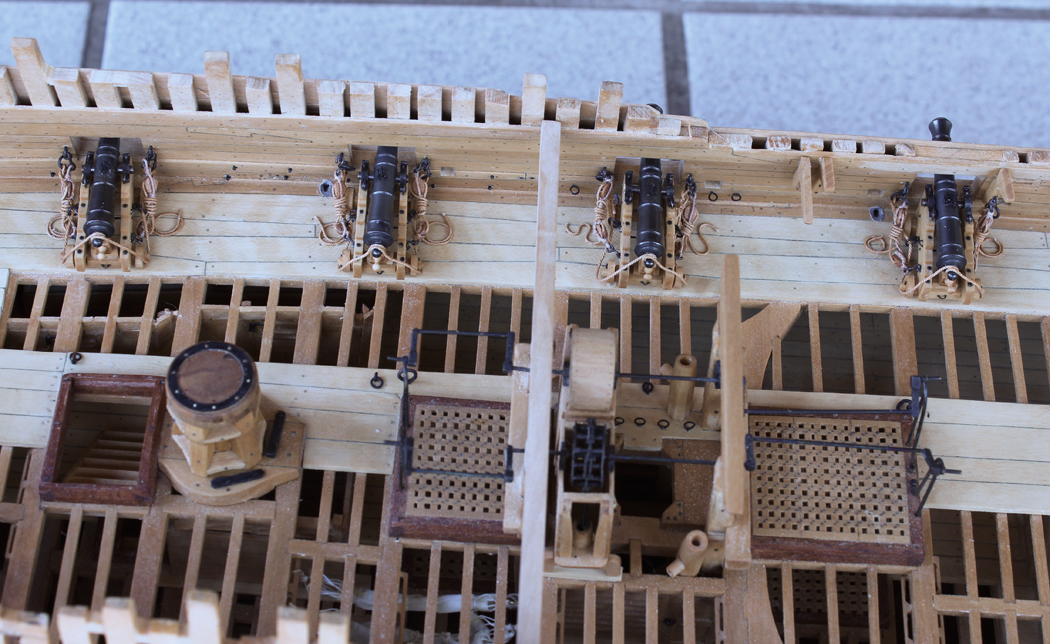
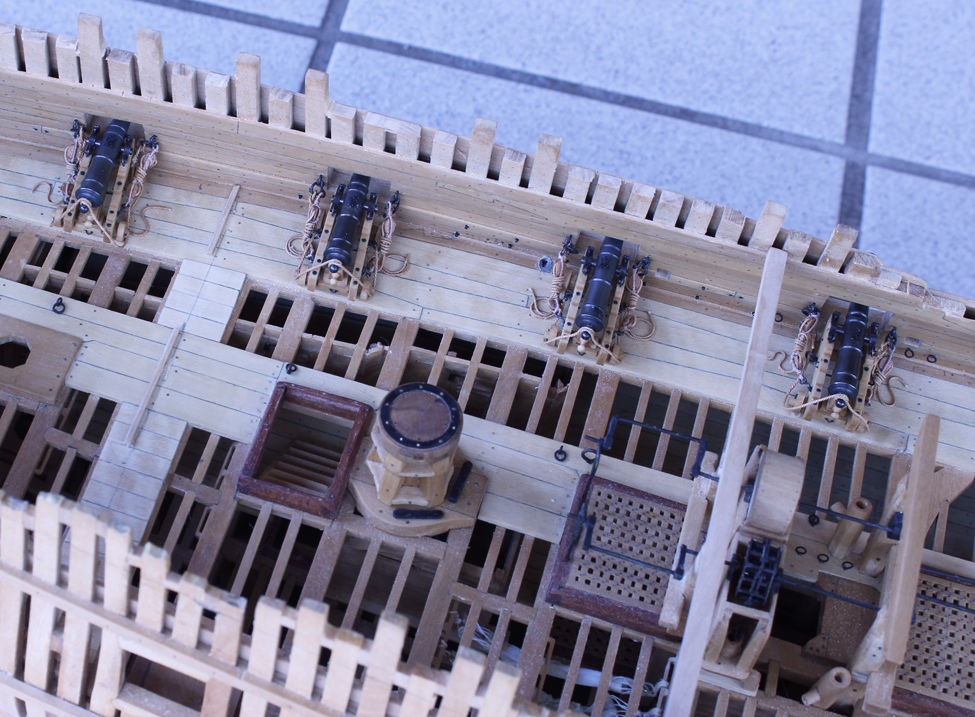
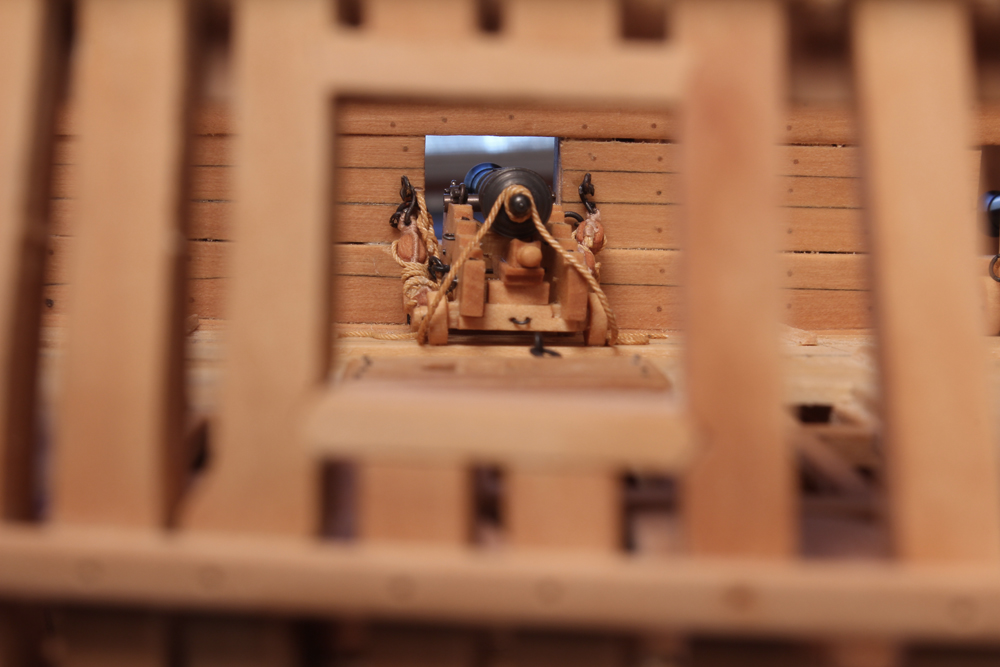
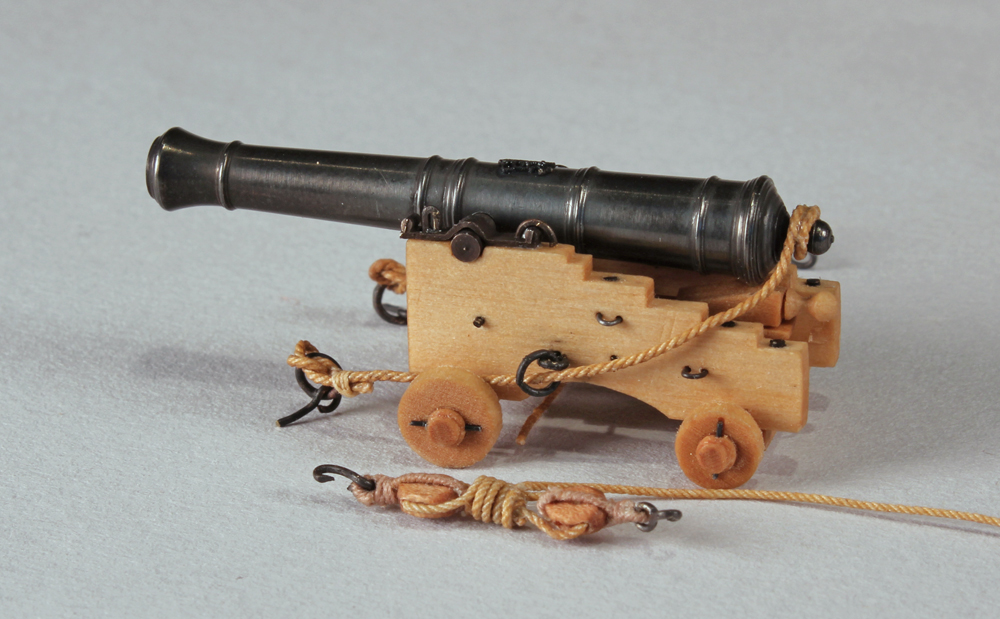
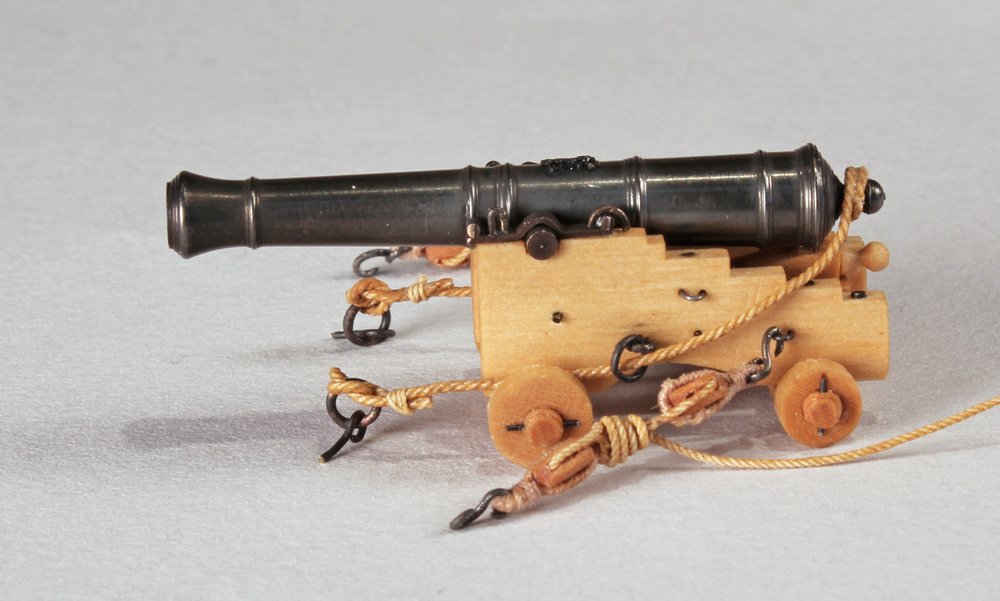
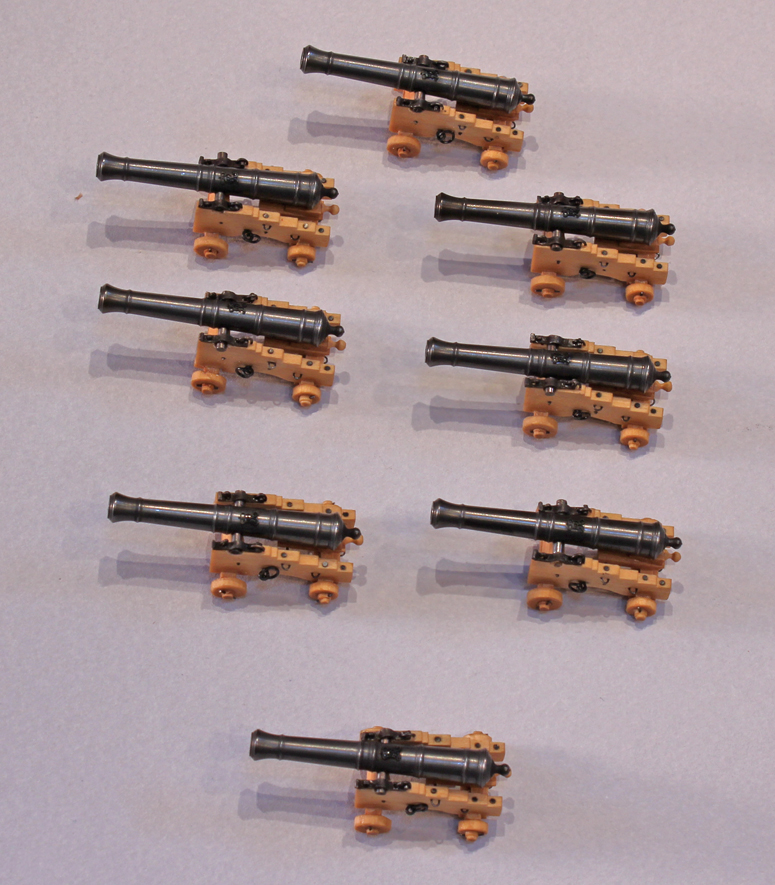
The rest of the cannon have been rigged and mounted!

-
-
-
-
Thank you Druxey, Mark and David.
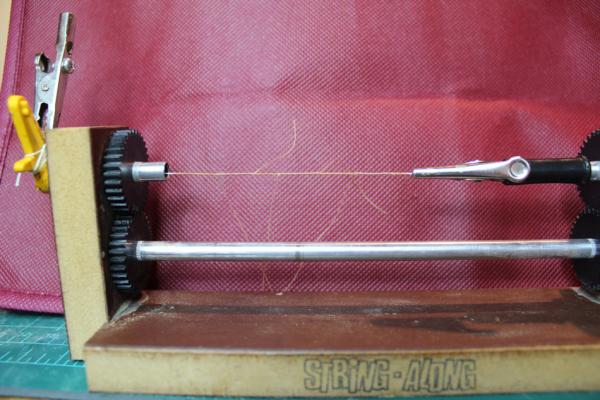
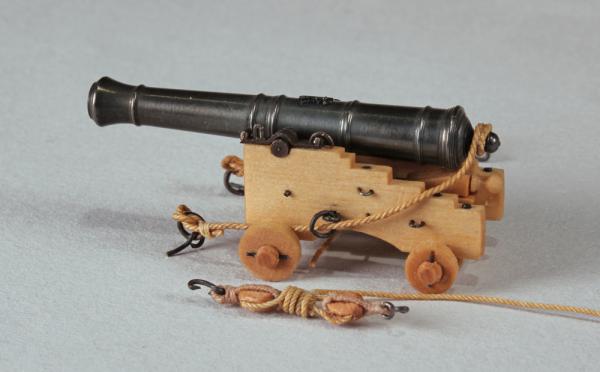
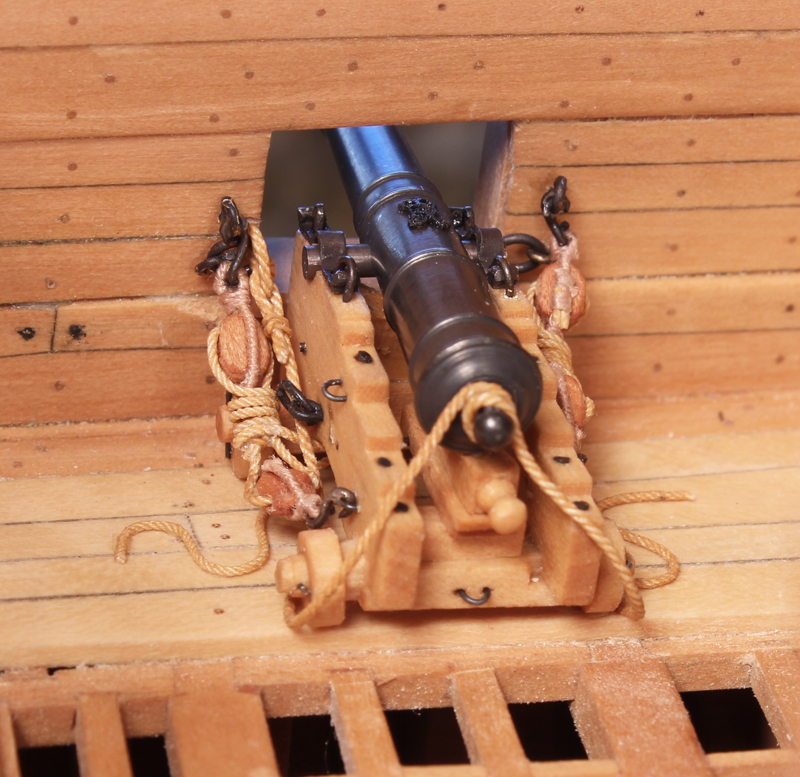
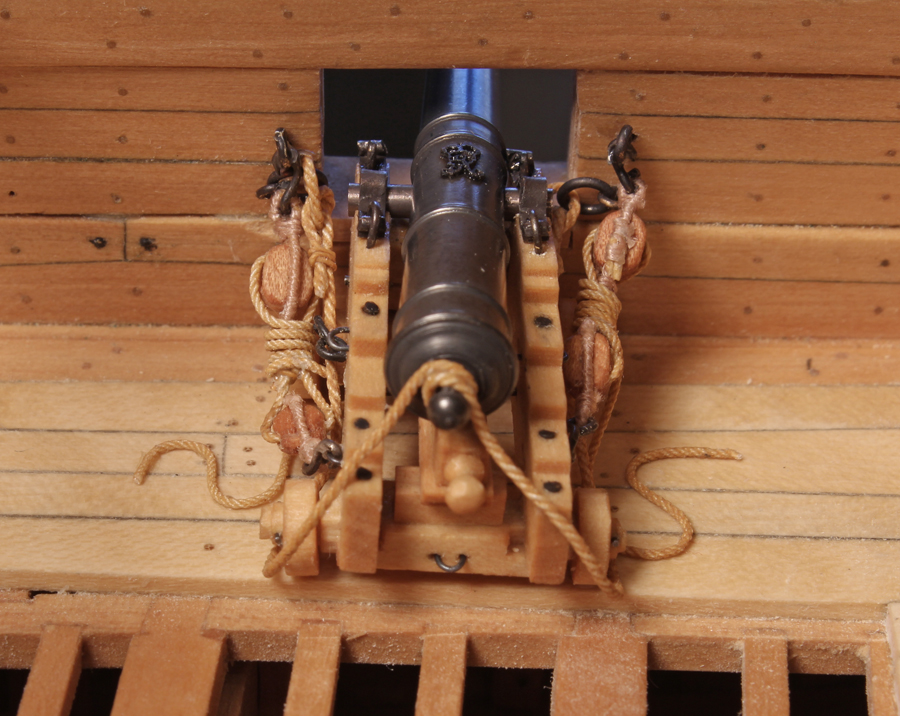
The gun rigging is next. I chose to show only the breeching and the gun tackles. With the open deck, the train tackle just did not look right. The first step was to make the correct rope. The breeching is 4" in circumference and the tackle line is 1.5" In TFFM, the tackle is shown as a left hand laid line. So I made a bunch of it using three strands of 100 weight crochet thread. Something did not seem right so looked in all my sources and they all stated right hand laid (or stated that all rope was right hand laid unless stated otherwise). There are not exactly a lot of 18th century ships still afloat so I decided to use the Victory as my model. Her cannon are rigged with right-hand laid tackles and left hand breeching. So I remade all the tackle rope...correctly this time. The breeching is made with three strands of 50 weight thread. Did I mention that the ropewalk handle broke off in my hand in the middle of all this? I like to secure knots with Titebond. In order to do that I use a water based stain by Minwax, Woodsheen, in manor oak.
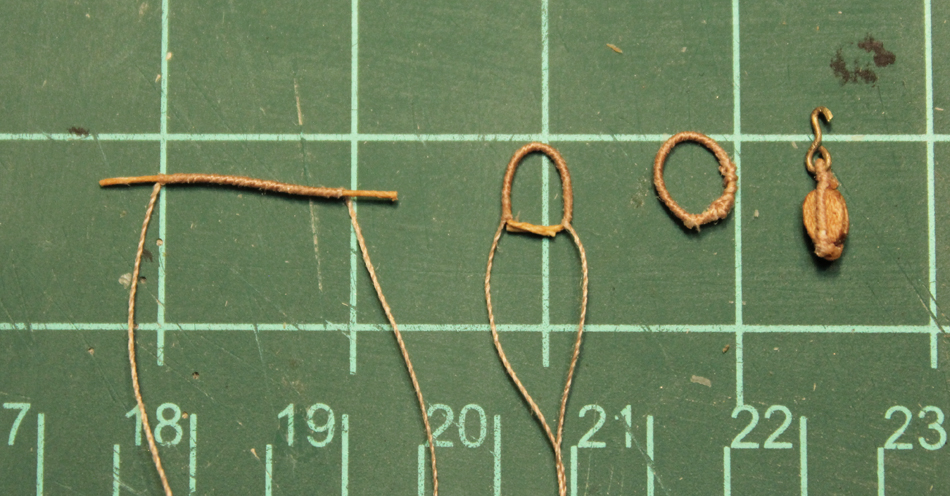
The blocks are made by laminating the pieces together and then carving in notch for the strop. One block has a strop with one loop and the other has two loops. The strop is served with some ancient thread I found in my sewing machine. The pictures show the sequence of "splicing" and serving the strop. I tried but was unable to actually splice the rope this size. First, the line was served, leaving extra unserved material on either end. The two ends were mated and glued together. When dry, they were thinned down to decrease the bulk and stiffness. The rest of the strop was served by hand. Finally it was given to the block. Not perfect, but it was the best I could do.
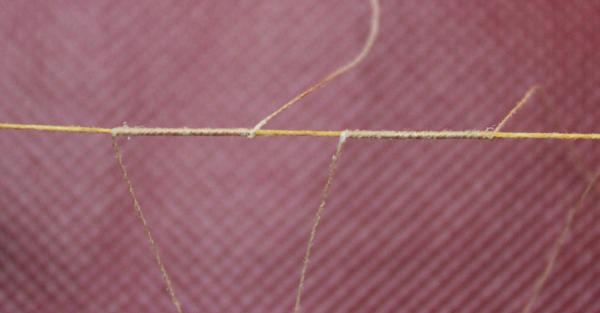

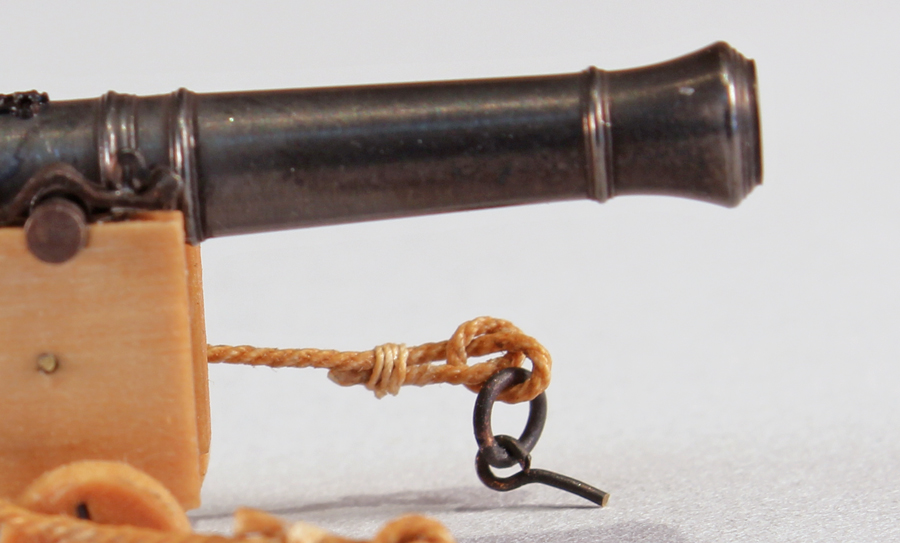
The ring bolts for the breeching and tackle were temporarily attached to the hull. On Victory, the breeching is secured to the bolt with a loose knot which looks like a pretzel. It is then secured to itself. I duplicated that here. The second picture gives a good view of the knot.
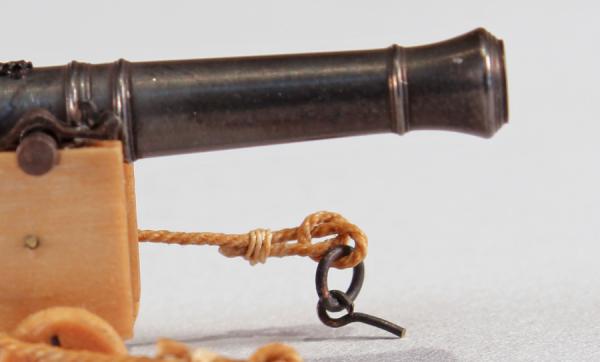
There is a hook on each of the tackle blocks. The ring is at a 90o angle to the hook. The tackle is frapped. I wondered how neat and tight this frapping would be in reality. Back to the Victory pictures. They are relatively neat but not very tight, so that is how I depicted them. I have not decided what to do with the end.

-
It might just be the camera angle but the second strake looks like it is side bent severely. Like I suggested, make up a template for the third run of planking and make sure your materials will bend as required. And, yes, you should make them symmetric because it will end up being more work for you down the line. The best tutorial for this build is Bob Filipowski's. I call it a tutorial because it is much more than simply a build log. If you follow his instructions you cannot go wrong.
- mattsayers148, dgbot, Canute and 1 other
-
4
-
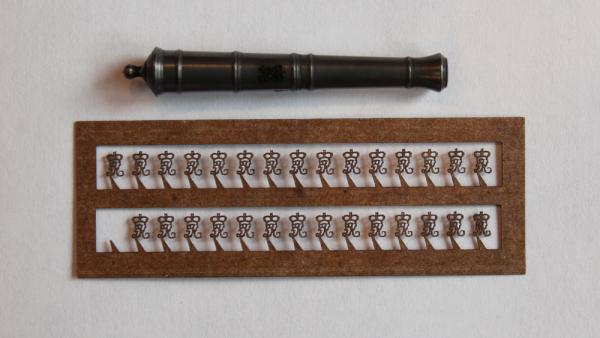
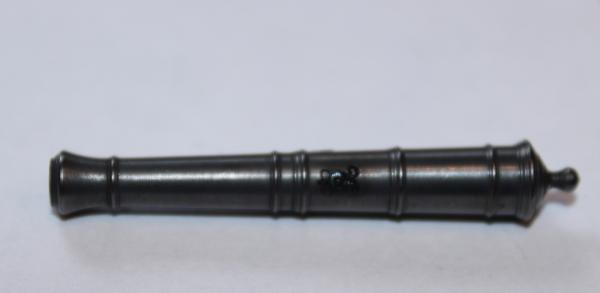
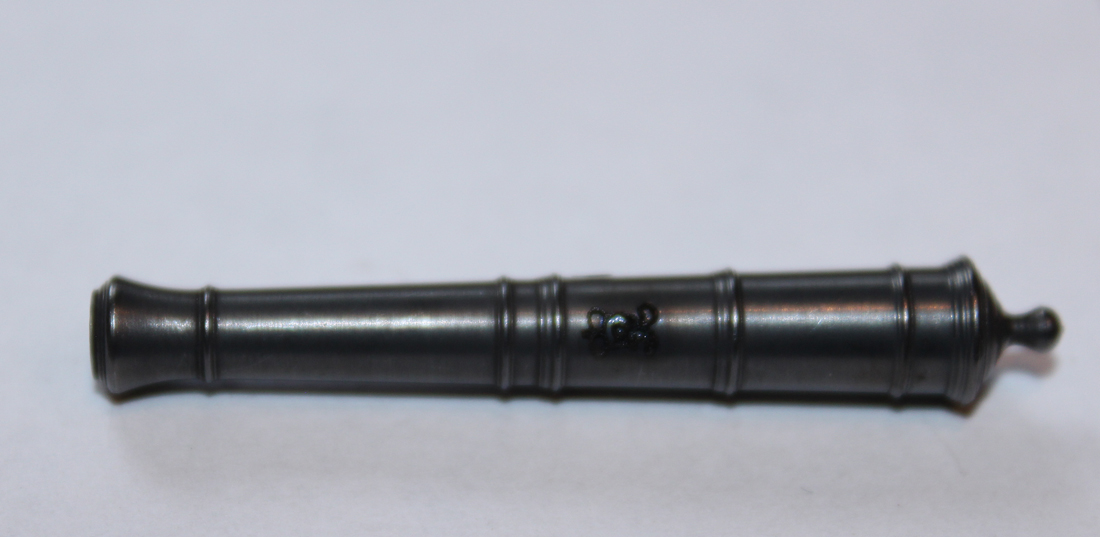
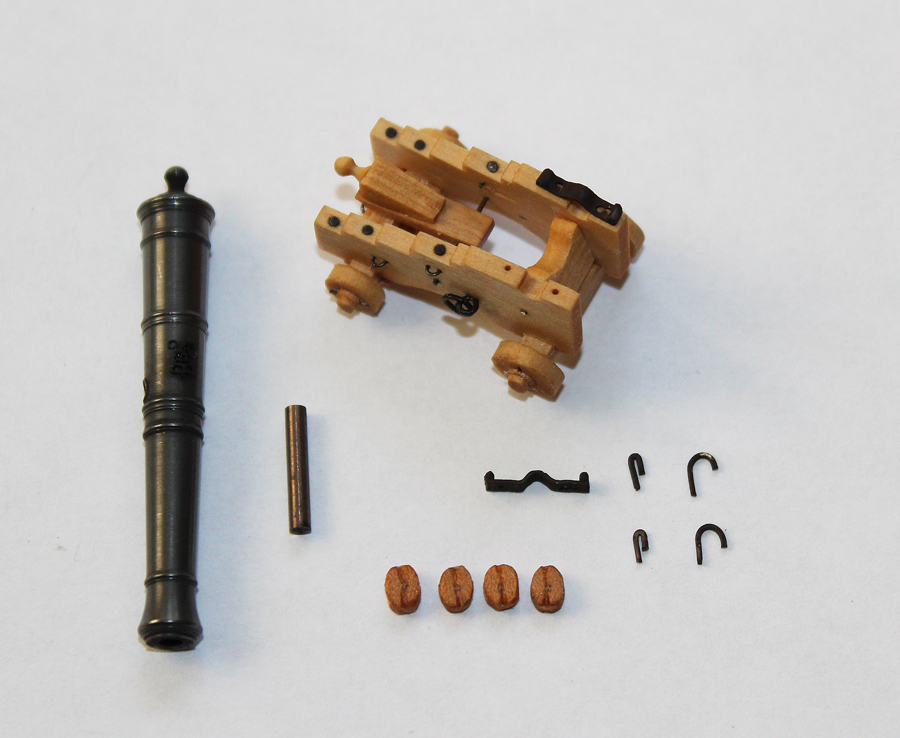
The cannon were addressed next. My original intention was to cast my own cannon. But after looking at the dimensions of the cannon available through Syren, I decided to cheat and use his instead. Maybe someday... I also purchased Chuck's monograms to apply to the cannon barrels. I bored the barrels to the correct diameter and then blackened them in Birchwood Casey. Specifically, they were cleaned in isopropanol and blackened for approximately thirty seconds. They were then rinsed in water and wiped dry. The process was repeated five times. Finally, they were rubbed down with a paper towel. The monogram was applied with CA; Titebond did not hold. The monogram was "painted" with archival marker. Now it is time to mount the cannon barrel.


-
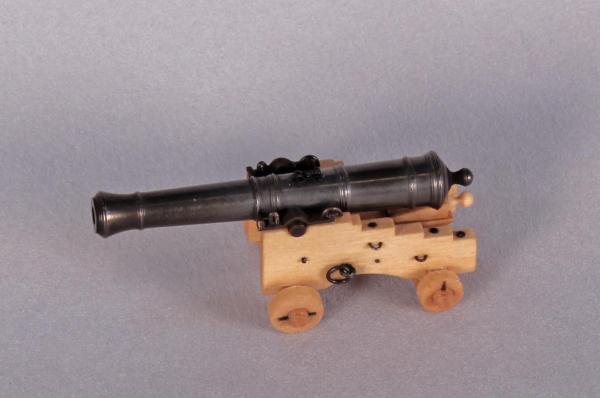
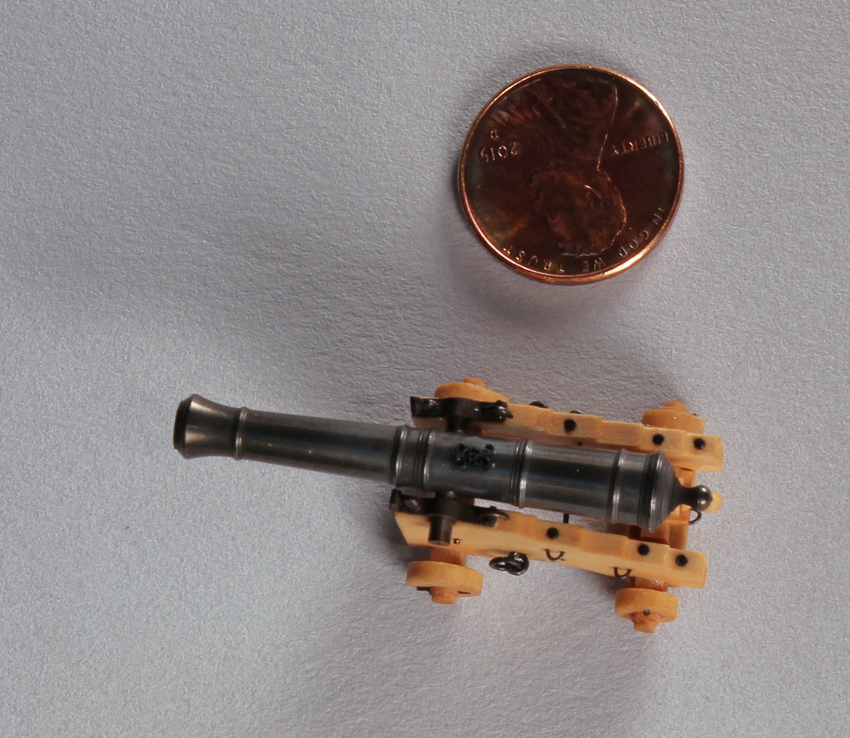
Thanks to everyone for their kind comments and thanks for the likes. Chuck, repetition like this is the reason I hate rigging. Remco, considering your avatar, that is a true compliment. I brought my first completed carriage with cannon to my local club meeting last Saturday so Kurt is referring to the pictures which will follow.
-
Please take a look at your garboard strake. It should extend further forward. Look at the run of the second plank. Because the garboard plank is too short, the second plank had to curve excessively to meet it. Make a template to see what the third row plank would have to look like. The amount of edge bending required would be impossible. And each subsequent row would be worse. This a problem a lot of the builders of this kit have had with the result that they ended up starting over. I would suggest looking at some of the finished builds to see how far forward they extended the garboard.


Greenwich Hospital barge of 1832 by druxey - FINISHED - 1:48 scale
in - Build logs for subjects built 1801 - 1850
Posted
Stunning. The contrasting colors of the standards bring it all together.