


gsdpic
-
Posts
748 -
Joined
-
Last visited
Content Type
Profiles
Forums
Gallery
Events
Posts posted by gsdpic
-
-
-
Nice! I missed your log until now but will follow along with interest. Some time back I was paging through Chapelle's American Small Sailing Craft, looking for something to catch my eye as a potential first scratch build, and the melonseed skiff was one option that I liked and did some research on, though I did not find the Gentry custom boats site. For me the project is still somewhere off in the future but I will be interested to see yours. It looks like you are off to a great start.
-
Thanks everyone for looking in and hitting the like button and commenting, despite the lack of recent progress. The pic below is a large part of the explanation for why I have not made progress for the last 2 months. It's a long story, and I am still only claiming to be the "foster dad", but we'll see. And I swear this is not just a cheap ploy to get more likes.
")
-
3 hours ago, Bill Mitchell said:
Gary, I have almost finished building Bluejacket's "Rainbow" and "Endeavour" 1:180 scale model kits. In doing research on them, I came across your picture showing the models of those two ships that you built. I would like to add flags and pennants to my models, like you did - I think they add a lot of realistic detail and interest. I realize it was many years ago, but do you remember what the pennants on your models are? Thank you, Bill Mitchell
Thanks. As you say, it was many years ago. But I don't remember doing anything extra to get the flags and pennants so I assume they must have come with the kit at that time. It looks like they are just printed paper on my models...should not be too hard to replicate. My pennants are just solid red and solid blue with no other design or insignia.
-
Wow, cool work on the scroll decorations. I had something similar on the trail boards of my America build and the thought never even crossed my mind to try to make it out of brass rod as you did. And nice work on the captain's cabin. Looks like you have a nice large, comfortable work area.
- Retired guy and Nirvana
-
 1
1
-
 1
1
-
Nice start. These river boats are growing on me. I'll follow along and maybe somewhere down the line I need to do one myself.
Just a question....in that last photo, the slots out near the edges of the bulkheads look like they do not line up in a straight line. Is that going to present a problem in the future? Or maybe it is just an optical illusion.
-
John....nice work on the railings!
Check the pinned posts in the "How to use the MSW forum" for hints on the picture rotation...there's one on how to upload photos and one on a free picture resizer program. I have not used the latter but it indicates it also fixes rotation problems. It is for windows, not sure what you are using for posting.
-
Just a quick note that I am still here, though some other projects and life in general have gotten a bit in the way of late, so I have not been making any progress on this project.
- hof00, Canute, Old Collingwood and 6 others
-
9
-
Nice! After I installed my waterways I decided they were not as wide as I would like, but left them. I like the width of yours.
-
-
-
-
Always good to see an old project revived and not abandoned or thrown out.
-
Well done! Congrats on a fine looking first model.
-
If you are referring to your profile picture, click on your user name in the upper right, then click on Profile. Once on the profile page, click on the little picture icon in the upper left, the thing in the lower left of this tiny screen grab:

Which Sopwith Camel did you buy? I recently started building the one from Artesania Latina and have a build log in this section. I think there is also at least one build log for the Model Airways sopwith camel.
As noted, MSW is obviously more about nautical subjects, but you are in the right place for the limited number of non-nautical subjects on this forum.
And welcome to MSW.
- Baker, popeye the sailor, mtaylor and 3 others
-
6
-
Thanks all for the comments and likes.
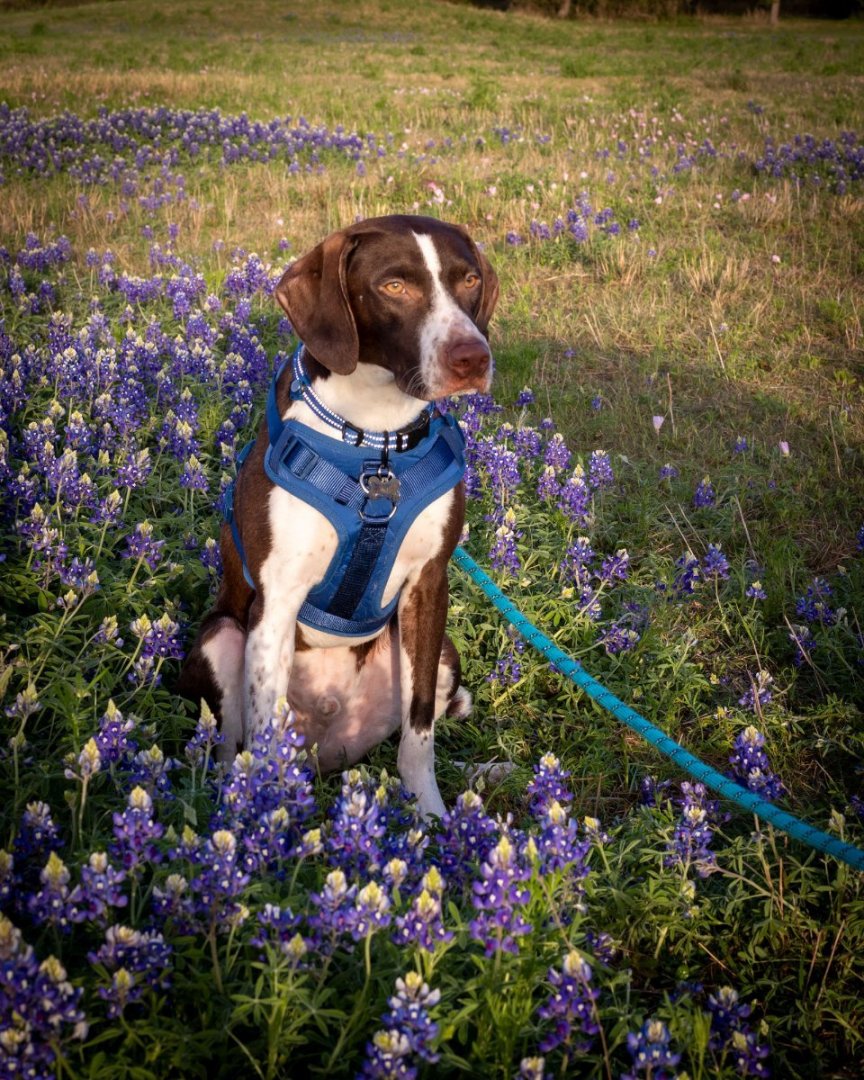
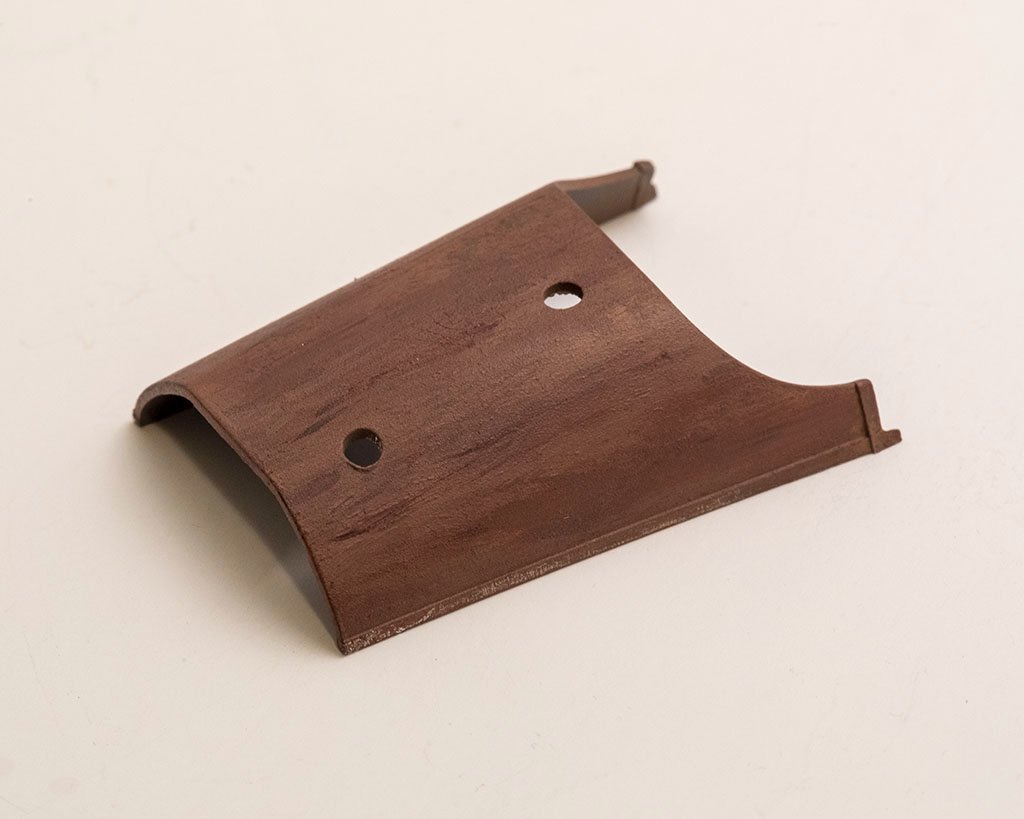
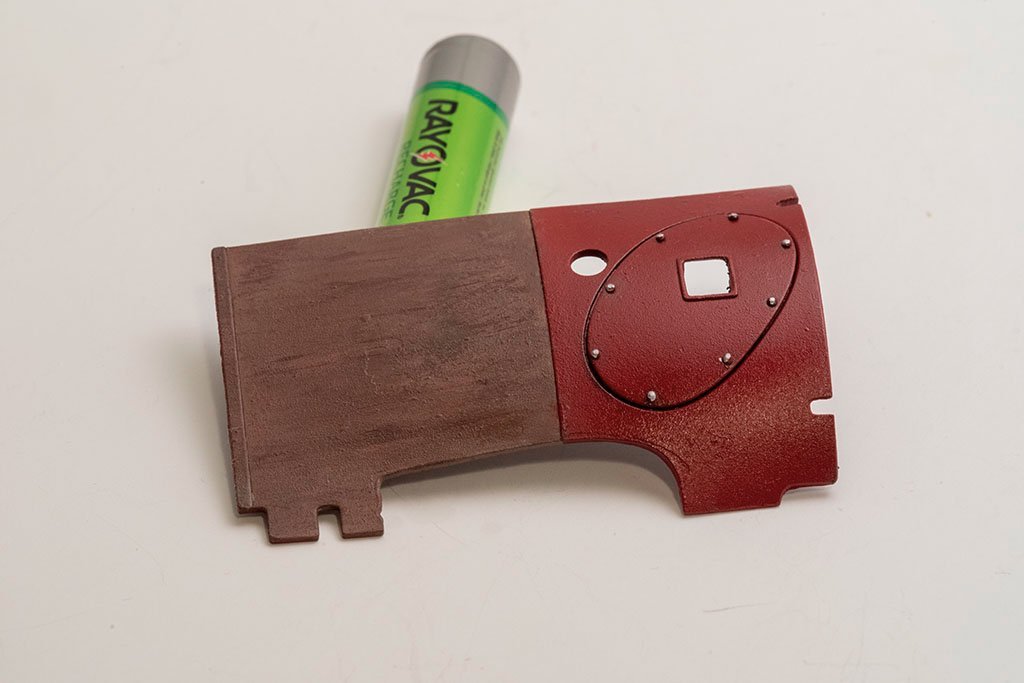
I did not make a lot of progress this week, though I did work on painting the various metal cowling bits. I toned down the wood look a bit for these. For the metal parts, I first primed with grey primer, then used the normal Tamiya X-7 red, followed by a light coat of a mix (about 70/30) of X-7 Red and XF-9 which is a dark reddish brown color, using the air brush. I've not coated the parts yet, thinking I may add a coat of semi gloss clear of some sort. Also the "wood" pieces have a raised edge that you can see in the pictures. The pictures in the instructions just show those as brown/wood but thinking about maybe doing something else with the edges....red, silver, black, I don't know. Anyway, here are the pictures. Oops, I see now I should have been more careful and consistent with the white balance adjustment.


-
-
Well done! I missed this log until now, but that is a very tidy result.
-
11 hours ago, Canute said:
It looks good for the wood effect. Good technique.
5 hours ago, mtaylor said:Looks like wood to me. I wouldn't bother with the stencil.
4 hours ago, BobG said:Wonderful work, Gary!
Thanks all for the votes of confidence, that helps. I did try a slightly different technique tonight on a scrap bit of plastic but did not like the results quite as well. I want to practice a few more times but I think I'll need to get more of the "flat earth" Tamiya paint. I am doing this now because the next steps involve the piece of the cowl on the underside, and I'd like to paint all of the cowl pieces at the same time, as I plan to mix a little black or brown with red, so will not be using the color straight out of the bottle.
- mtaylor, Old Collingwood, Egilman and 4 others
-
7
-
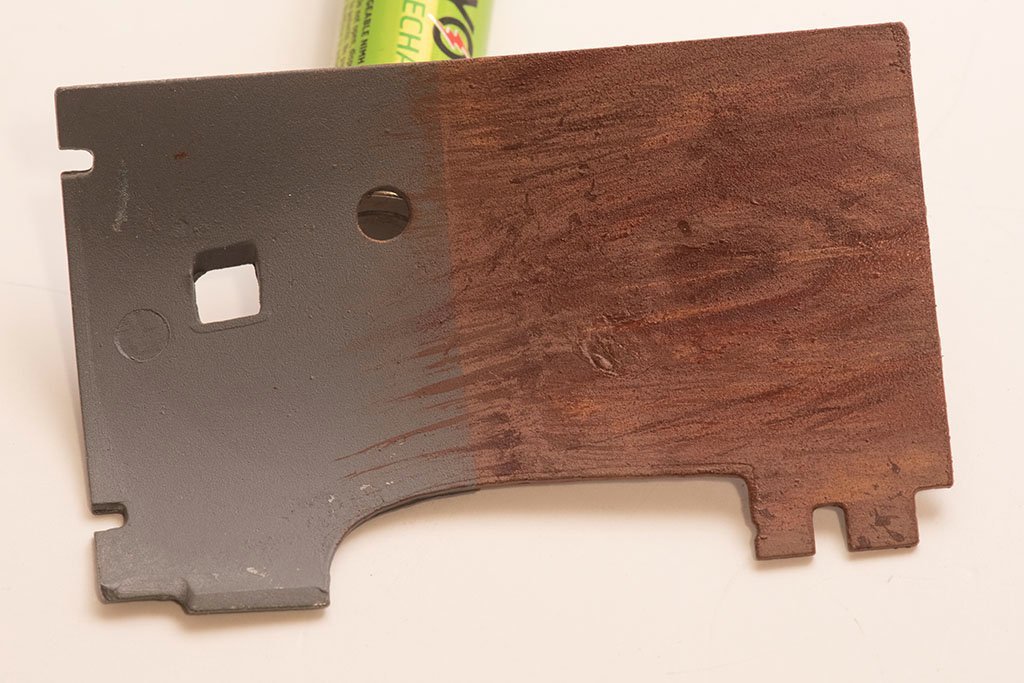
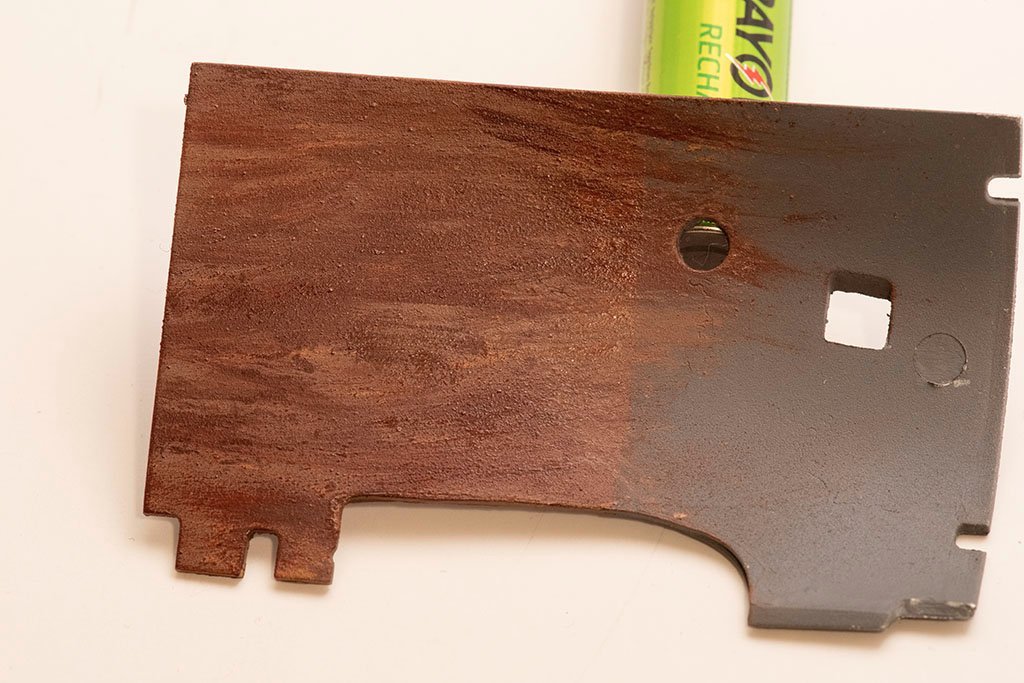
Thanks all for the comments and the likes and to those who just looked in.
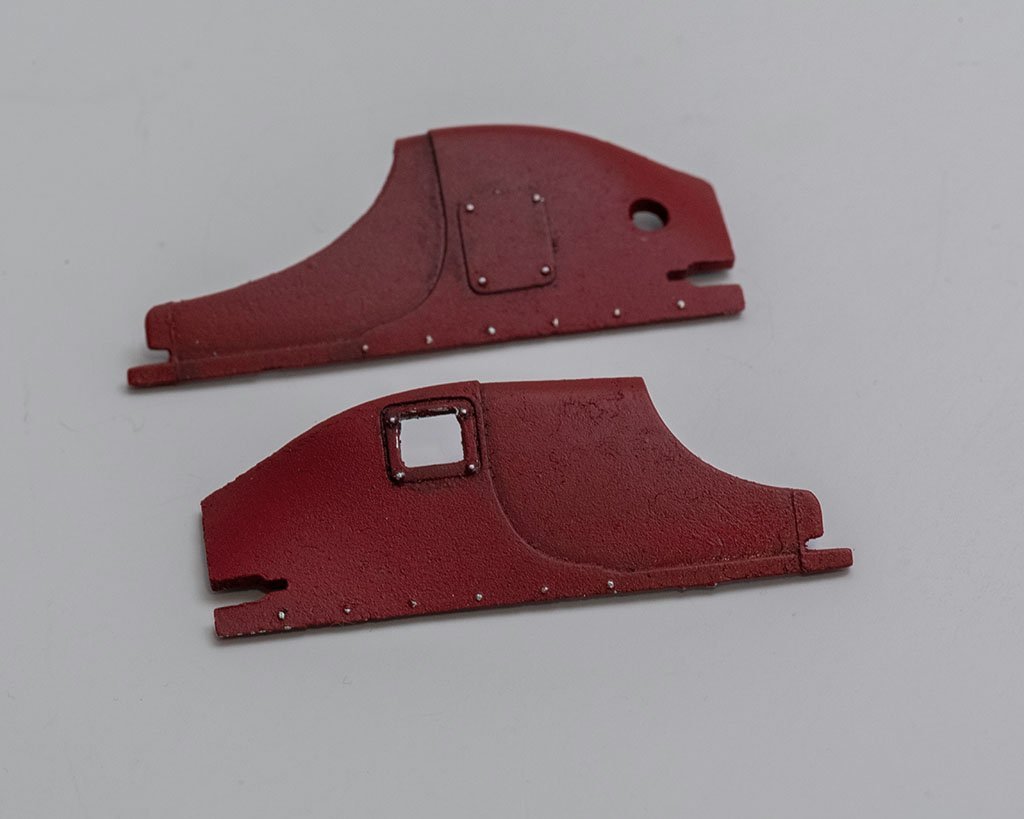
So, does this look at all like 1/16th scale wood? As you can see in the very first post, there are some exposed wood panels. Artesania Latina sells a photo etched mask/stencil to give a wood grain affect but I thought I'd try by hand, as I am not sure how available that stencil is. I started with the two pieces below, on the side that is on the inside of the cockpit so will not be very visible. I just airbrushed on some Tamiya flat earth, then used some stiff bristle brushes to add streaks of a few other brownish colors, all Tamiya acrylics. I've also heard of people using oil paints as the long dry time allows more time to make streaks and such in the paint.
Any comments , critiques, and especially suggestions would be very welcome, even if it is just "buy the stencil and use that".
-
-
2 hours ago, Egilman said:
Build Log, Where for art Thou Build Log.....
{chuckle}
I for one Gary would love to see it as well...
Looks like you found it....but thanks, this reminded me to add the link to my signature.
- Old Collingwood, mtaylor, Canute and 1 other
-
4
-
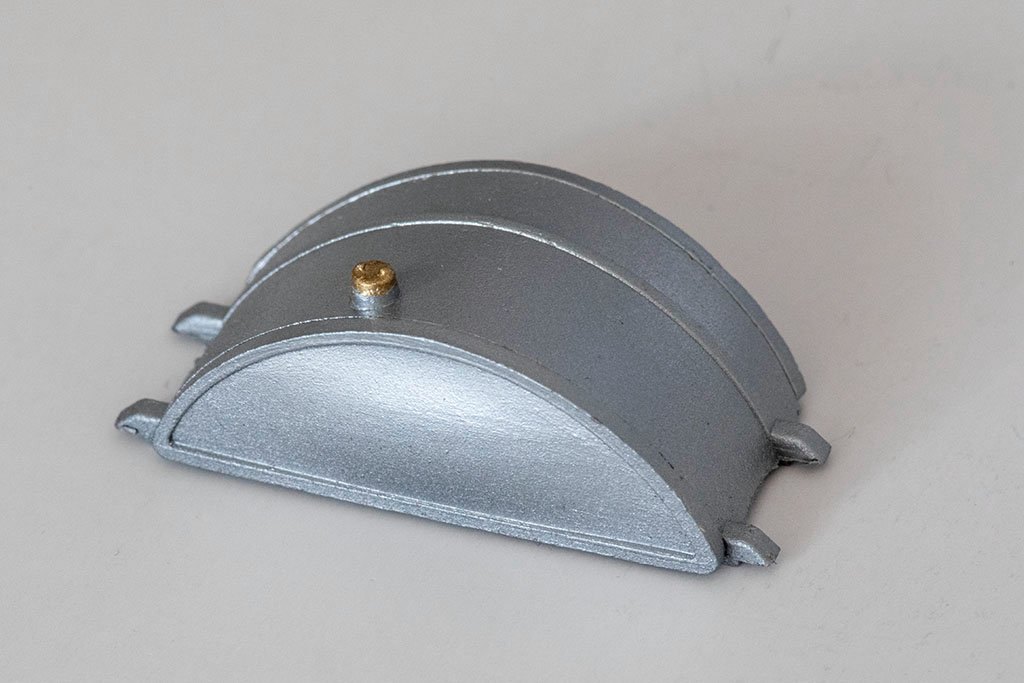
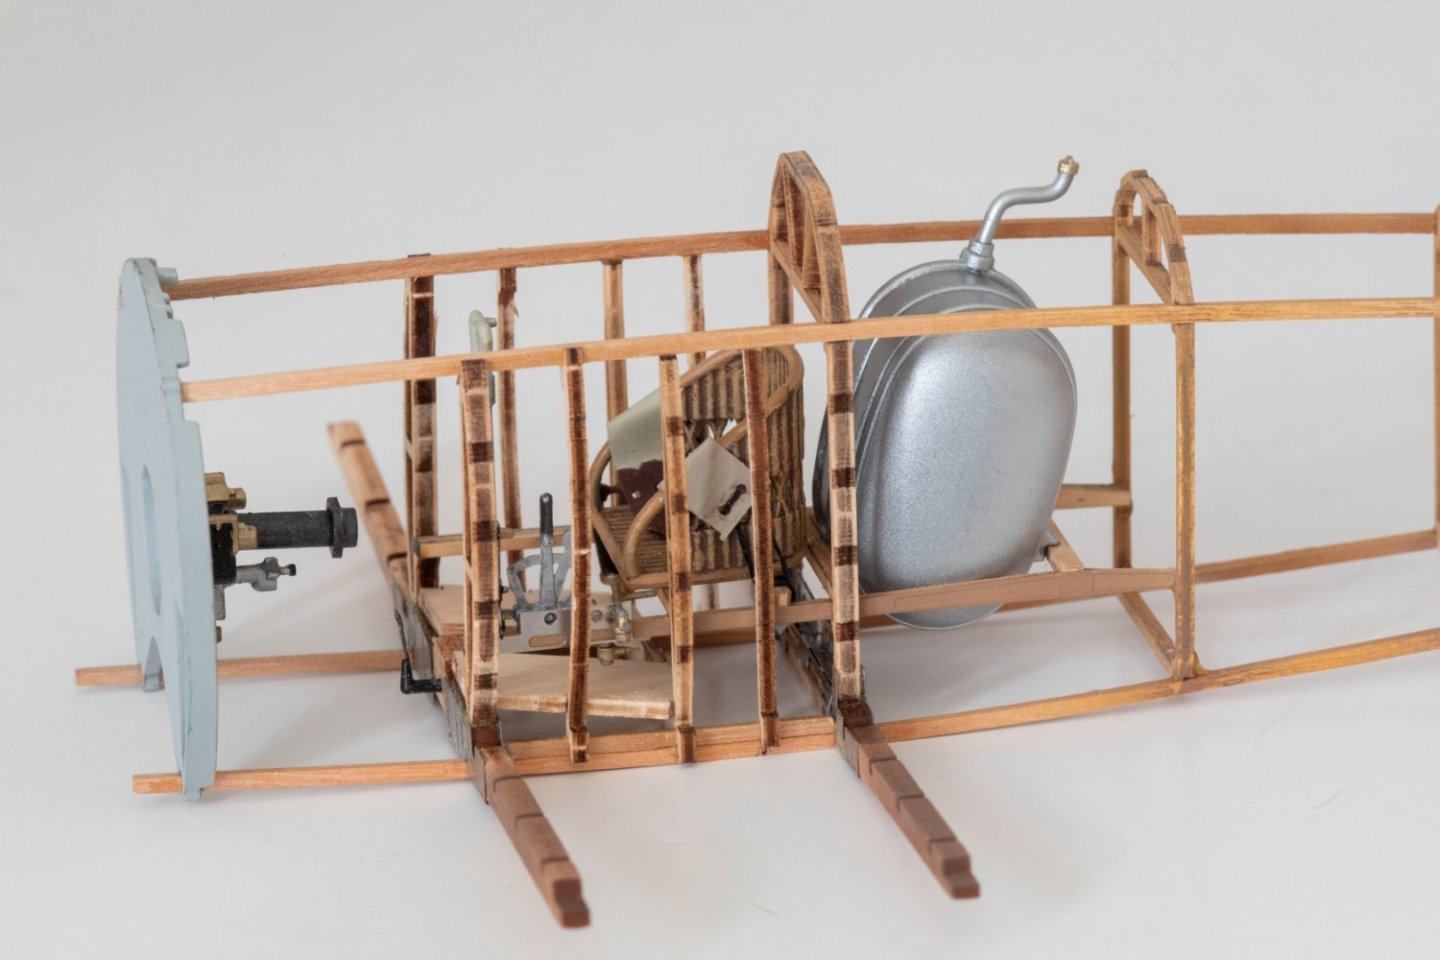
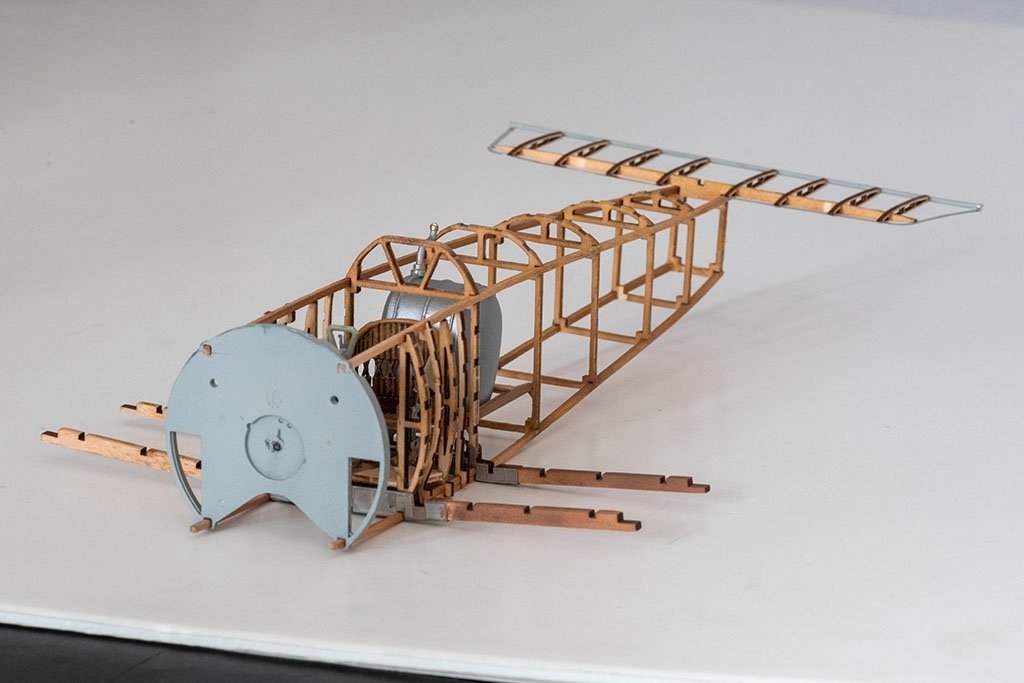
Well I was a bit ahead of myself, there were one or two more steps before I had to worry about any rigging. First, I did redo the oil tank to better fill in the seam. It is a bit of an improvement but still not perfect. I then put the four horizontal wood pieces on each side of the cockpit. This was affected a bit by those ill-fitting vertical pieces, but none of that will be visible from the outside once I put on the front fuselage panels.
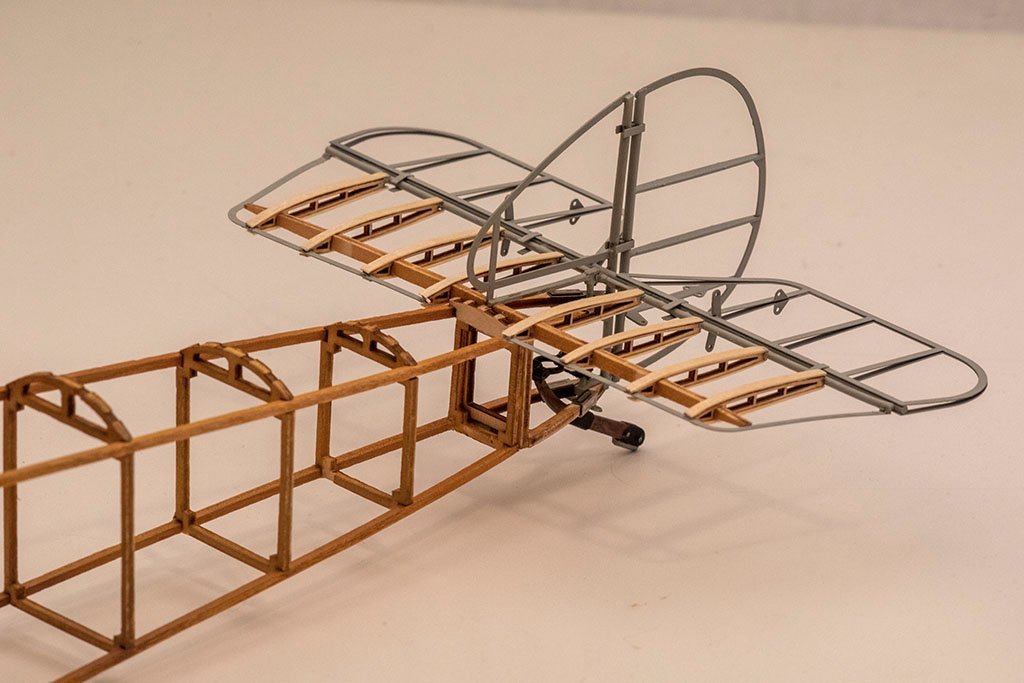
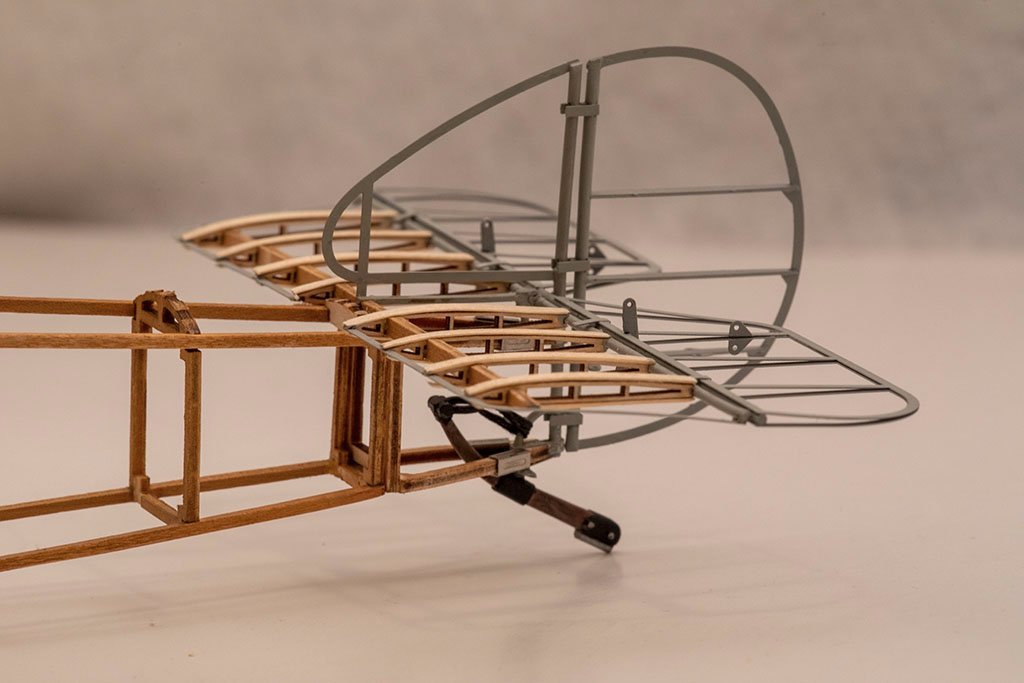
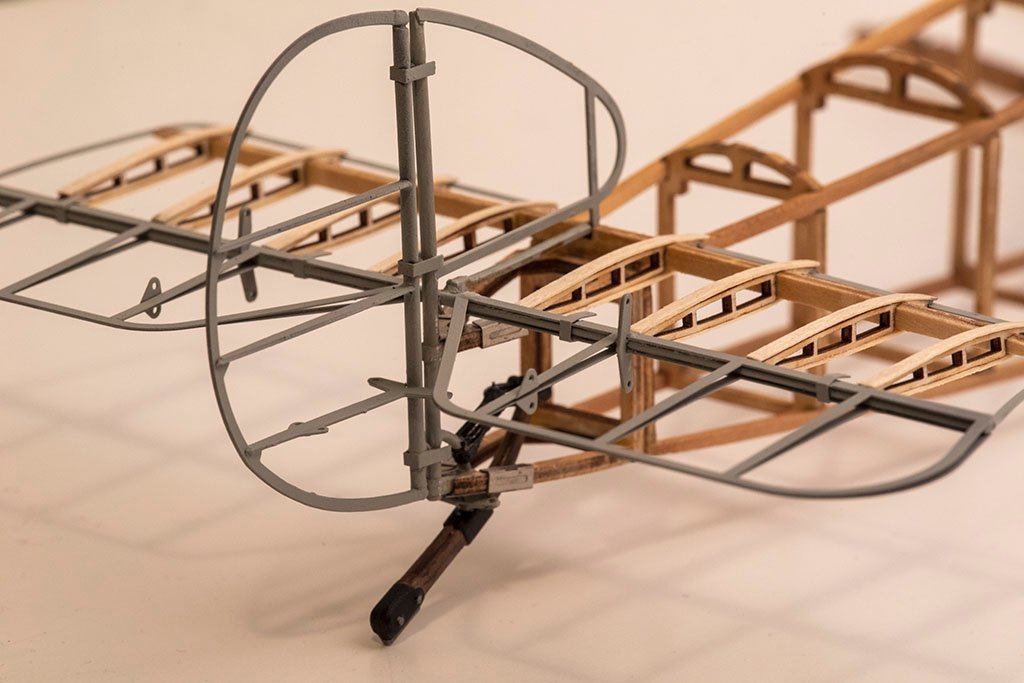
Then it was on to the tail, adding the tail skid, the elevator, and the rudder. That all went fairly well, though the elevator was a bit of a tight fit between the tail and the vertical part of the rudder.
And so now I am through step 13 in the instructions, with the next thing being the control line for the elevator, then the rudder pedals and all the attendant control lines for them.
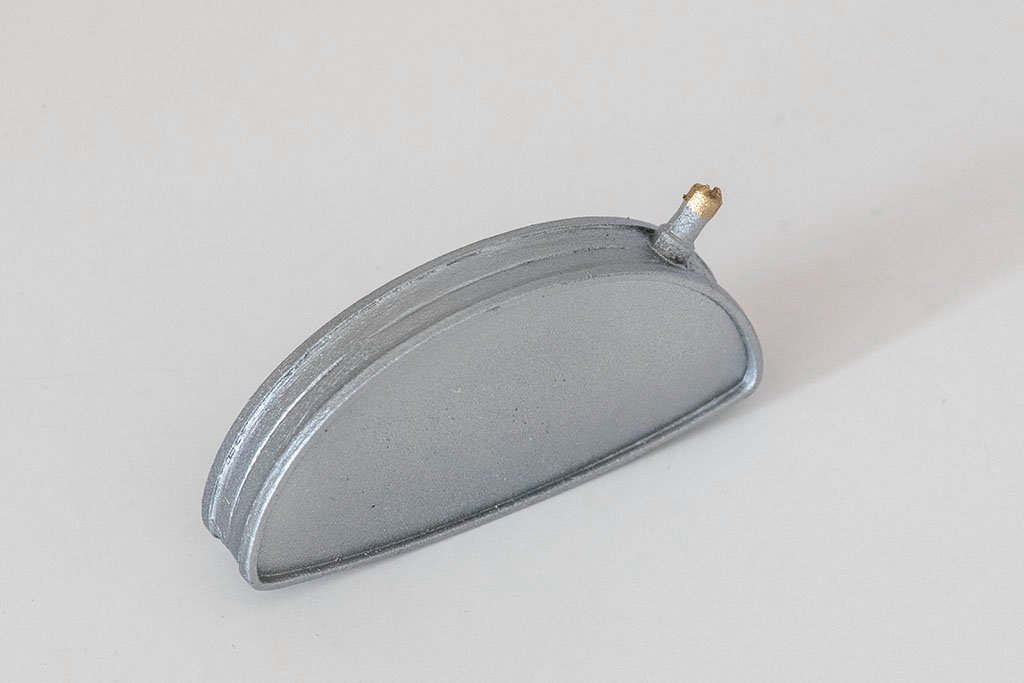
Oil tank:
Cockpit
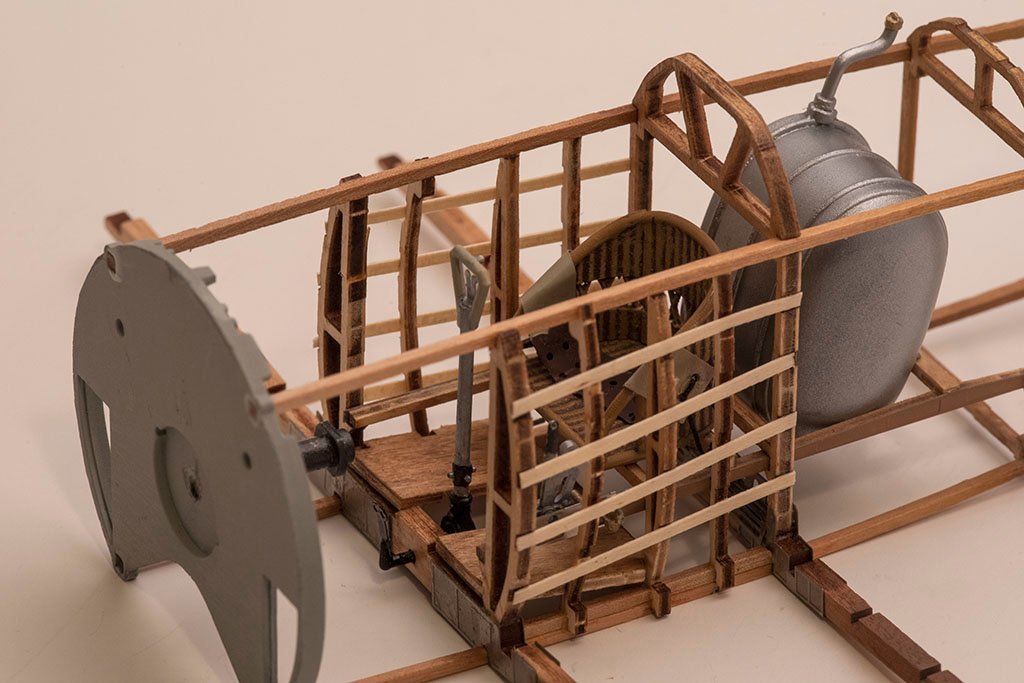
Tail assembly:
- Prowler901, mtaylor, Canute and 15 others
-
18
-
Thanks to everyone for the comments and the likes, and for just looking in.
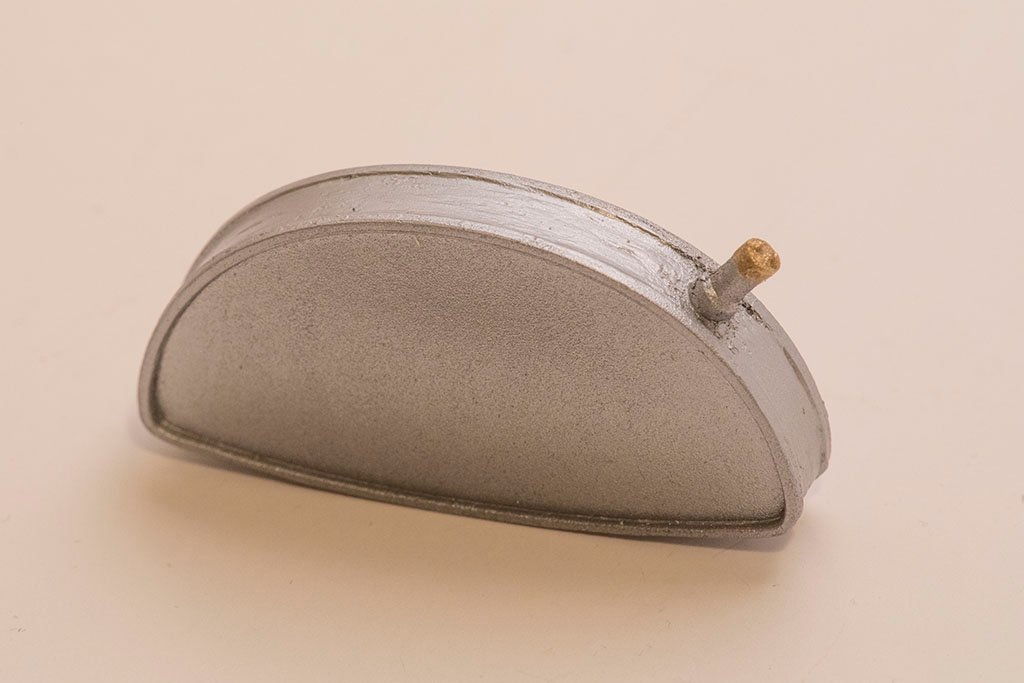
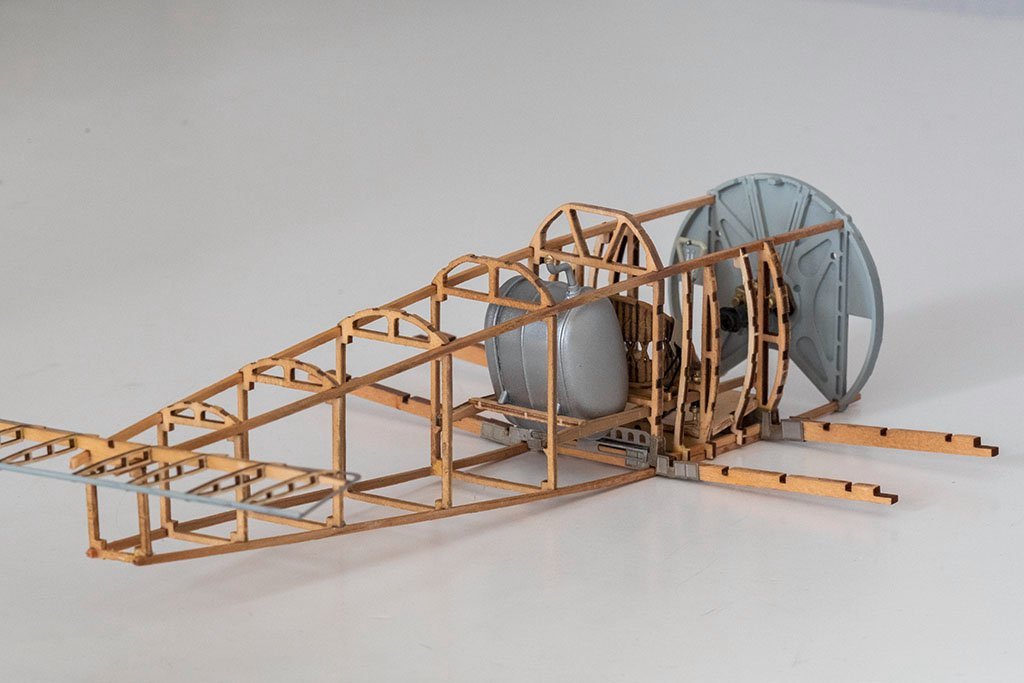
I received the Alclad aluminum paint and was pleased with it on the fuel tanks and oil tank. Though especially looking at these pictures I think I need to try again to fill in that seam on the oil tank and repaint it.
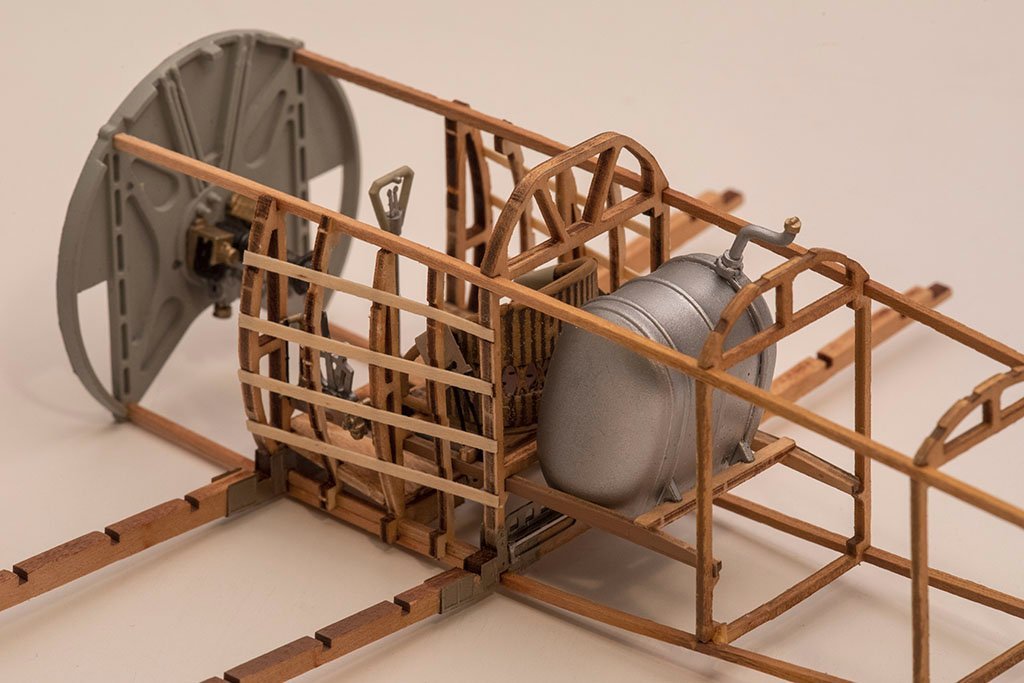
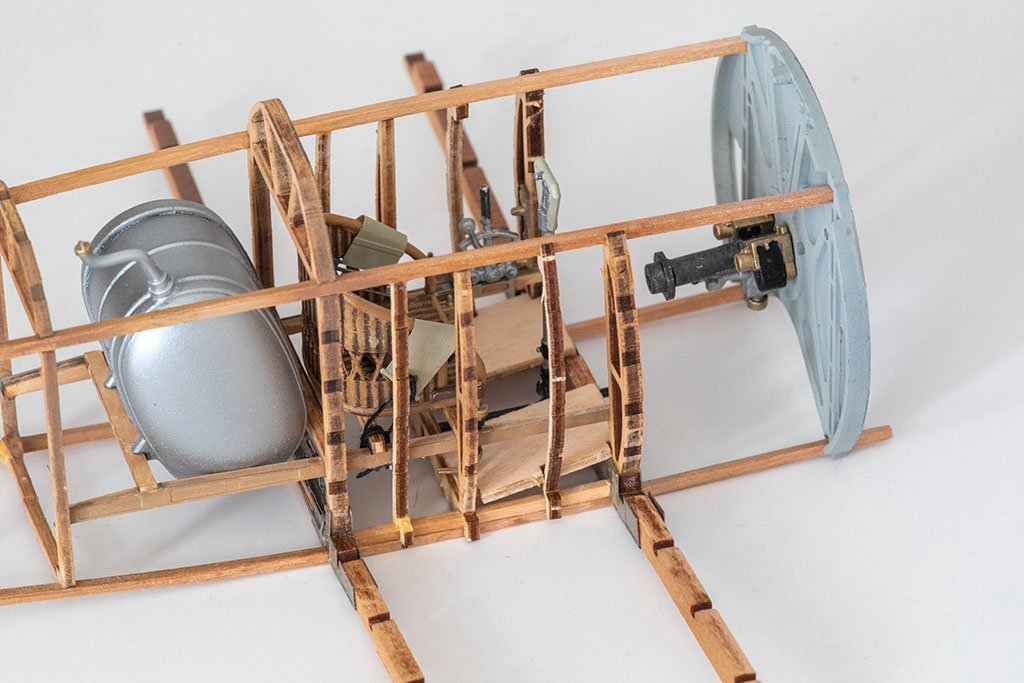
Otherwise, I mostly glued in some of the cockpit bits that I previously painted and took the big step of removing the fuselage from the jig. I am mostly through the first 10 steps out of about 50 in the instructions. The next steps have a lot of rigging of sorts, for both the control lines and the tension wires.
I did run into one issue that I hope does not present problems down the line. The two vertical pieces by the cockpit were a bit too short, indicating the upper and lower lengthwise stringers were a bit too far apart. I knew that the lower one was not fully seated into the slot, though I did not think it was off by much. I ended up putting a new piece of the 1.5mm square wood stock on top of the lower stringer and then placing the vertical pieces on that. You can see the extra piece on the third and fourth pictures below. My fear for the future is that the metal cowling pieces might not fully meet up, there may be gaps between the panels. We'll see.
Oil tank:
Gravity tank:
Cockpit and fuselage pictures:


Lackawanna by Jeff Preisler - FINISHED - BlueJacket Shipcrafters - 1/8=1 inch - Steam Coastal Tug
in - Kit build logs for subjects built from 1901 - Present Day
Posted
Off to a good start. I don't think I've seen a build log of this blue jacket kit.