
Ekis
-
Posts
526 -
Joined
-
Last visited
Content Type
Profiles
Forums
Gallery
Events
Posts posted by Ekis
-
-
One of the most successful weathering I've seen! Everything is thought for the final color, aging, realism ... A real lesson model wood!
It is certain that I am going to be inspired by all your methods to make a next aging boat ... Thank you for showing us this very interesting assembly. 🤐 -
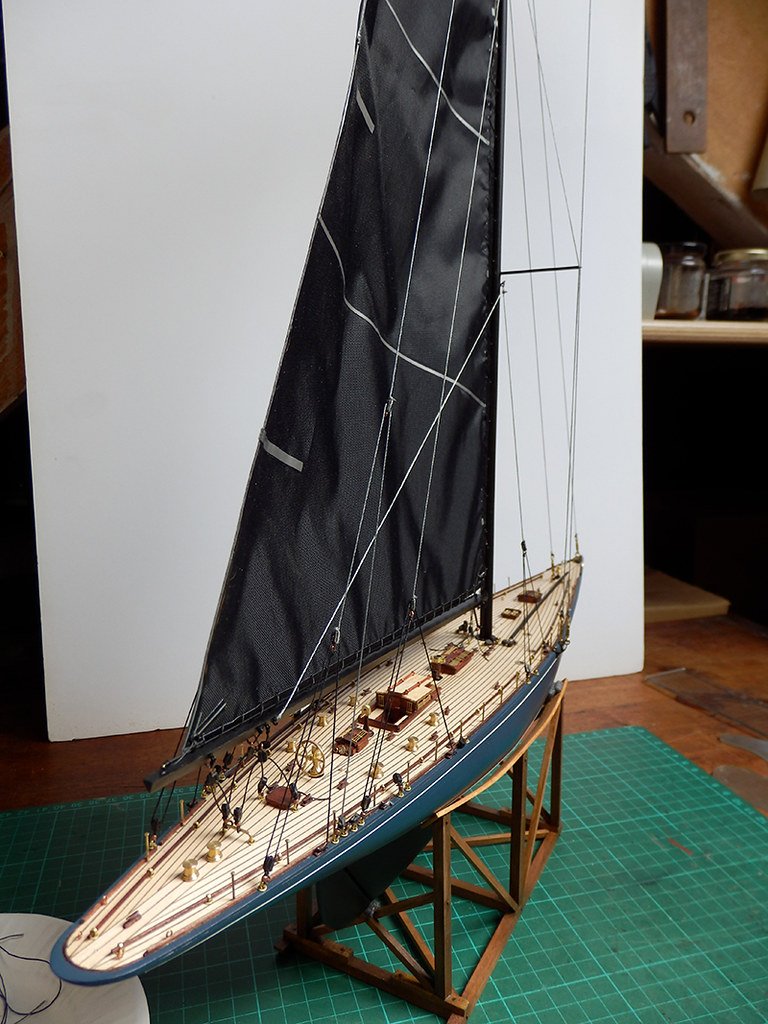
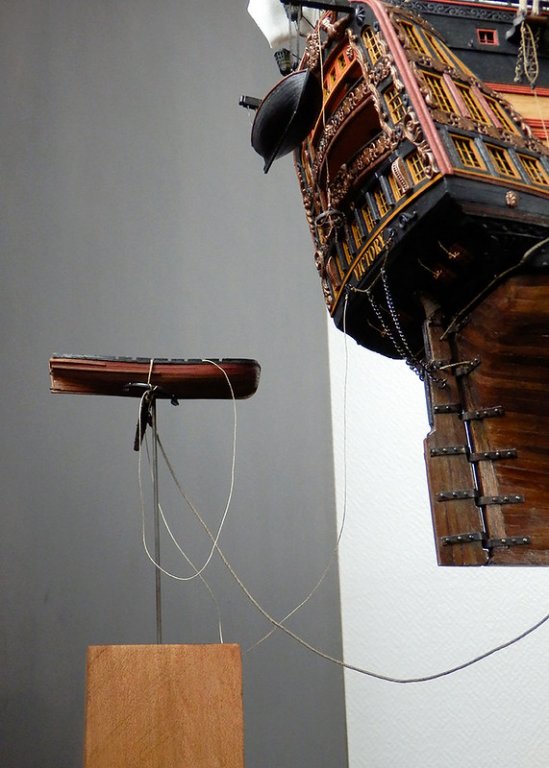
Oops, I knew last night that I had forgotten to write something ...
However, I had said to myself before posting: "do not forget to specify that you did not stuff yourself on the pole, it is perfectly voluntary for aesthetic reasons of the final model (after try in the good sense) !!"
But I totally forgot to say it ... Excuse me!
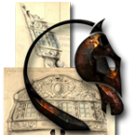
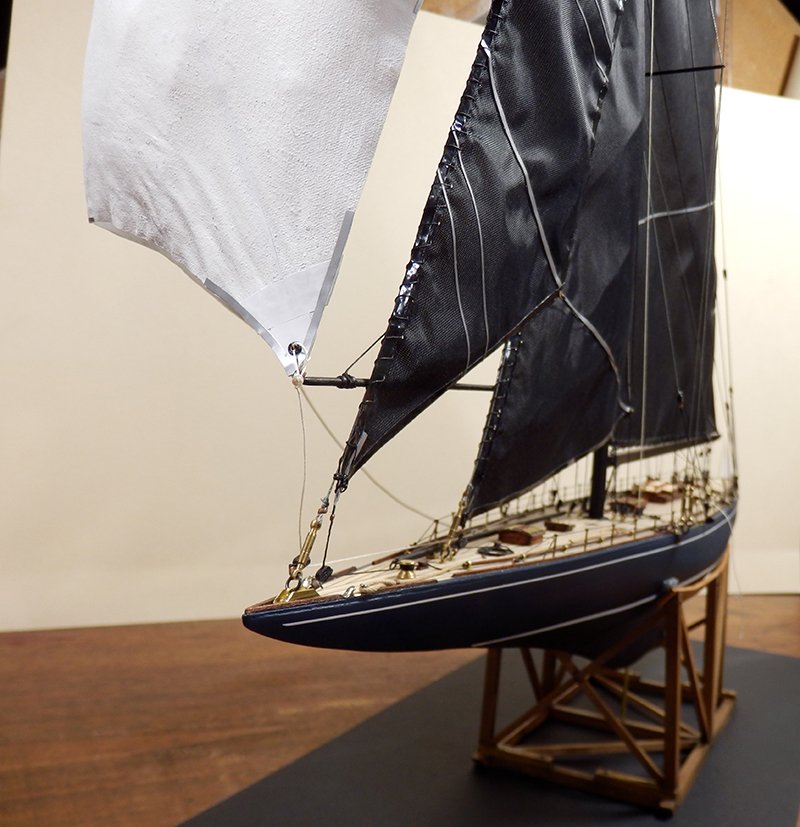
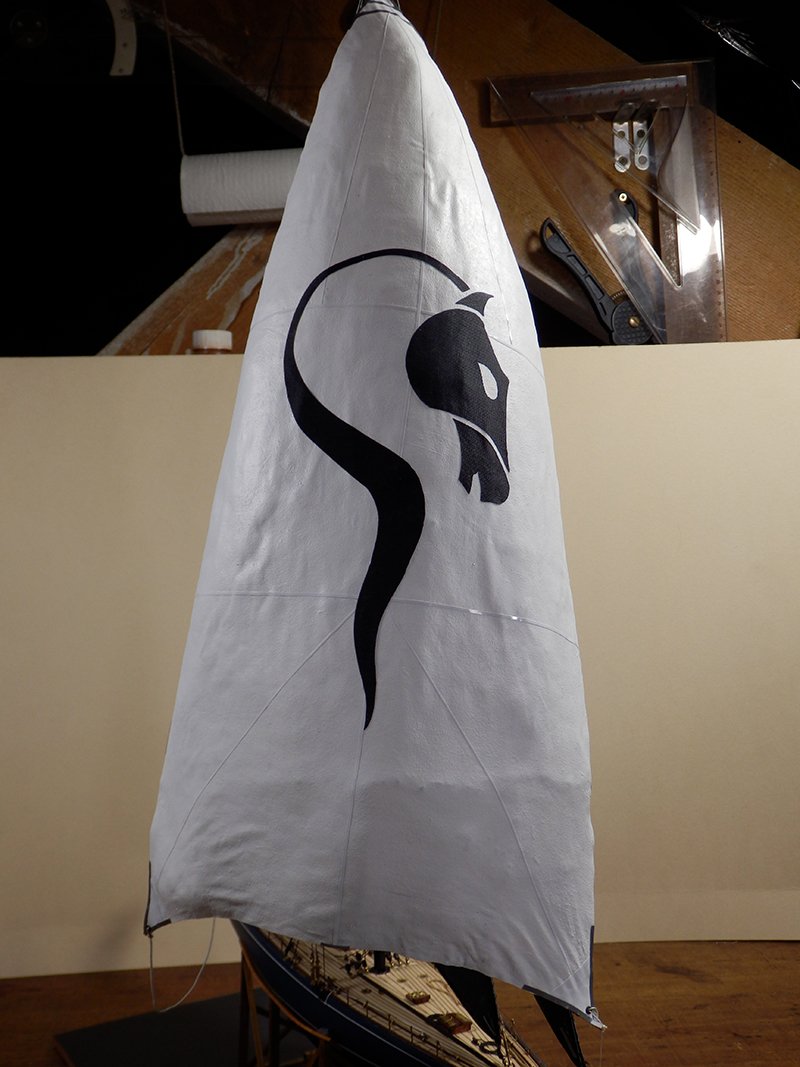
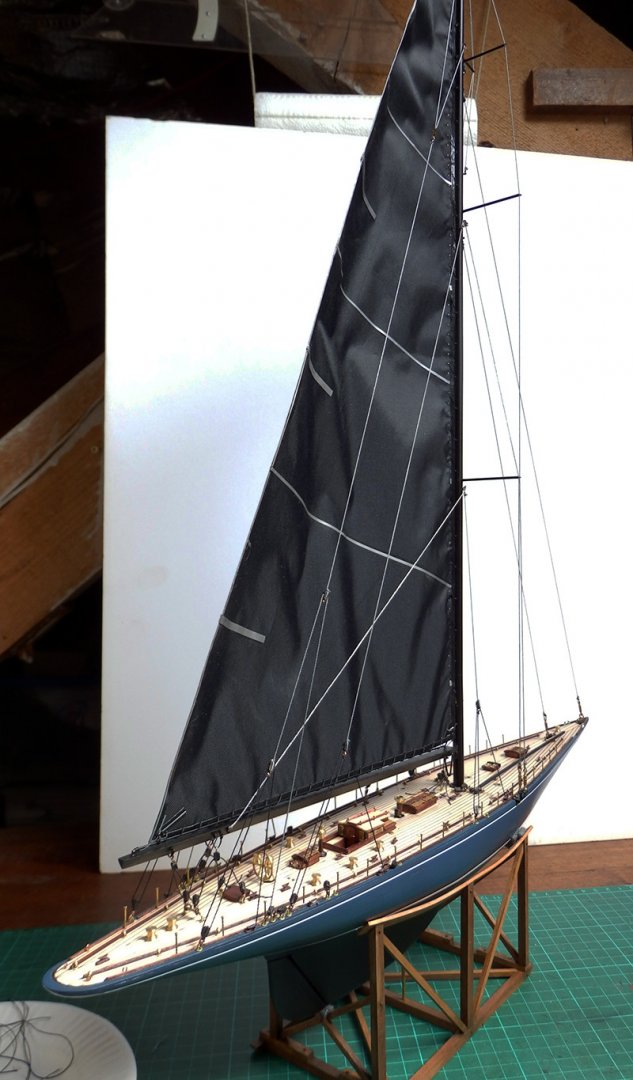
And yes, I wanted to put the spinnaker on this side to see the front.
The hanging rope is actually a brass wire filled with white wire that rigidly separates the spinnaker from the hull ...

-
That's it: you have to go after an idea ... 😛
I'll give it to you as it is.I'll post the details to do that ... I really needed to be motivated to find the material, do the testing and realize!
The result is not perfect, but I wanted to put a spinnaker on this Endeavour! I have never seen it on a boat of this type in static.")


-
A superb construction... 😲
- FriedClams, mtaylor, Jeronimo and 1 other
-
 4
4
-
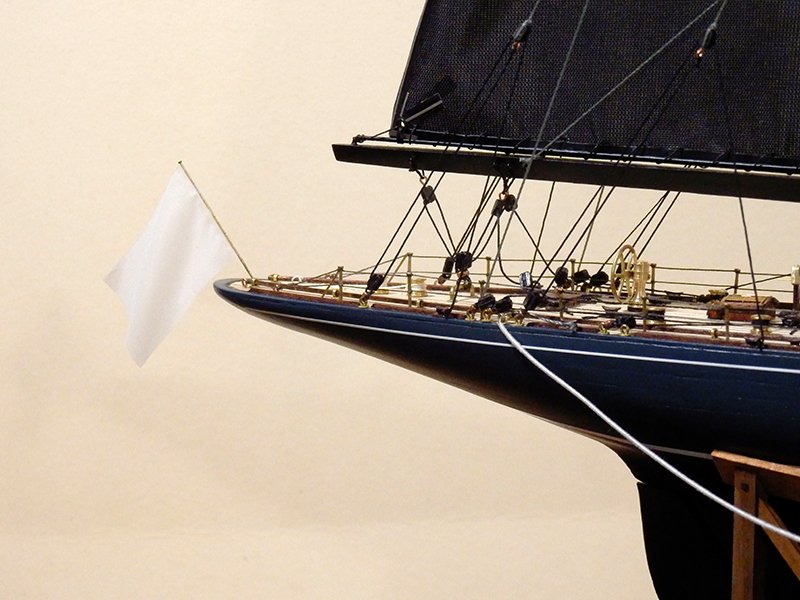
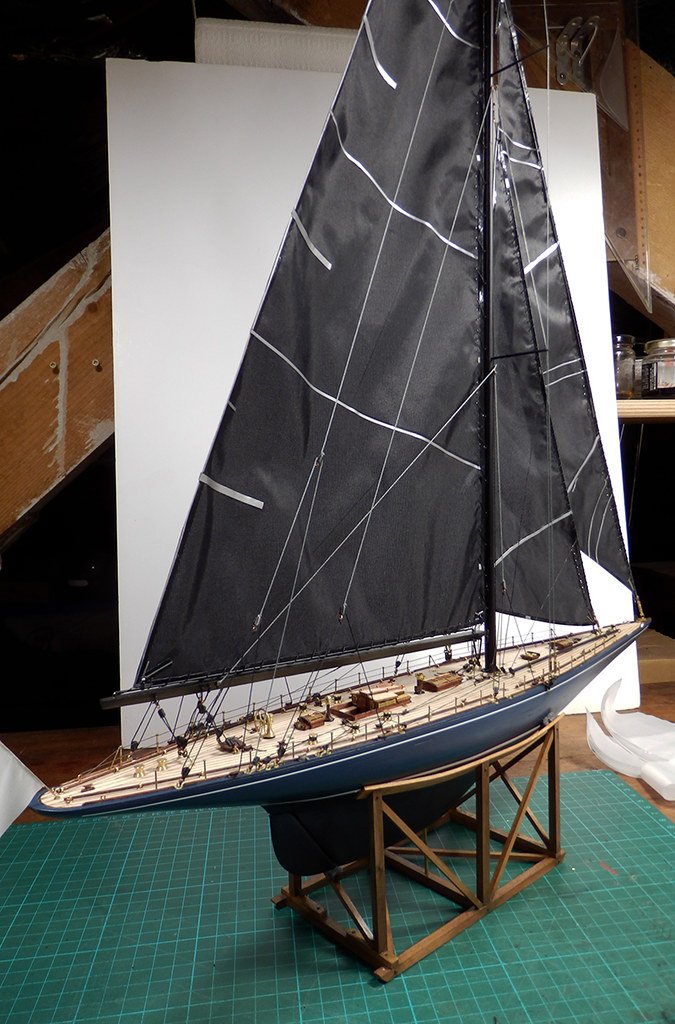
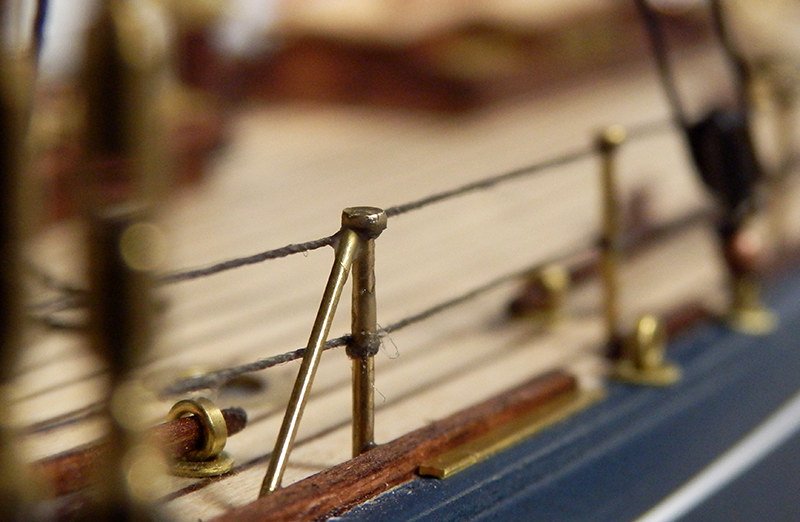
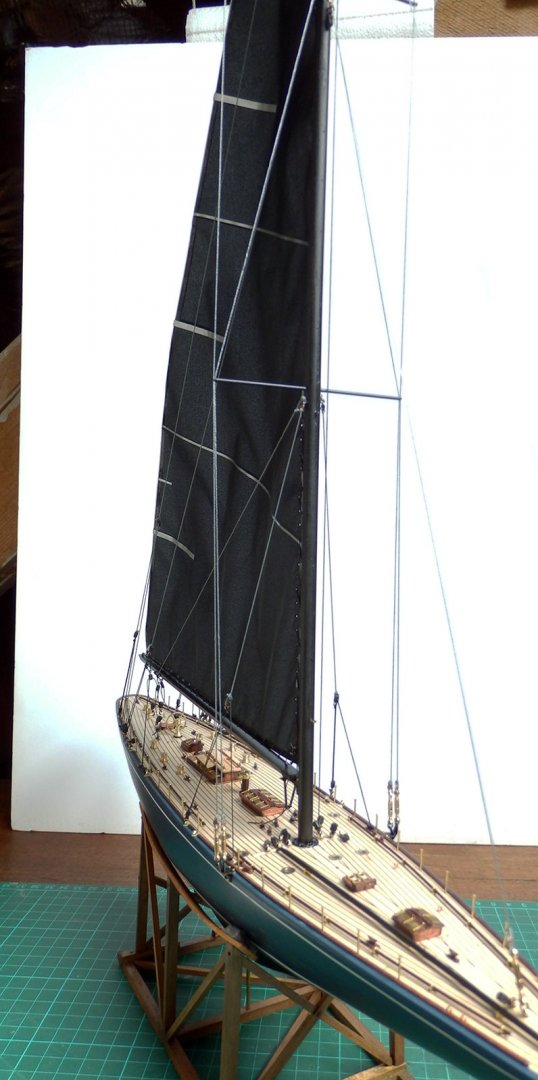
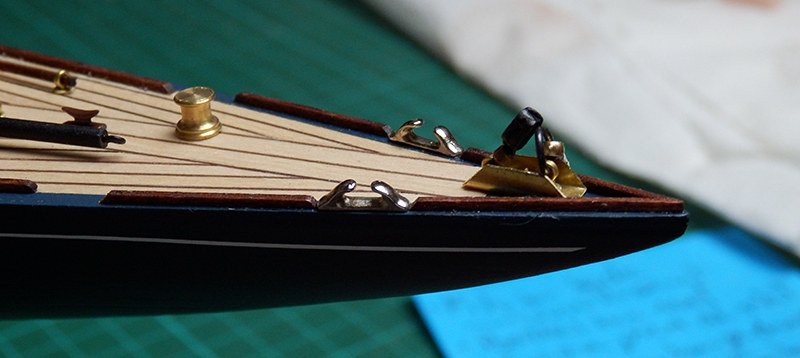
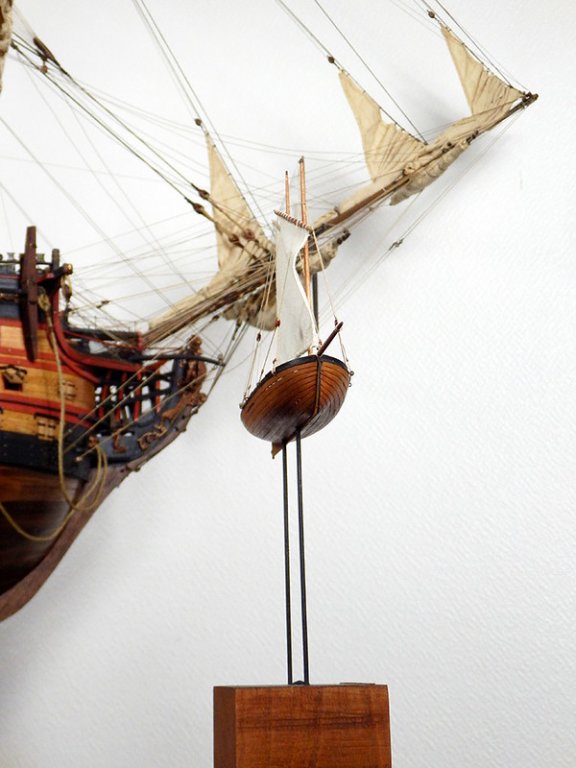
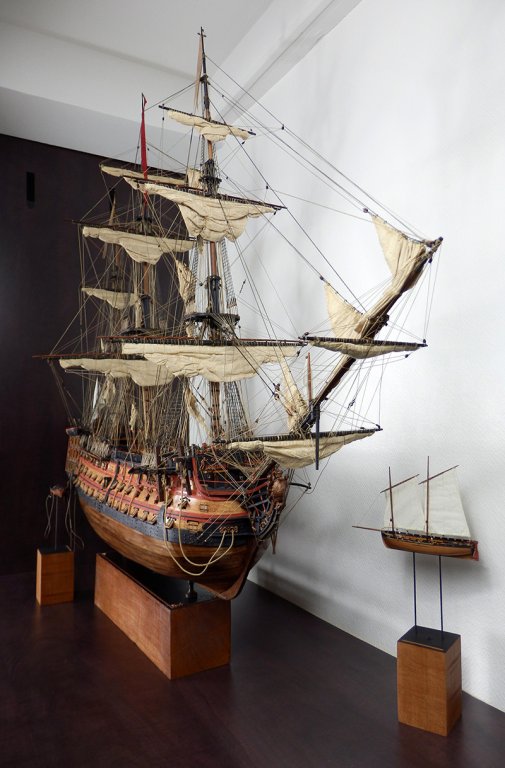
The continuation of the installation of the sails with the 2 jaws.
The first stanchion has been equipped.
I still have 2 or 3 things to do or test ...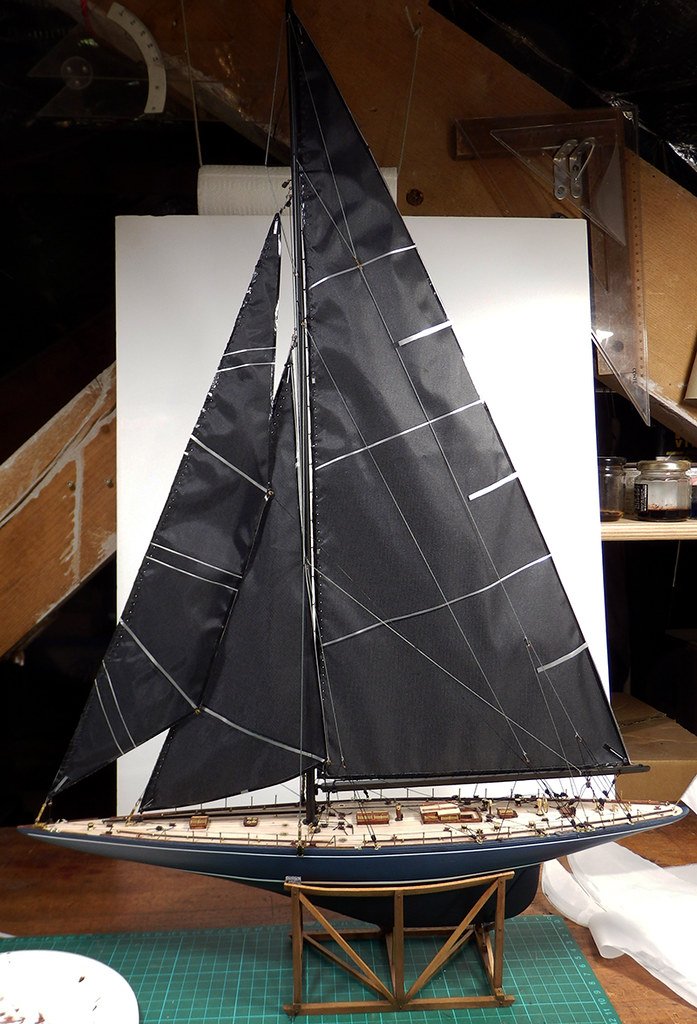

- Mirabell61, jgodsey, FriedClams and 4 others
-
7
-
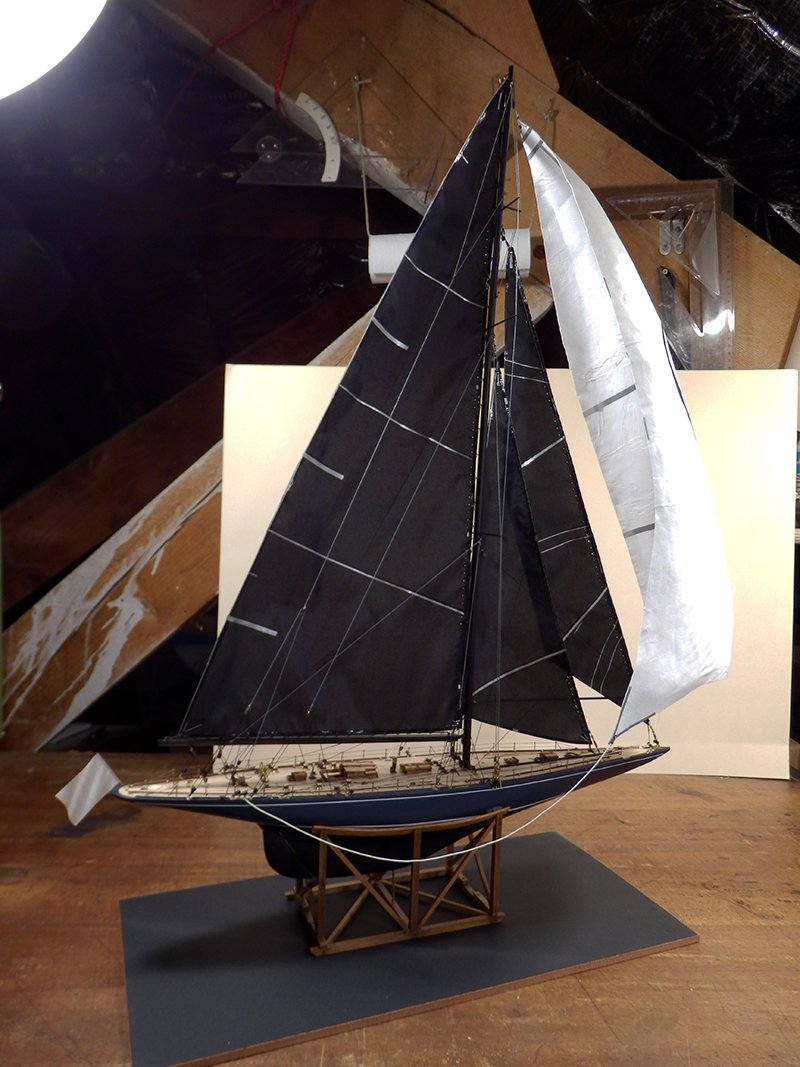
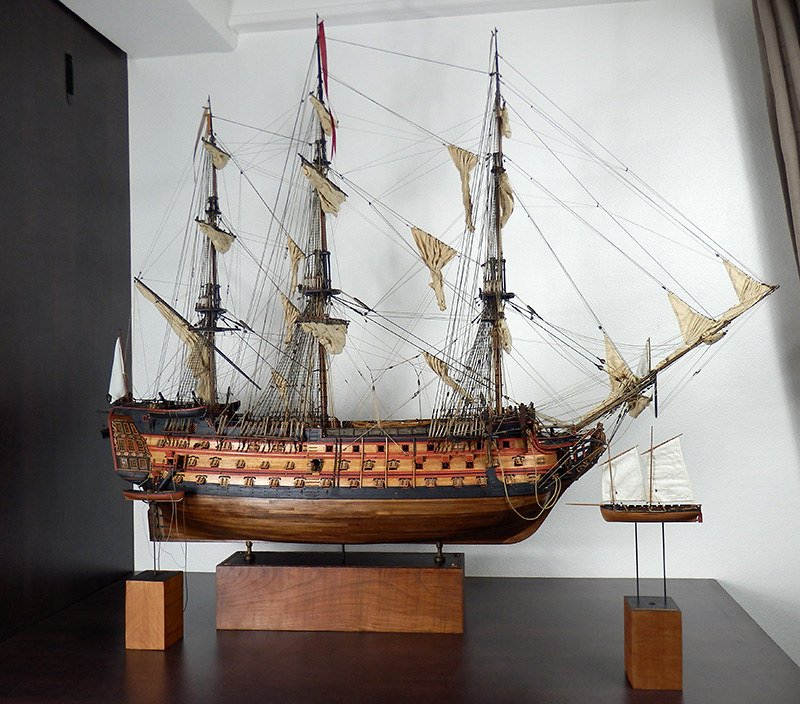
Thx Yves, I wanted a design a little different from the usual Endeavour of 1934! 😁
-
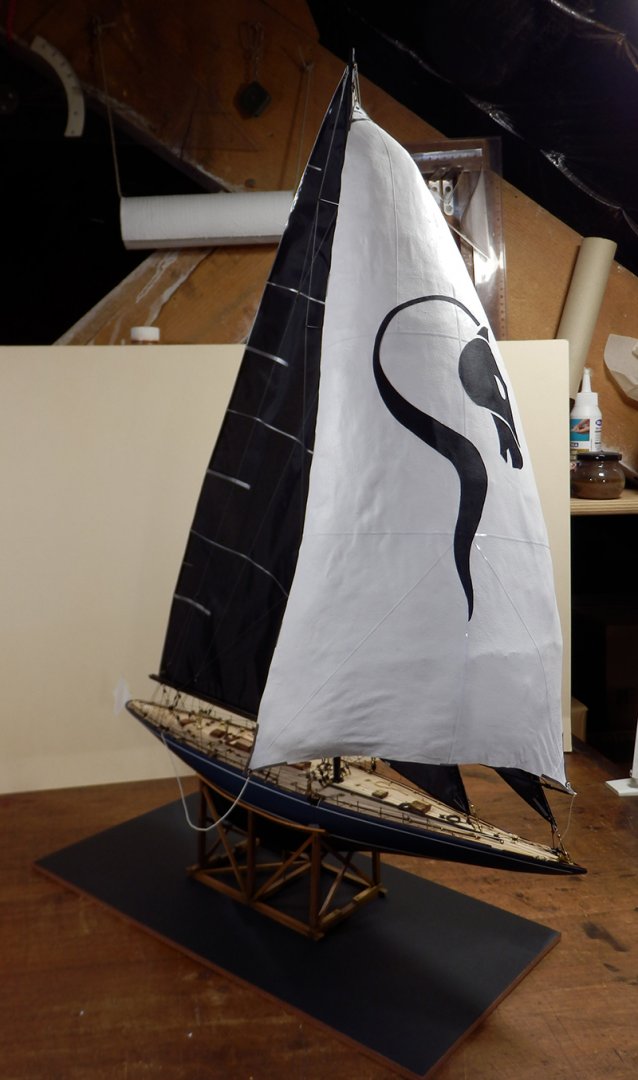
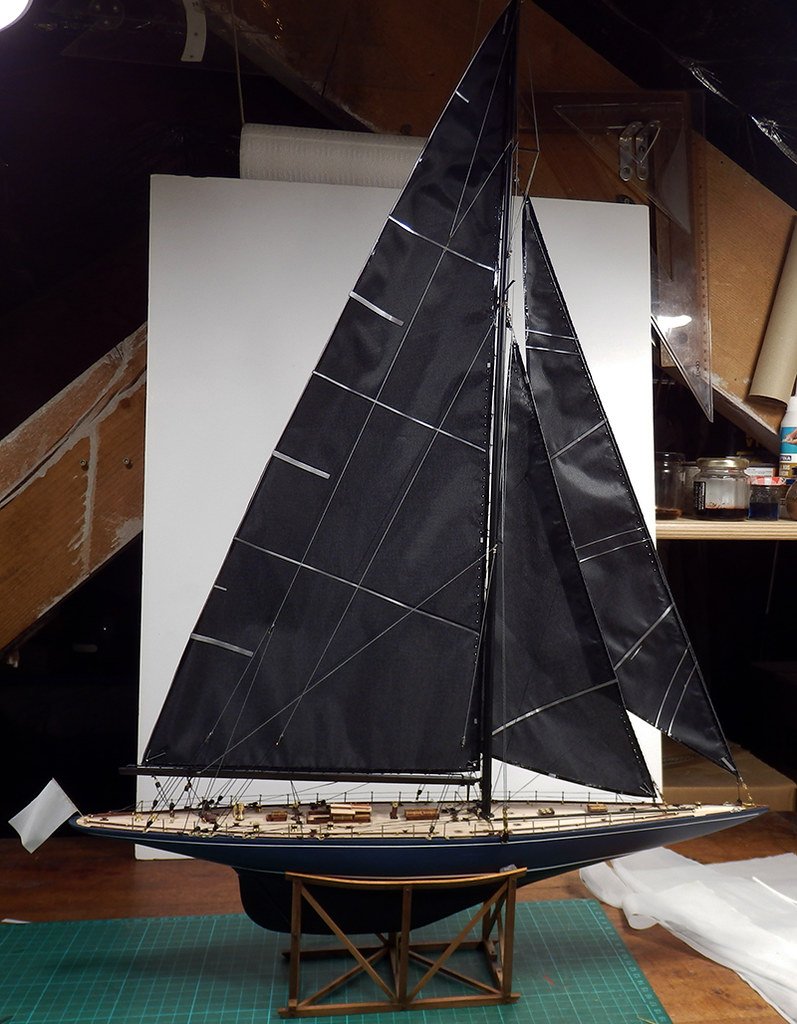
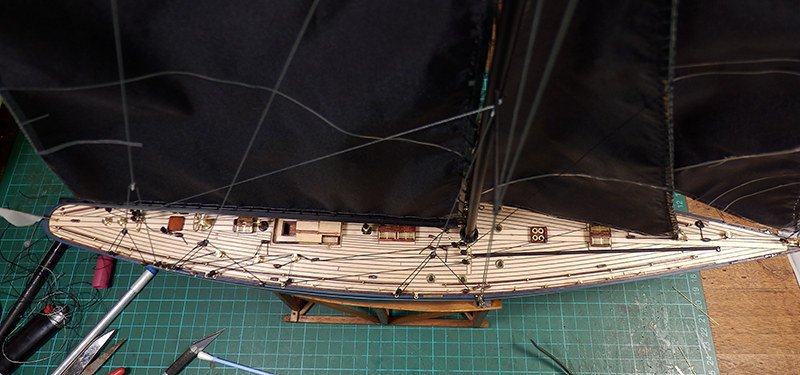
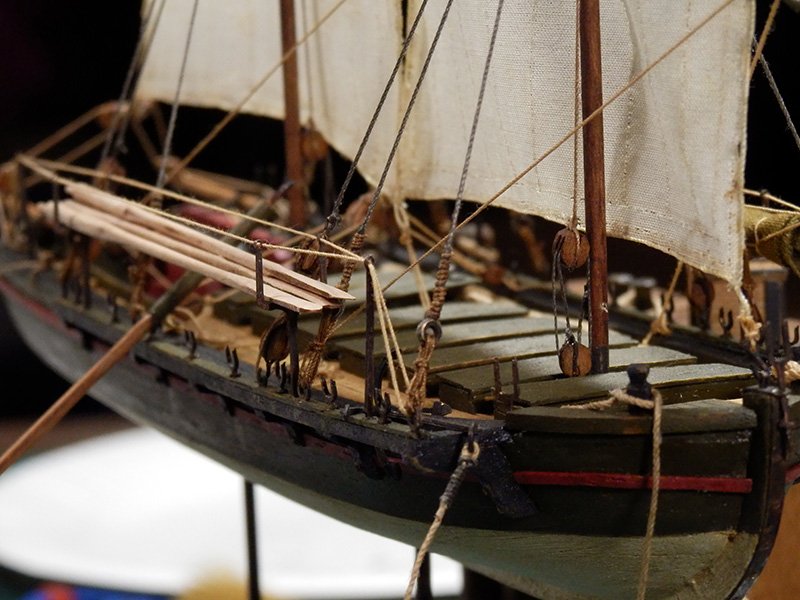
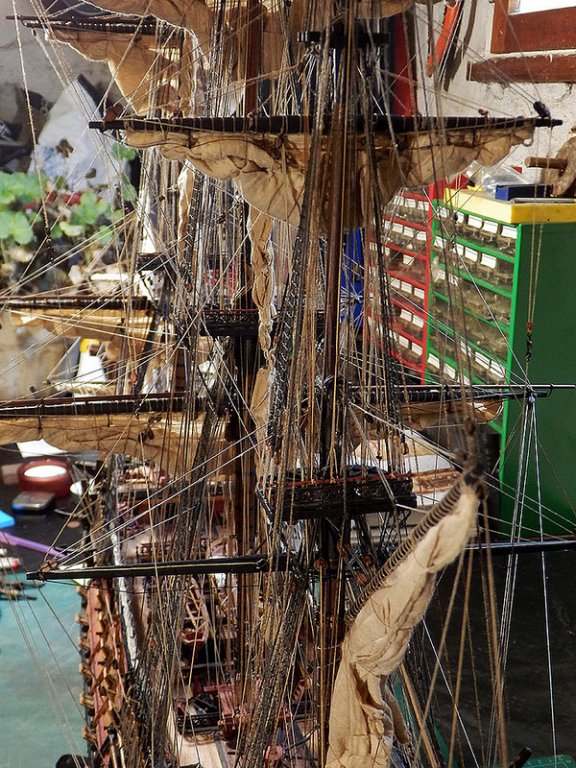
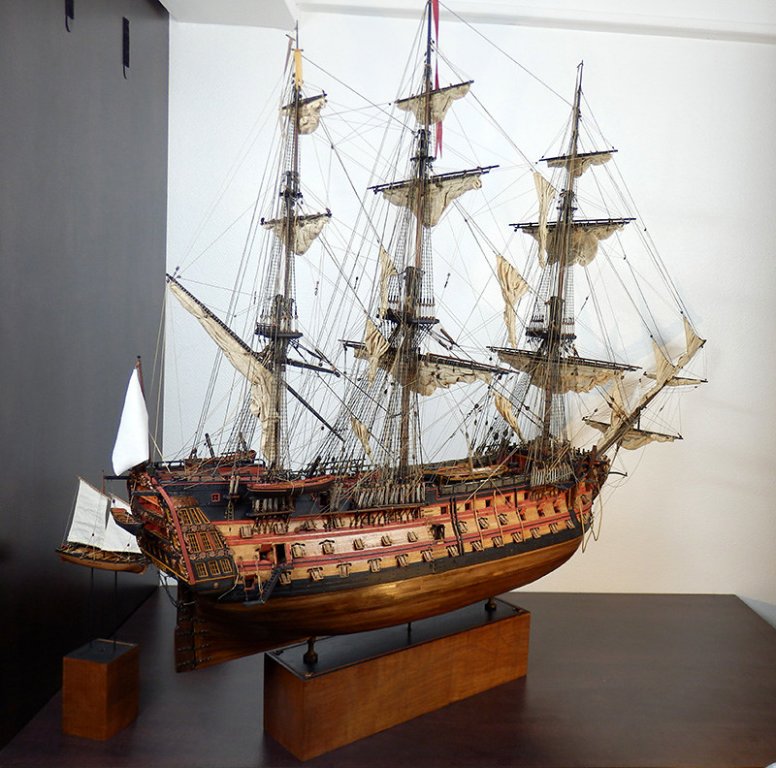
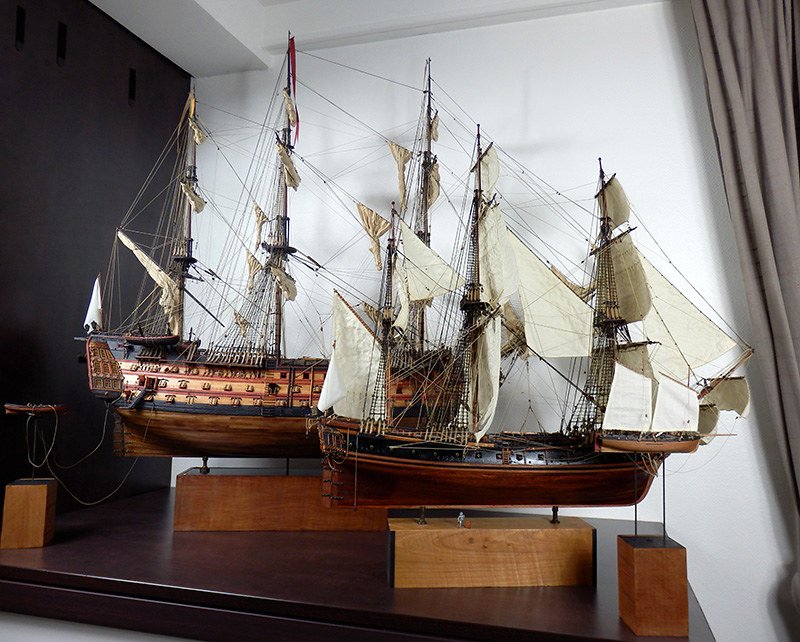
Well, here I am at rigging rigging and sails!
Everything is matte black or shiny.
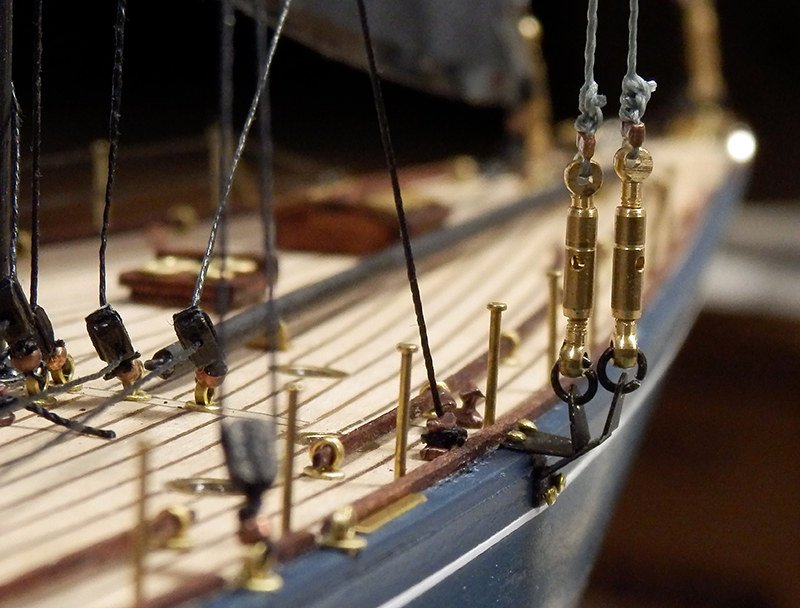
The turnbuckles are a personal addition: this Endeavor deserves better than knots ...
To create the sails, I wanted a canvas that reminds me of the current carbon of tall ships ... After looking everywhere, I found a coated canvas that was nothing but a costume travel bag ...
I completely dislodged it, then cut and edged with a semi-matte cloth sticker to make the headline. Then decor and structure with gray piping with brass wire to replace the battens of the mainsail.
The sails are "sewn" on the mast, the boom and the guy wires.
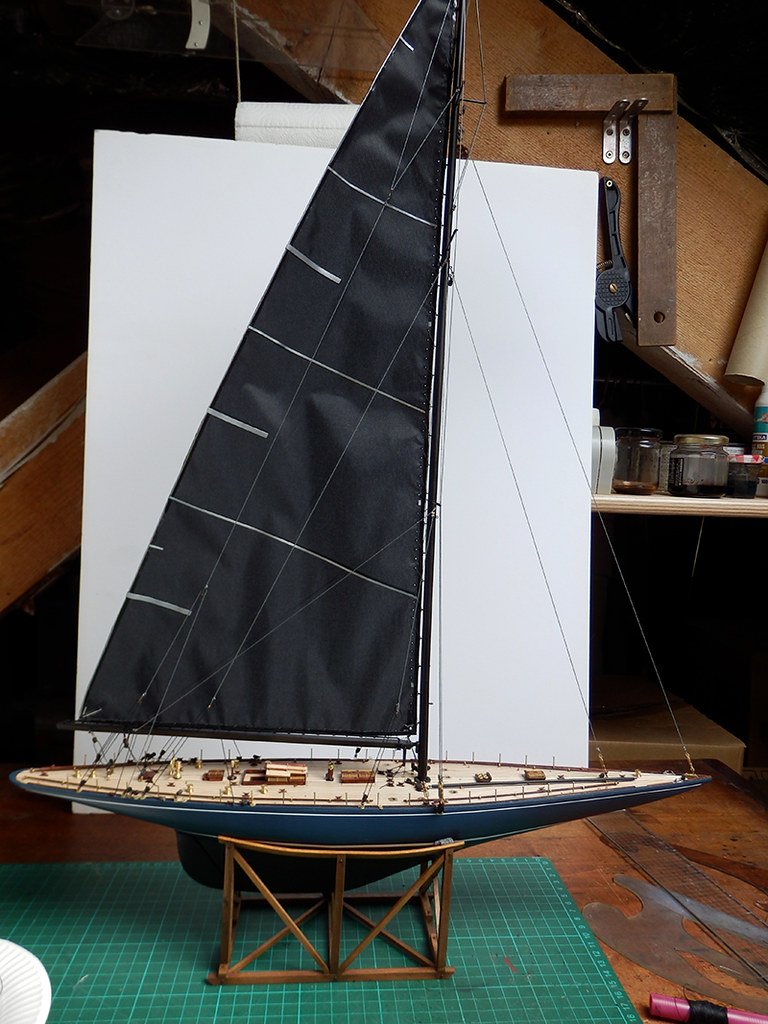
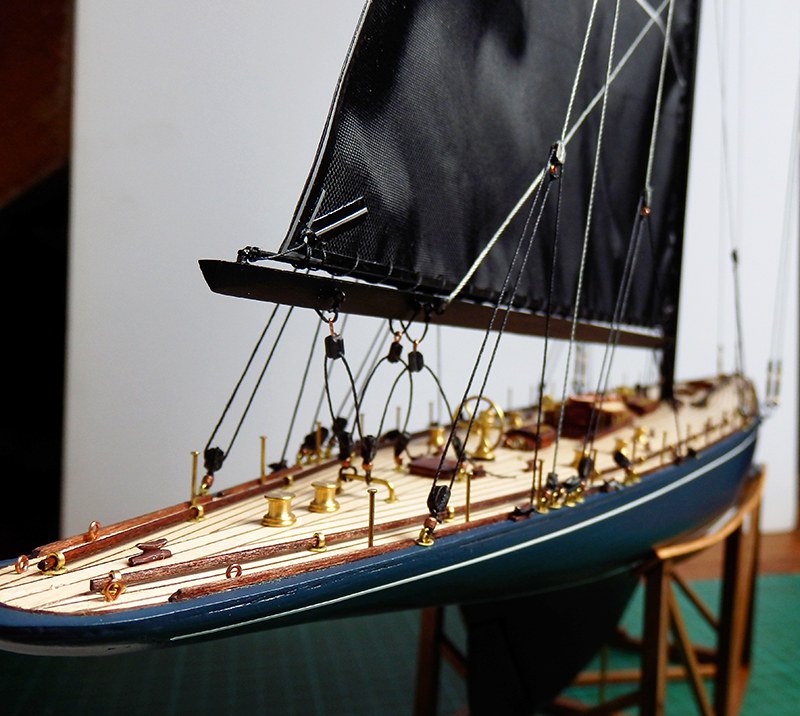
I have also added amounts for stanchions to come.
")
- el cid, FriedClams, yvesvidal and 2 others
-
5
-
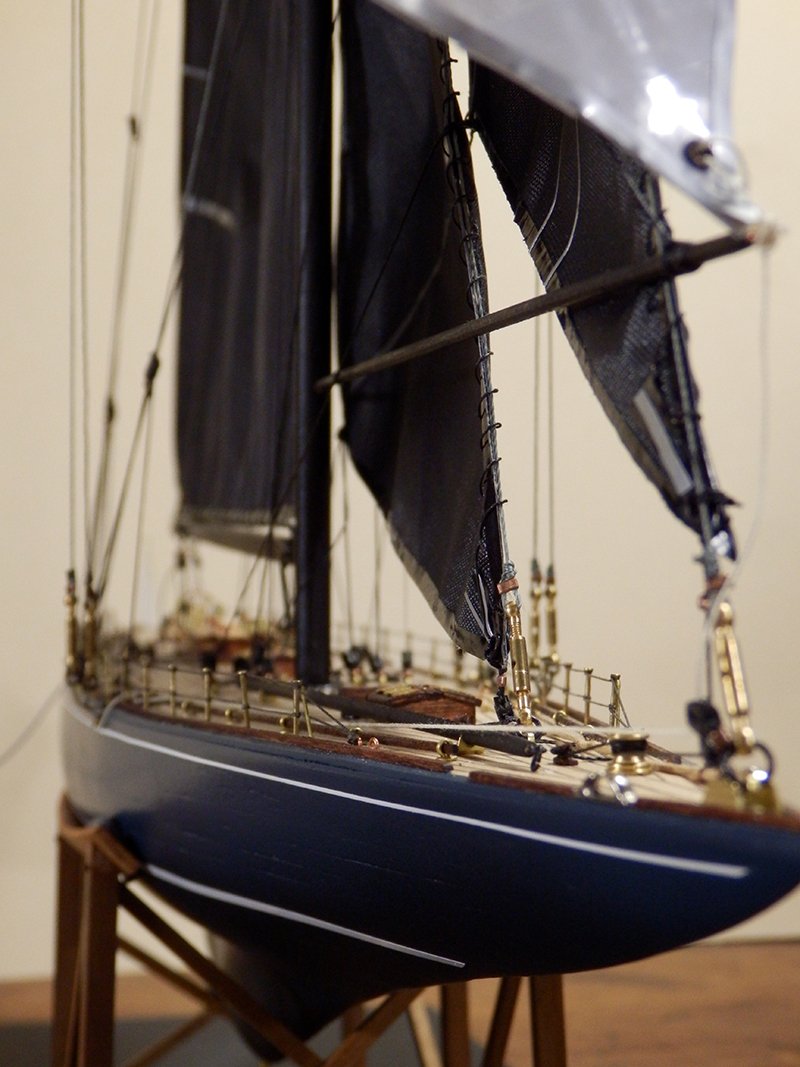
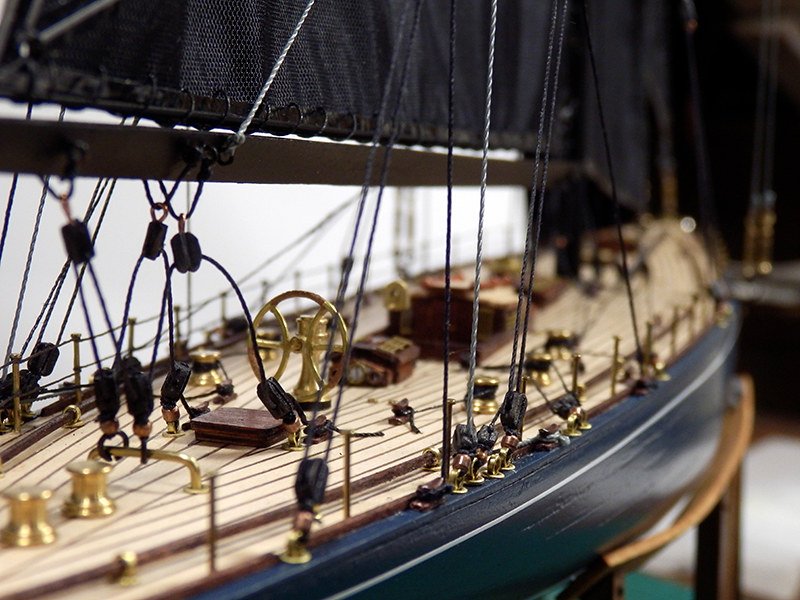
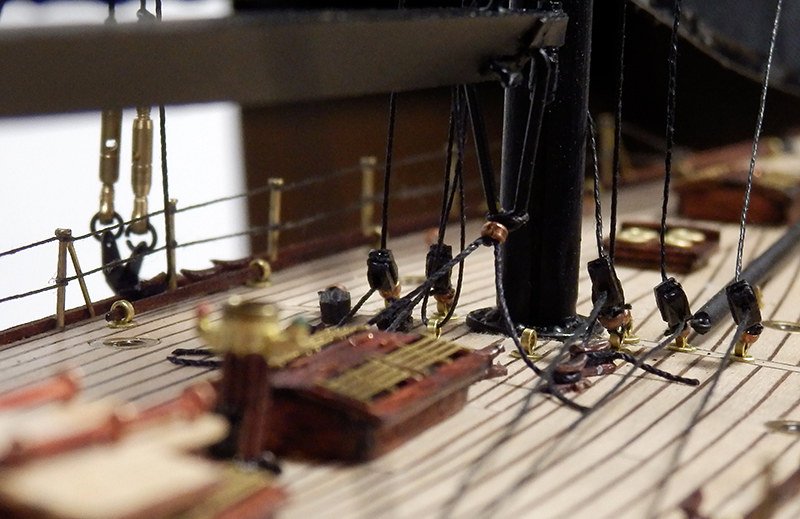
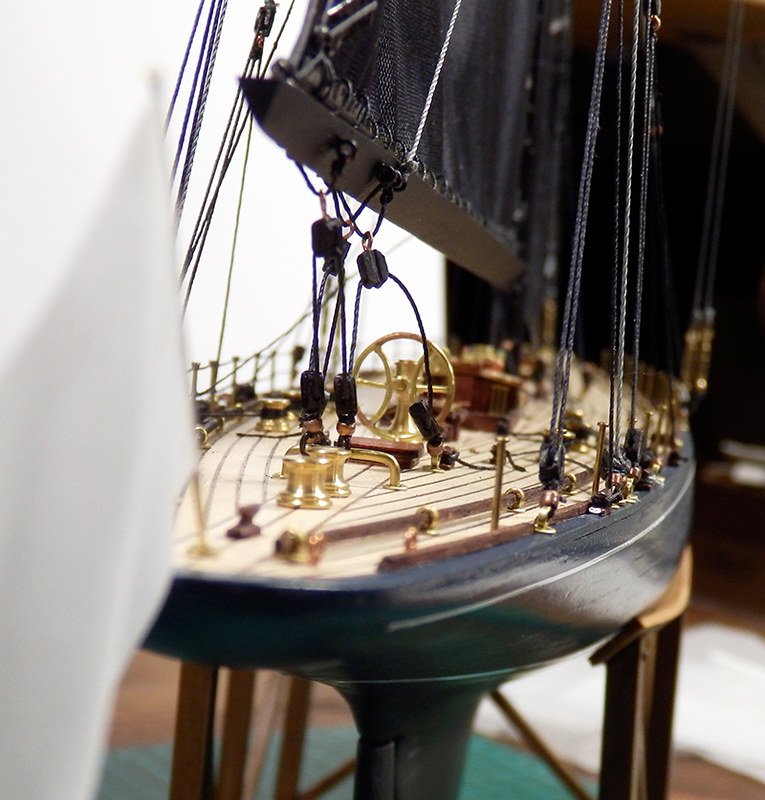
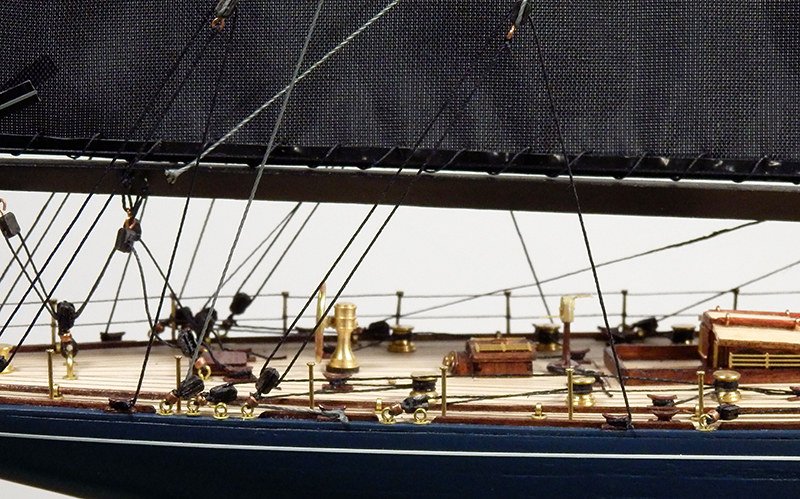
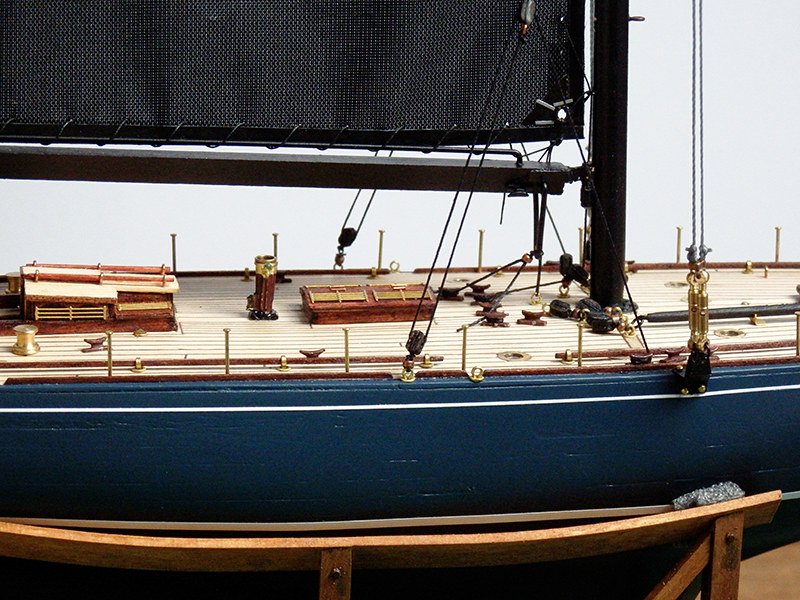
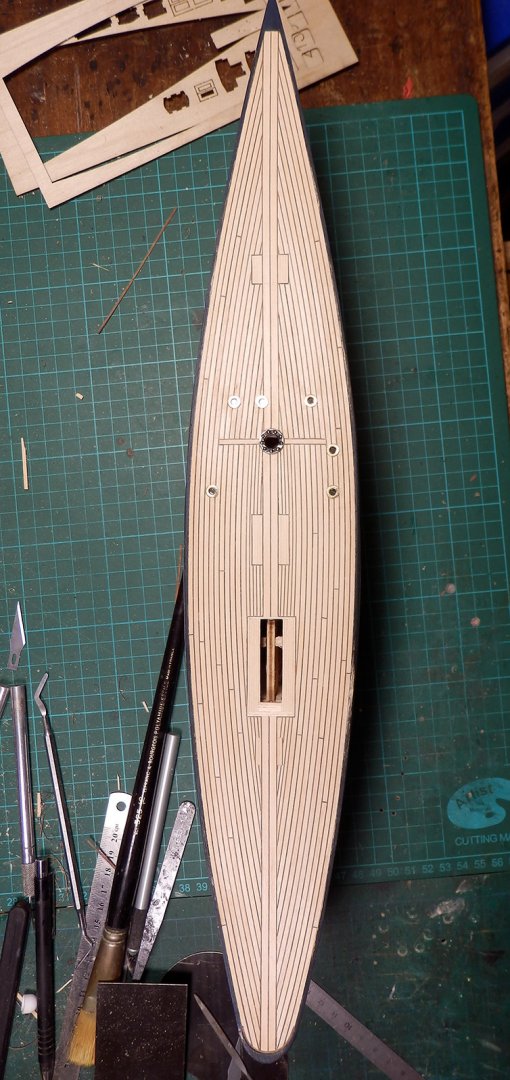
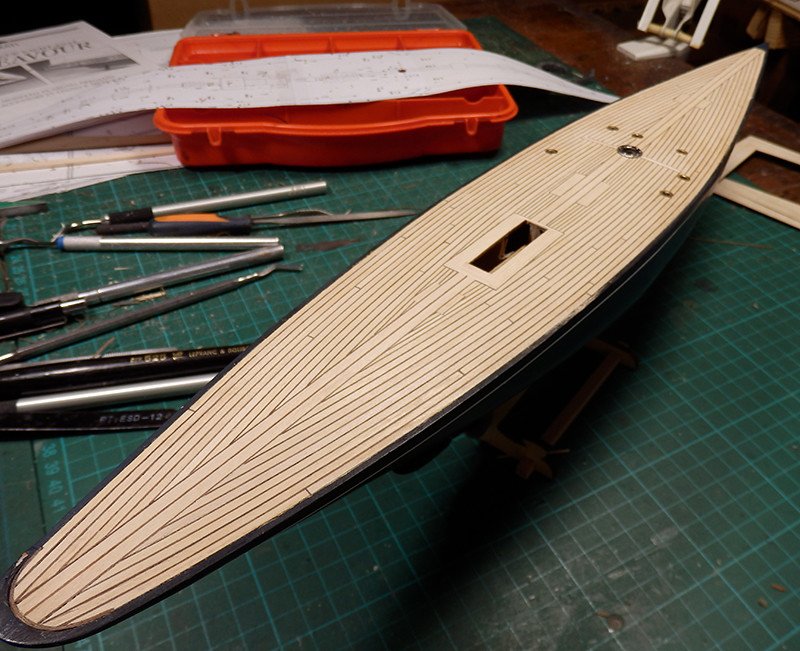
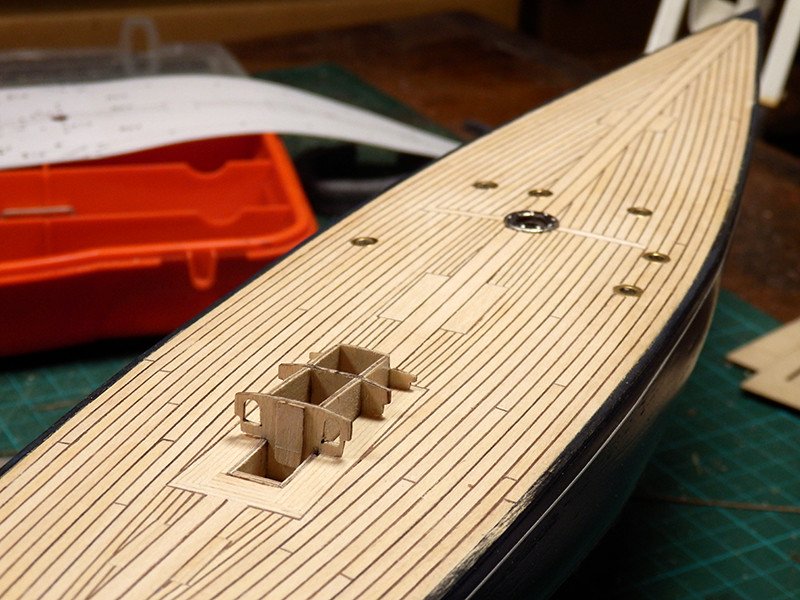
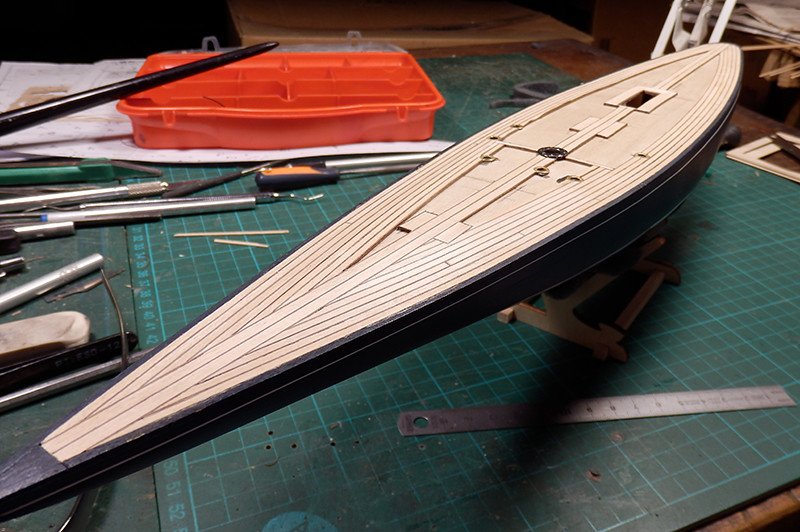
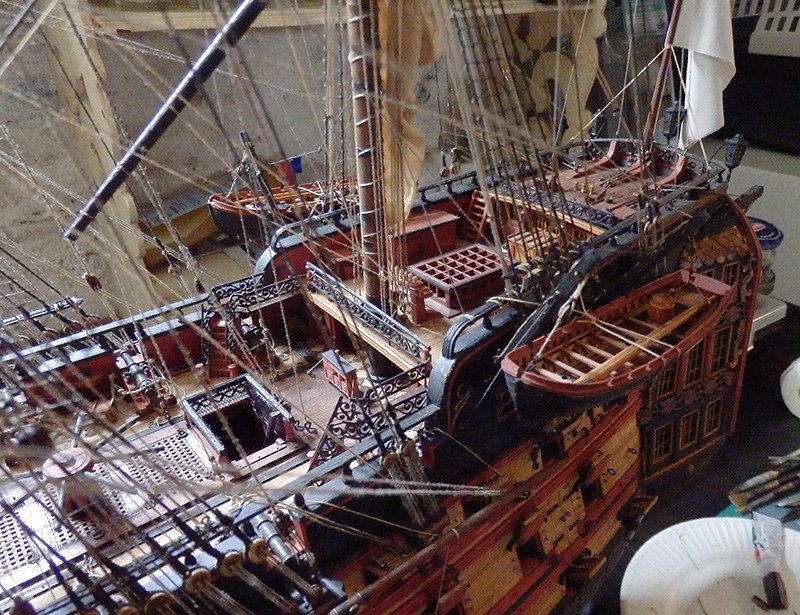
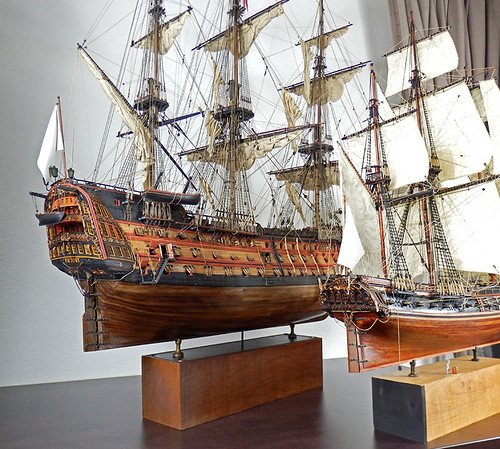
The following: the deck is equipped!
It was not easy. It was necessary to compromise between the equipment provided and some improvements ... But overall, this deck is busy!
For example, where a single brass wire was provided for the 4 step boards along the edges, I replaced with stained wood; Or the coachroof that was lifted to receive a roof more in agreement with the deck, finally the pulleys that are black with a copper reminder to push a little the luxury of this boat.
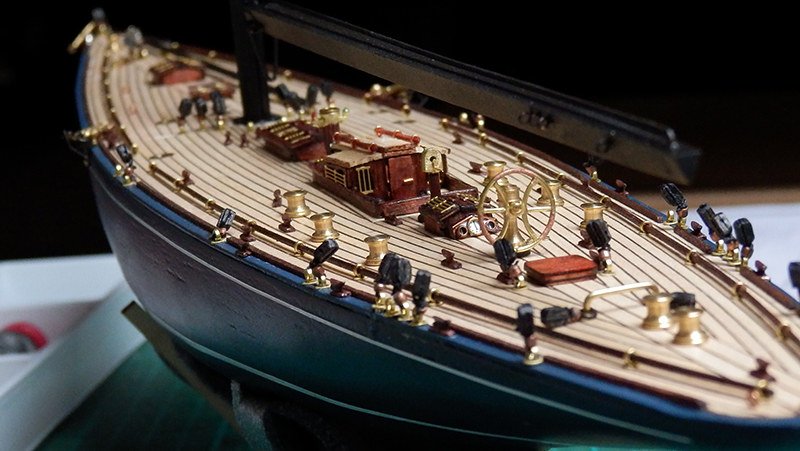
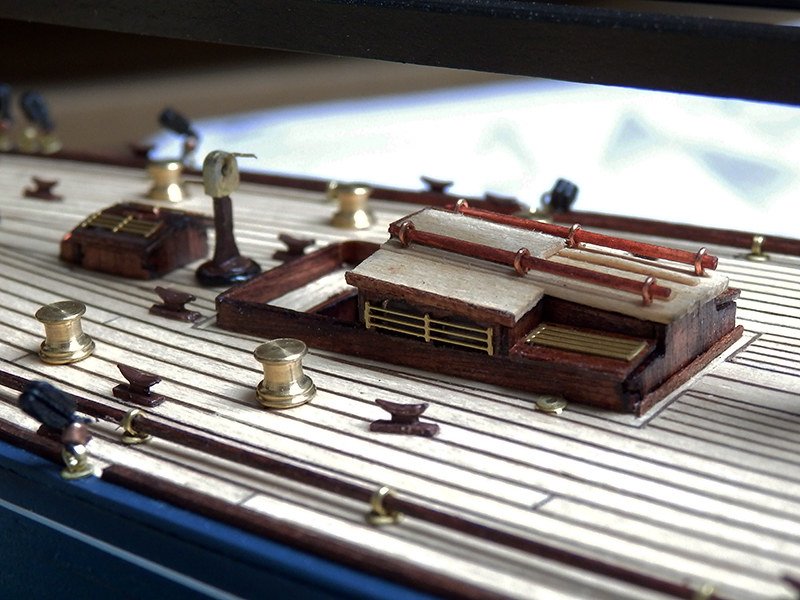
Now, the rigging and its huge sails!
-
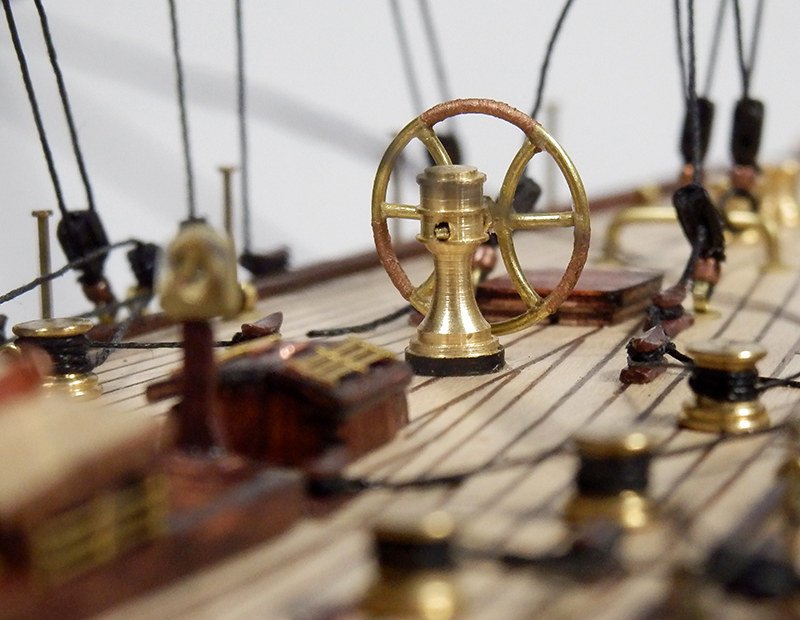
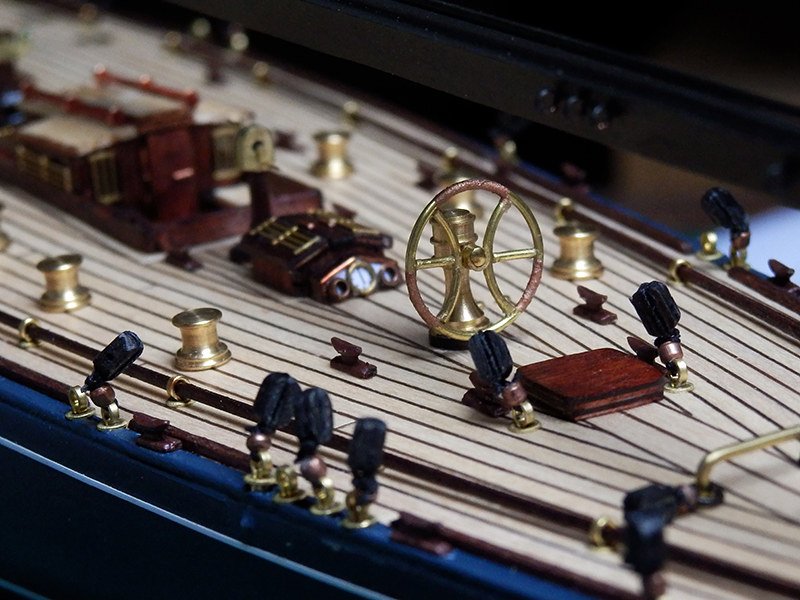
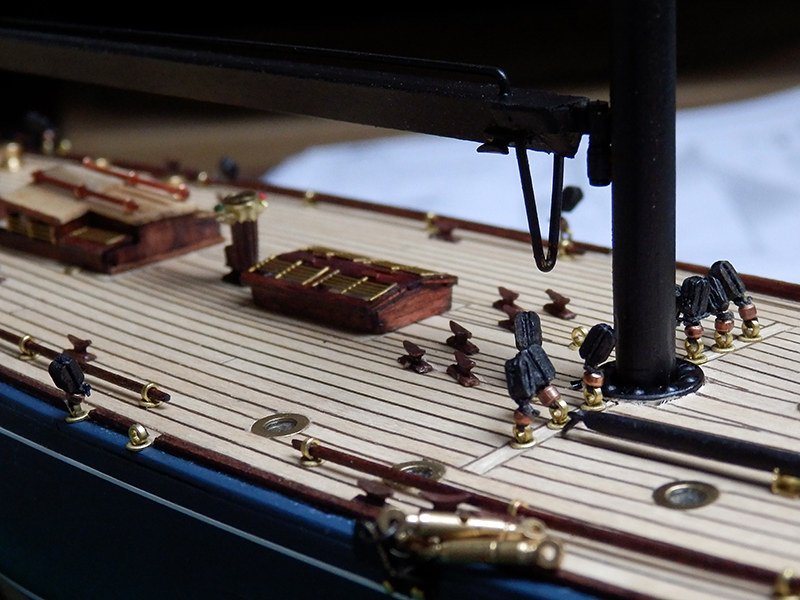
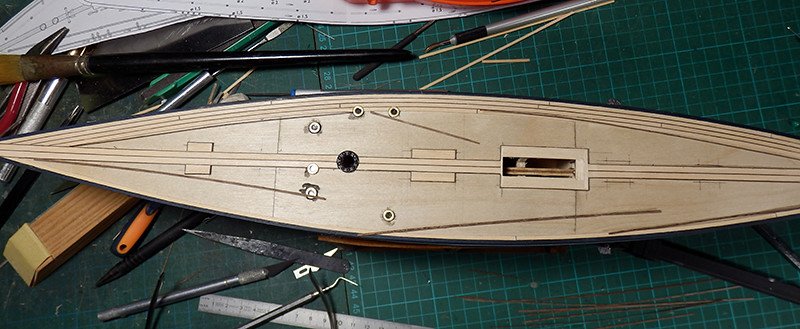
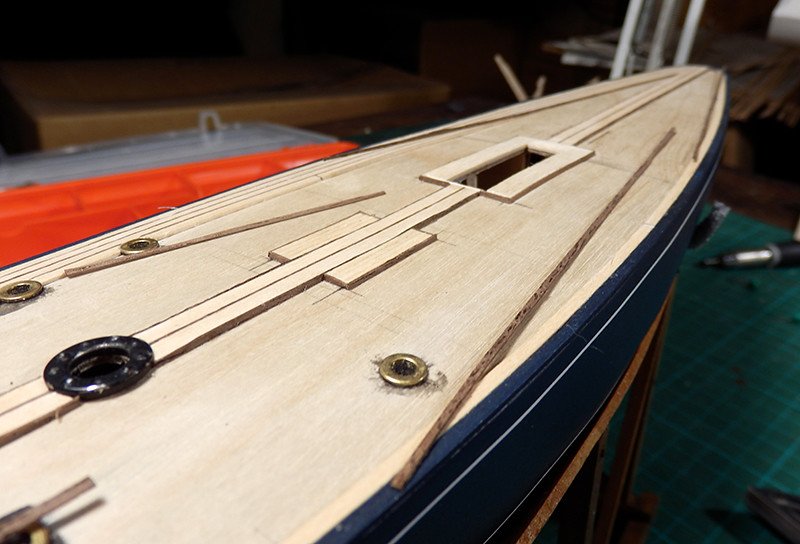
I arrived at the end of the deck !
This is the raw version before light protection and retouching paint on the edges. It's still a crazy job to do ...
- jgodsey, Kenneth Powell, yvesvidal and 4 others
-
7
-
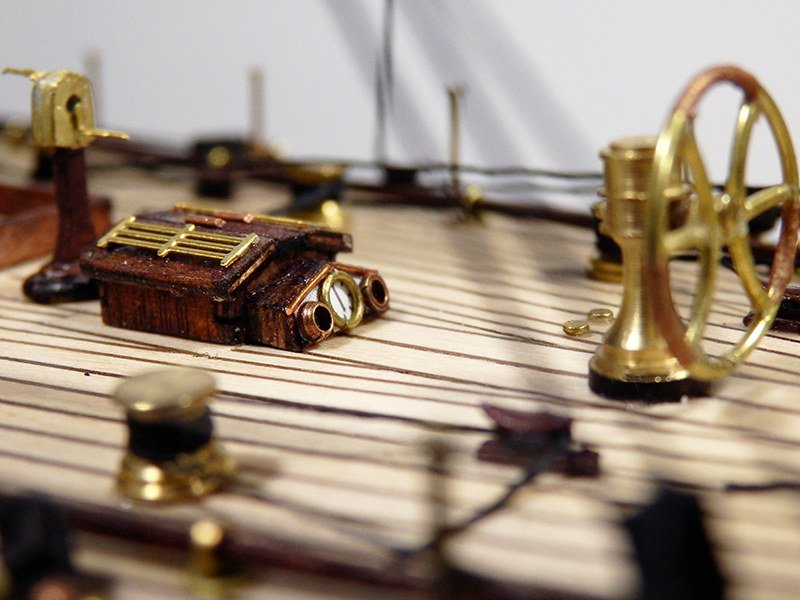
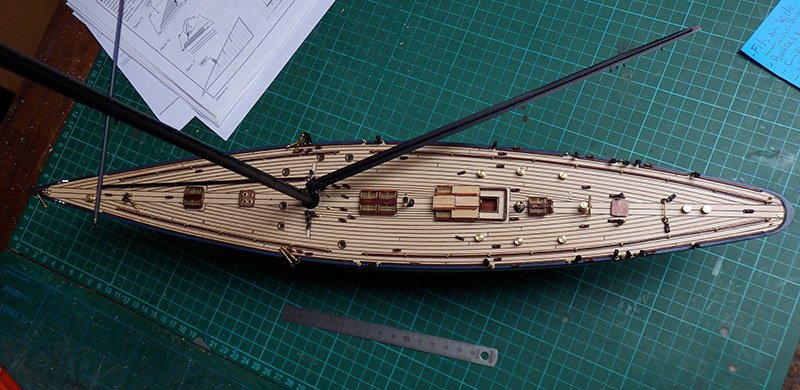
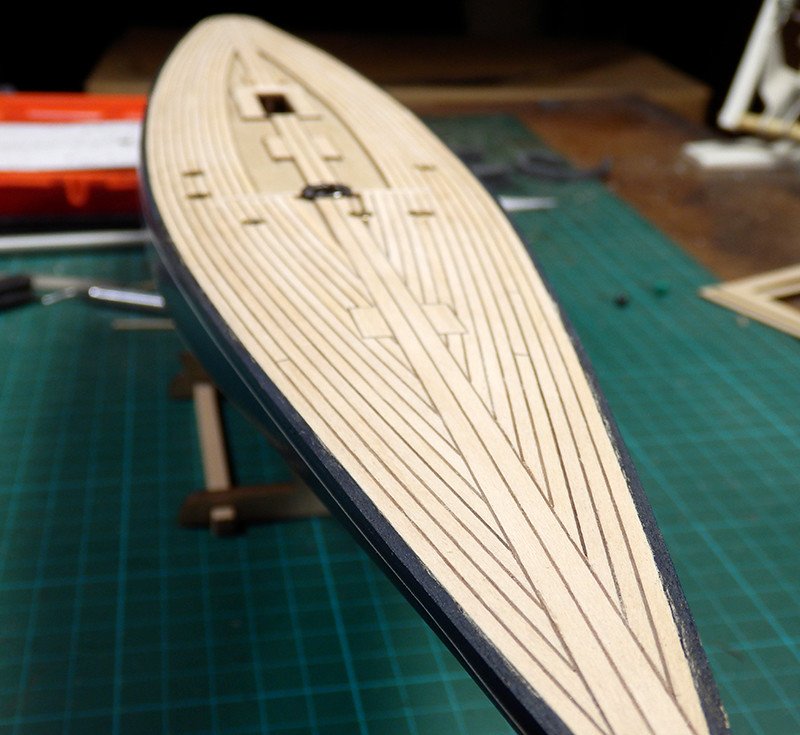
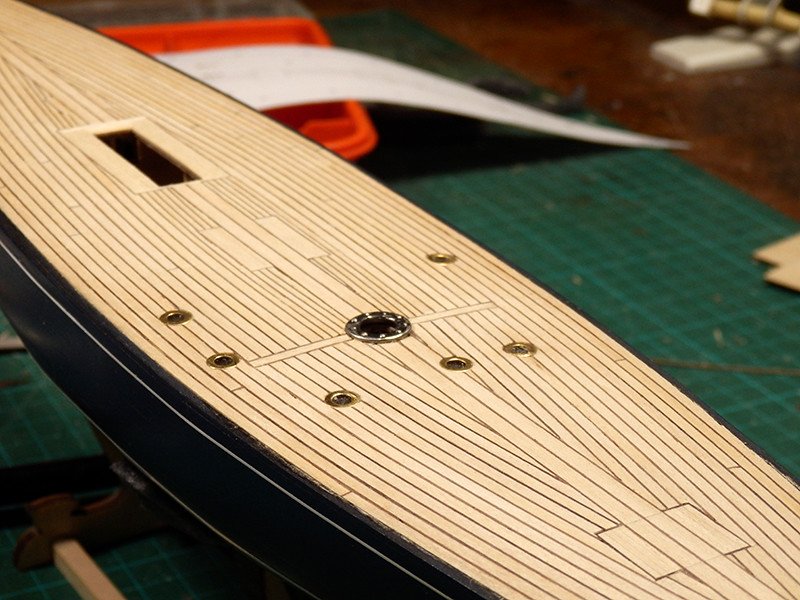
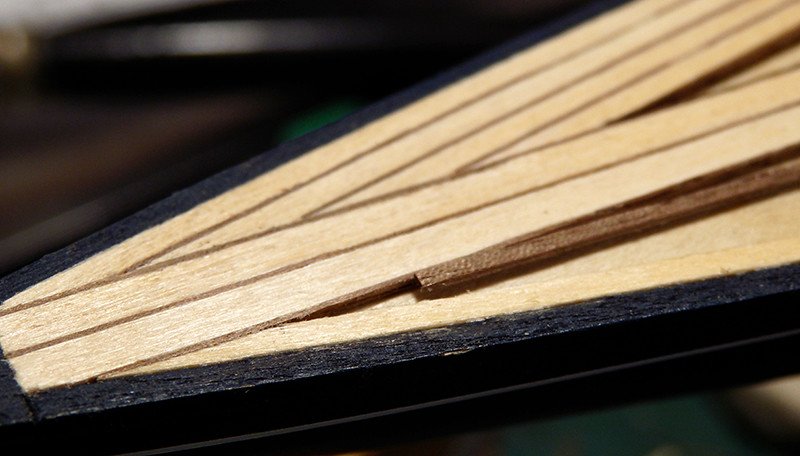
The deck of Endeavour is moving slowly!
I'm not very often on it right now. And then, we must recognize that lathing and the method chosen make it a crazy job ...
Linden slats in 1x2mm with walnut joints of 0.5x1mm placed on the edge!
And why be simple when it can be complicated: I added islands in 1x1 under each important piece of equipment to come (roof, crew descents, etc ...). Finally, I did not want kit portholes that look like round head rivets over the deck. So I opted for brass washers, filled with glazing (a rhodoïds below, transparent resin to fill the central thickness). And suddenly, you have to dress with slats around everyone ... 🆒It must be carefully equalized with an X-Acto blade (no sanding). And when everything is laid, it will be necessary to go to the scraper gently, then a hard coat with a cloth to keep realism ... 😛
So, here we are :

-
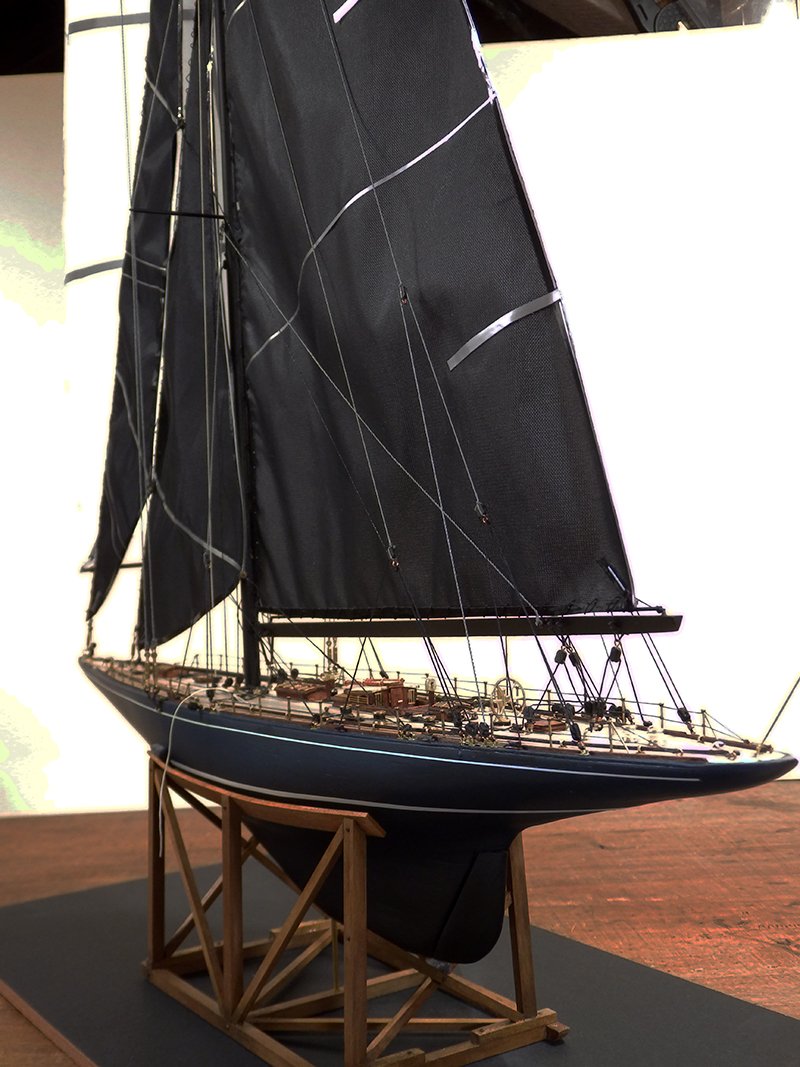
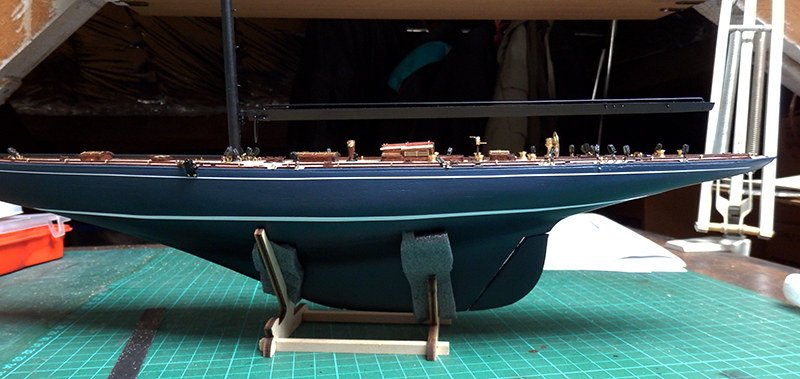
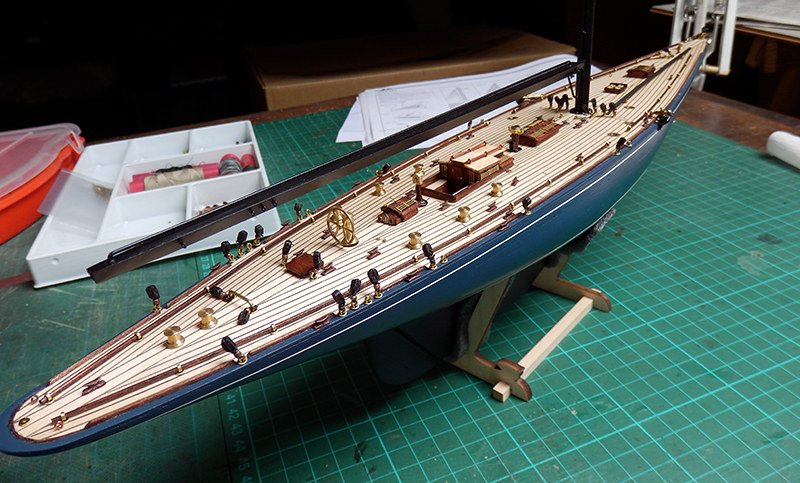
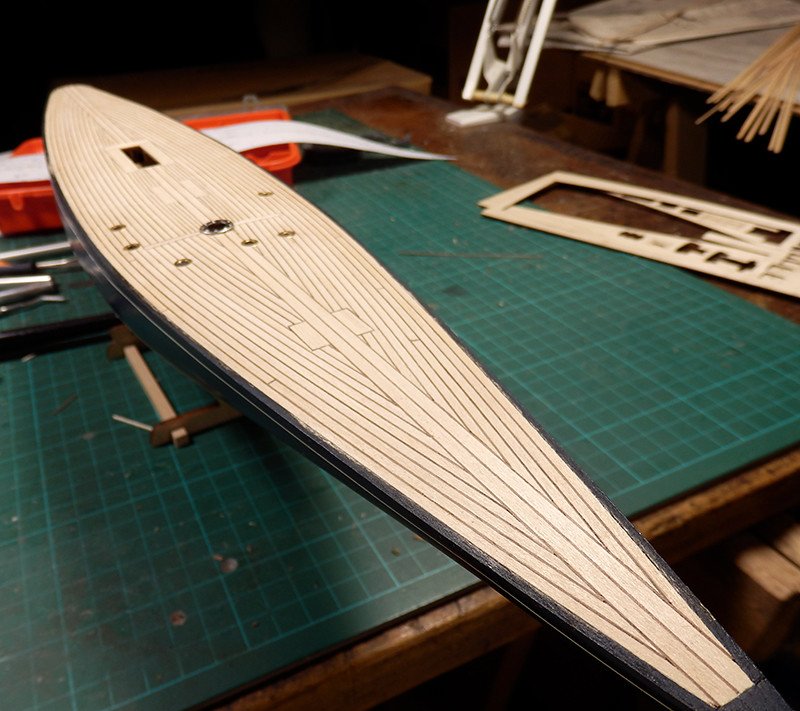
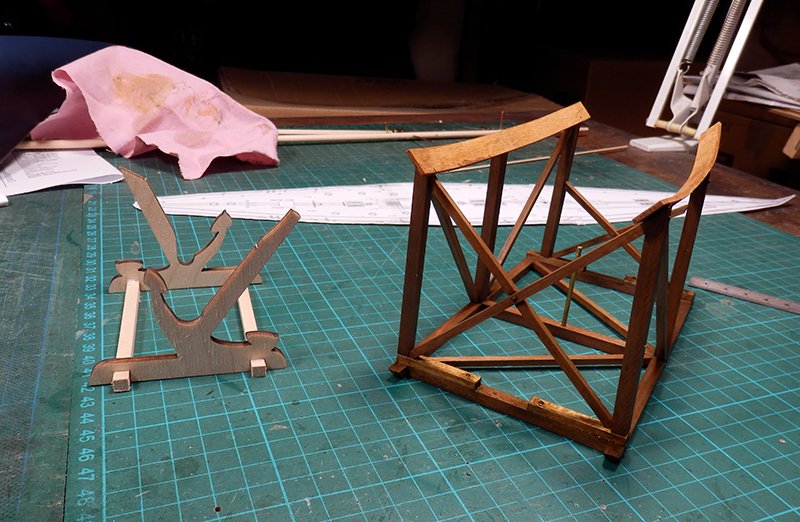
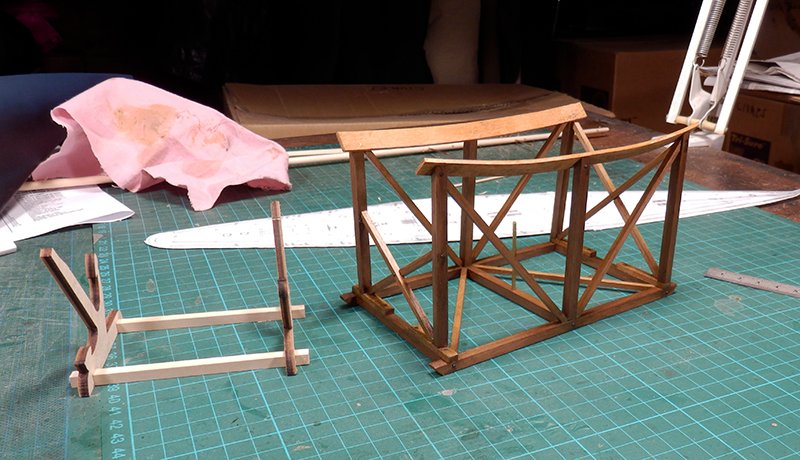
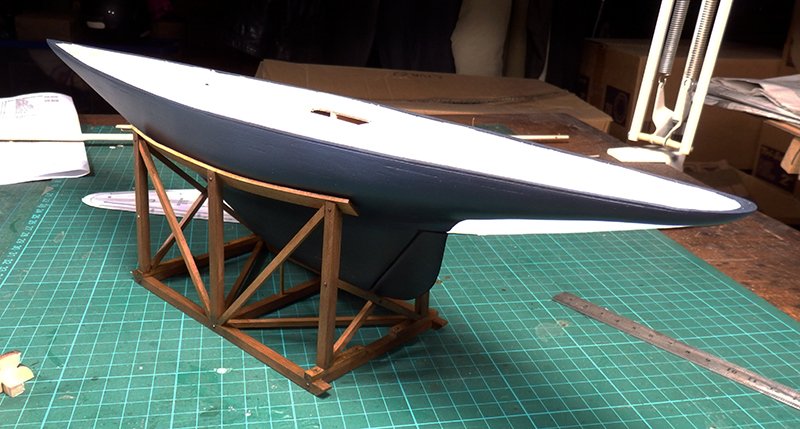
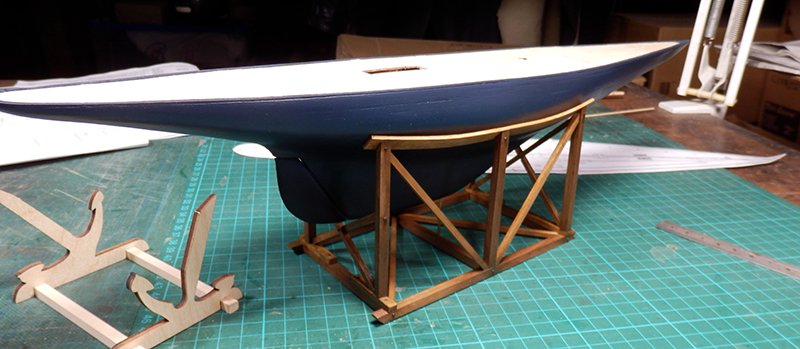
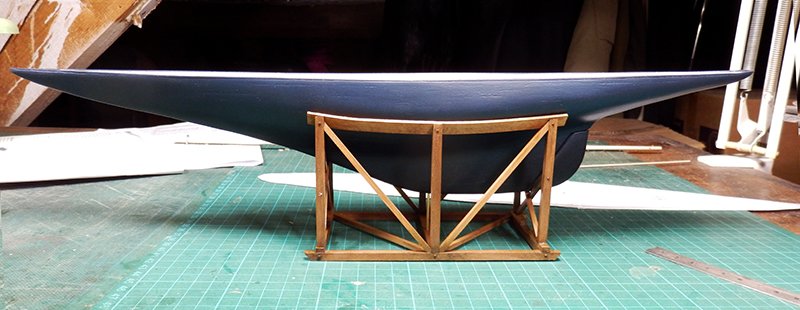
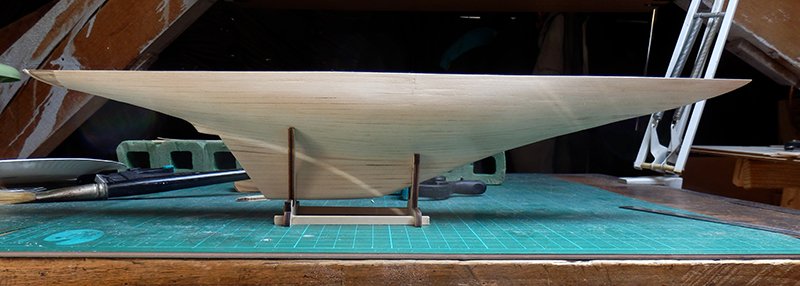
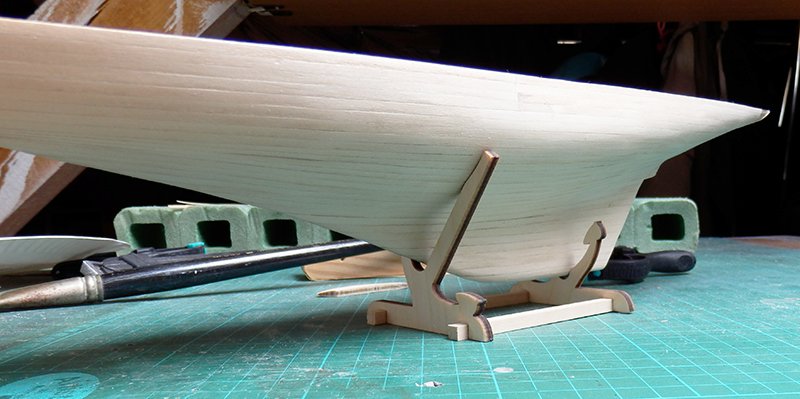
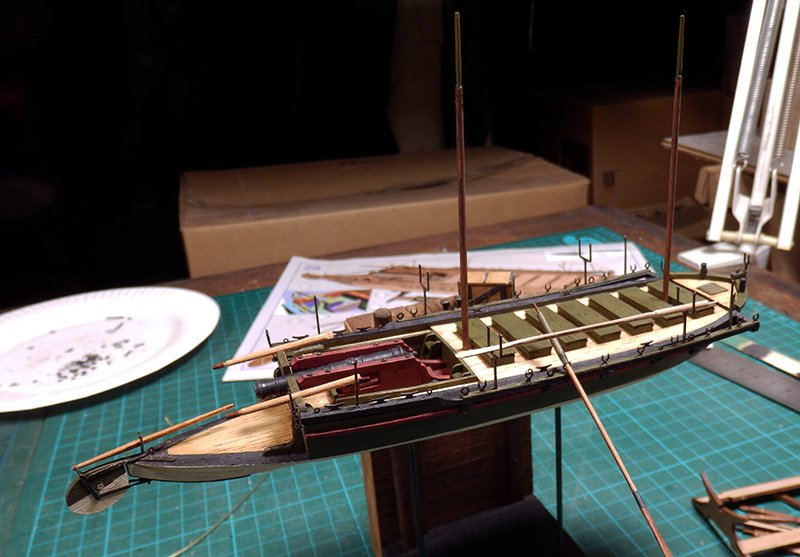
I advanced a little on this J class.
First the support after those made on the shipyards (tinted and aged to contrast with the new and very smooth side of the boat).
He replaces that of Amati (left) that I find ugly ...Then the hull is finished, sanded, passed with a varnish, repointed (2 times). Then painting: at least 4 or 5 layers to have this gradient from blue to black towards the keel.
The mast and the boom are made, but not painted.
Next step, the lathing of the deck ... A long time to pass on! 🆒
-
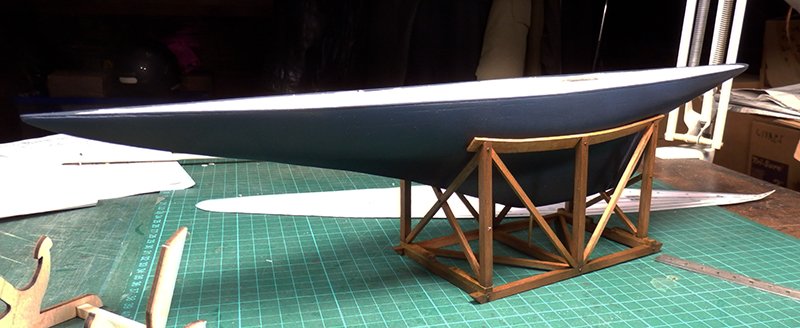
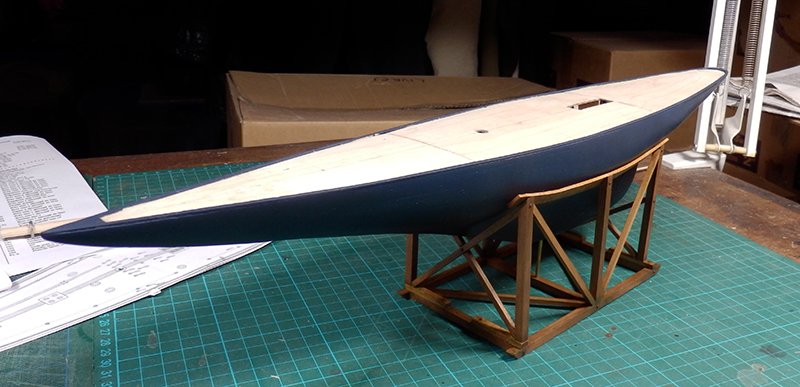
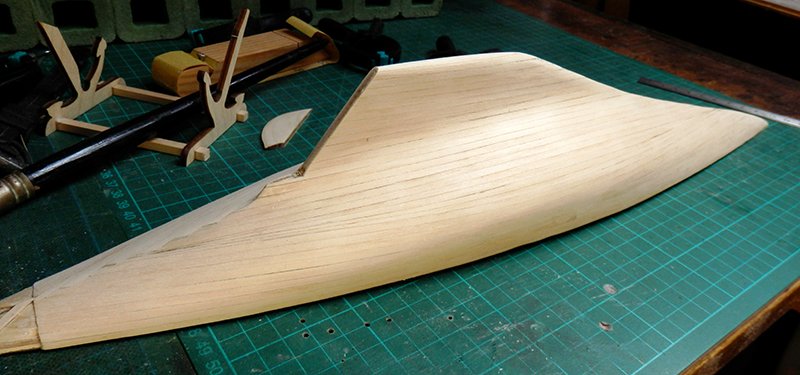
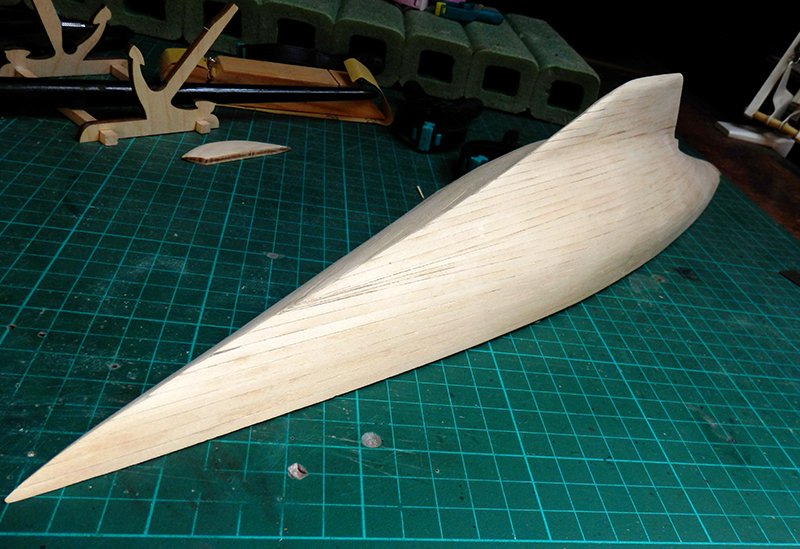
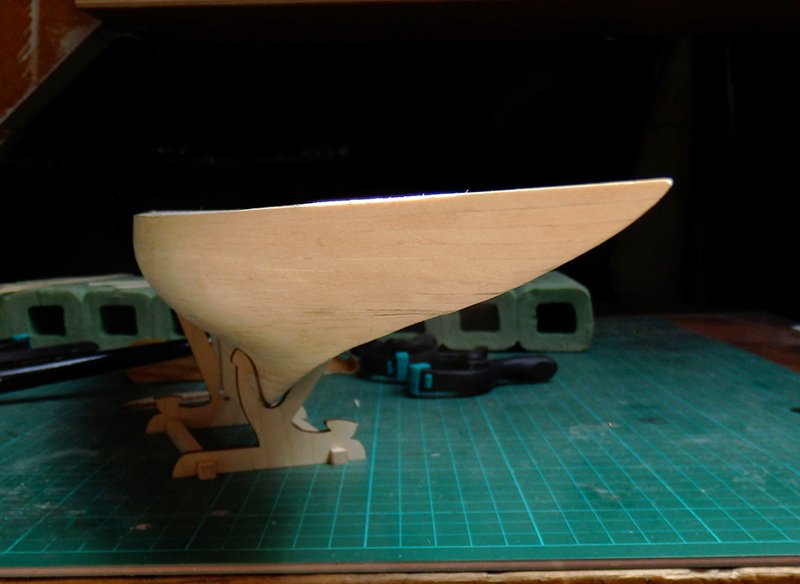
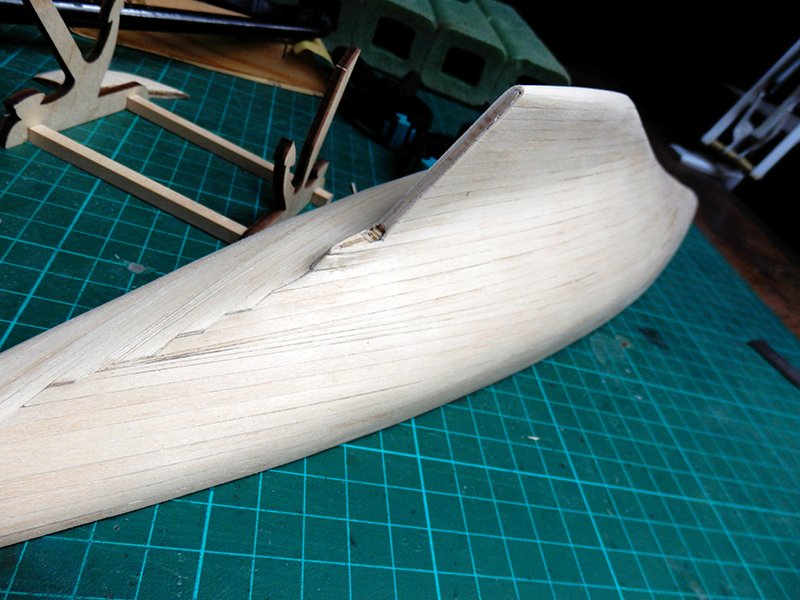
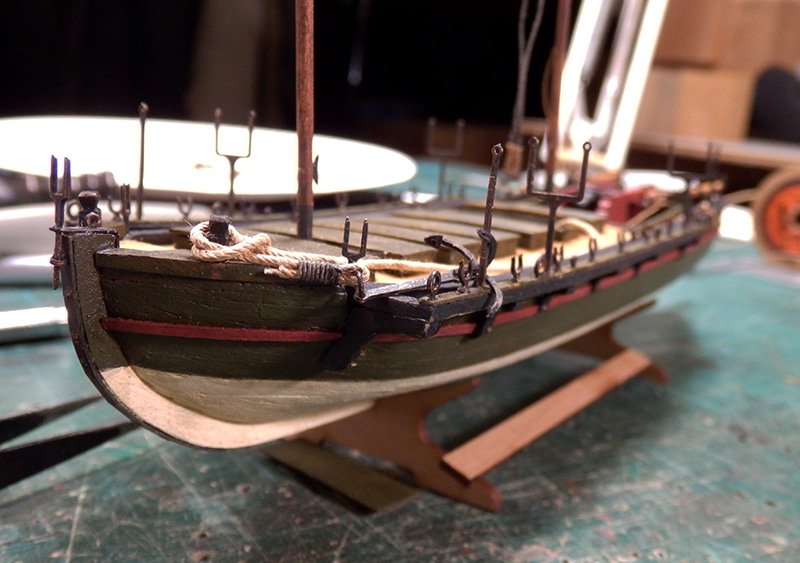
I wanted to close this hull before leaving a few days: it's done!
After, I will finish the stern with a lathing diagonally, and the rudder that will finish the refined line of this hull ...
Then comes the moment of slight touch-ups to the wood-pulp (could not do better ...), then fade, then the deck, and painting the hull.

- FriedClams, KeithAug, GrandpaPhil and 3 others
-
6
-
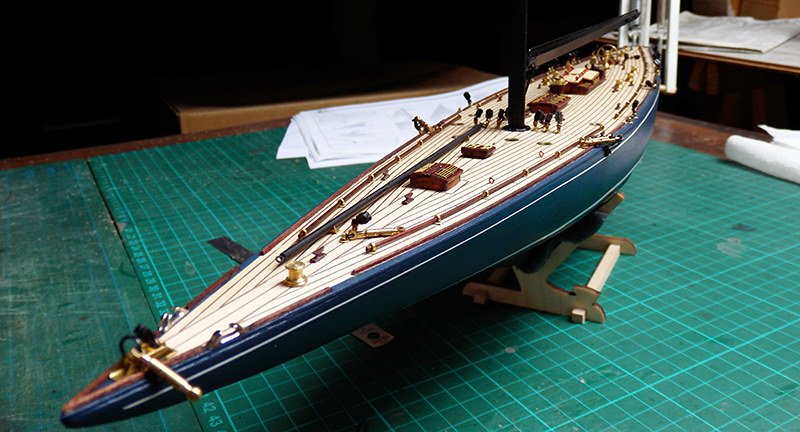
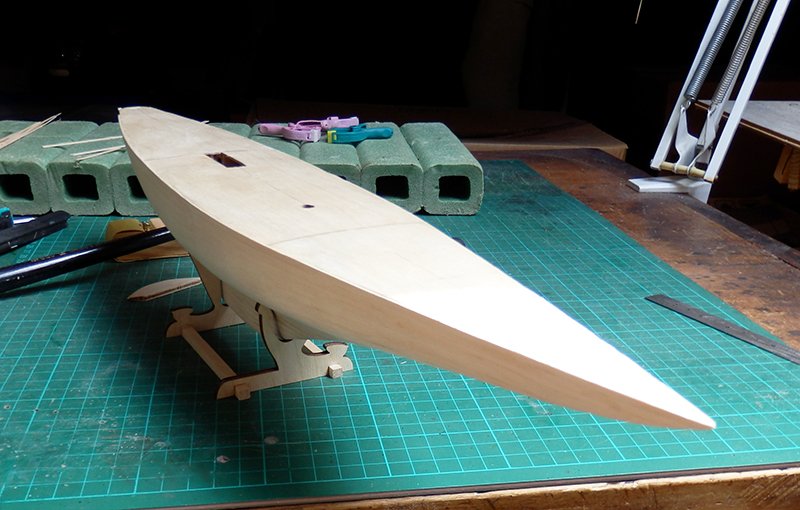
It's been a while since I started this boat, but I'm moving much more slowly than usual...
It's summer, I have things to do outside the model.
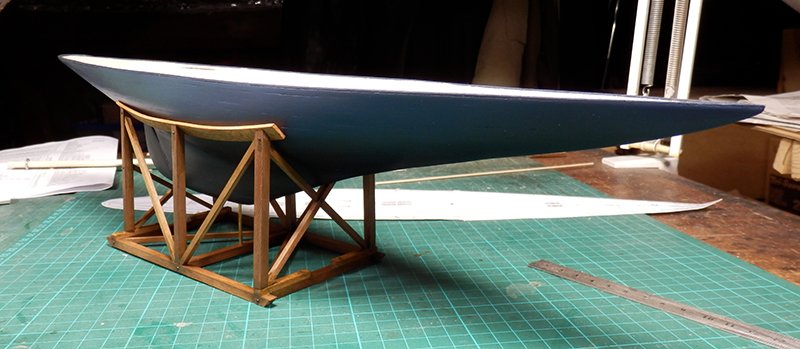
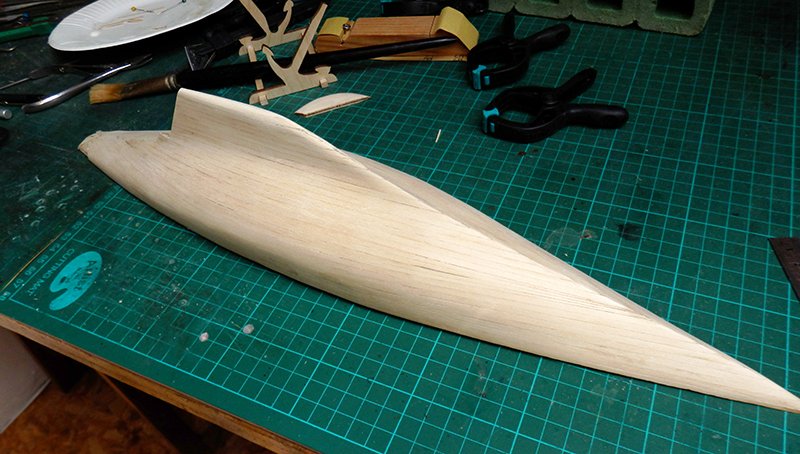
This is the 1934 J-class sailboat Endeavour, America's Cup challenger.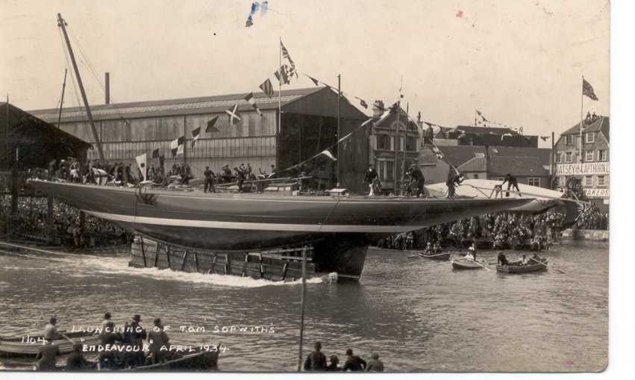

An elegant sailboat with very pure lines, a design made for the race!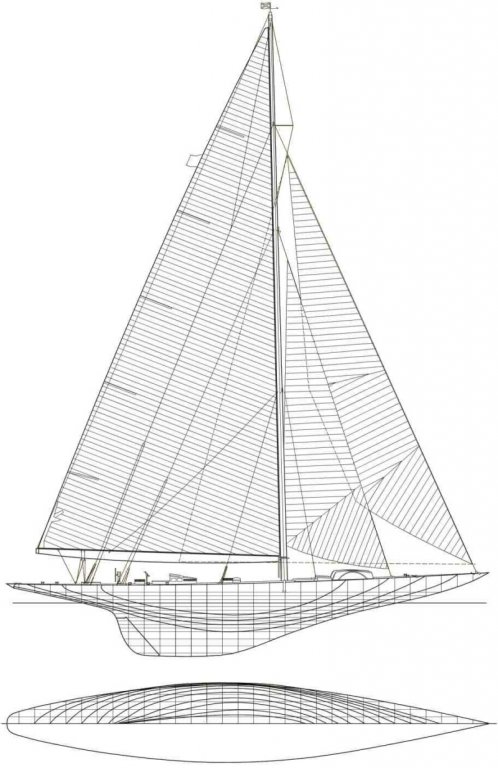
The kit is from Amati 1:80, plank-on-frame construction, classic.
Well, as usual, I will not stick to the stuff recommended in the box in terms of colors or furnishings ...: ds:
I will still do as I feel, and I have some ideas!
The kit is simple, even simplistic on deck elements in particular: I will have to review all that.So, for now, it's about making a hull about right. I'm only here:


- FriedClams, mcpwilk, KeithAug and 3 others
-
6
-
-
-
-
-
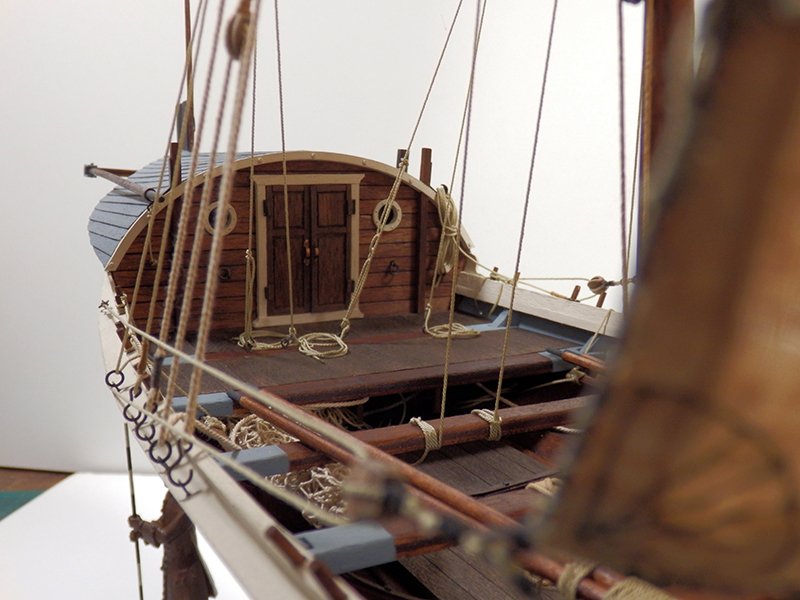
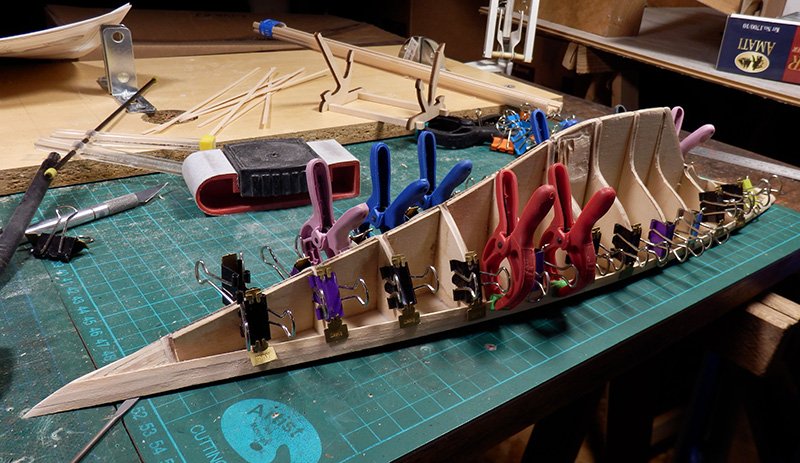
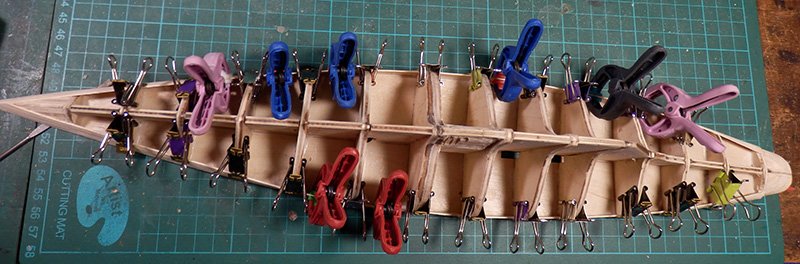
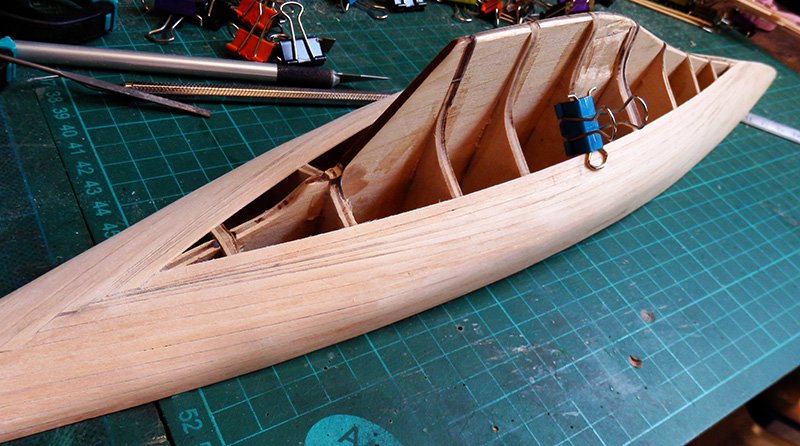
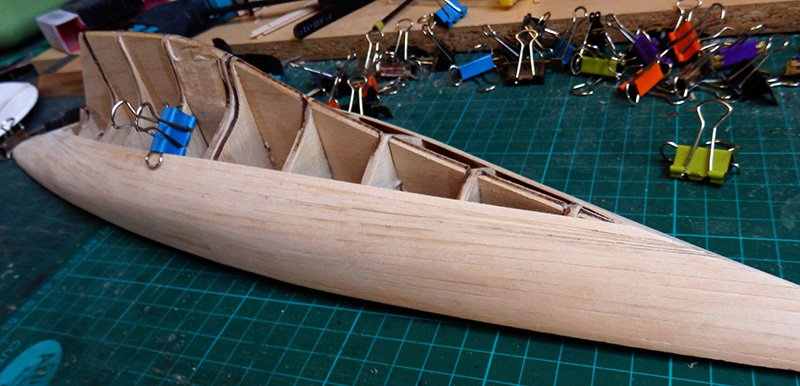
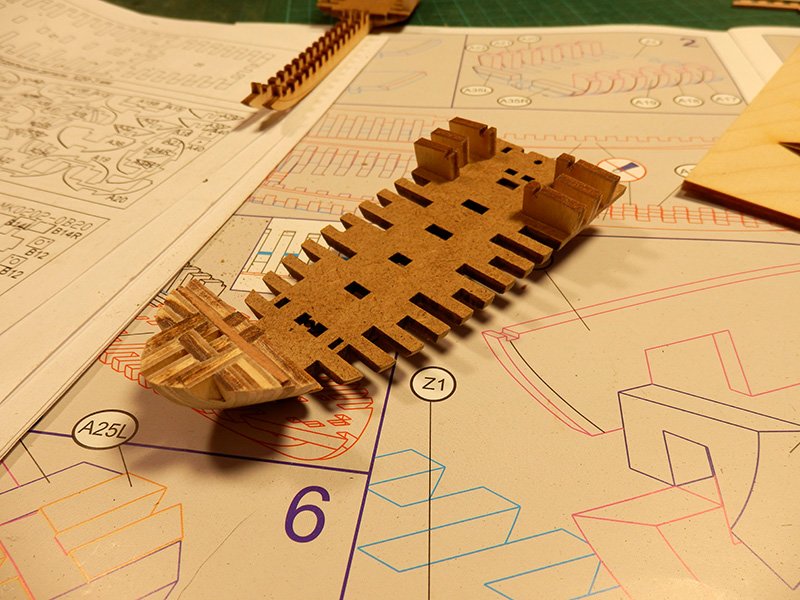
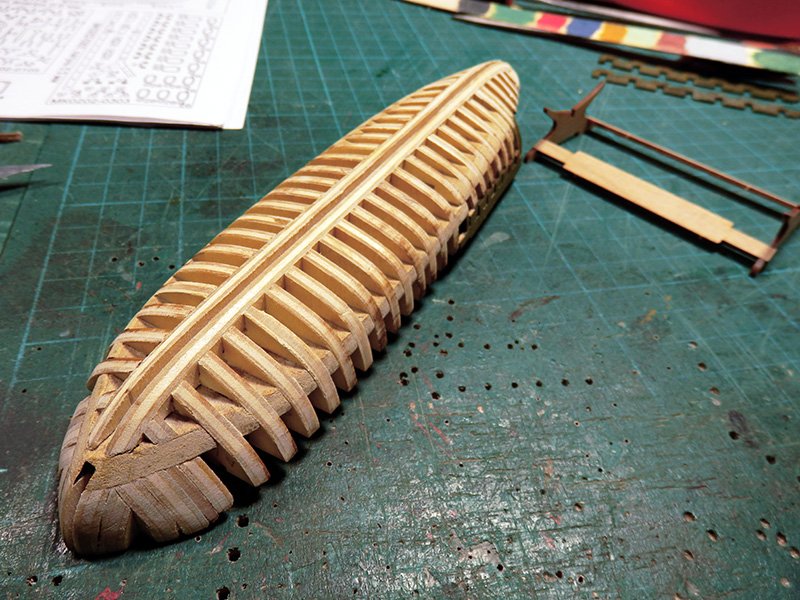
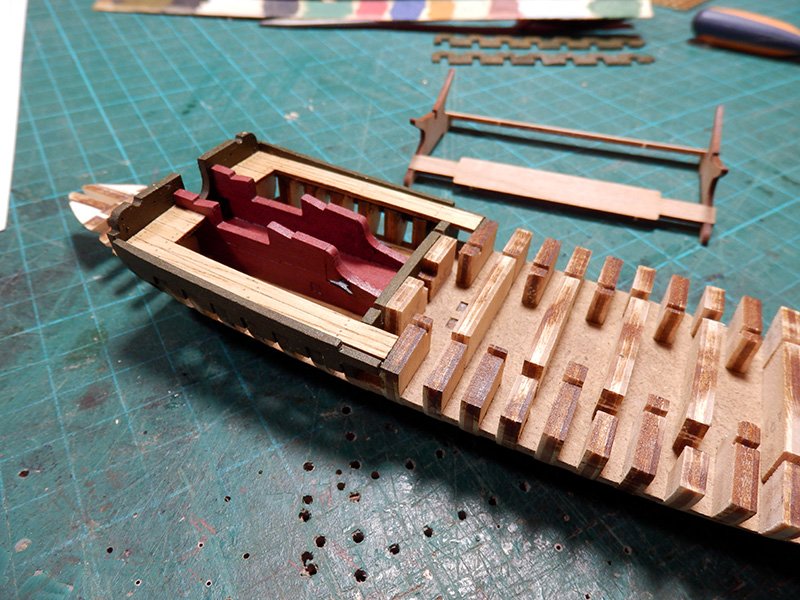
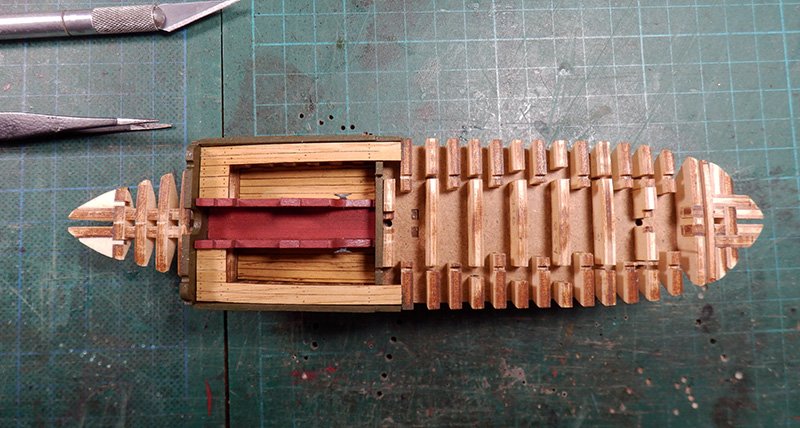
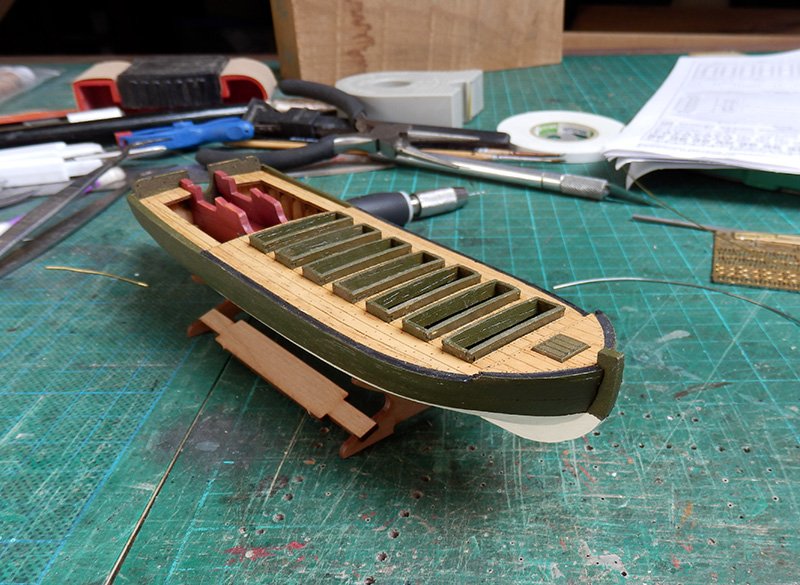
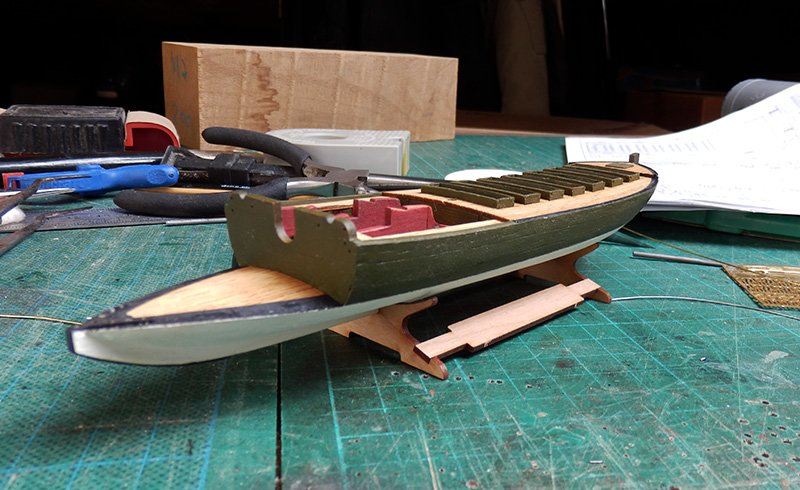
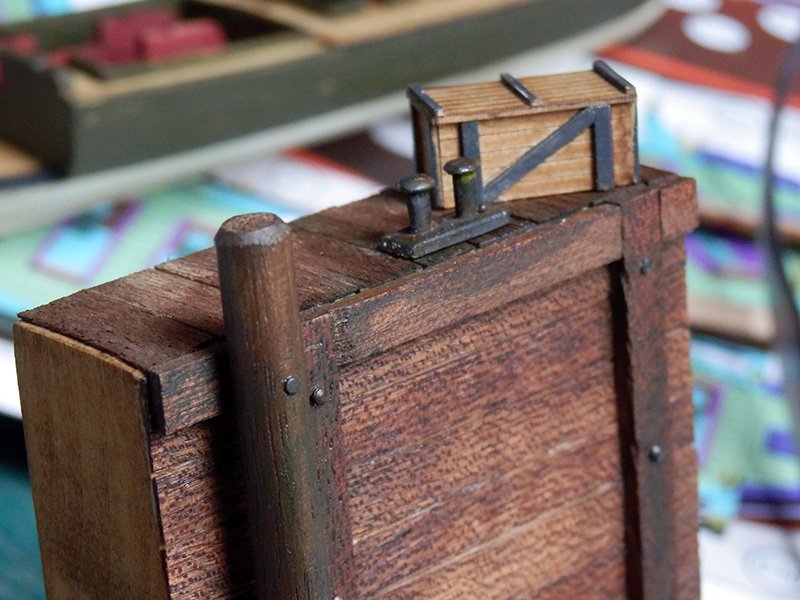
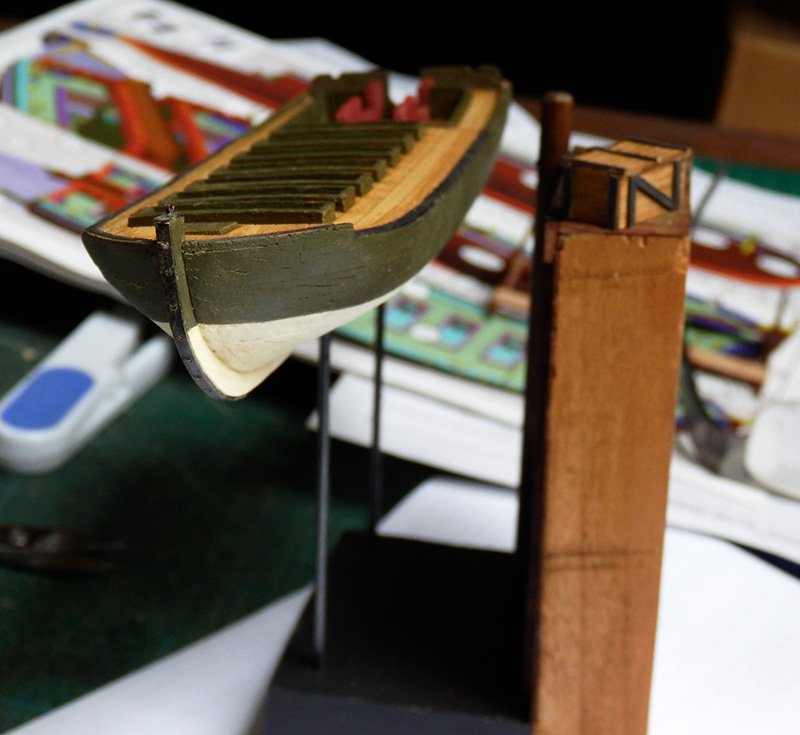
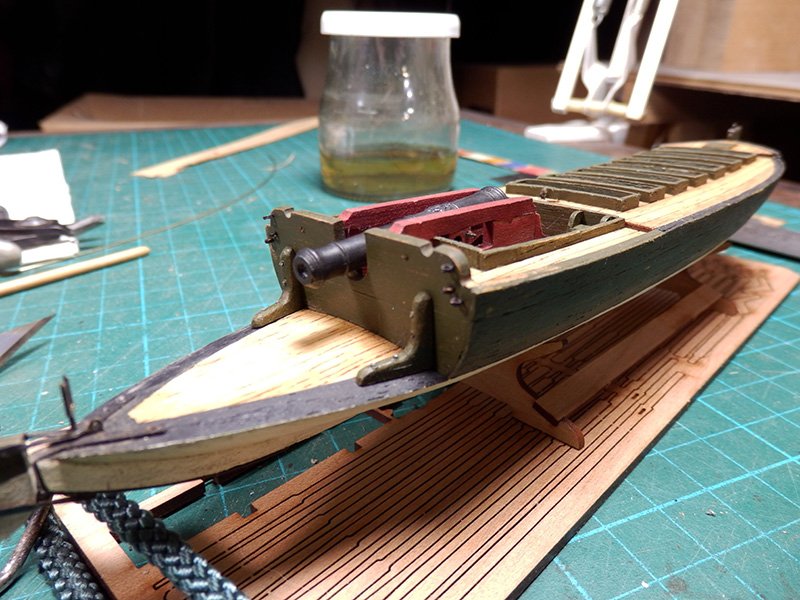
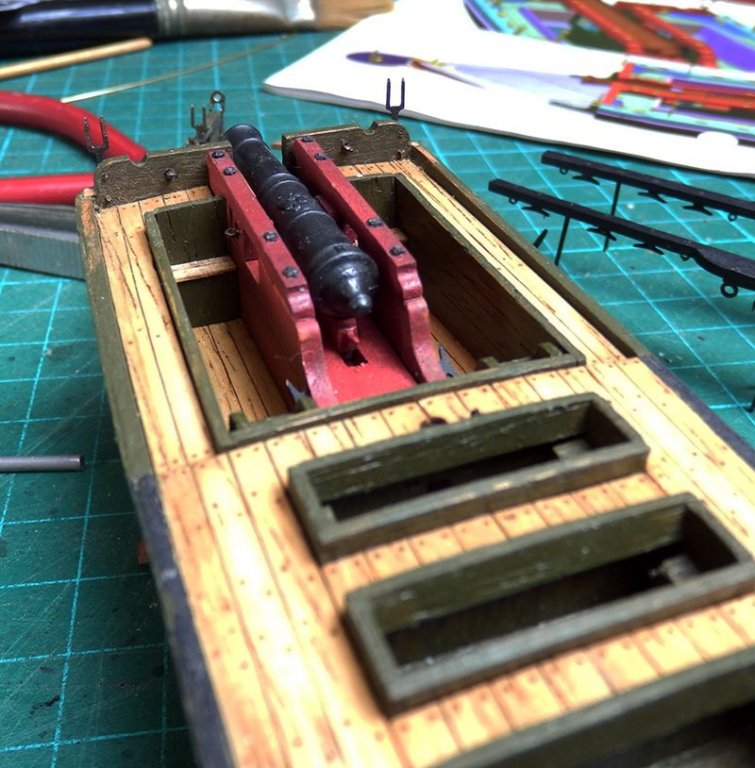
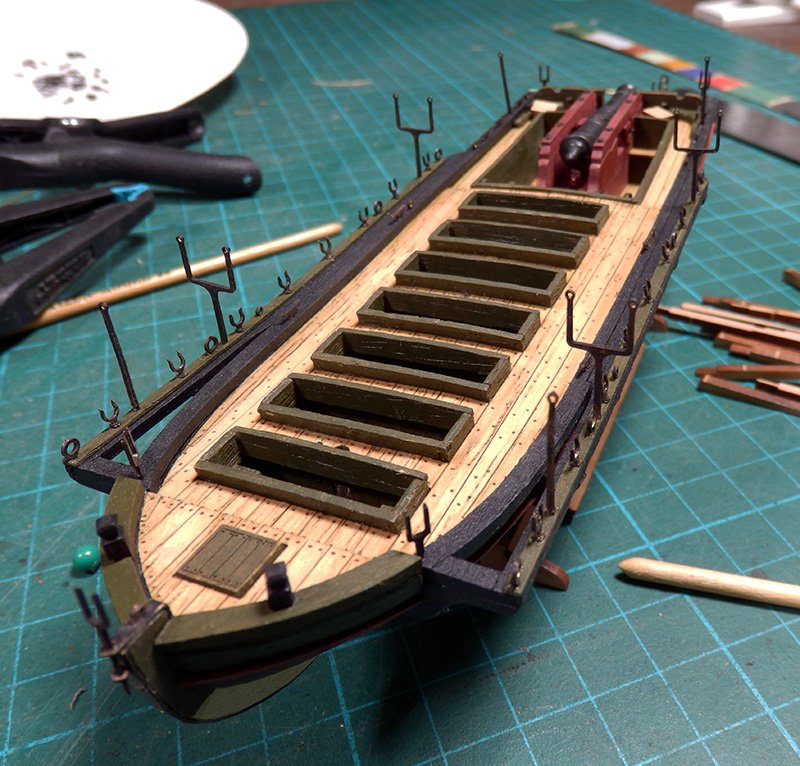
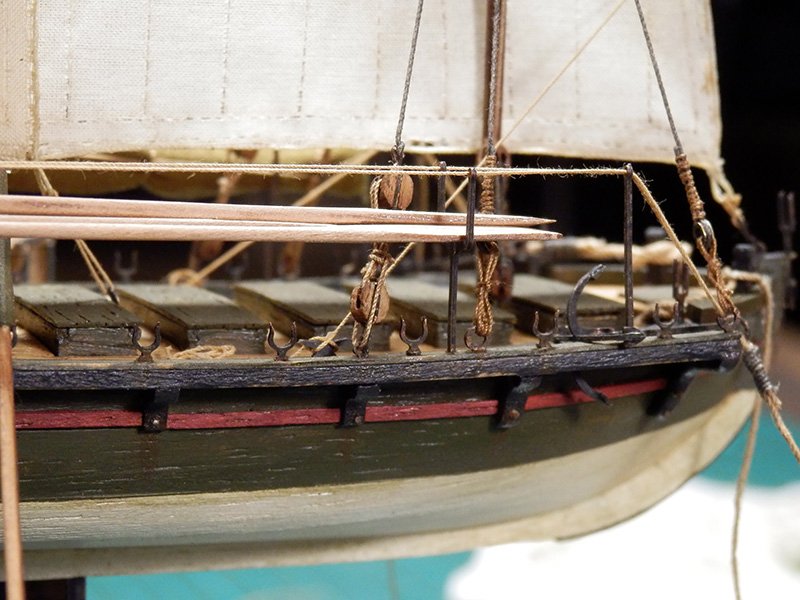
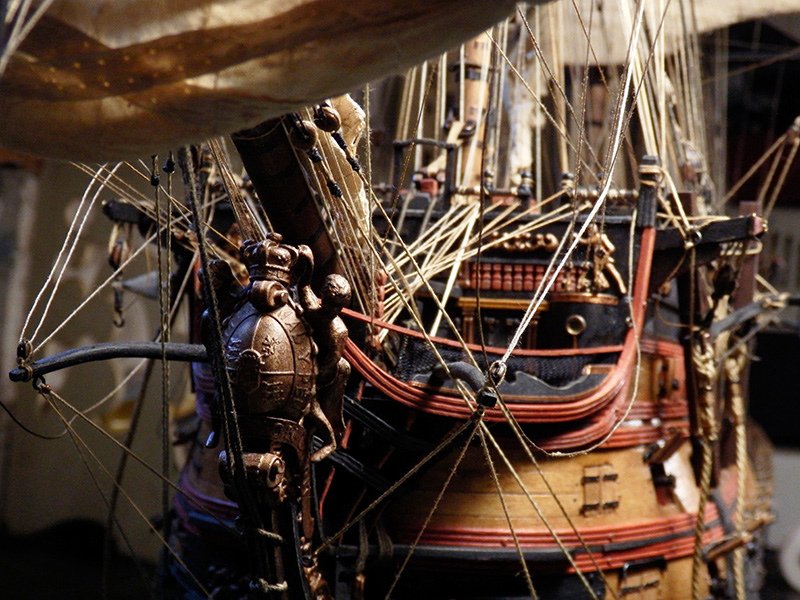
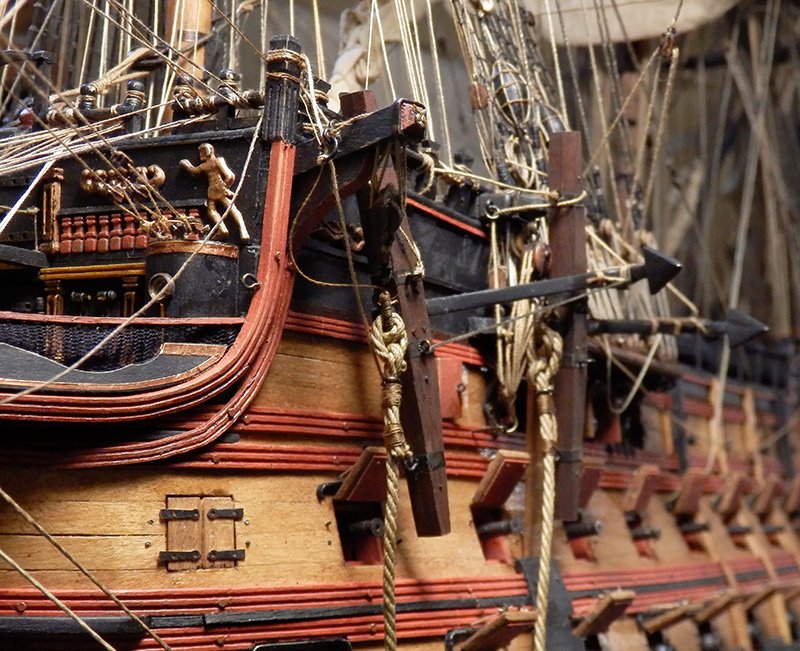
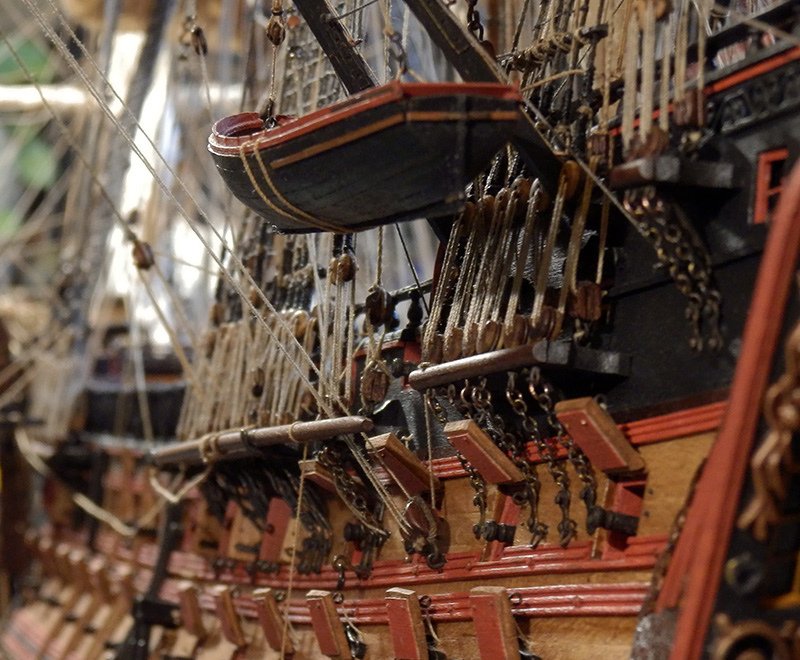
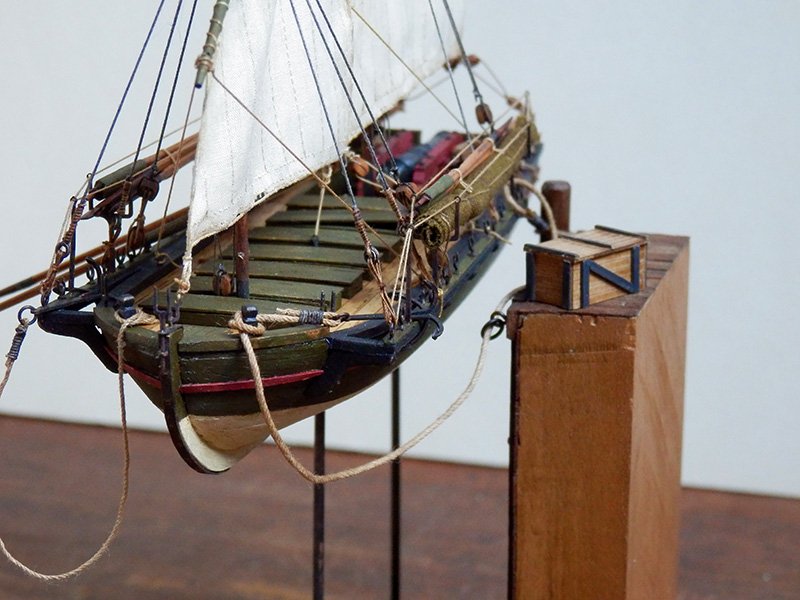
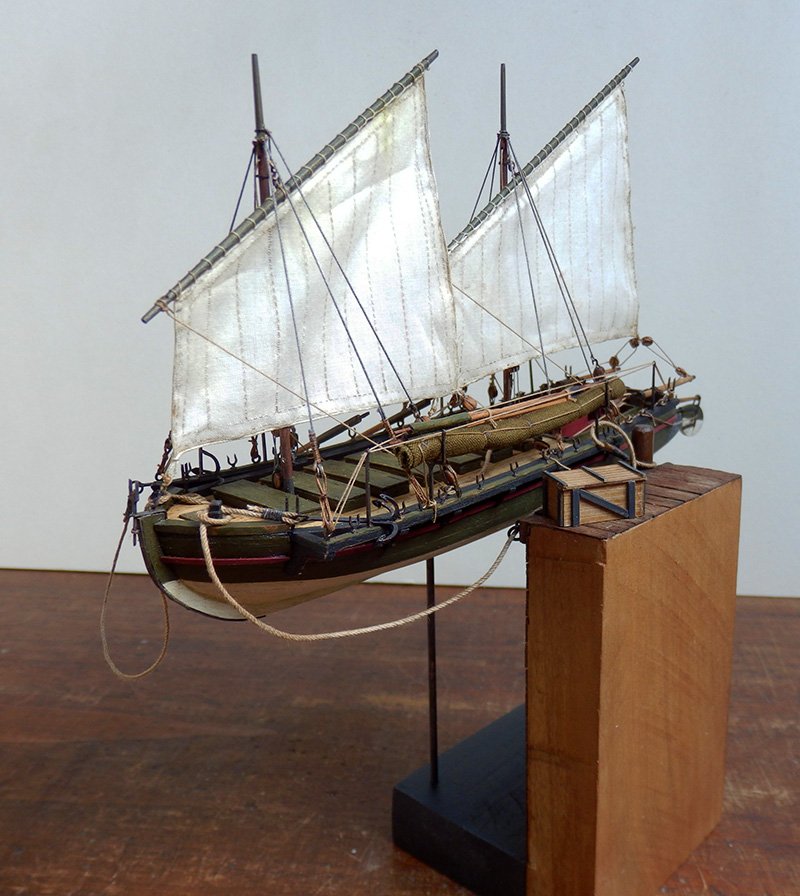
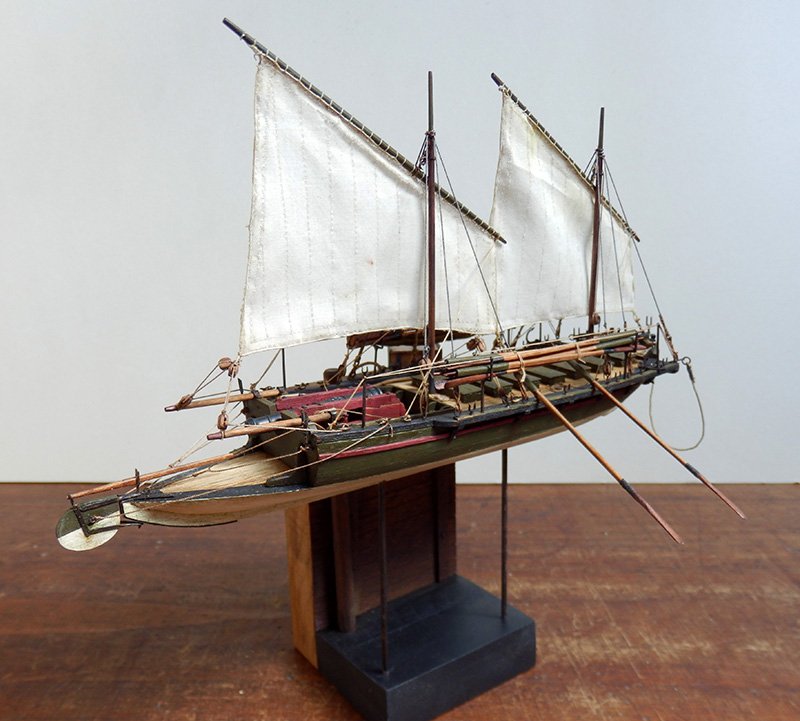
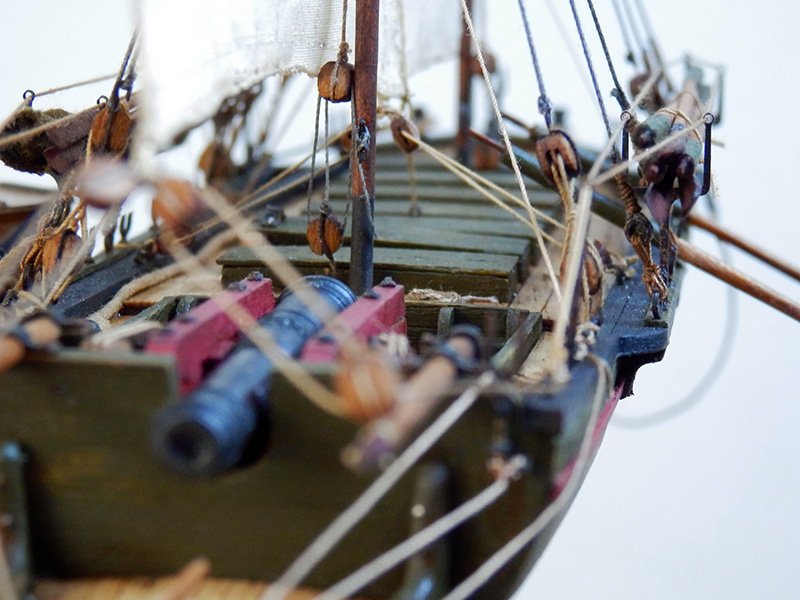
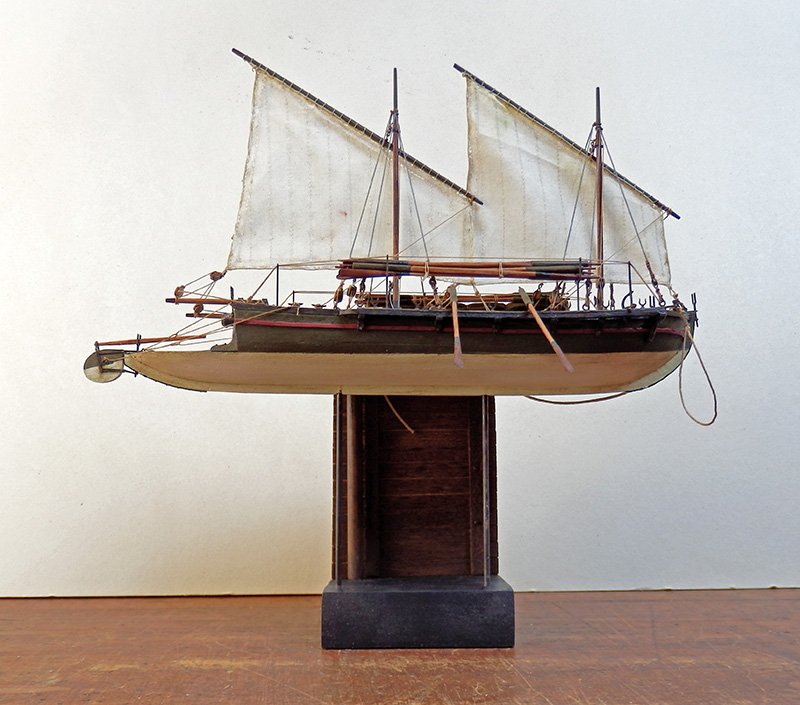
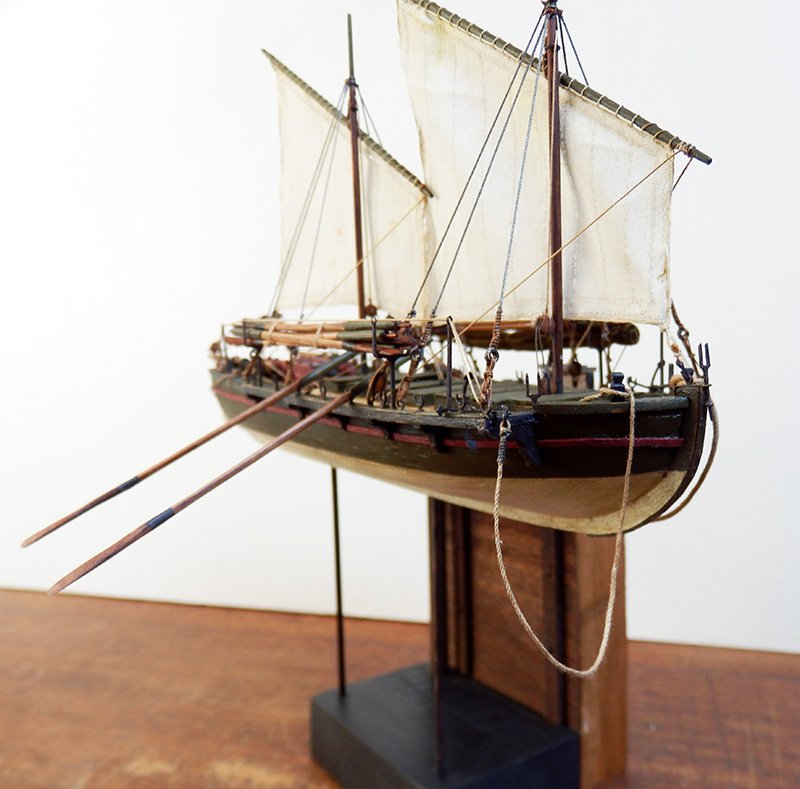
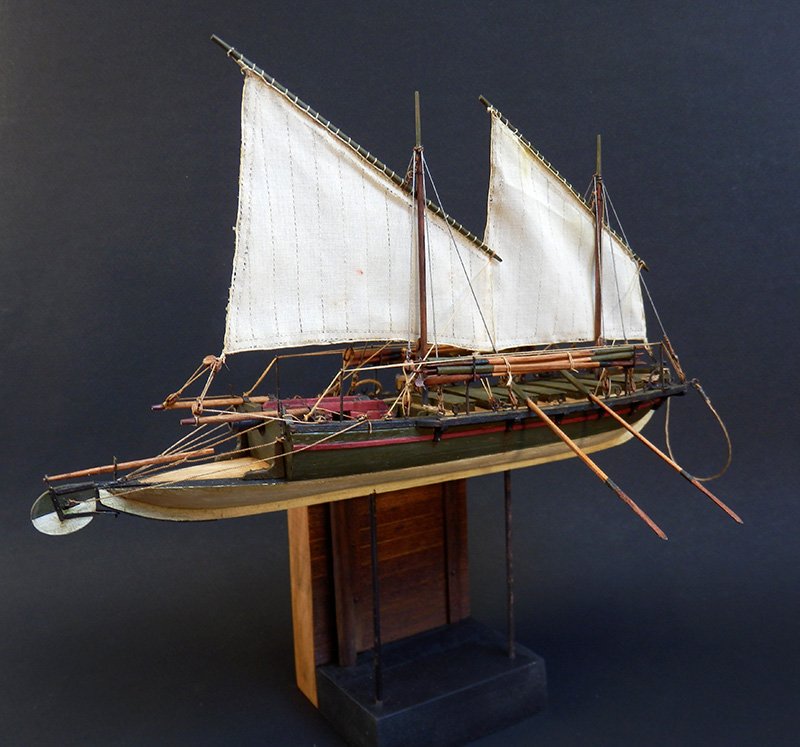
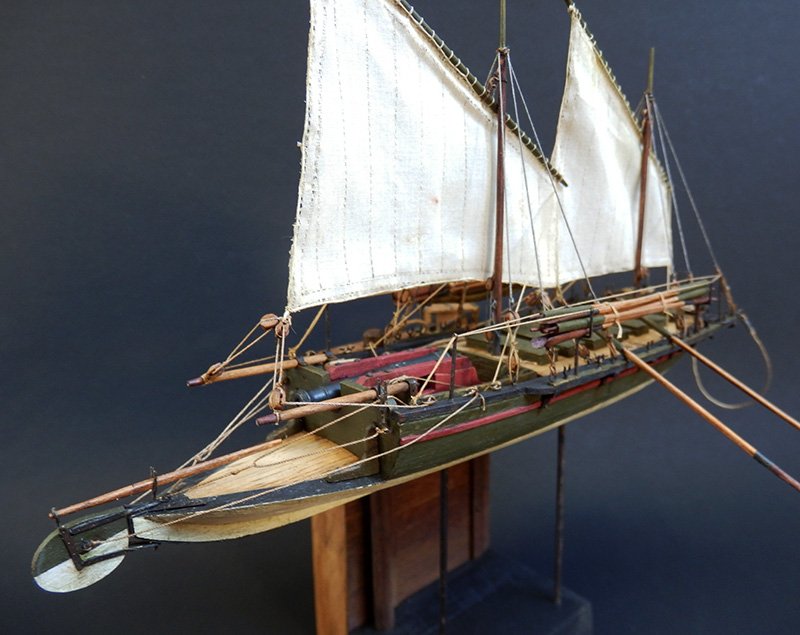
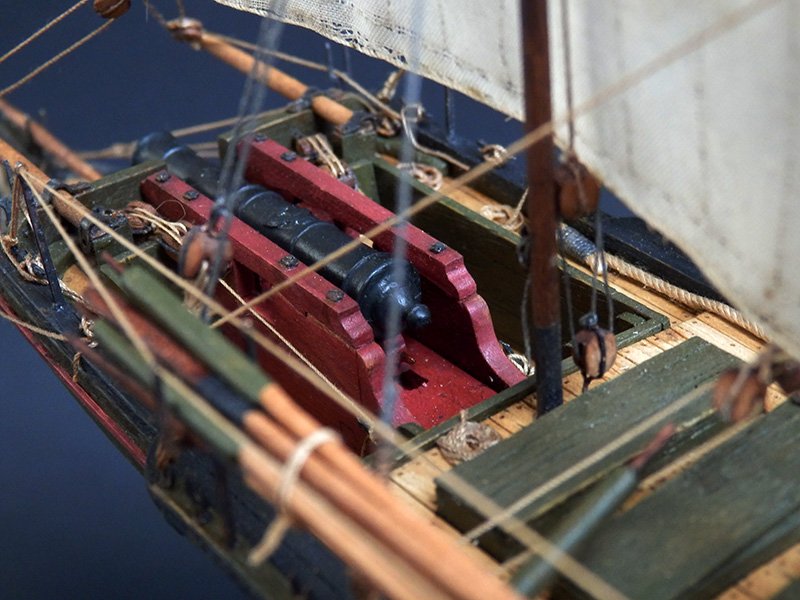
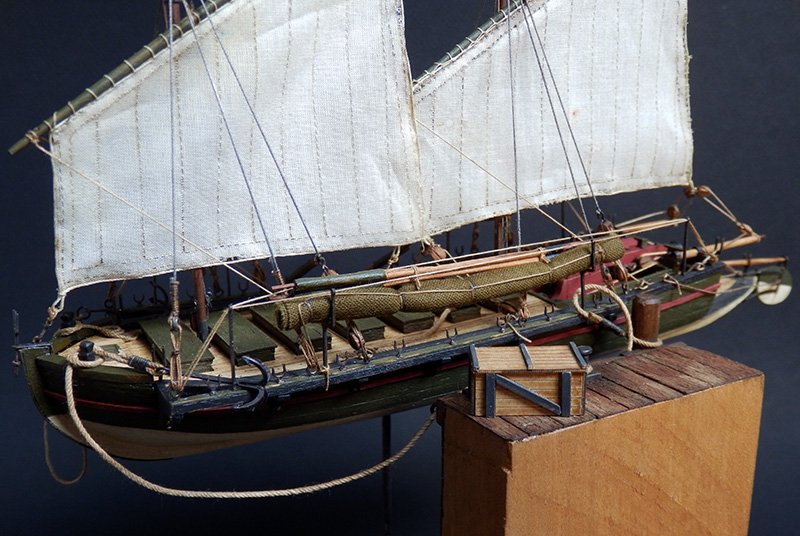
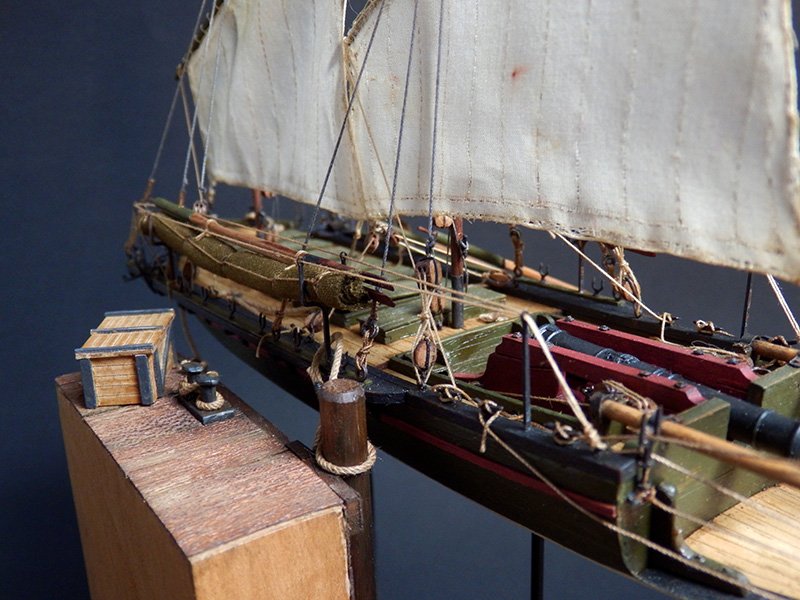
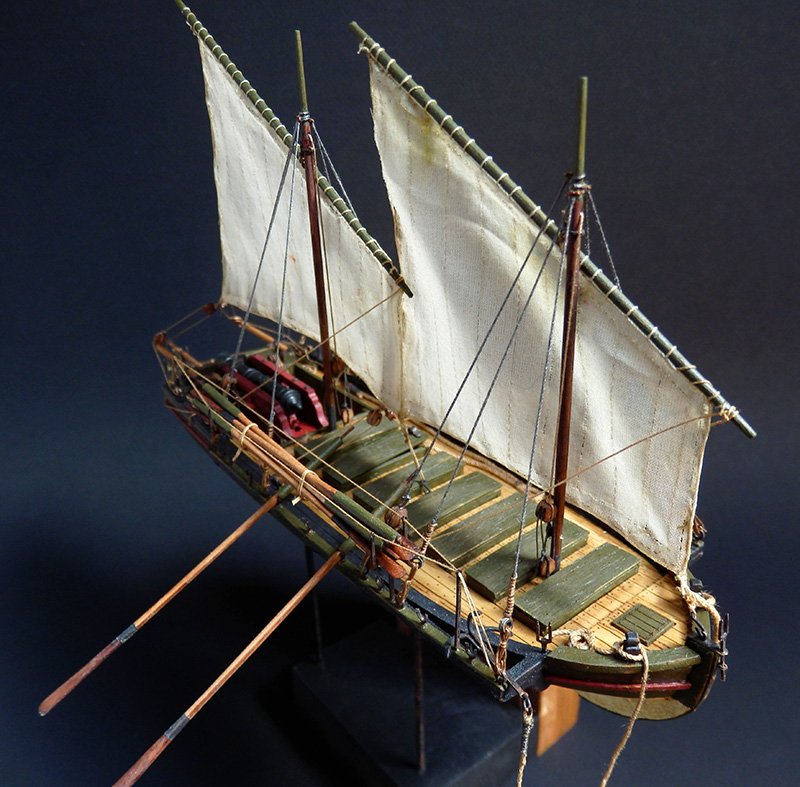
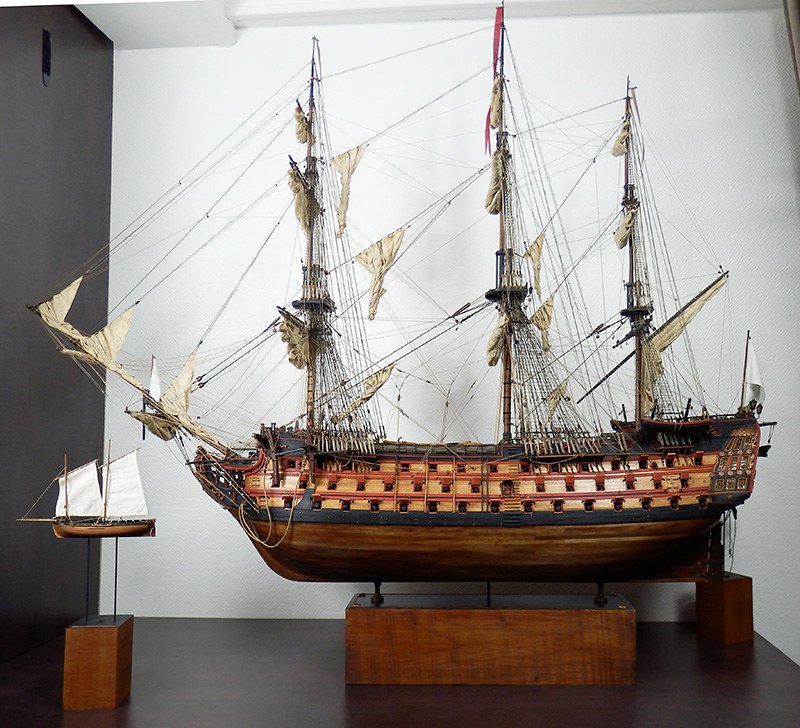
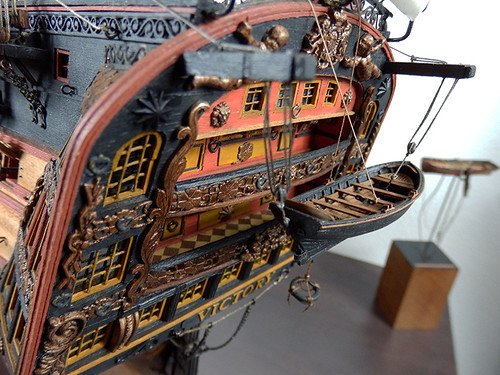
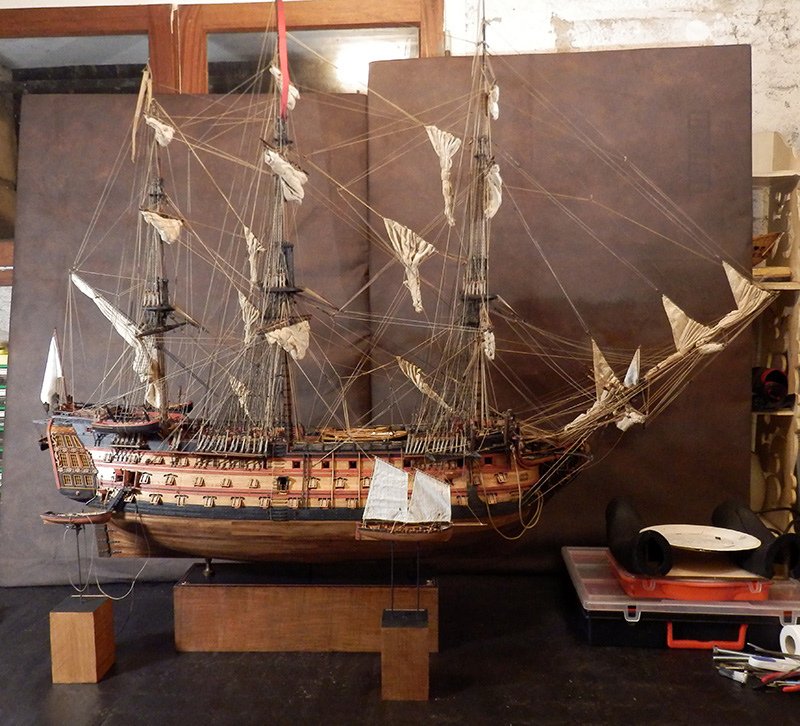
It is a Swedish type gunboat of 1801
The Master Korabel Kit is 1:72 scale.I'm not going to show you the presentation of the kit out of the box, there are on this forum several topics which already show all this in details ...
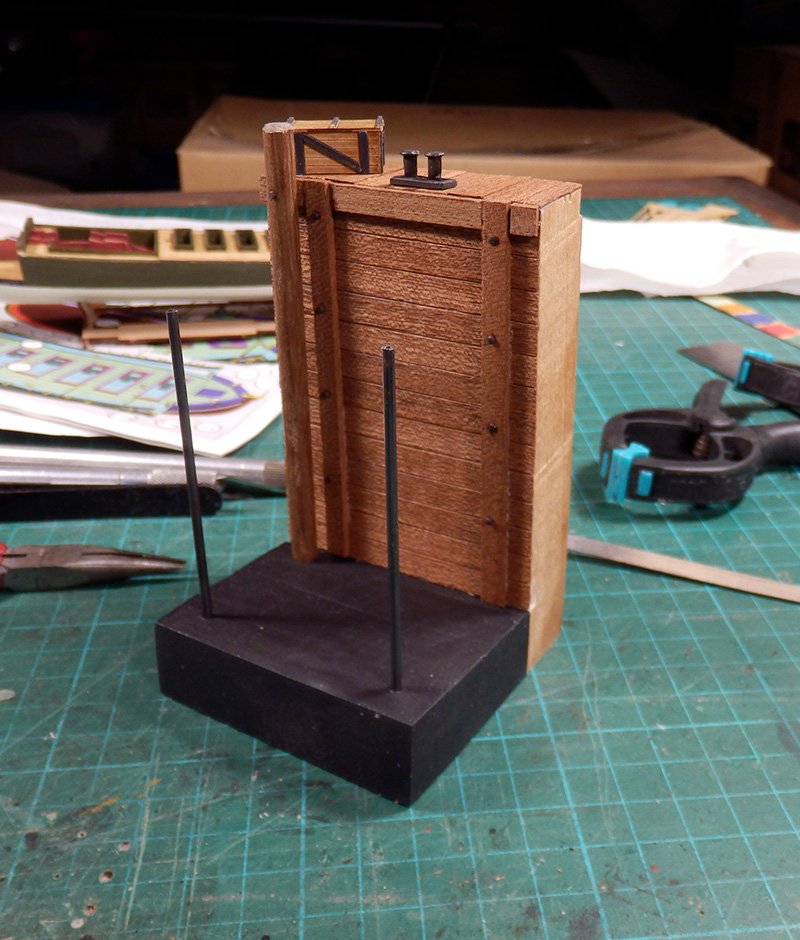
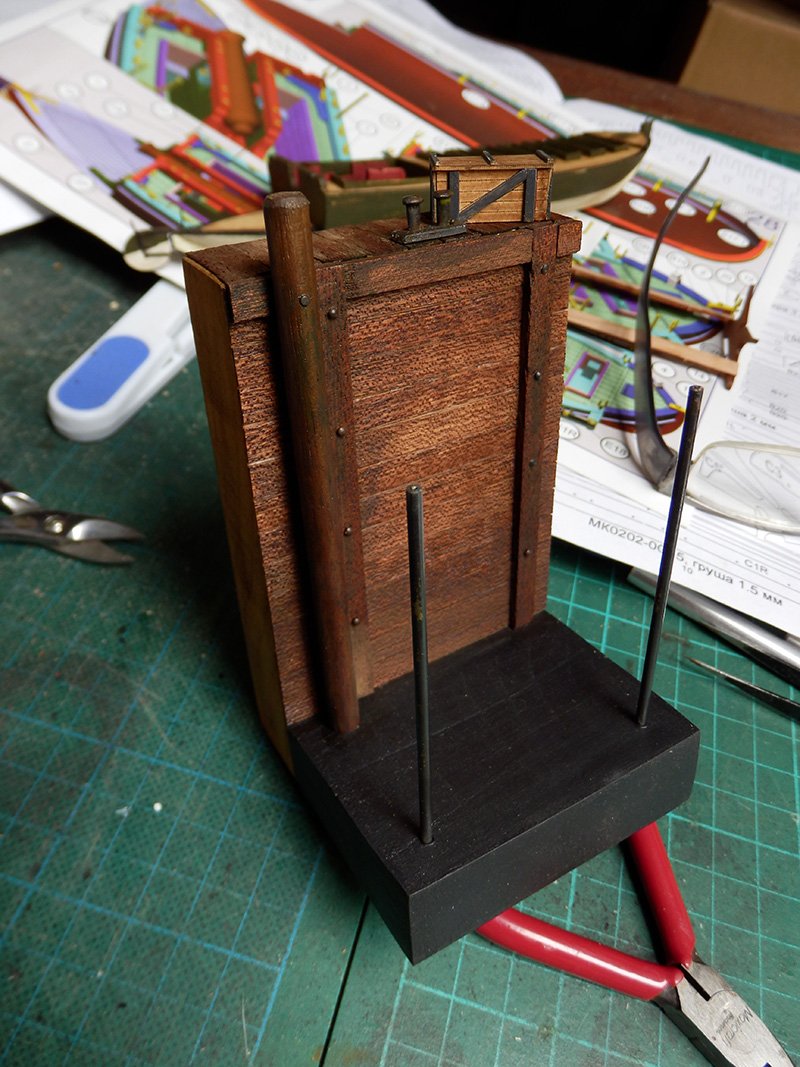
As I have already completed this build, I simply show you some steps of the construction or the personal choices on the painting or the presentation medium.
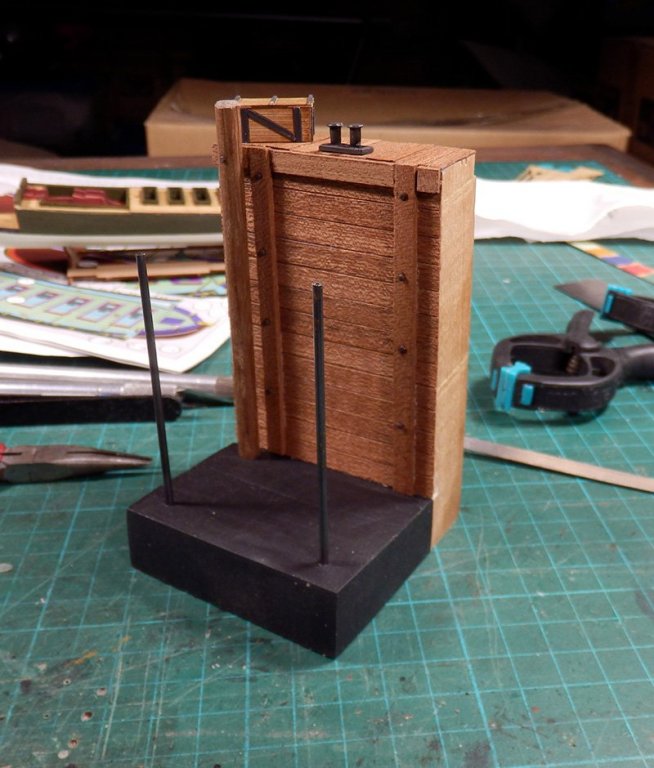
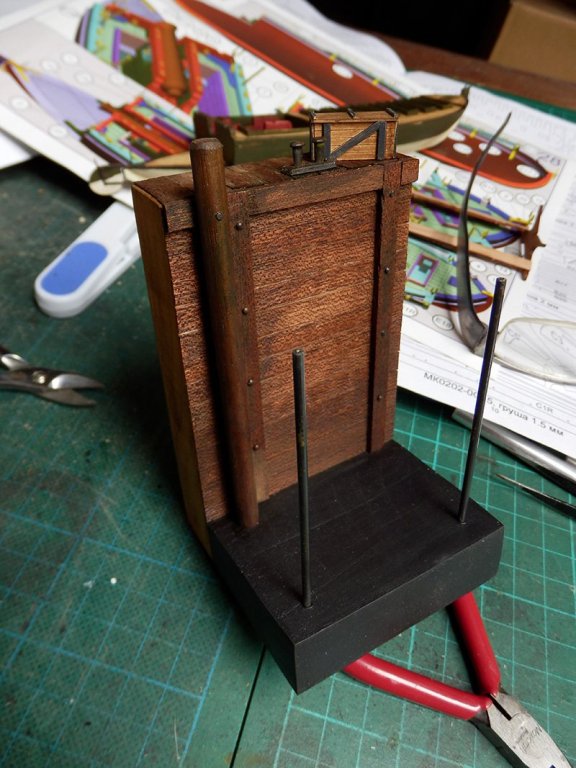
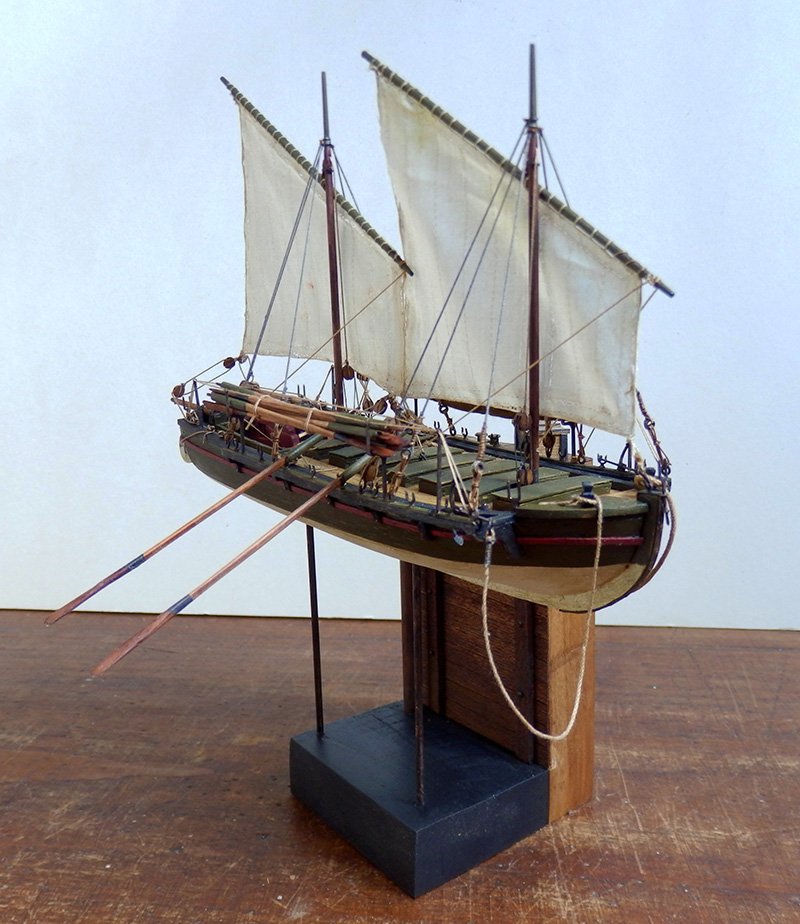
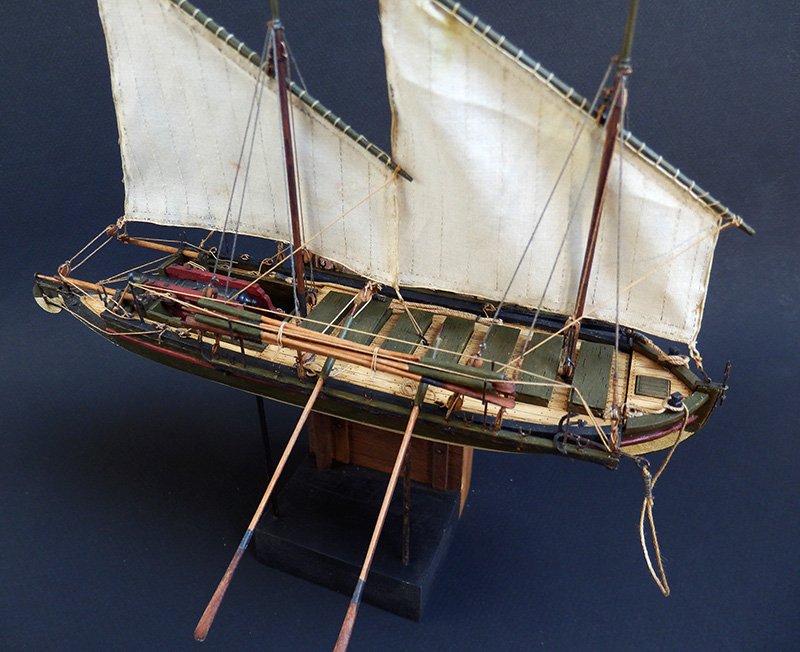
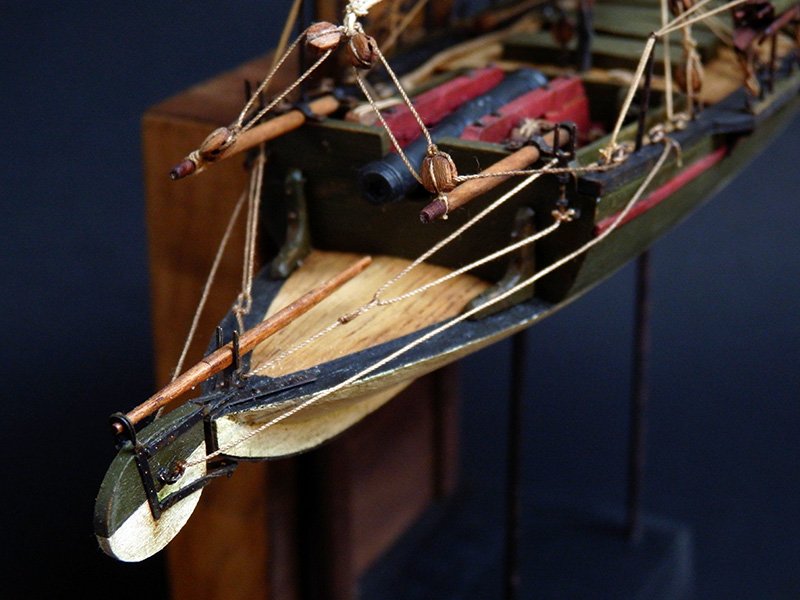
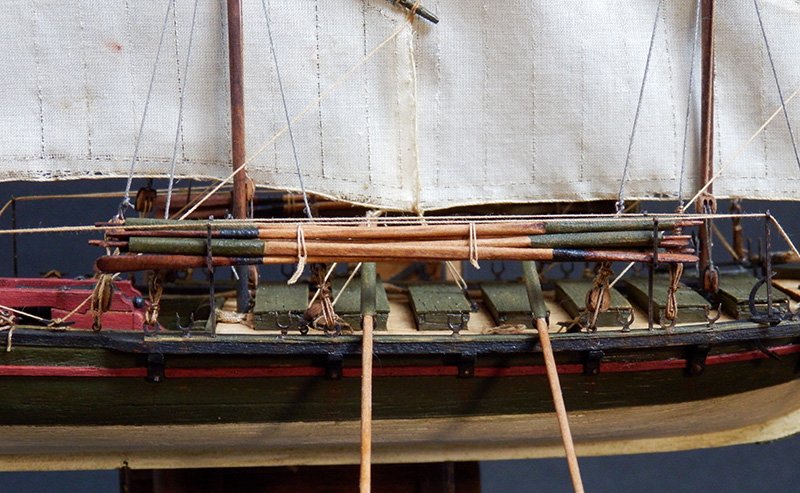
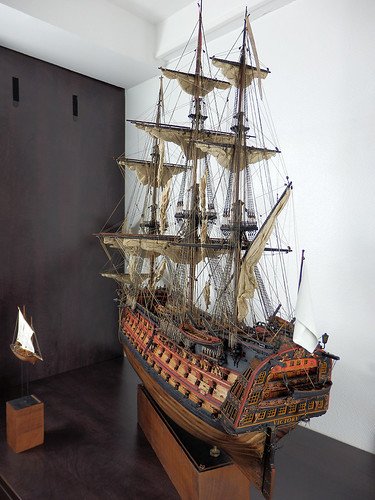
And of course, most importantly, the final pictures of the completed model! 😃I chose to do a weathered model. A boat a little old, used on his paintings and the hull, moored to a quay also a little old and wooden as at the time ... 😉


-
Wow, thanks for that great comment! 😉
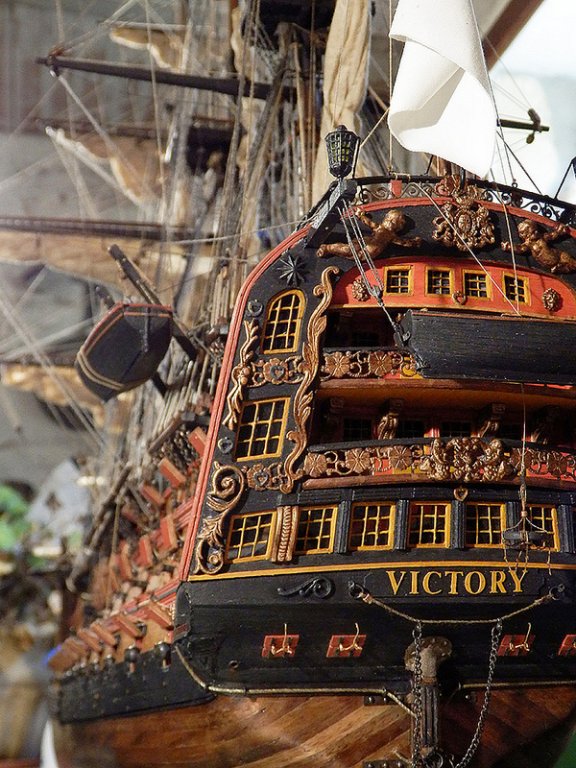
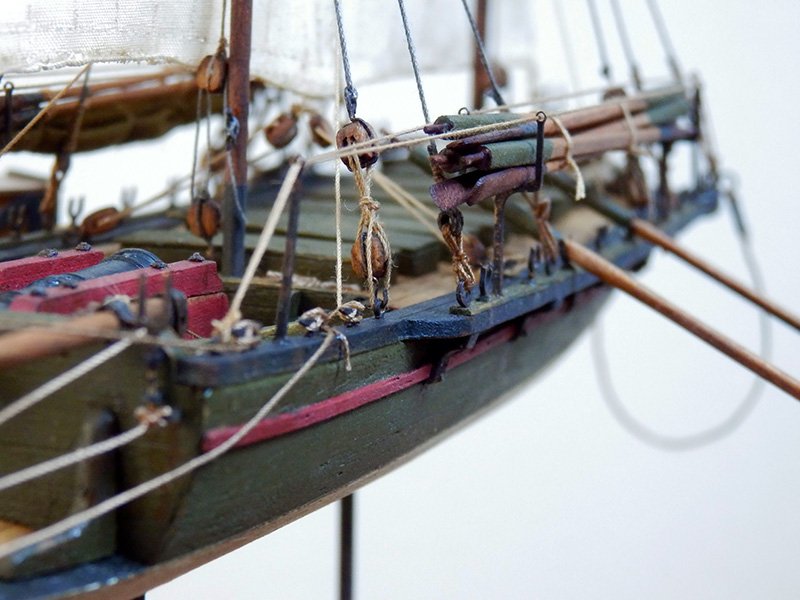
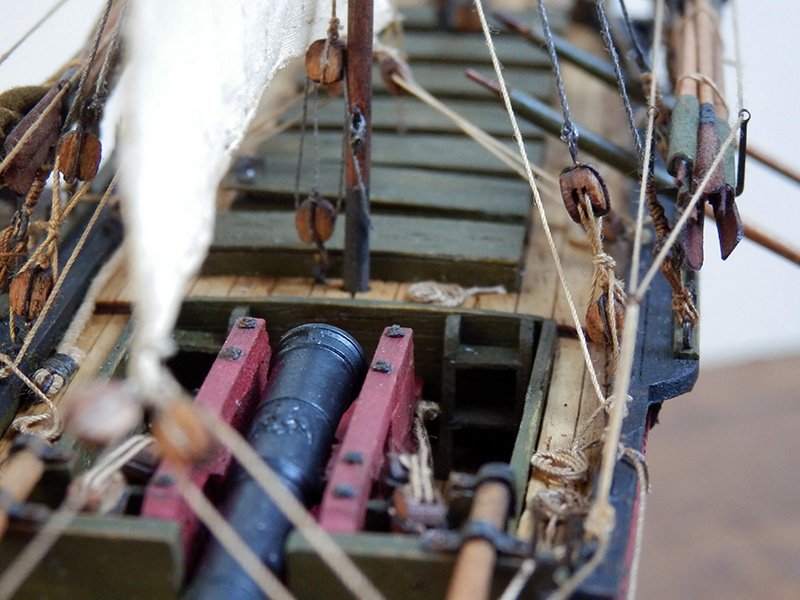
I did my best to give maximum realism to this vessel, and with the small workshop that I have ... respecting the buildings of the 18th century.
Of course you can take any ideas you want: this is the concept of the forum! 😃 -
-
-
-
-
Thank you all for the follow up!
- BenD, Halfdan, Old Collingwood and 2 others
-
5


New England Stonington Dragger by FriedClams - FINISHED - 1:48 - POB
in - Build logs for subjects built 1901 - Present Day
Posted
I hope so ! 😍