


GrandpaPhil
-
Posts
5,715 -
Joined
-
Last visited
Content Type
Profiles
Forums
Gallery
Events
Posts posted by GrandpaPhil
-
-
-
-
Very nicely done!
- Egilman, Jack12477, Old Collingwood and 3 others
-
 6
6
-
-
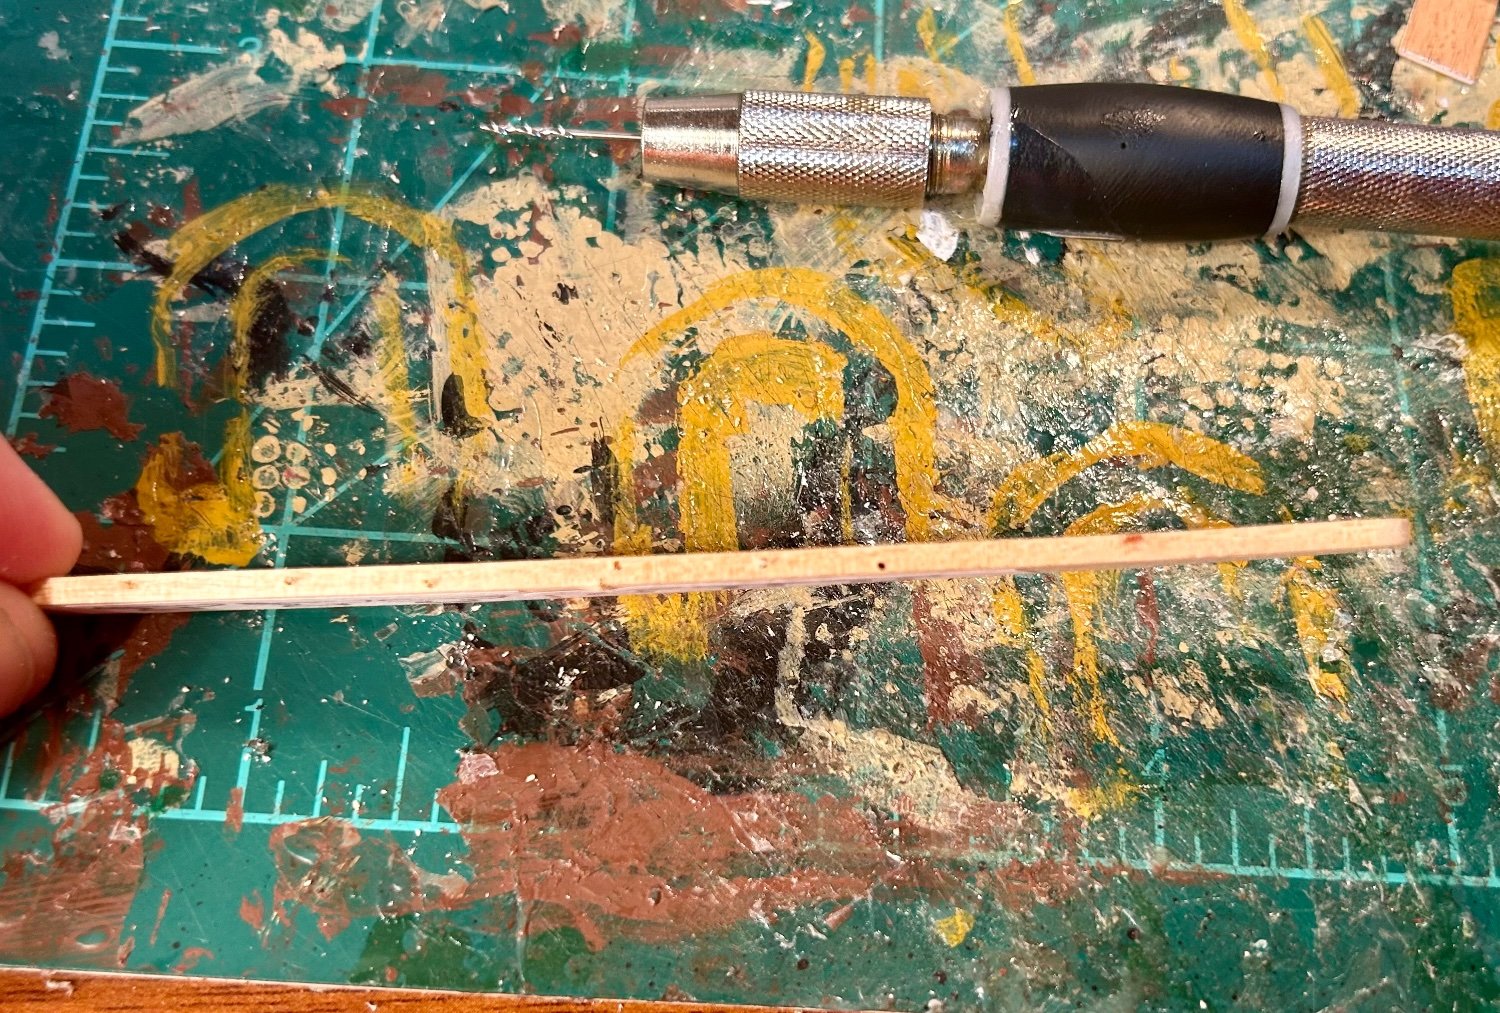
Made my cleats:
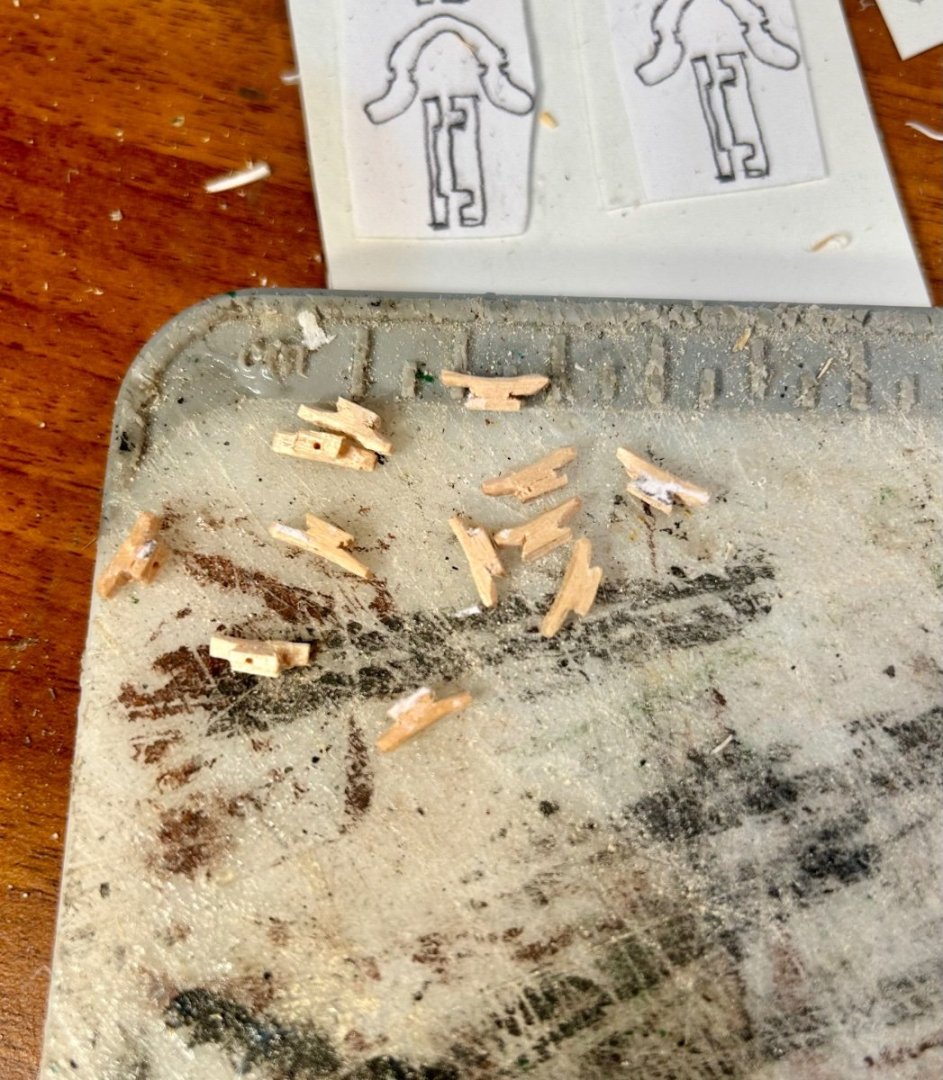
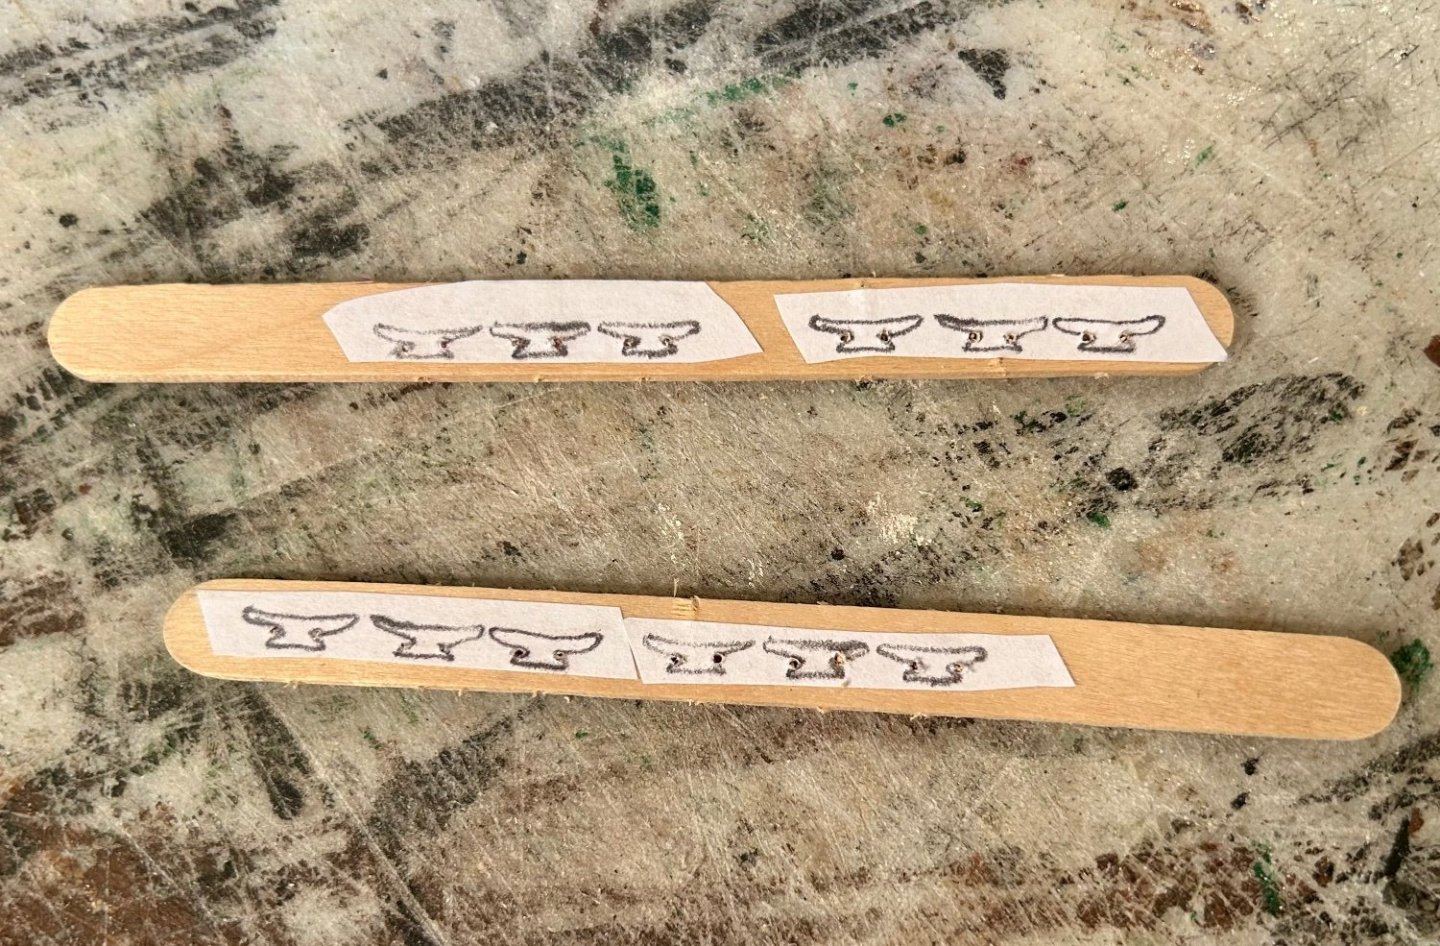
For those who would like to make their own, I began by tracing them onto tracing paper, and then copying onto normal paper.
I glued them down onto popsicle sticks, which are higher density than basswood (basswood is equivalent to lime wood for those in Europe), and the right thickness.
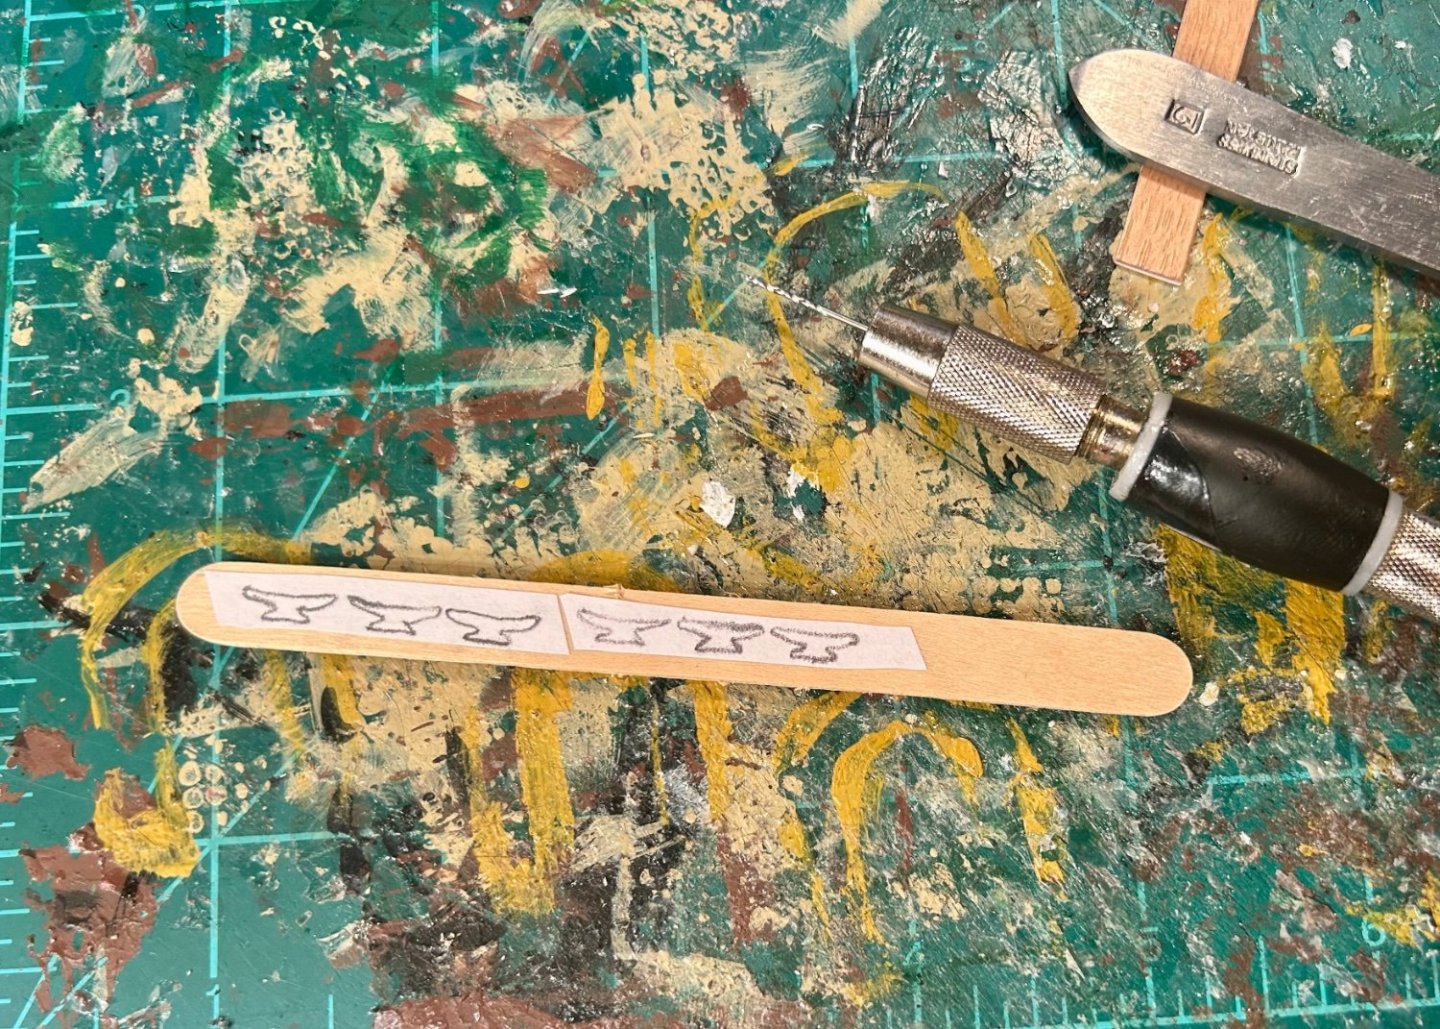
I drilled holes through them to allow for pinning:

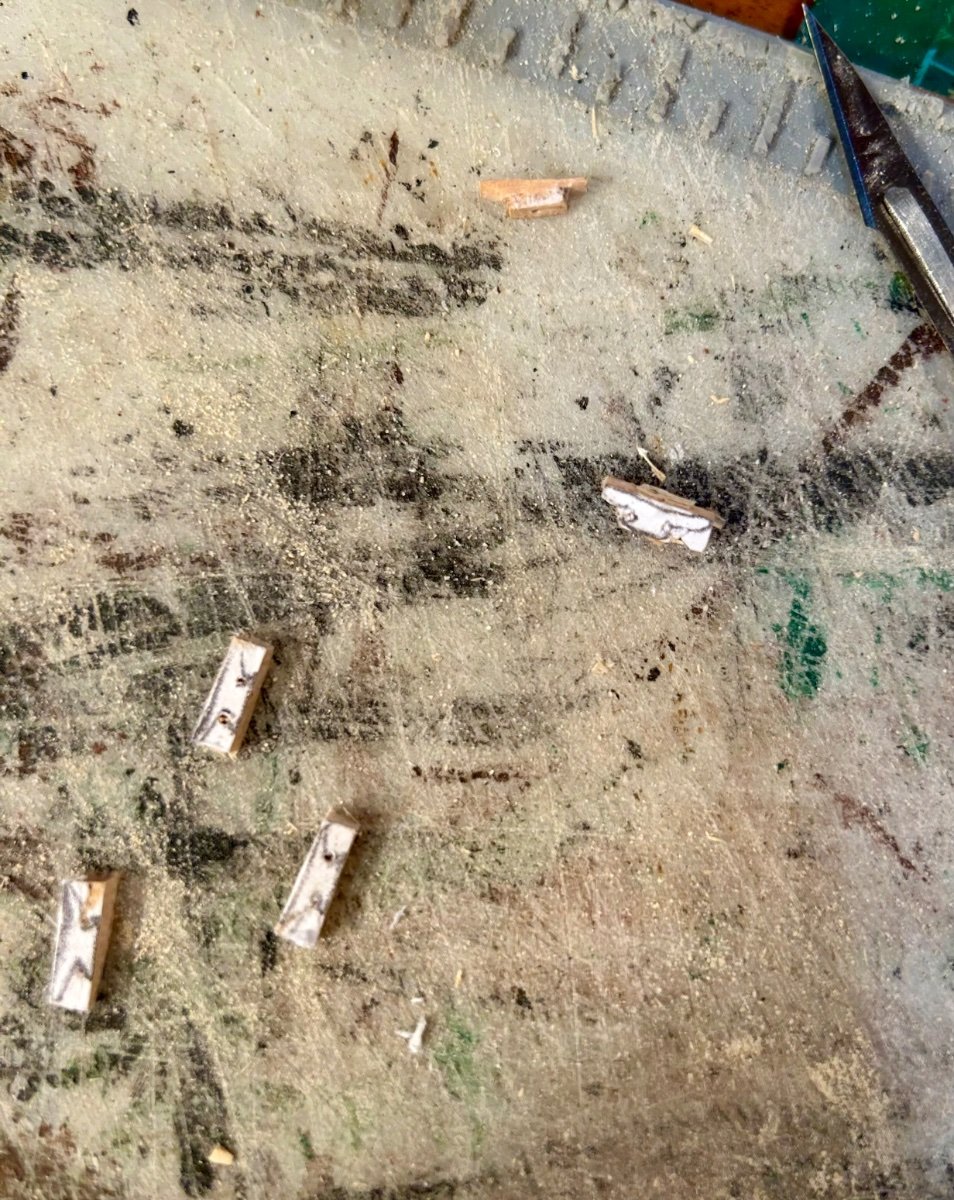
I put the radii in with a drill:
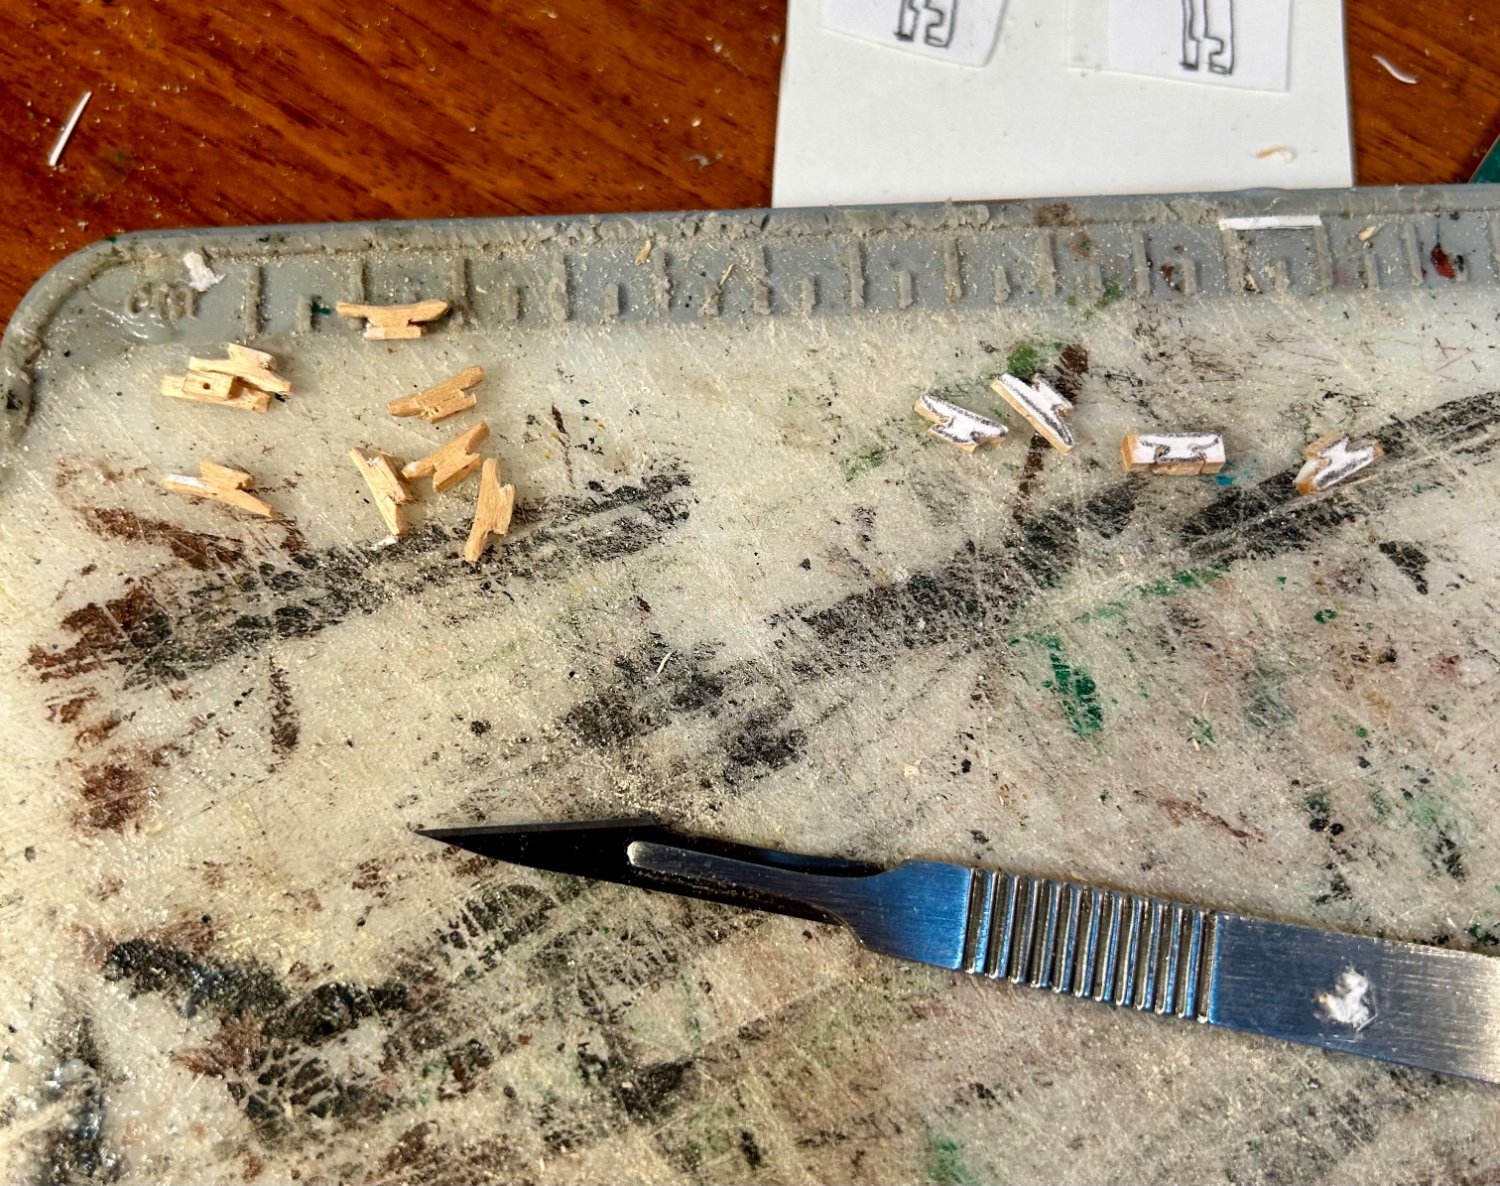
Then I trimmed them to size after cutting them apart with a razor saw:

Next, I cut grooves with a razor saw along the narrow part of the base and trimmed the excess away with a scalpel:


Last, I final shaped with a scalpel.
I essentially assembly lined the whole process.
- Canute, Knocklouder, John Fox III and 8 others
-
11
-
Incredible work!
Did you just layer up the masking tape to make thickness, and then apply the putty?
- Mirabell61, FriedClams, Keith Black and 2 others
-
5
-
-
Very cool build! Looking forward to it!
- mtaylor and Vladimir_Wairoa
-
1
-
 1
1
-
-
I have bought several AAMM plans.
They have all been excellent.
Most of the ones I’ve bought had conventional hull lines with some cross sections.
Most had booklets with general guidelines on model construction.
I personally like their plans.
It should be noted that I bought larger warships, not a smaller boat. The one that you are looking at comes with 14 sheets of plans, you’ll have plenty of information to build your model.
- mtaylor and JacquesCousteau
-
1
-
1
-
-
That’s probably between 200-400 hours worth of work to pull the damaged parts off without damaging the model any further, replacing deck fittings, replacing masts and then rigging the model.
That’s a barque rigged vessel. They take a while to rig. The last one that I built took me over 100 hours in the rigging alone, and that only had half the lines it should have had, due to scale restrictions.
-
-
-
Another pile O’ parts:
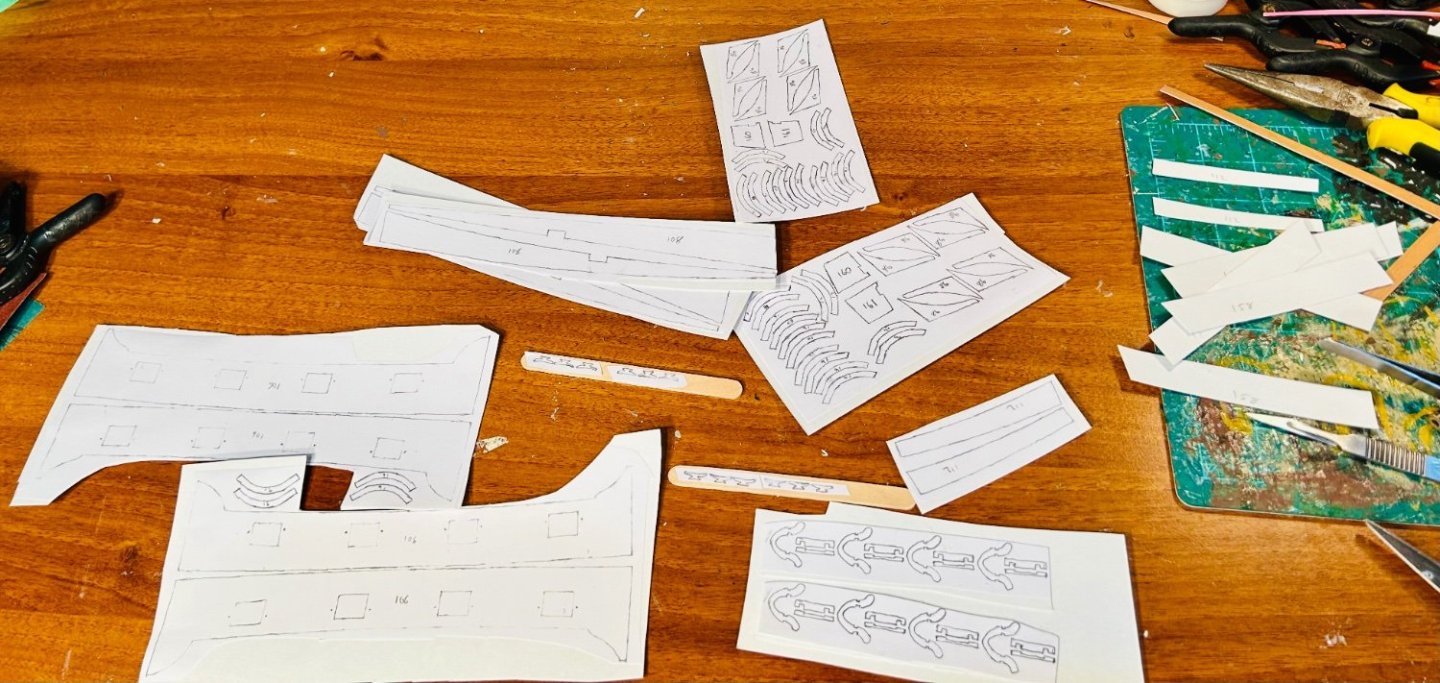
These are the rest of the upper deck pieces and stern castle pieces, plus stag horns and cleats.Yes, I am making the cleats out of popsicle sticks.
The popsicle sticks (aka craft sticks) are higher density wood than basswood.
They actually work quite well for that.
They’ll be drilled out for pins before being shaped to prevent splitting.
I’m kind of worried about making the stag horns from card, but once sealed they should be fine.
-
Michael,
Amazing work!
- Canute, mtaylor and Glen McGuire
-
3
-
The best bet is to look in the kit if it is local to make the best determination about the condition of the materials in the kit.
Bounty has a bluff bow (a lot of curvature) so be sure to check on the condition of the planking, unless you are planning on replacing the planking anyway.
Also, check for warping in the sheet wood, although that can be corrected.
- Intasiabox and mtaylor
-
2
-
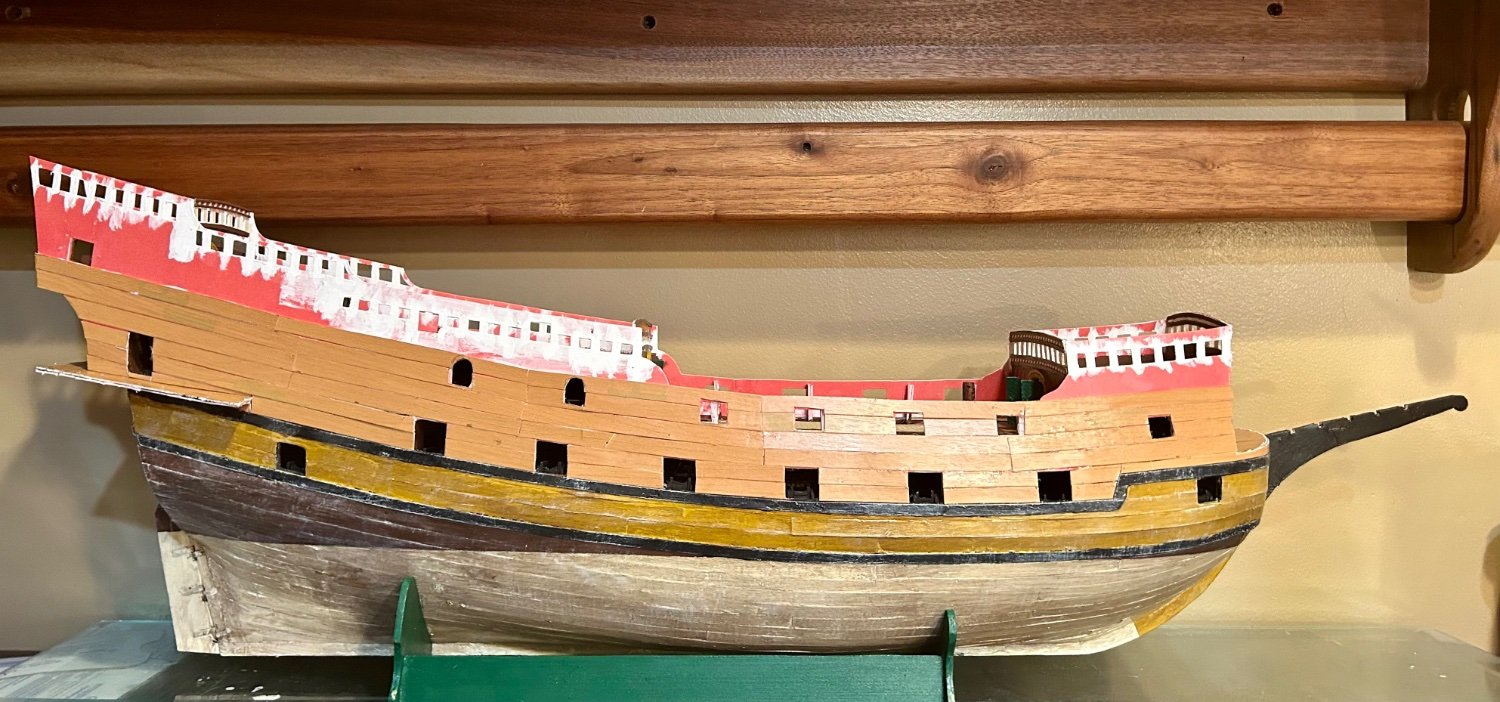
The port side is second planked up to the waist.
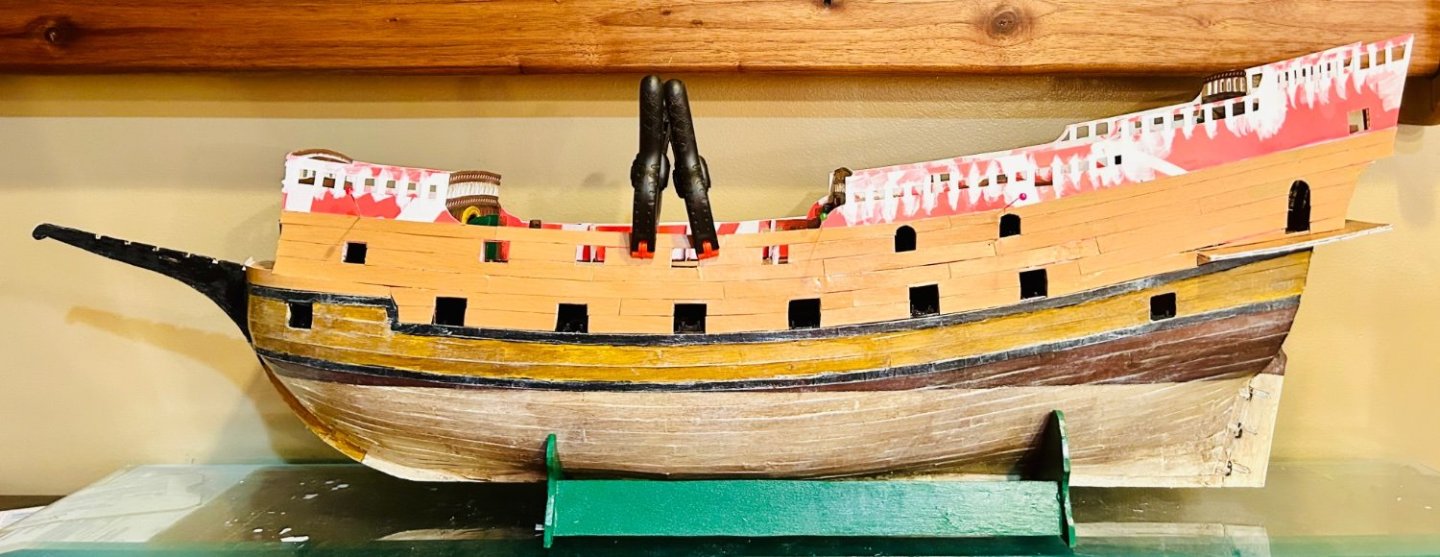
The next step is to trim all planking.Then gaps need filled, planking needs smoothed out and everything will get sealed prior to painting the final yellow ochre band across the gunports.
The rest of the ship will have the geometric patterns that galleons of that time period were known for.
I’m starting to appreciate how large of a project this model is going to be.
I’ll have to find a place to put it when I’m done with it.
Quick lesson learned: I much prefer vertical planking and then applying the wood grain, it works much better than this has. The only drawback is that one must account for the 1mm difference in thickness on the planking when tracing bulkheads.
-
I built the crocodile version of this kit a number of years ago. It built up very nicely.
- mtaylor, Egilman, Rik Thistle and 2 others
-
5
-
Thank you very much!
The trick with card is to preshape everything before gluing.
The card will retain its shape.
For round pieces that need rolled or to take a sharp curve, I run it over the edge of my desk to break down the fibers, kind of like using scissors to curl ribbon.
This model is POB. I just traced the parts from the plans, copied them a number of times, to layer them up, and pretty much just treated this like a wood model.
I am using this one to try out new techniques and see if I can finish it.
The hard part for me has always been getting a hull.
But, I have that now, so there should not be any overwhelming difficulties remaining.
- Glen McGuire and Canute
-
2
-
The starboard side is second planked up to the waist now:

The quarters get planked a little later. -
Schreiber-Bogen makes a card kit of the Great Eastern in 1/200 scale.
It retails at Fentens Paper Models for about 40 €.
https://www.papermodel.com/272449-great-eastern.html
Card kits can make great sources of plans and are infinitely scalable.
I have bought many of them over the last couple of years for that reason.
-
-


Mayflower by Ferrus Manus - FINISHED - Heller - 1/64 - A ship for my Uncle Jay
in - Kit build logs for subjects built from 1501 - 1750
Posted
You did well!