

Edwardkenway
-
Posts
3,034 -
Joined
-
Last visited
Content Type
Profiles
Forums
Gallery
Events
Posts posted by Edwardkenway
-
-
-
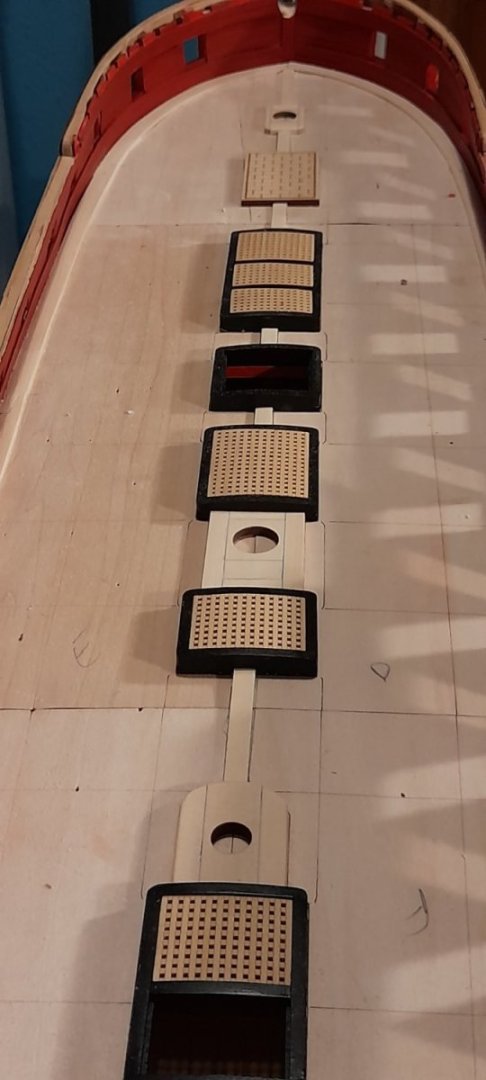
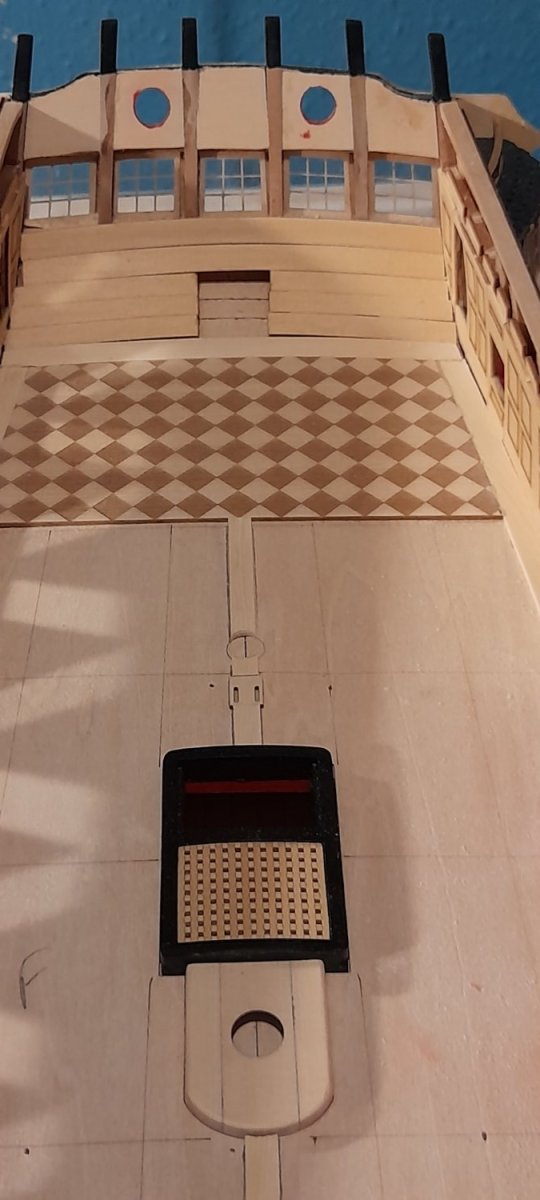
This week's efforts were lay some planks, then take some off
The first tabbed planked was removed as I was not entirely happy, I'd been looking at it and the more I looked the less I liked it!
Two planks at the bow also had to come off, they weren't looking good either.
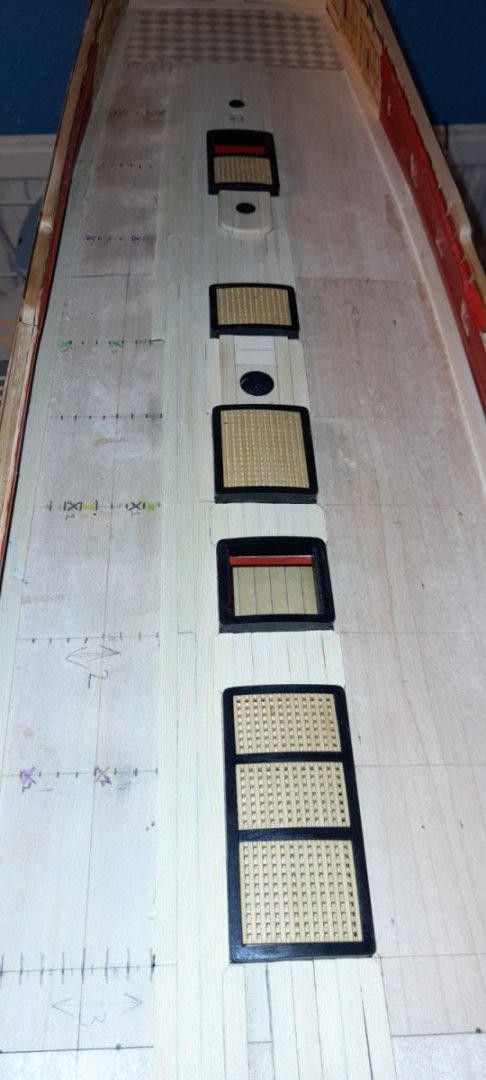
with these redone and fitted I'm slowly inching my way towards the bulwarks.

I'm happy with the fit of the tabbed ones around the coamings now and hopefully will make some better progress this weekend.
I appreciate all the comments, likes and visits, so thanks to everyone.
Cheers

- Jack12477, egkb, FrankWouts and 9 others
-
 12
12
-
-
-
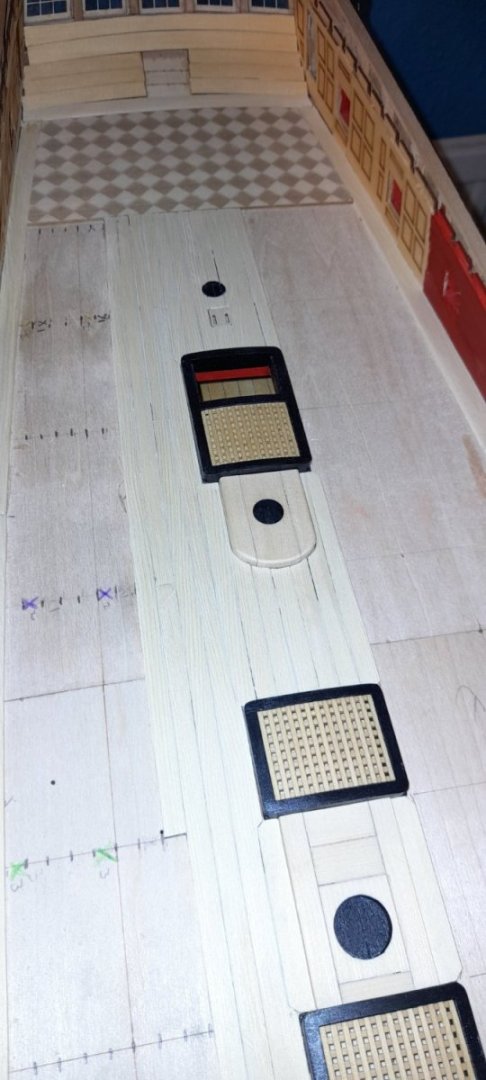
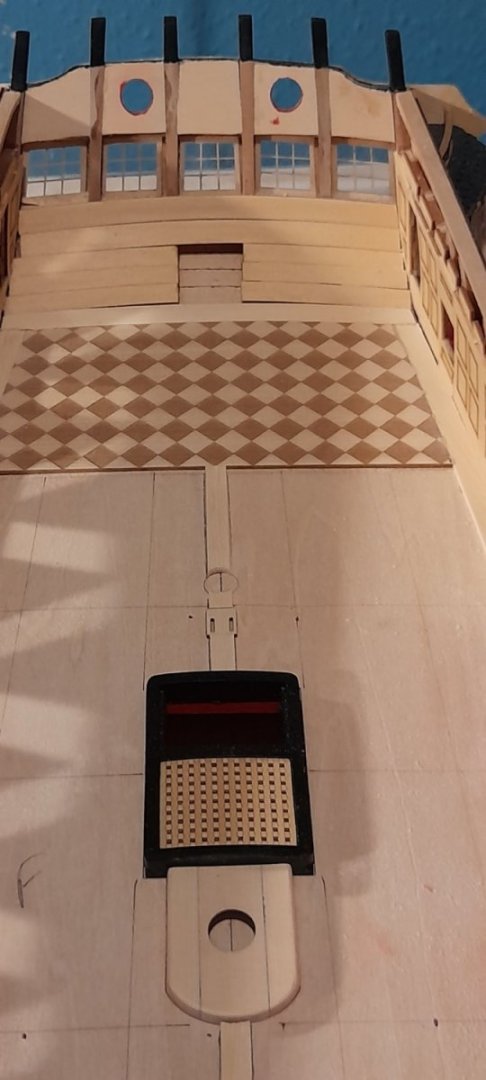
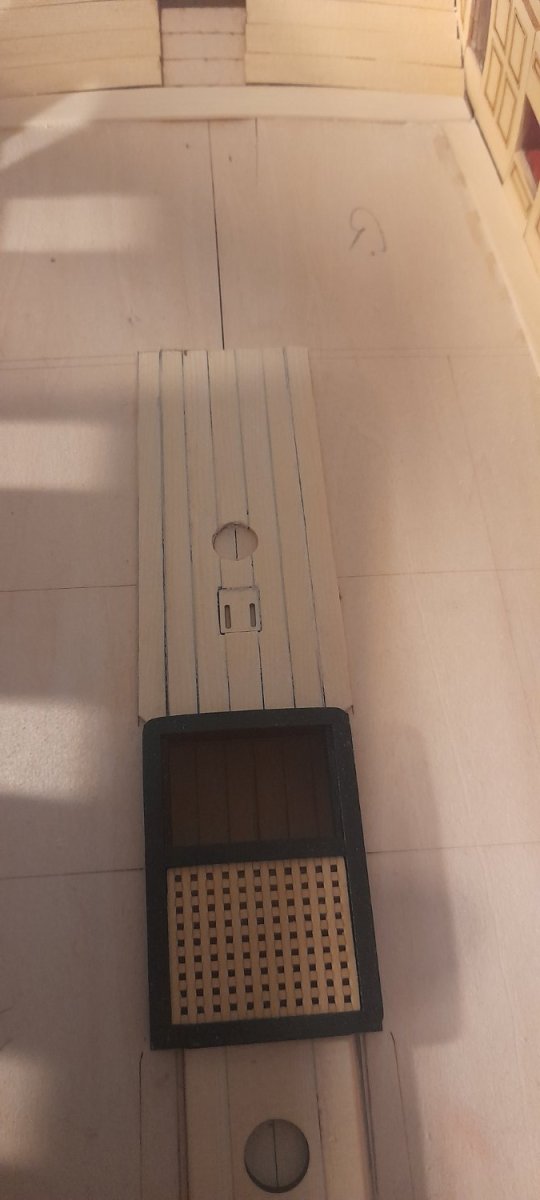
A little update in words but a big step forward with the deck for me!
The first tabbed planked done (on the third attempt). Onwards to the next one.
Thanks for the likes, comments and having a look.
Cheers
- scrubbyj427, VTHokiEE, Matt D and 10 others
-
13
-
I'm loving the uncared for looking roof! Really good work.
- gjdale, Canute, king derelict and 7 others
-
10
-
-
One cool looking model!!
- Canute, Old Collingwood, AJohnson and 3 others
-
6
-
Congratulations on finishing Winnie.
She looks great and the crew put that bit extra to the gundeck!
- FrankWouts and Knocklouder
-
2
-
I shall borrow then stern cover idea if you don't mind!
Your Winnie is looking good!
- FrankWouts and cdrusn89
-
2
-
2 minutes ago, glbarlow said:
It’s a process, tabbing those center planks takes time and the willingness to do it more Thant once, at least for me.
Yep, that's why I'm lining the whole deck, to take a rest from remaking, for the 3rd time, the first tabbed plank😁🙄. Third time lucky, isn't that what they say!?!
-
Thank you Frank.
With the deck I'm 3 days in and not a lot further on, except being in the process of lining the deck off
- FrankWouts, FriedClams, glbarlow and 3 others
-
6
-
Cross cut or rip saw, it's looking fantastic!
Very good detail at such a small scale😉
- FriedClams, gjdale, Glen McGuire and 7 others
-
10
-
It's no surprise to me, that this dio is well viewed, all down to your skill my friend 😊😁
- Canute, king derelict, mtaylor and 4 others
-
7
-
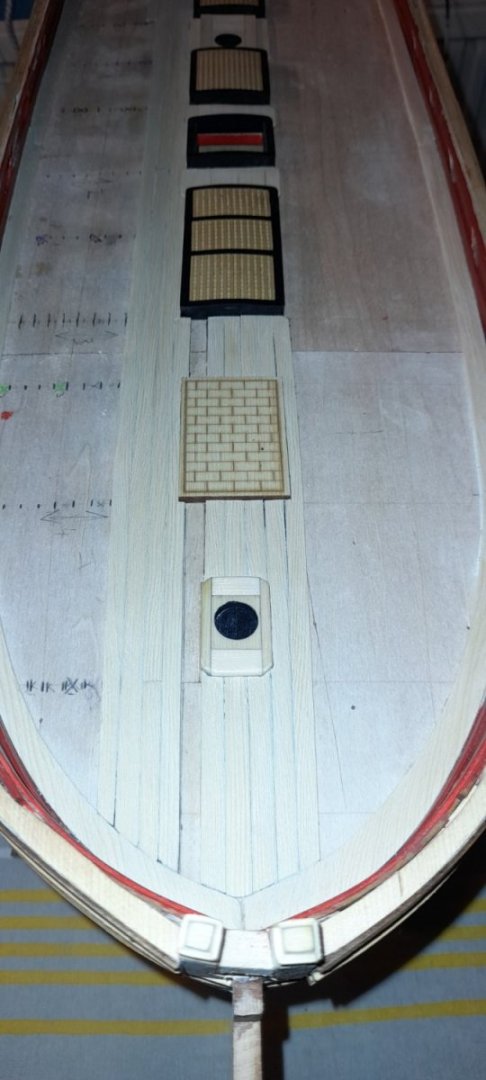
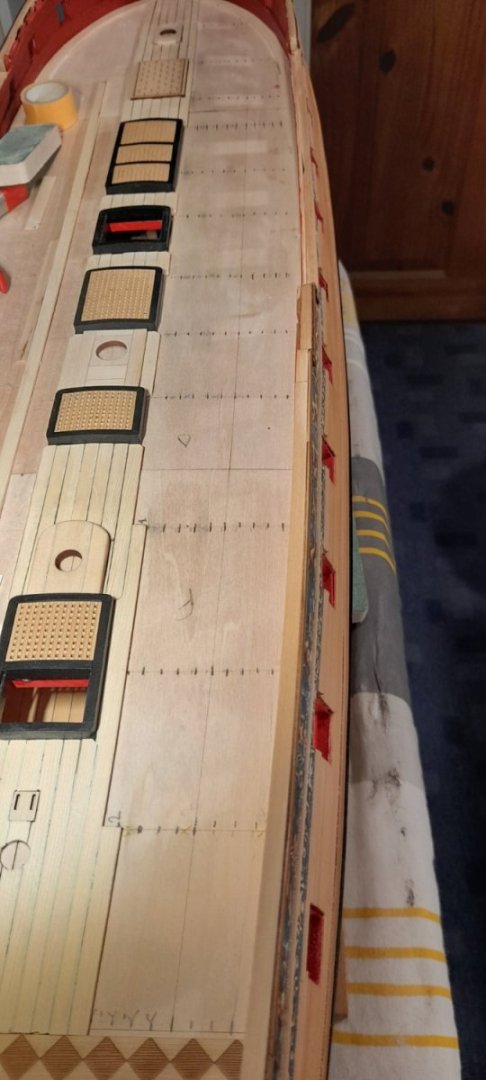
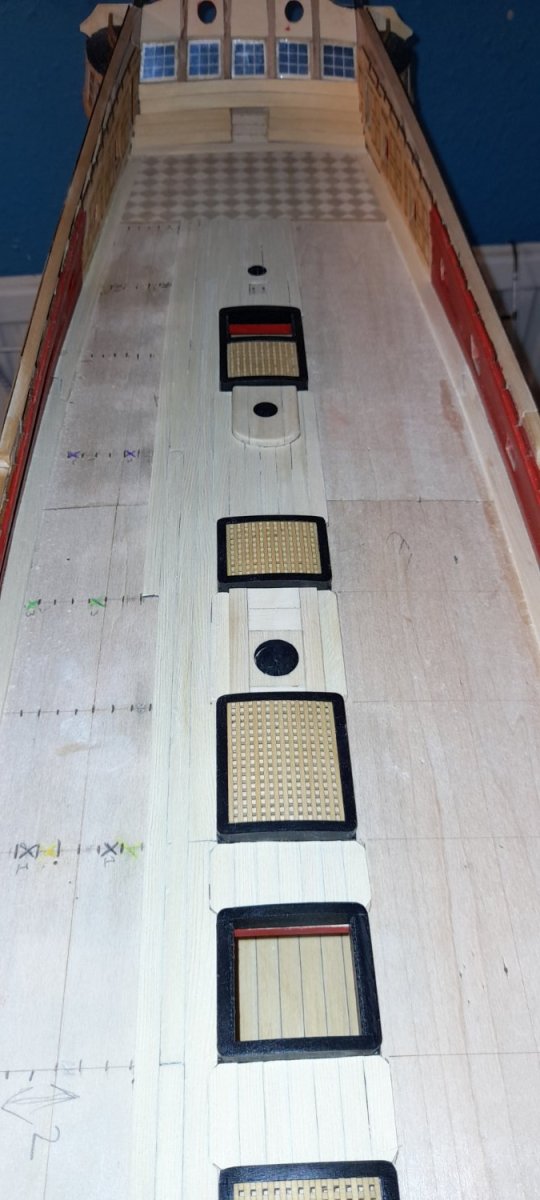
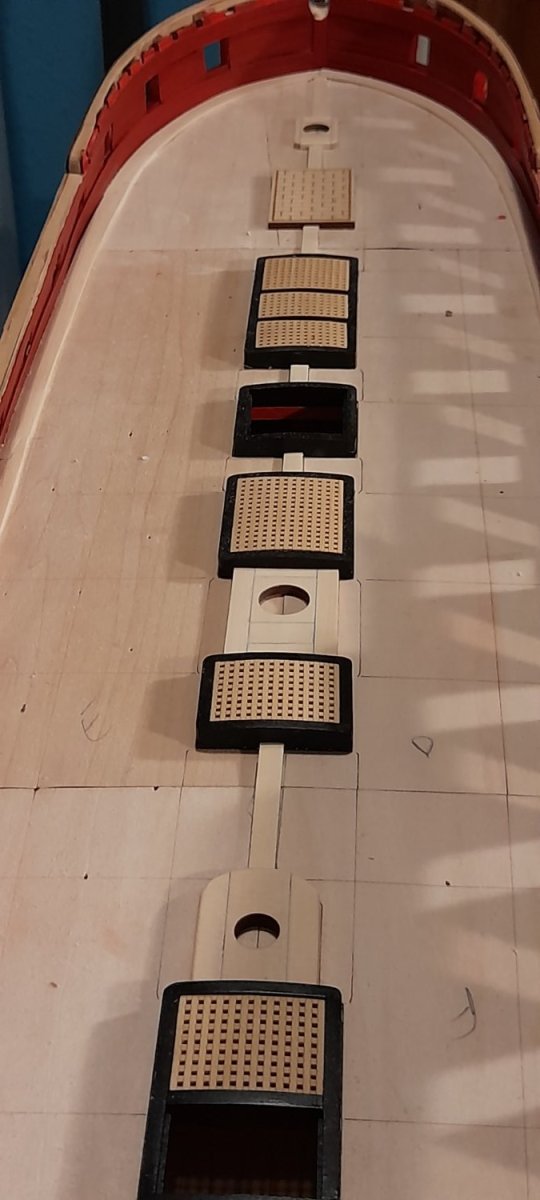
I've started to add planks to the centre band, I think this may take a while.

The rest of the centre sections have been marked out for the planks.
Thanks for all the comments, likes or calling by.
Cheers
- AJohnson, scrubbyj427, Matt D and 9 others
-
12
-
I wouldn't worry about Winnie going anywhere while you're in Patagonia. She'll wait patiently 🙂
Enjoy the trip!
- AJohnson, FrankWouts, Dave_E and 1 other
-
4
-
Thank you all for the nice comments.
I'll leave the cabin floor natural, with a coat or two of WOP, but I think I shall paint the stove base.
- FrankWouts, James G, AJohnson and 4 others
-
7
-
-
Thank you Gary. Much credit to Chuck for excellent parts!
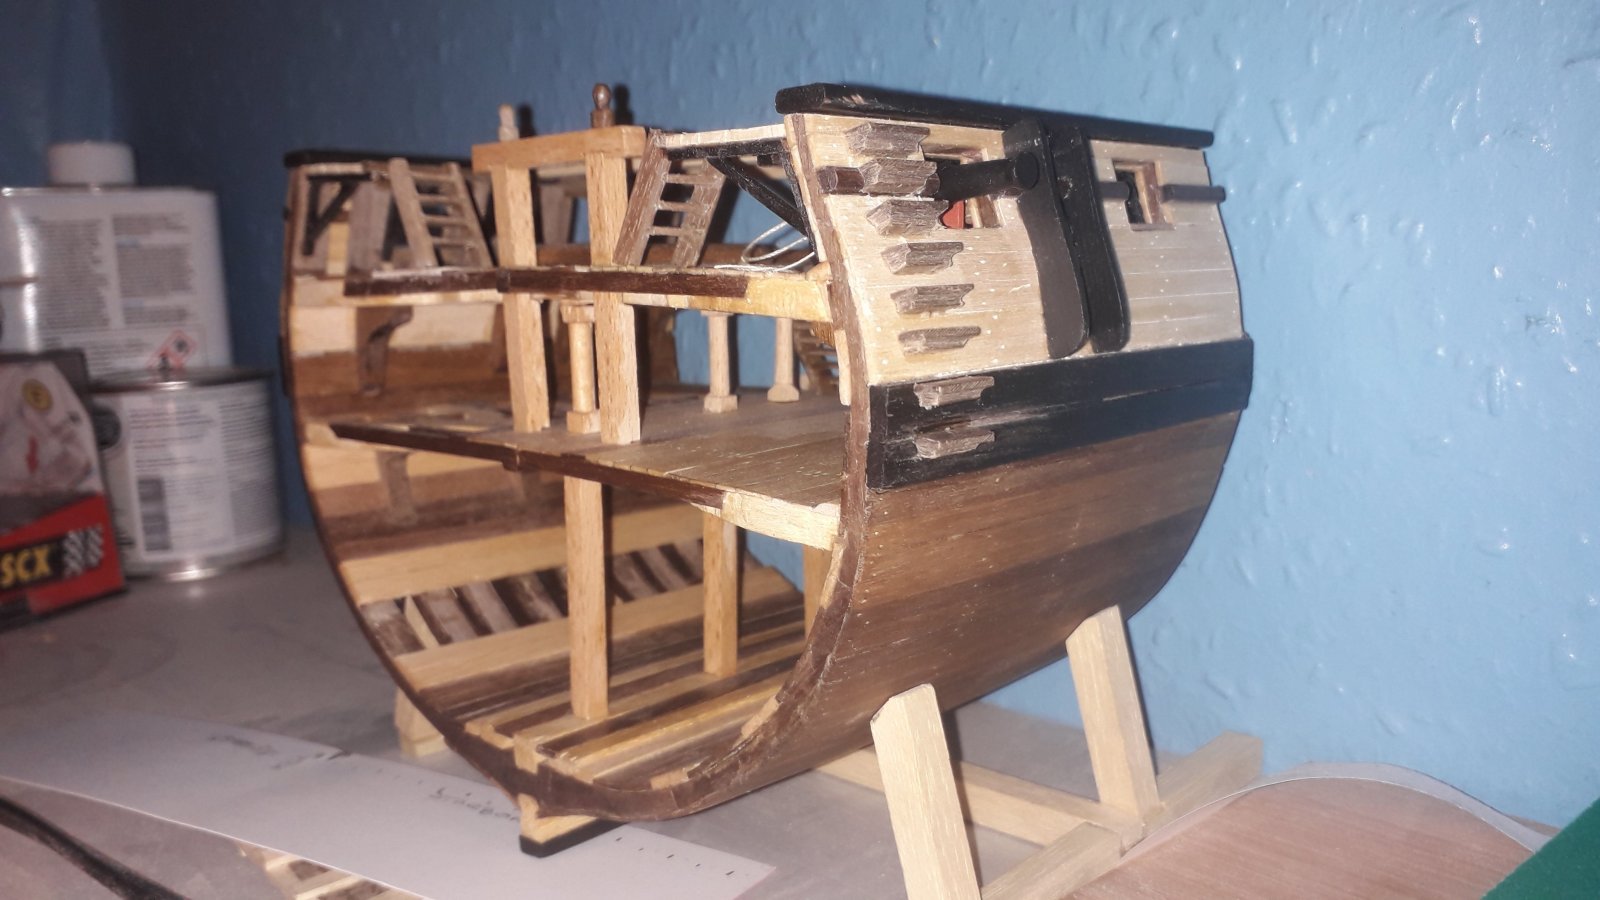
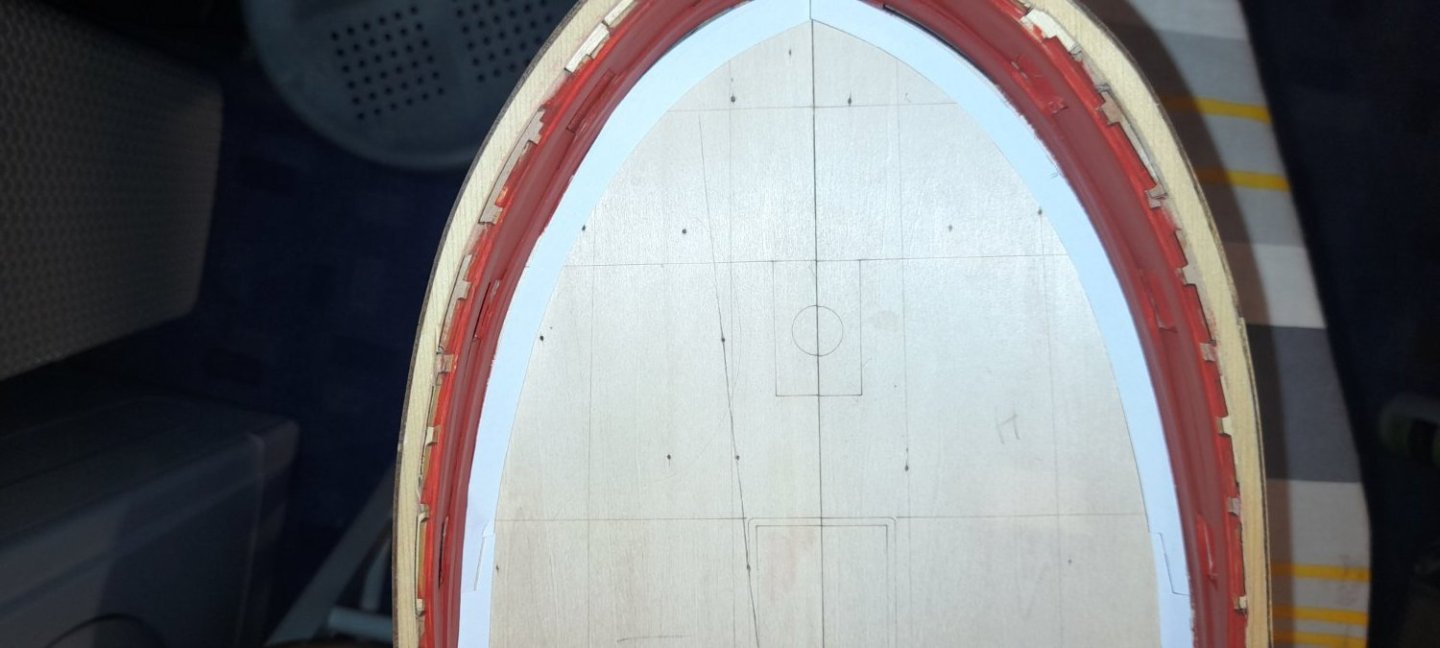
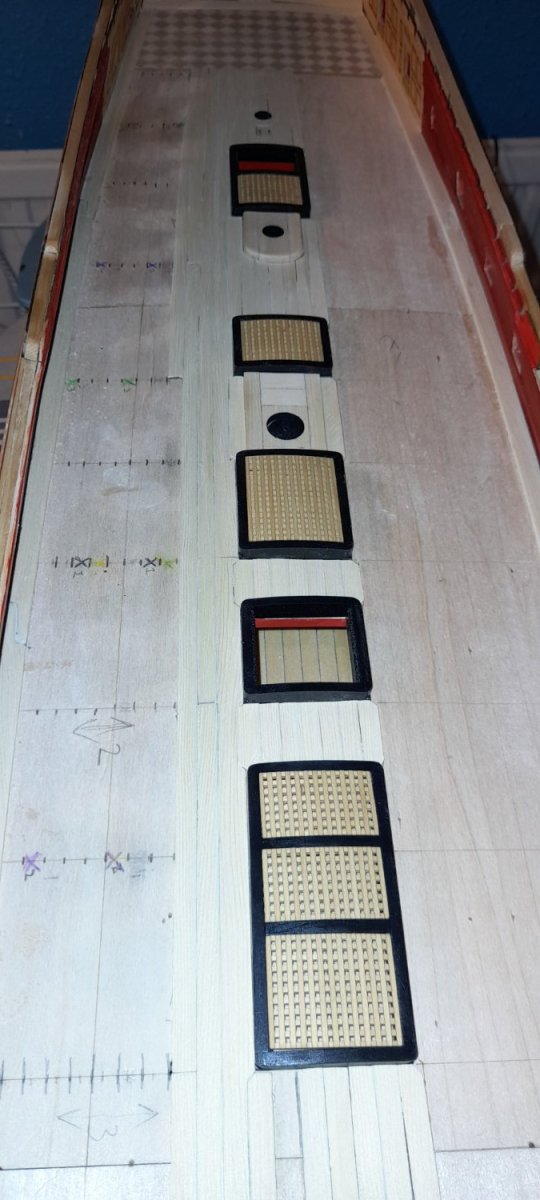
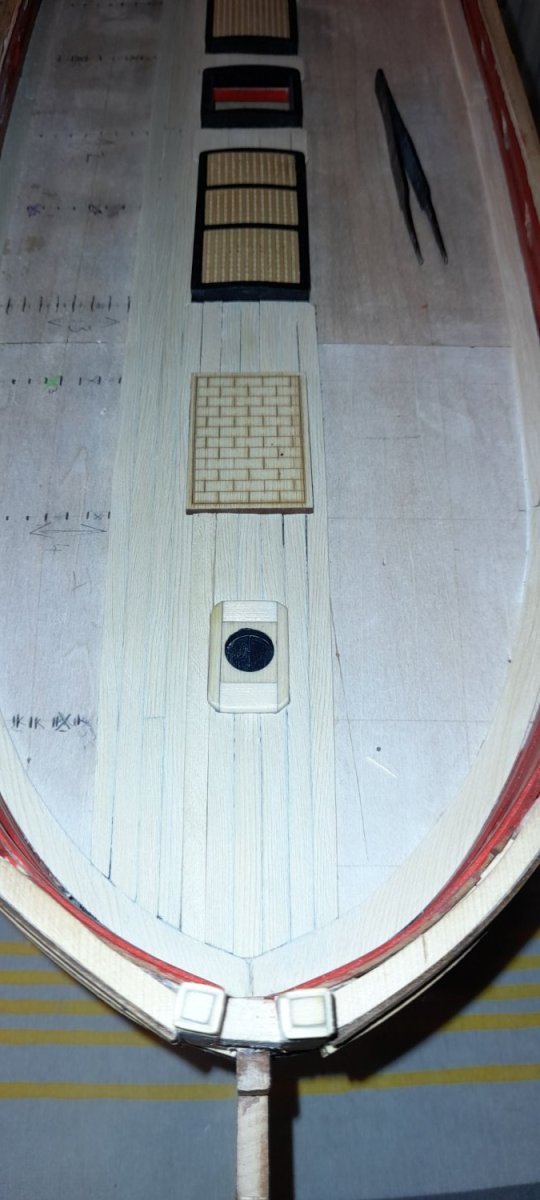
The rest of the margin planks have been made, tweaked and fitted. The cabin floor is dry fitted, the coamings and partners are temporarily glued to facilitate deck planking.
This is because I'm bound to damage them when sanding the deck planks.

I've cut and placed the centre plank. Glue will follow when I'm completely happy withe the placement.
Many thanks to all that have visited, commented or hit the thumbs up.
Cheers
-
On 1/25/2023 at 5:22 AM, mtaylor said:
Well, every guy has a hobby they spend money.... models, golf, and/or beer.
All three at times, although golf cannot be played while modelling , or vice- versa😬
- king derelict, Jack12477, Canute and 4 others
-
7
-
Very nice! Camo is especially eye-catching 👀
- VitusBering, Egilman, king derelict and 5 others
-
8
-
-
Thank you Glenn.
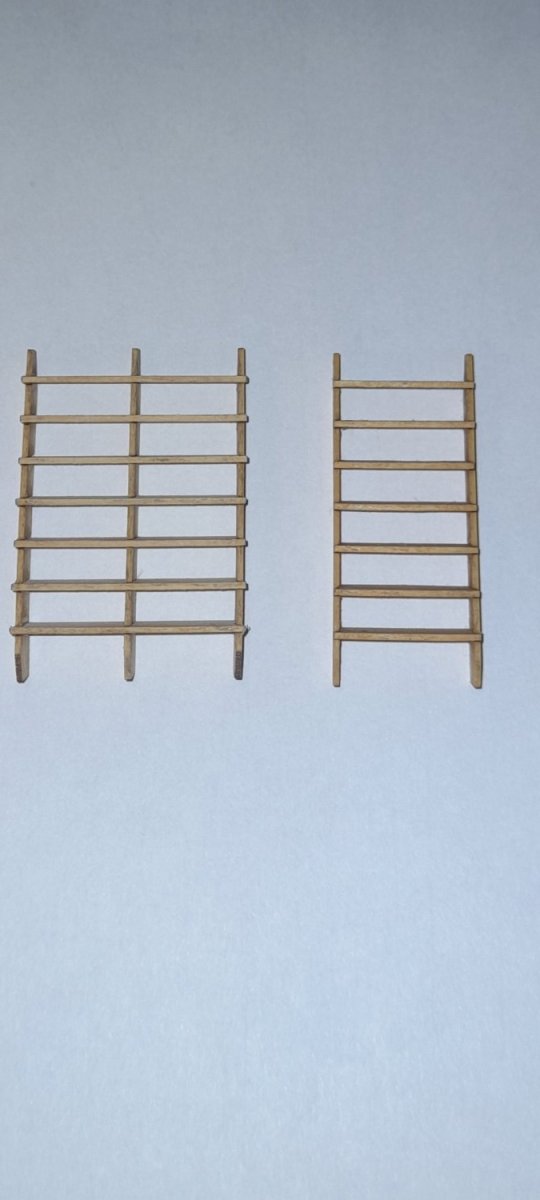
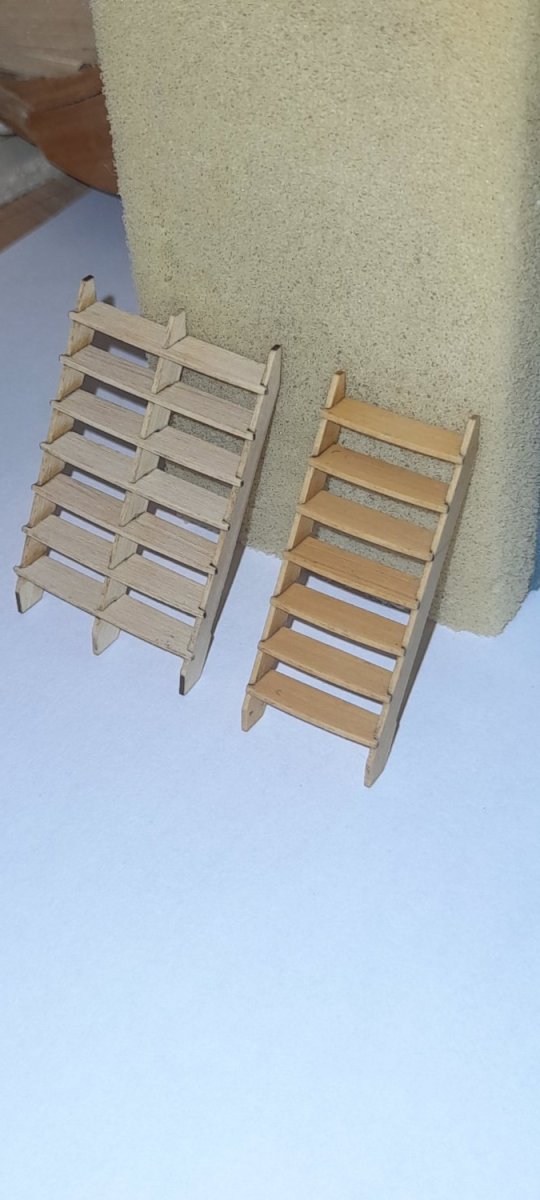
Made both ladders

they are lovely little projects and definitely worth taking time putting them together.

the single ladder is sanded and had a coat of poly. Larger one is waiting for the glue to dry.
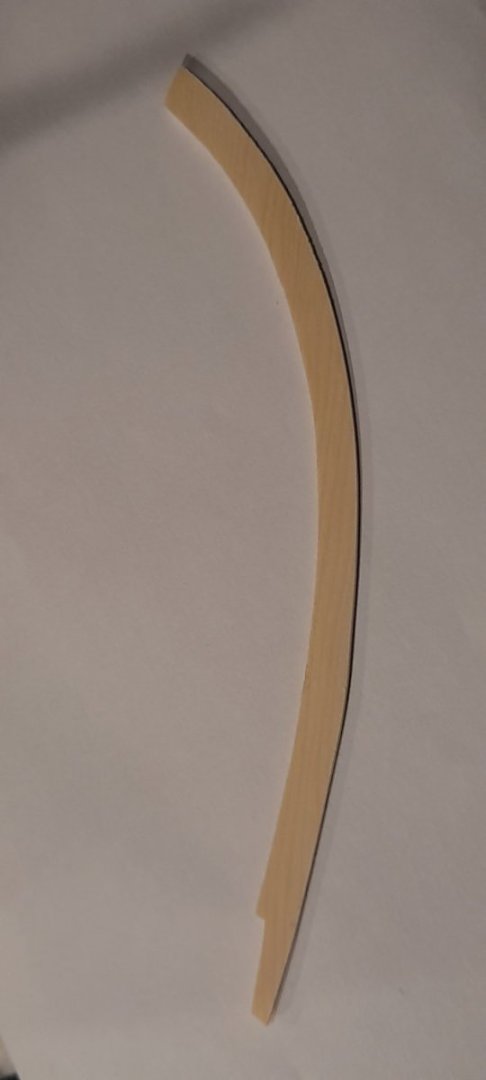
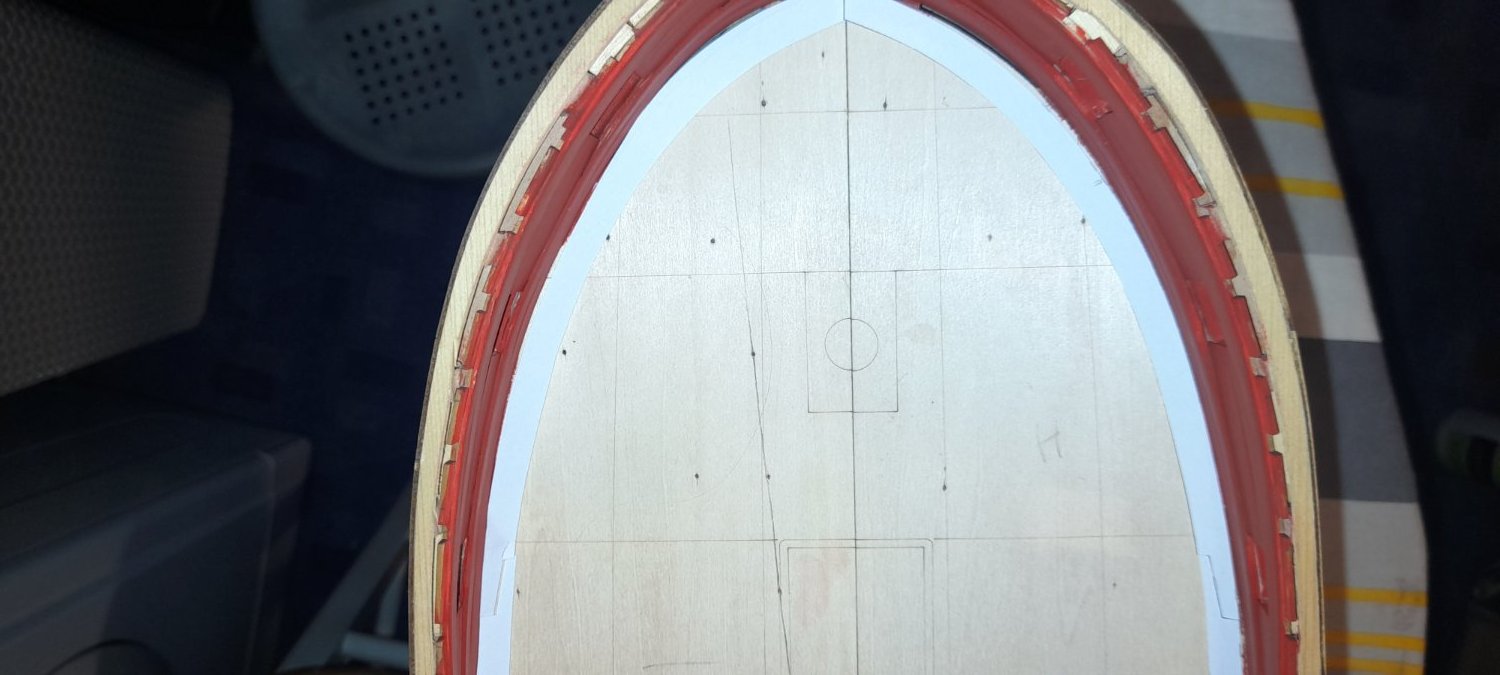
Been to the library and printed the margin planks.
Cut out the sections to test them on Winnie.
With a bit of fettling they will be just right.
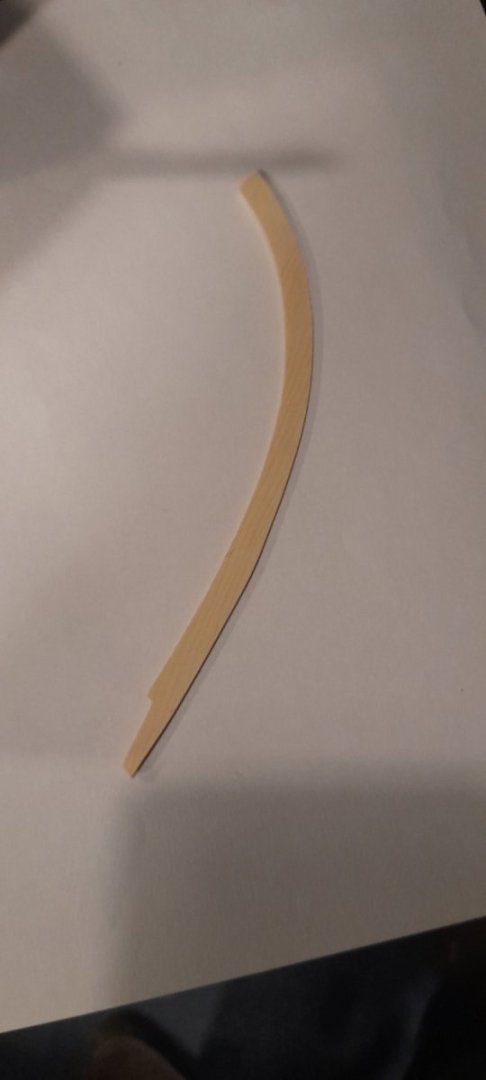
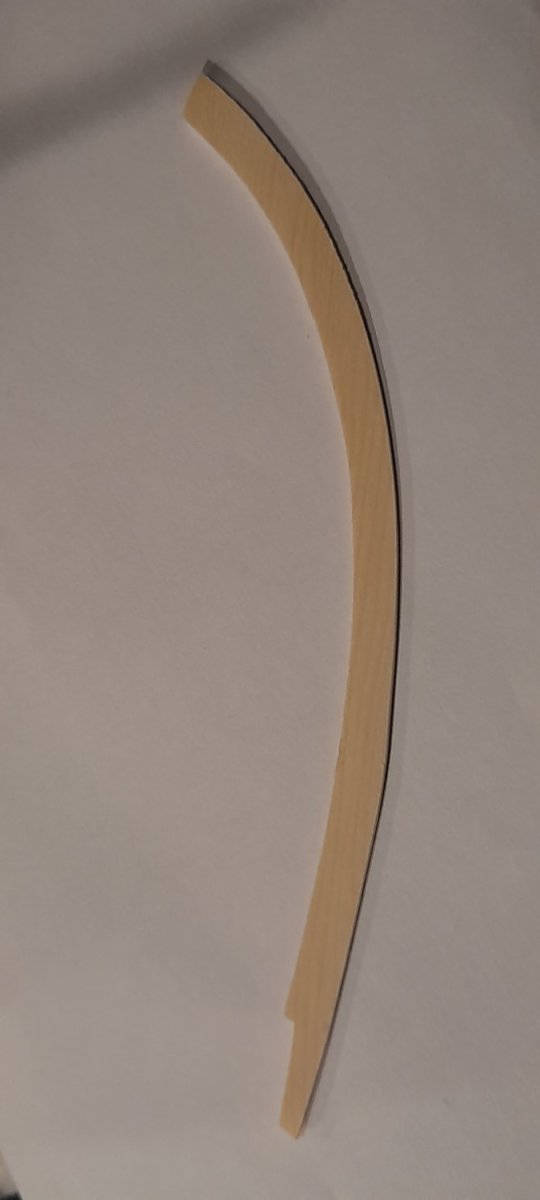
first starboard bow section cut out, and sanded to fit
Tomorrow I shall attempt the others and try to match the scarph joints together.
As always thanks for the comments, likes and looking in. Everything is greatly appreciated.
Cheers
-
 William, welcome to MSW
- Keith Black and mtaylor
-
2


F4F-4 built as FM-1 Wildcat by Landlubber Mike - FINISHED - Tamiya - 1/48
in Non-ship/categorised builds
Posted
Wow! Very, very nice Mike. The display with the maintenance crew is perfect 👌