

Gregory
-
Posts
2,703 -
Joined
-
Last visited
Content Type
Profiles
Forums
Gallery
Events
Posts posted by Gregory
-
-
-
It sure makes me wonder why a modeler would have put the traveler under the tiller.
It doesn't even meet the oft repeated criteria of " it looks good " ..
-
- Canute, SawdustDave, CaptainSteve and 4 others
-
 7
7
-
-
-
It would seem that Peterssen's problem would be with the models he chose to document, unless there is a reason to believe he did not
accurately report what he observed.
Seems a bit ironic, in that contemporary models are often the go-to authority in these discussions.
- druxey, Estoy_Listo and mtaylor
-
3
-
-
Do you have more information; pictures , of what you are referring to?
I recently posted a tip about attaching hooks to blocks..
A little CA goes a long way..
- John Allen and thibaultron
-
2
-
I'm pretty sure that convoluted is not the way to go.
I don't have Lee's. Perhaps someone who does can check it for you.
I have to imagine, for the sake of easy handling, it would start at a ring bolt near the stern and belay to a cleat near the stern.
-
If I'm not mistaken, the Constitution has steps on the bowsprit.
Seems like a convenient thing to have on a large ship..
- piratepete007, mtaylor and MEDDO
-
3
-
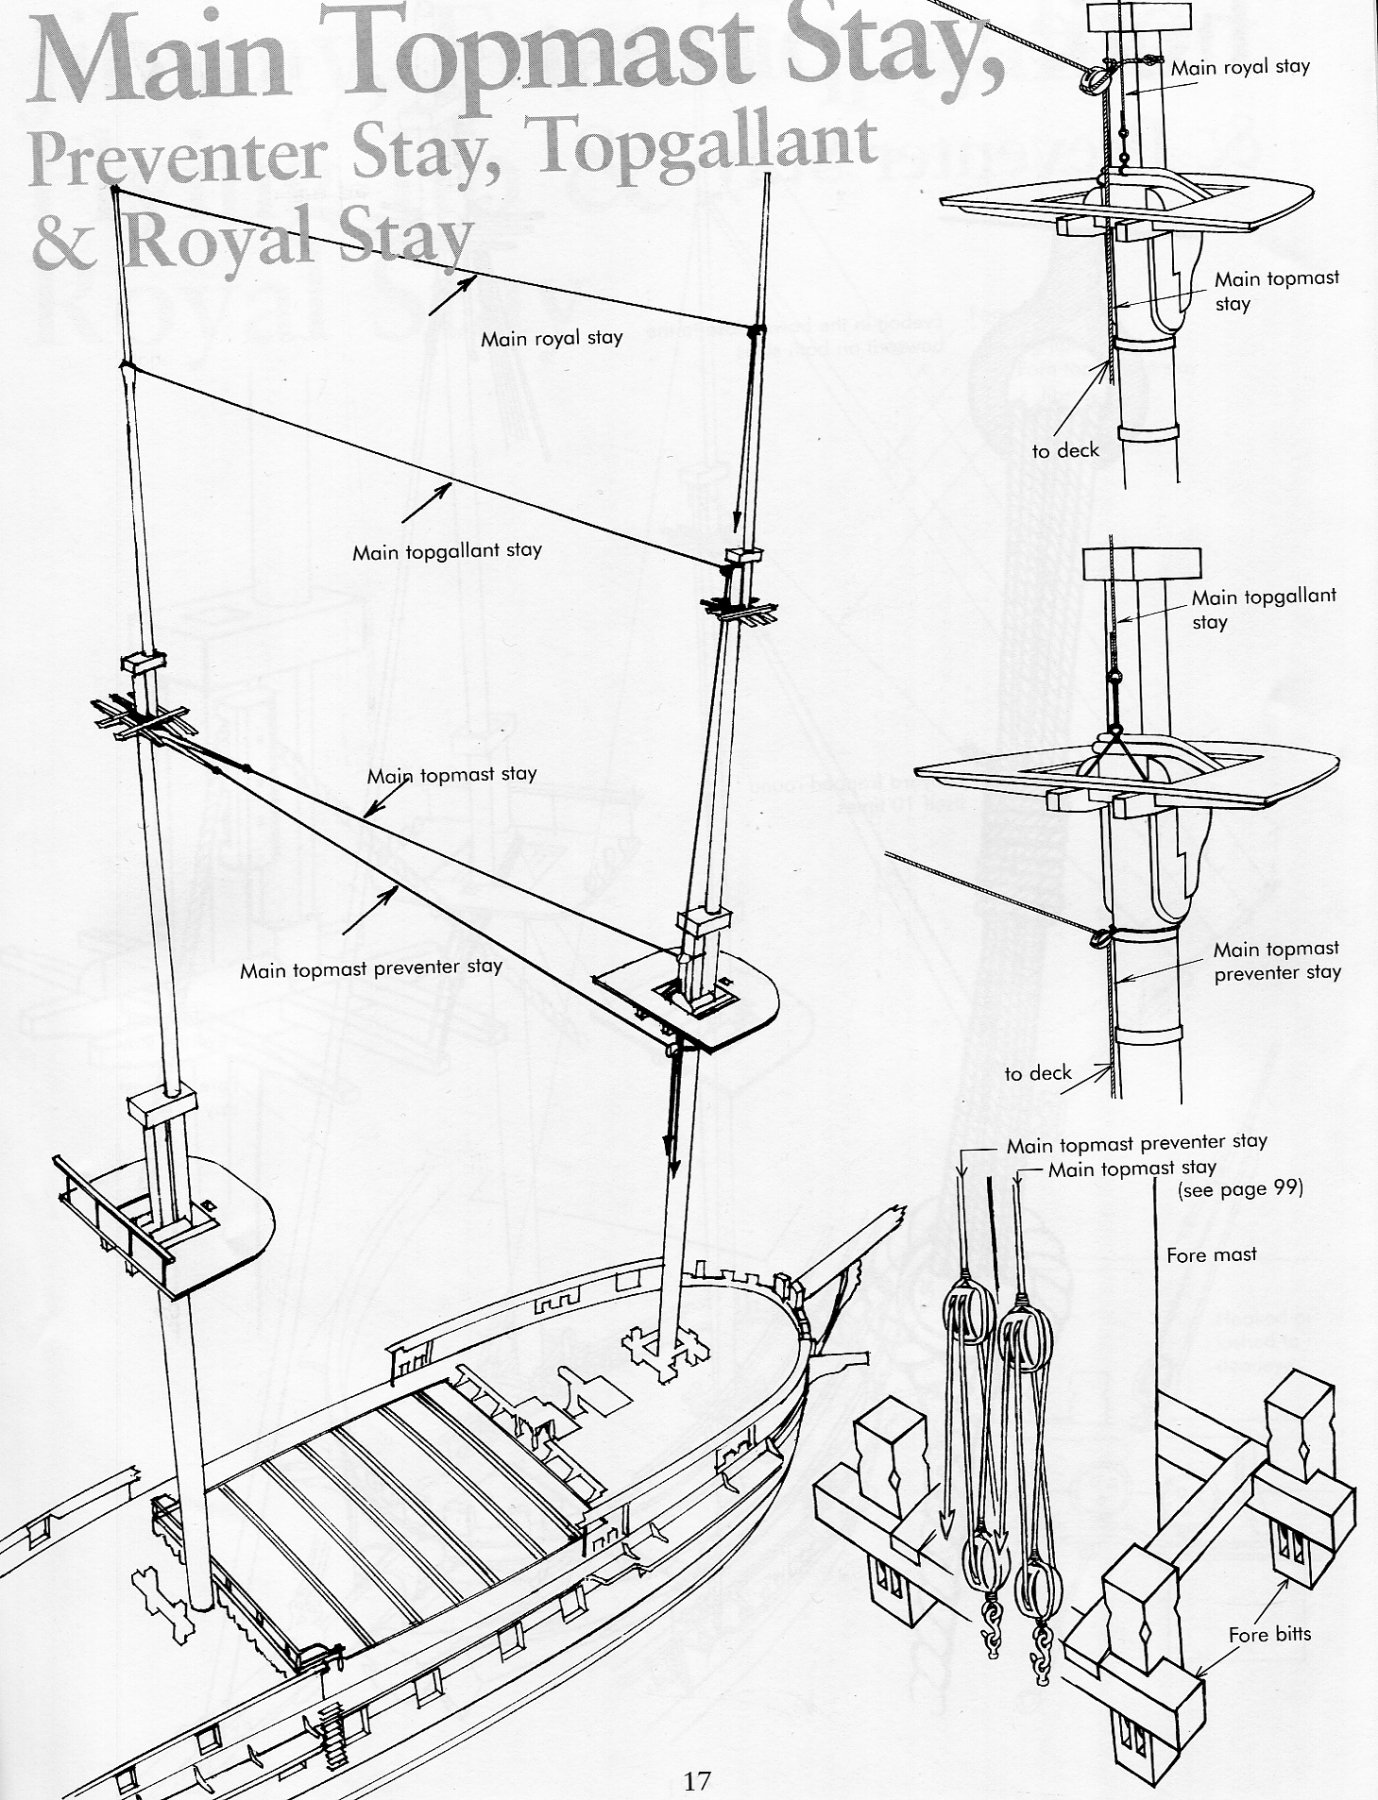
If you will notice, the number and set-up of those stays of your 50 gun ship, appears identical to Petersson's frigate.
As far as belaying, taking the natural lead of the line to the closest pin, while avoiding interference with other lines, will probably not get you in trouble with any Admiral who may view your work.
- davyboy, mtaylor and Bluto 1790
-
3
-
-
Amazon would probably be a good place to buy once you know the size & color you want..
I use stuff like this:
With a machine like the Domanoff, where you are limited to four strands, you may have to use your results ( 2,3,4 ) to make larger rope...
- Ulises Victoria, jbford and John Allen
-
3
-
Another excellent reference is "Historic Ship Models by Wolfram zu Mondfeld..
It should have some details regarding the rigging of the type you are working on..
Browse through some of the excellent build logs, and click through to the rigging parts.
Trying to take you through this, question by question, is going to result in a virtual build log, using diagrams and
technique that has already been provided.
Here is a good start from a log I suggested to you earlier..
- complexpack and Rick01
-
2
-
Without any other references, the rigging plans with the kit should be adequate.
When I search in the build logs, the first completed log I come across is:
This would probably be a good place to start..
When I Google " Santa Maria model ship ' images, I get many hits with images that should provide a lot of information..
-
Here is an example of something I am working on.
I think it depends on the model, and the desired effect.
I like a wood finish rather than paint, and with this in mind, using various ( scale? ) plank lengths, creates an interesting look, that might not be as
effective when painting.
- mischief, mtaylor, John Allen and 6 others
-
9
-
-
There are several build logs in Build Logs for SHIP MODEL KITS
Search for ' Rattlesnake ' and you should see several logs of the Mamoli kit, with lots of pics at various stages.
You should be able to see how others have handled the problem you face.
-
-
You ask:
Quote...why aren't top companies such as Caldercraft not providing this quality in the first place?
Now that you see what the really nice blocks cost, you have an answer to that question..
If the kit had cost $60 more, and included the blocks from Syren, would you have purchased anyway?
The kit provided blocks can really be improved upon, if you take the time with a file or emery board, to round of the corners and edges, and deepen the grooves a bit..
-
Hey Huskey,
This kit has a special place in my heart, as it was the first model ship kit I owned, many, many years ago.
You might find the following a little inspirational, and hopefully not discouraging..
-
-
S.O.S,
I Googled your replica a lot also. With that, and your images above, it really looks like the fore-yard lifts run in front of the shrouds, to blocks that
are well forward on the mast cap.
It seems the the fore-sail is rarely set, and if you check the AVS plans, there is a note that it was for light weather..
In all the Googling I did, never saw the foresail set on similar ships, or even furled on the yard..
-
It does appear that the lifts on your example are forward of the shrouds, with the tackle toward the front of the cap, unlike what is shown
in the Senor's examples up above..
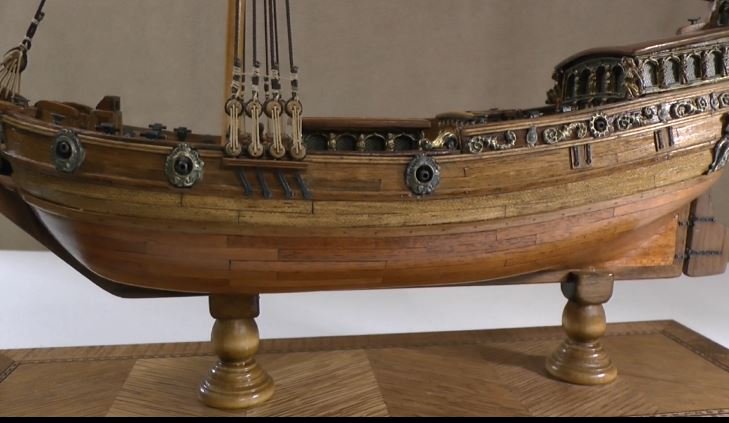
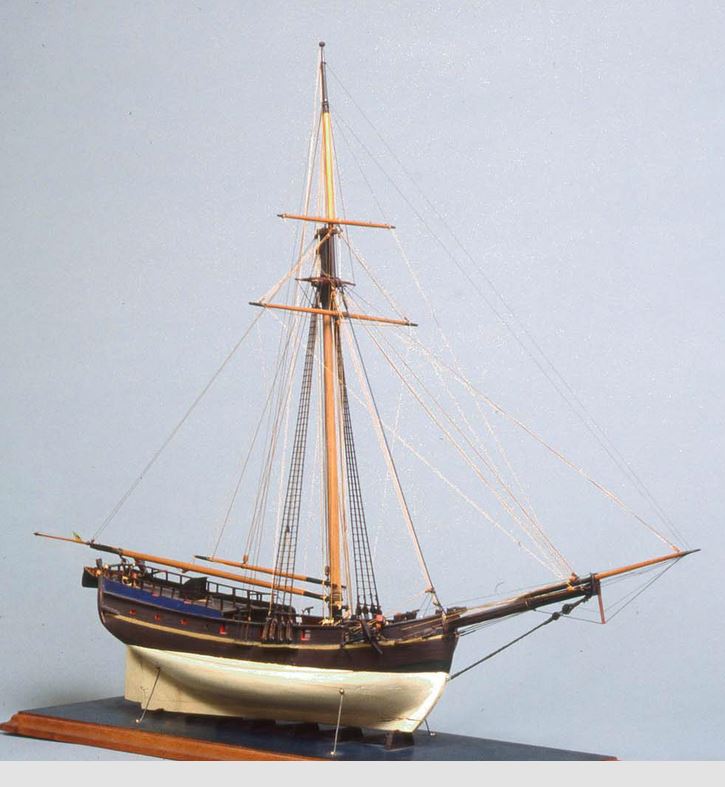
Here is a model from the Boston Museum of Fine Art, and it also shows the lift tackle near the front of the mast cap, with the top mast
shrouds well to the rear.
Why would the lifts going through the shrouds be a problem if there were no ratlines present, as shown in Petersson's and Chuck's example?

Sail design for 18th-century longboat?
in Masting, rigging and sails
Posted
I realized after re-reading a couple of times, that I may have not made my thoughts clear on this; being that, if this was not the practice at the time, why would a professional
model builder do such a thing?
My opinion was/is, that they would not. Leading me to believe the model is accurate..