

Gregory
-
Posts
3,155 -
Joined
-
Last visited
Content Type
Profiles
Forums
Gallery
Events
Posts posted by Gregory
-
-
I've used these blades from Amazon with very good results. The kerf is a bit more than I would like, but they are a fraction of the cost of Proxxon or Micromark blades.
They have 10mm arbor.
Avenger AV-34024-5 Combination cut saw Blade
I found this on Amazon UK. Looks like it could be the same thing unlabled.
ZhuJinSheng Cutting Disk 1pcs Out Diameter 85mm 24T/36T Mini Circular Saw Blade Wood Cutting Blade
-
14 minutes ago, popeye2sea said:
However in the second photo the lines leading from the spritsail yardarms to the fore and fore topmast yard arms do not make any sense.
The rigging of the model in the picture is a disaster in more ways than one.. I believe the rigging with the Model Expo plans is pretty reliable.
-
On 4/11/2020 at 5:26 PM, captainscott said:
Ripping planks is all I would probably use it for.
Unless you are going to be ripping balsa planks, none of those cheap saws are going to be much good.
I have had one of these: MicroLux Mini Tilt Arbor Table Saw for about 20 years, and it can cut planks with a decent blade and finely adjustable rip fence.
At that price one would do to well spend an extra hundred or so for the Byrnes. I keep thinking about getting one myself, but I haven't got into scratch building yet
and my little saw does everything I need to do right now.
-
On 4/5/2020 at 2:13 PM, DocBlake said:
Given the size and shape I'm sure in real life it was made up of component parts. Any thoughts on a design?
Here is a an image from Mondfeld:
He says it is an 18th century warship. The Hanna might not be as robust, but you could extrapolate down to fewer parts.
-
-
8 hours ago, mfrazier said:
I planned to plank it with thin strips. To fill this figure head, I would have to at least use 2 mm thick planks on each side. Isn't that awfully thick?
You mentioned not wanting to sand the plywood, but if you sanded it, then covered with veneer, you might have something that would work..
- Old Collingwood and mfrazier
-
 2
2
-
Just a suggestion:
When you want to complement the builder, can you do it without re-posting all the images again. It makes it harder to follow the updates when there are so many duplicate pictures.
-
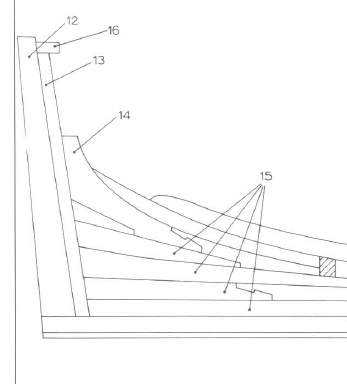
26 minutes ago, Paul_S said:
Should i sand a rabbet? on the bottom of the keel to help them fit,
You should sand out a ' bearding line, so the keel and stern post stand proud of the ' back bone ', that some call the false keel.
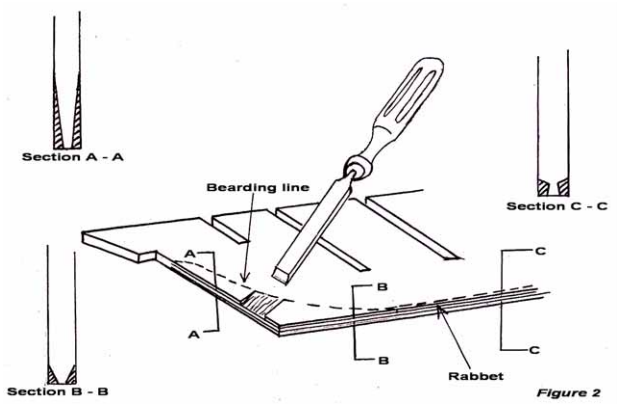
This illustration shows a chisel being used, but with the MDF in this kit, you should be able to do most of it with sanding tools.
On a double planked hull, a true rabbet is more of a challenge. The kit design assumes you will fit the final planking flush with the keel and stem to give the appearance of a Rabbet.
Another option is to fit some very small ( 1 x 1 mm ) stock along the bottom and front of the backbone as seen here, in Chuck's Cheerful. This creates a slot that serves as a rabbet.
However you have to consider the thickness of both layers of planking.
-
I'm pretty sure Mamoli didn't offer pre-made sails with this kit. Looking at the sails available at Dusek, I do not see any for the Mamoli line.
-
-
Very nice work.
If I may ask, what is the actual length of the little ship's boat?
-
-
Your method I have seen before.. You might consider drilling the holes before shaping the deadeyes..
-
It might be worth the saved effort to use the etched decking on the lower decks, where little if any will be visible on the finished model..
Also, you might consider doing a some fairing of the bulkheads before gluing the framework all together. You will have a much better angle of attack with the bulkheads off the ship..
-
ModelExpo sells the Rattlesnake plans for $35.. They should have more information than the older version, since it sounds like your rigging guide is incomplete.
The also have the Master Korabel Long Boat kits
-
-
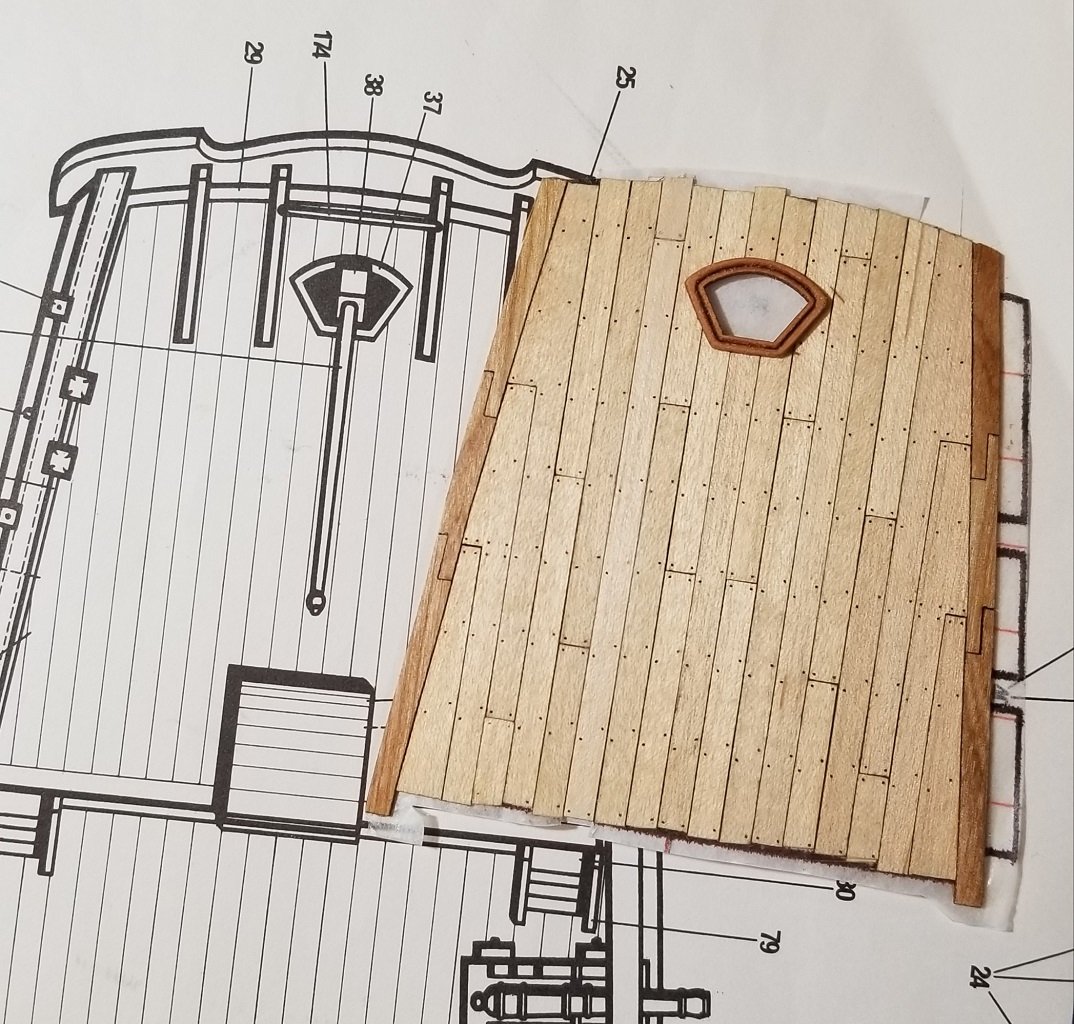
There is a nice article on deck planking in the NRG's article data base.
-
-
-
3 minutes ago, Overworked724 said:
Now I need to figure out how to remove the paper backing from the plates without crimping or bruising the copper foil.
Try sandwiching the plate between two pieces of masking tape. When you pull the tape apart the backing should come free. with no damage to the foil.
- NovaStorm and Overworked724
-
2
-
-
P.S.
I have picked up so many tips from the other members here, I may not always remember to give credit where credit is due. With that in mind, I want to say that I got the idea for the scarfed planks near the margin from Chuck's instructions for the USF Confederacy. The instructions for most, if not all of Chucks designs are available for free at Model Expo, and they are an incredible resource for detail work.
However, they are a mixed blessing in that they really set the bar high, and make it a little difficult for me to reach a point where I can say " O.K., That's good enough; time to move on.
-
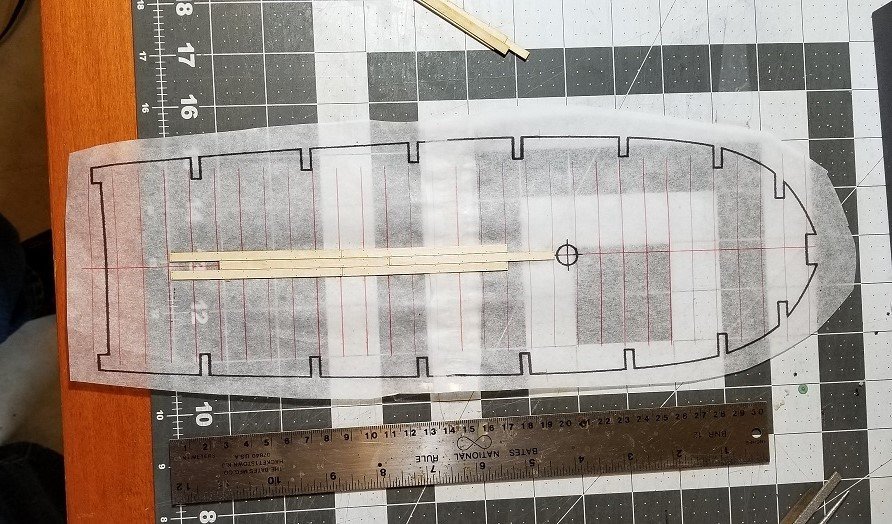
Finished up the quarterdeck planking. If you compare my finished work to the last post, I decided to increase the number of imaginary beams under the quarterdeck. Three would have been unlikely and it made it difficult make the scarfed planks look nailed realistically.
It is my understanding that ' nibbing ' wasn't done in the period ( 1711 ) this ship represents, so I shaped the outer planks with hook scarfs to avoid points butting into the margin.
As I was finishing this up, I was reminded of why I like to do this off the ship.. I had completed, or thought I had, the work you see above and was applying some poly when I realized I had left out a plank on the left side of the deck. It was obvious after the fact, but I had spent so much time staring at the tree nail pattern, I guess I saw what I wanted to see.
Anyway I was able to splice in the missing plank/s with very little effort compared to the problem it would have been if all the planks had been glued onto the false deck. Instead of just splicing in a plank, all of the planks to the left of the missing one, would have to have been ripped out.
- Jonny 007, paulsutcliffe, mtbediz and 7 others
-
10
-
Great build. Will be one of my go-to's for mentorship.
doubling of the keel and the stem
in Building, Framing, Planking and plating a ships hull and deck
Posted
What is your source? What is the context?
It sounds like some type of laminating technique to reduce warping.
However, I've never heard it mentioned here before.