


Rustyj
-
Posts
2,449 -
Joined
-
Last visited
Content Type
Profiles
Forums
Gallery
Events
Posts posted by Rustyj
-
-
Hi All, Like Bob (Rafine) I'm in between chapters with the Winnie and the Duchess of Kingston caught my eye. I thought
it would be a great change of pace and Chris's Vanguards models have looked so good I had to give it a try.
I started a little while ago and have been meaning to post my progress but everything I'm in the shop I get distracted
and start working on the DOK.
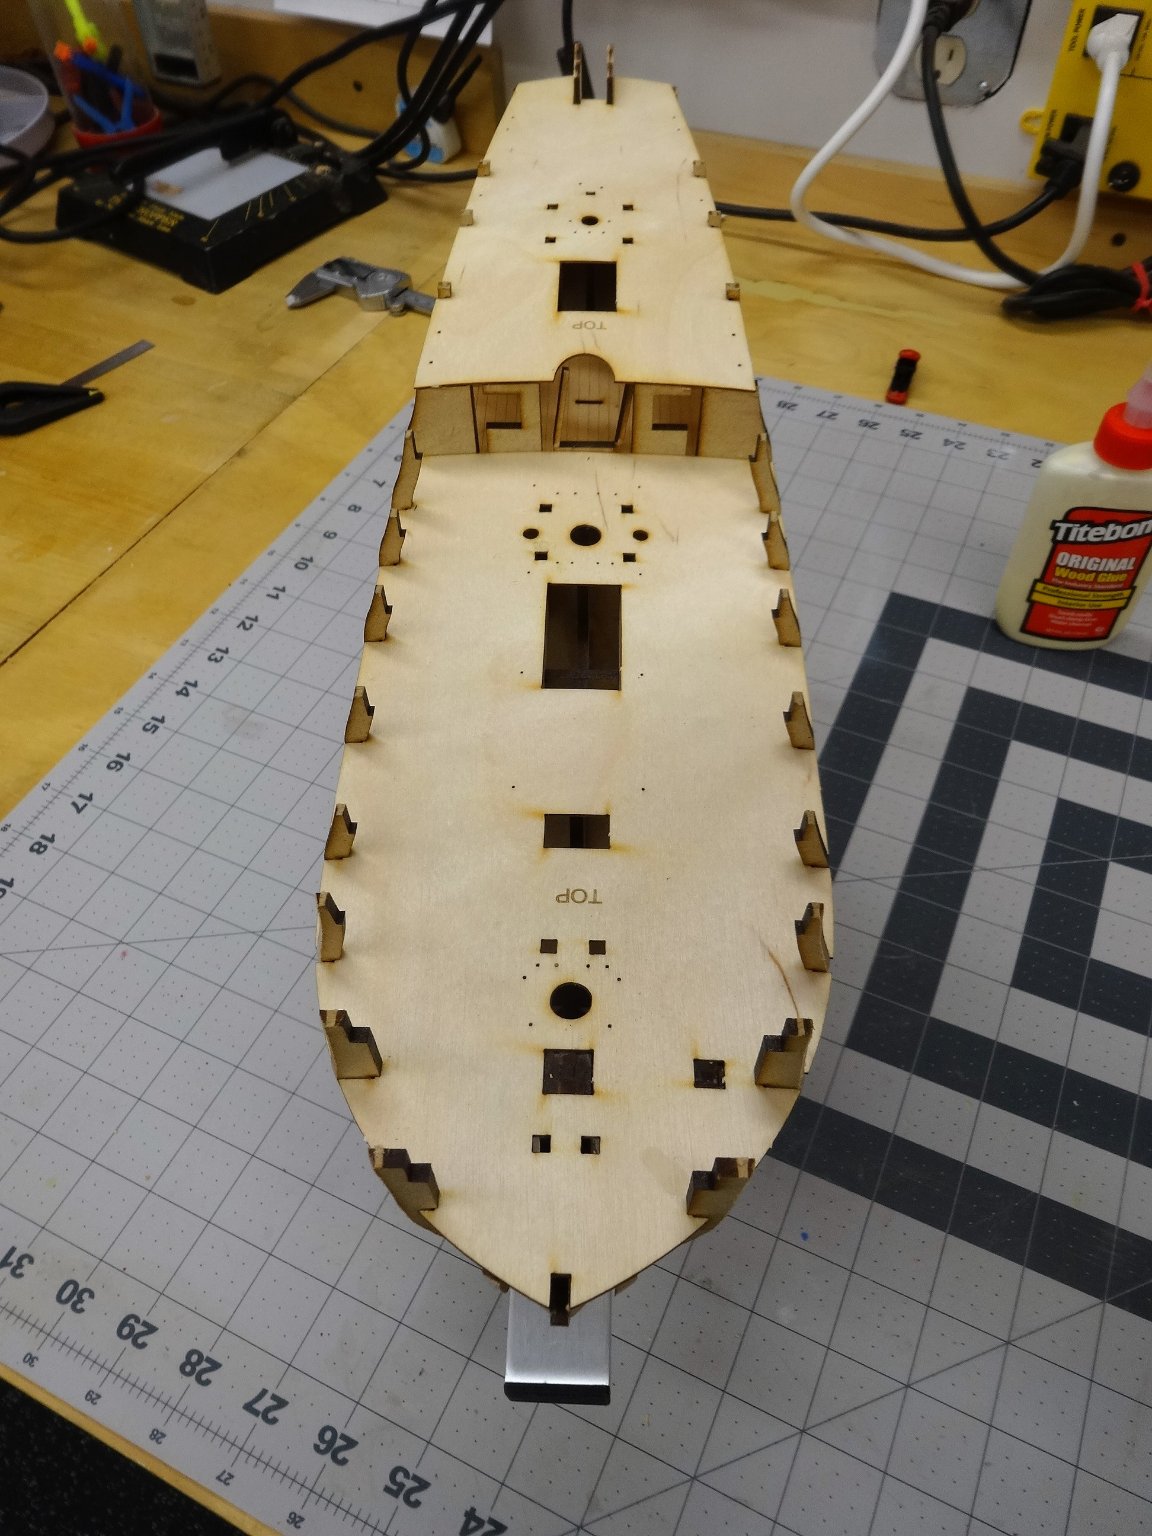
The hull pieces all went together very smoothly. I didn't have to adjust any and all slots were a nice firm fit. I too dry
assembled it and then used a brush to apply the wood glue.

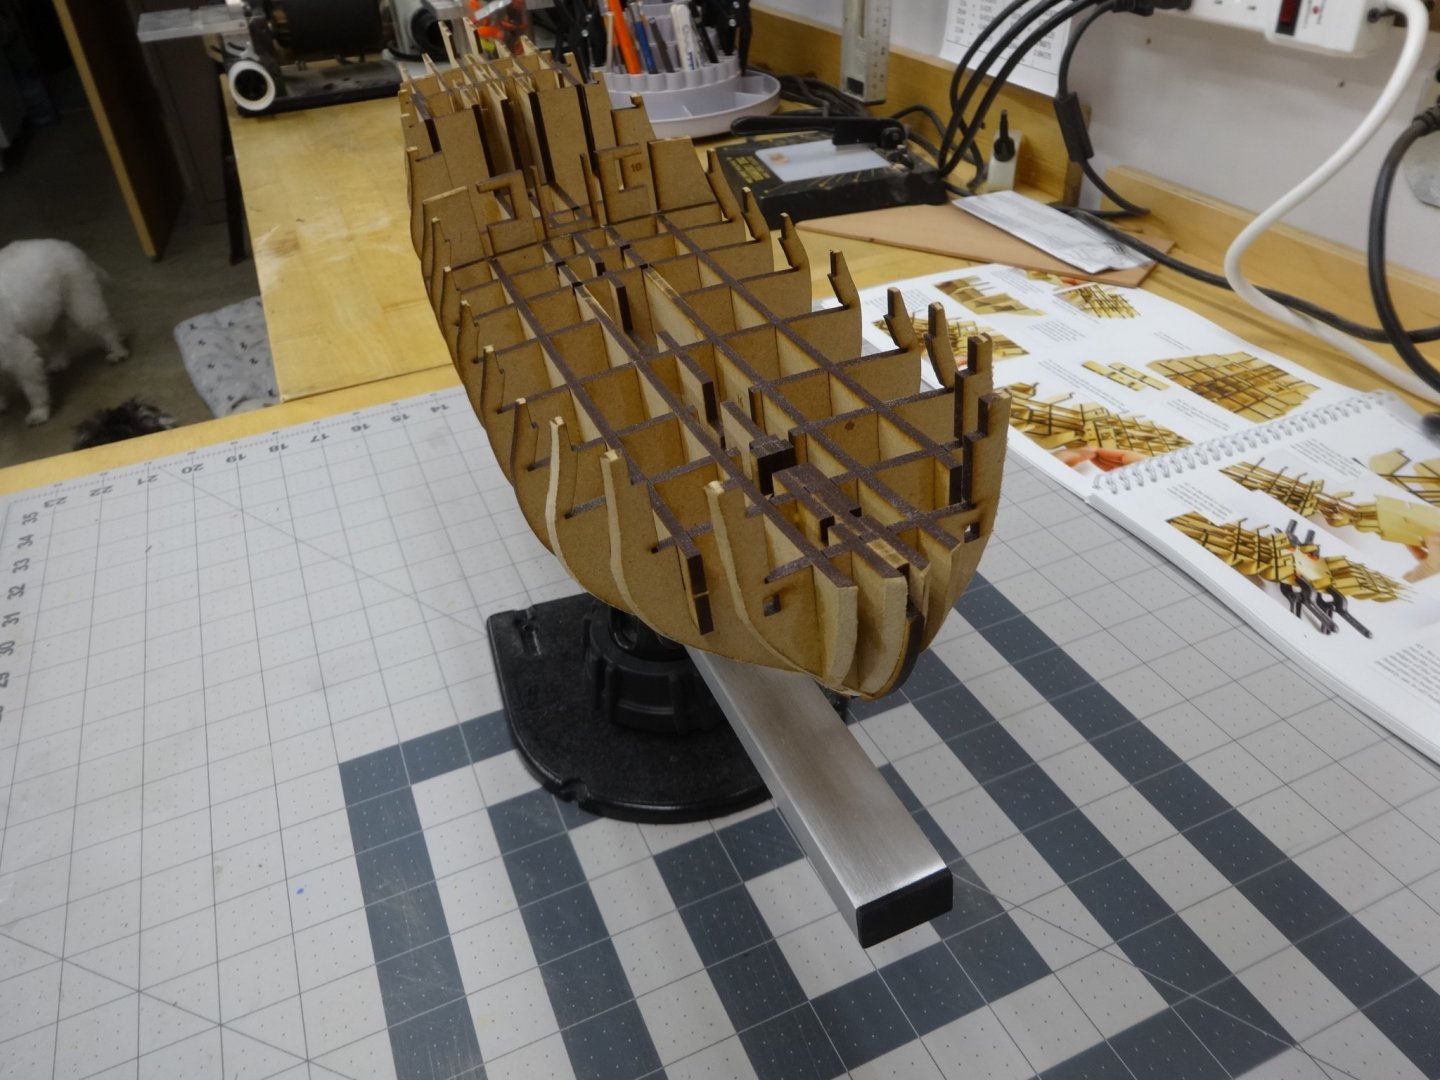
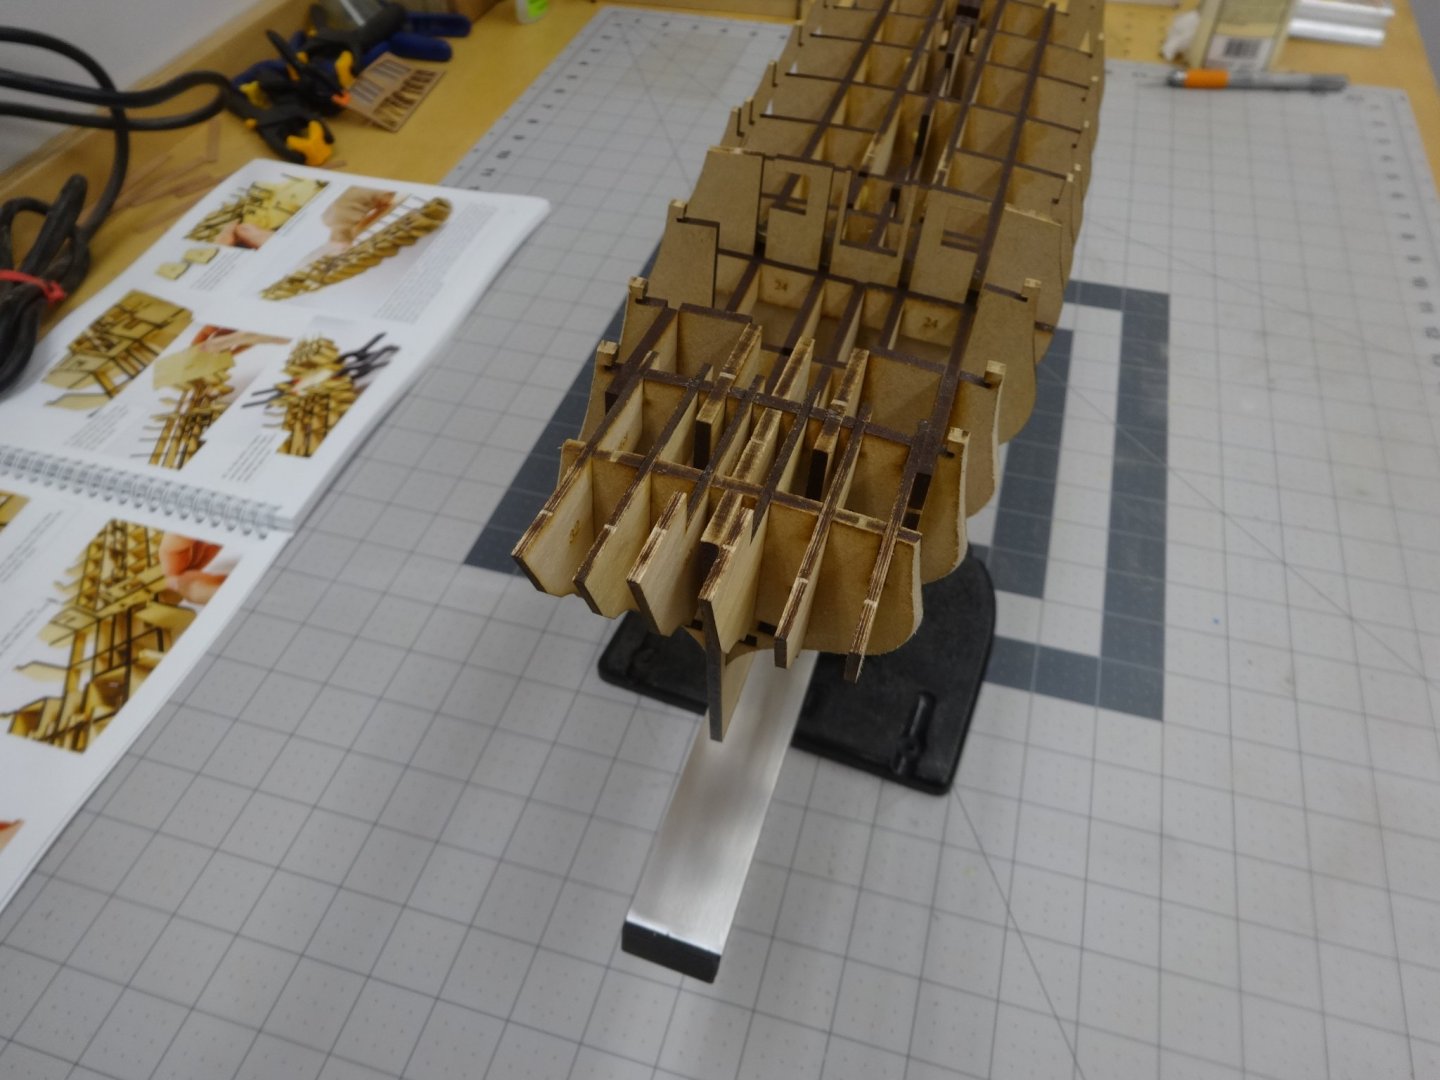
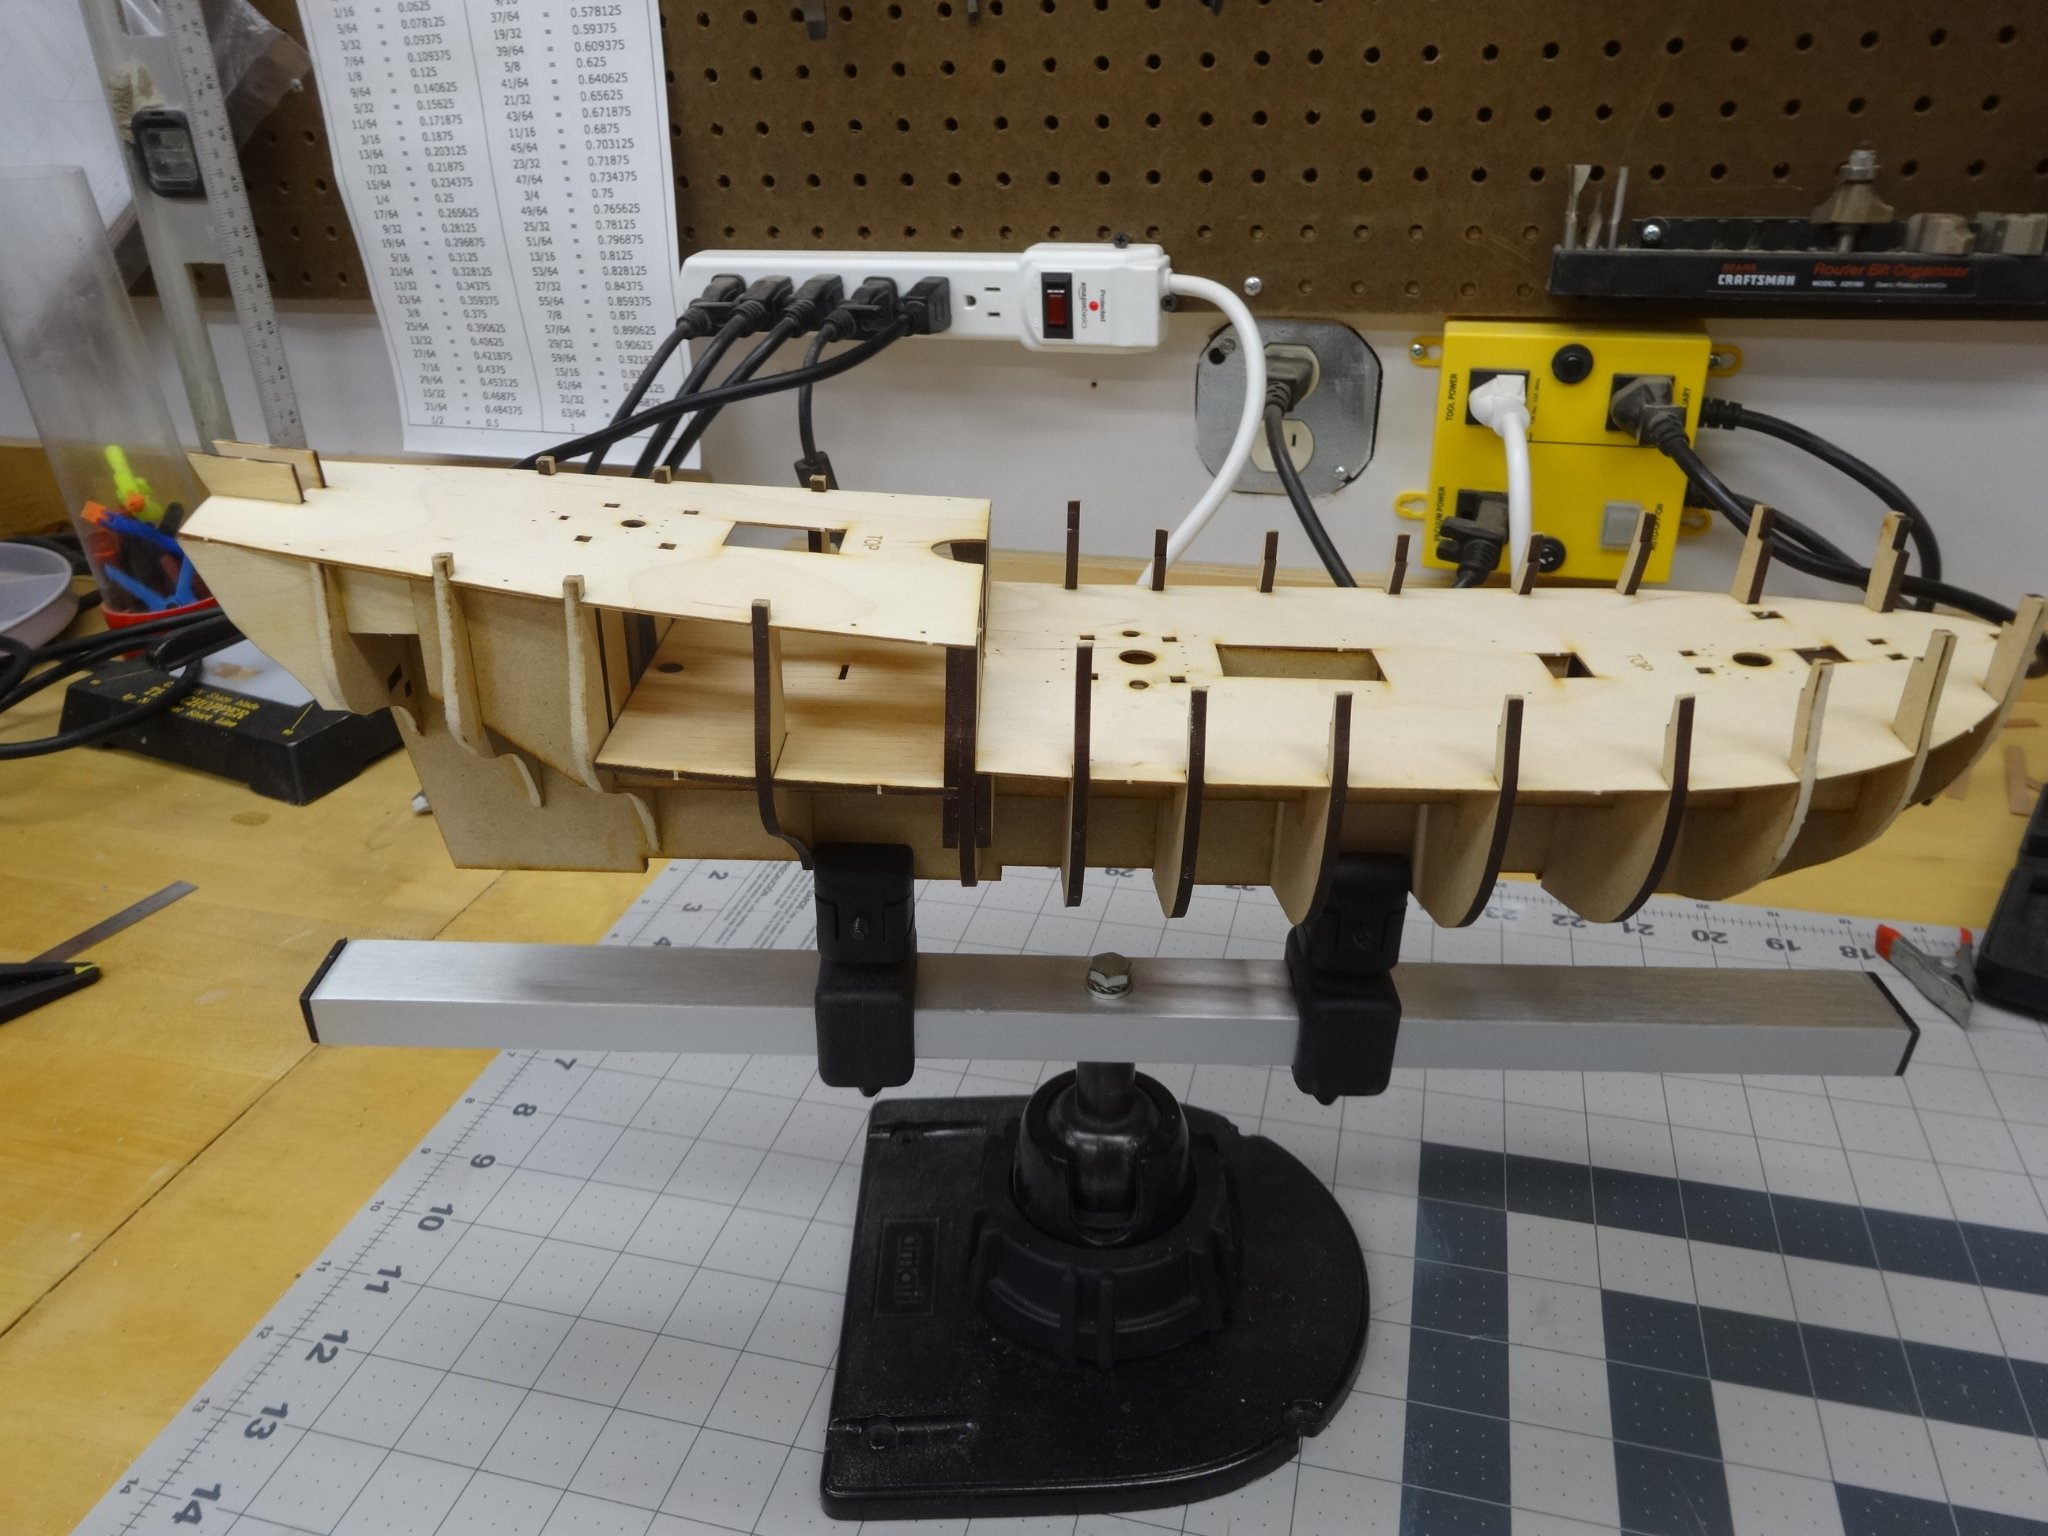
After assembling the hull I added the fore and aft sub decks and the cross braces.
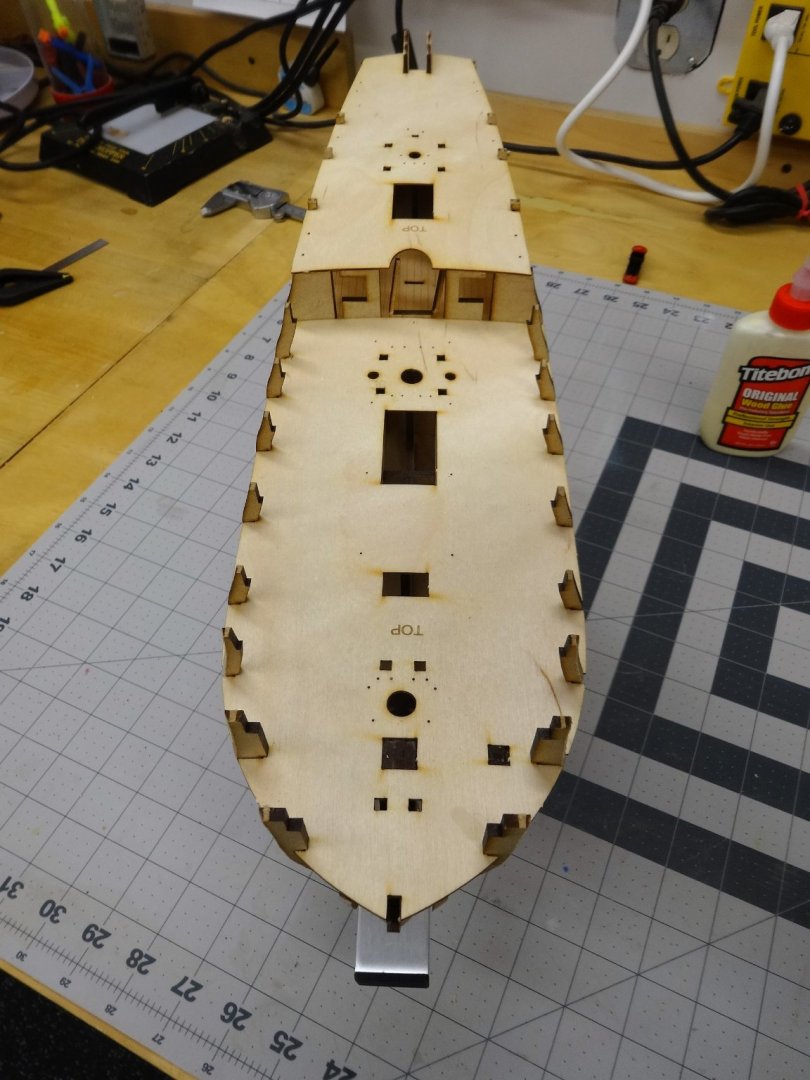

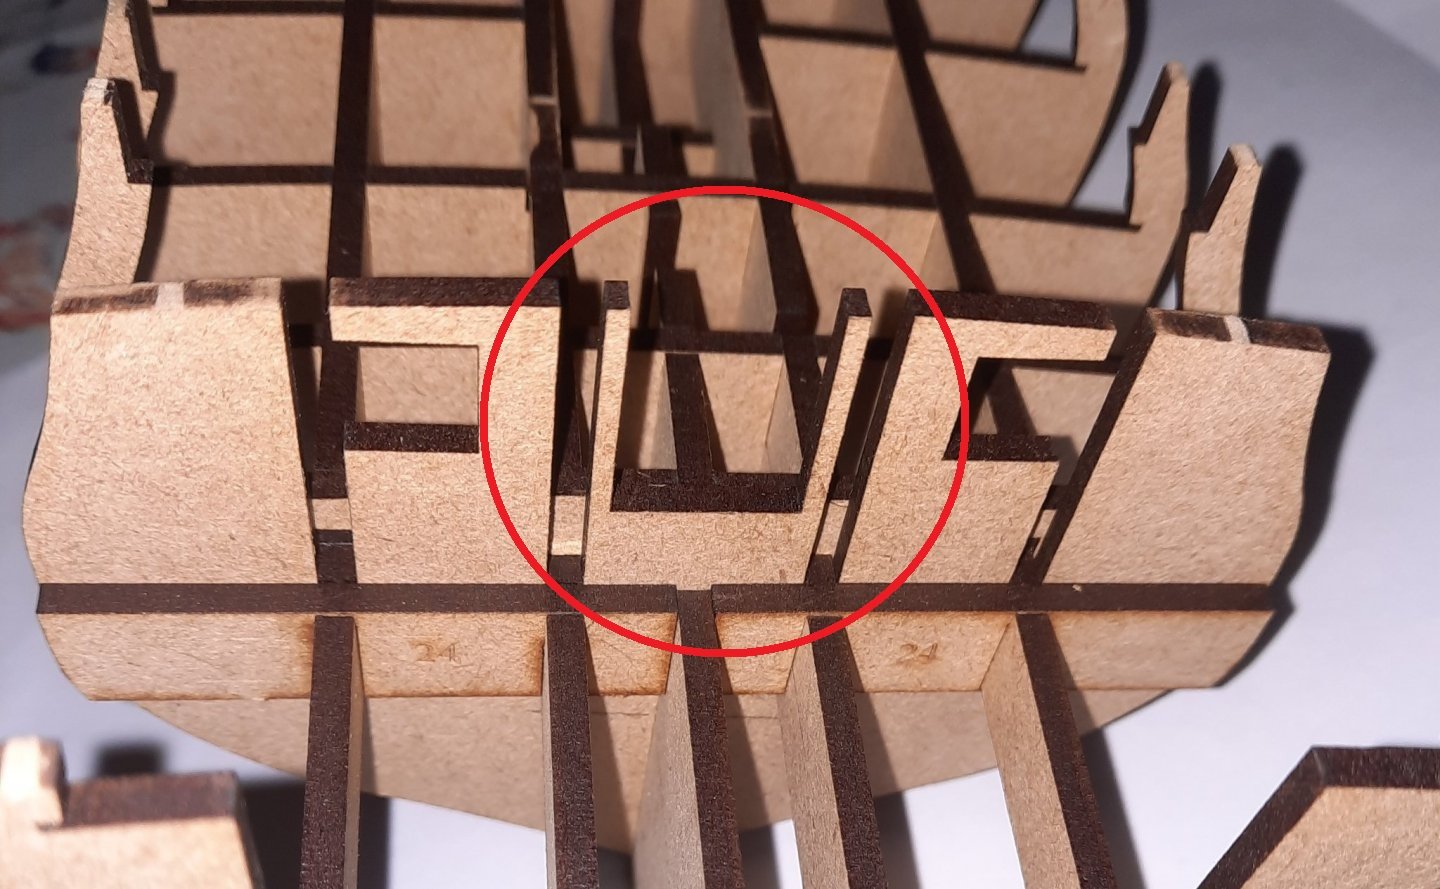
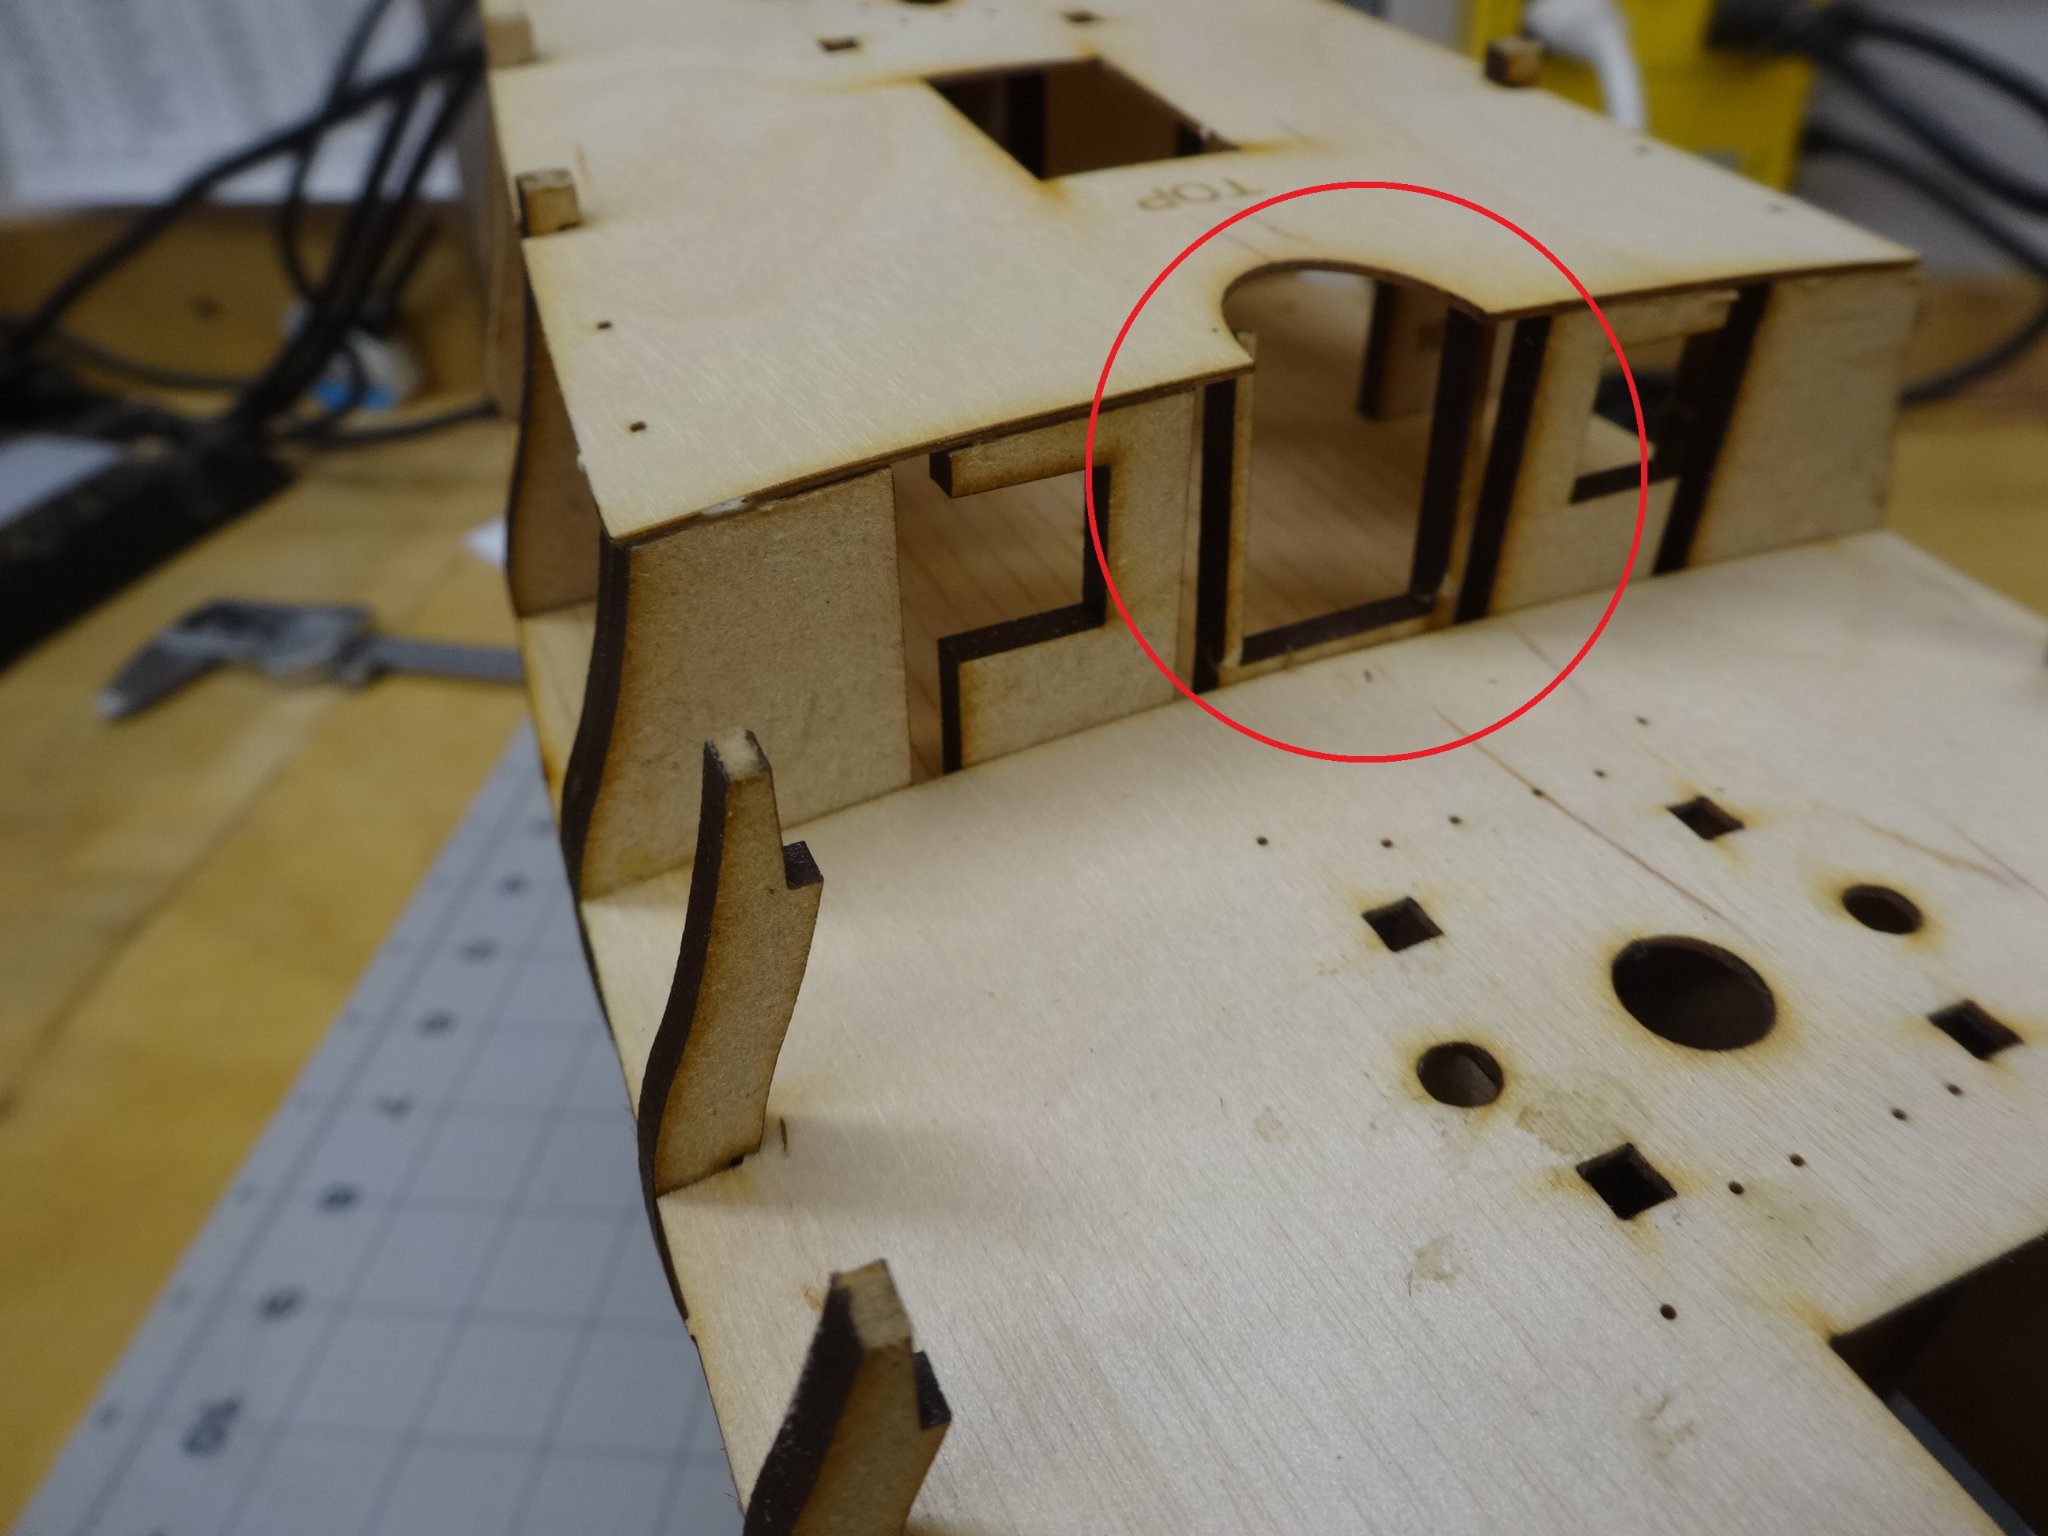
Be careful adding the sub deck. The two up right circled below are fragile and can be easily damaged like I did.
Luckily I could move them back in place and glue them and all is well.

-
Looking really nice Chuck!
-
-
I hope you are right and get well soon. My best to you.
-
Well done Grant. Keep the paint handy if you're anything like me with the scuffing.
- Canute, Ryland Craze and gjdale
-
 3
3
-
She's coming along nicely.
-
-
45 minutes ago, glbarlow said:
I piled up all the tools I used. It turned out to be quite the pile of stuff. I don’t know if I’ve mentioned The Chopper and The True Sander before, I’ve got these long before my Byrnes machines. They make life easier with quick cuts (it uses a standard razor blade so easy to change) and sanding to get tight square fits. It’s one more way to sand stuff along with my sandpaper, blocks, and sticks - sooo many ways to sand…
Great work Glenn. I've got the same pile on my bench!
")
-
Hi Chuck. Glad to see you back at it. I hope you're doing well. Rudder looks great by the way.
- Chuck and Ryland Craze
-
2
-
3 hours ago, rafine said:
I'm not a big fan of one piece bulwarks, preferring to frame them, but I chose to go with the kit parts here. They actually went on pretty easily and smoothly, after soaking in hot water and shaping around a former.
Looks good Bob. This is only the second time I've used a one piece bulwark and I agree they went on nicely.
-
I printed them on plain white printer paper. Photo paper would be too thick.
- Ryland Craze and Stuntflyer
-
2
-
-
-
-
Great workmanship JJ.
-
First off very nice work! I think your final two choices look very good and if Naphthol Red is easier to use then go for it.
- Canute, Ryland Craze, gjdale and 1 other
-
4
-
Yes we all have had that moment. I used a hair dryer to accelerate the drying time to just an hour with no ill effects.
-
-
Very nice JJ. Great tip on the molding. I'll try to remember it next time around!
-
-
Welcome aboard! Follow Chucks advice and you'll be fine!
-
Very nice masts and spars. It is something I think we all do a little differently and you seem to have
found out what works for you. That's what's important. Each time you do it it'll get easier and easier.
Well done!
-
Hi Glenn, Great save. Those little buggers were hiding on you.
Beware when your placing the fore deck. The two vertical pieces circled in your picture below are fragile and can be bent or snapped off if your not careful placing the fore deck. As least if you have heavy hands like me. Keep up the good workmanship!
-
2 hours ago, glbarlow said:
I feel like this post has a lot of photos of sticks…
That is some fine work on those sticks Glenn. Nice tight joints too! It's really rewarding when you can take " sticks" and make them into something nice like you did.
- glbarlow, JpR62 and Ryland Craze
-
3


Duchess of Kingston 1778 by Rustyj - FINISHED - Vanguard Models - 1:64 - Royal Yacht
in - Kit build logs for subjects built from 1751 - 1800
Posted
Is there any other way?")
That's good to know Chris. I got them back in place and it was good practice fixing one of what will be several heavy handed oops.
Well I'll be right in line next to you!
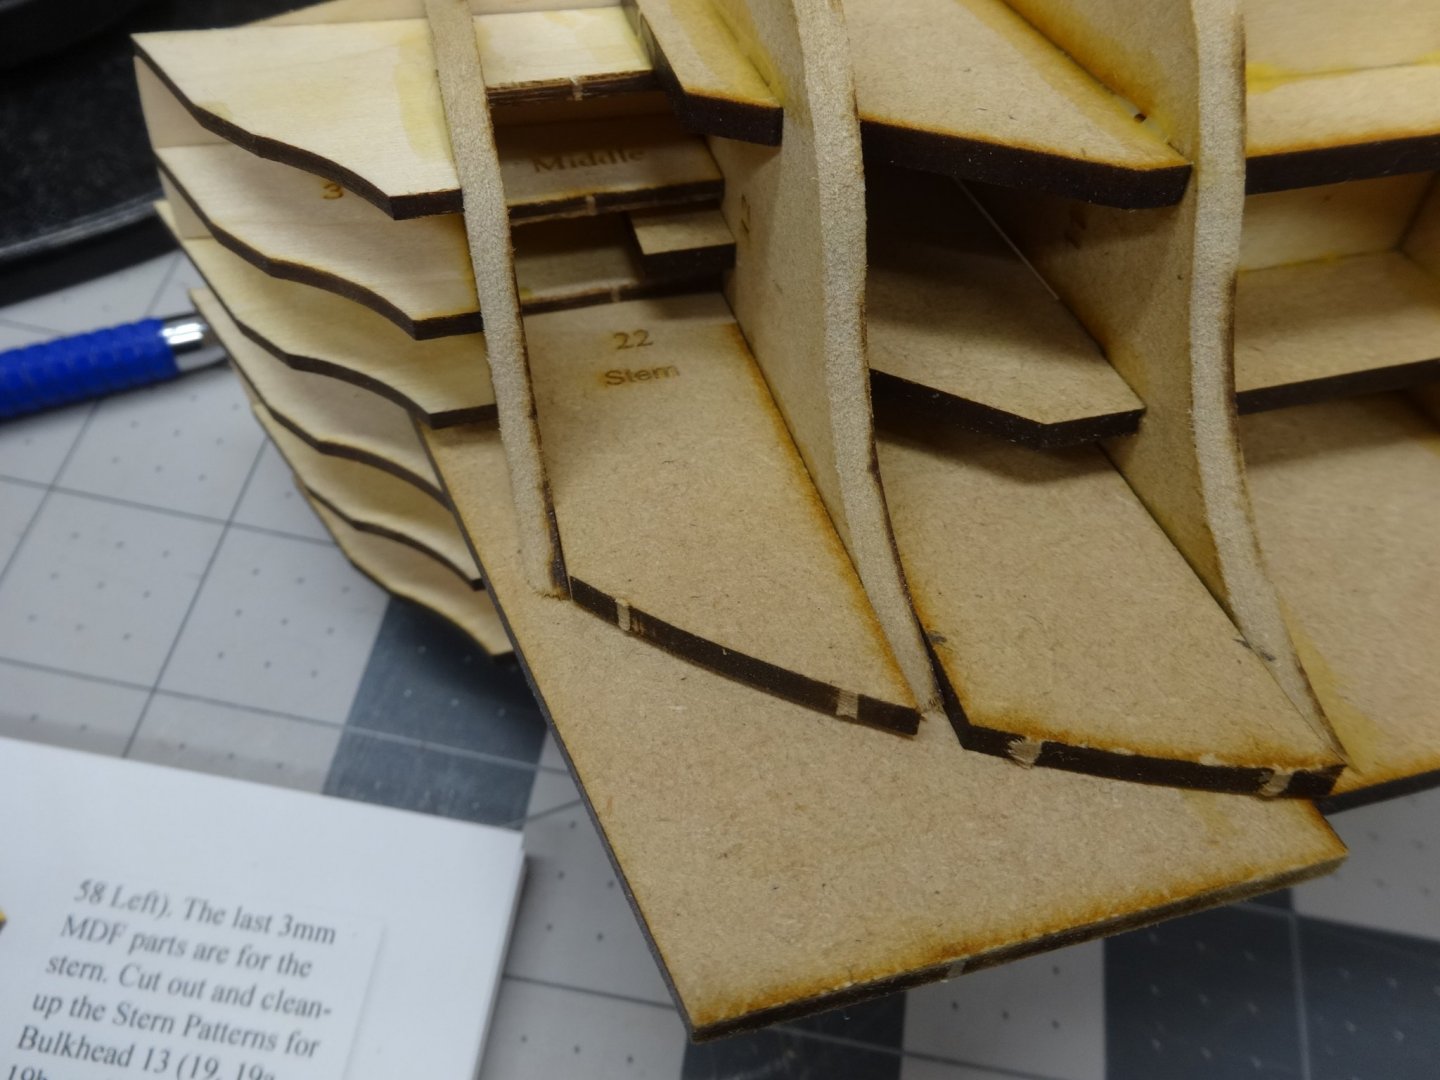
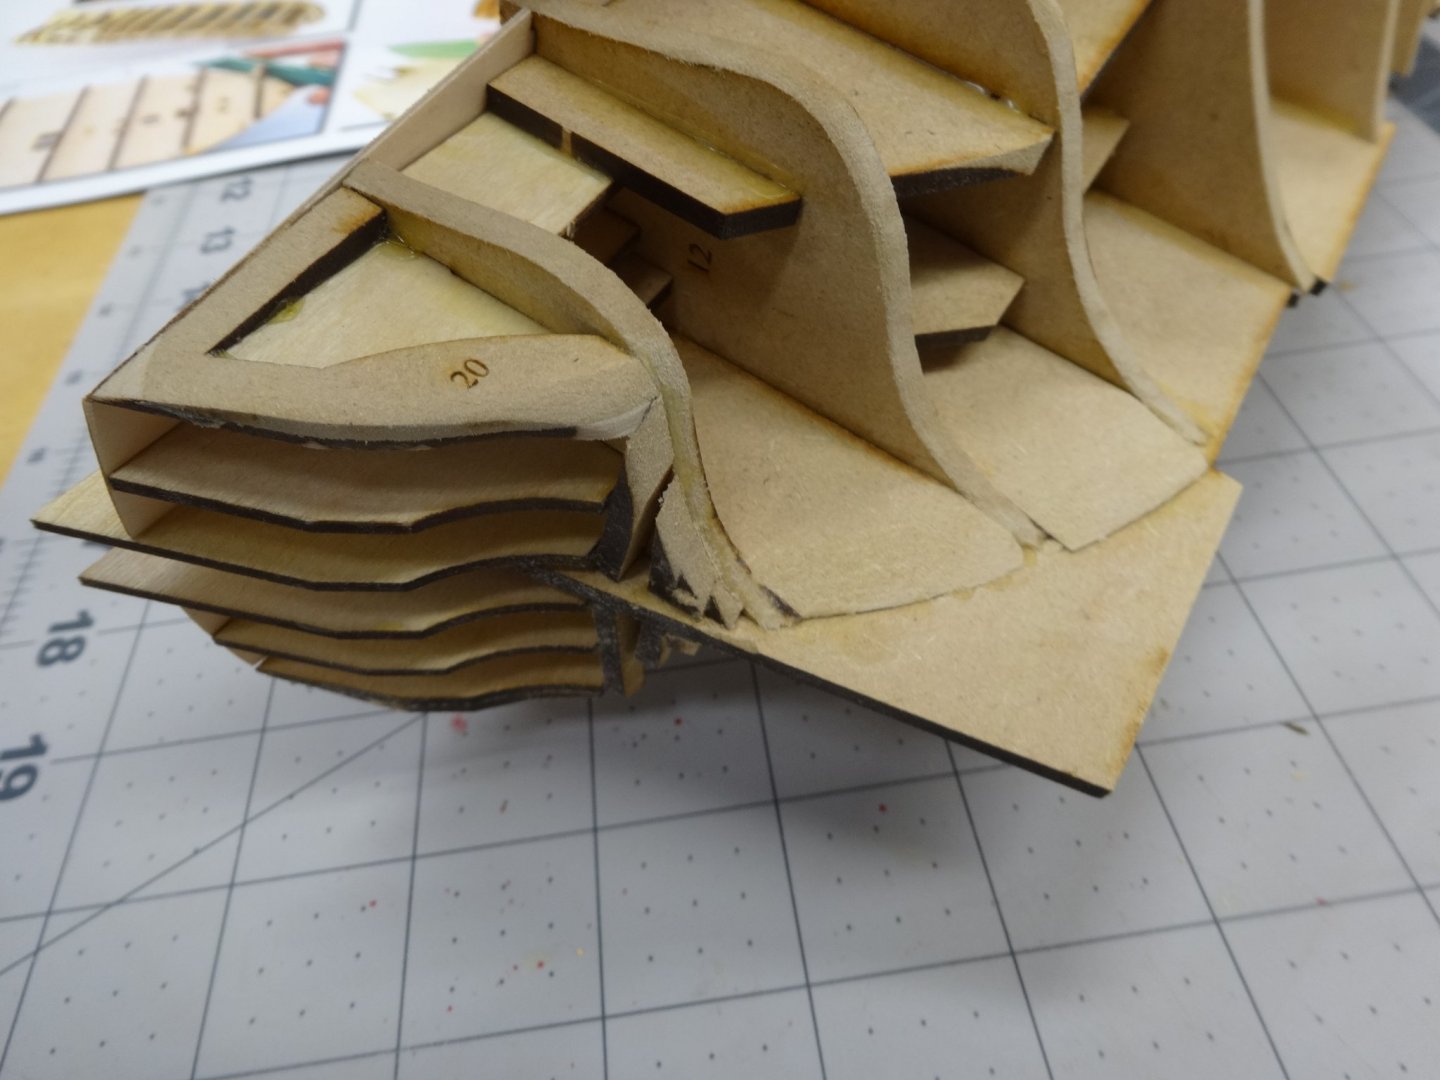
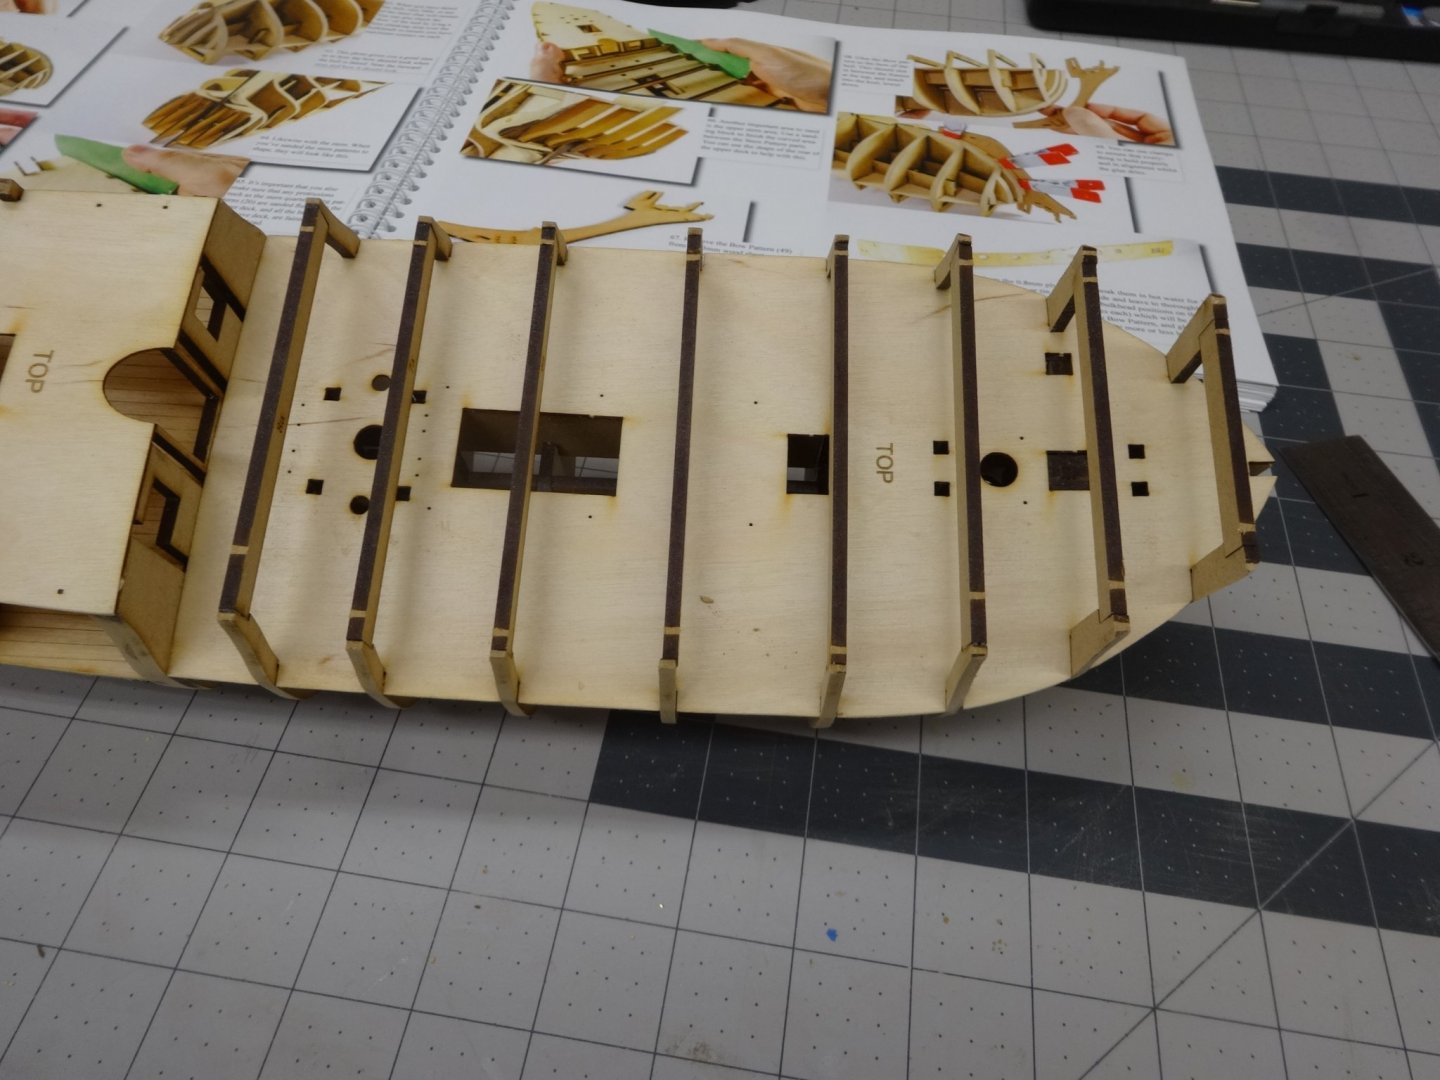
I've faired the hull and the MDF sanded well but caution should be used as it is easy to remove too much if you're not careful.
Also the stem has been added in anticipation of placing the bulwark patterns.