HOLIDAY DONATION DRIVE - SUPPORT MSW - DO YOUR PART TO KEEP THIS GREAT FORUM GOING! (Only 13 donations so far - C'mon guys!)
×


yvesvidal
-
Posts
3,590 -
Joined
-
Last visited
Content Type
Profiles
Forums
Gallery
Events
Everything posted by yvesvidal
-
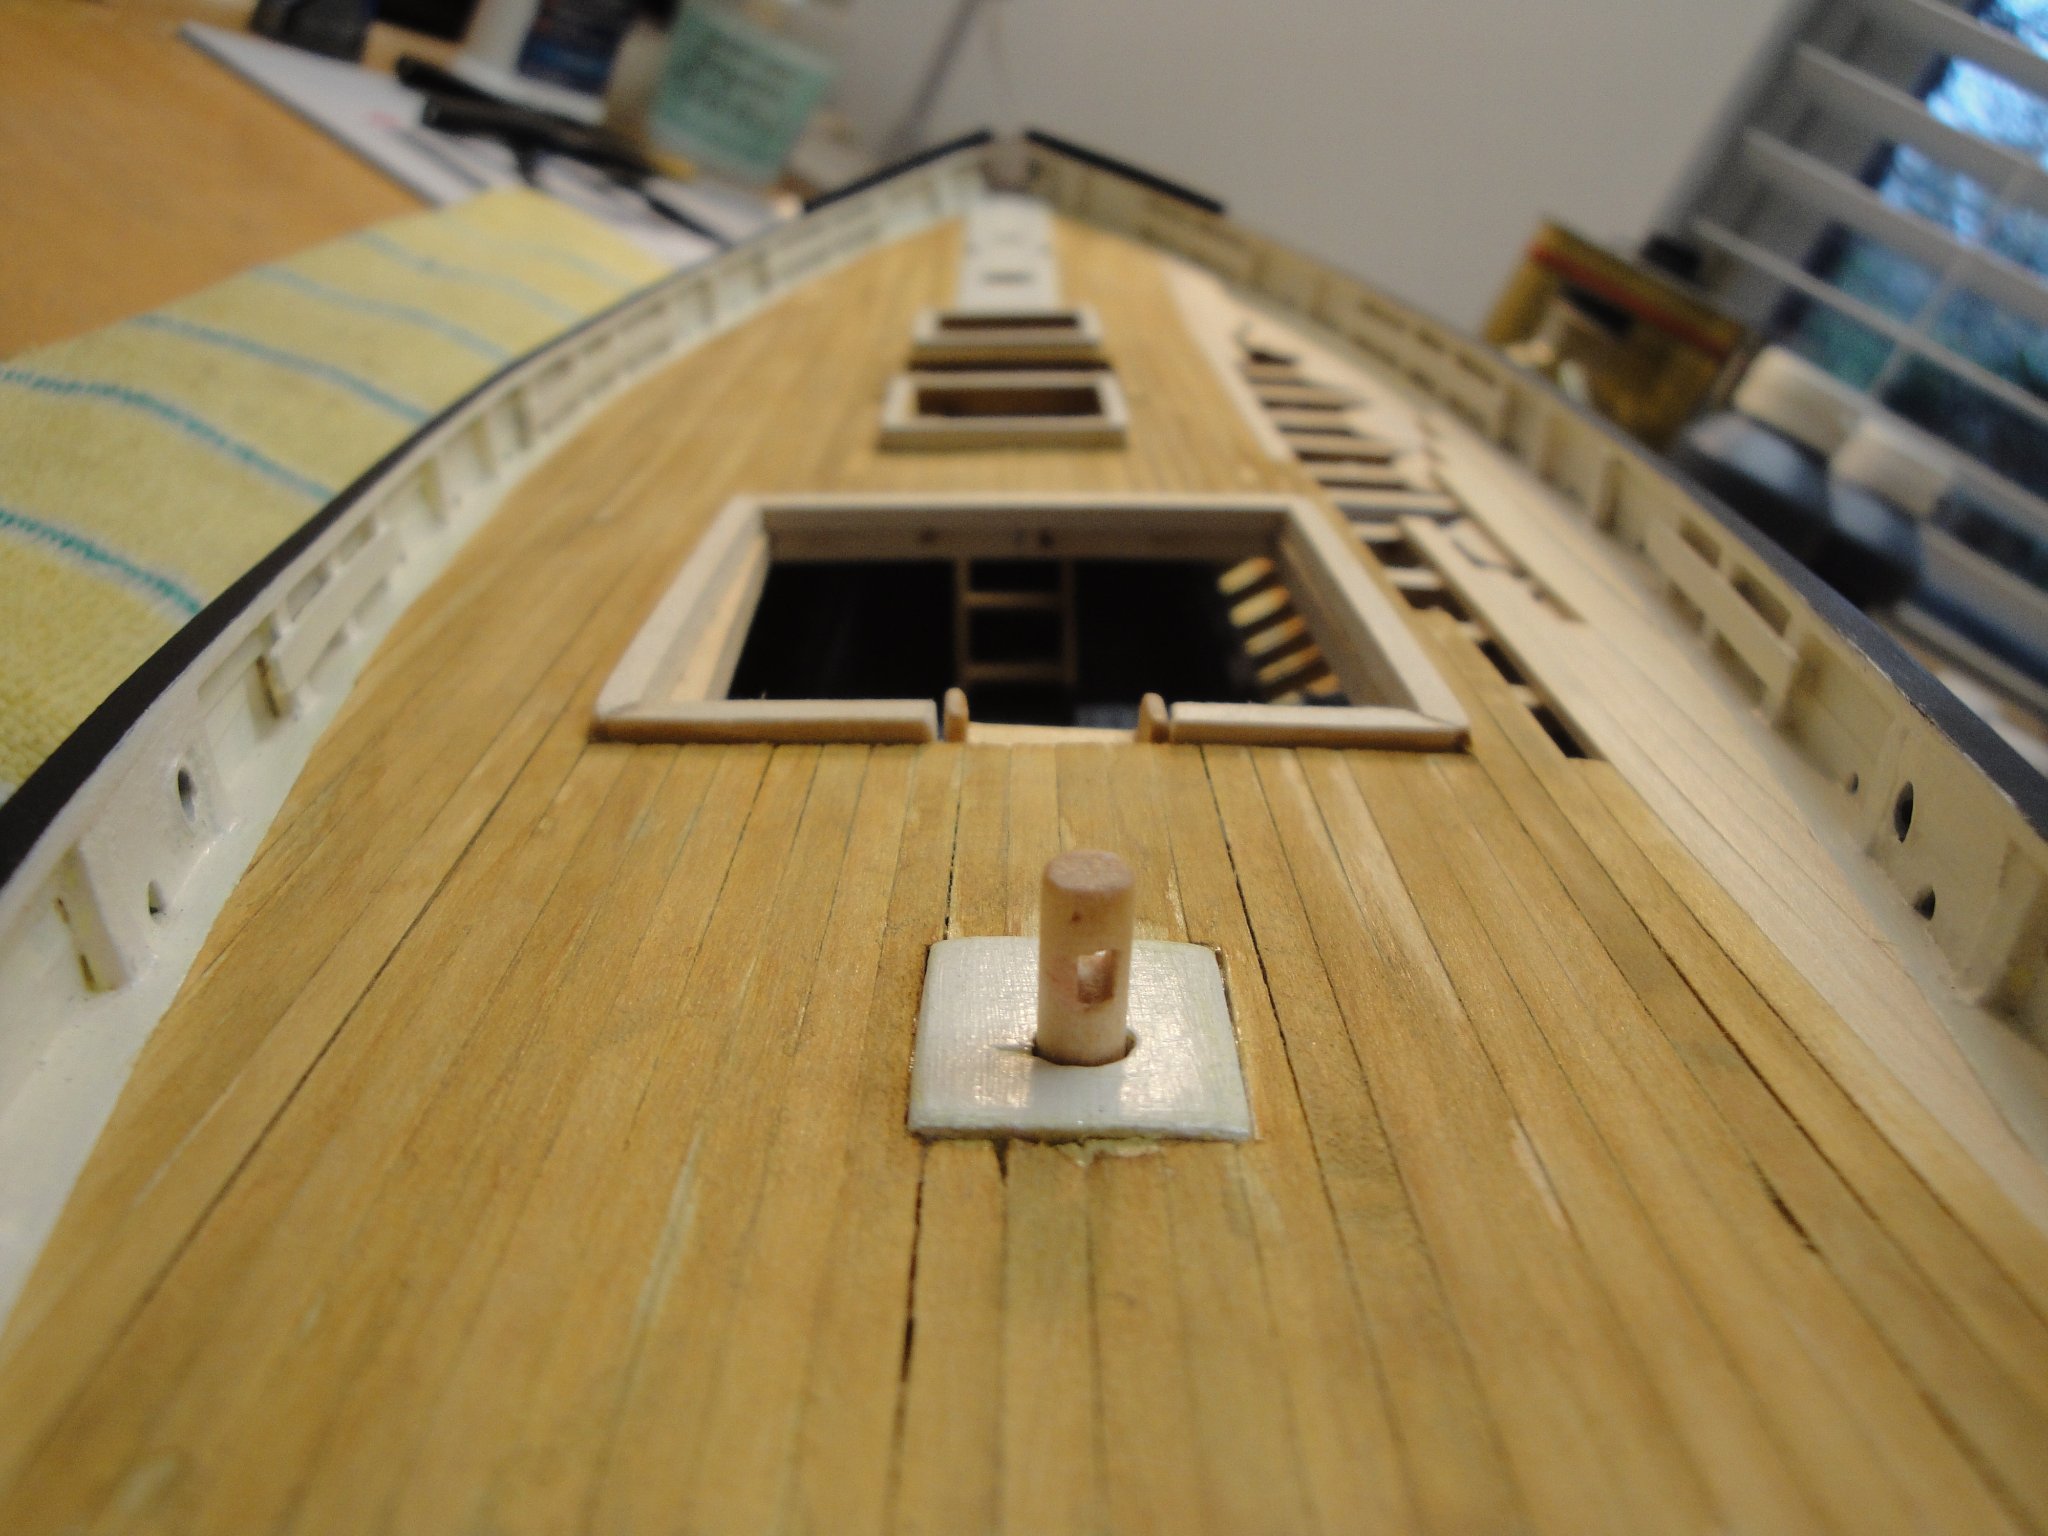
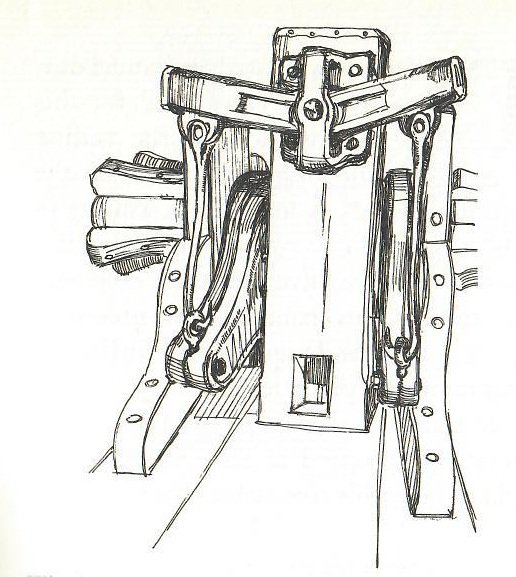
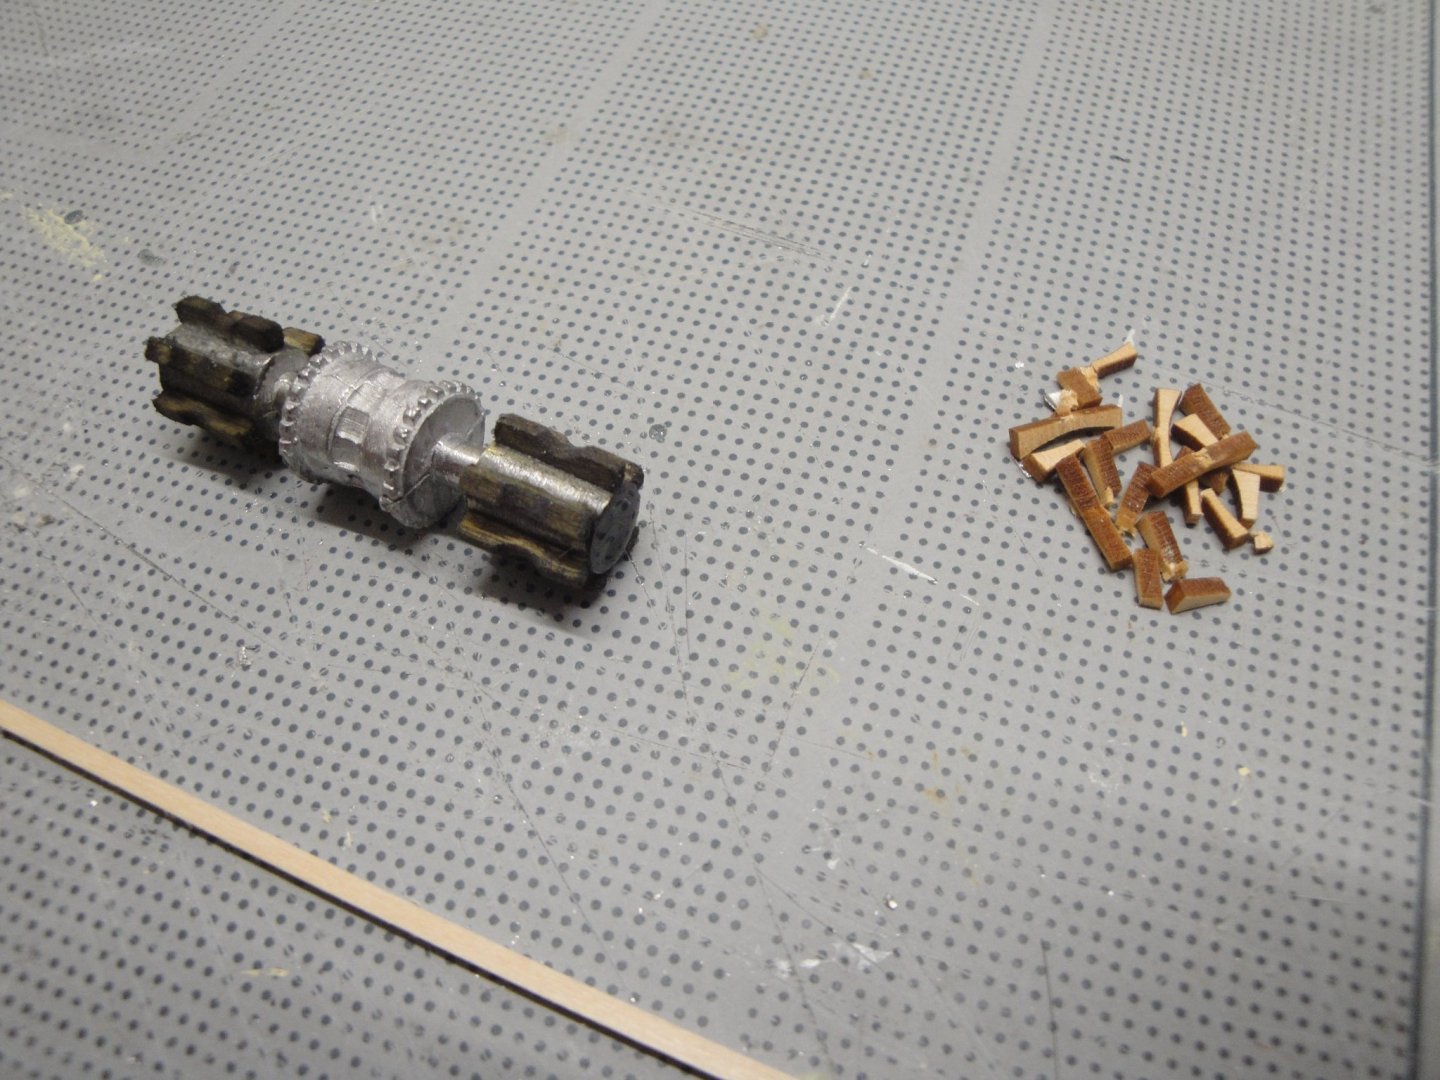
 Next on our construction bench, is the windlass. This equipment is small and mostly used to lift the anchor or secure the boat on a mooring. The Windlass was manually activated as the vessel does not have any source of energy (besides the Wind). The drum is supported by two bitts morticed into the king plank: These bitts are made of yellow pine 2.25 inch thick. They stand above 25" above the deck and are made up of three parts bolted together. In the kit, only two parts are used, which is a good idea and make it sturdier. The top of the bitts are capped with a lead sheet, to prevent the water and rain from entering the end grain. Below are a few more drawings from the Restoration book: The final drawing gives an idea of how the windlass mechanism was actuated: Two levers made of wood, were inserted on each side of that central piece, resting on the bowsprit mortice. The drum is provided in cast pewter metal and is not too bad for a Model Shipways molding (they have a bad reputation). The 12 tiny pieces of wood used to grab the ropes and lines, were totally unusable as they disintegrated when I removed them from their sprue (see wood pile below). I fabricated 12 new teeth and sanded them in a realistic way. Some staining was then performed: Yves
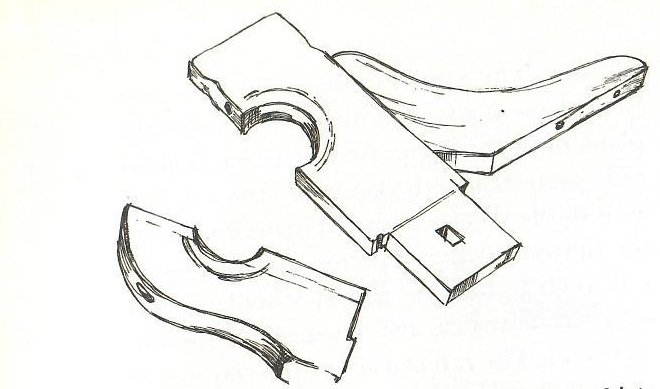


-
Superbly realistic. When do we get to see an aerial view of the village? Yves
-
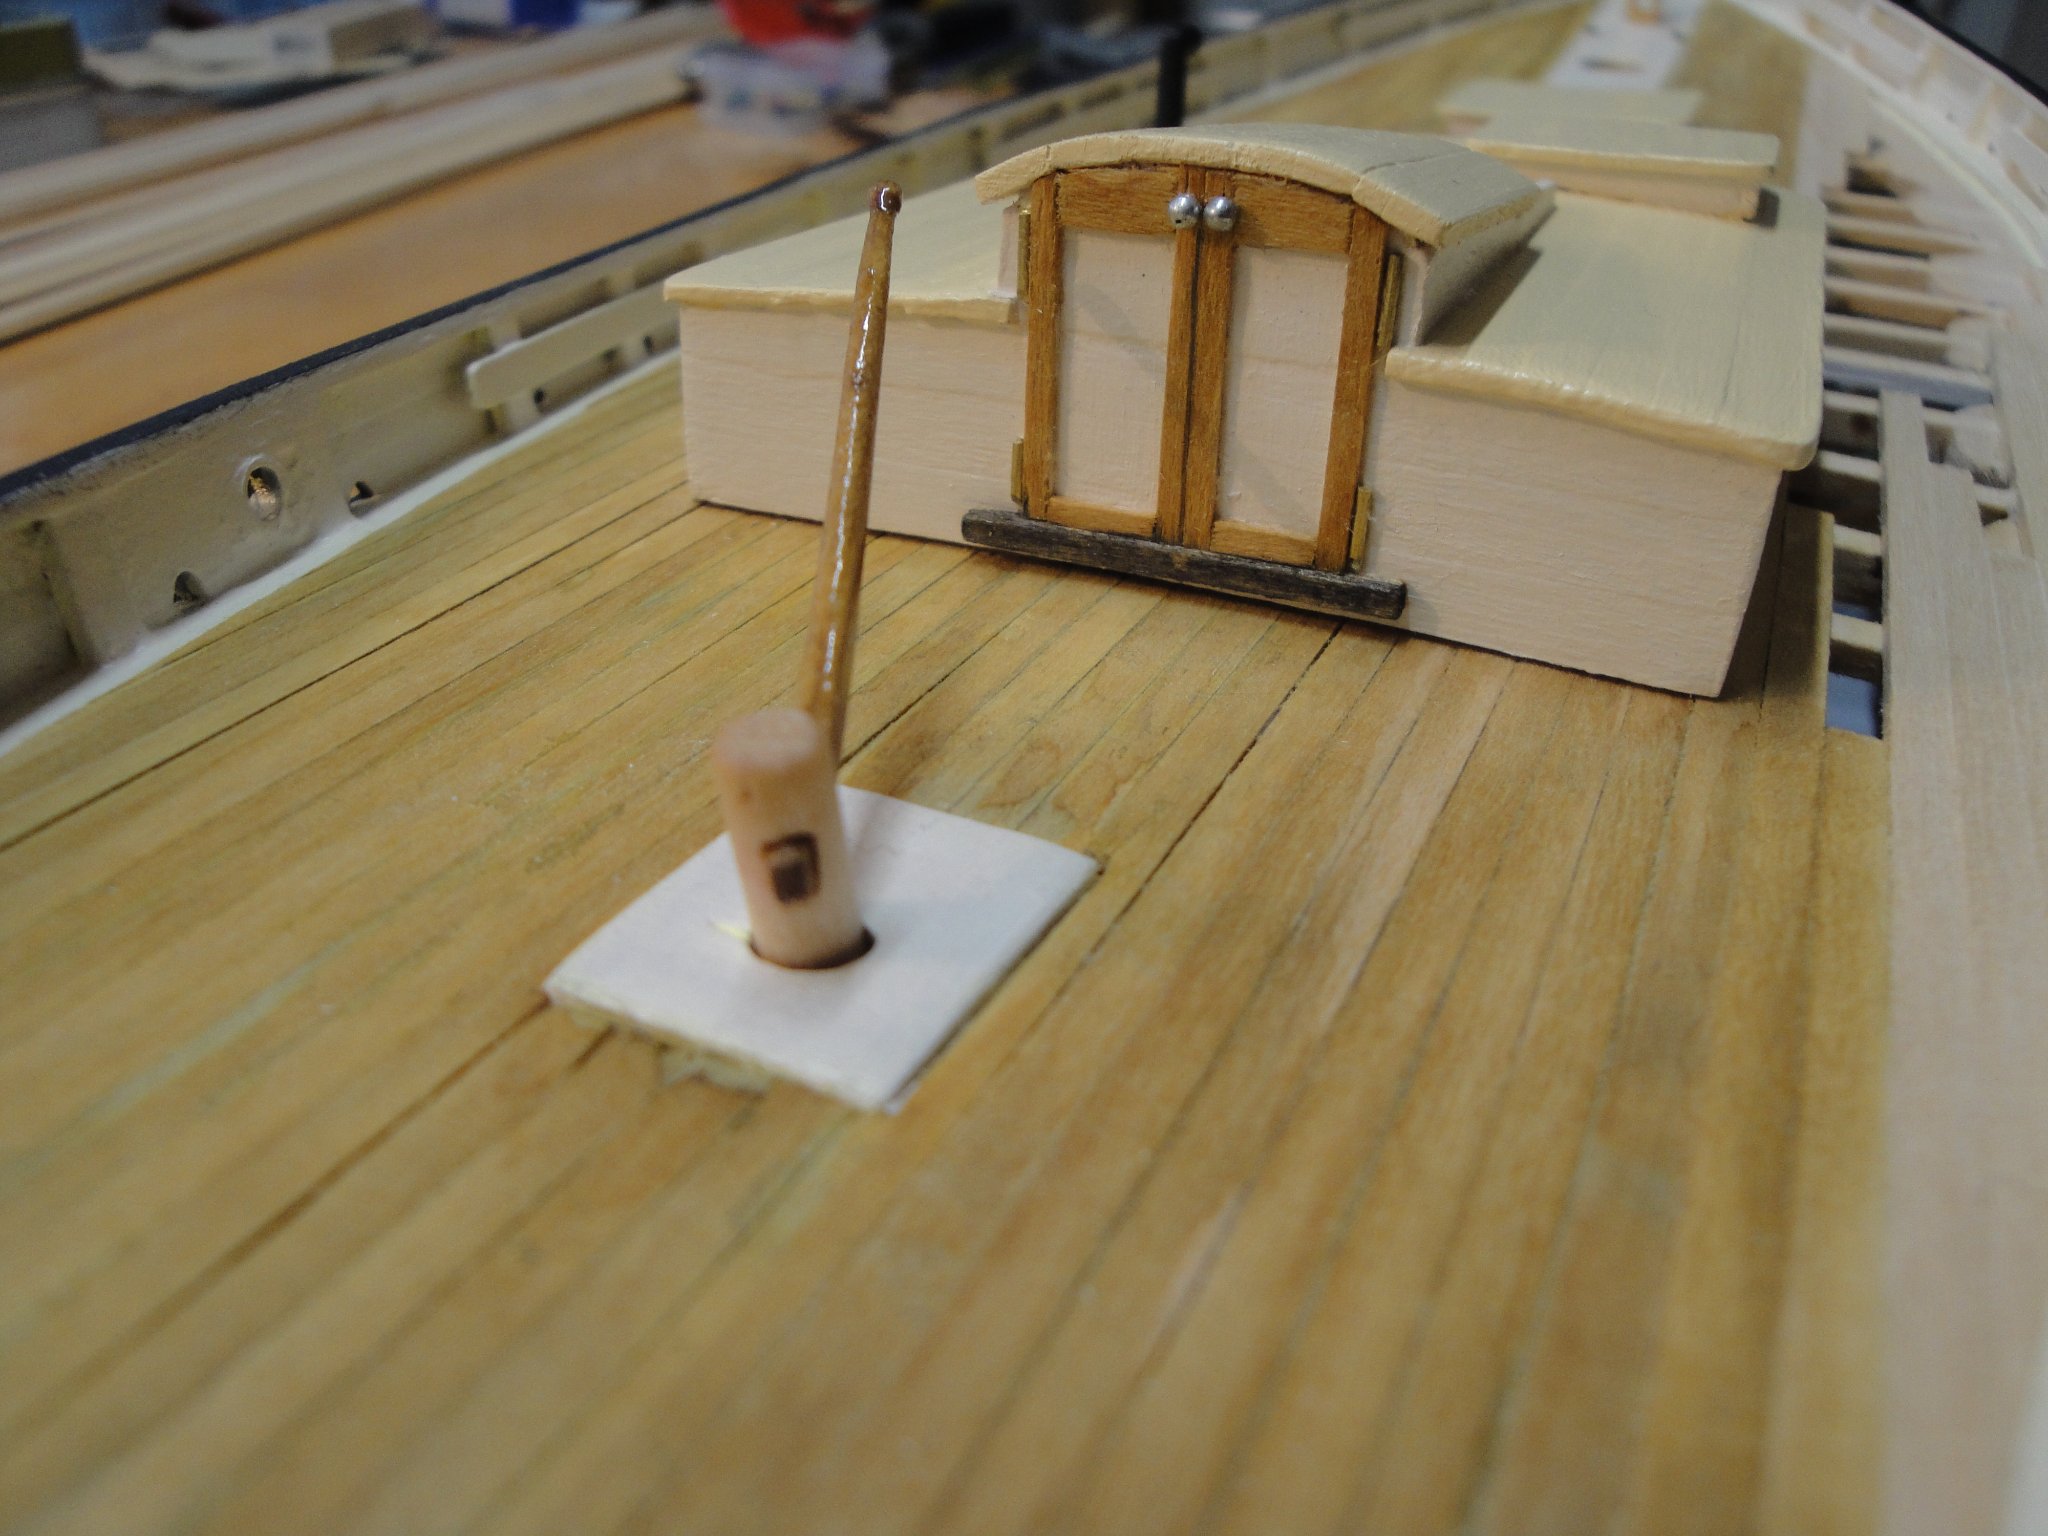
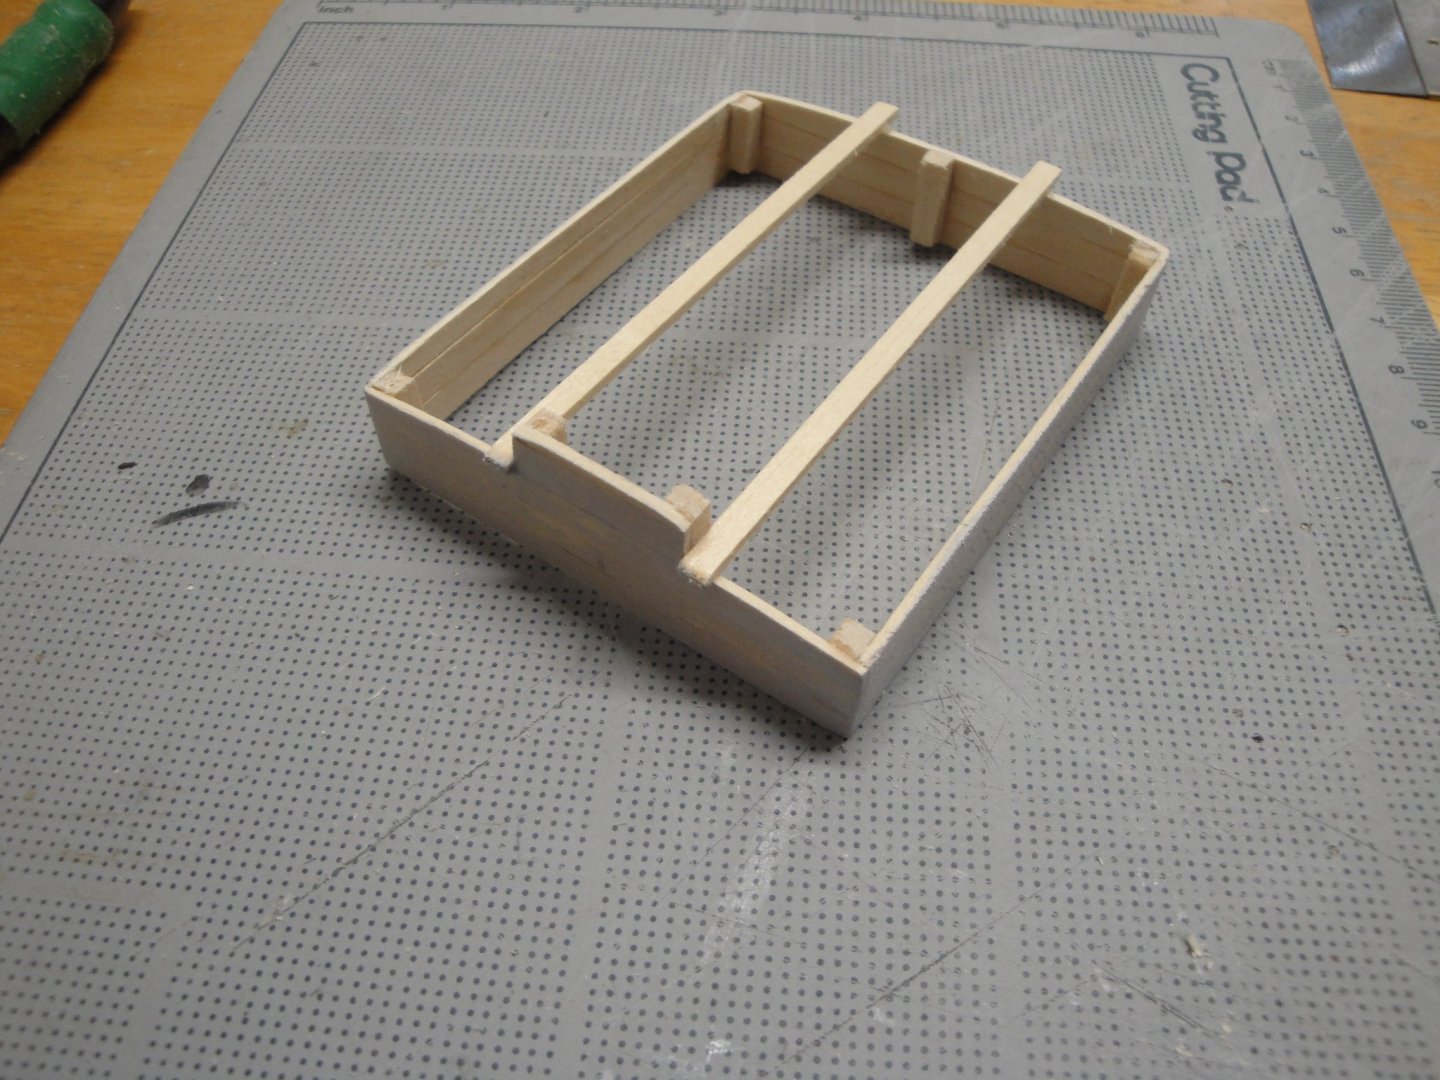
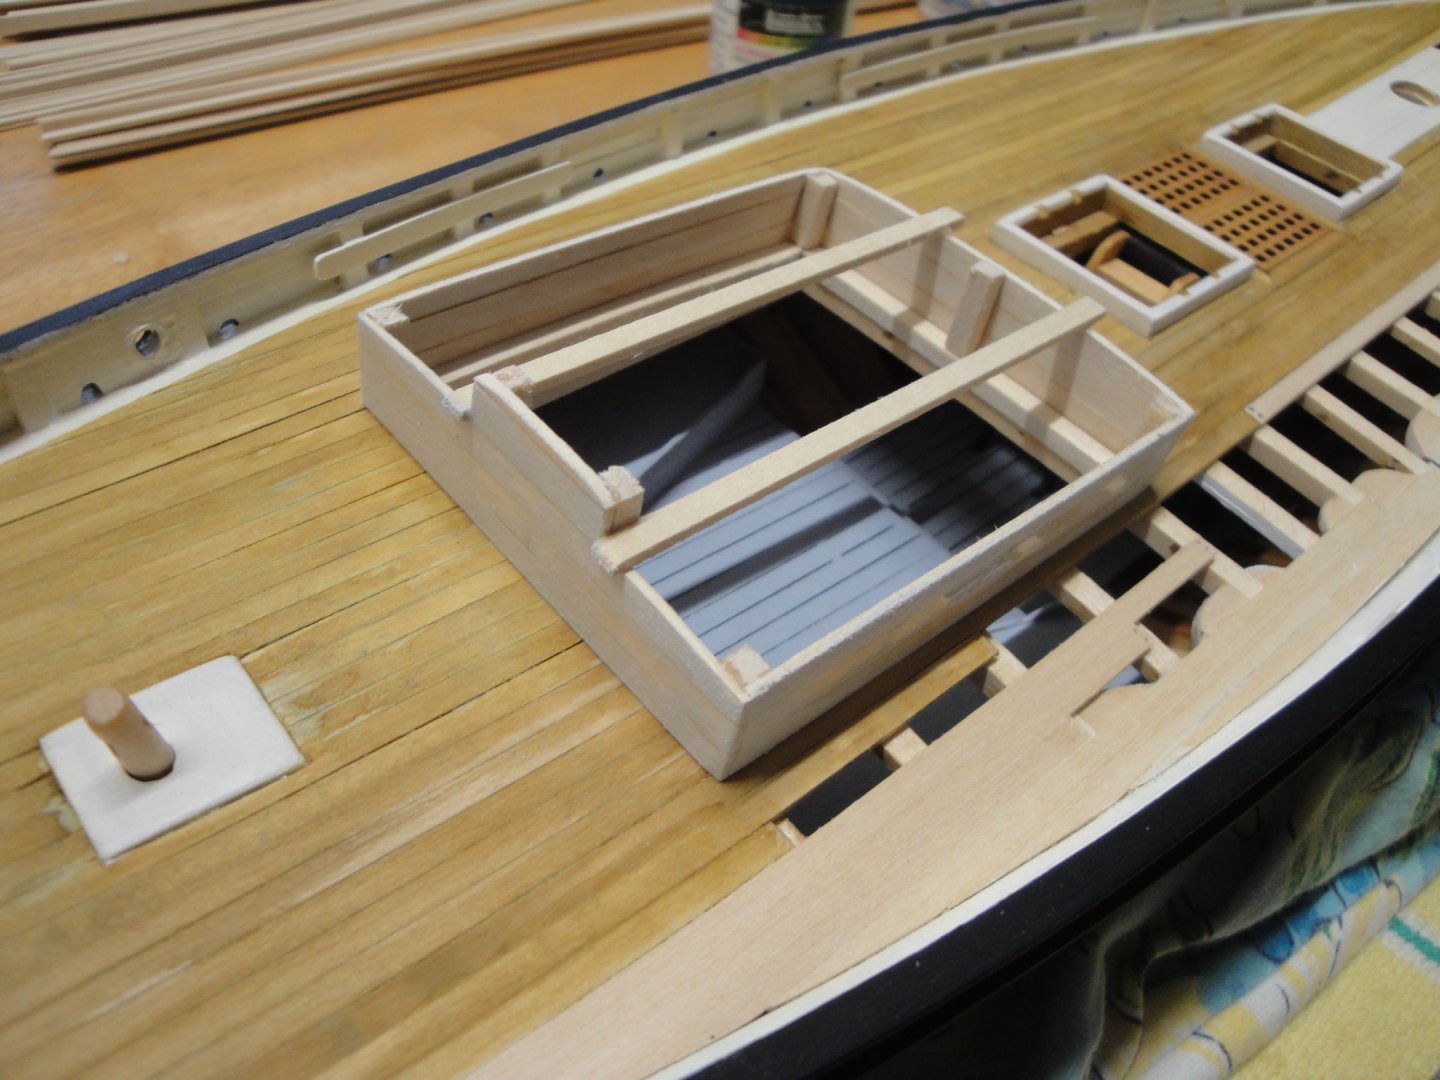
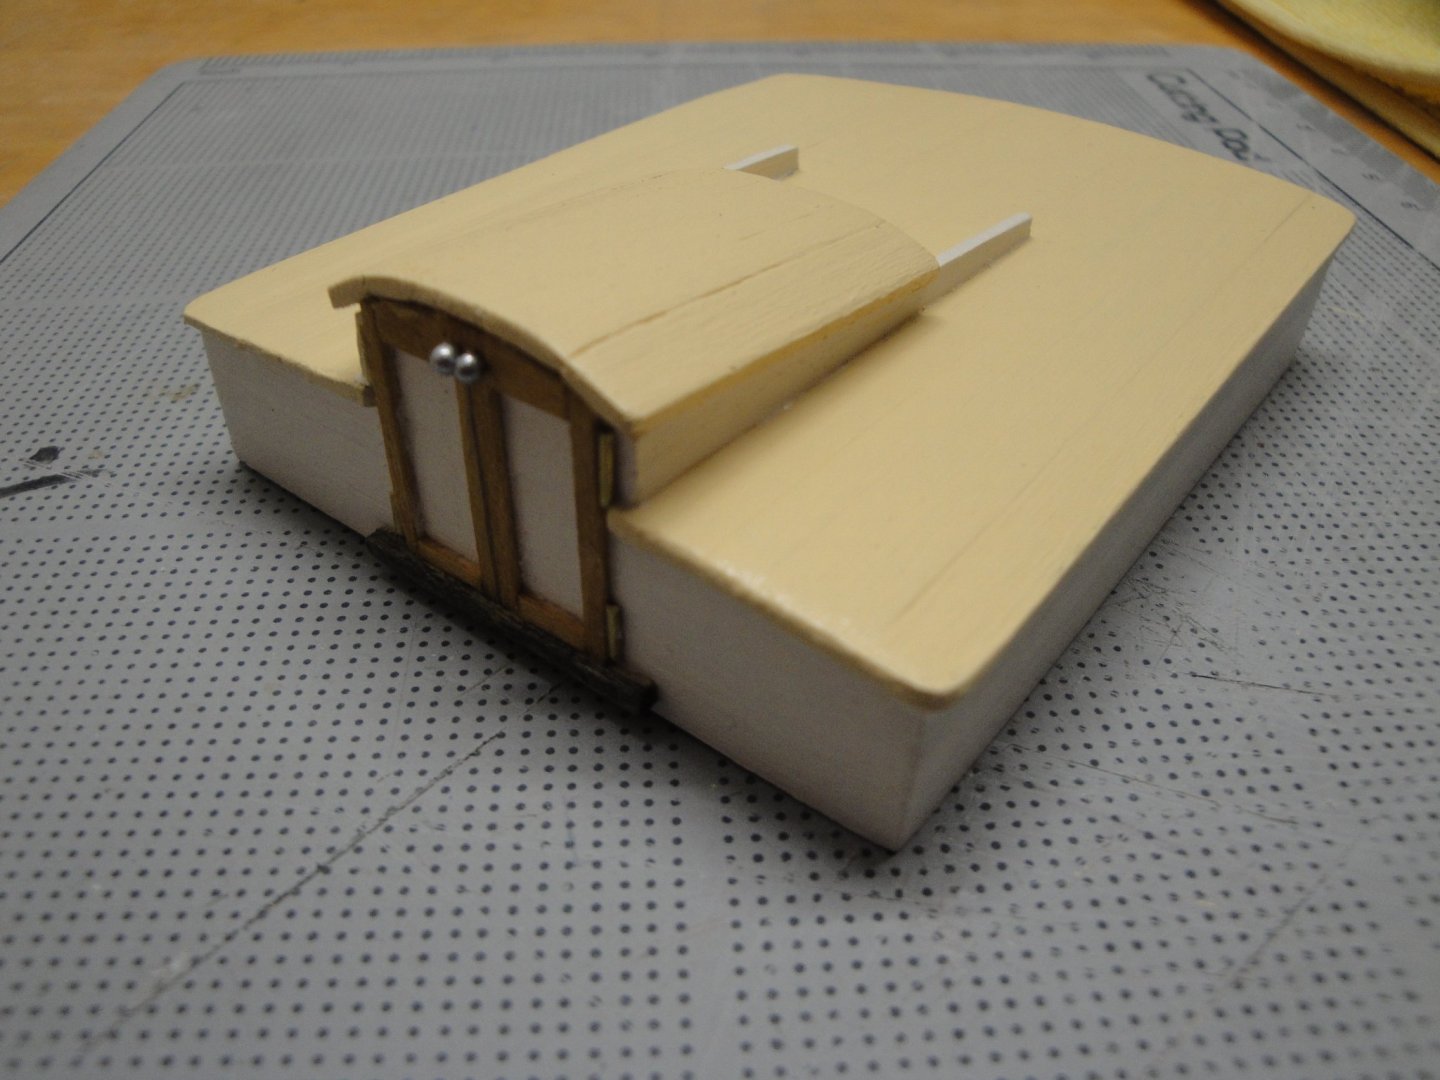
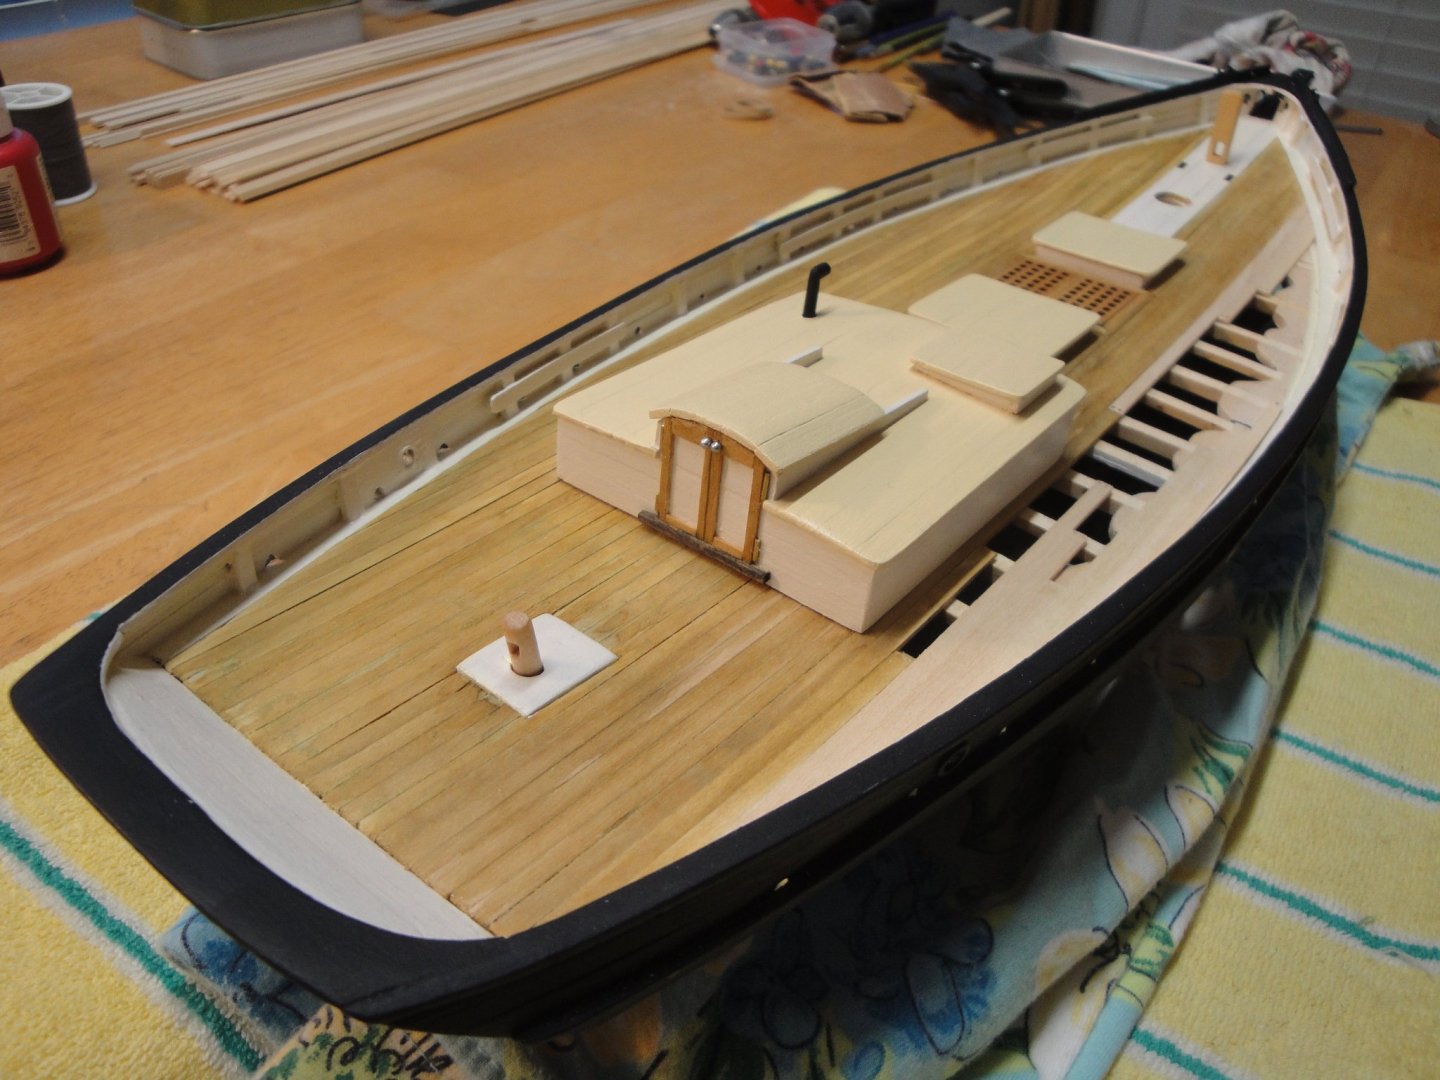
I have been slowed down by a couple of things I am waiting for, in the mail: Dry transfers and Blackening solution for metal parts. In the meantime, the bowsprit is ready and will be mounted when parts have been blackened. It is removable, as this is a big and fragile piece of the model: I am using two real screws of 1.6 mm to simulate the main bracing of the bowsprit. These parts will be blackened and blend with the rest of the bow. I have also been working on the main superstructure (cabin is a big word for what is nothing more than a door and a roof protecting the ladder and the landing): The main "cabin" is not yet glued to the deck: View of the tiller: Once I can complete the stern (Dry transfer), I will assemble the bowsprit and its guys and chain and the hull will be pretty much completed. I will need to put together the winch and a few minor details and we can then move to the next phases: rigging and construction of the diorama. Thank you for the encouragements and accolades. They are much welcome. Yves


-
What a beautiful bench. I see that a Spitfire is about to be started.... Those Guillows kit can be very tricky. Yves
-
Superb. I am doing also a functional rudder of a fishing boat at the scale of 1/32nd and it can be a challenge at times. I admire this one at a much smaller scale. Yves
-
In the meantime, we are all looking forward to reading your Build Log about the 1/200 Titanic from Trumpeter. Yves
-
I have always wondered if the Mayflower (the original one) that departed from England to the North East Coast of America, was equipped with guns. I understand that the hull may have had ports, but really wonder if the first emigrants out of England, had the space and need for eight large guns, inside the hull. I know there was a lot of food, tools, chickens, goats and close to 100 people. Could an expert comment on this? Thanks Yves
-
Nice to see Pauline back. Looking forward to tasting these freshly fished sardines.... Yves
- 100 replies
-
- 3
-

-
- pauline
- BlueJacket Shipcrafters
- (and 1 more)
-
Great little boat. I recently purchased a similar kit. I will be watching your progress. Yves
- 8 replies
-
- 2
-
-
- Finished
- Model Shipways
- (and 1 more)
-
There is something interesting in that picture: the respective sizes of the vehicles. For me the Camaro is much bigger than the Ferrari (at least in real life) but the Tamiya kit is in 1/24th whereas the AMT kit is 1/25th. That could explain the differences. Or maybe it is just an optical illusion due to the angle of the picture. Yves
-
Interesting kit. I like the details of the boiler and cylinder. I will be following your progress. Yves
-
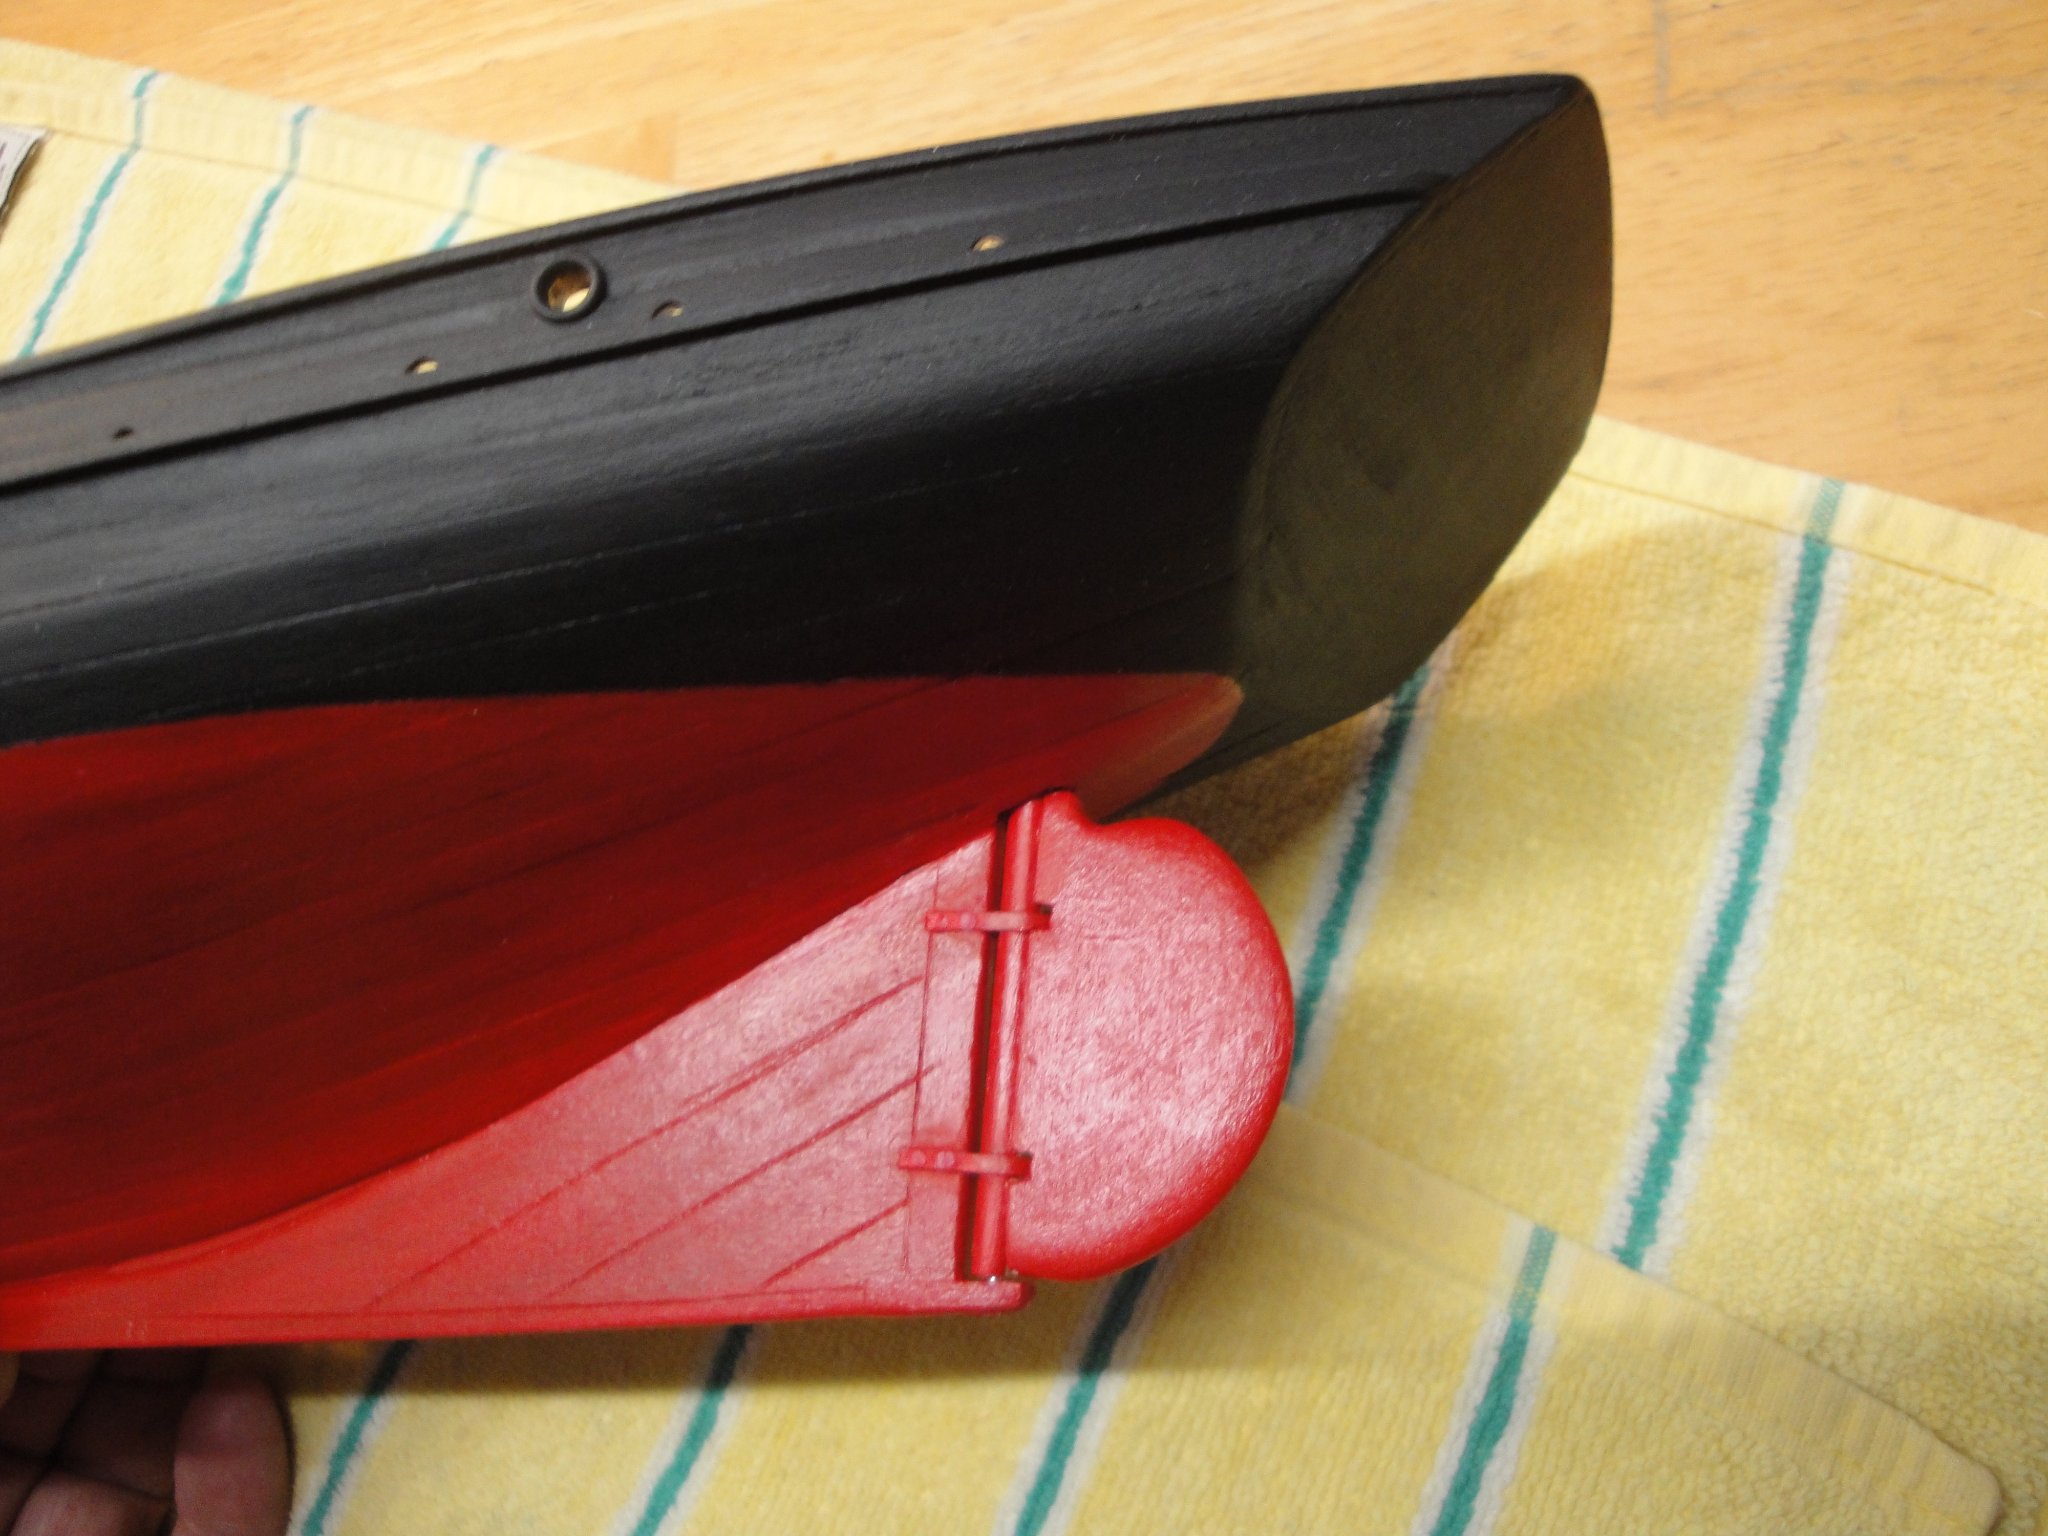
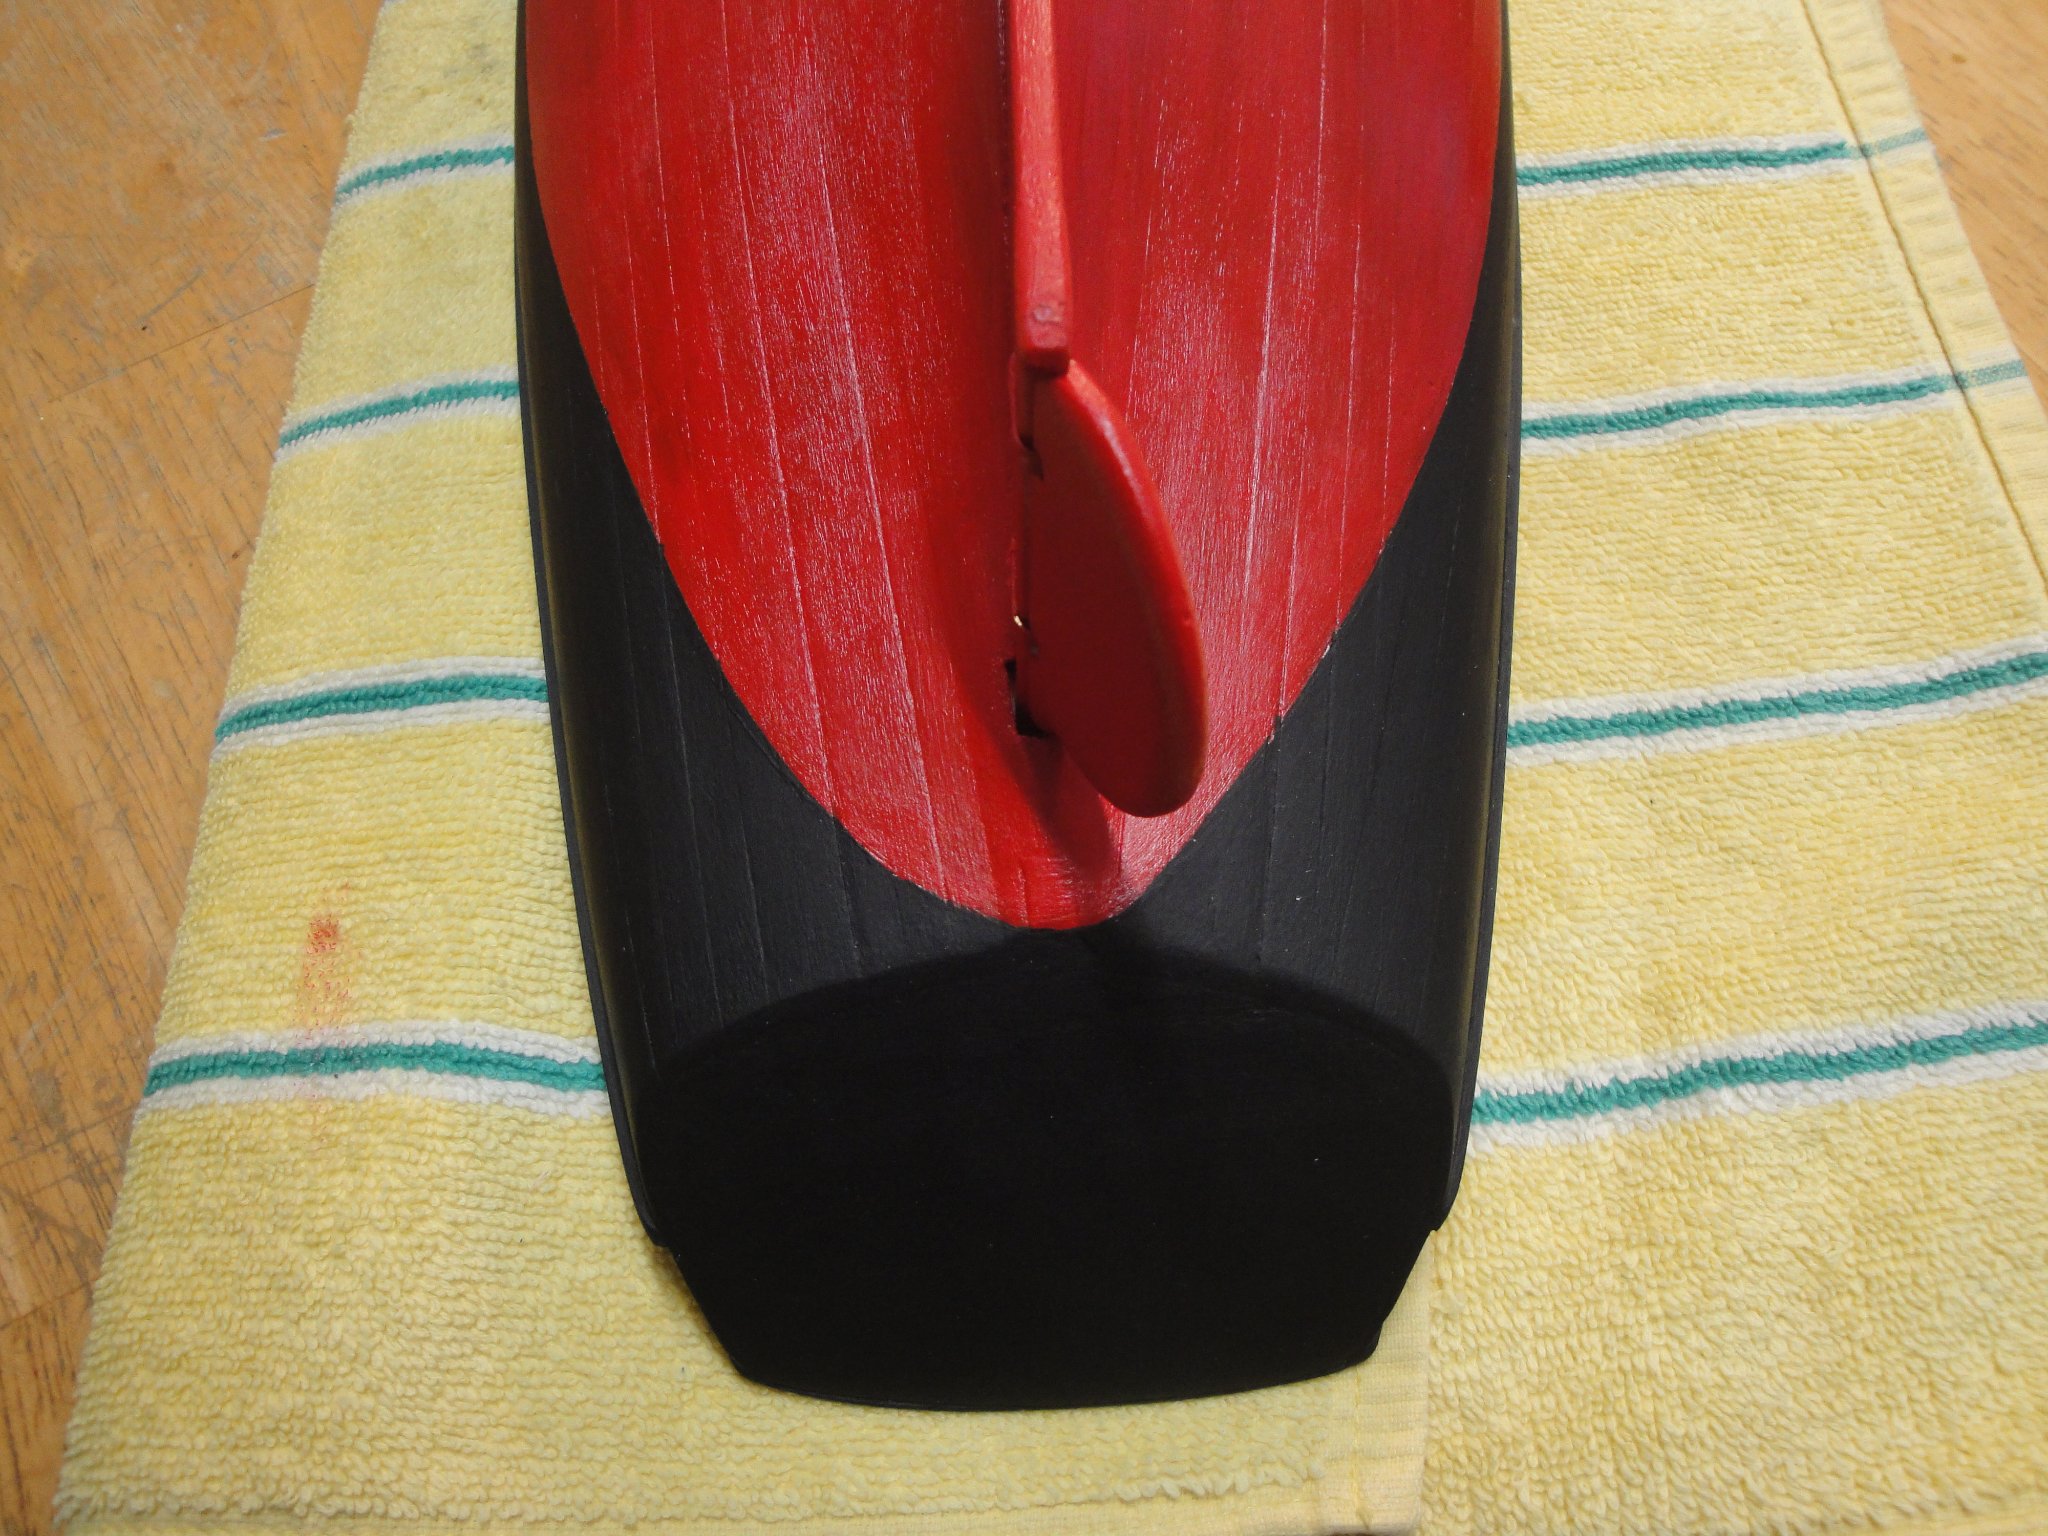
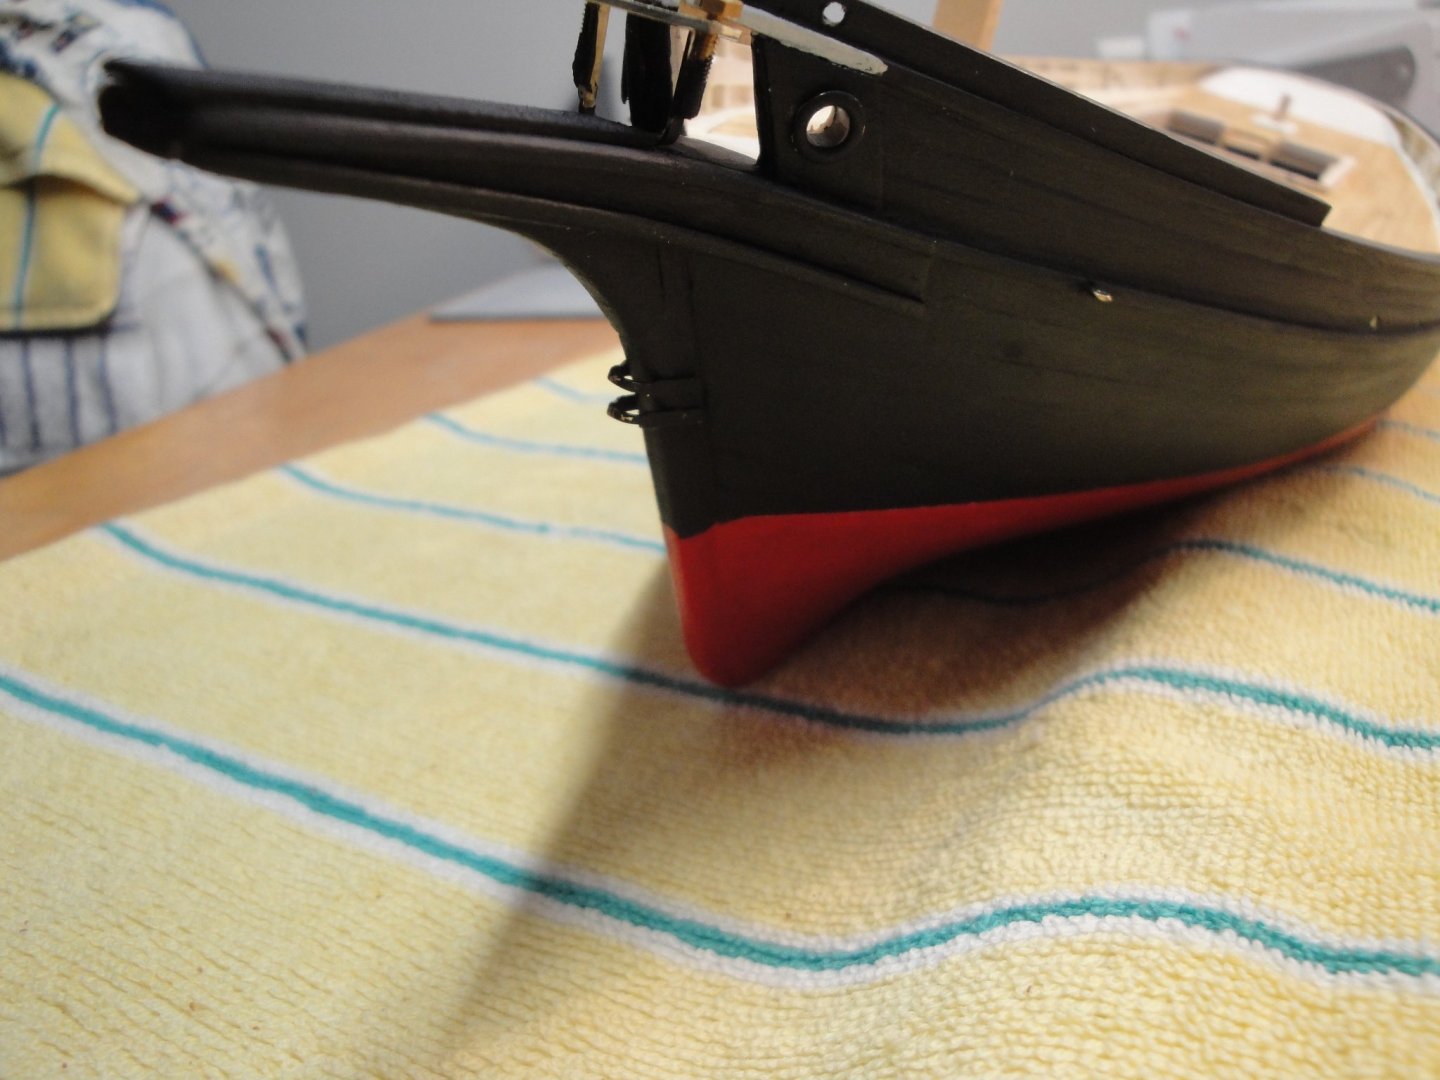
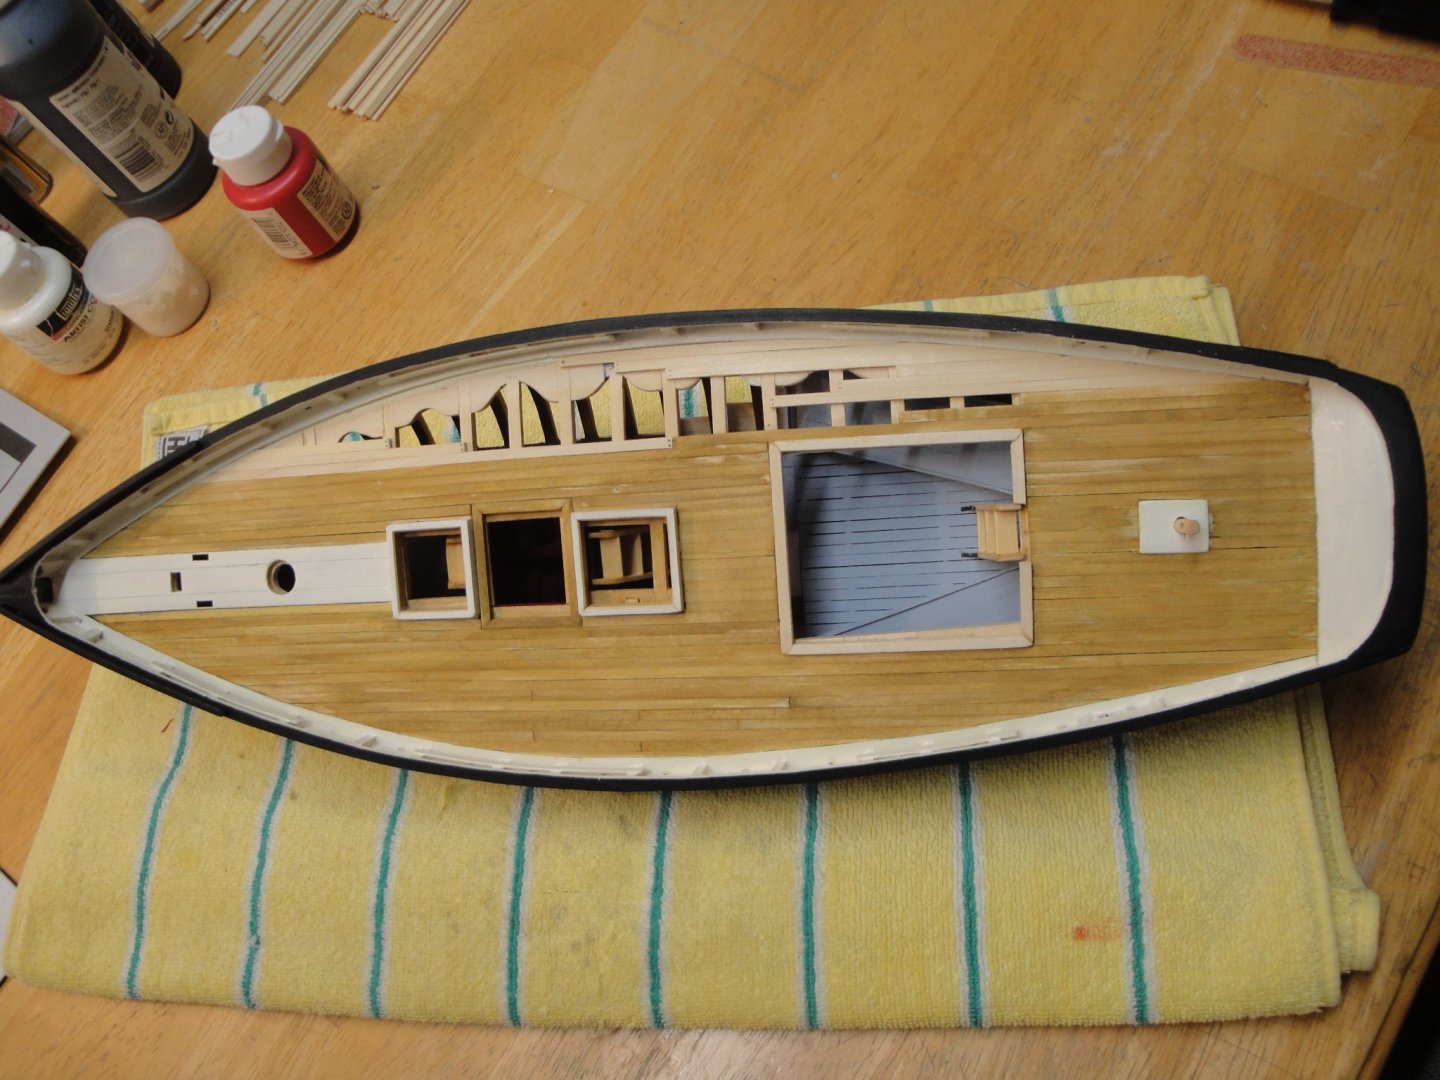
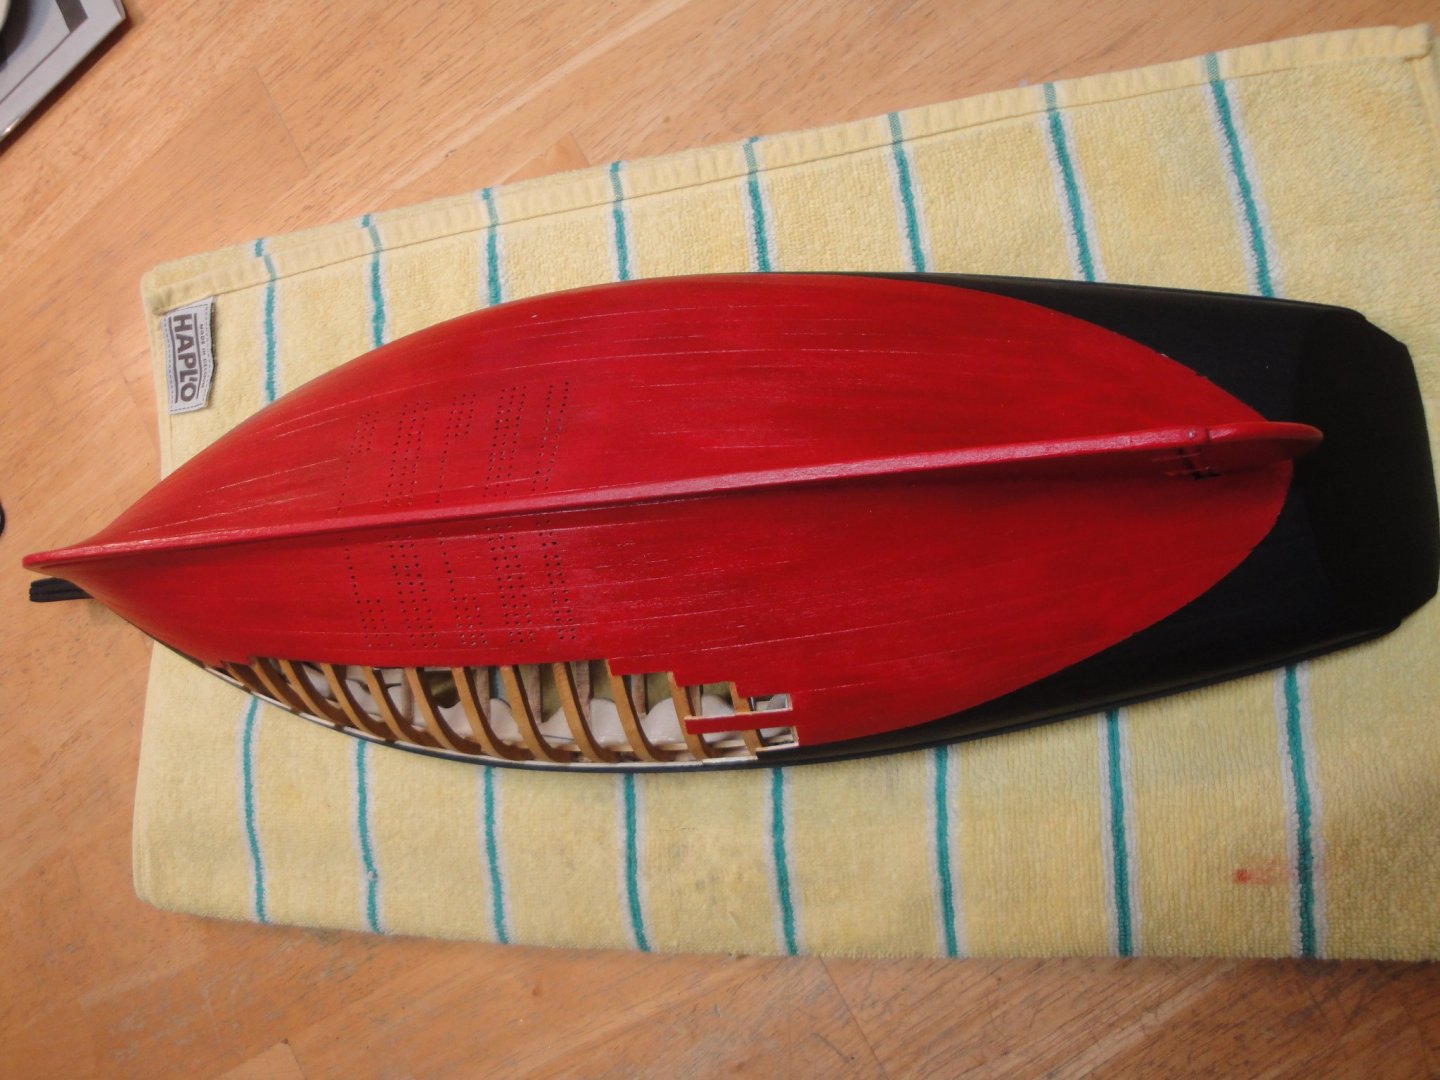
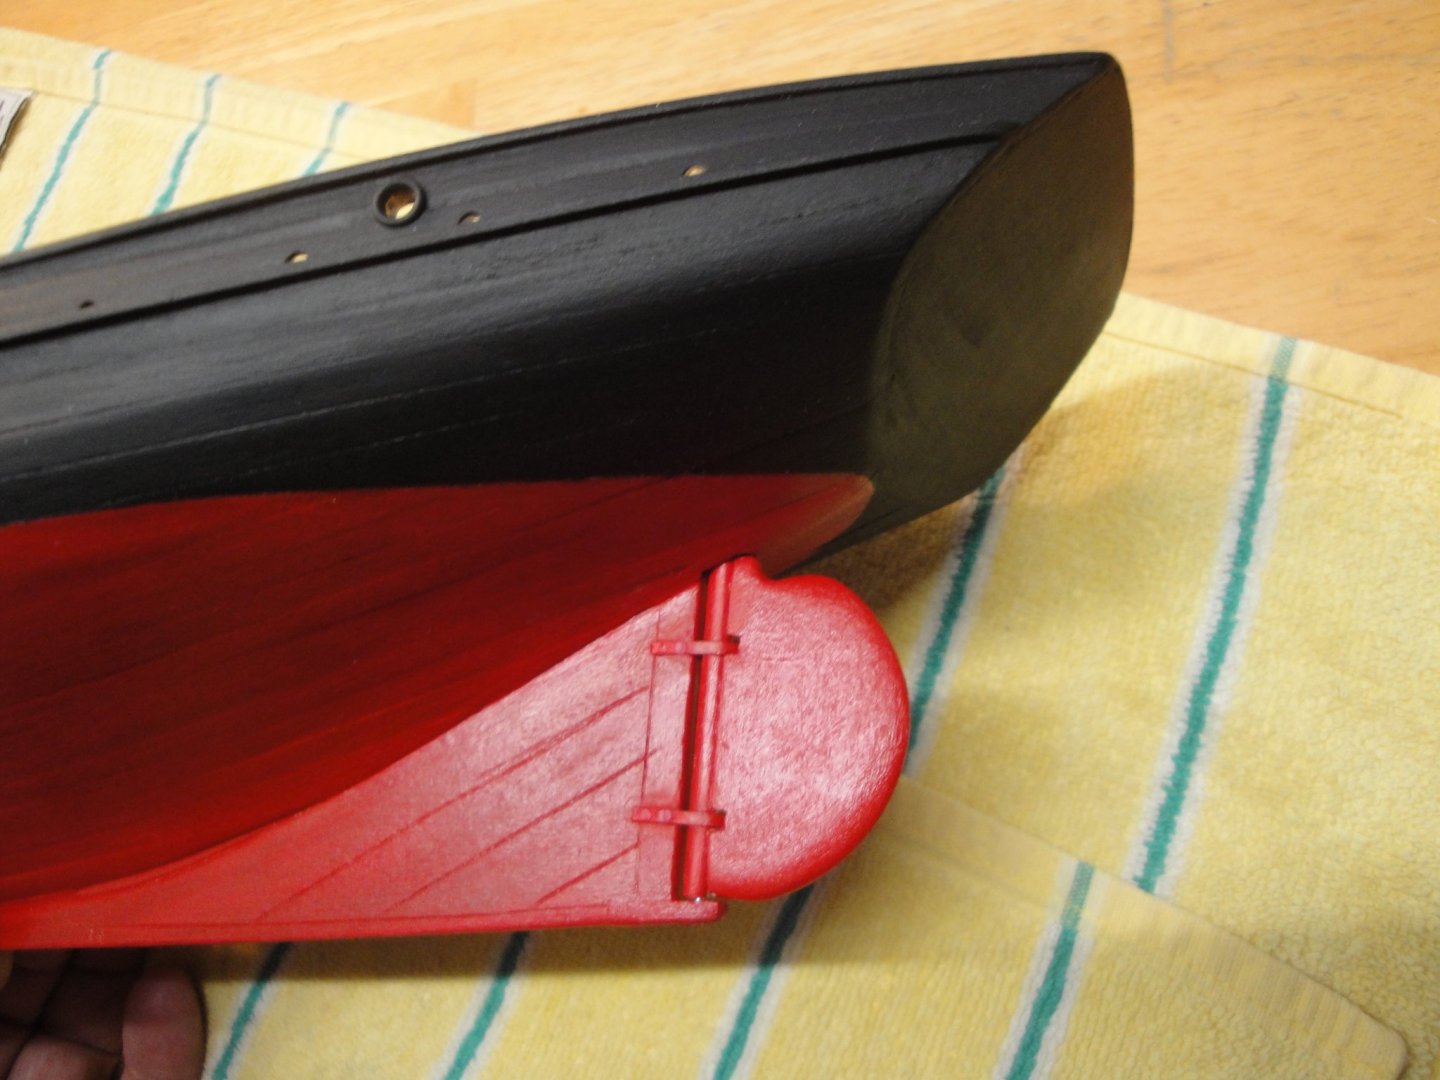
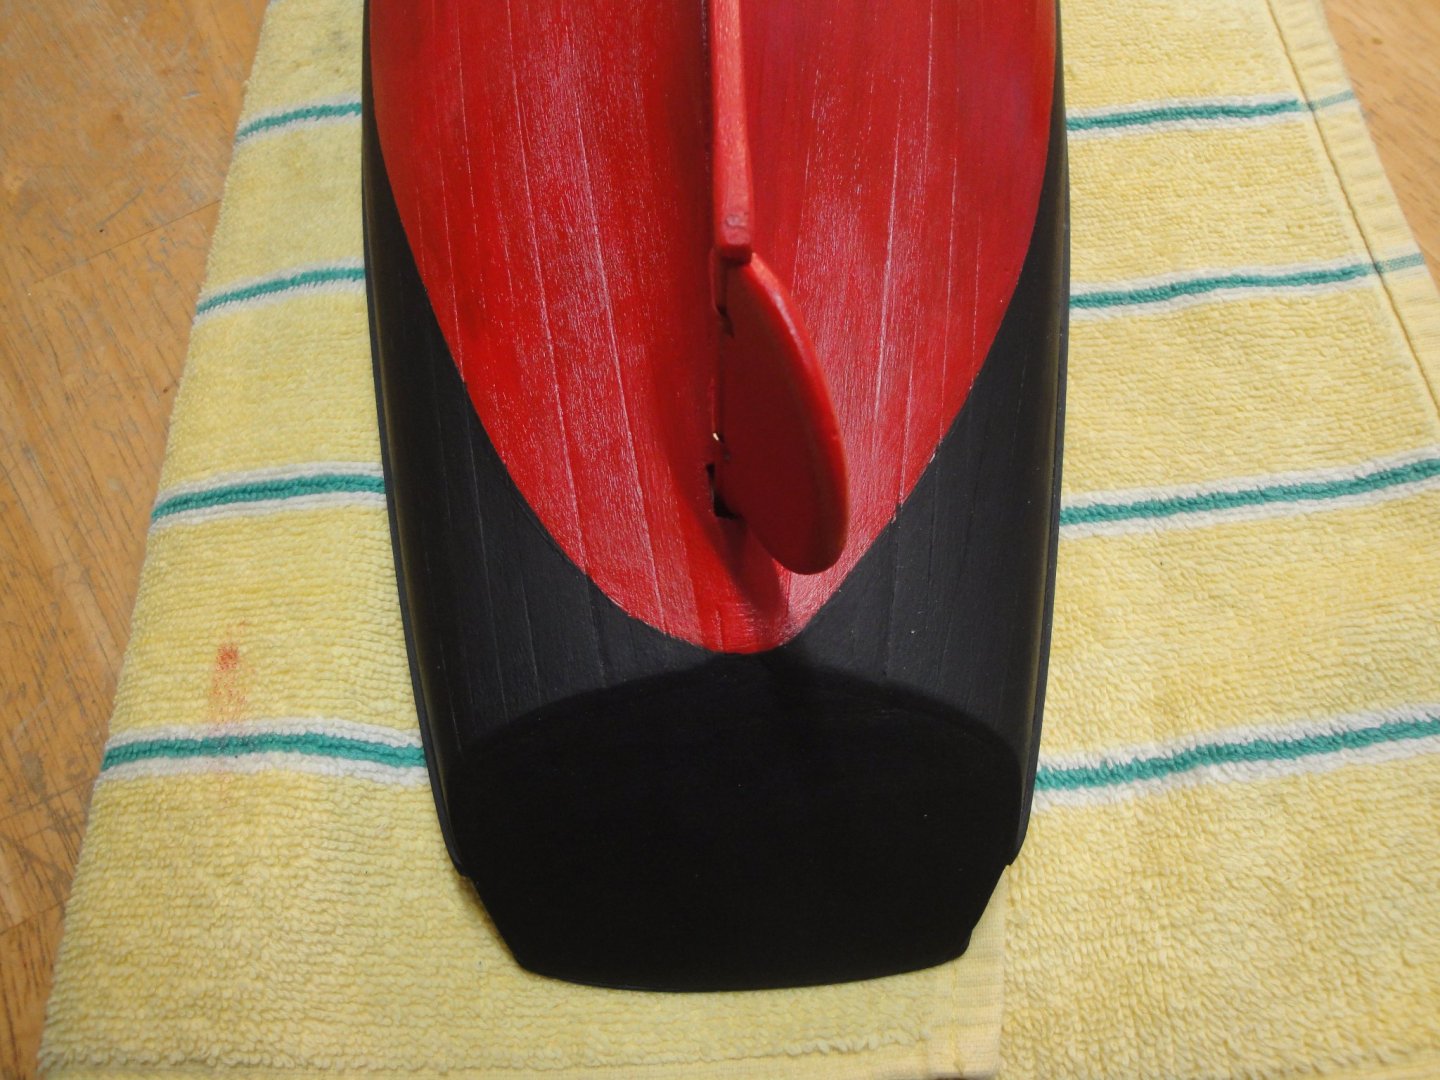
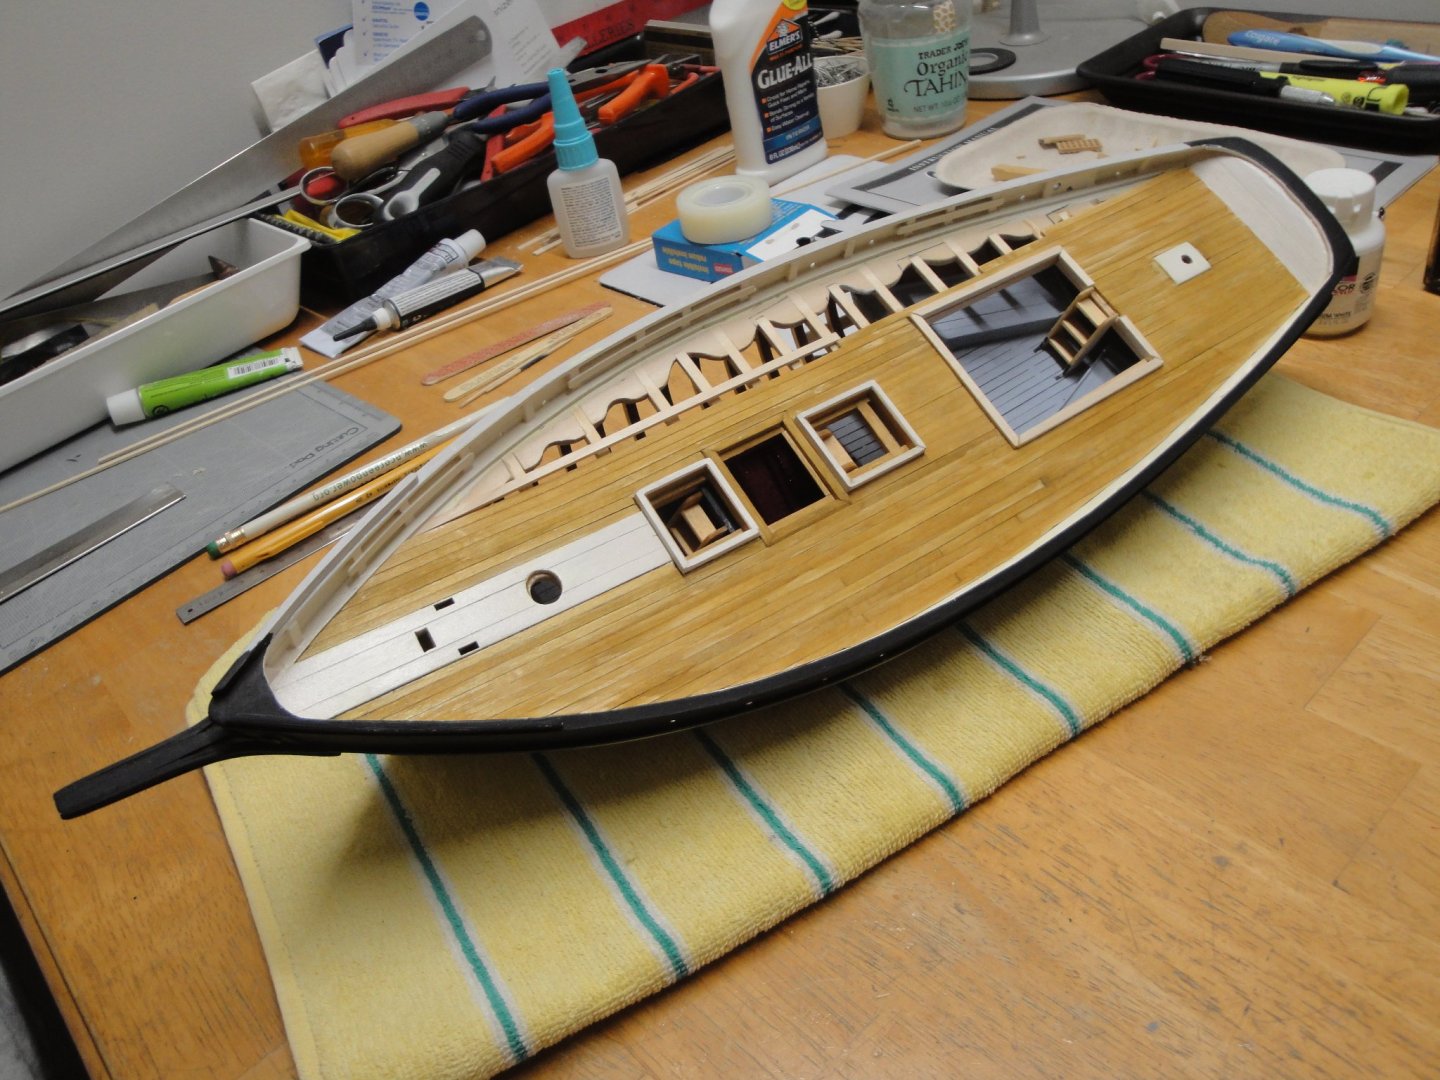
A few updates: The hull has now been painted (still missing the stripes) and the deck is at the point where I wanted it to be, for my diorama: The rudder has also been installed and is working. You can swivel the rudder blade by pushing or pulling on the tiller: The deck is in the process of being re-built: Acrylic paints were used for the hull: red crimson hue and Black Gesso, both from Liquitex. There are four coats of red which does not come as a surprise when you know how transparent red can be: The holes to the well have been re-defined with a pin. All painting is brushed like on the prototype. The rudder is glued to a wood shaft, pivoting on a pin and braced by two strips of copper, riveted to the hull: It works rather well, even though that boat will never go in the water.... The next part will be either the completion of the stern (I need to find dry transfers for that) or the bow. I have not made up my mind yet.... Yves


-
Enzo Ferrari by CDW - FINISHED - Tamiya 1:24 Scale
yvesvidal replied to CDW's topic in Non-ship/categorised builds
Superb model Craig. I see there is still plenty of space in that cabinet.... 😉 Yves -
Tres Belle Peinture !!! Yves
-
FINISHED - 1:8 GT500 Shelby Super Snake - Agora Models
yvesvidal replied to James H's topic in Non-ship/categorised builds
These Agora kits are nothing more than glorified Meccano/Erector/Lego for wealthy wanna-be modelers. When the only tool you need is a little Phillips screwdriver, I do not believe you can talk about modeling. No pain, no gain as they say in the good old USA. However James, I understand your role in creating the assembly guide/manual that will help the future Agora purchasers. Yves -
So what happens after you start planking? Do you push the wood rods out of the frames? How do you fill up the holes? It is indeed a clever way to get everything aligned. Yves
-
Enzo Ferrari by CDW - FINISHED - Tamiya 1:24 Scale
yvesvidal replied to CDW's topic in Non-ship/categorised builds
This is a little marvel. Yves -
Great progress on that difficult kit (mostly due to the choice of wood by AL). Yves
- 42 replies
-
- 1
-

-
- first build
- artesania latina
- (and 1 more)
-
No, it is not. I just found it on the Internet. Yves
-
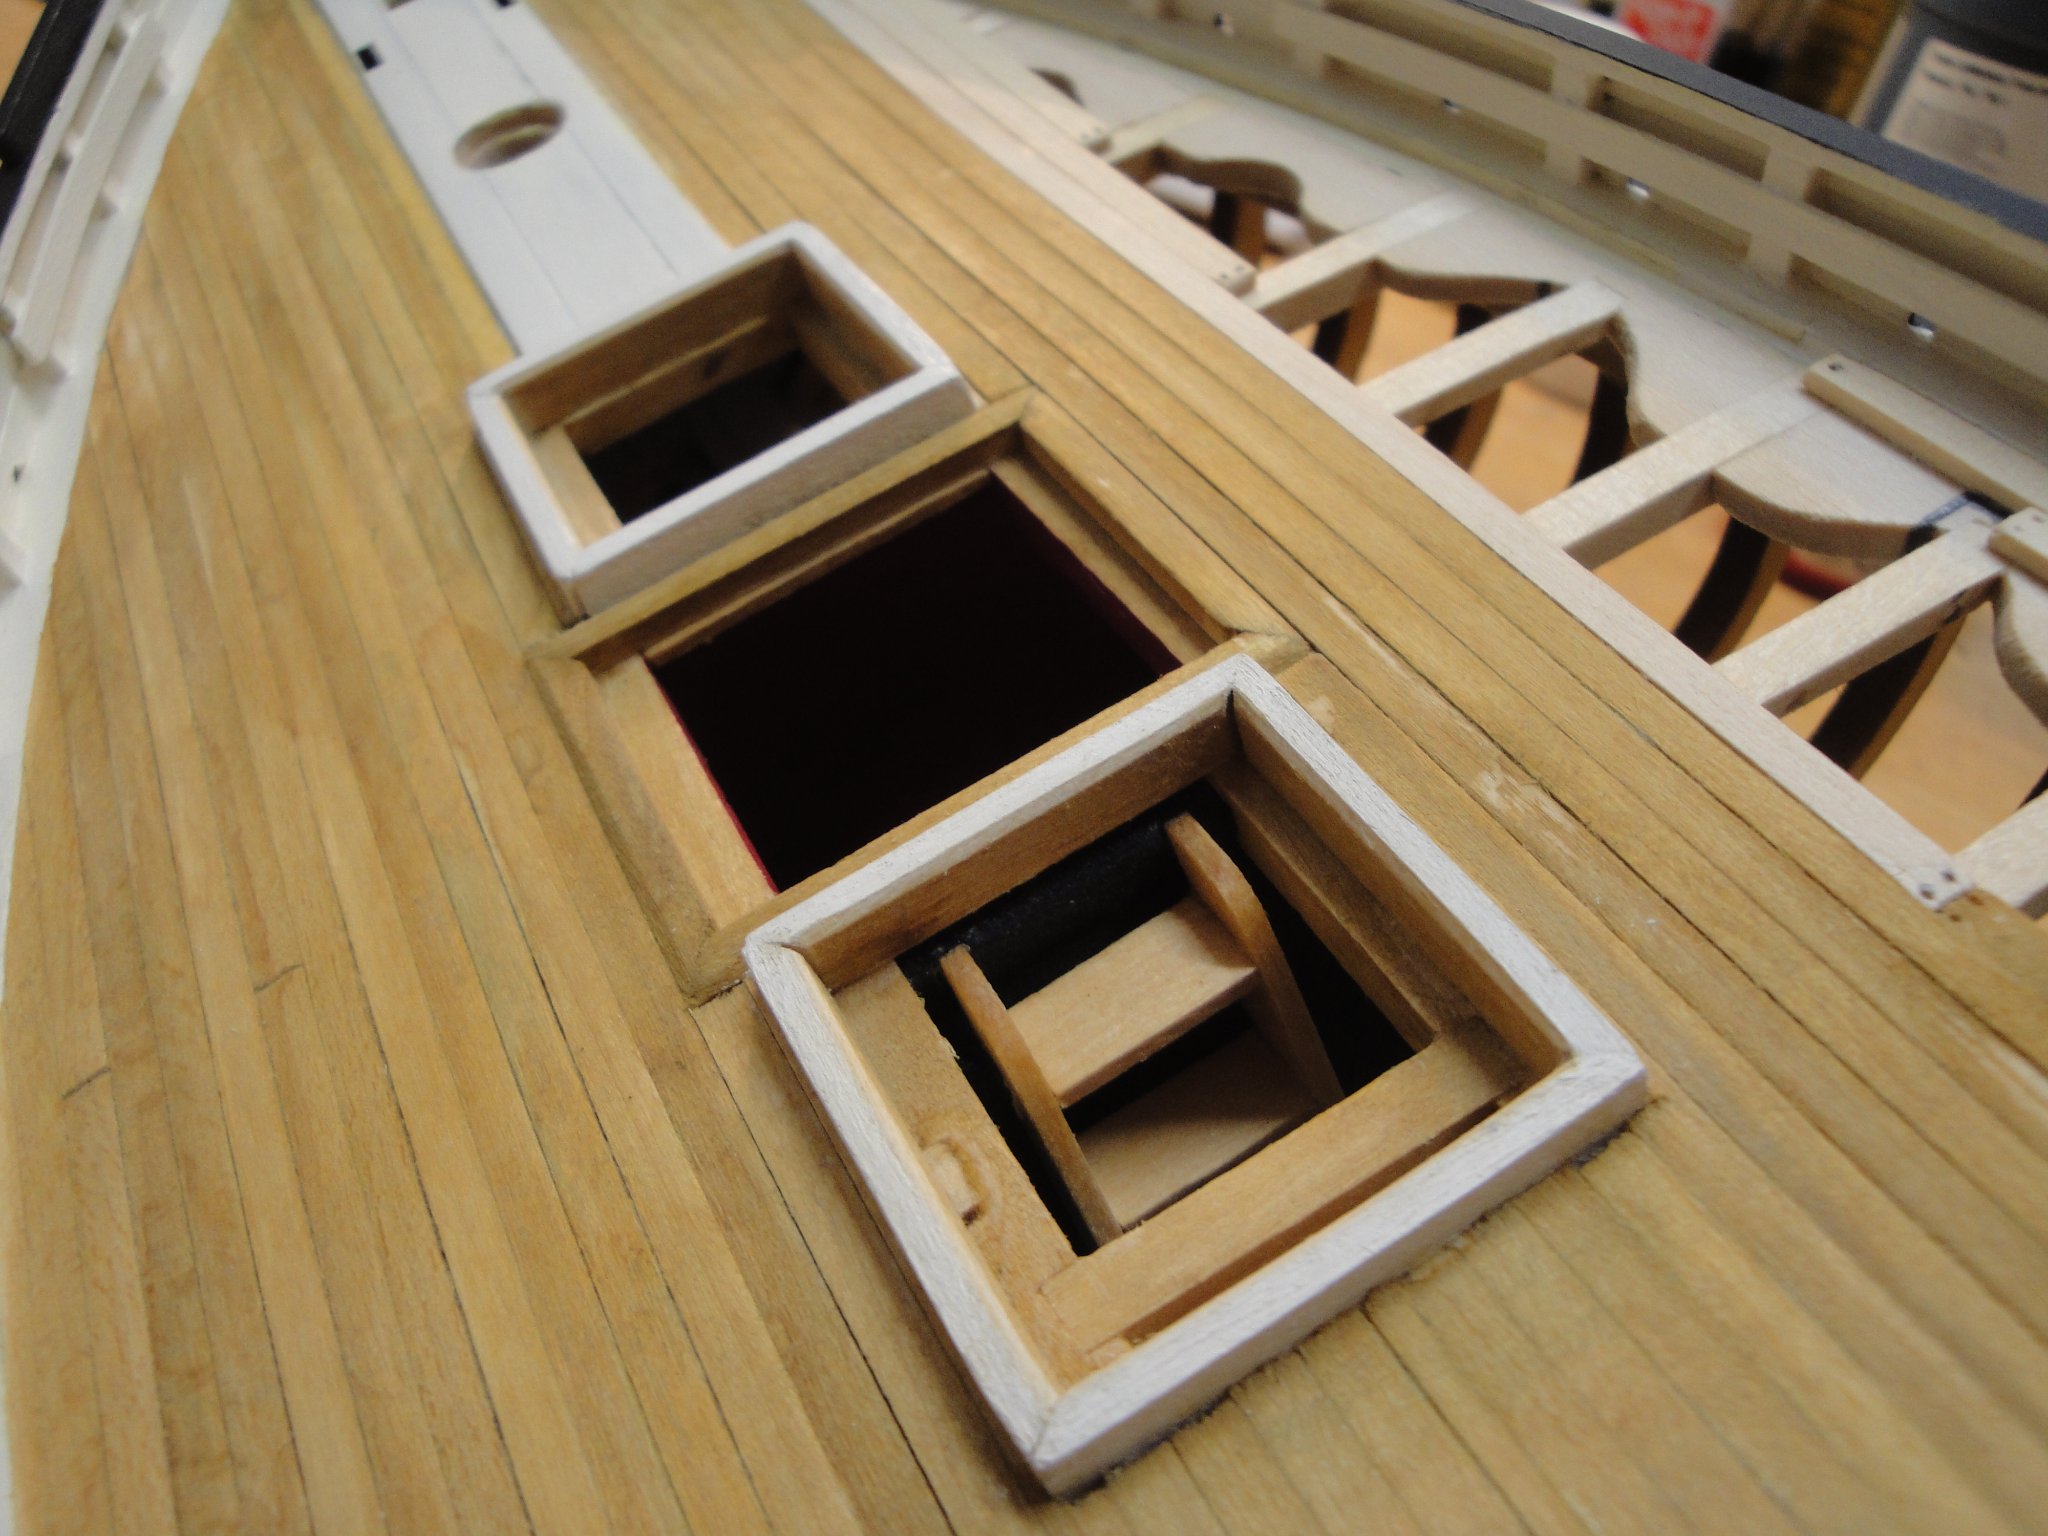
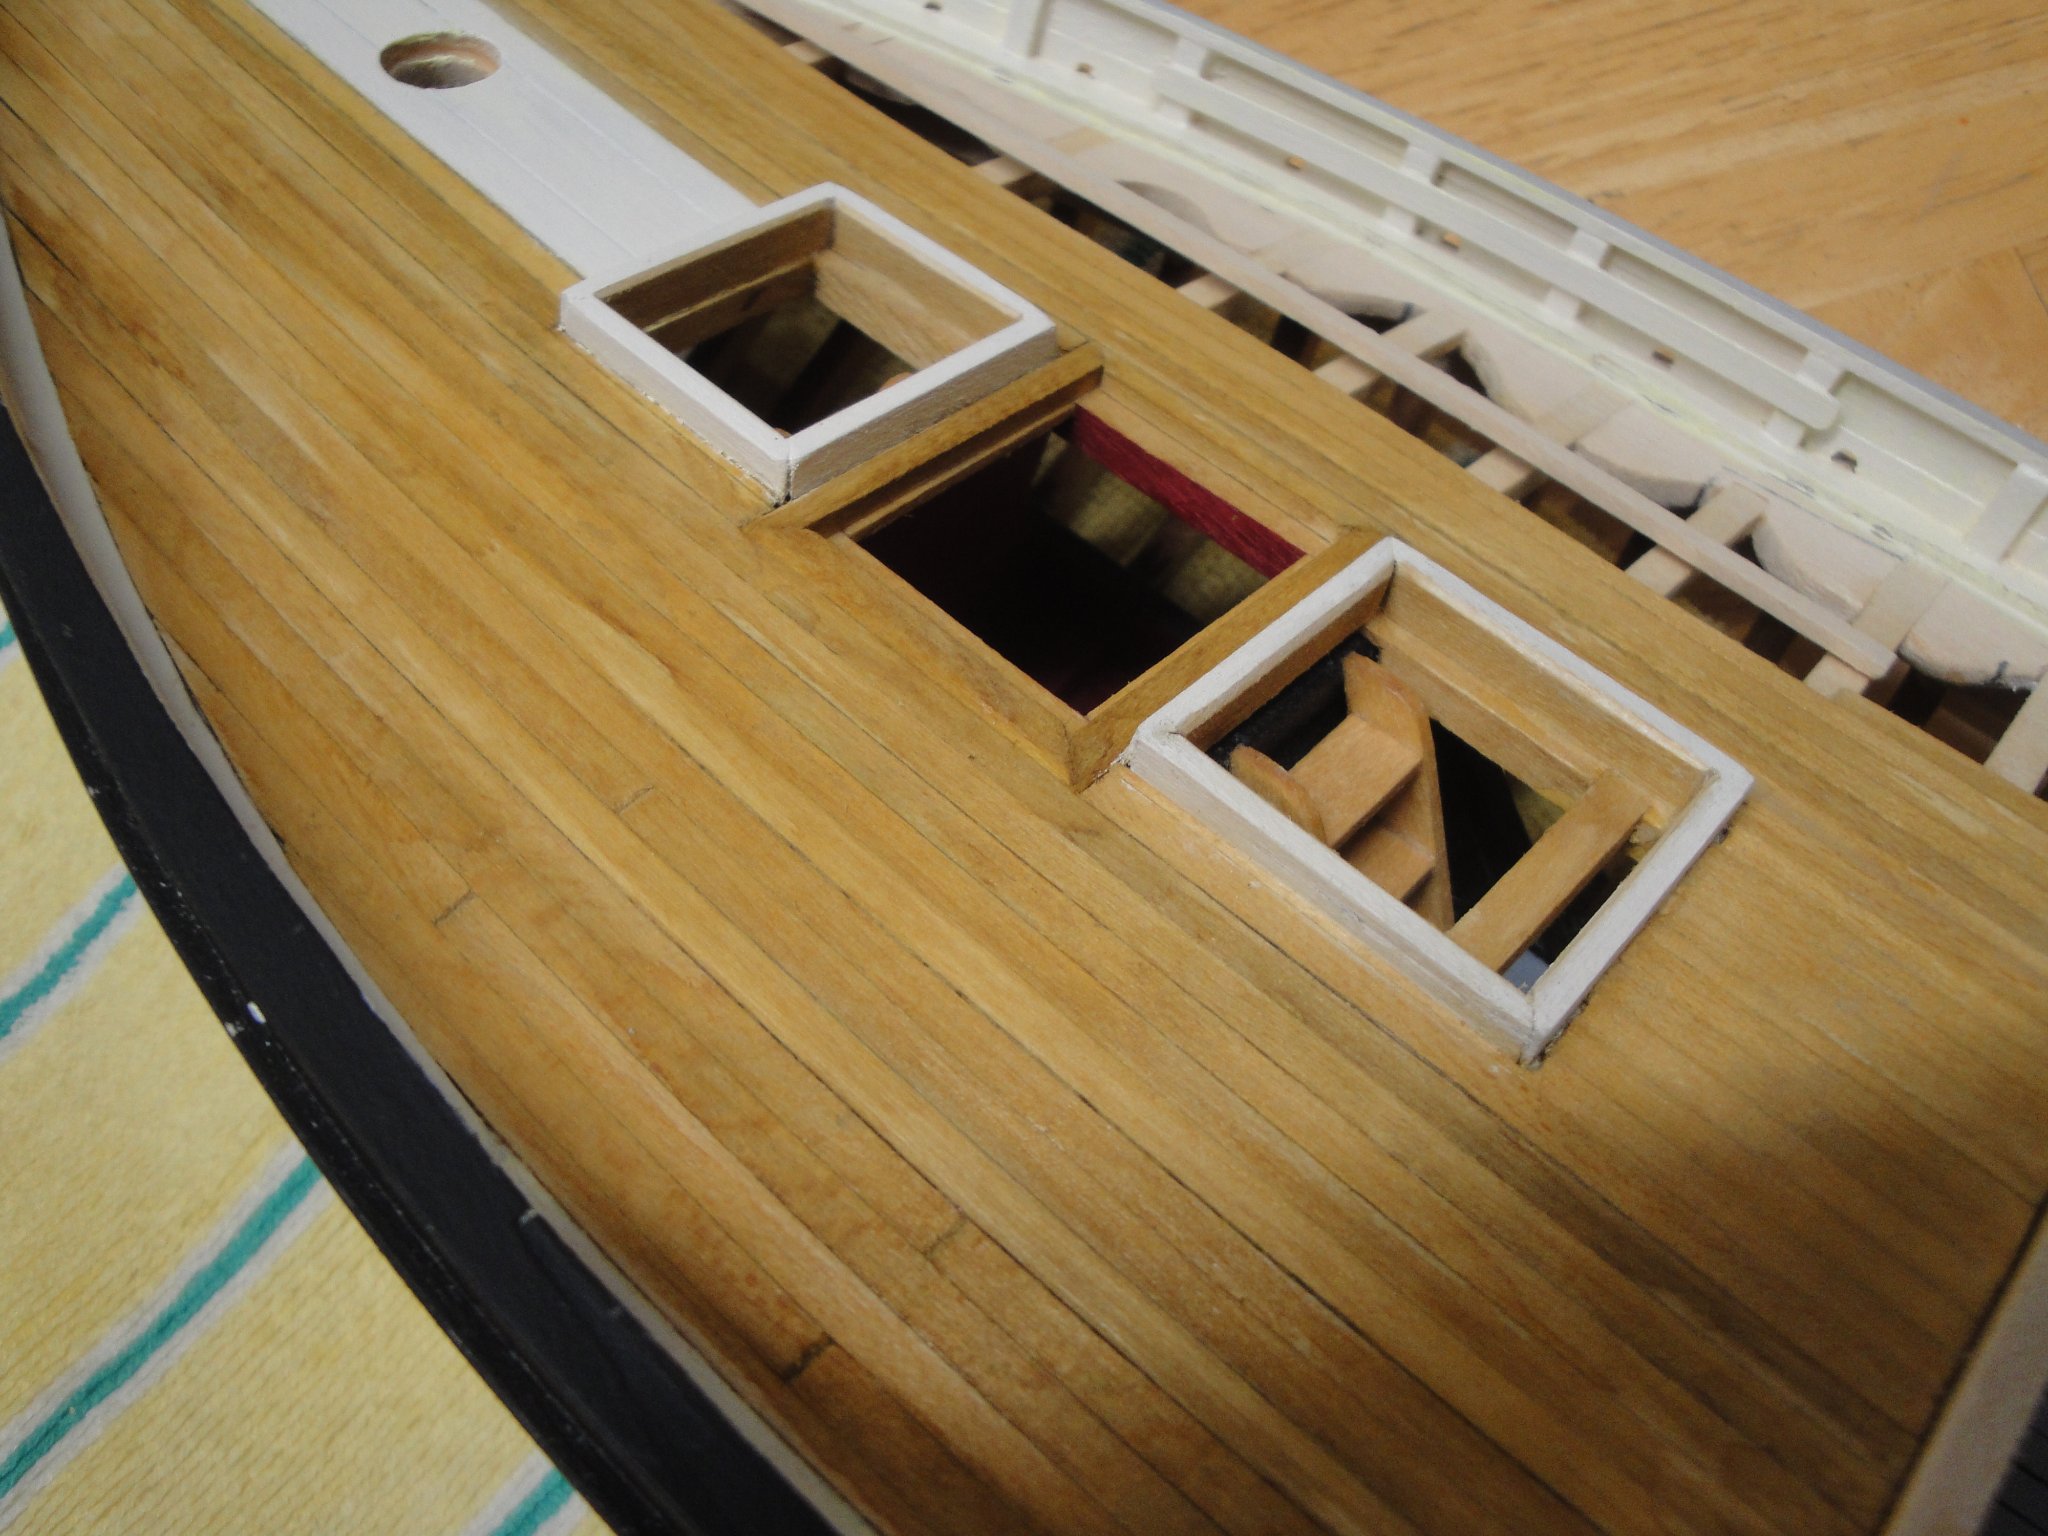
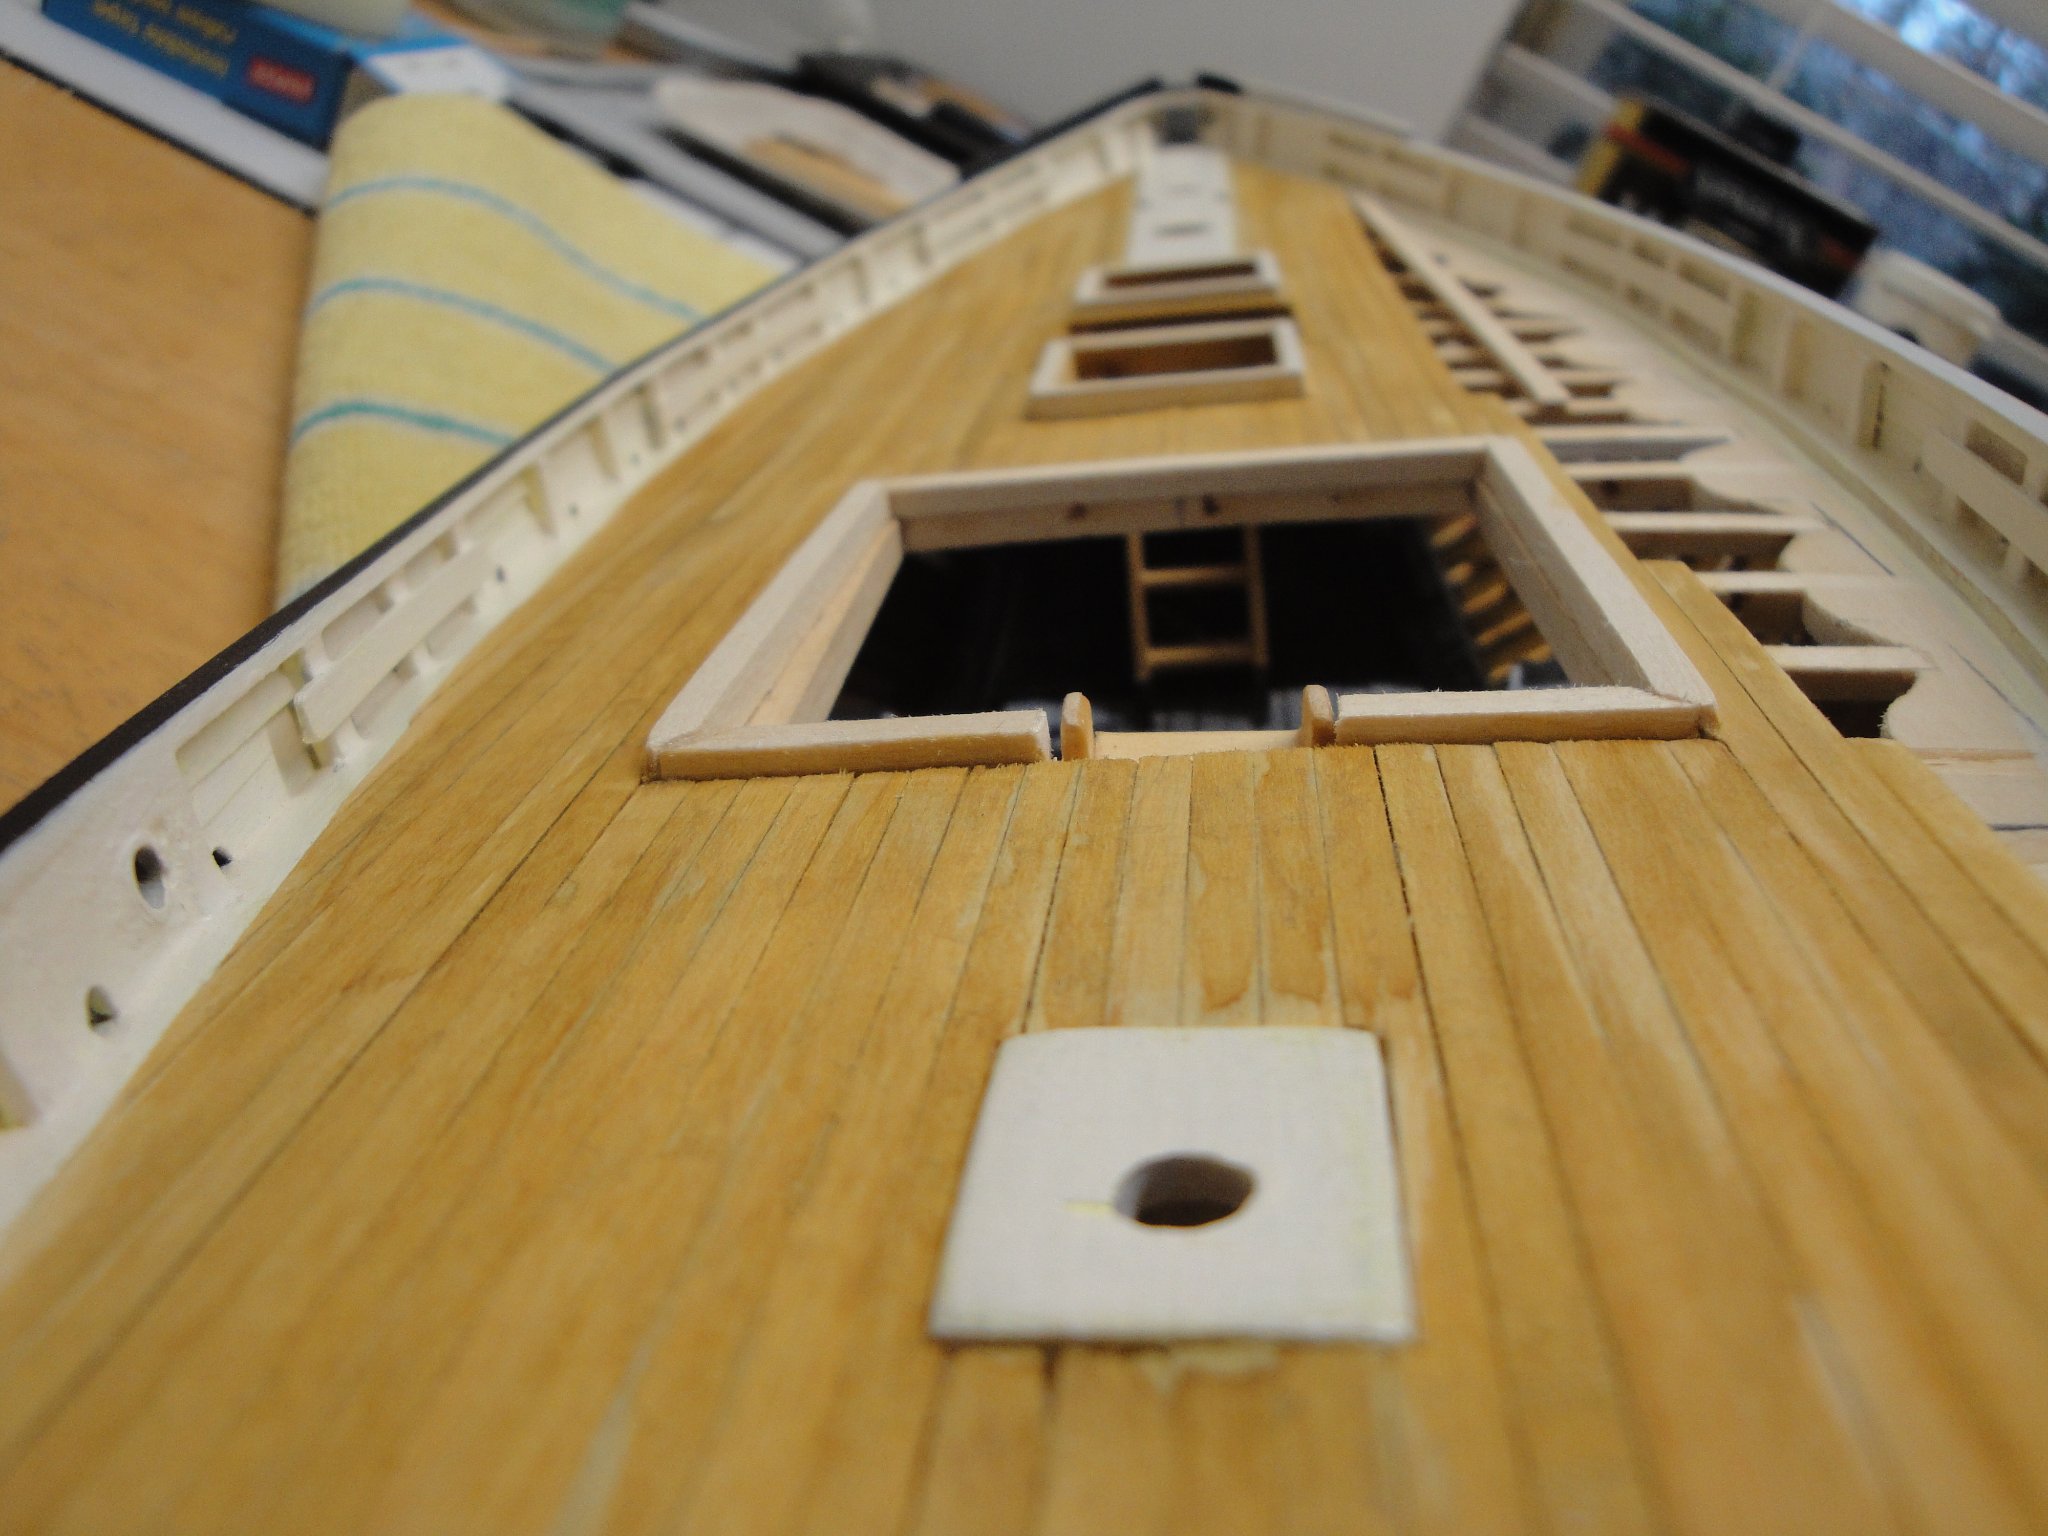
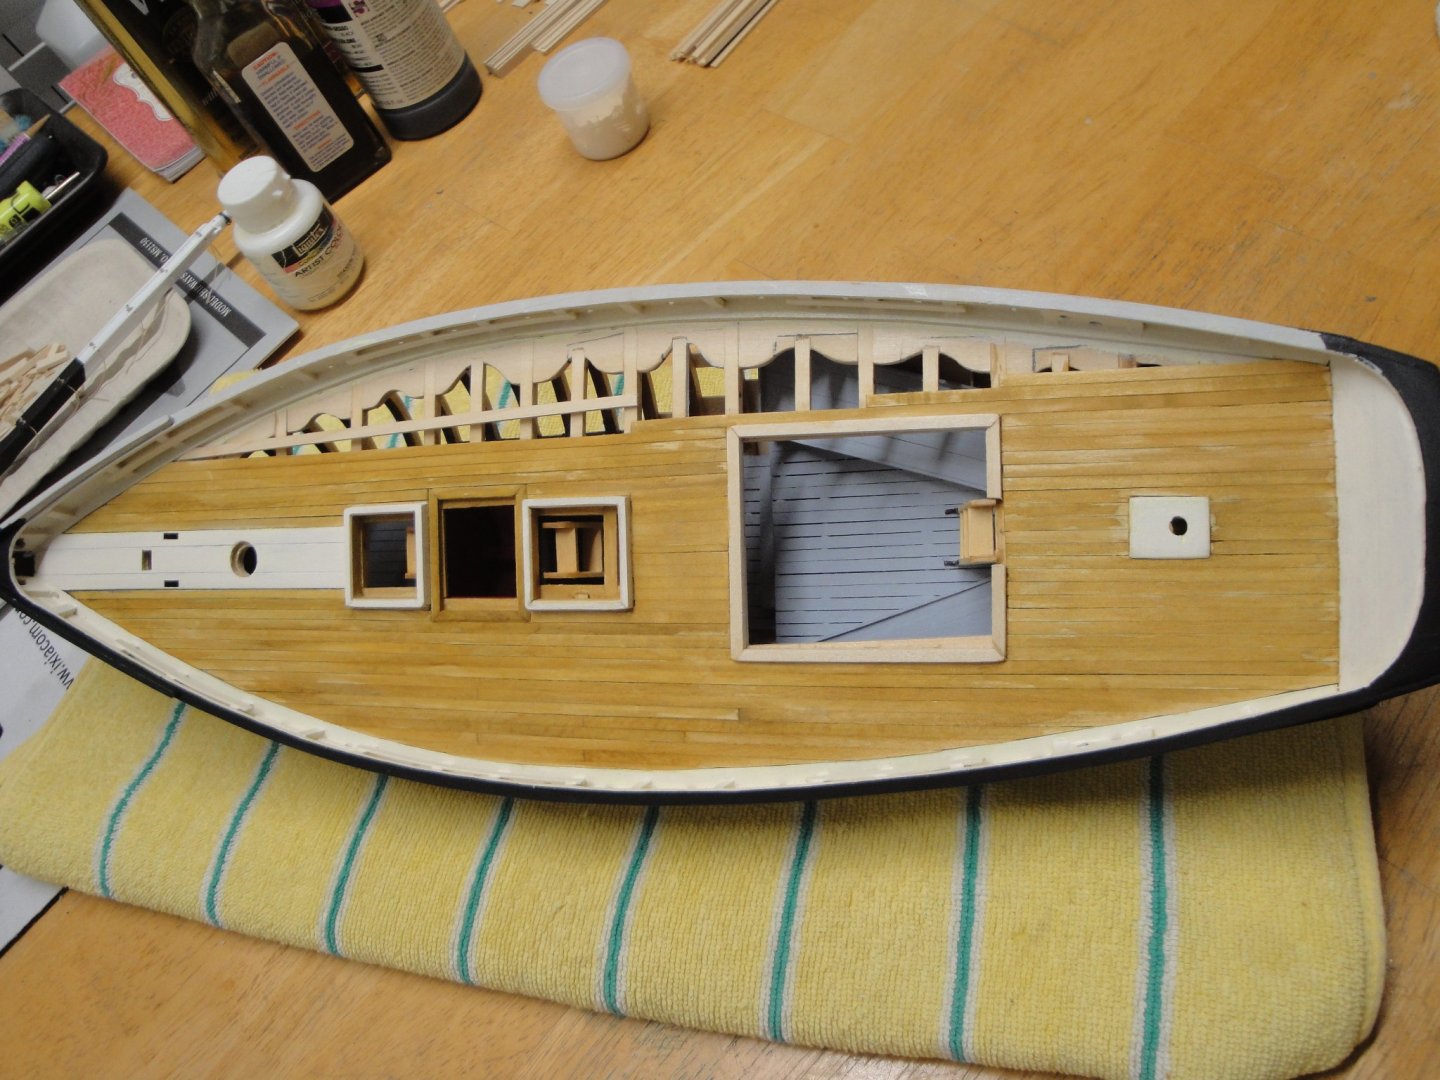
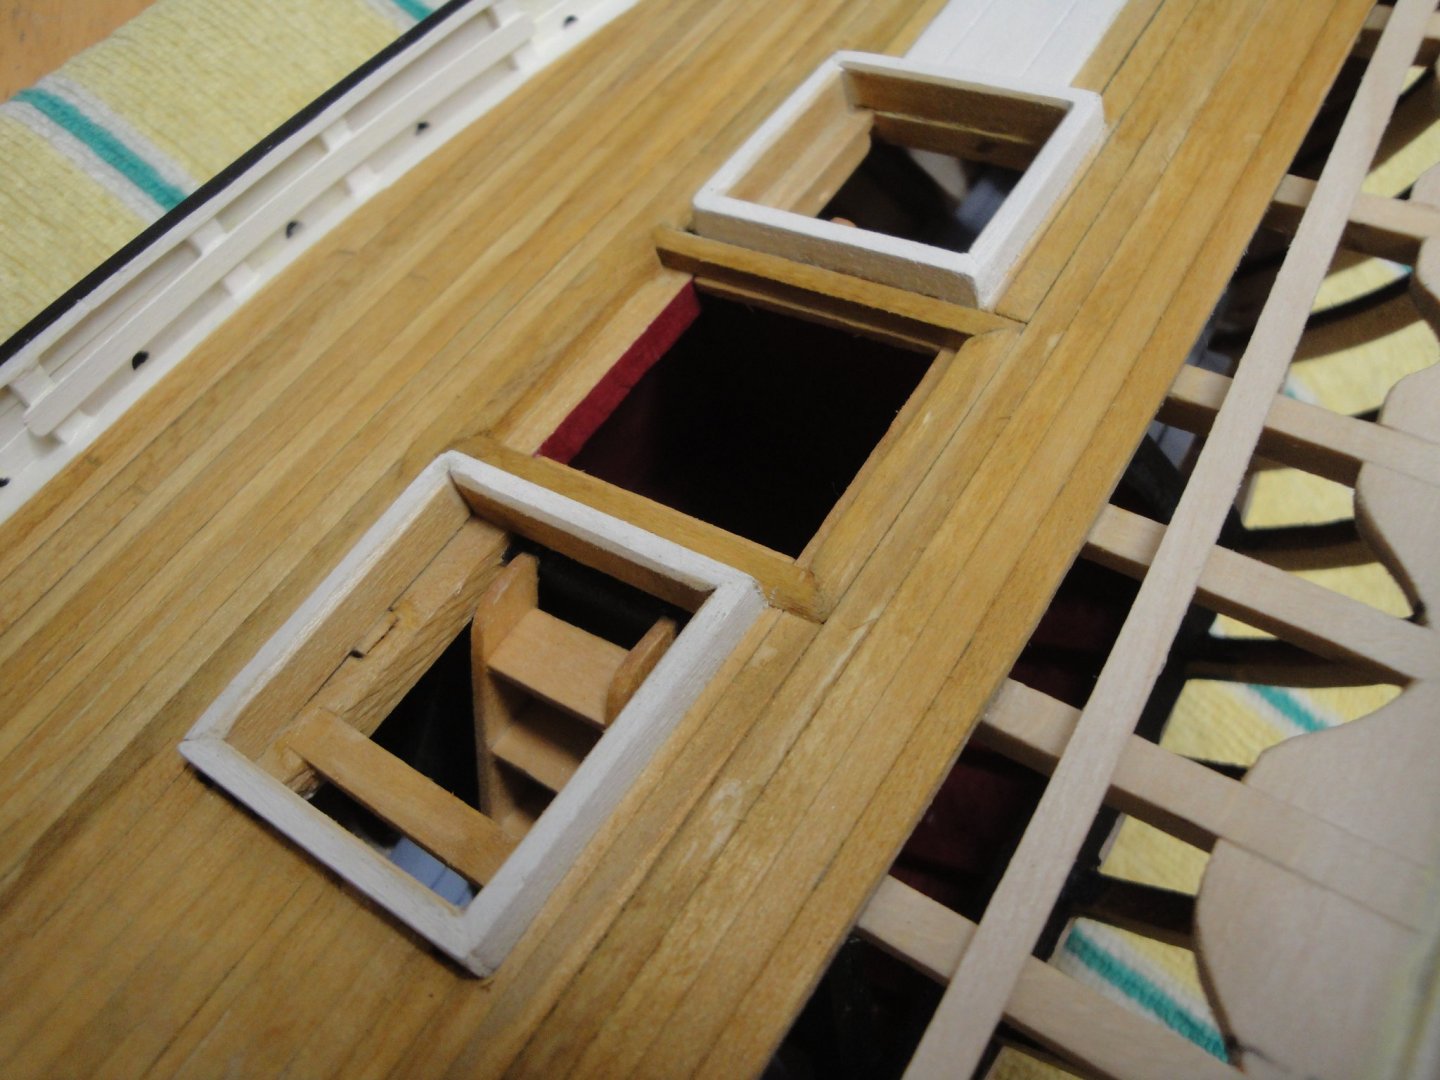
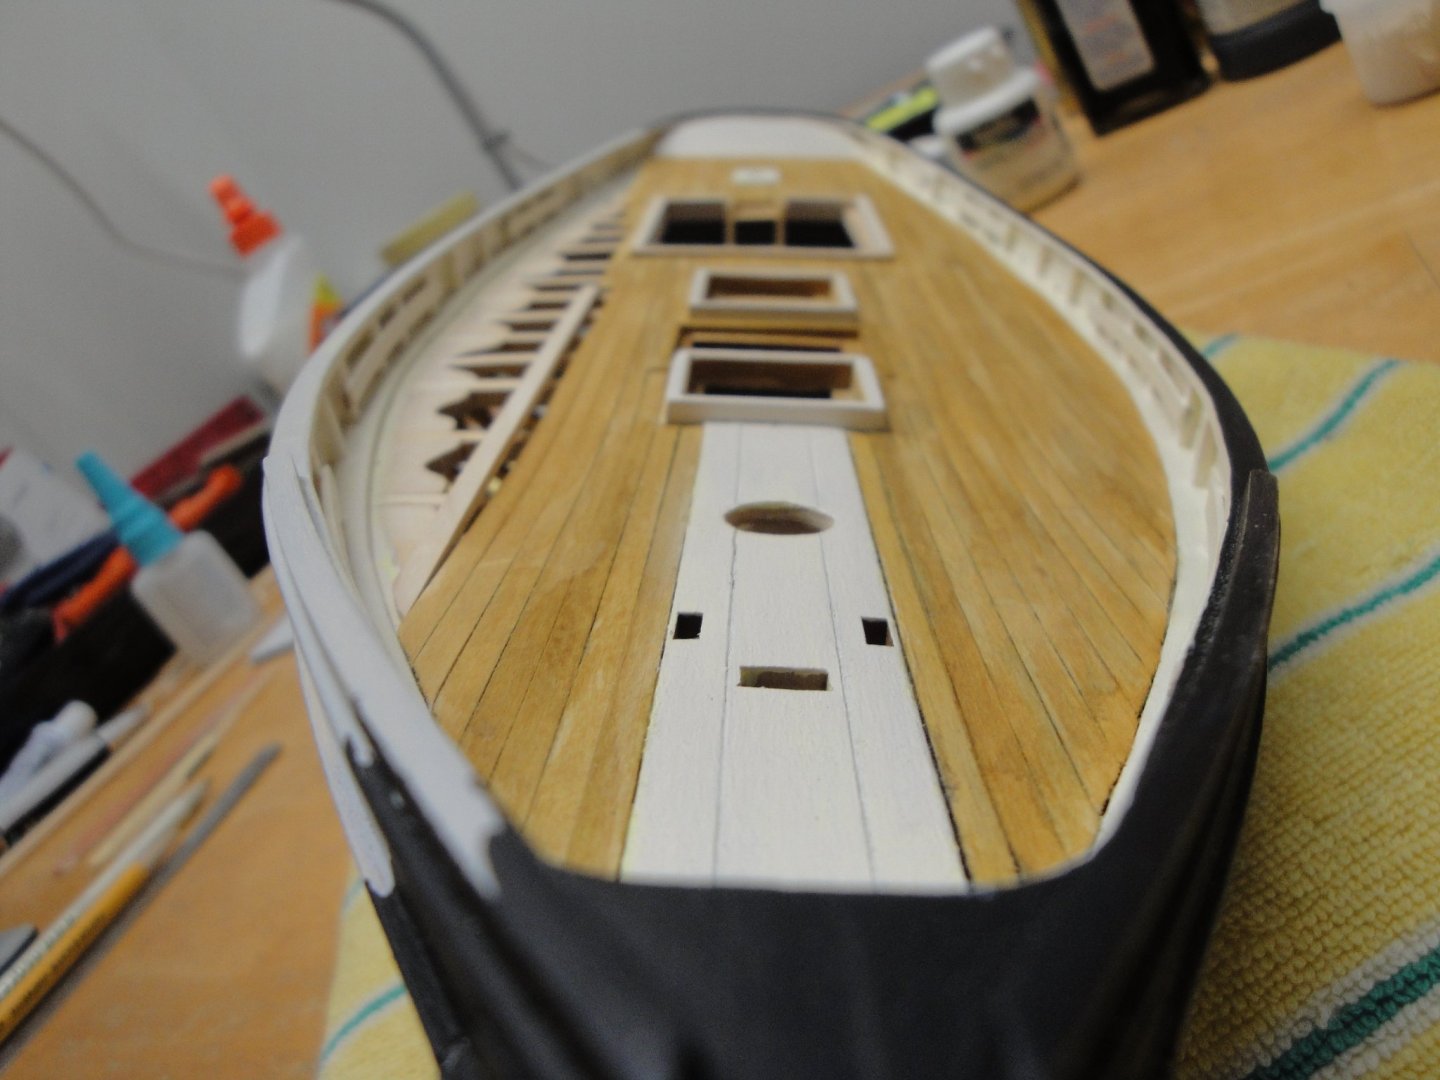
Most of the "old/original" planking is finished: All the other planks will be fresh wood, in the process of being rebuilt. The fish well, almost flush to the deck. The fish were pushed out of the deck and into the well, after being removed from the nets. A view from the tiller: and from the bow: More later.... Yves


-
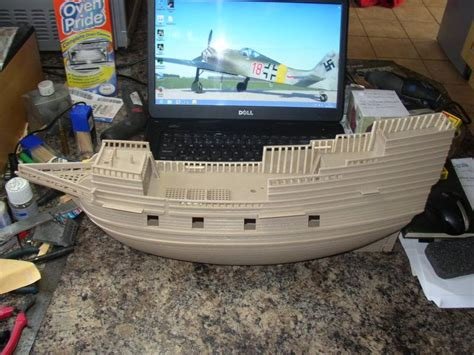
There is not much on the WEB about that kit, but here is a picture that gives some ideas of the size of the kit: Here is the link to the Build Log: https://www.tapatalk.com/groups/hyperscale/trumpeter-mayflower-1-60-t446561.html The good stuff about this kit, is that the scale of 1/60 is very close to the standard 1/64 used for period ships. Mingling plastic parts and wood parts may result in a very nice model. I hope you will start a Build log when you open the box. Yves
-
Nice cabin. I can see the next model....the FIFIE ! Yves
-
Greg, I cannot wait to see what it is going to be.... Still in 1/350th or bigger ...? Yves