HOLIDAY DONATION DRIVE - SUPPORT MSW - DO YOUR PART TO KEEP THIS GREAT FORUM GOING! (Only 20 donations so far - C'mon guys!)
×


dvm27
-
Posts
2,457 -
Joined
-
Last visited
Content Type
Profiles
Forums
Gallery
Events
Everything posted by dvm27
-
Diluted whited glue (50:50) works great as does matte medium.
-
 Oh but you have been busy! Love those panels. Would love to see them varnished but they wouldn't match the rest of the model finish. And those deck clamps certainly insure a level deck. Very innovative work, Chuck.
- 1,784 replies
-
- 8
-

-
- winchelsea
- Syren Ship Model Company
- (and 1 more)
-
Very nice job so far! By the way are you building inside a nuclear facility or have you incorporated every This Old House innovation from the last decade into your basement?
-
Very nice job Marshall! Planking a solid hull should be much easier after this exercise.
-
If I didn't already have one of these I'd buy it. The Proxxon planer is vert accurate, easy to use and safe. i believe it planes down to about 1/8" but you could increase this by attaching to a second piece.
-
This is truly a boat in miniature. I deduce that the brass template in the third photo is a jig for laying out the nibbed joints of the margin plank. Each angle appears to be slightly different. Brilliant!
-
Very nice, clean build Cajun. You’re going to have a lovely first model to display soon.
- 30 replies
-
- 2
-
-
- grand banks dory
- model shipways
- (and 1 more)
-
Yes, and also mark a center line in the middle of the pattern between top timbers and glue sheet over a jig with a corresponding center line. Paper is easily distorted One frame slightly askew will change the shape of the hull during the fairing process.
- 50 replies
-
- 3
-
-
- rattlesnake
- brig
- (and 1 more)
-
Your model is looking quite spectacular with its sails set Bob! Missed your log for awhile. i do hope your daughter's health has improved. Greg
- 87 replies
-
- 1
-
-
- medway longboat
- Syren Ship Model Company
- (and 1 more)
-
ancre Coureur by cafmodel - 1/48
dvm27 replied to cafmodel's topic in - Build logs for subjects built 1751 - 1800
Wow Tom, that looks fantastic. Having stepped frames for the clinker planking takes it to another level. I wonder hou you insure all the frames line up perfectly for the runs of planks? -
Speedwell 1752 by druxey - a work in progress
dvm27 replied to druxey's topic in - Build logs for subjects built 1751 - 1800
Well thank you Tom but really, most of the credit goes to David Antscherl. He's the true talent behind all of this. I just prove his work. I've been blessed to have him both as mentor and business partner for twenty years now and it's been a fantastic partnership. I take pride in knowing we have advanced this wonderful hobby to some small degree. For those not familiar with the actual Speedwell build log it may be viewed at https://modelshipworld.com/topic/370-speedwell-by-dvm27-greg-herbert-ketch-rigged-sloop-1752/ -
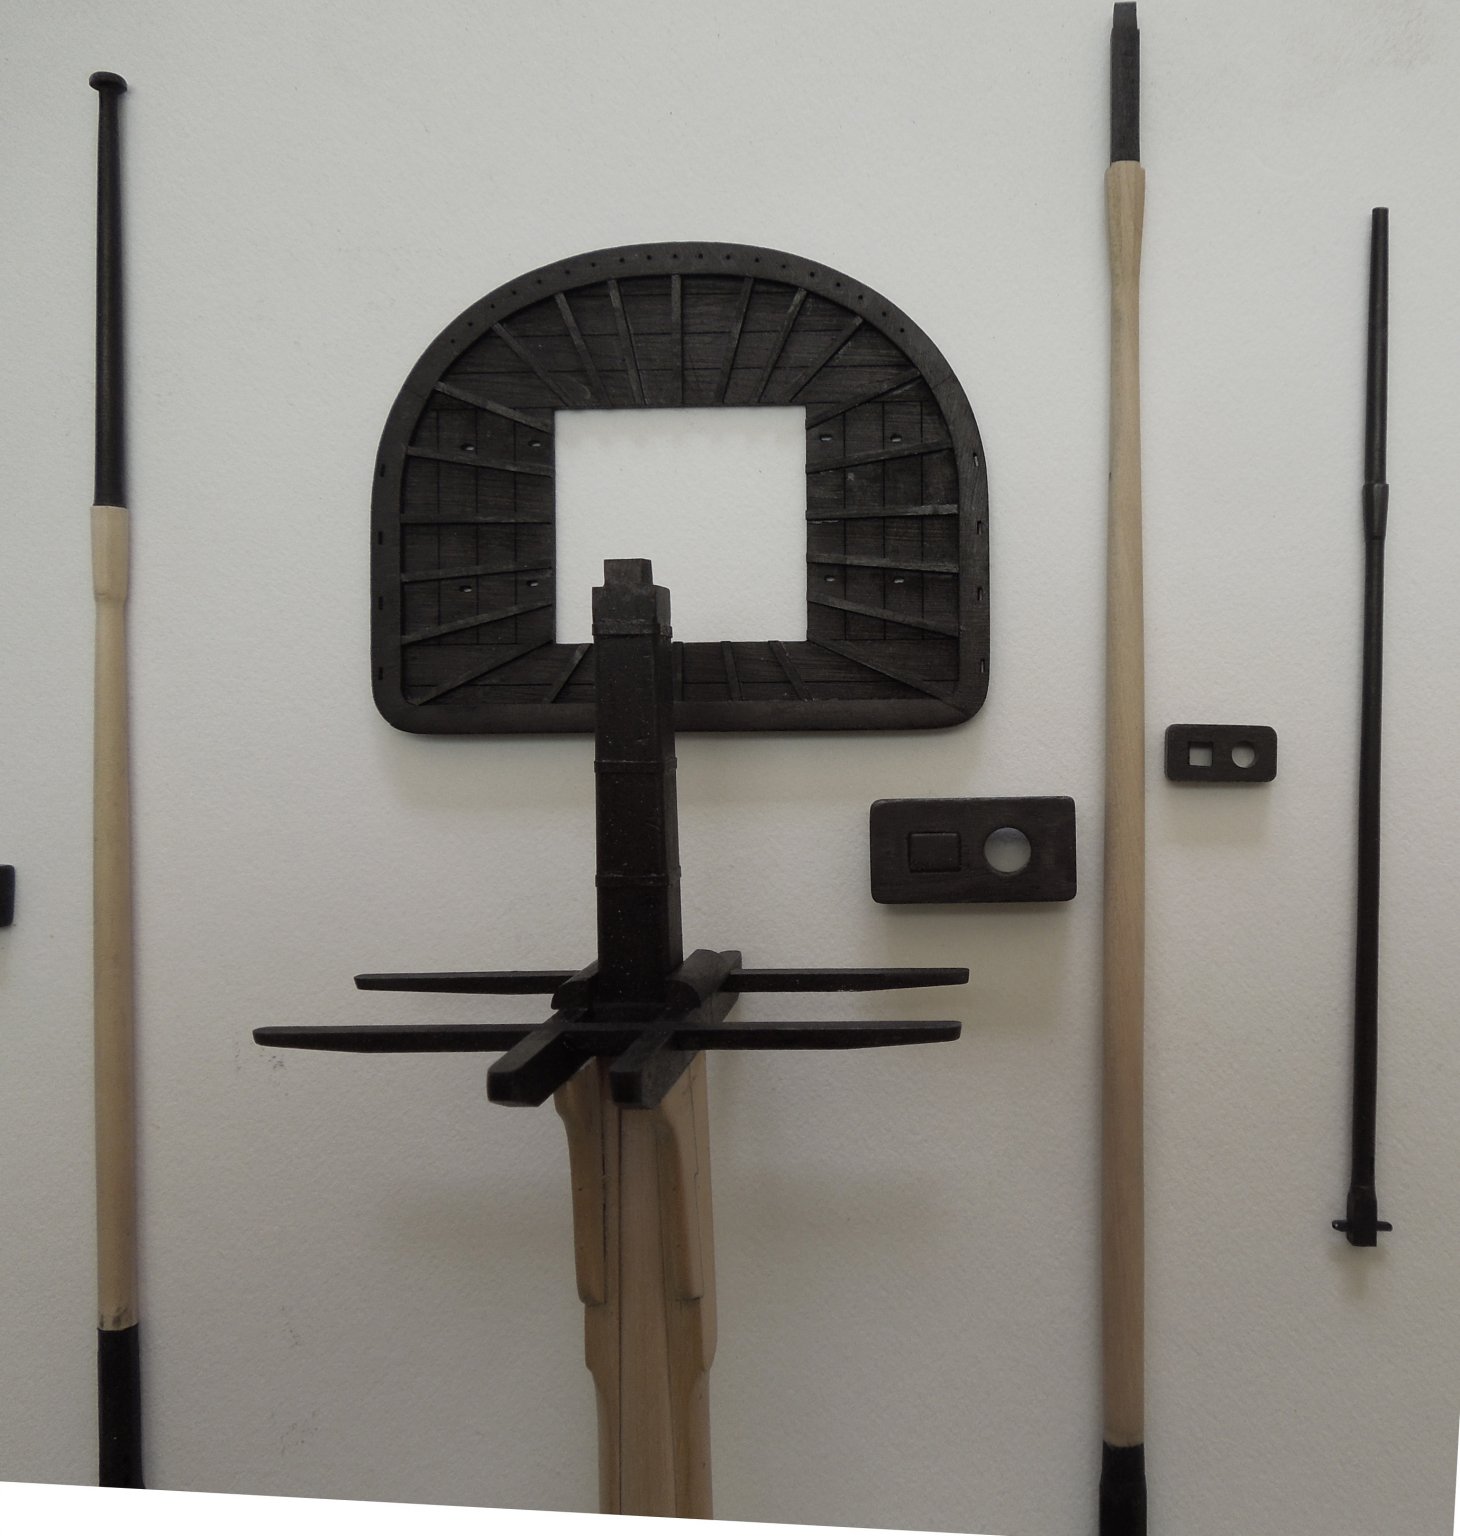
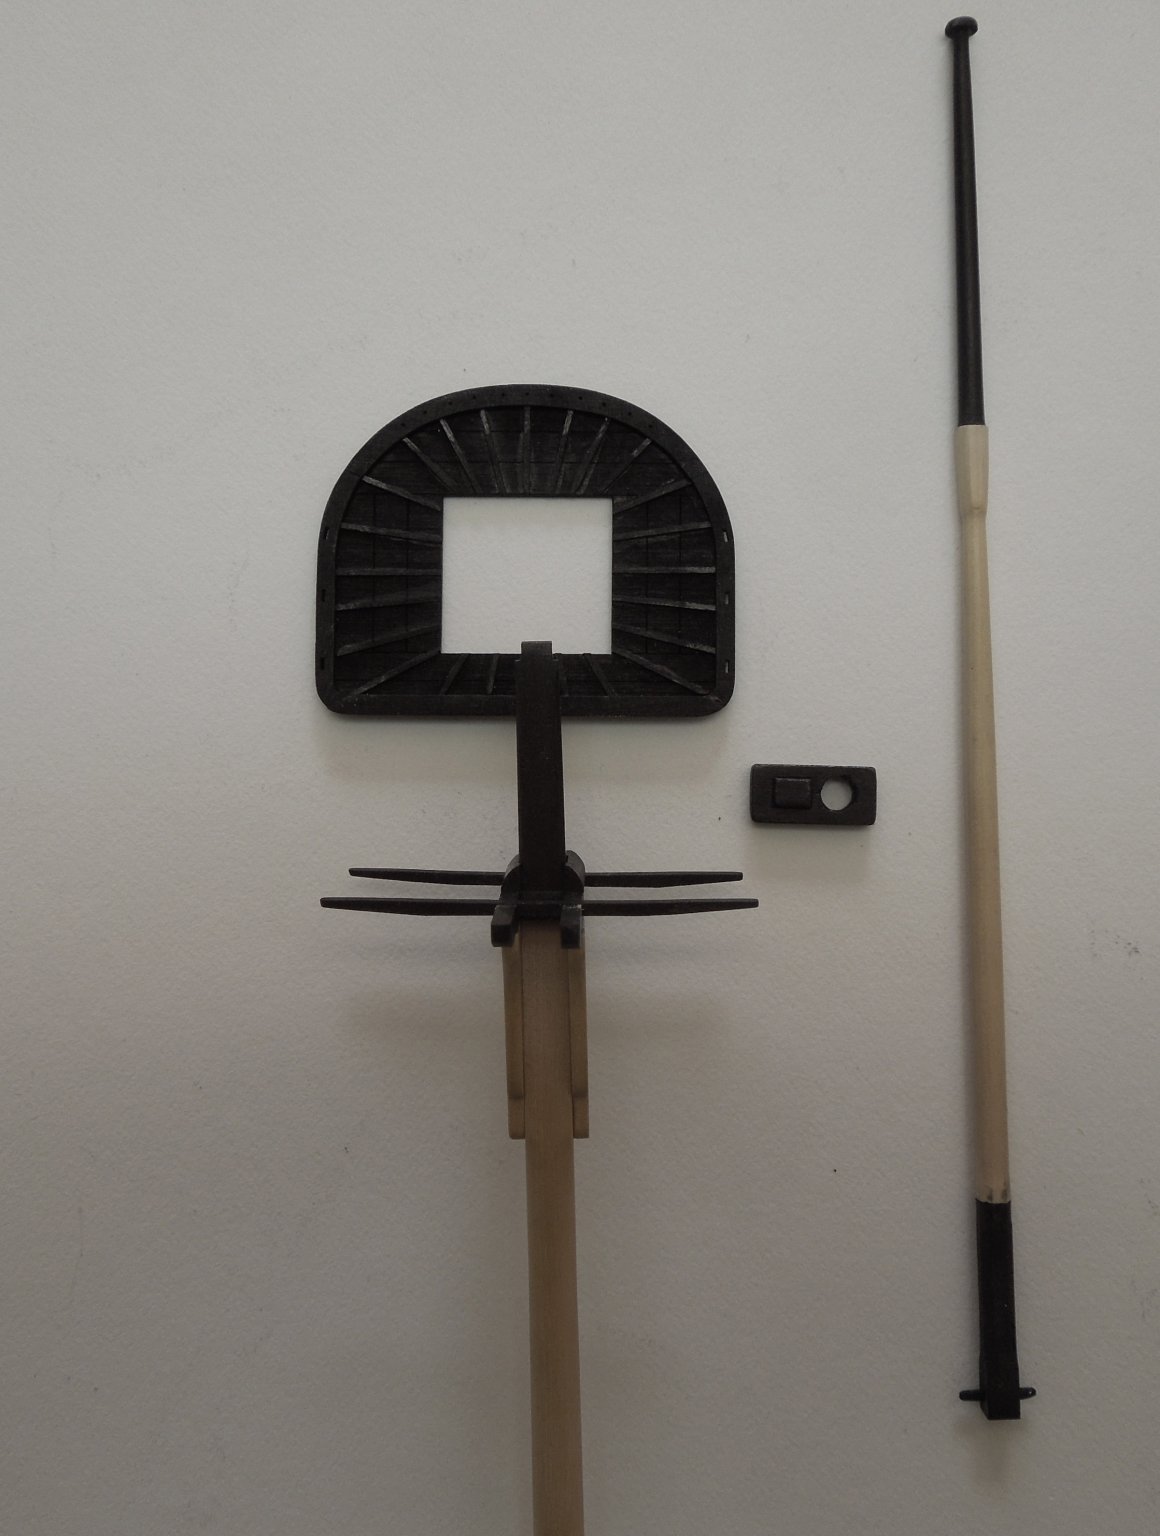
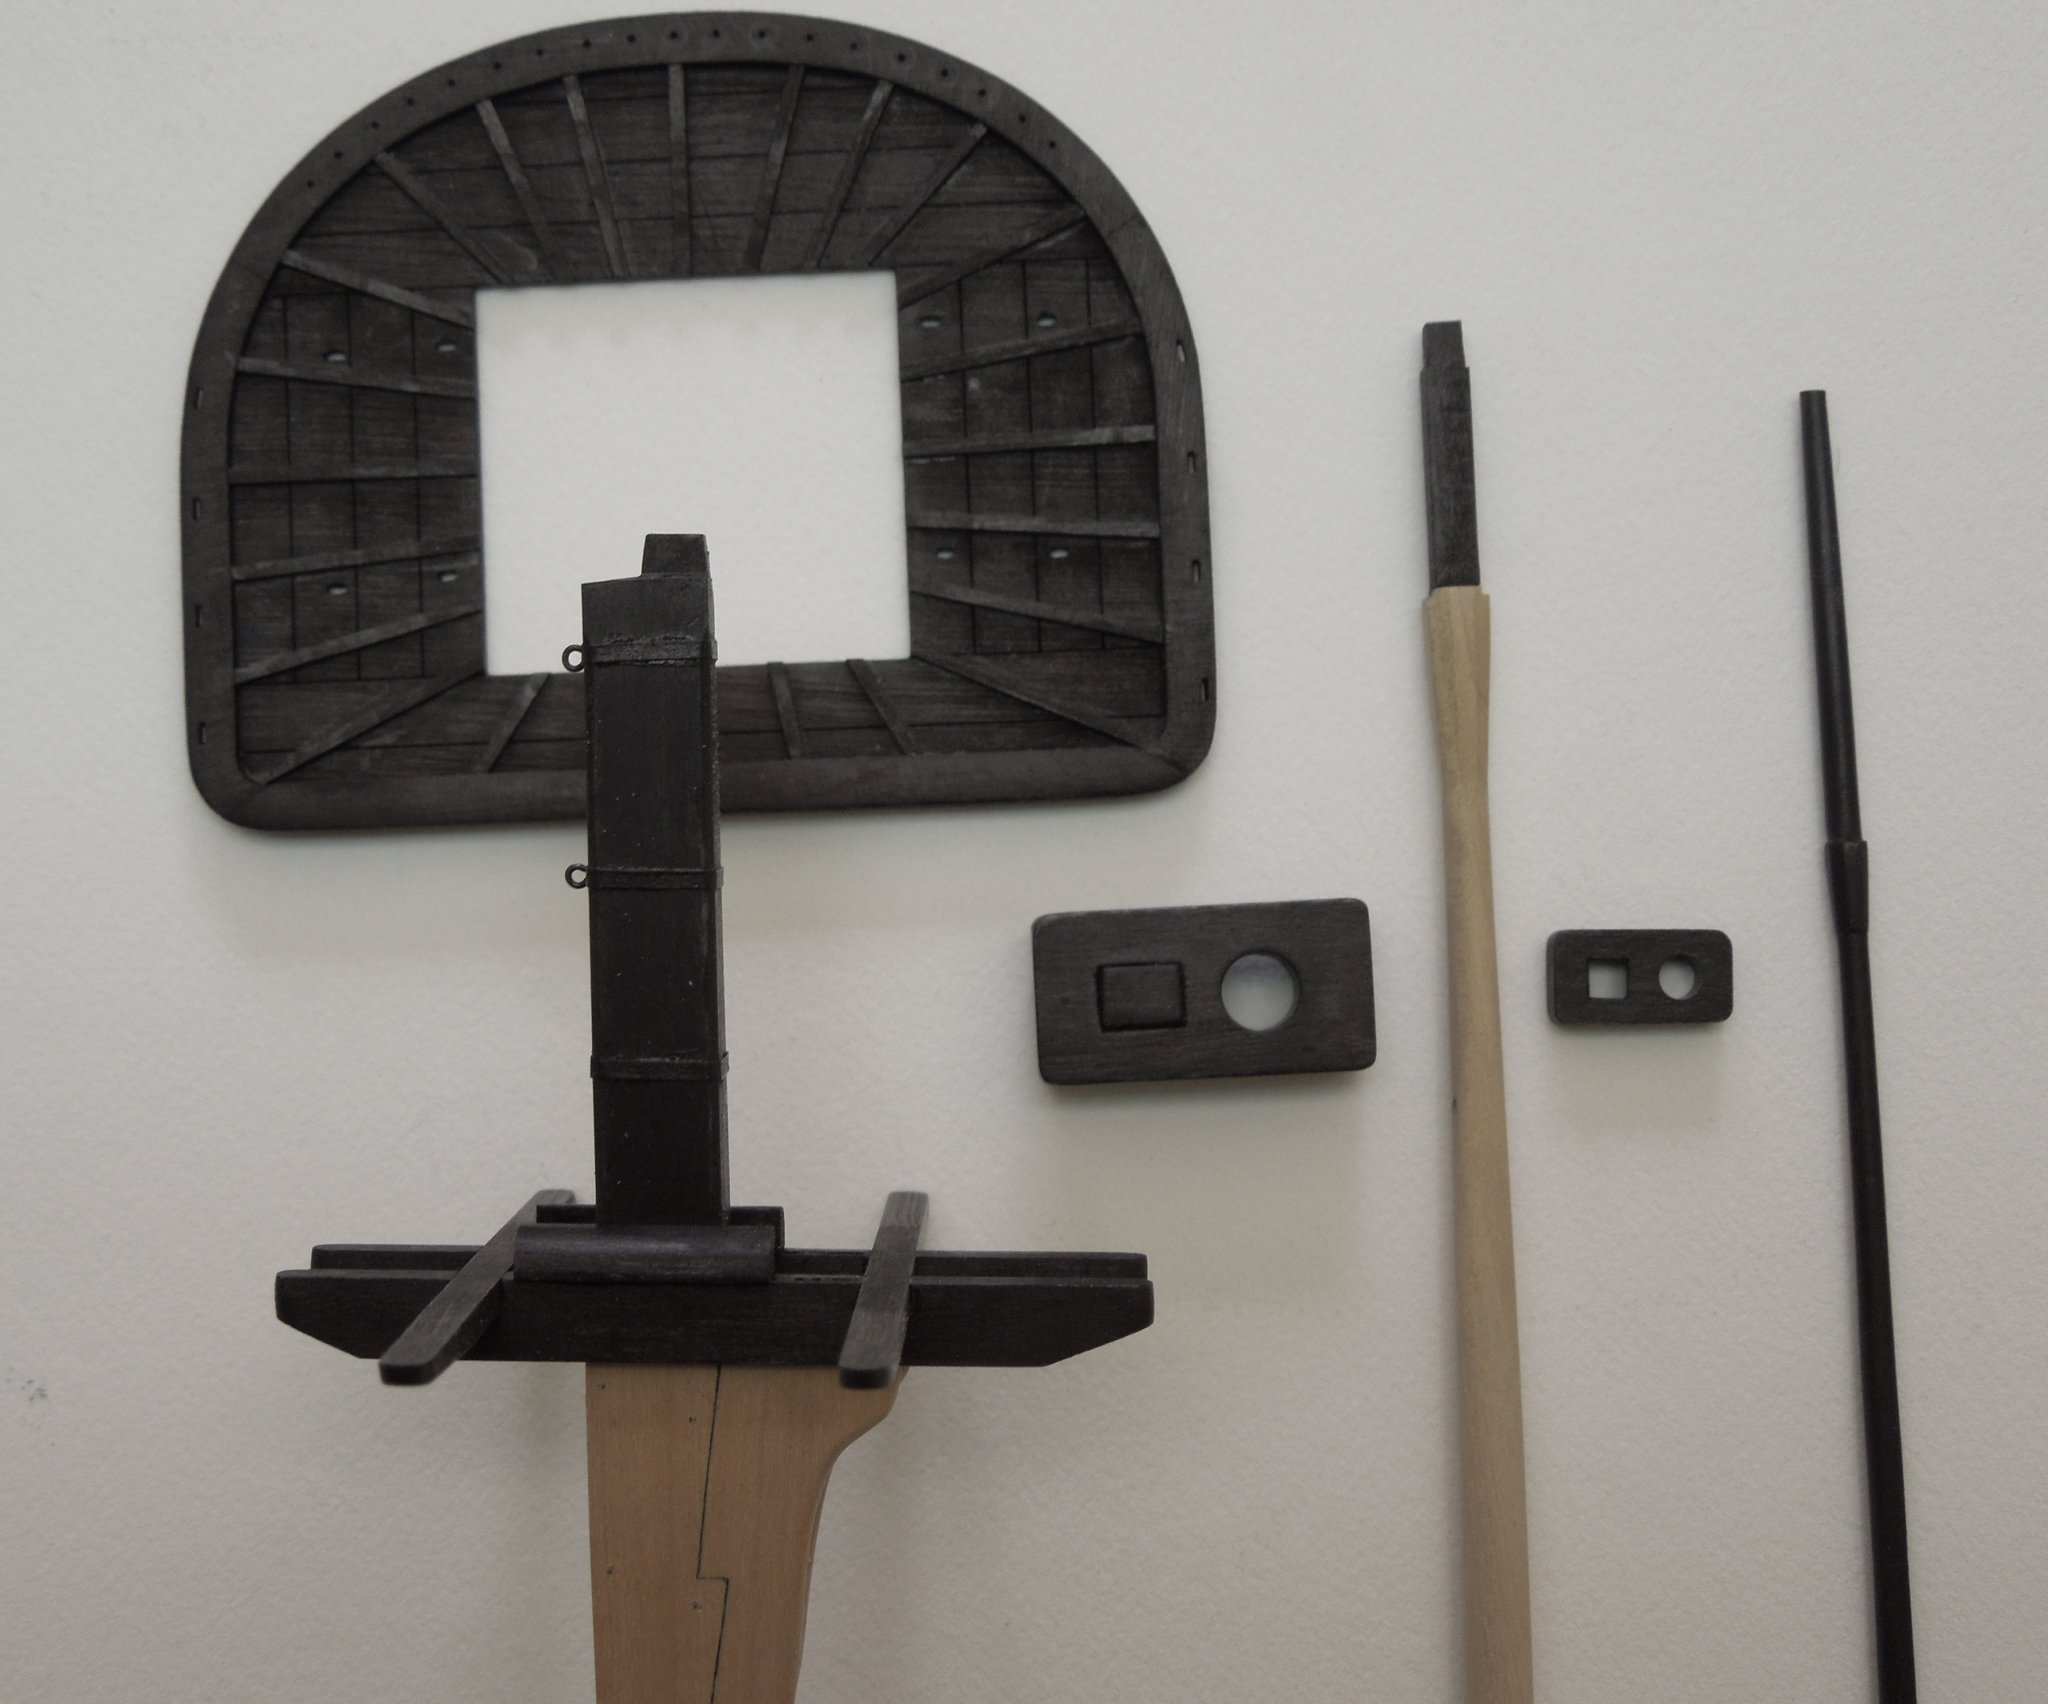
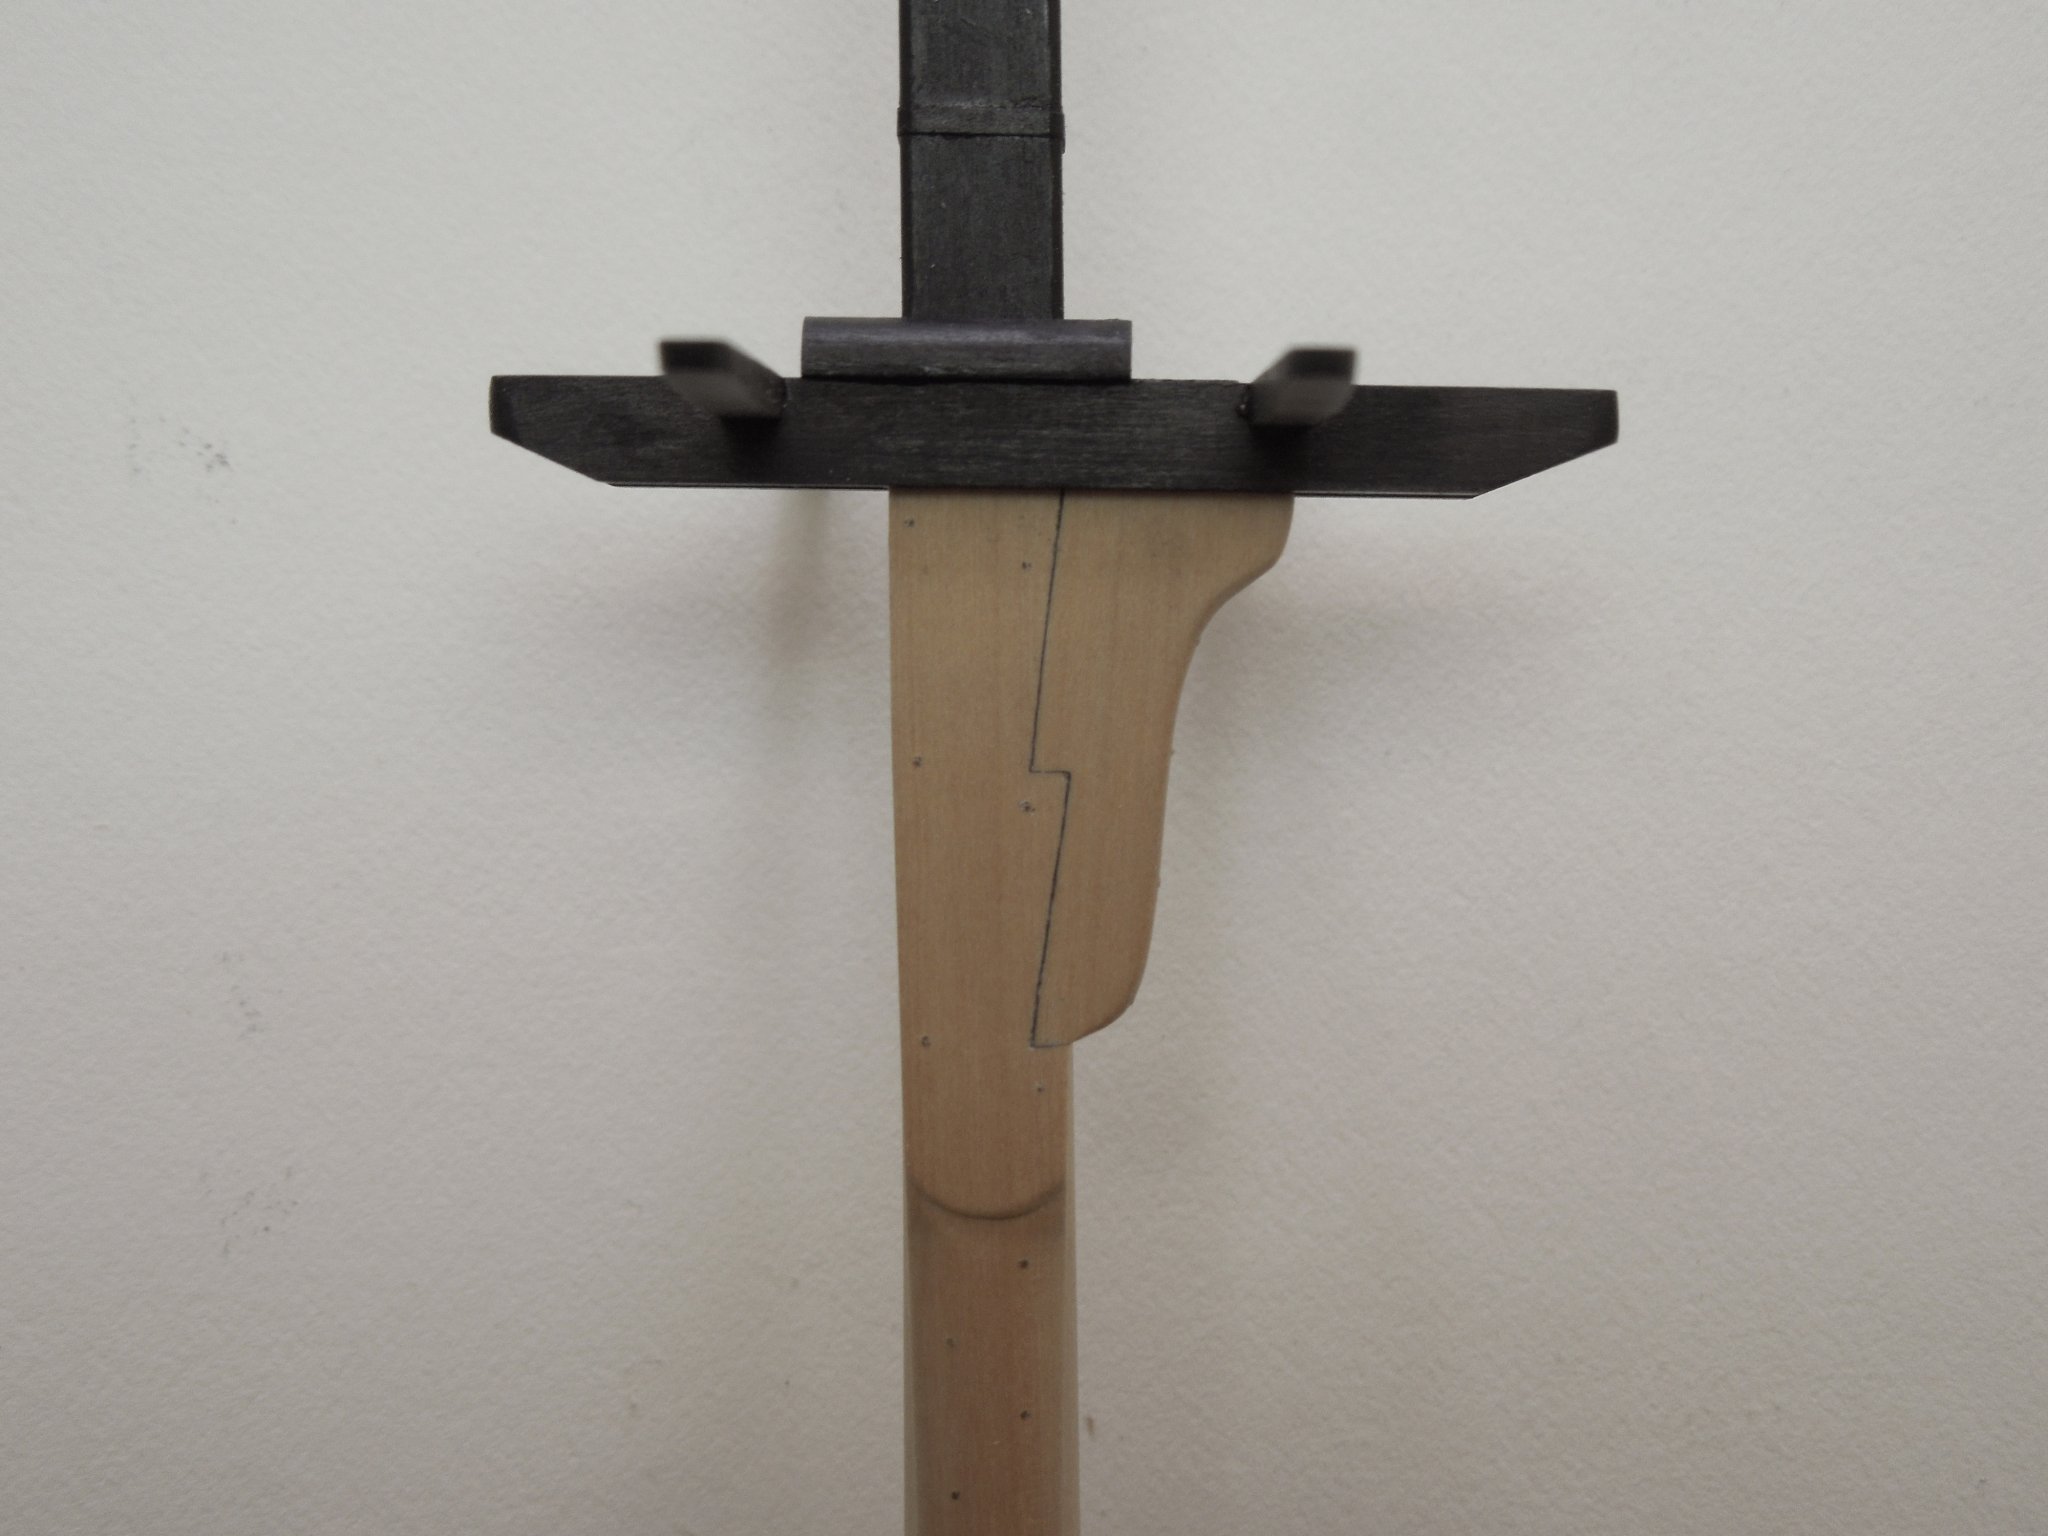
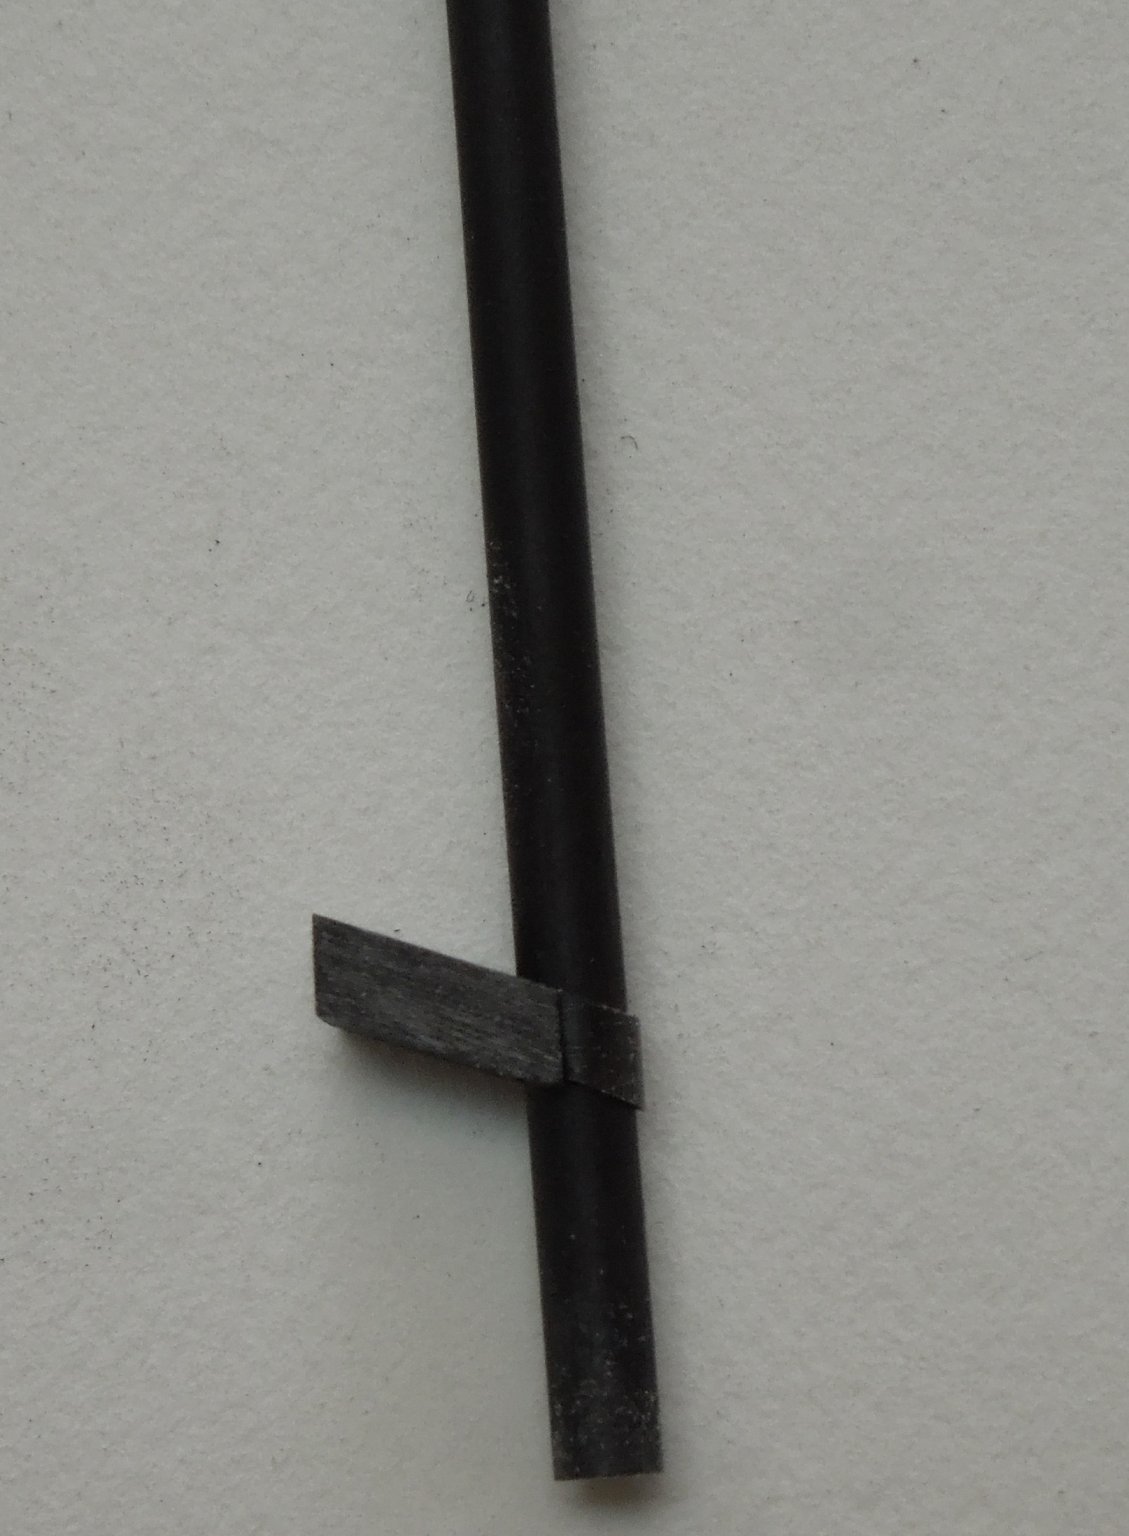
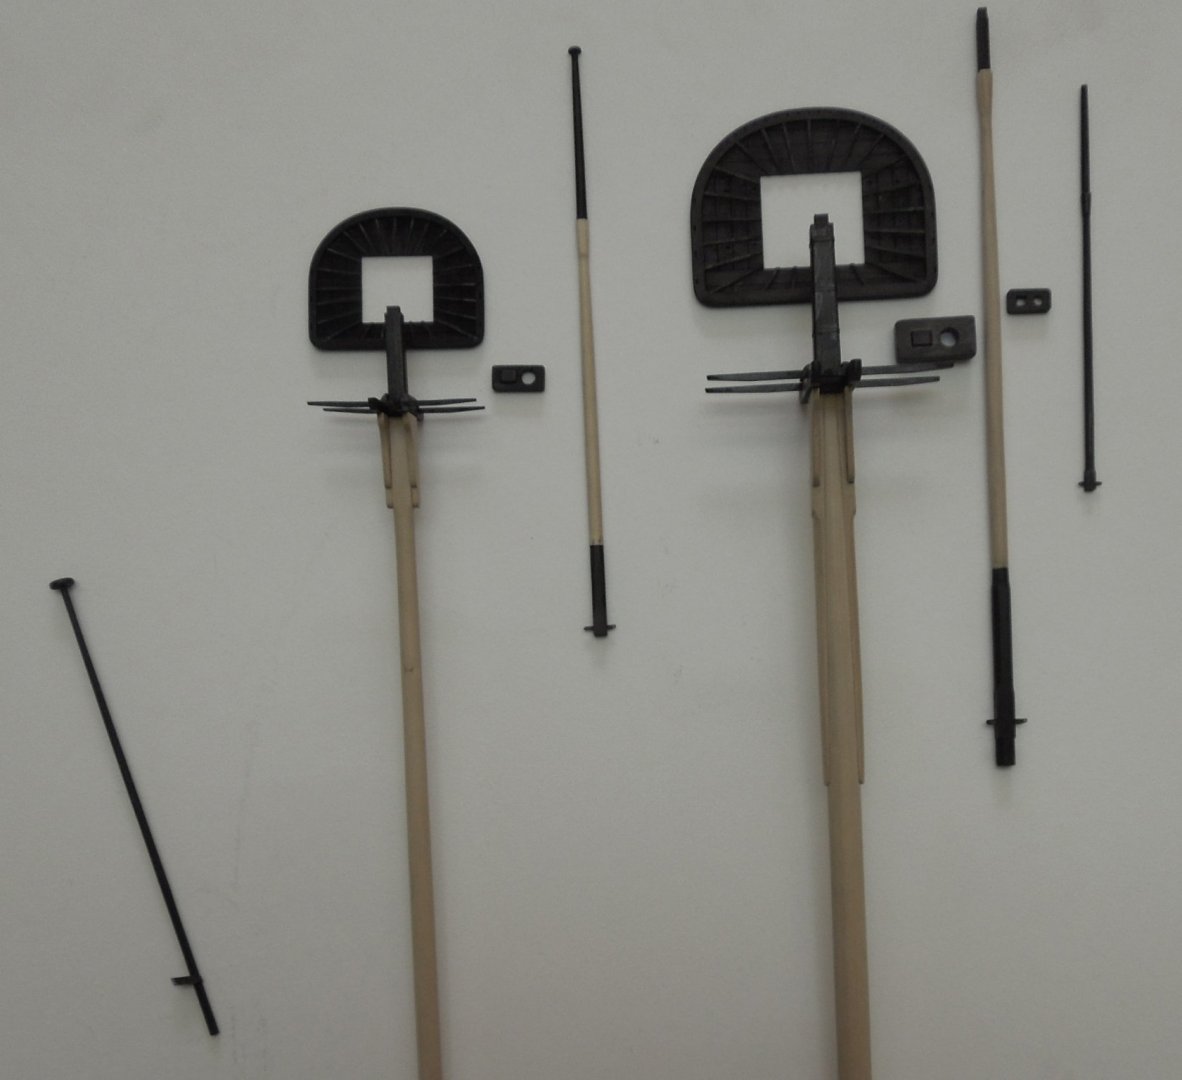
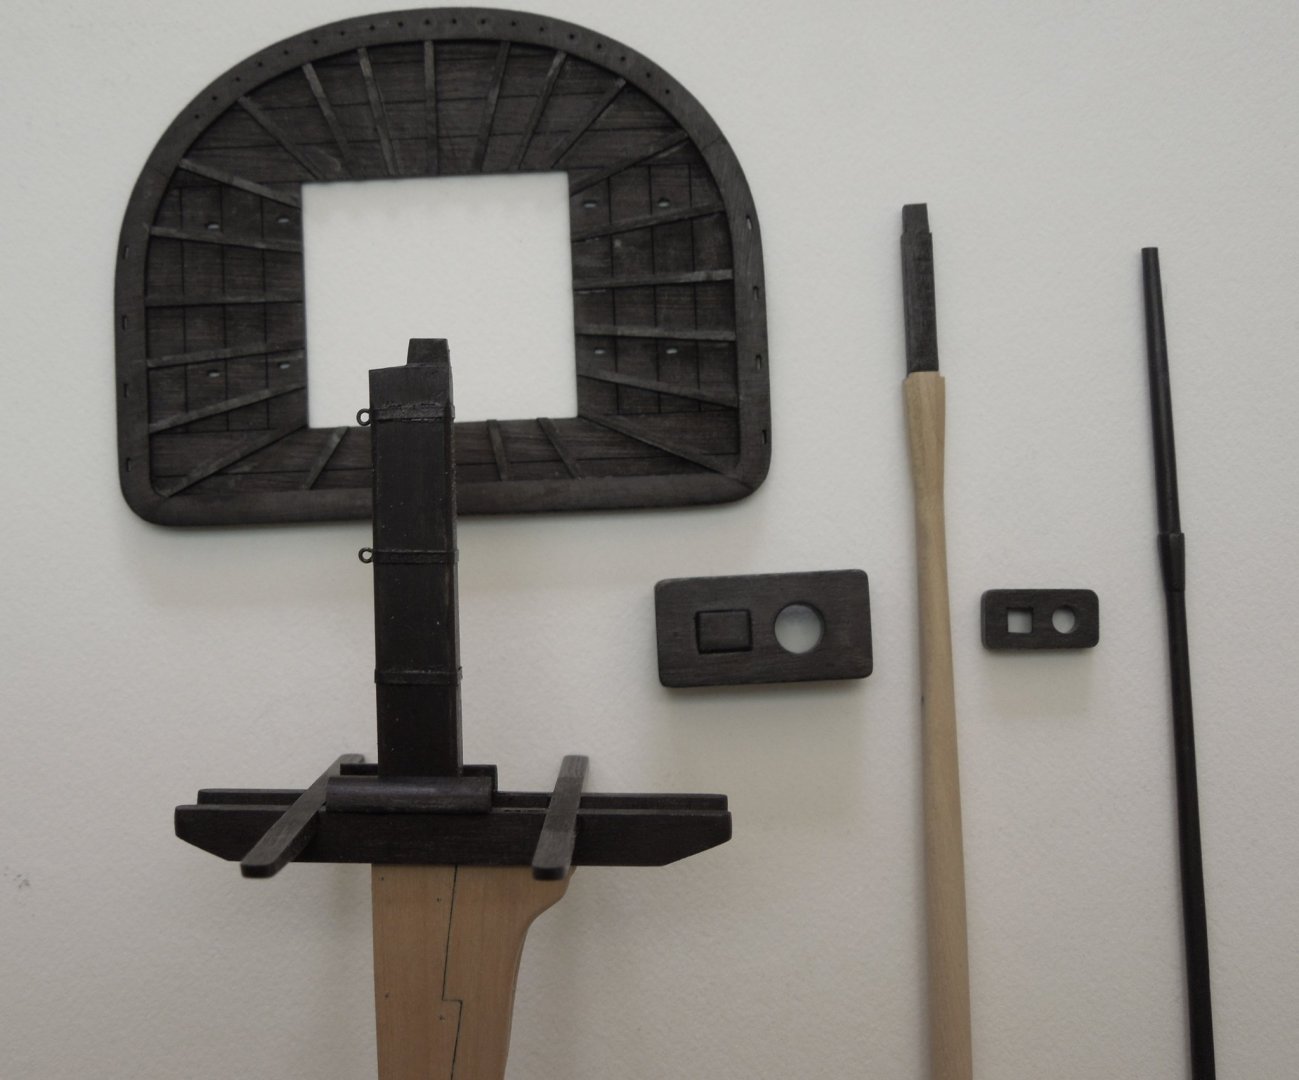
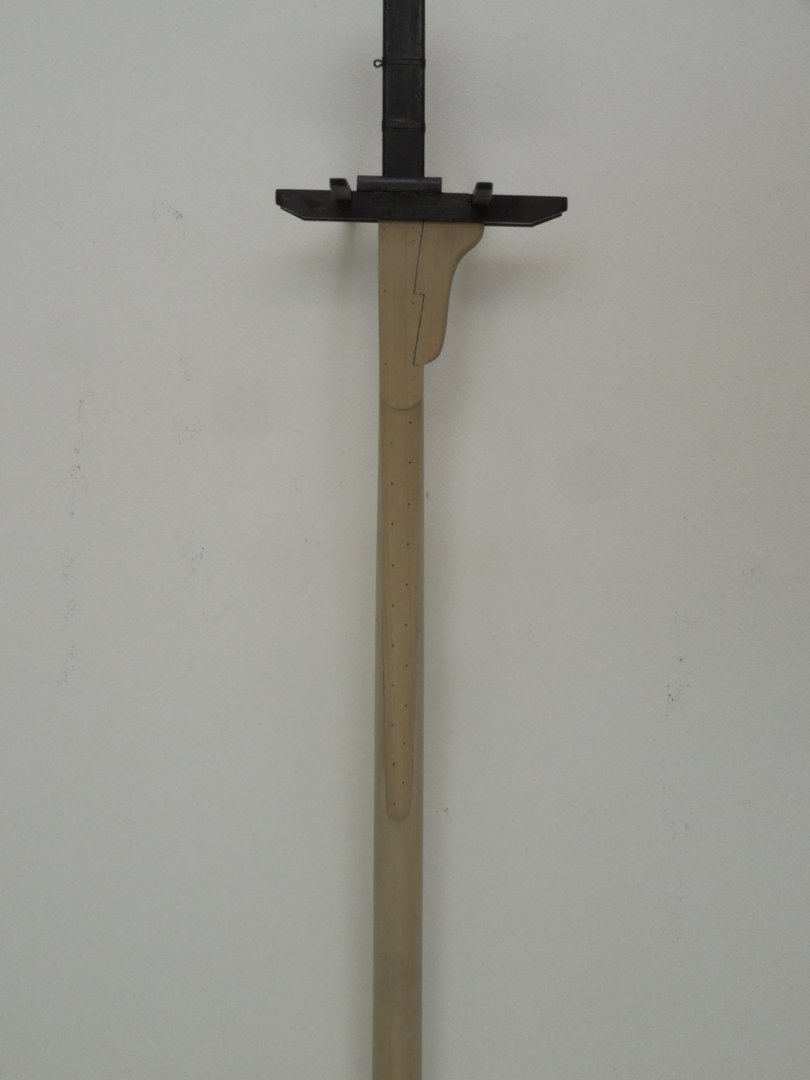
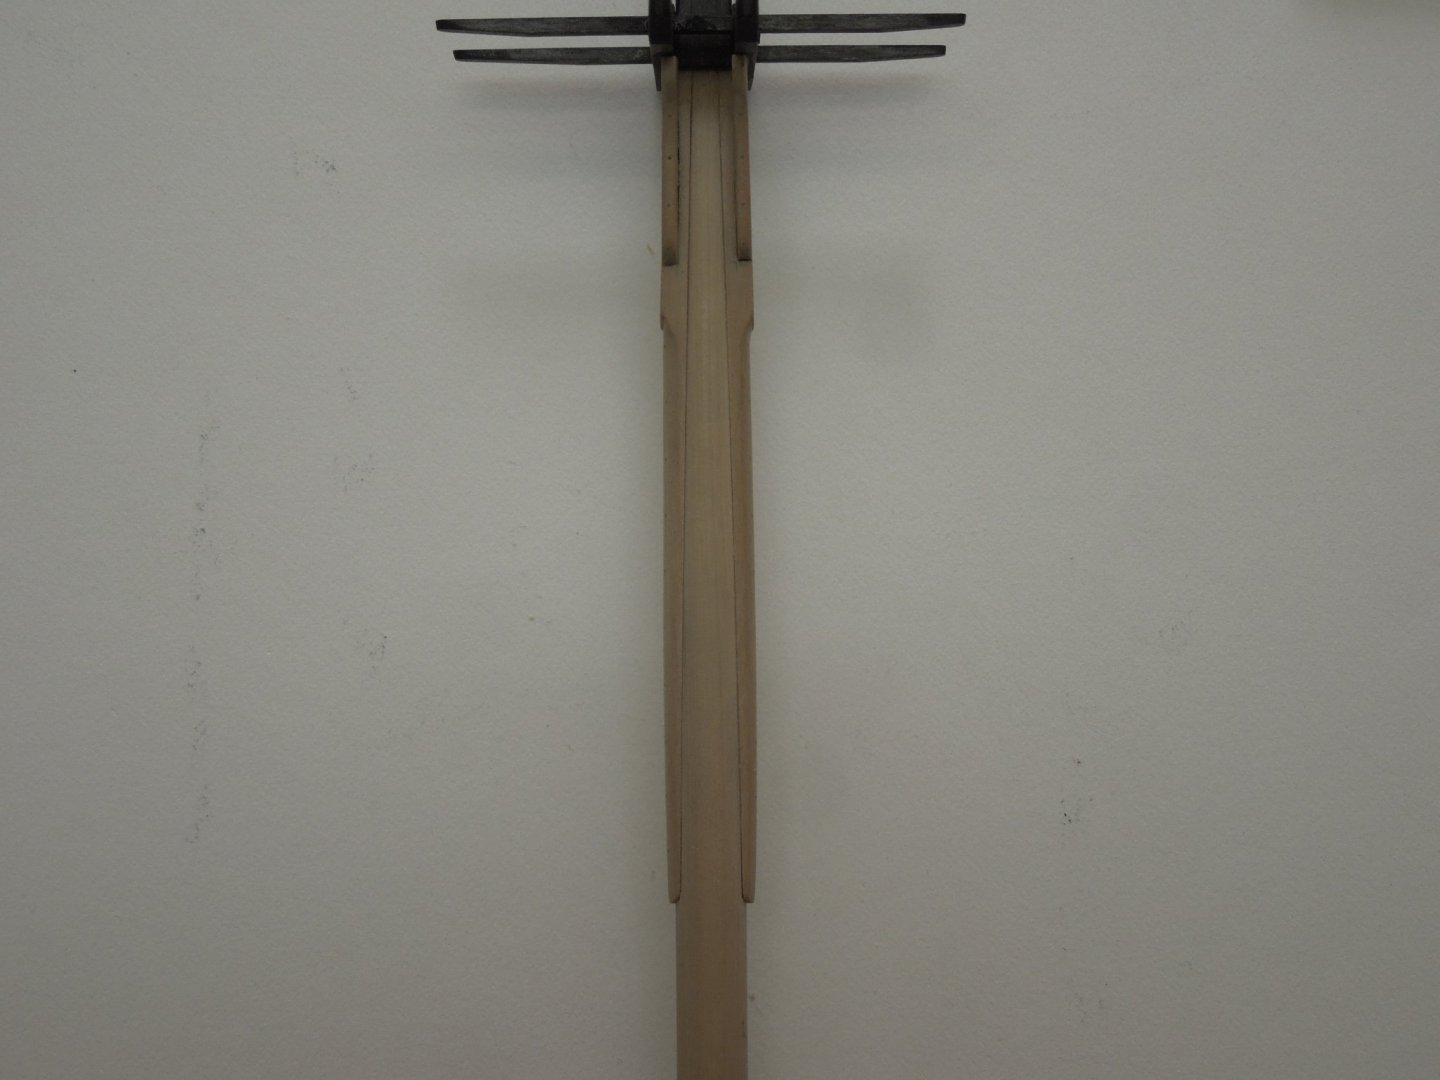
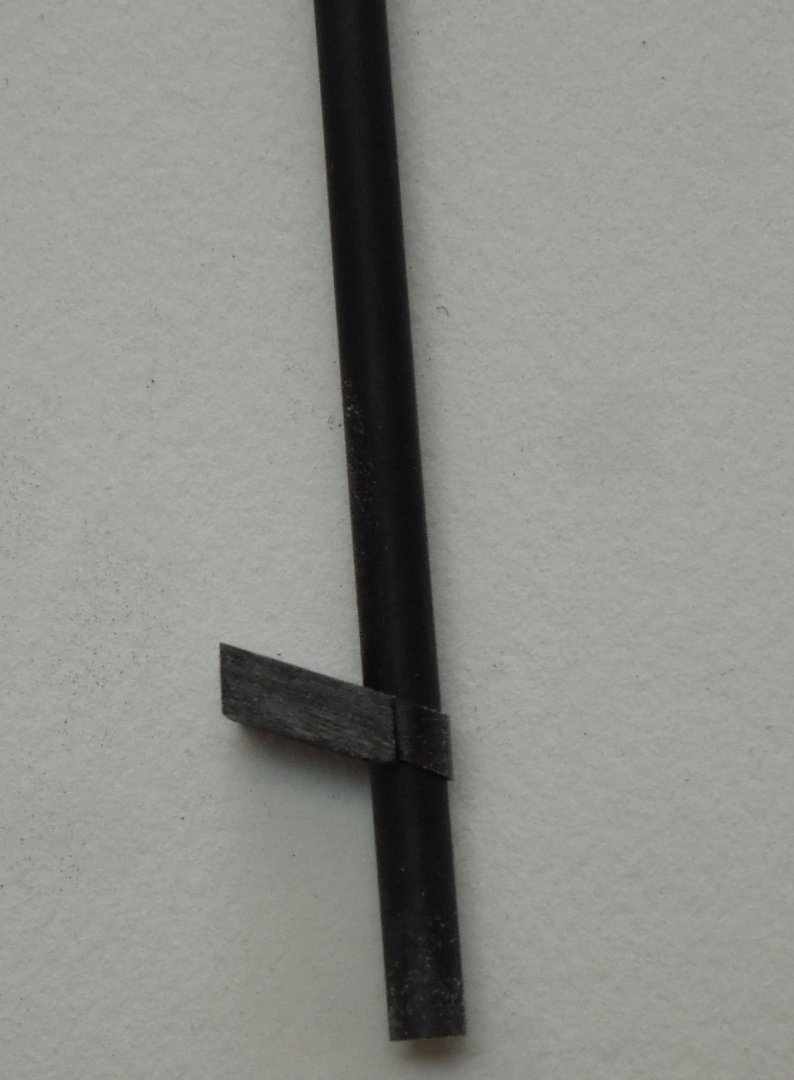
So it's been on to masting and sparring while David has been working on the carvings. With the completion of the masting and sparring we will have finished Volume Two of our Speedwell series and hopefully Sea Watch can get it to press in the near future. Fulling rigging plans are to be included in Volume Two as well. The masts and spars are of boxwood with the black portions ebonized with Fiebings dye. By the way, the mast tops were laser cut by Chuck (Syren Ship Models) based on our plans and I believe they came out very well. I'm sure Chuck will offer this technique for other ships or products as it greatly simplifies construction of these complex pieces.


- 345 replies
-
- 32
-
-
Speedwell 1752 by druxey - a work in progress
dvm27 replied to druxey's topic in - Build logs for subjects built 1751 - 1800
David has devoted a lot of real estate to Speedwell's carving in Volume Two! -
That is brilliant! You have a built in steady rest to stop deflection of those narrow spars.
-
Speedwell 1752 by druxey - a work in progress
dvm27 replied to druxey's topic in - Build logs for subjects built 1751 - 1800
Yes, David Antscherl carved them all with micro chisels, a steady hand and fine eyes. Keep in mind they are much smaller in person. Ironically, I have not seen my model since David added the carvings. We were supposed to meet at the April NW Ship Modelers meeting but that is no longer the case. I have been working on the masts and spars and shall post some photos of them in a day or so. Capt. Hook - she's a lovely little model even without the carvings. We were going to cast them and offer for sale but they're just too delicate with numerous undercuts. -
It's work like this that makes sheltering in place easier, Mark! Keep posting.
-
HMS ROYAL KATHERINE 1664 by Doris - 1/55 - CARD
dvm27 replied to DORIS's topic in - Build logs for subjects built 1501 - 1750
Really, Doris, there's nothing you can't do. If you don't rig R.K. it can only be because rigging may not get your creative juices flowing like creating beautiful sculptures.- 1,035 replies
-
- 4
-
-
- royal katherine
- ship of the line
- (and 1 more)
-
Naparima by Kevin Kenny - FINISHED
dvm27 replied to Kevin Kenny's topic in - Build logs for subjects built 1901 - Present Day
Very nice, Kenny! -
She looks extraordinary, Ben! You're making good use of your extra time in the workshop.
-
Magnificent work! Will the cabin's lucky occupant have a canvas covered straw mattress to lie on?
-
Thank you for showing us how you got to this point in the build Kudin!
-
This is a beautiful model Karl and everything looks perfect...except those belaying pins. They look to be twice as wide as they should be. I know it's incredibly picky but on a model of this quality they seem genuinely out of place. Here in the US Bluejacket sells nice slender ones. I'm sure someone sells them in Europe if you don't have a lathe to turn them yourself.
- 87 replies
-
- 5
-
-
- royal caroline
- yacht
- (and 1 more)
-
I'm betting you never thought you'd be building a model of this complexity before Chuck's Winny came along. That's beautiful work Mike! Even with all those laser cut parts and guides it's still no walk in the park. Is their a more complex structure than an 18th century stern?
- 607 replies
-
- 6
-
-
- winchelsea
- Syren Ship Model Company
- (and 1 more)