


Mike Y
-
Posts
1,513 -
Joined
-
Last visited
Content Type
Profiles
Forums
Gallery
Events
Posts posted by Mike Y
-
-
Thanks everybody!
") We are fully settled in the apartment and had a series of housewarming parties, kid birthdays, vacations and other offtopic activities.
We are fully settled in the apartment and had a series of housewarming parties, kid birthdays, vacations and other offtopic activities.
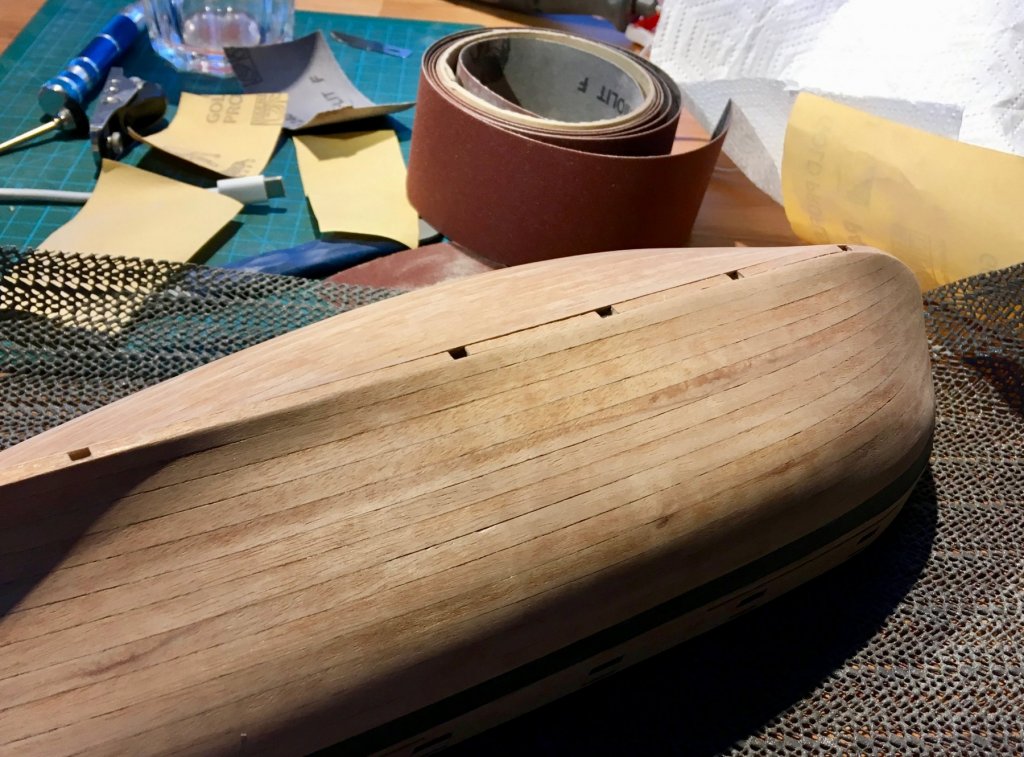
I finally got some time to resume modelling. The longer the pause is, the harder it is to resume. Especially since I am facing is an internal planking, which is a tricky thing if you want it to be neat. And not all mistakes could be hidden by sanding, since a lot of planks have different thickness. D-oh!
Clamping jig to the table is very convenient, I am glad I added a vice to make it possible, can recommend!

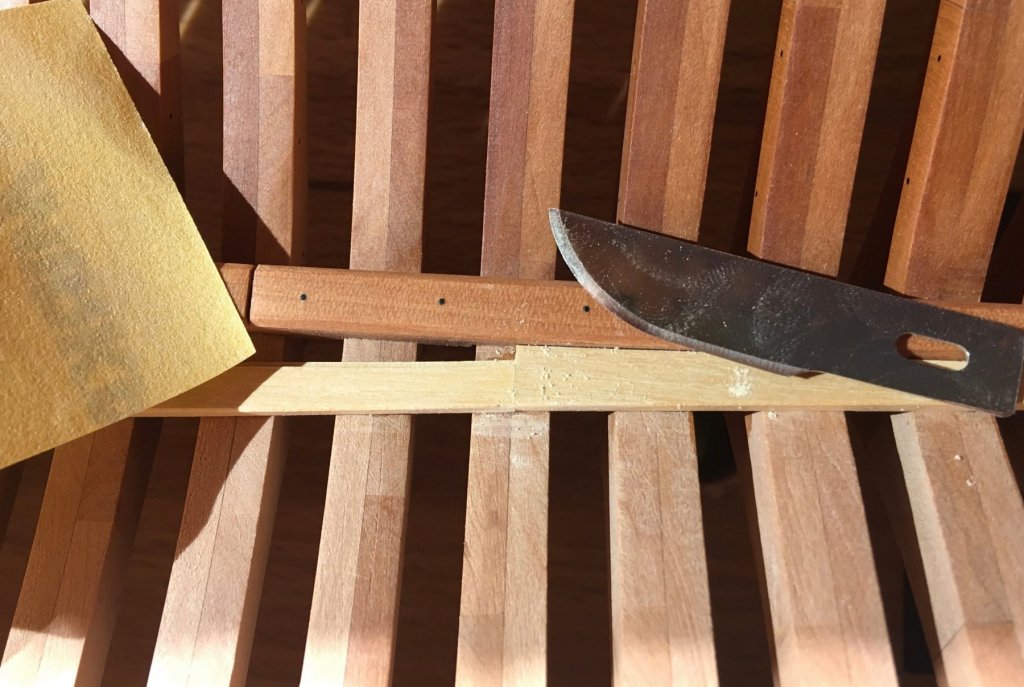
First boxwood pieces on the model! Future limber streaks. Planing during a sunset is very relaxing.
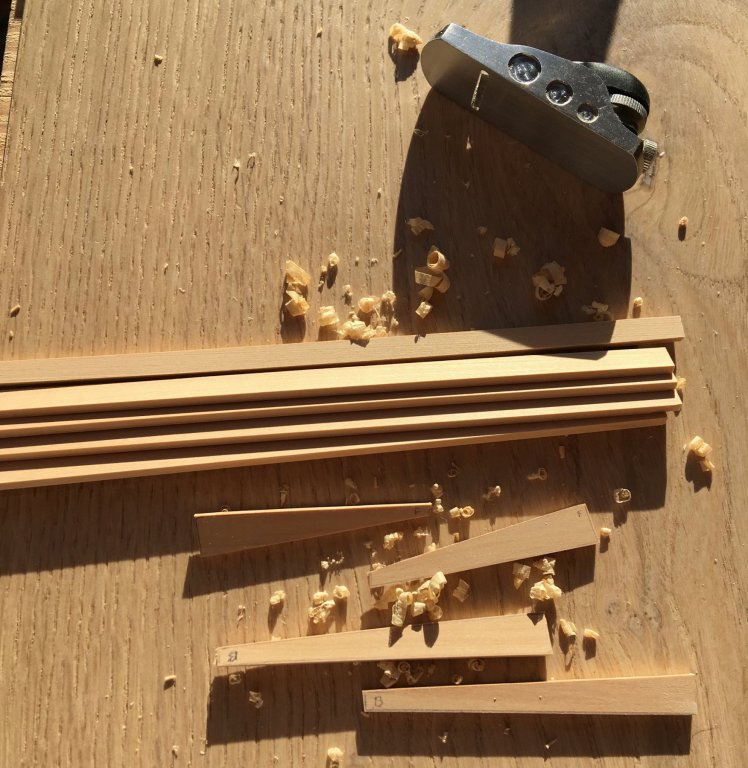
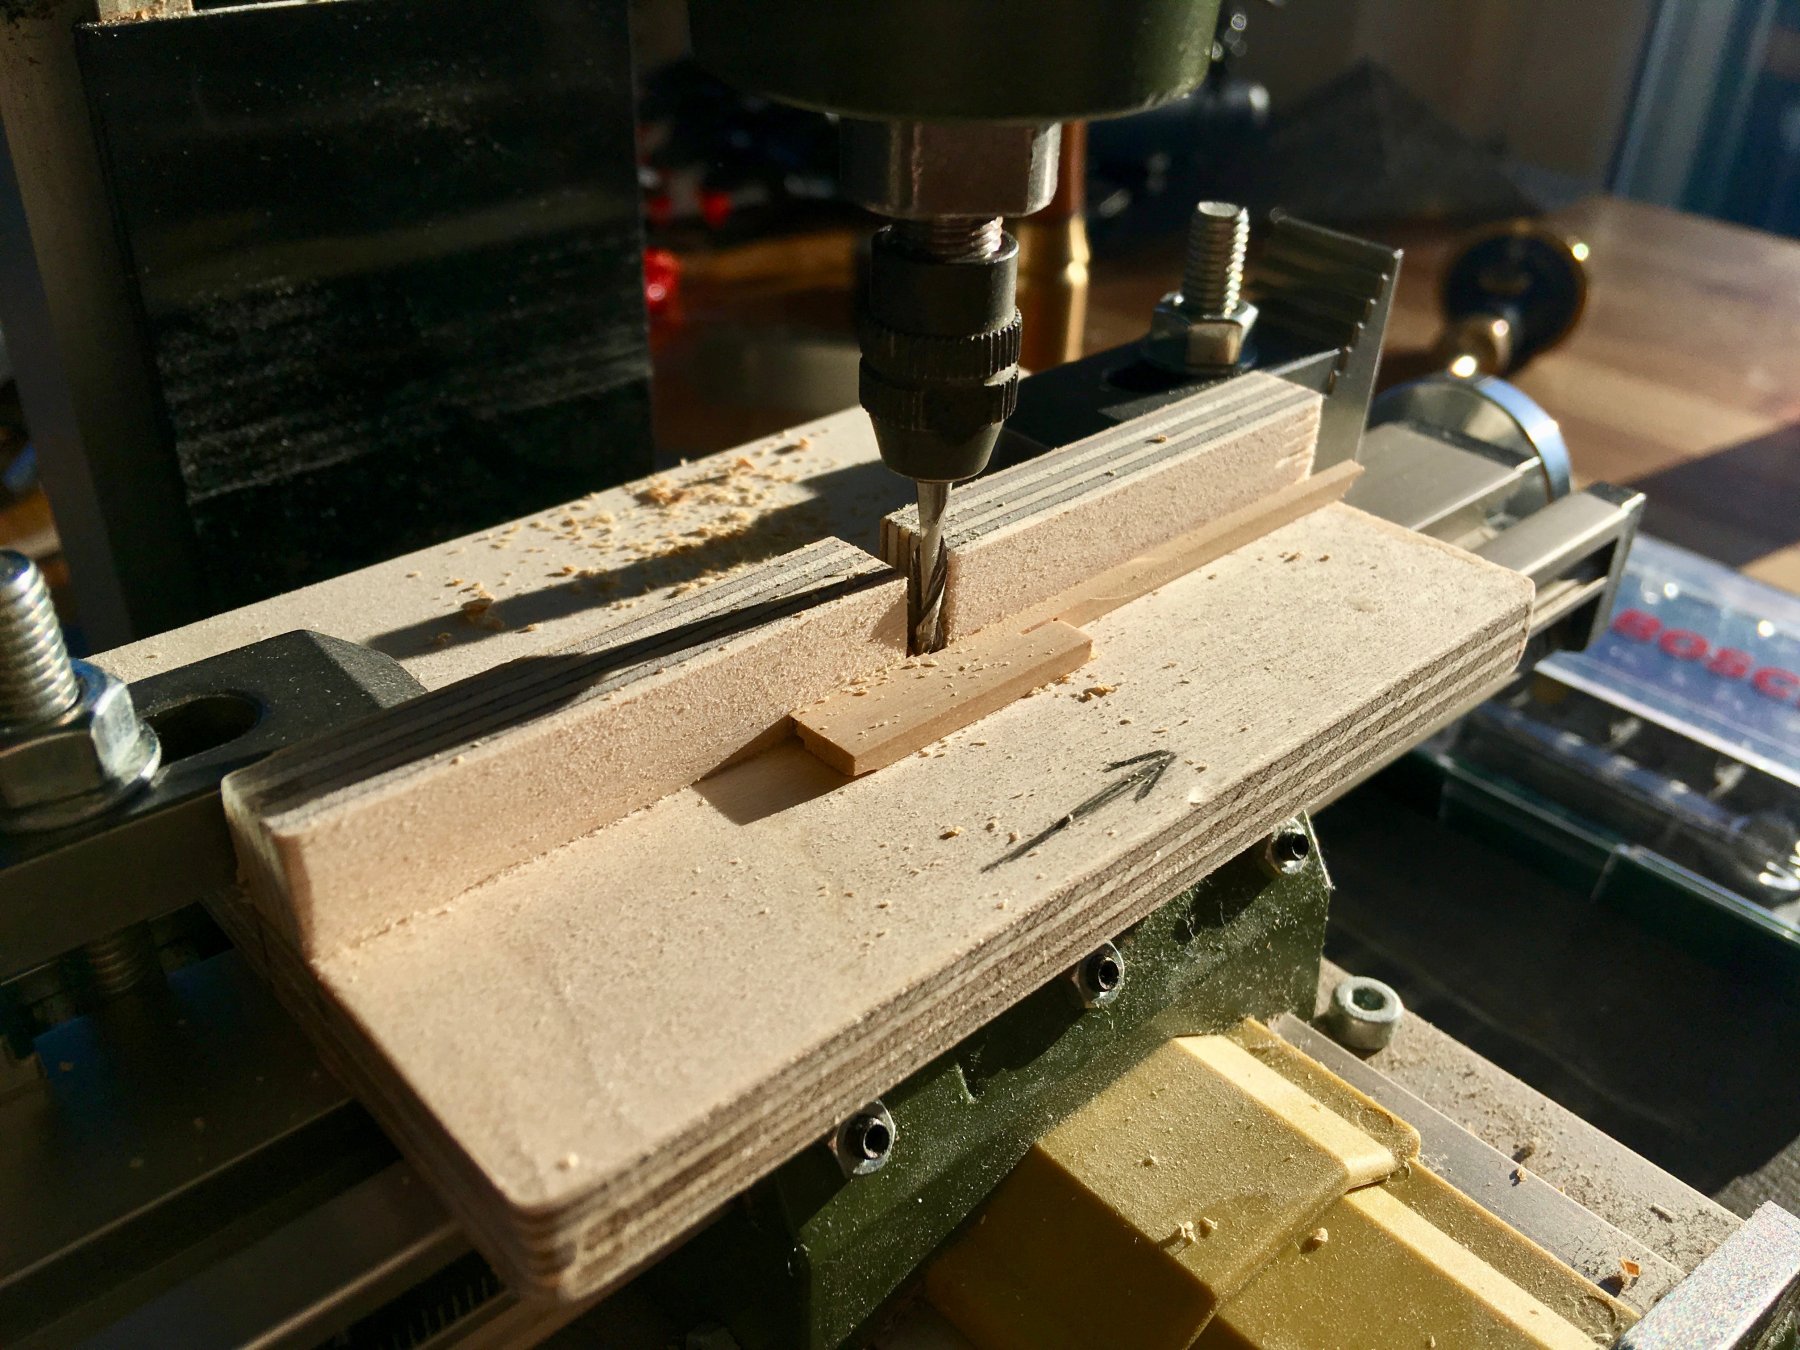
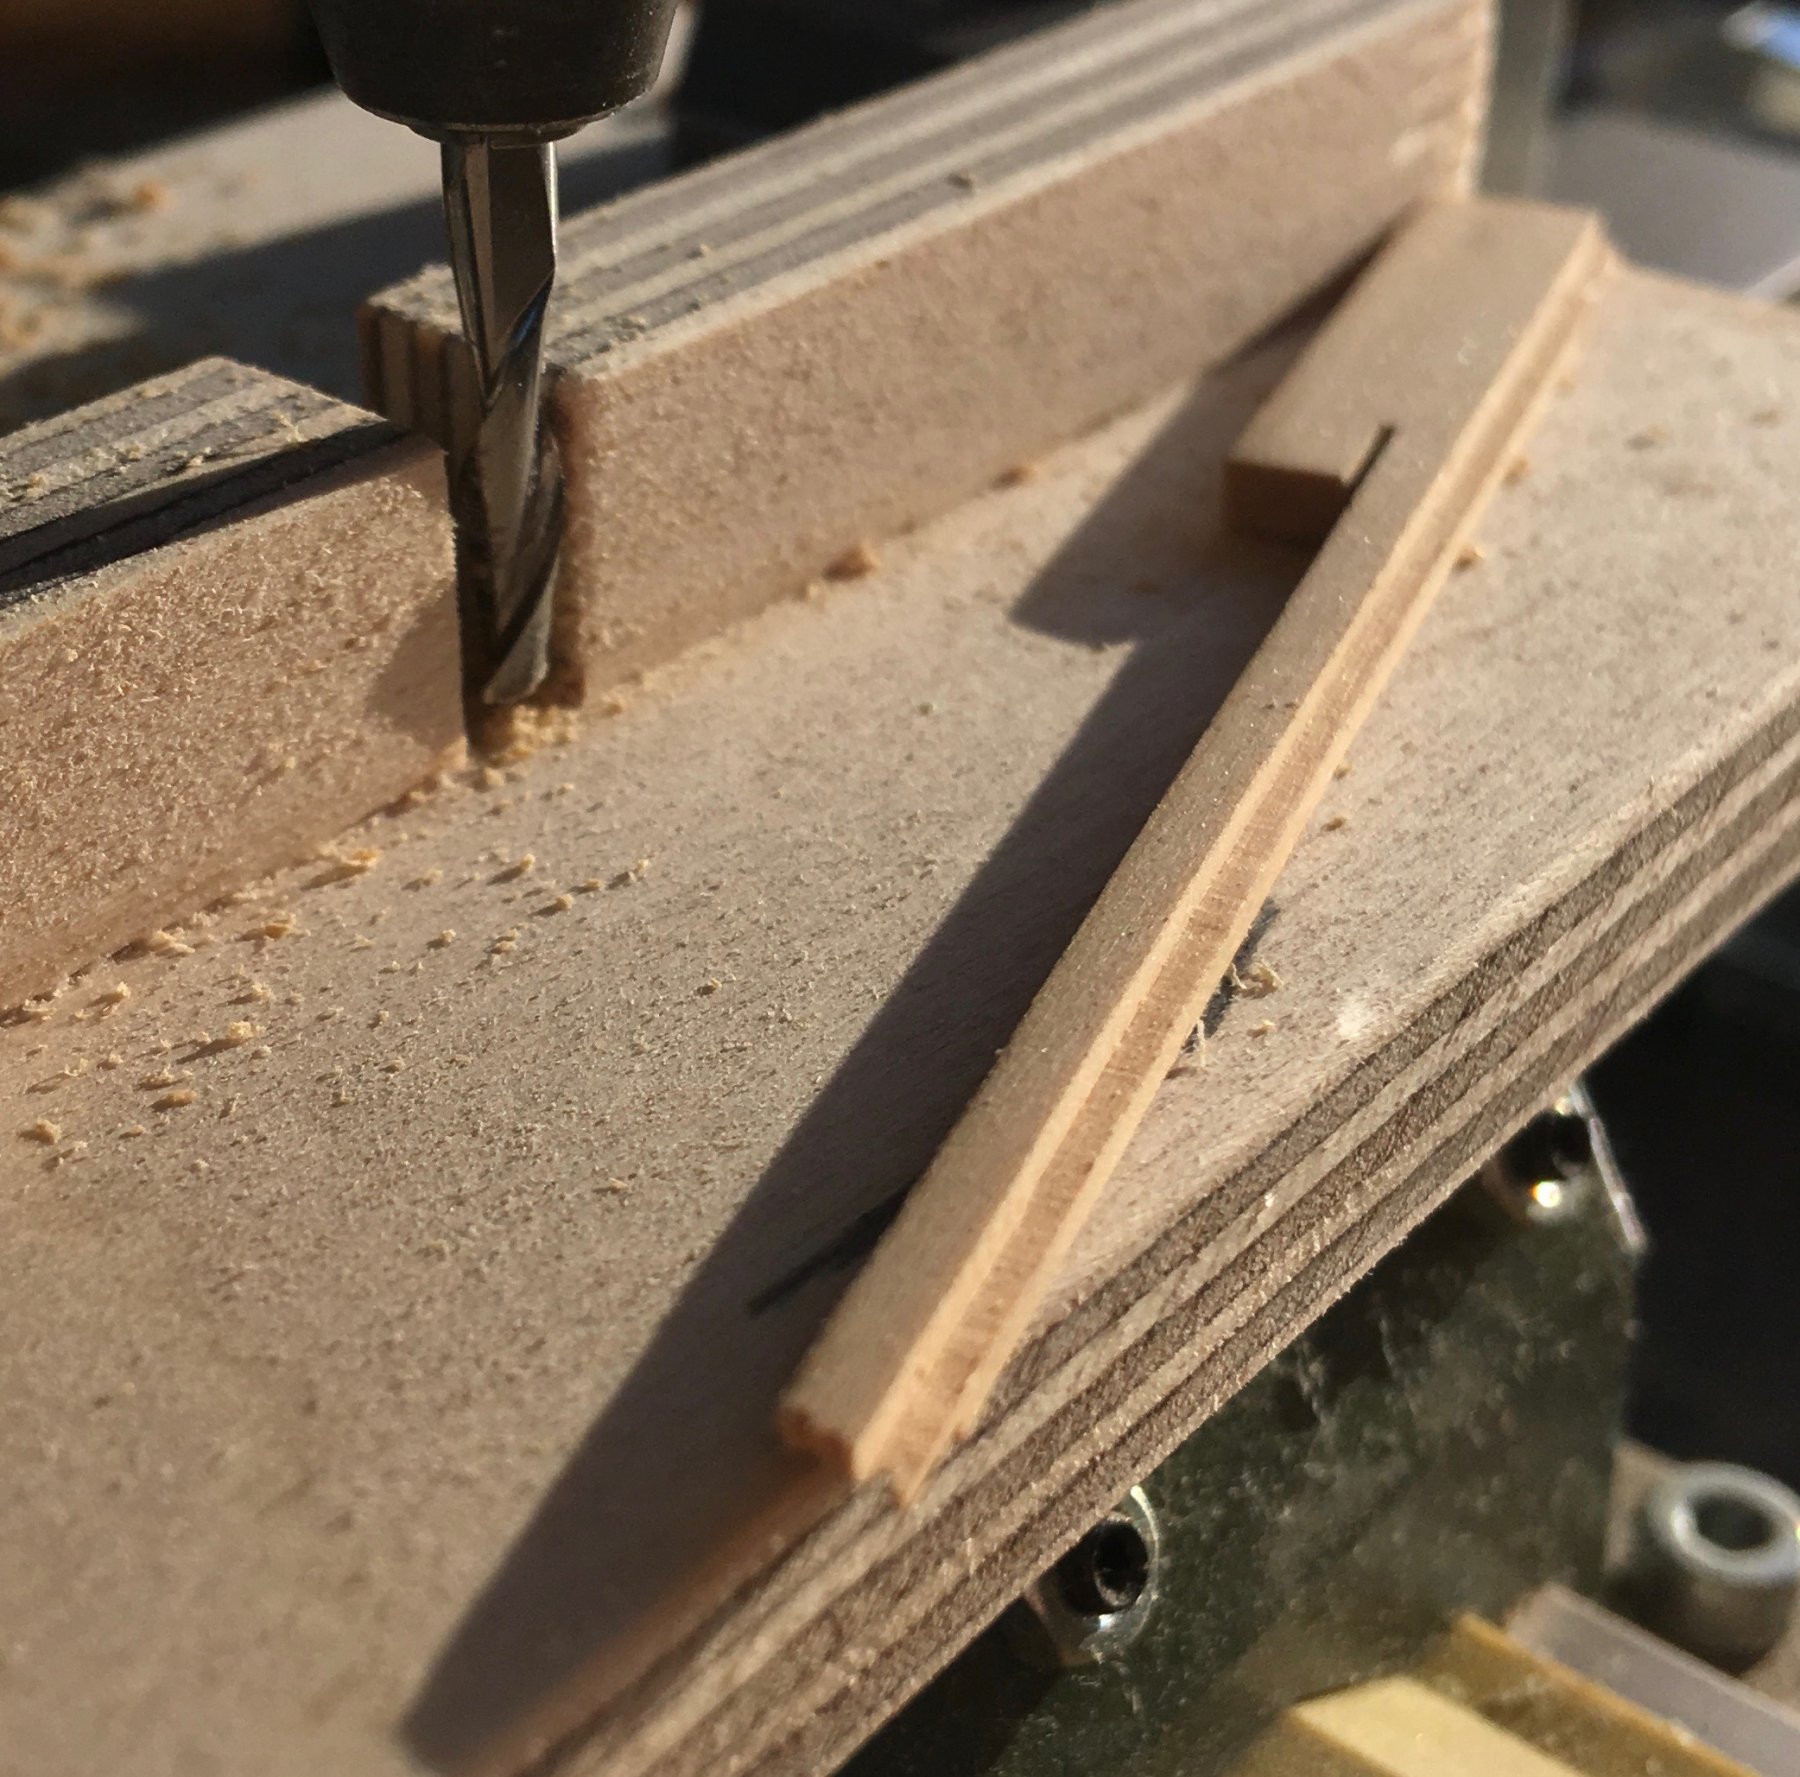
Made a mill fixture to route a rabbet into that boards.

It works, but the cut is not very smooth. Overall, this boxwood tends to chip a bit when you mill it freehand of when you scrape it. That is unusual after pear that scrapes smooth. So I need to rely more on files and planes, using scraping for finishing touches, not for shaping

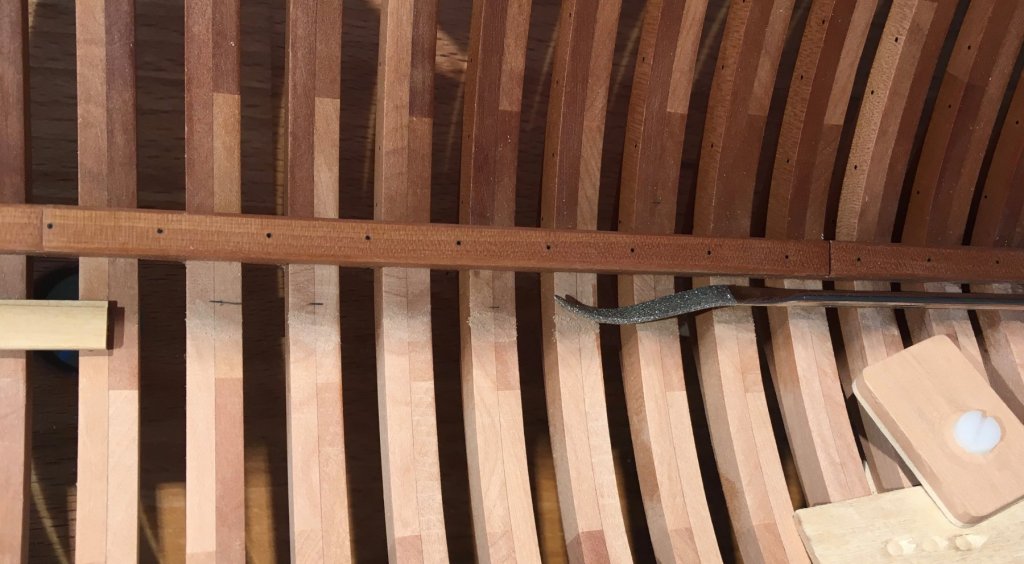
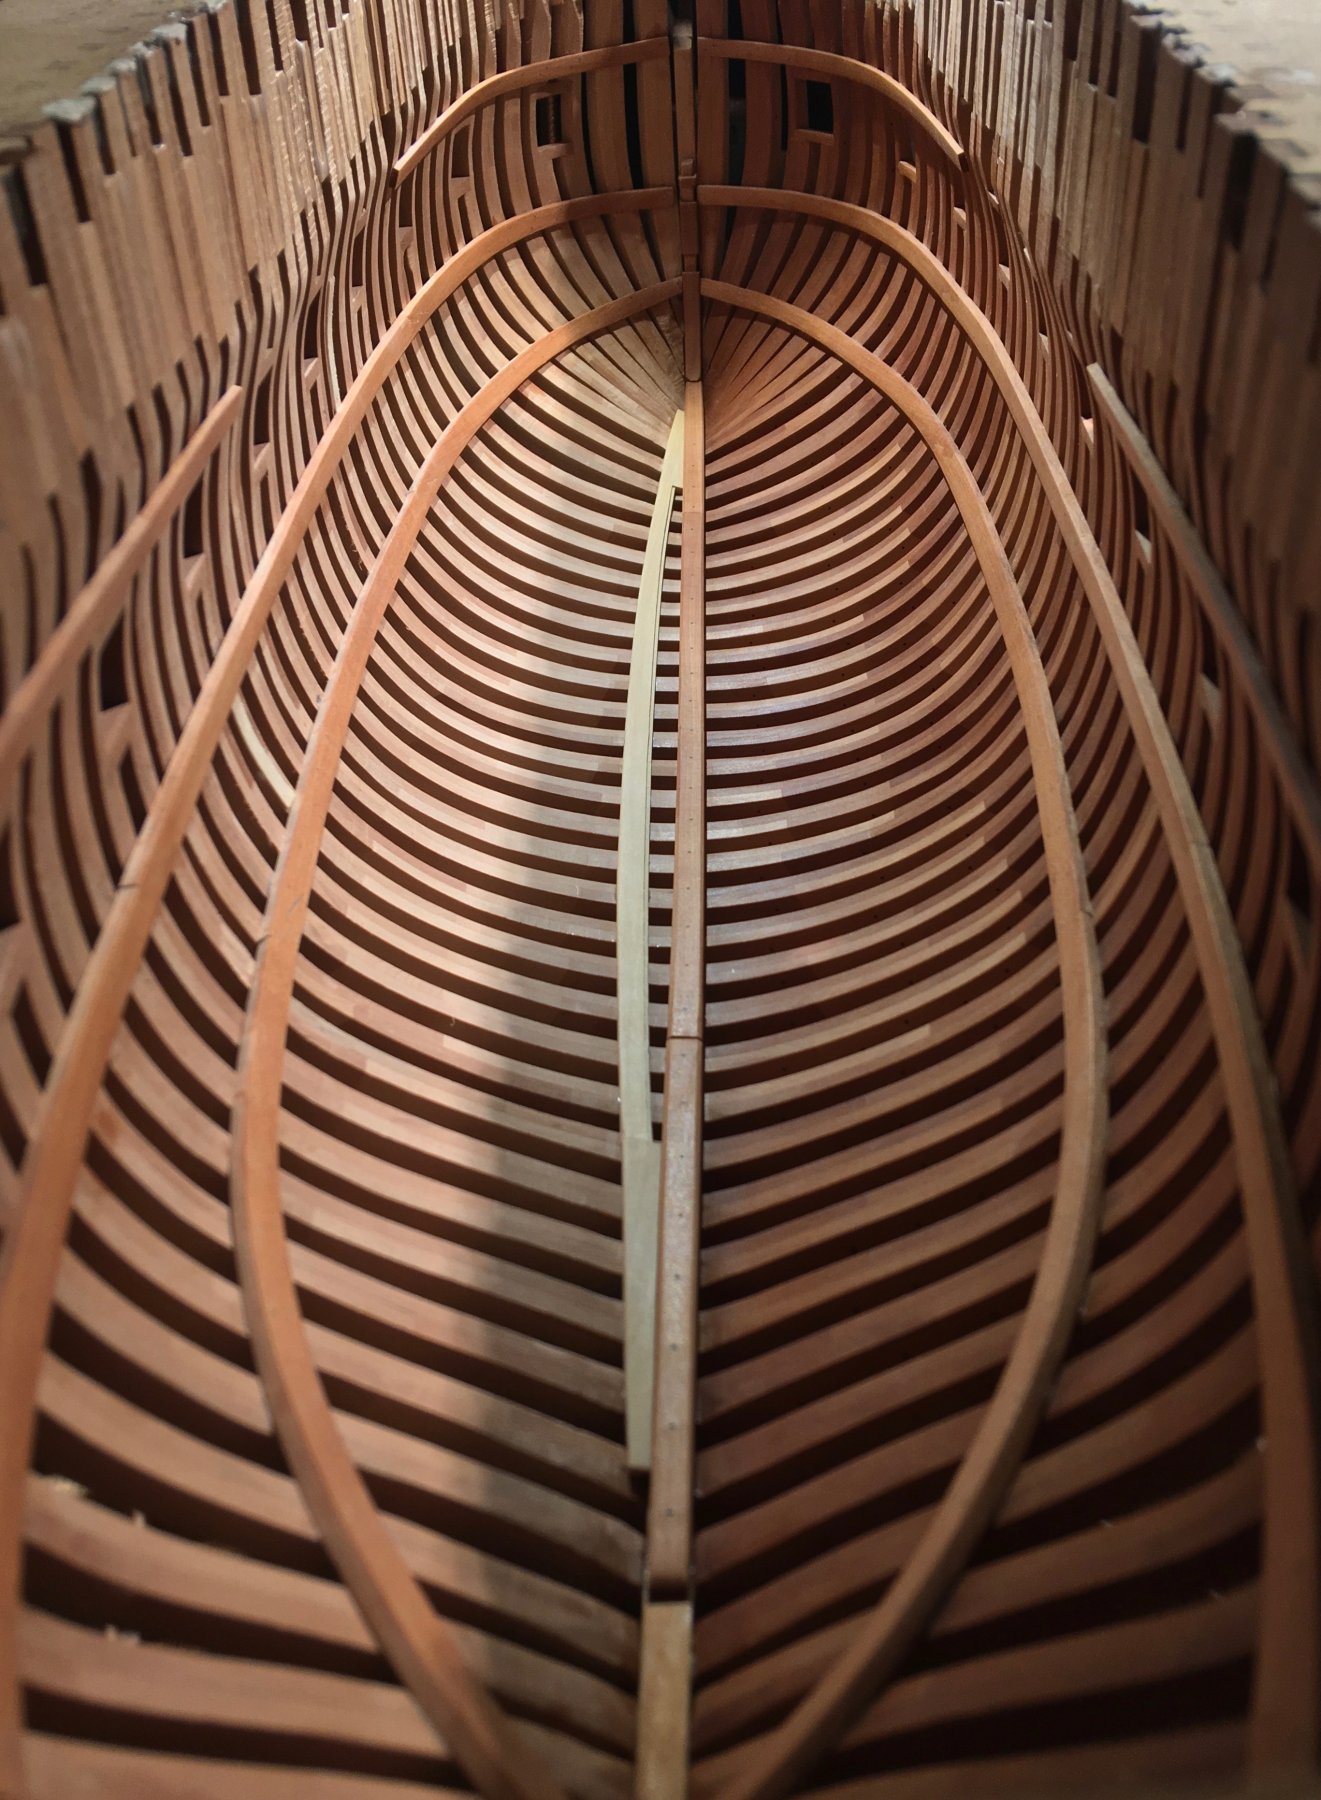
I haven't faired the internal part of the hull in delicate areas, so now I am repaying that debt by fairing it now, trying not to scratch the keelson. And hey, it's 21st century, moving pictures are a thing!
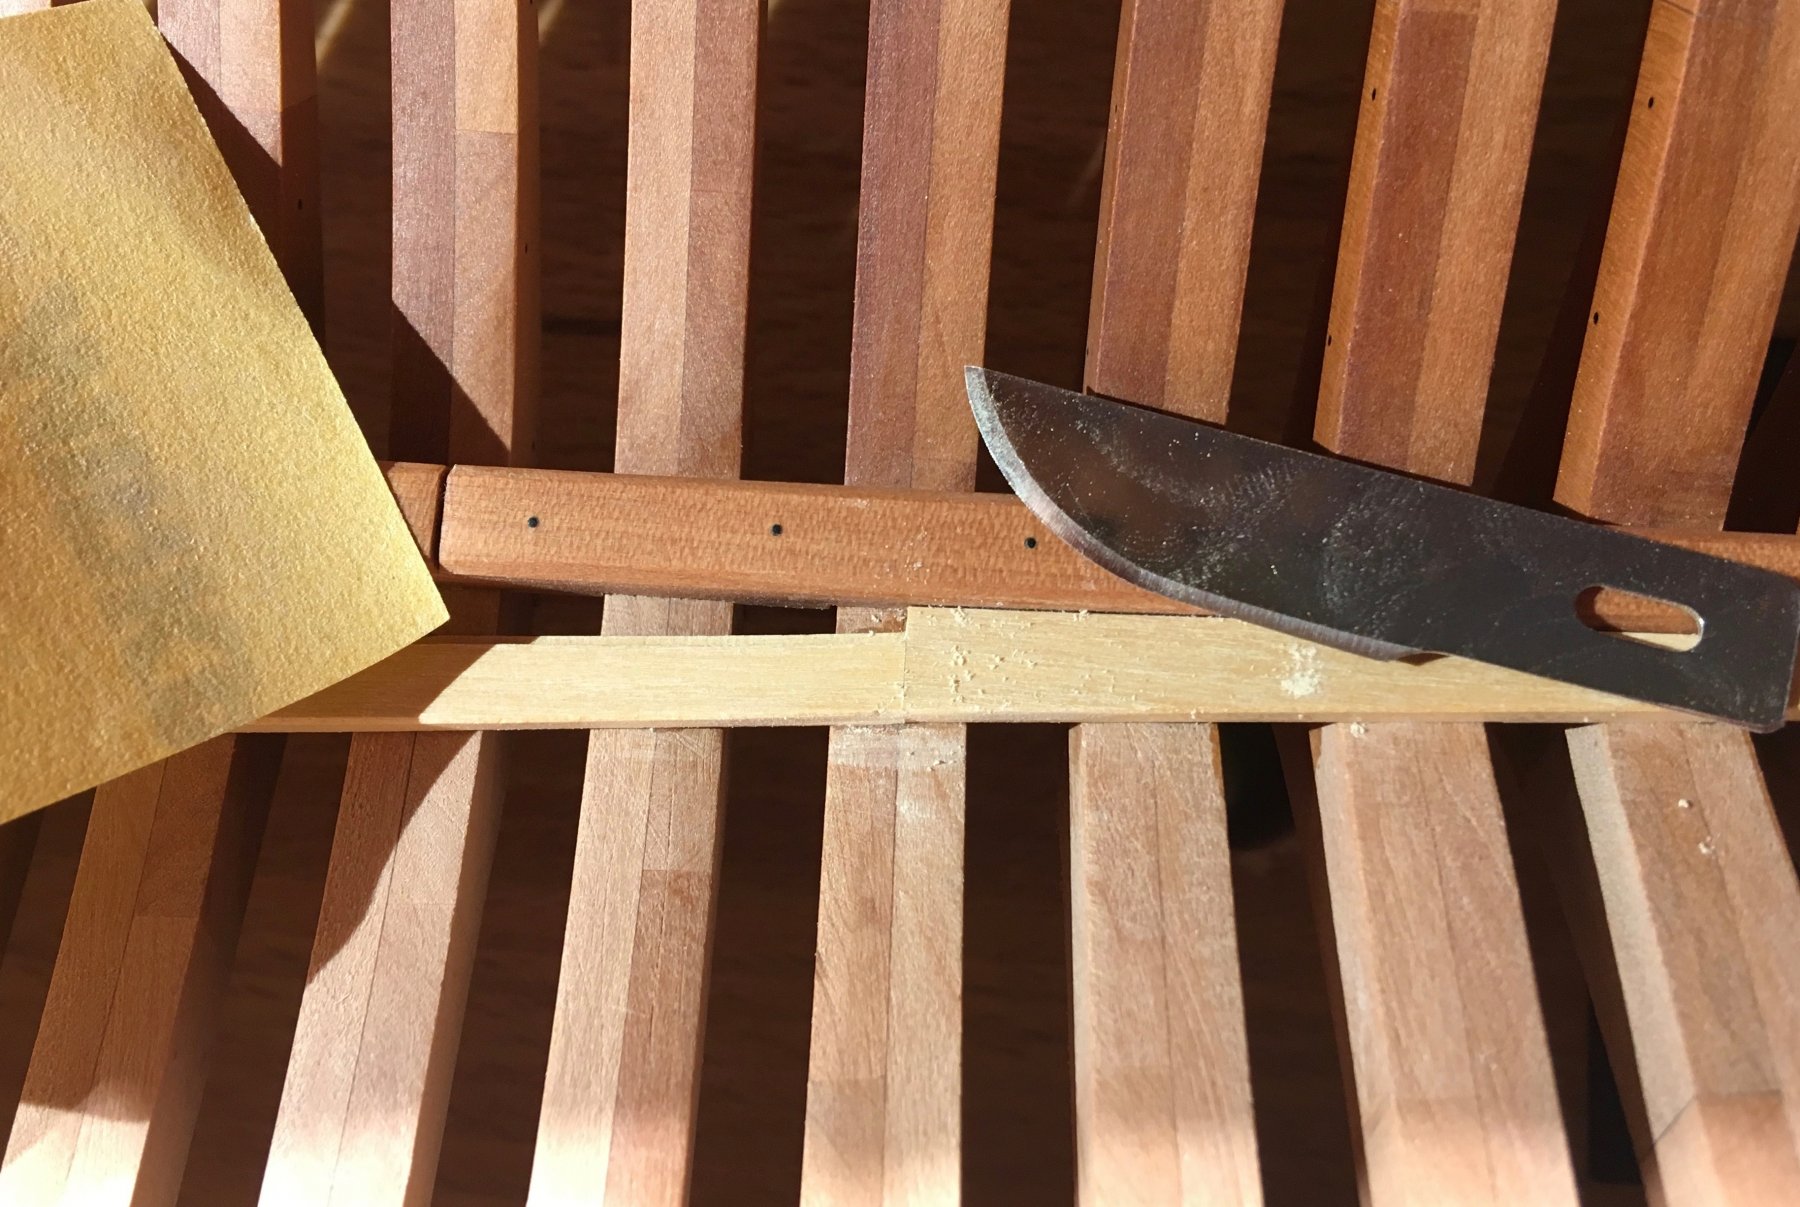
Frames are scratched with a diamond file to improve glue adhesion and break down the surface patina layer.
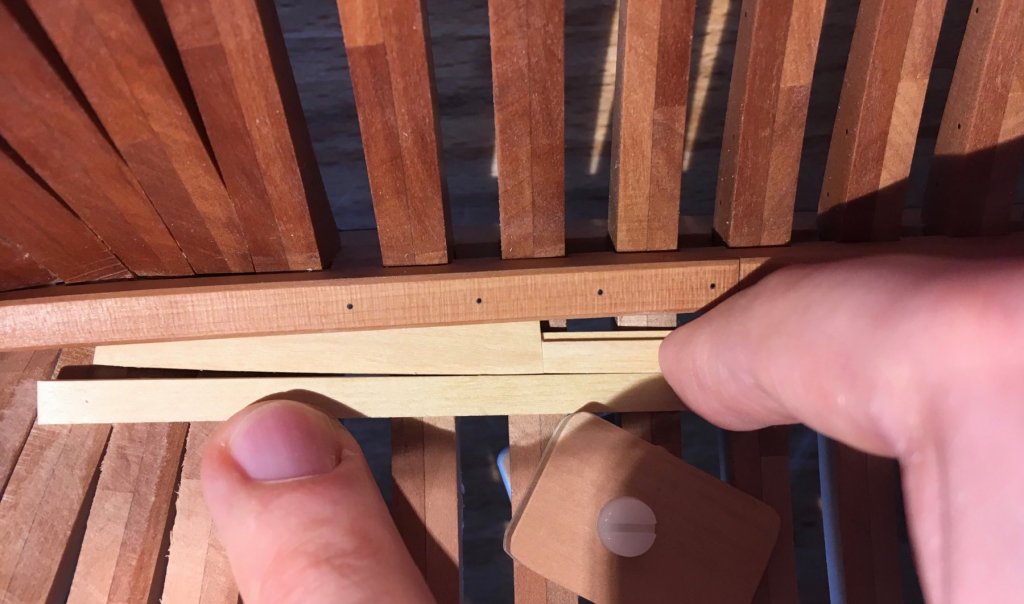
Final fit is checked with a test plank next to it. Of course, the bottom of the plank is shaped to follow the curvature, and underside edges are broken to simplify the fit with the next plank.
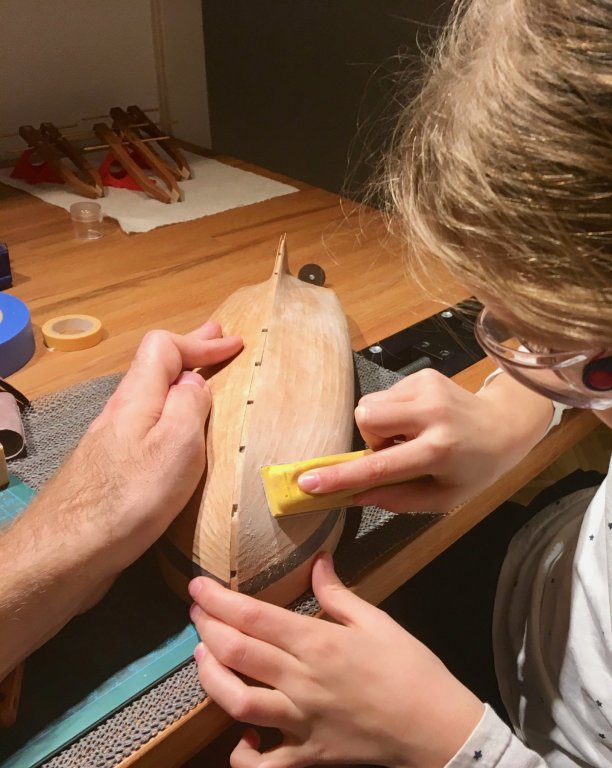
After the glue-up, some final blending is done with fine sandpaper and scraping:
And the end result is "hoorray, I installed the first plank in a few years"

Now it's just a matter of adding the rest of the planks.

It's so great to be back!
- AON, KARAVOKIRIS, ChrisLBren and 25 others
-
 28
28
-
Thank you for warm comments from both of us (Daria included). We had a nice bonding time reading them together.
Will keep up the progress
- lmagna, VonHoldinghausen, mtaylor and 2 others
-
5
-
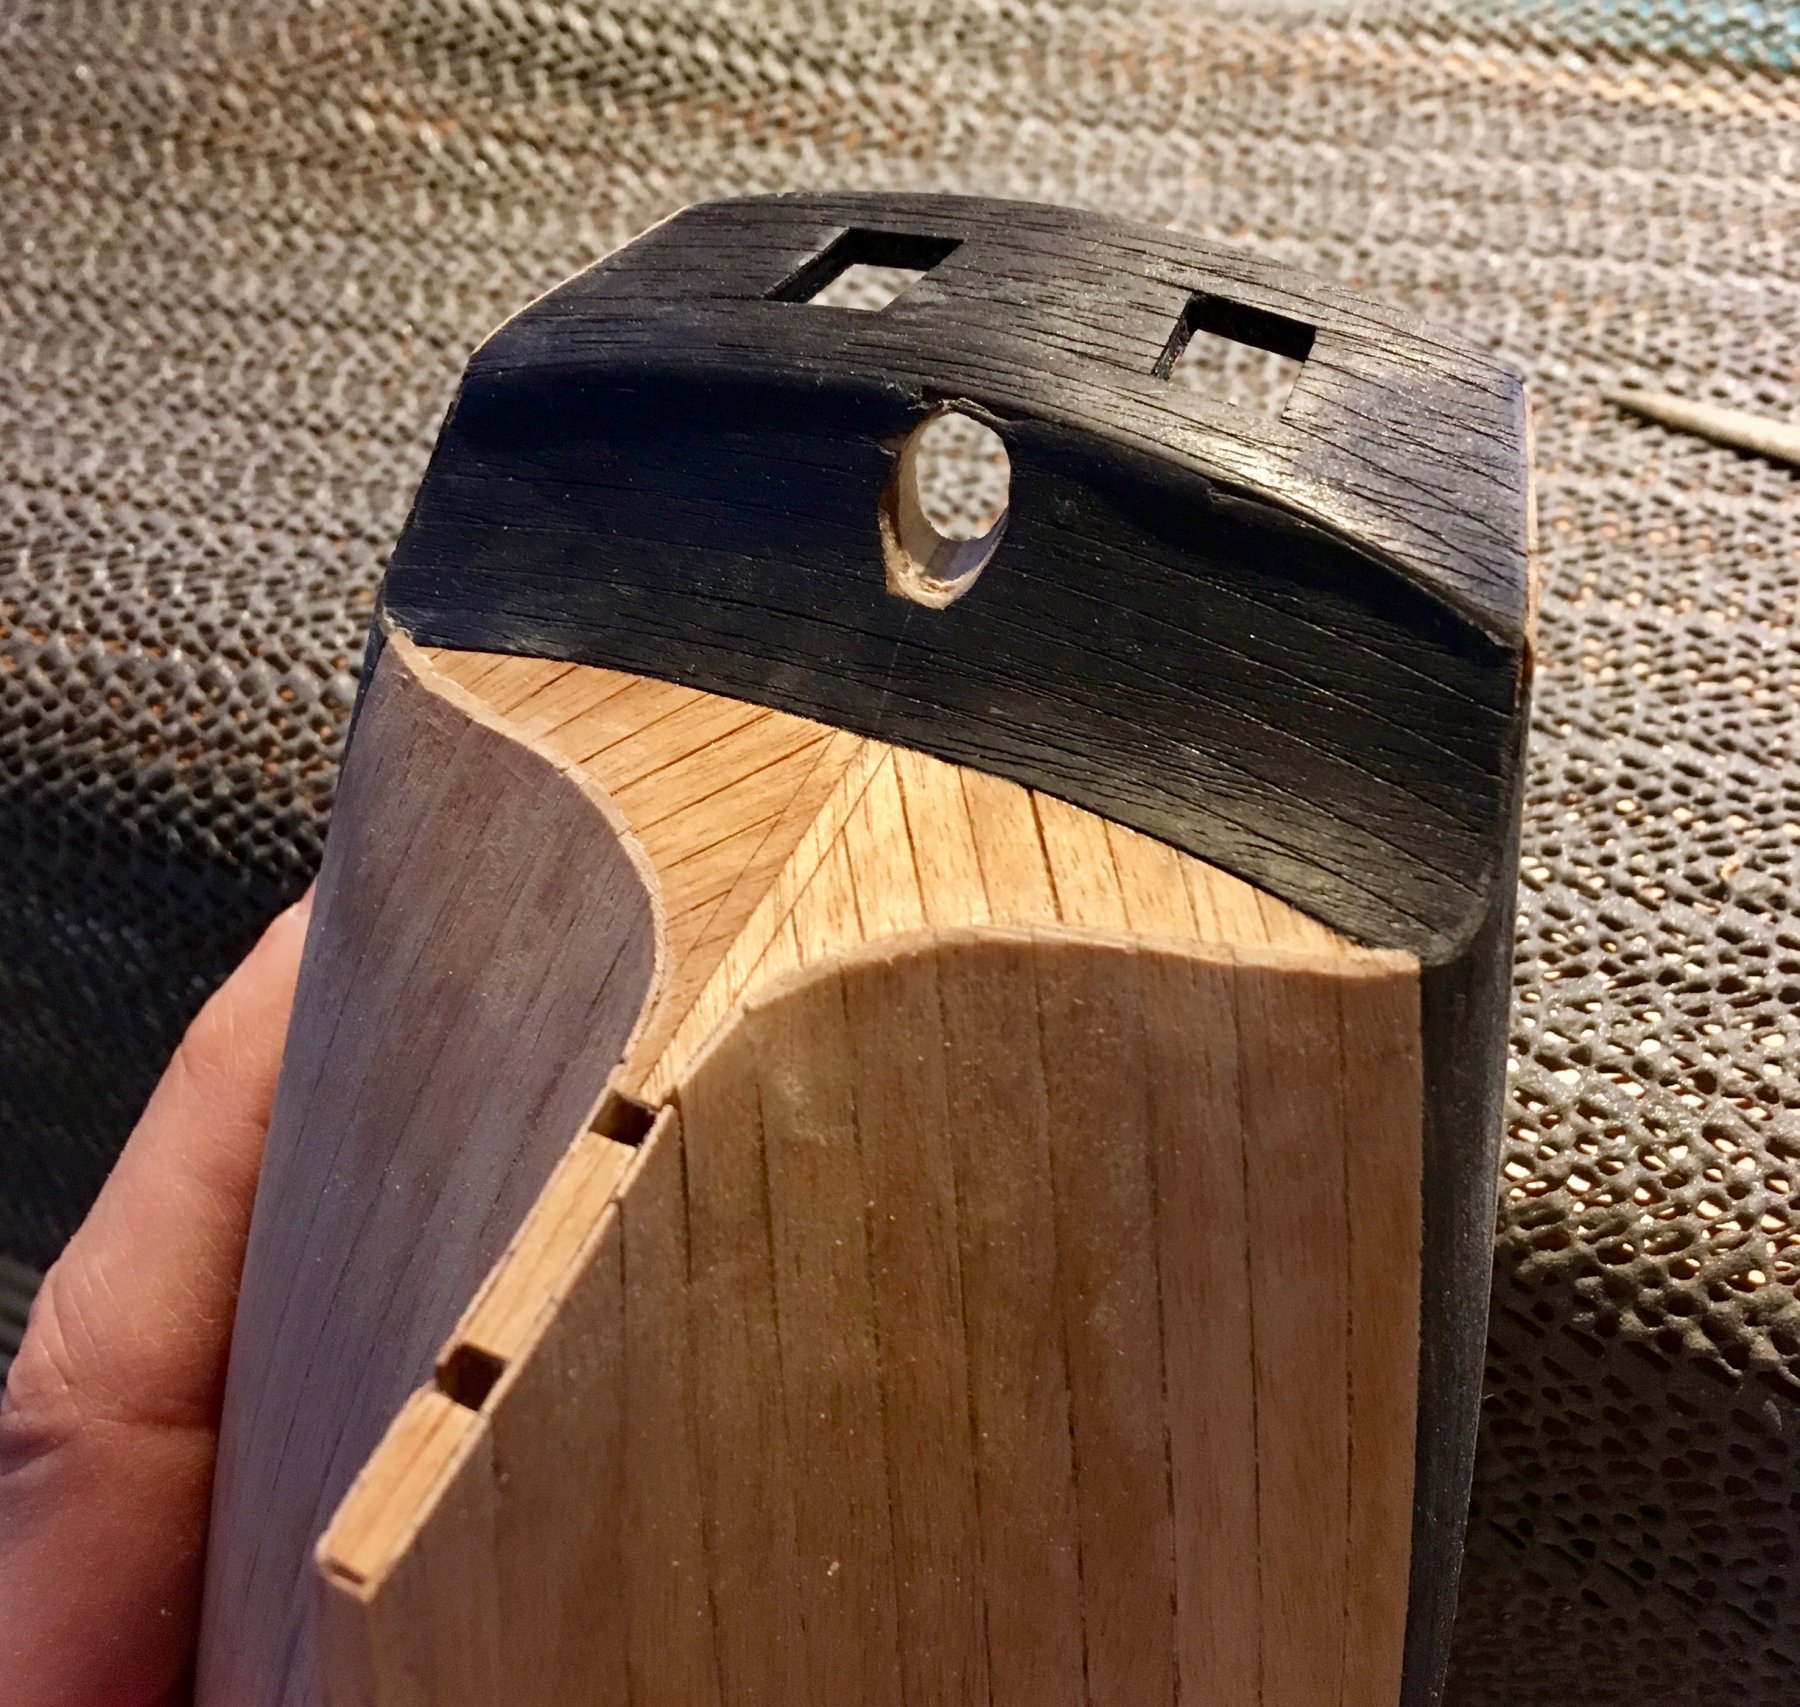
Mark, thanks for the advice! It is an interesting idea. Though this grain does not bother me so much, because the whole model has an out-of-scale grain, it is part of it style
Transom is not an exception.
SpyGlass: interesting, it is very well dyed then - the wood is black over its entire thickness (which is like 0.5-0.7mm though), and it is pretty hard. Not sure if dyes can do that with this grain direction. There should be some areas of incomplete penetration then.
Also, it behaves similar to ebony when you scrape it - you get small particles instead of chips. All my limited experience with ebony shows the same picture. But I agree, the grain looks unusual. Can be a different type of ebony, or maybe branches vs trunks? Though the veneer sheet used here is 10-15cm wide, hard to find a branch that thick (ebony trees are pretty thin, afaik).
-
I like the "view port" that you left in the transom, great idea!
- FriedClams and mtaylor
-
2
-
-
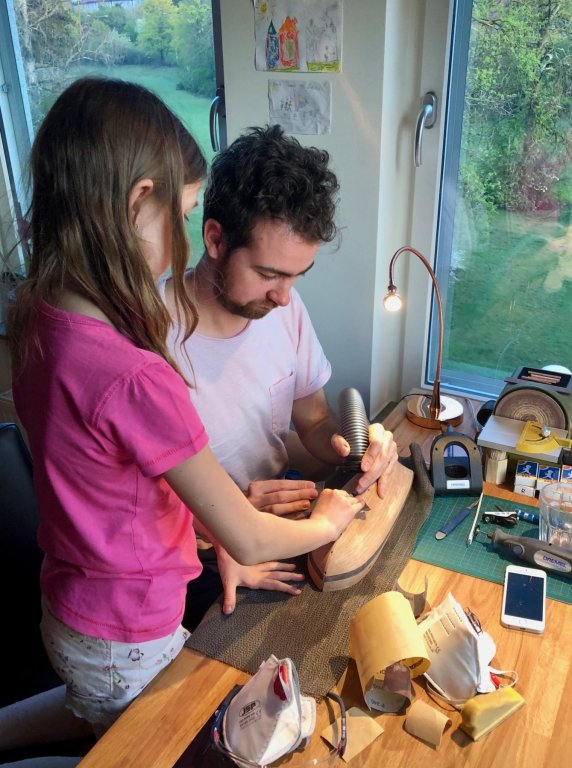
Nice progress! Hope you will get hooked to the hobby, it is very addictive
-
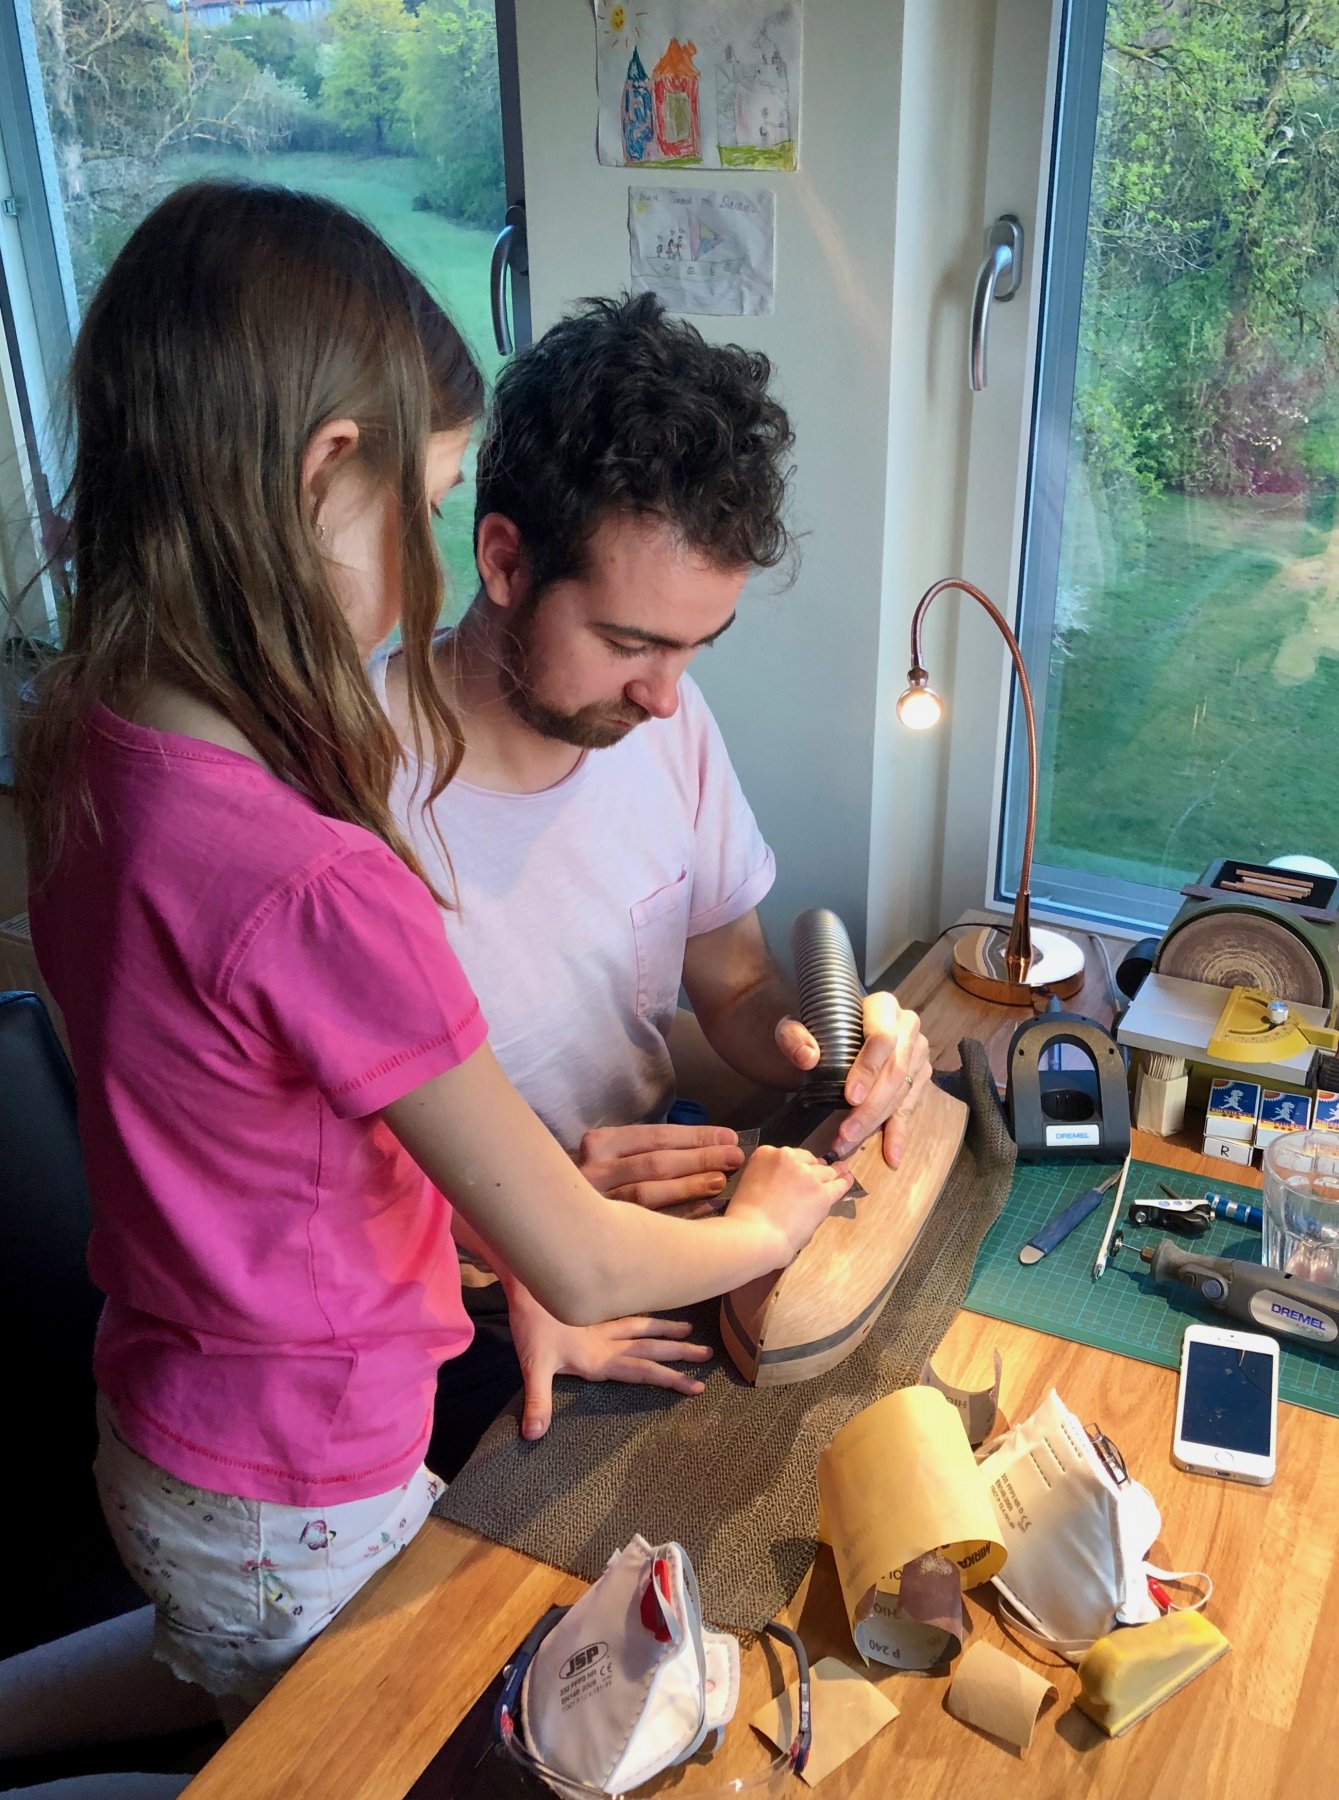
Thanks all for the comments and likes!
Yes, we are using respirator masks when sanding (for some reason it was off on that photo, but it is mostly on), plus a vaccuum cleaner is always on to suck the fine dust right away. Working in a living room teaches you the dust hygiene pretty quickly, dealing with a fine sawdust everywhere is not a pleasant thing. And it is good for Daria to think about dust and lungs from early age, she is putting the mask herself now, I do not need to ask.
The ebony veneer is reeeeally thin, so we are thinking twice before doing any sanding of scraping on it. It is too thin to sand away that grain, so will leave it like this.
-
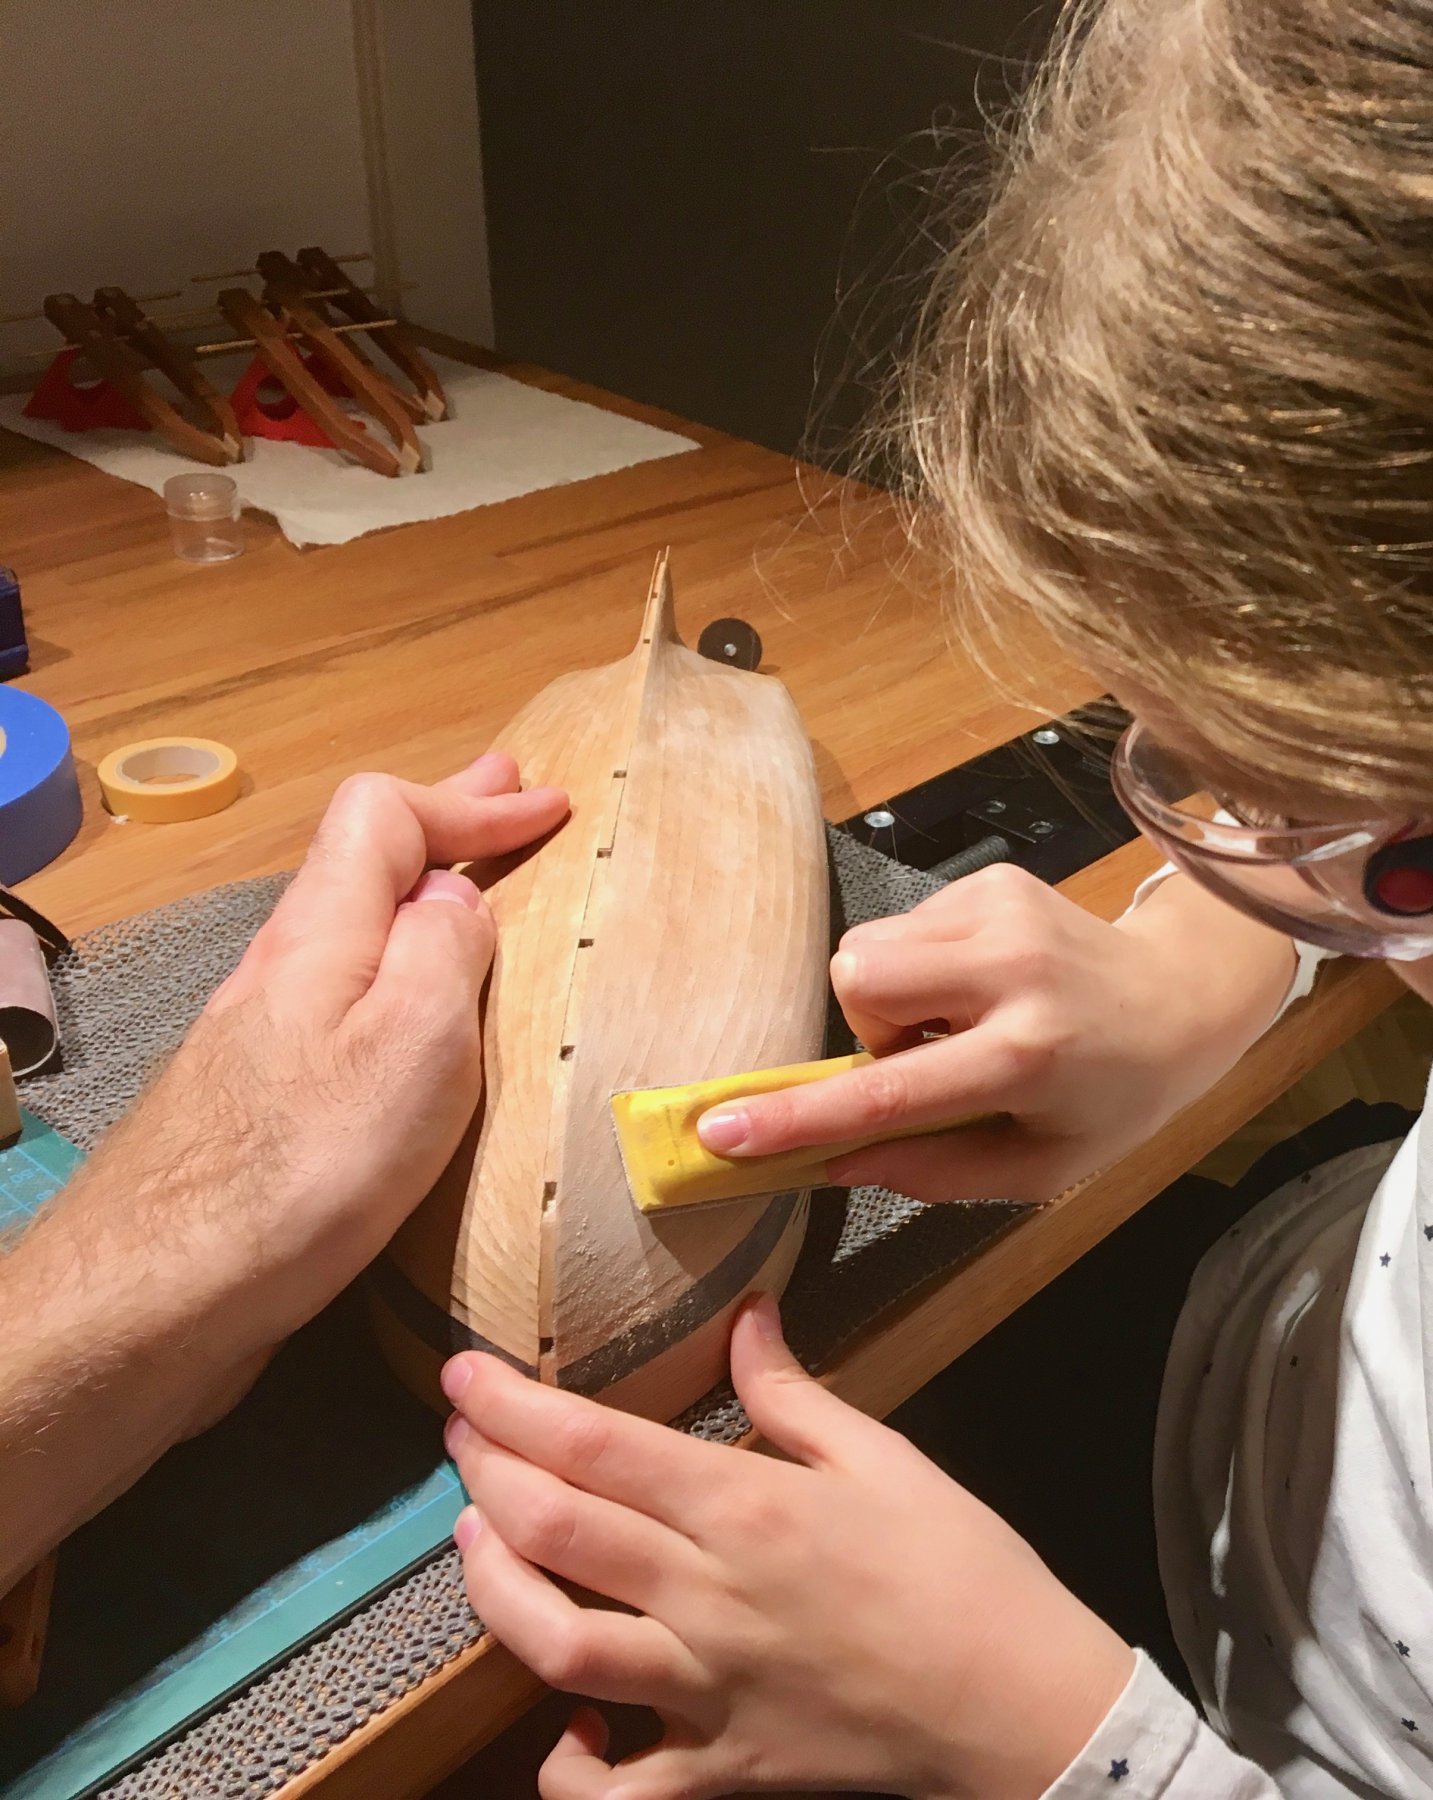
The apartment move is over, so we are finally back to modelling!
Hull sanding took a while, and it was a big lesson about patience and persistence.
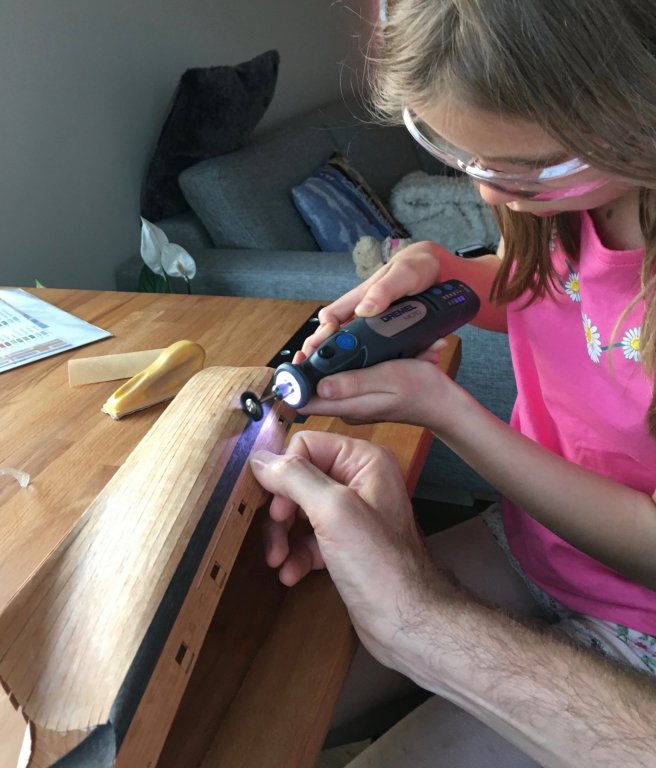
To make sure that planks would not start peeling off - we used plenty of glue. Maybe too much, it took forever to get it out using a nylon dremel brush (did not want to apply any moisture to that fiddly planks, they are very sensible to it):
Before sanding:
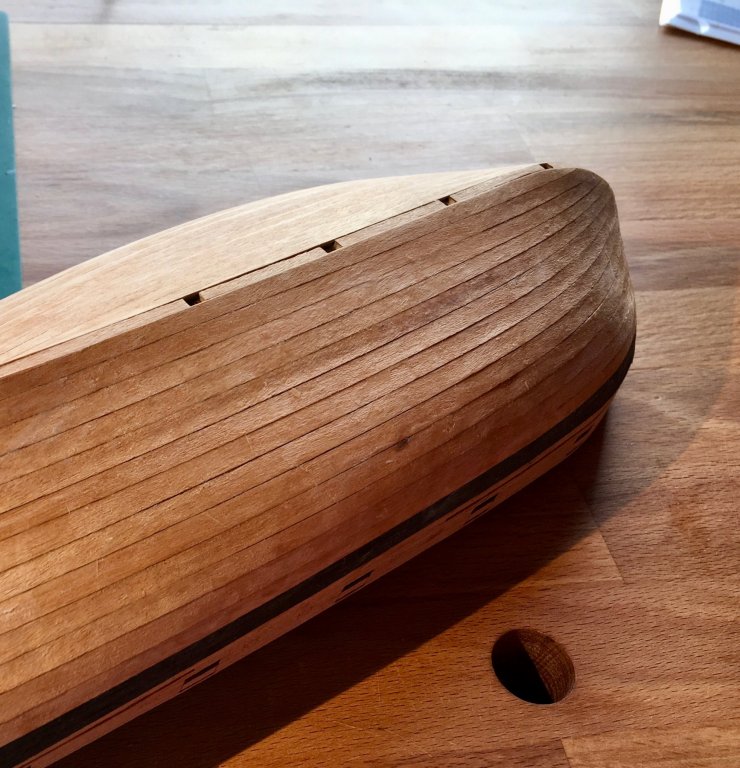
After:
There are some gaps visible, probably due to wood shrinkage.
But we liked the process, good teamwork
And she loves making something smooth, even though it is hard to keep going without breaks.
I trimmed the plank ends, it was too risky to let Daria do it - they can chip out, it is easy to scratch the transom with a scalpel, etc. A mistake in this area would be hard to fix.
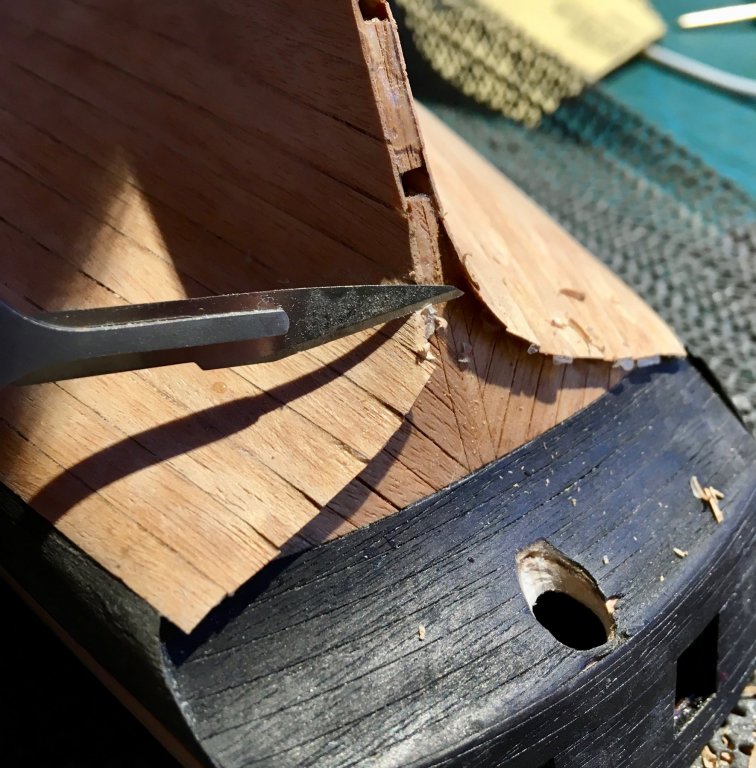
But the result is ok. I am not sure what I think about this ebony, not very familiar with the way it sands and scrapes, kind of course and shiny at the same time.

-
Very nice! Any progress photos?
- CaptainSteve, Canute, mtaylor and 2 others
-
5
-
They look like bones of a mythical animal!
-
I use the same method as Amalio, same nylon brushes (discovered it by accident), and it works great! Especially on half-dried glue.
It is just much faster and simpler than water. But water works better in tight areas, for sure. Especially water plus scraping with some xacto blade.
-
-
How come none of you broke off the keel accidentally when clamping a model like this? Should be very careful, can't sand or apply any force to the model when it is clamped this way - what is the real use for them?
Proper clamp/jig should really hold the front end the back part of a hull as well...
-
Thanks everybody for the feedback about clamps!
The log was a bit silent for a while, but for a good reason. Me and Admiral finally found a good apartment worth the upgrade (larger, pretty new, pretty good neighbourhood, good school right across the street, etc), so we were busy selling the previous one, settling in a new one, etc. We moved in around Christmas, but the todo list was pretty long. So plenty of home-remodeling instead of shipbuilding
Now 90% of all the renovation stuff is done, and we managed not to go crazy while doing it.
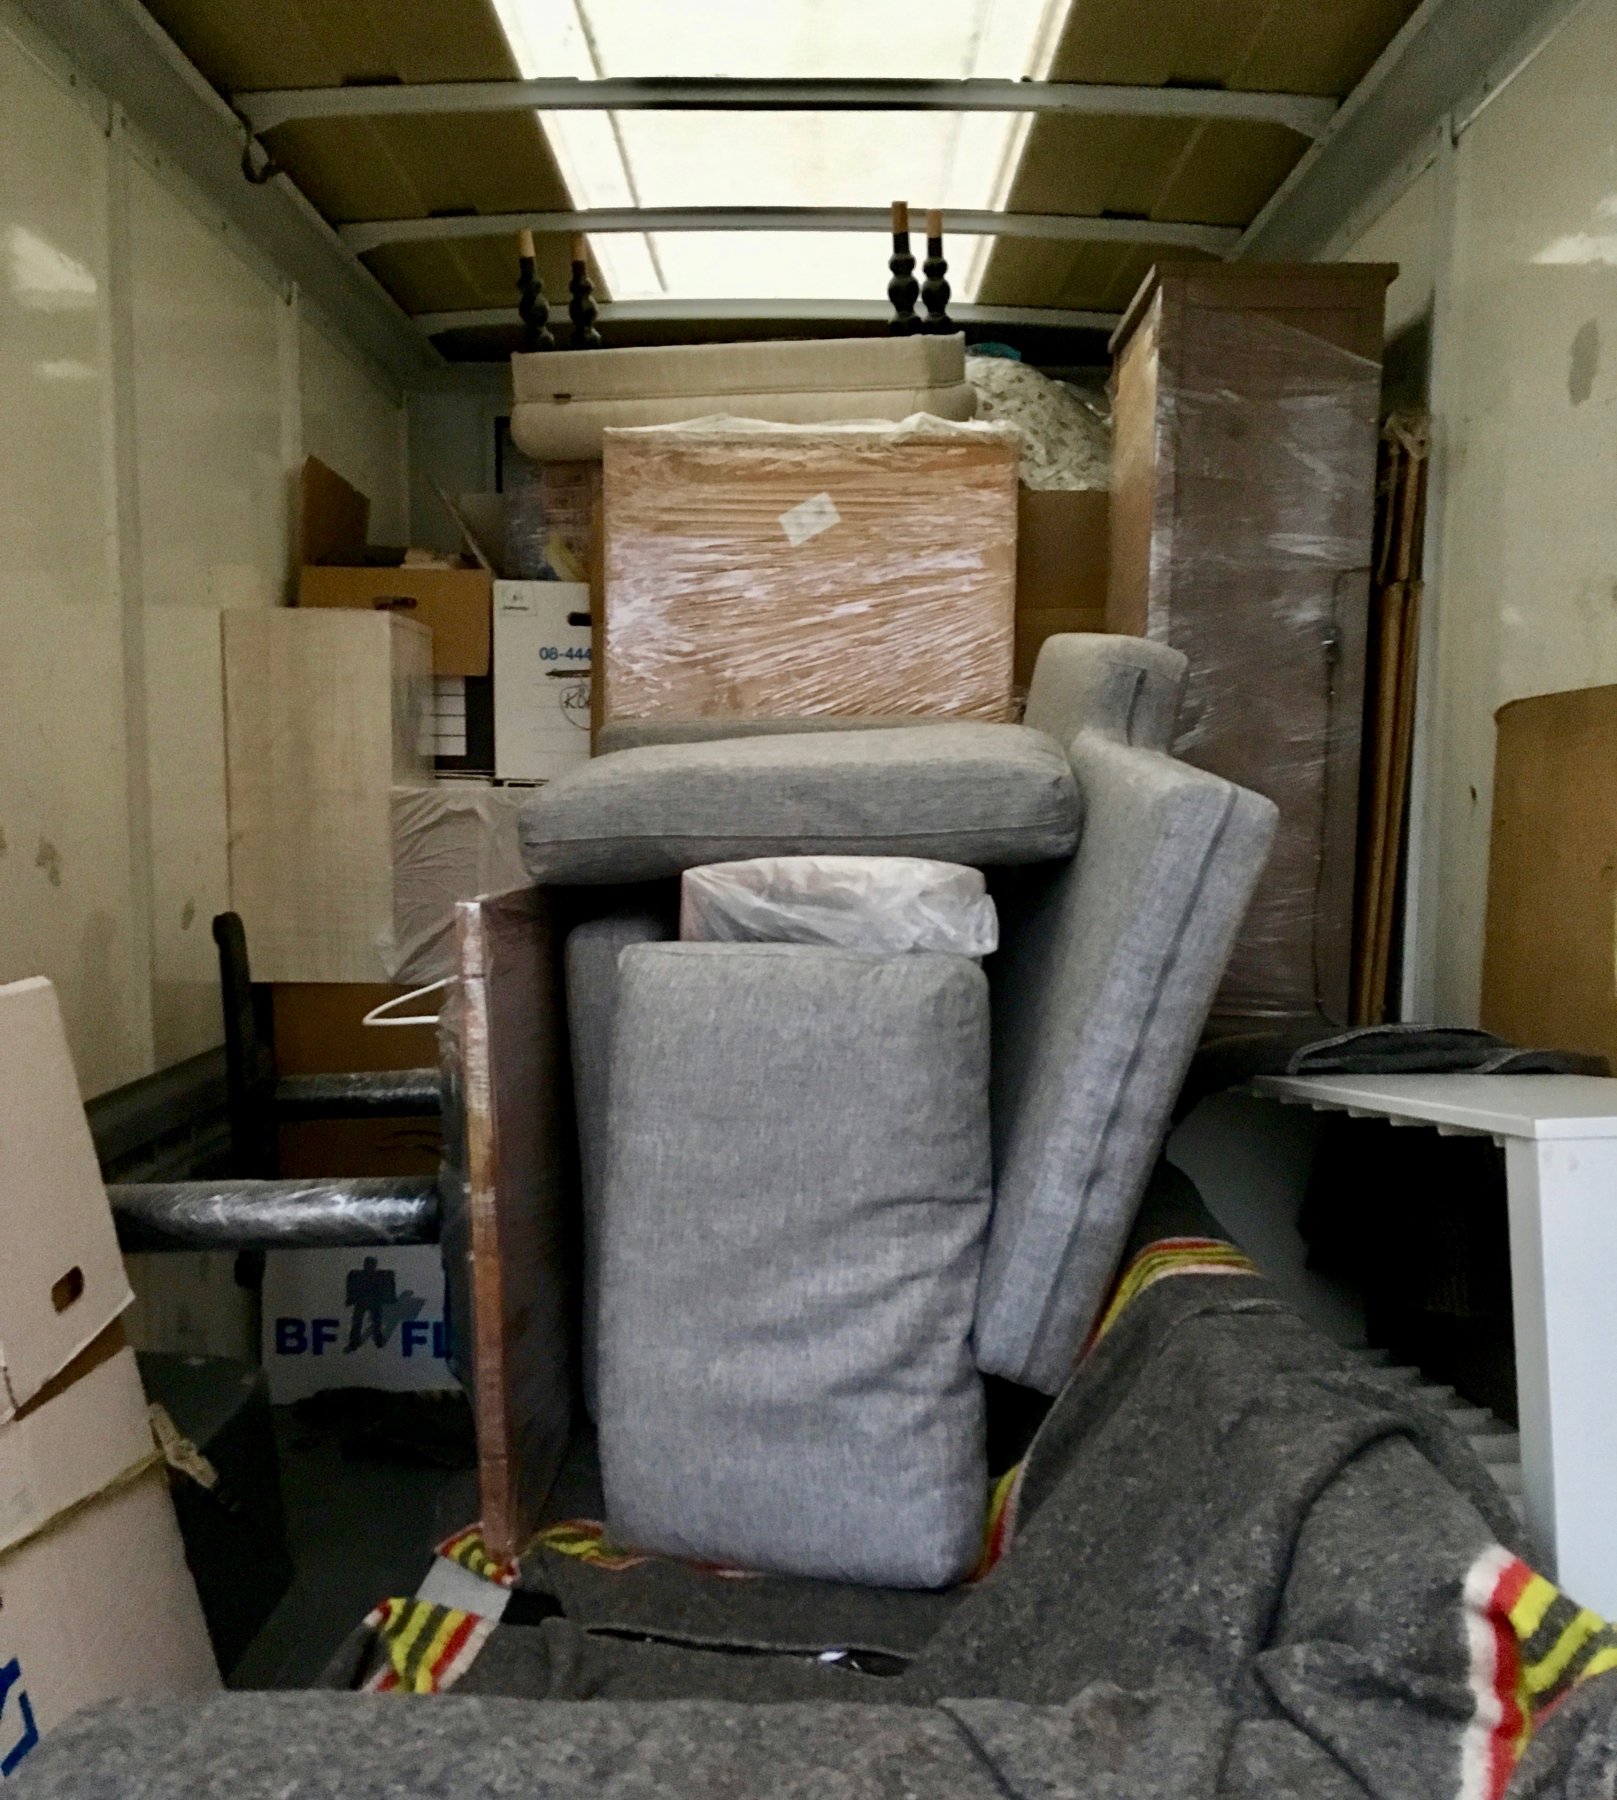
Moving the display case was tricky, it is not really designed for the ease of mounting.
Here it is, protected by some sofa cushions:
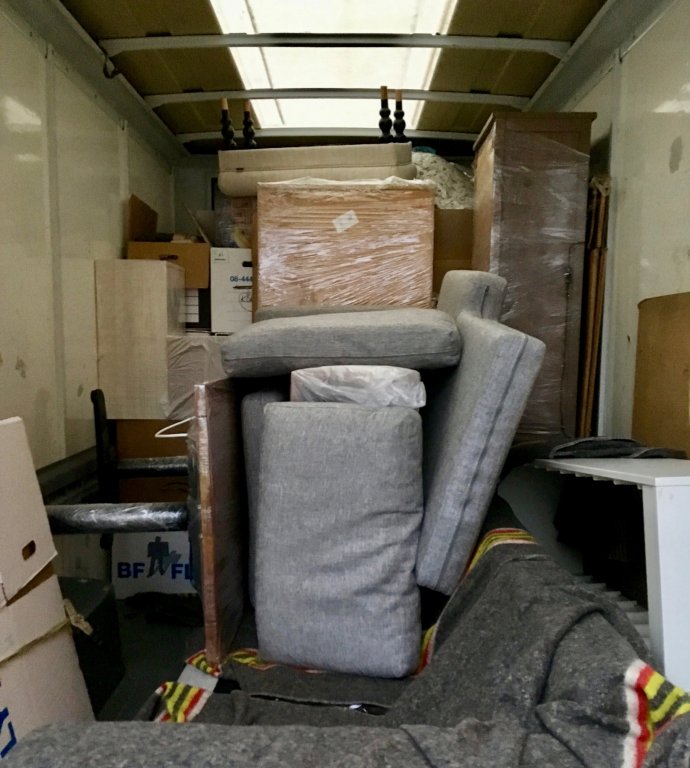
But it survived the move pretty well, and found its new place next to a "french balcony" (don't worry, there is a real balcony on the other side):
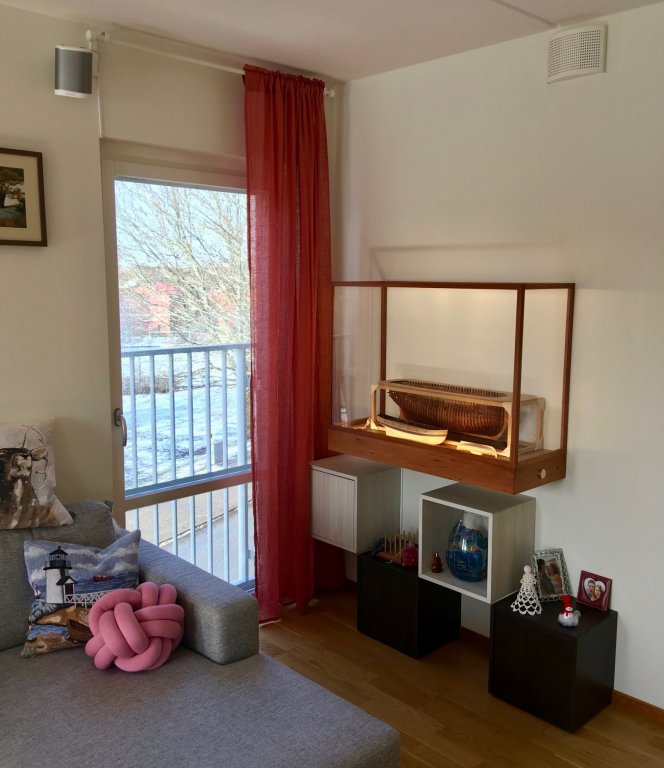
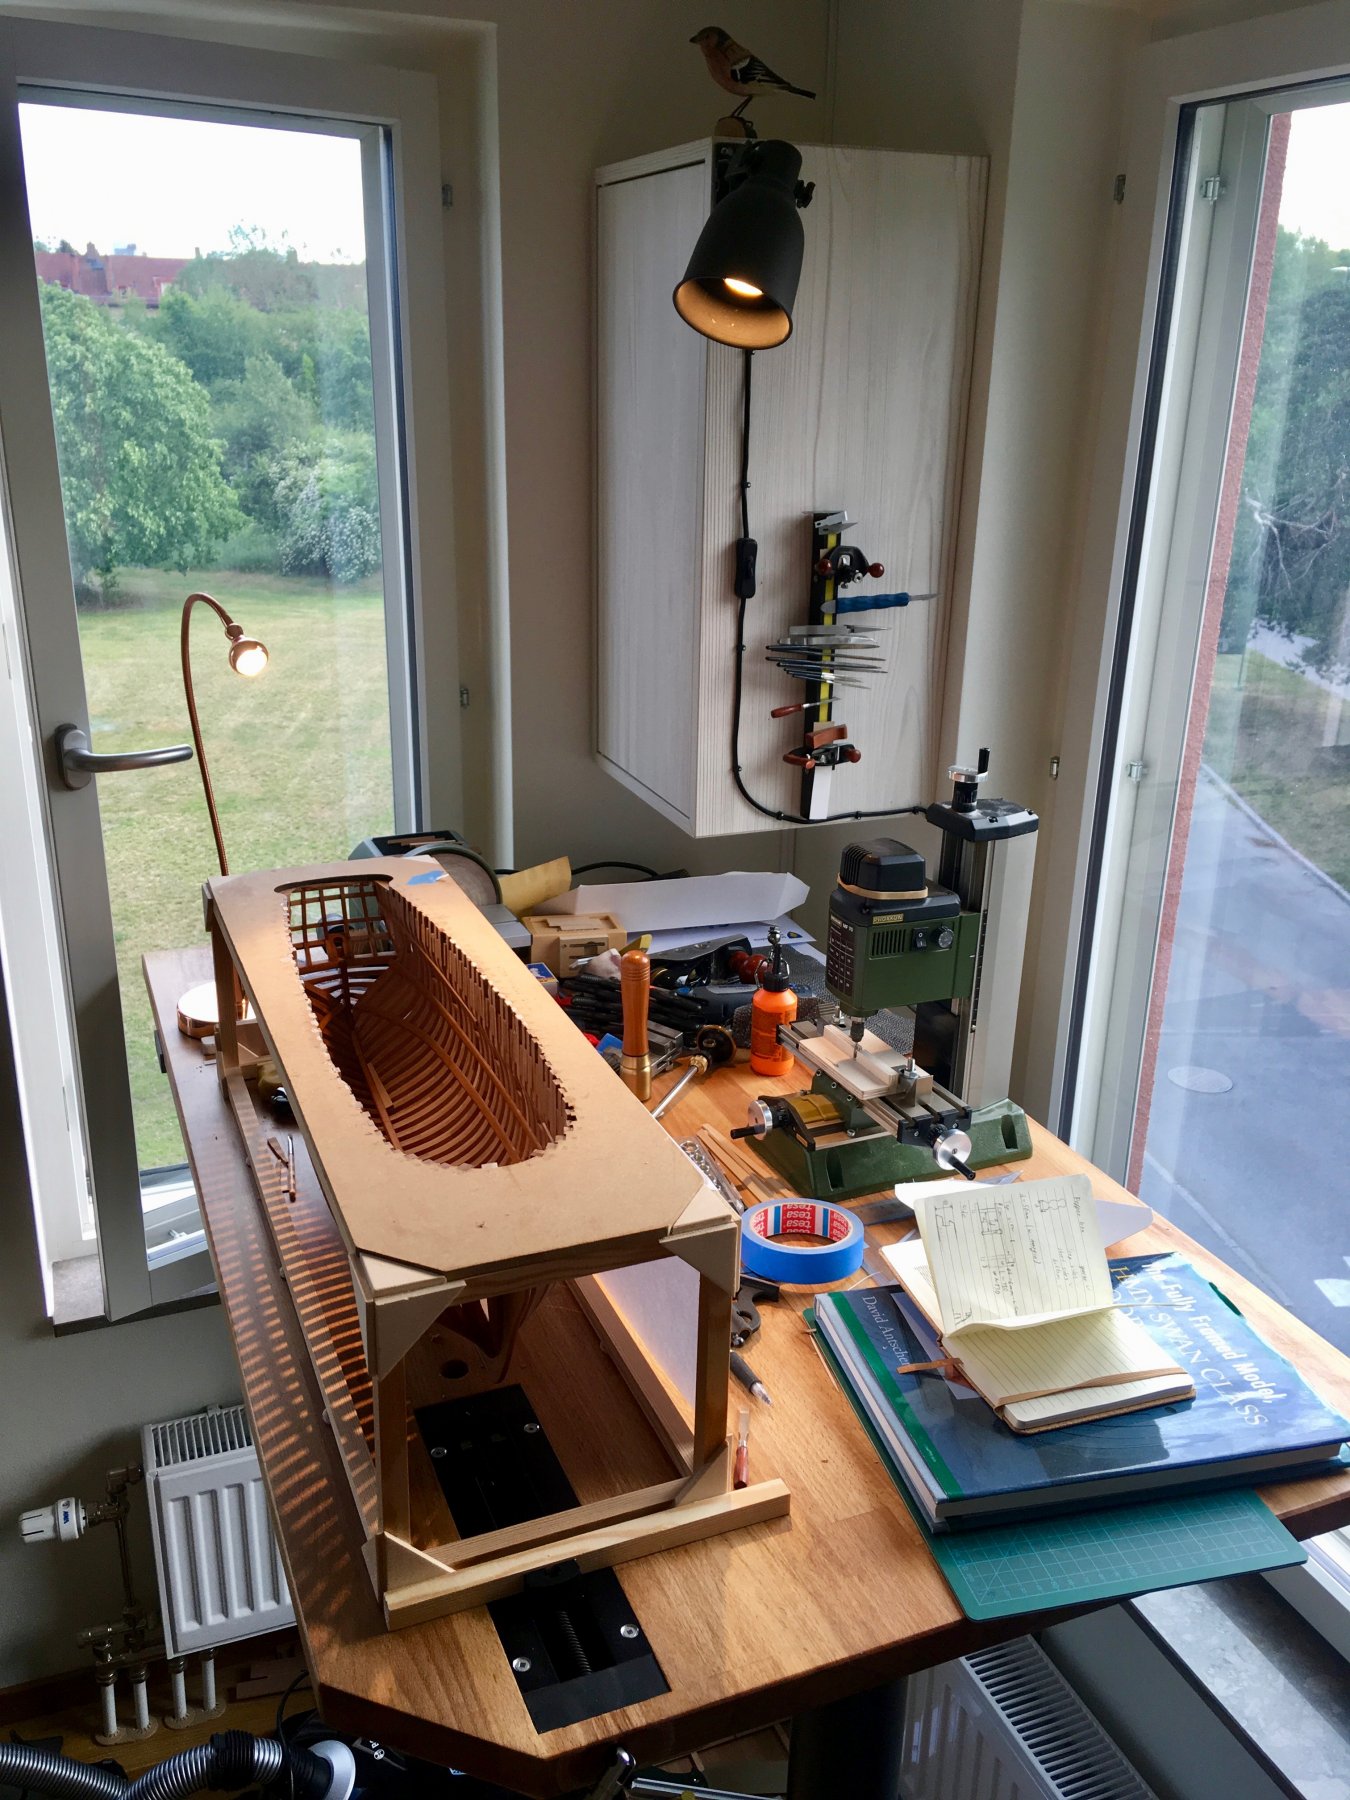
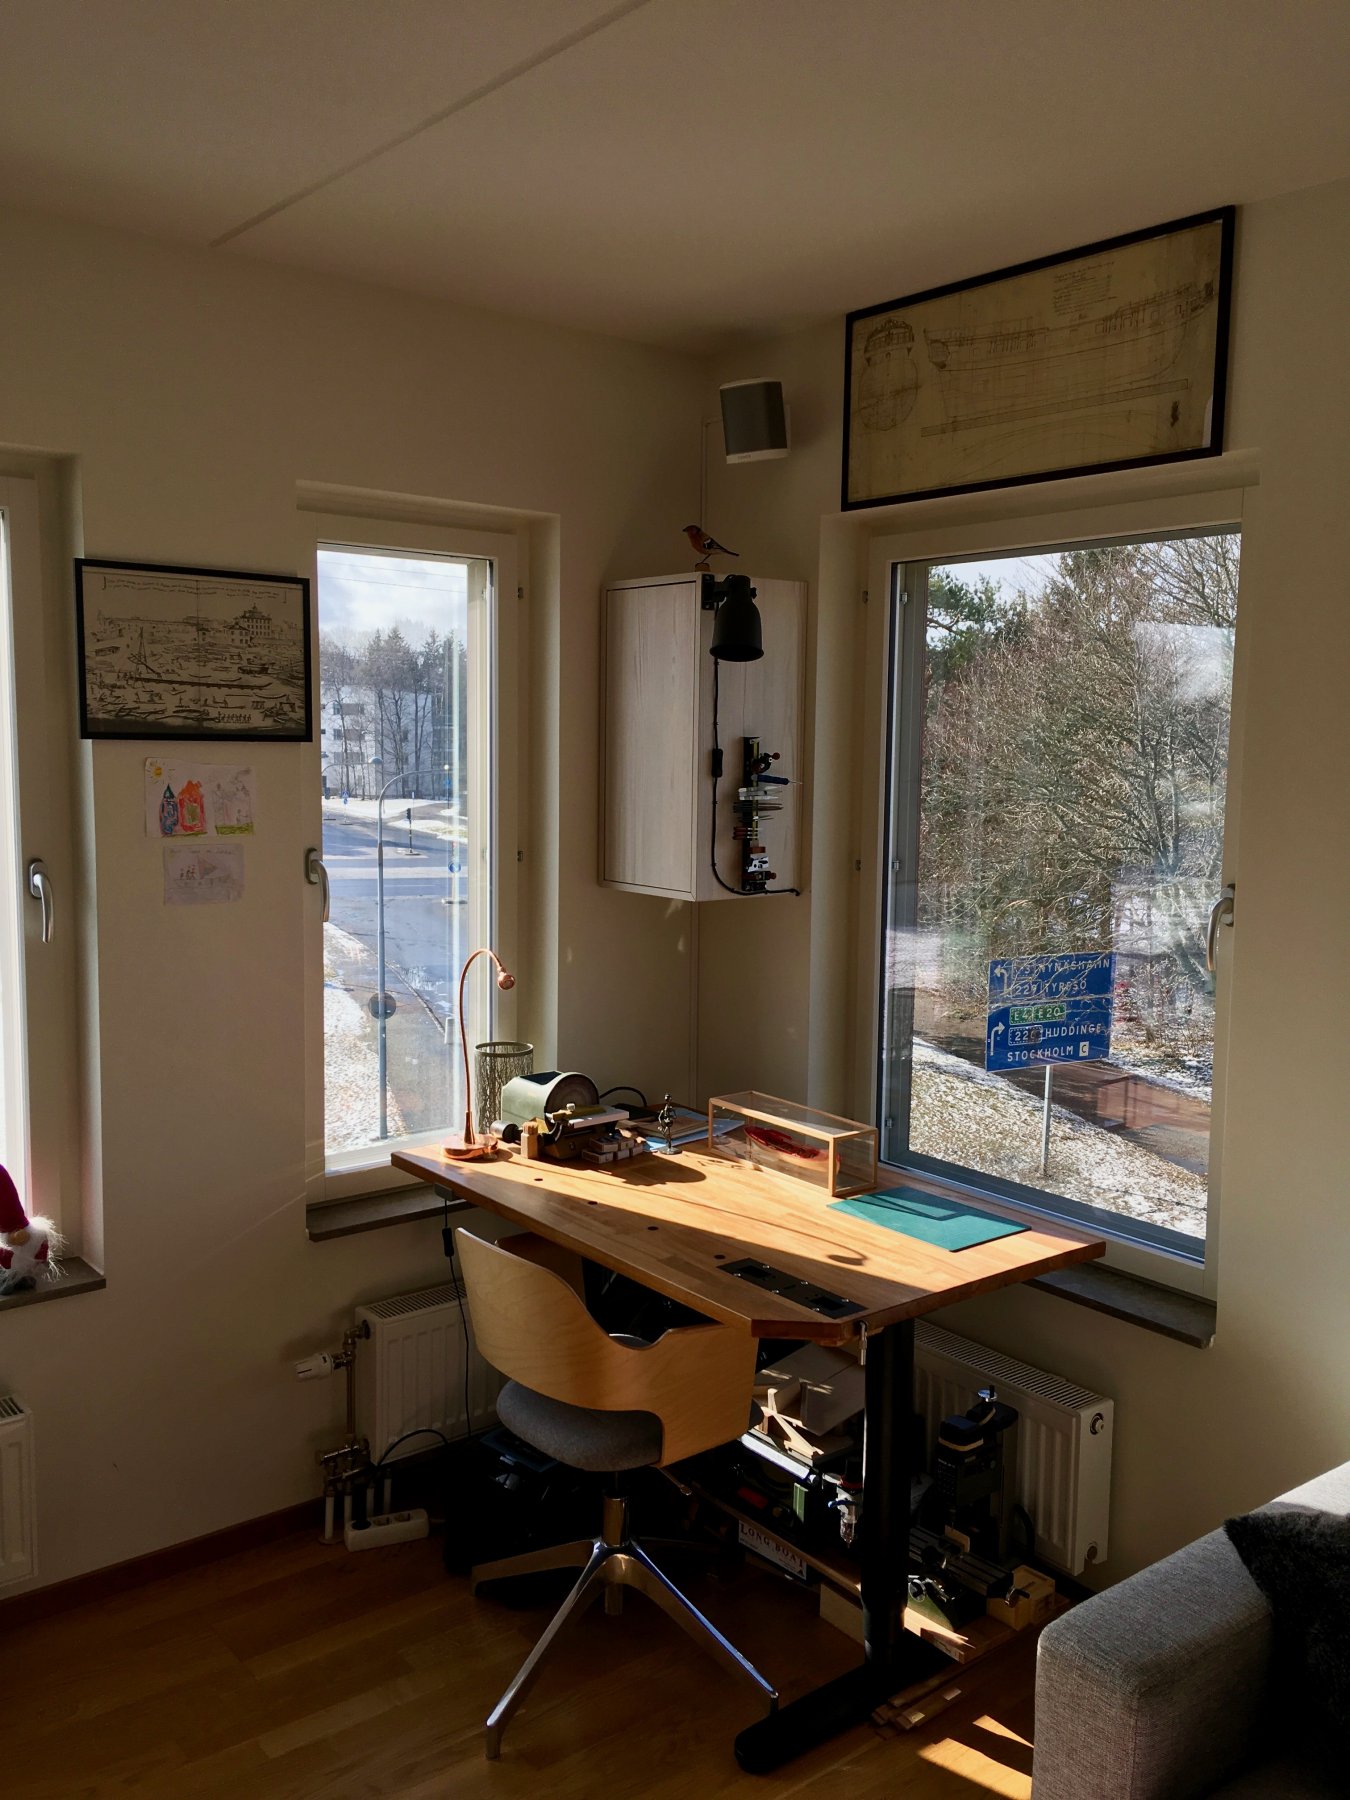
And I got a nice corner for my modelling area, super prime spot!
Admiral got a whole room for her knitting hobby, so she is satisfied with the arrangement.
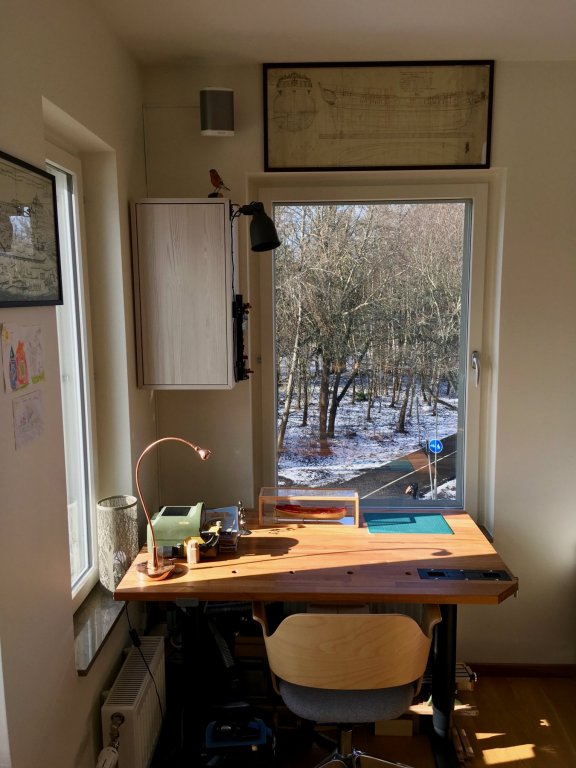

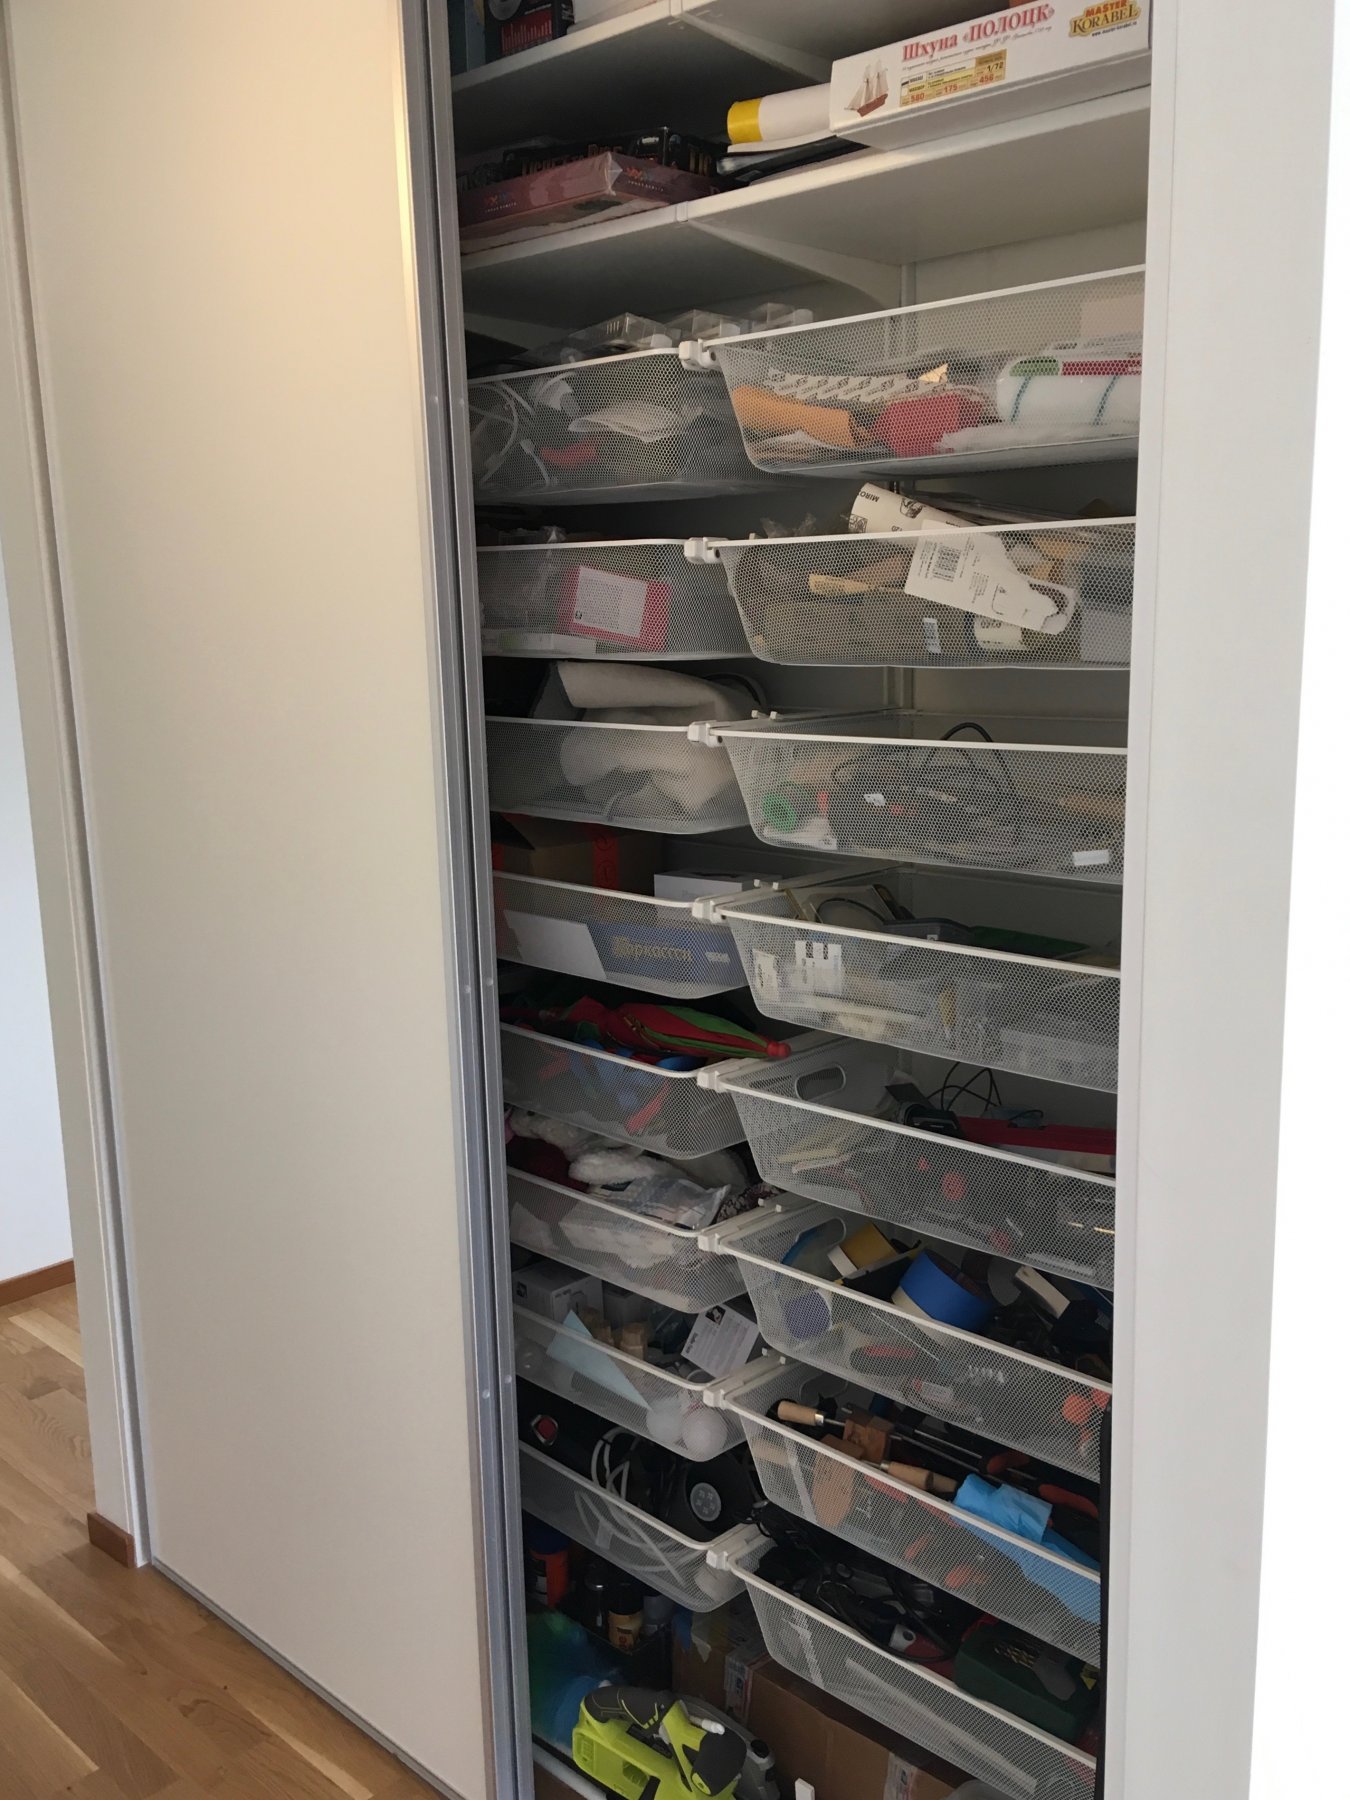
The downside of having a lot of windows is not having enough wall area to mount shelves. Though all frequently used tools fit that single shelf pretty well.
To hide the rest, I took some space in the storage area in the hall, which is pretty close by:
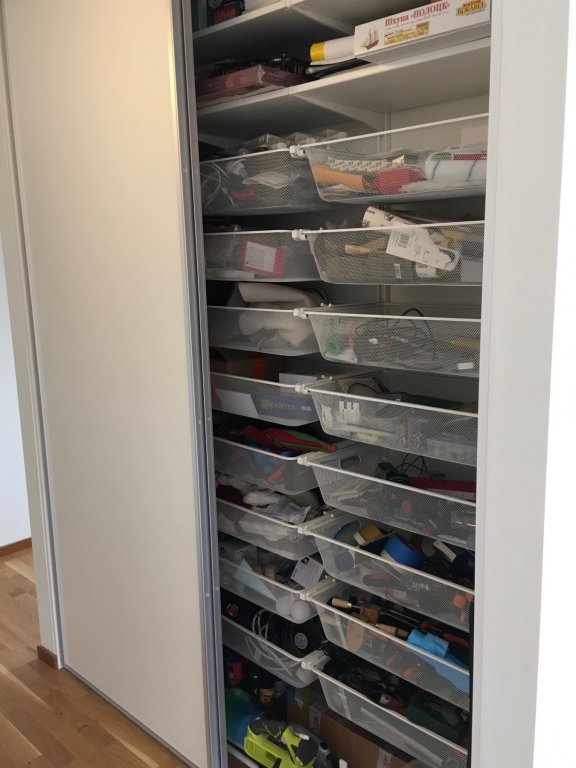
And some tools are stored in the shelves under the display case.
So I hope to finish the renovation todolist in a month or so, and get back to sawdust making!
- gjdale, John Cheevers, druxey and 18 others
-
21
-
-
-
It might be also explained (partially) by a mix of Dutch and Swedish shipbuilding traditions - Vasa was built by a mixed team of workers, with some weird things like mixed up dimensions (there was an Amsterdam foot and Stockholm foot back then, and they were not the same). There were few rulers found inside the hull, referencing different measurement systems.
Fred Hocker's book is a nice read, if one is interested...
Not just the planking is off, but gunports barely line up, shifted randomly to fit the frames around them, one side is higher than the other, etc. This is a very rare artefact of human sloppiness, since I doubt that "just dig the scrap pile" was a method proudly documented for later generations.
-
-
-
-
-
No way, this is a perfect example of the economy of scale
Making them by hand and making a profit is impossible, unless somebody wants to pay hundred dollars per pair of clamps.
The jaws are a perfect fit for the simple CNC router, but cutting that rods and threads will require some other machinery.
And, in the end of the day, they have no market. Scratch builders, doll house builders, etc - would rather make their own, it is not difficult. Others do not really need such clamps.
- yamsterman, druxey, michael mott and 3 others
-
6
-
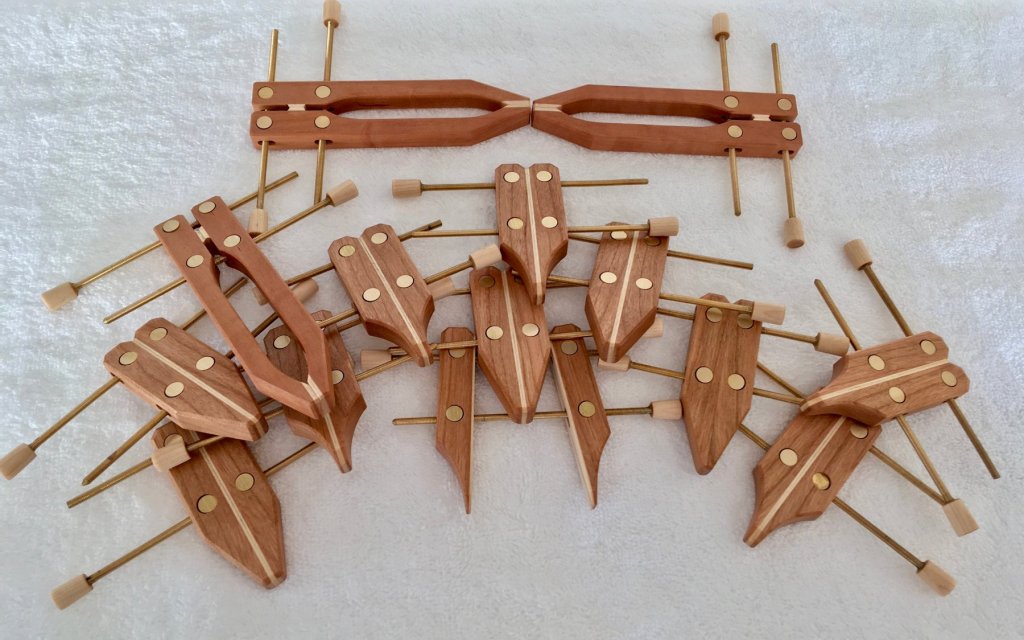
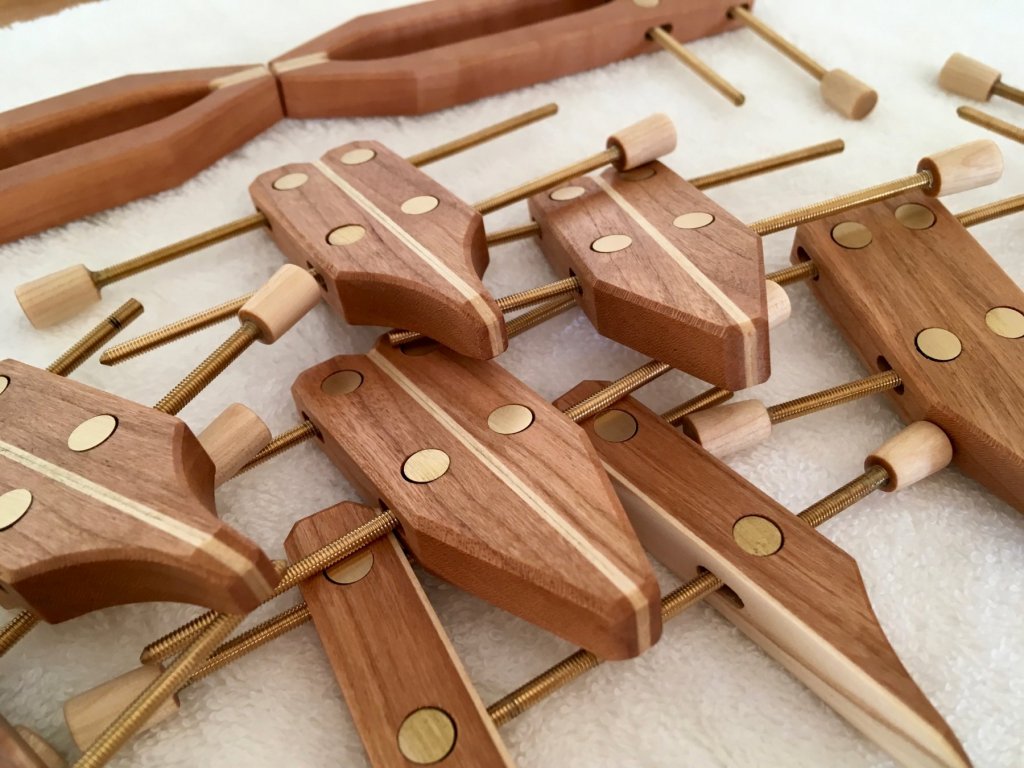
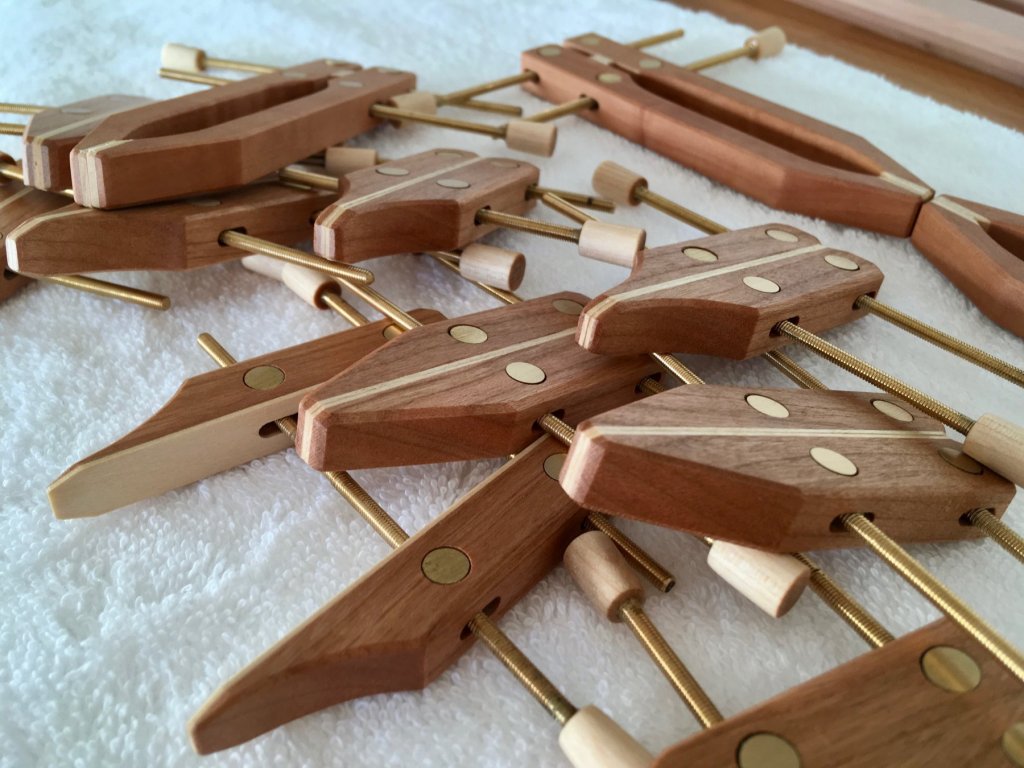
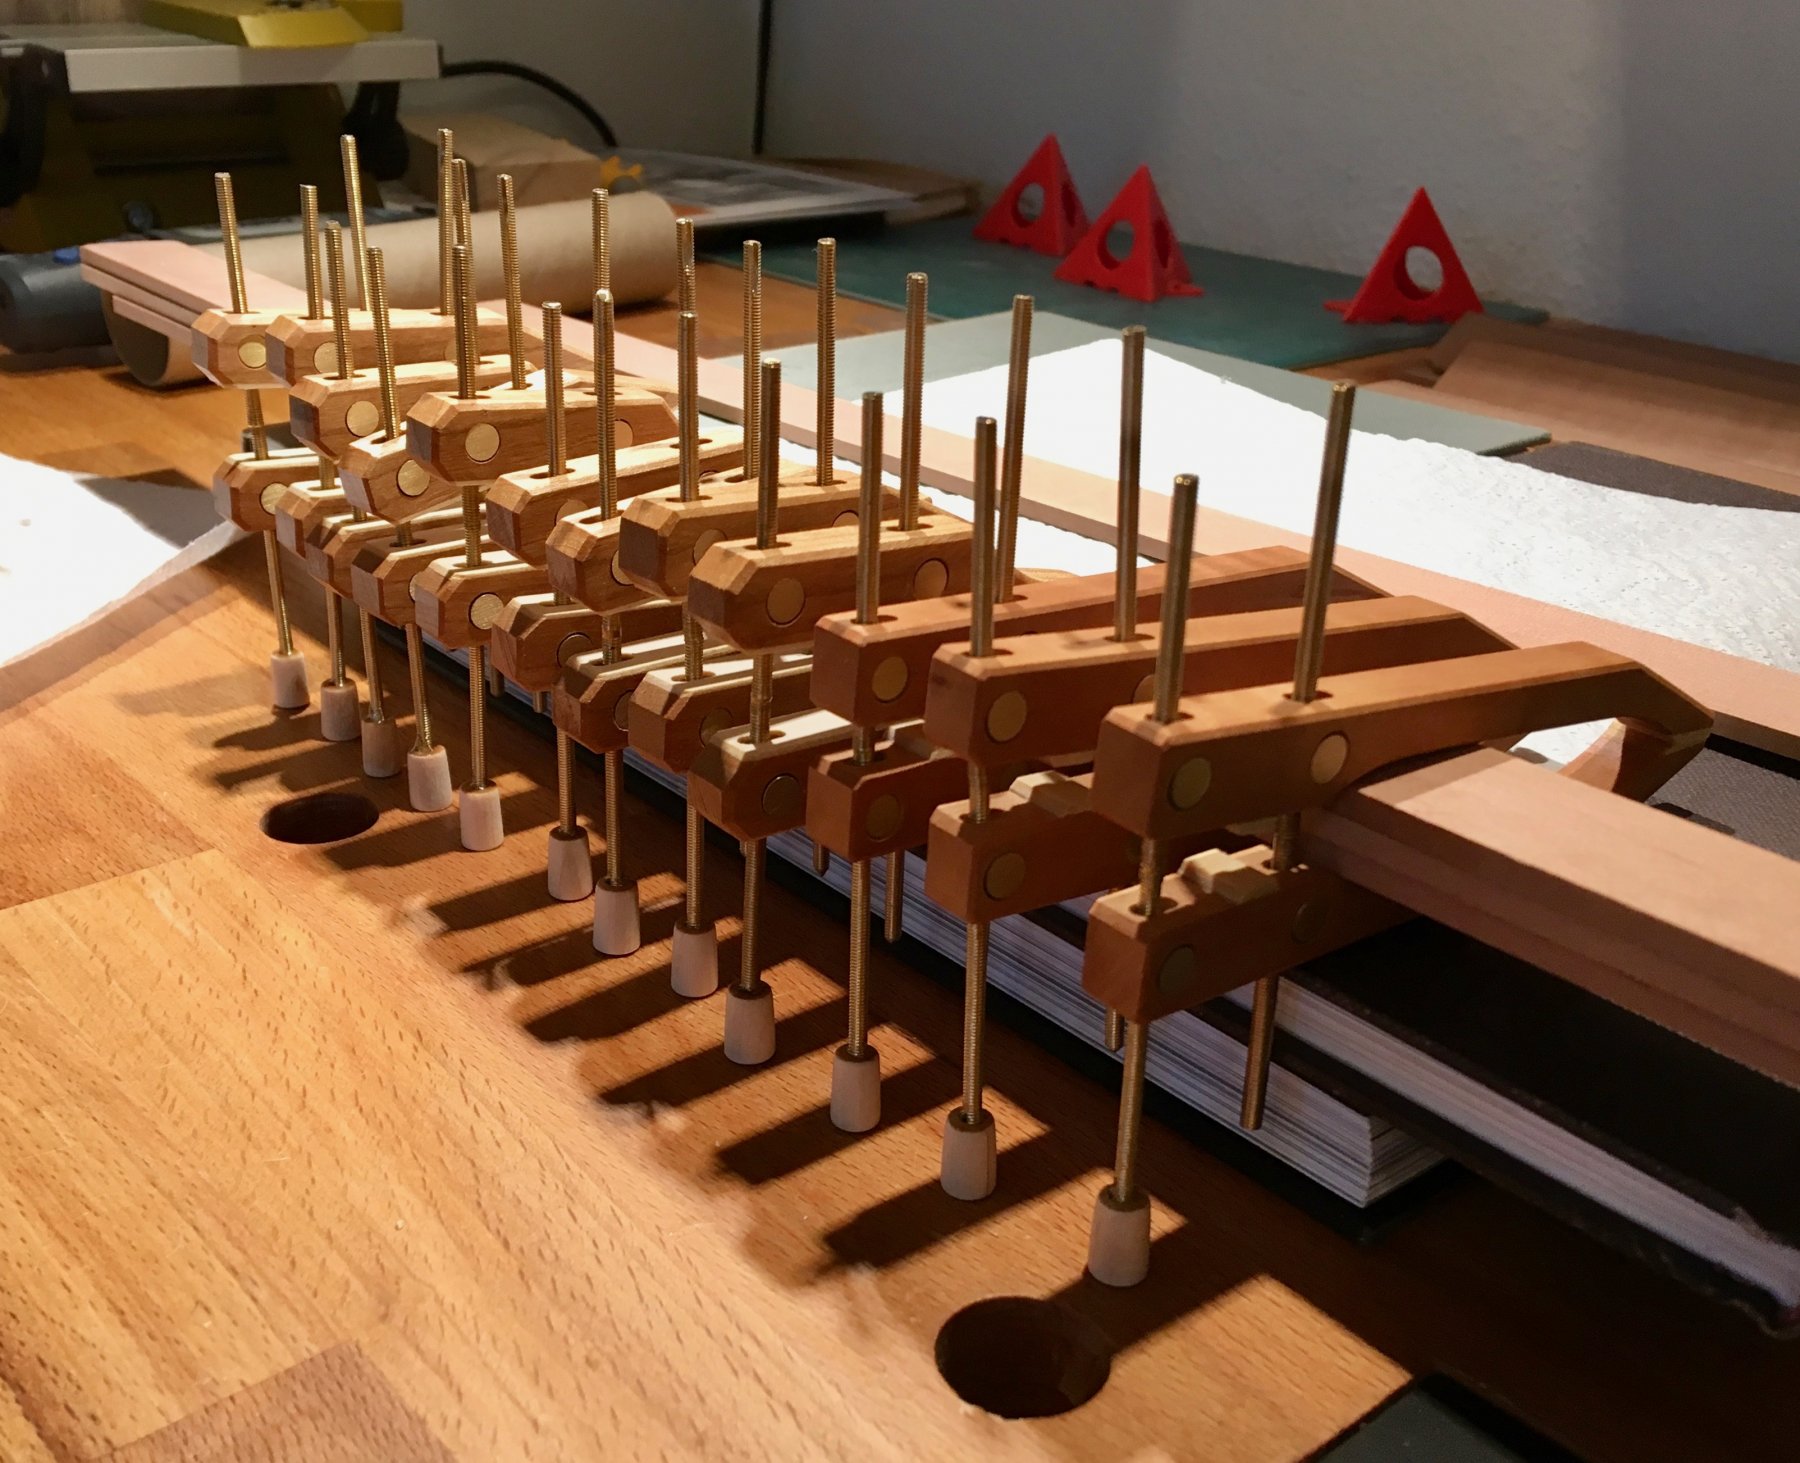
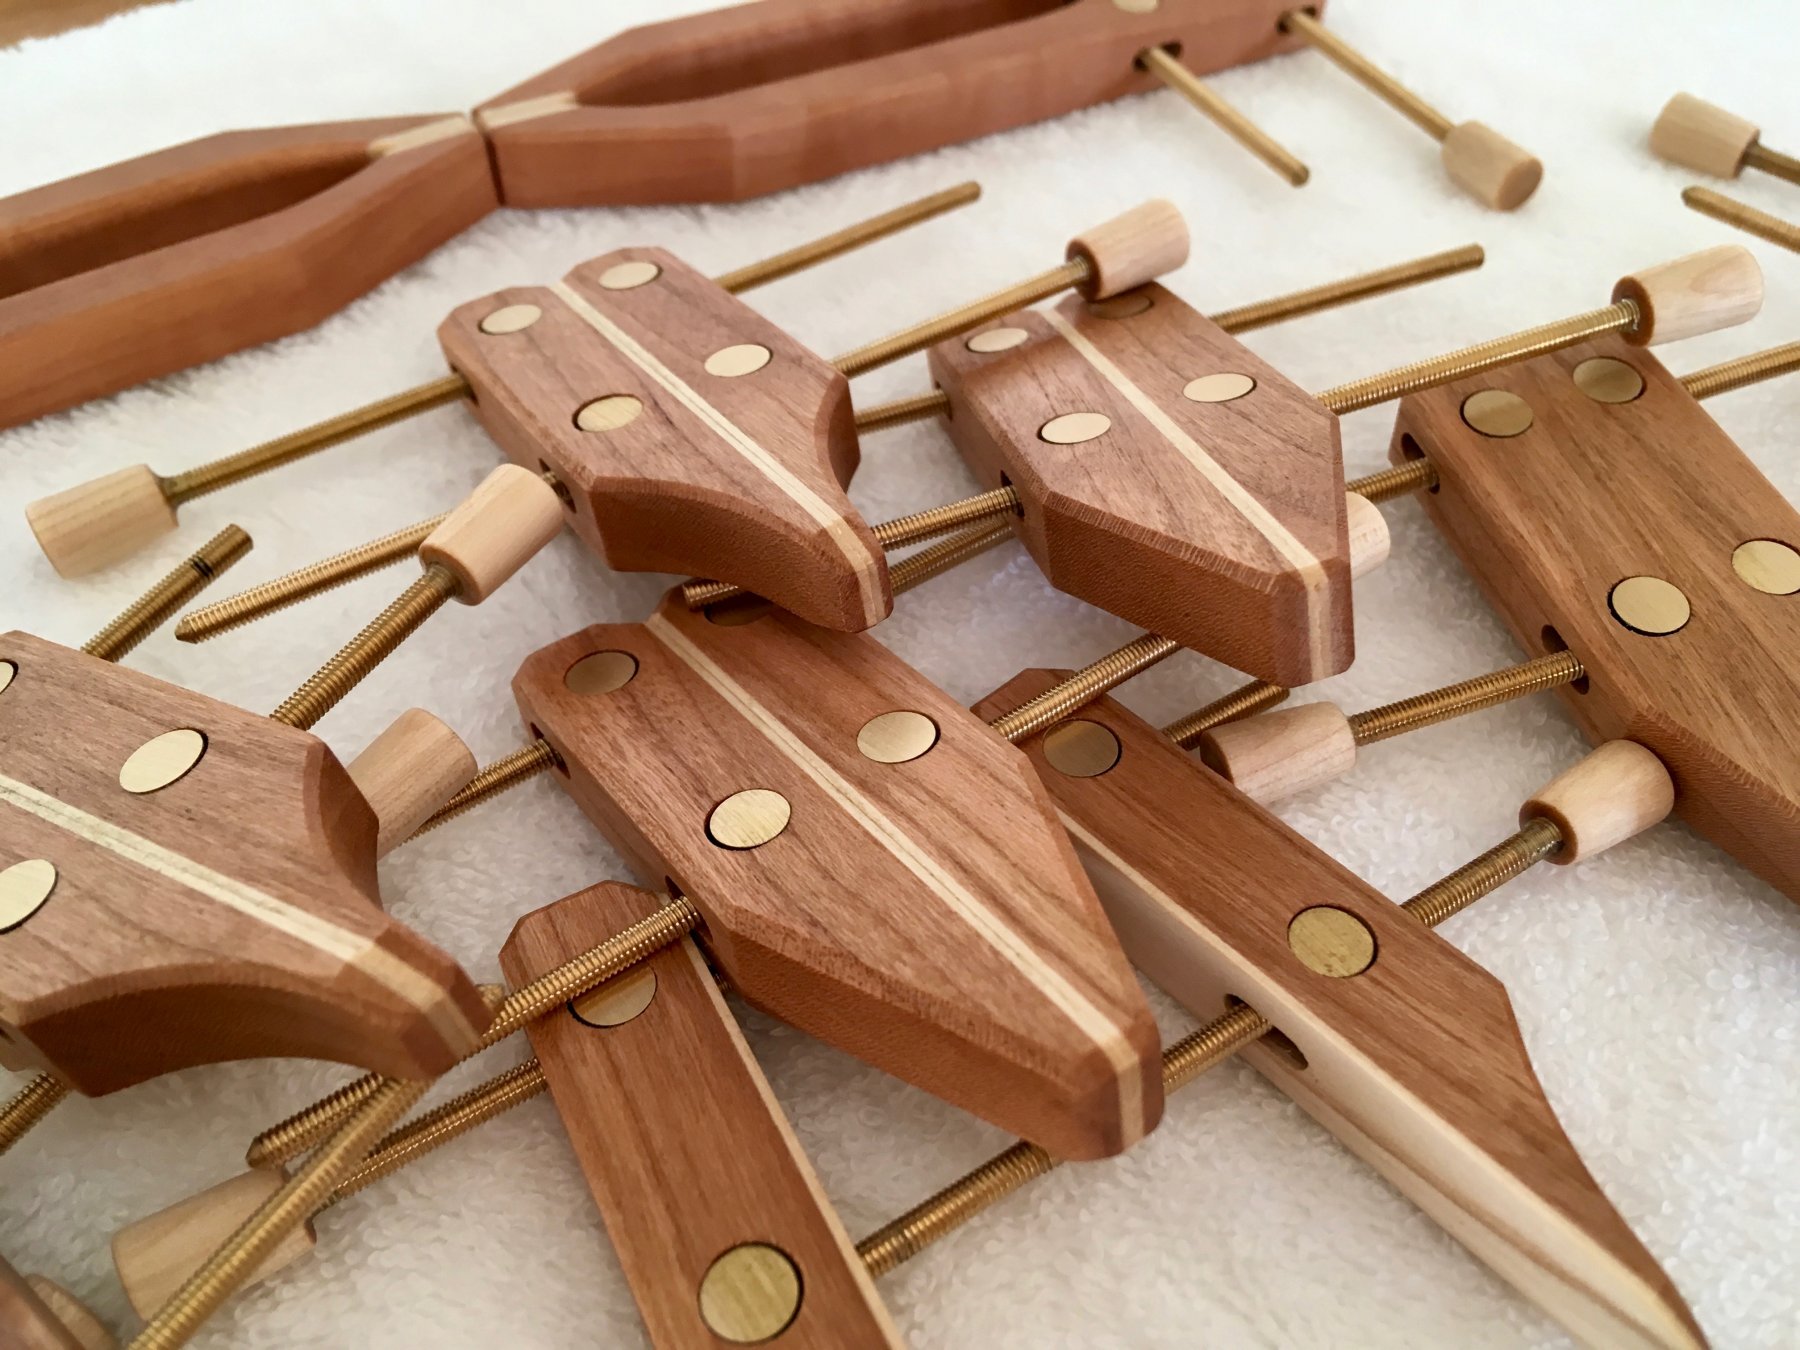
Aaaand the clamps are finally done!
They work great, and I'm very happy with the result, it was a time well spent. Hope I will use them for years to come. The brass rod is a bit soft, but they are not designed for high pressure anyway. I would recommend to go with 4mm rods instead of 3mm if you are thinking about making them.
Gluing handles with epoxy, using gravity to penetrate deeper. I also cut a notch on the end of all rods, to help epoxy float down and make a "key" to prevent handle from slipping. Forgot to make photos of that.

The final result, everything is finished with two coats of danish oil.
Note that one clamp without basswood lining, it looks darker because of fine brass dust stuck in its pores. I tried to sand it to 400 grit, recognised the mistake, others are sanded to 240 grit. 240 leads to coarser brass particles, and they are not small enough to stuck in cherry wood pores.
Cherry looks like a nice wood for the purpose, the grain match looks pretty neat!
- GuntherMT, John Cheevers, cog and 22 others
-
25
-
I had a pleasure to see Tiziano's model in person in Rochefort, it is truly amazing! Bravo!
Was coming back to it over and over, there is something magnificent about it. It is made out of pear that Tiziano milled himself, and have a beautiful finish that is very unique. Very precise, there are no gaps and no cracks, even though the model is 17 years old...
Spoilers: the real model is ahead of the build log by a number of years. Smart move!
Tiziano was very kind to share his techniques. As usual, the main one is "go slow, do not rush"
")
- md1400cs, tlevine, CaptainSteve and 4 others
-
7


Where to buy wood
in Wood discussion...Where to use it? Where to get it? What types are best? How to Finish it?
Posted
Small correction: Arkowood changed the website to https://www.arkowood-lossburg.de/
To moderators: could you please edit the first post to adjust the URL? Thanks!")