


popeye the sailor
-
Posts
16,007 -
Joined
-
Last visited
Content Type
Profiles
Forums
Gallery
Events
Everything posted by popeye the sailor
-
 coulda fooled me Danny...you hate it bad enough to do such great job? conflict of logic......the community will never know very nice work
 -
Best wishes to you and Gwen. you did well weathering your last storm...fingers crossed she does well and recovery is short
- 378 replies
-
- 6
-

-
- java
- pacific crossroads
- (and 2 more)
-
simply beautiful job Glenn......I think you did an admirable job with tying and stowing the lines! great attention to detail.....and the sails look super have you fully recovered from giv'in her a knock? I can just imagine how you felt......I hate the feelling when everything falls to your feet wonderful looking ship......keep up the amazing progress
- 101 replies
-
- 2
-
-
- L Toile
- Billing Boats
- (and 1 more)
-
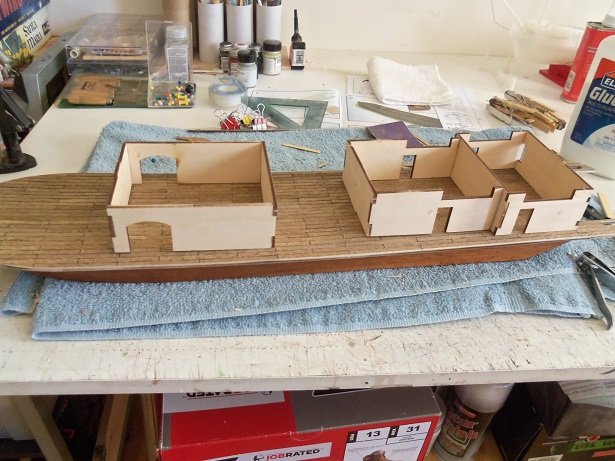
thanks for the kind comments and all who hit the like button been rather busy this afternoon.....no time to do much. after the structures and the main deck dried long enough, I did a dry fit.... I'm happy with it. I think it will be a nice change of pace to see one in a different color most that I've seen have been white {no offense....all the models I've seen have been done very well.......awesome, in fact}. we can blame it on Tom Sawyer for promoting whitewashing
-
nice to see you've started another project. Billing Boats has a model called the Slo mo Shun. I've been trying to get the admiral to let me get one, but so far no dice I have the instructions though for it, but just don't have the time to do a scratch build. count me in to follow along
- 22 replies
-
- 3
-
-
- notre dame
- hydroplane
- (and 1 more)
-
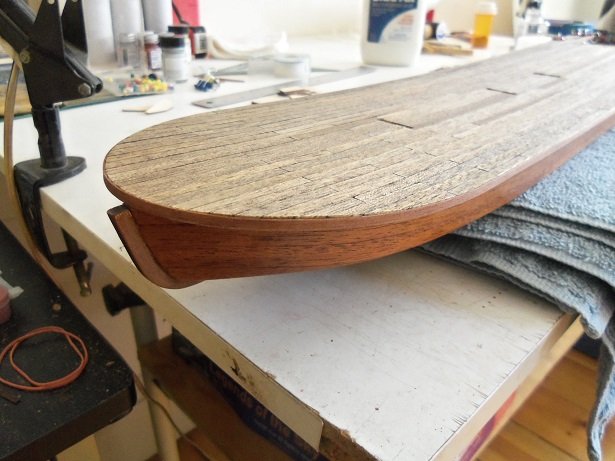
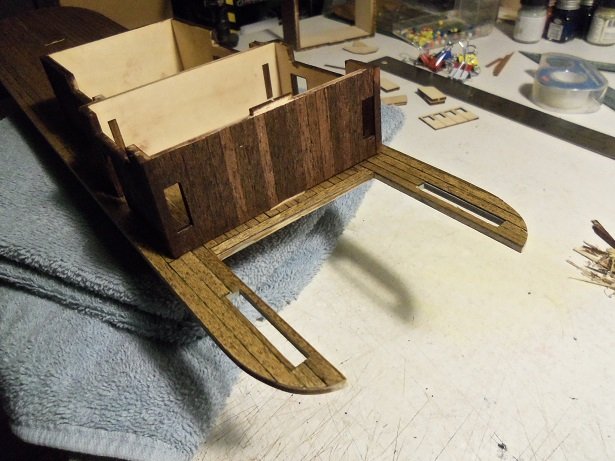
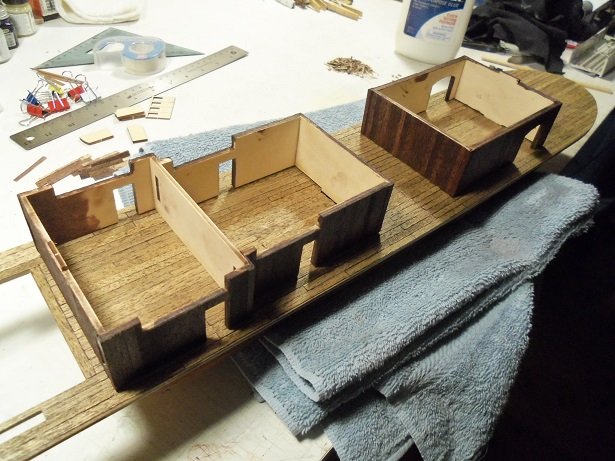
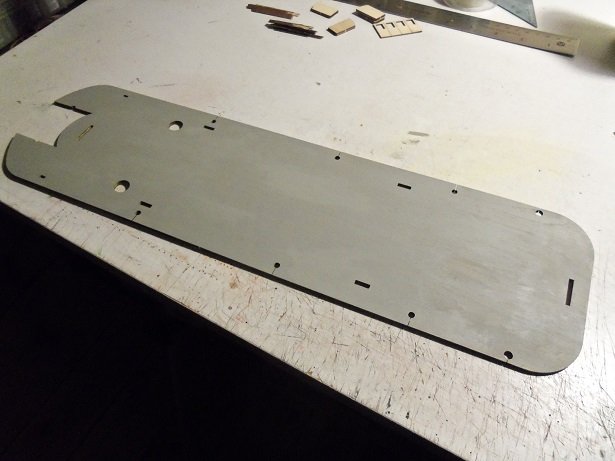
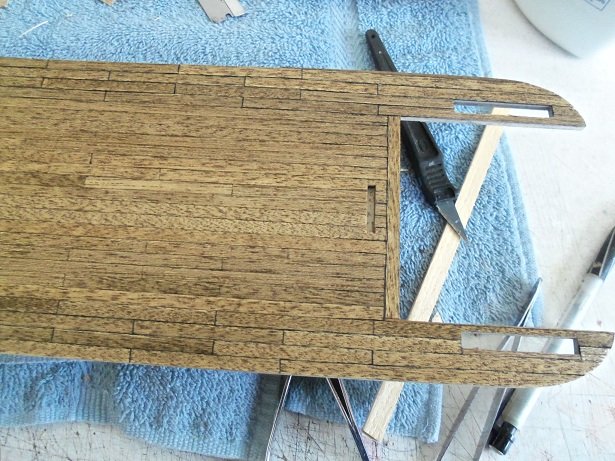
this morning has been a bit jumpy for me.......did a couple online applications. seeing as some changes are to be made with the wood I use, I started right in with the edging around the main deck. I have some .5 x 3 mm mahogany thin strip that proved to be more flexible, than what they supplied to use. it also matches the bottom better as far as color goes. the main deck, after masking the bottom, was given a couple coats of semi gloss lacquer. when fully cured, the gloss factor will be minimal, but will seal the deck. not a real good picture, but it'll show how sunny the room is the structures were given a couple coats of gloss lacquer. I want more of a shine on them. hard to tell in this light.......here's a batter one.....I hope .....moving right along........ what?????.....an errand........oh bother!

-
looks awesome Doris.......the nibbing along the waterways is very well done did you cut the planking strips, or are they drawn on?
- 1,035 replies
-
- 5
-
-
- royal katherine
- ship of the line
- (and 1 more)
-
you should do a painting Piet........I'll bet the image is vivid in your memories. I never lived it......I was spared. last night I watched the Mel Gibson Movie "they were soldiers"........all of the women folks lived in a barrack community. sad to see them receive the telegram that their loved one had fallen. it also amazes me that so many decisive battles pass by with no notice or commemorations. your narration is really good
- 378 replies
-
- 3
-
-
- java
- pacific crossroads
- (and 2 more)
-
hello Lawrence.....thanks for the kind comment. hope to get something done on her today.......but it's so nice outside {very unnatural}. I took the Gibb-miester on an extended walk yesterday. things are gonna go down hill by Friday though........I hear all rain, but there may be some snow mixed in. I have a couple more things up my sleeve, but I should get my butt in gear and get the kit supplied aspects done too it's kinda hit or miss with the tooth picks.......I believe I found mine in a Market basket store {grocery}, but you can also look in craft stores, or any place that sells party goods.
- 378 replies
-
- 6
-
-
- t78 norden
- billing boats
- (and 1 more)
-
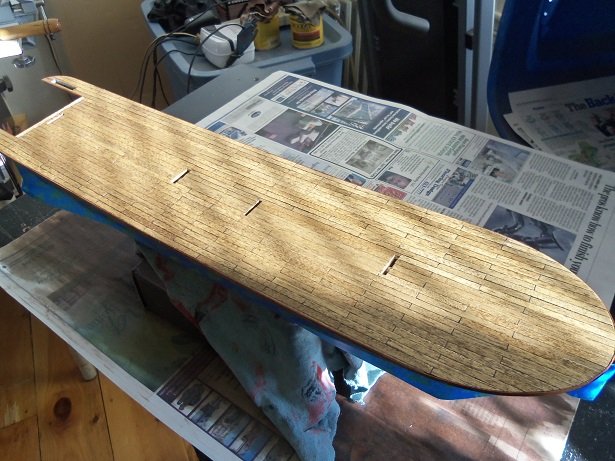
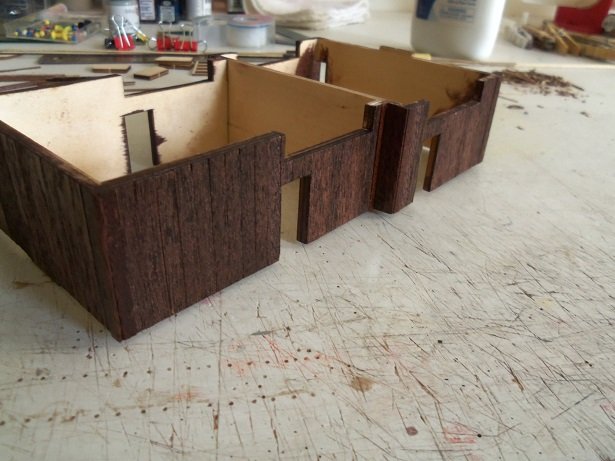
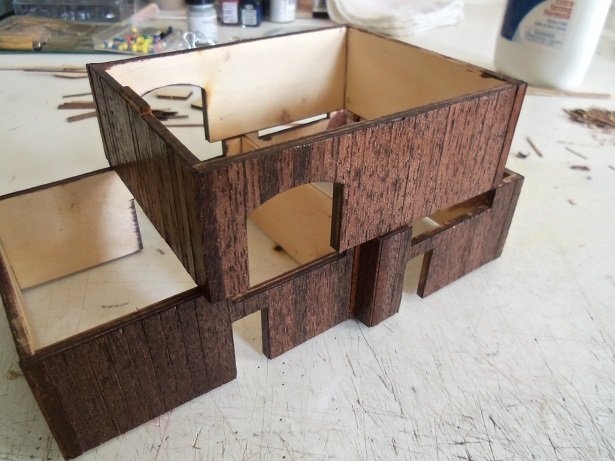
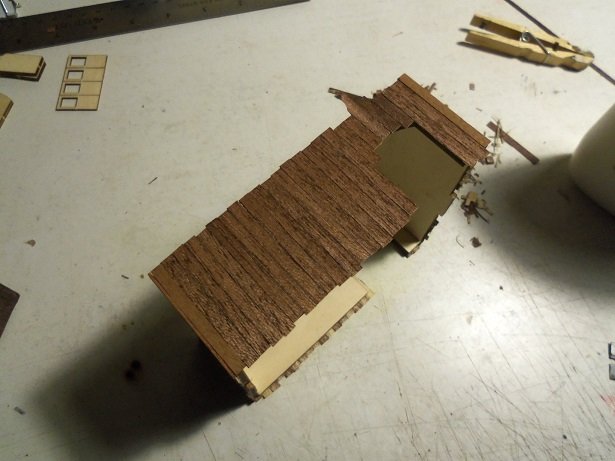
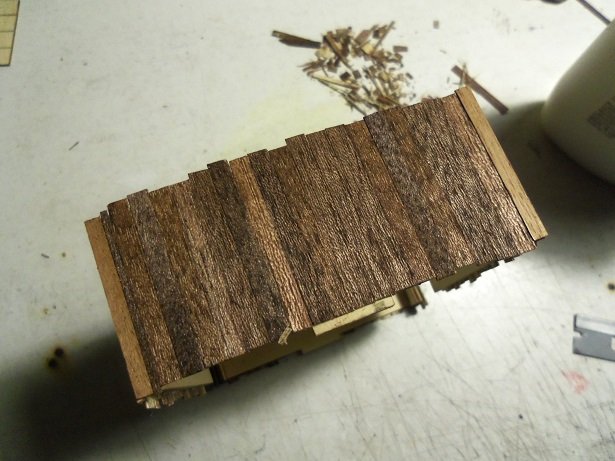
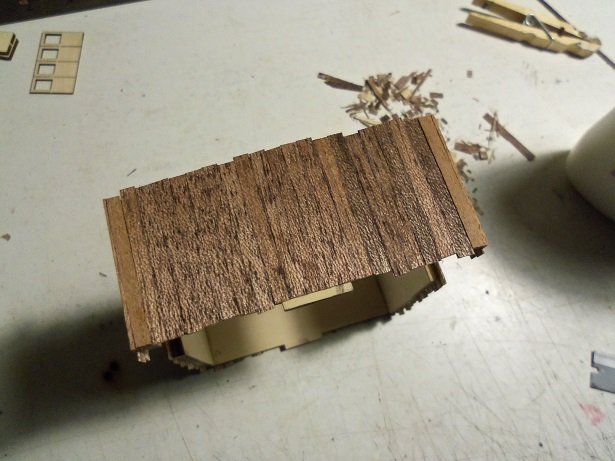
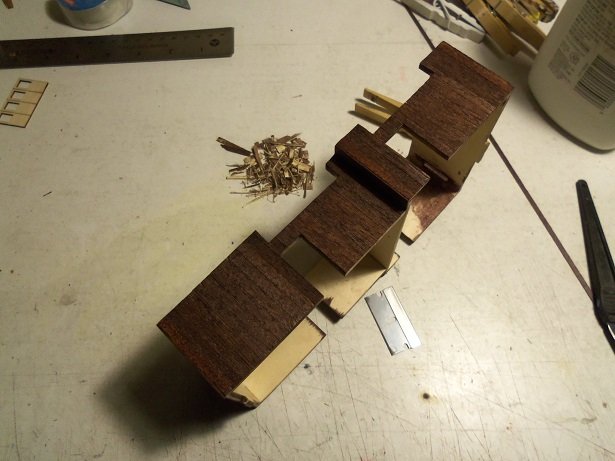
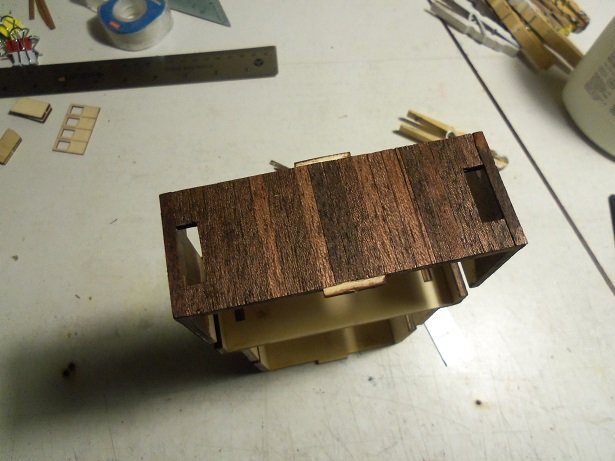
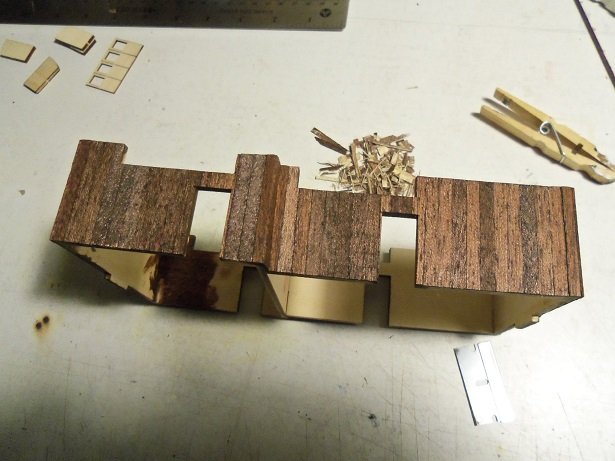
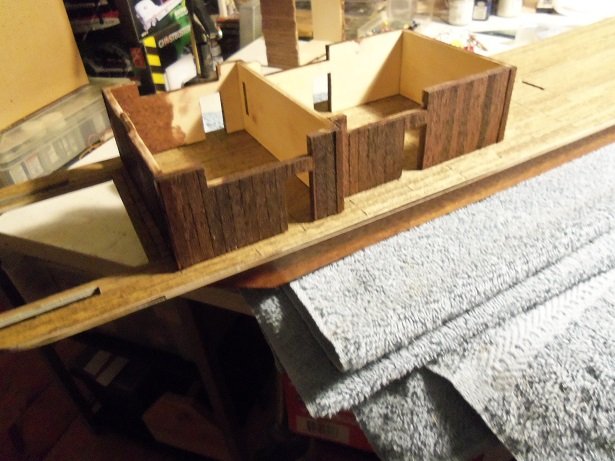
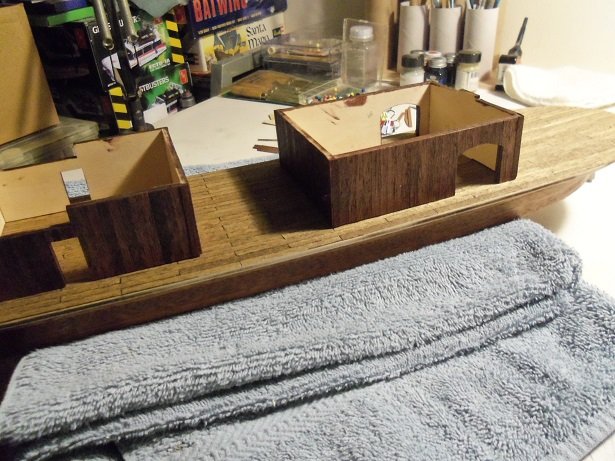
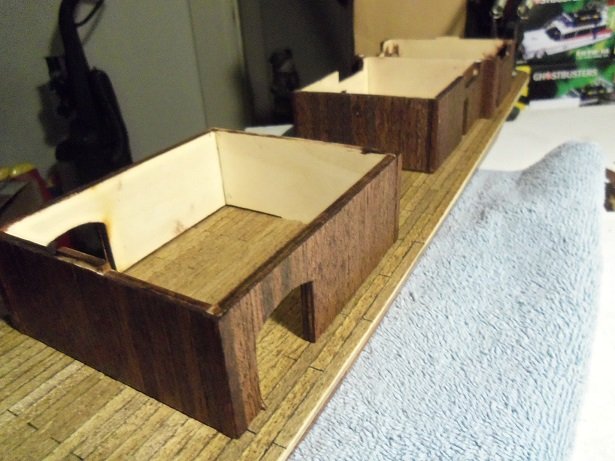
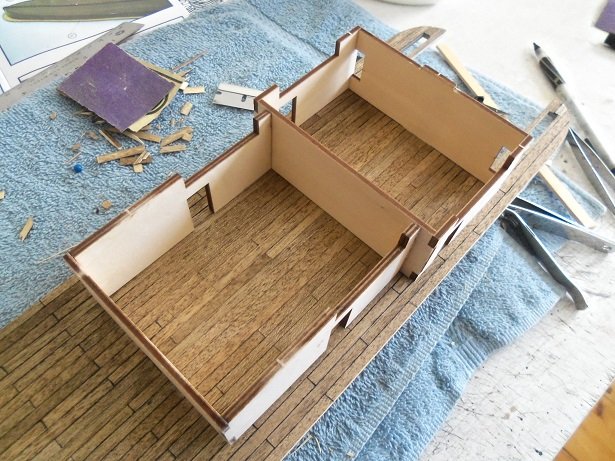
I should apologize.....every time I turn around, I'm eluding back to the Nordkap. it was my first........I learned my basics on that vessel.......even bashing and scratch building. I do look at her from time to time..I see what I preach. some thing could have been done differently, but in retrospect, what I did then was right for the time as with other things I've don in the past........how many times have I stained anything, since the Regina build? I don't even think the log is here any more....fallout from the big crash. all going well, until I went to restain the hull. it wasn't even my model......Tom had sent the kit to me, to build for him. calling him to tell 'em the bad news.....I imagined him being upset....but he wasn't. he even liked my simple solution of renaming the subject.......and so it was renamed after his wife.. ....called the Susan A. planking was going smoothly........the new clippers worked much better, in trimming the excess planking along the edges. the earlier photo showed......... sanding along the edges, which prompted me to only go in one direction with the sanding stick, created some small nicks. tiny shards of wood...a couple of them can be seen in the picture. when I got back to the table, I finished this structure......while I was working on it, I cut up the rest of what I had stained, and started to plank the other one. too bad I didn't try to make them uniform, but the contrast of different planks boards is pretty neat. every side need to have an altered plank......I didn't need to use the 3 mm plank, but chose a given plank and fitted it in. some it's hard to tell, which I'm rather pleased about. it had to happen......laying in wait, looking for the right moment to spring the trap. ......and in one fell swoop, my attempt to touch up all the tiny nicks, went very dark. the stain even got on the edge molding....that had to be done as well. planking over it isn't an option........neither is painting it. the simplest solution is to change the direction slightly, and do more in the way of painting, than I wanted to. I guess the admiral heard me, 'cuz when I went to get a drink {non alcoholic}, she went in and put it on the deck. taking Gibbs out was added to the idle time.......when I got back to the table, I looked at it, keeping in mind her thoughts on it. I had forgotten to remove the excess planking from inside the rear access holes for the paddle mechanism. that was done, making sure I stained the inside walls that likely will be seen. little by little, I was warming up to the changes I would have to make in my plans. I like this room. most of what I did this morning, was done with no light. it's well into the afternoon now....shadows were taking over, lessening the ability to see. time to resort to the crane lamp. the other structure was in the process of being cleaned up. of course, the same results with those tiny nicks. no matter, the remedy has already been formulated..........on with the new direction next will be the four vents and all the doors. ........and now for something completely different painting the underside of the second level. done in flat pale gray, as with the underside of the main deck. it's Billing's paint, so I did it with a brush. I hope to have more on her very soon
-
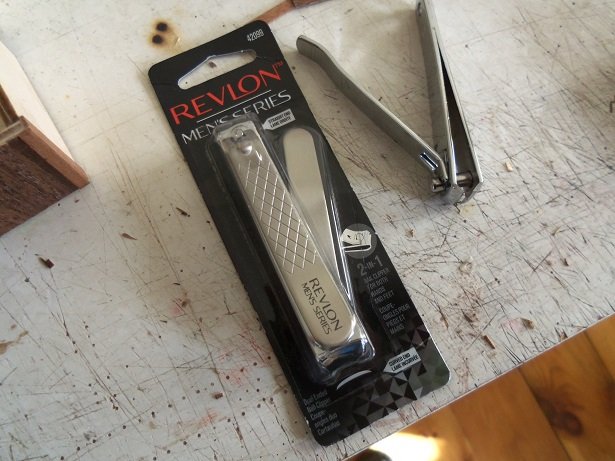
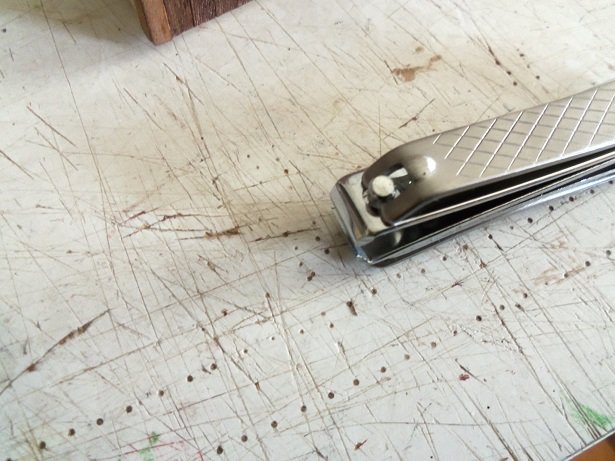
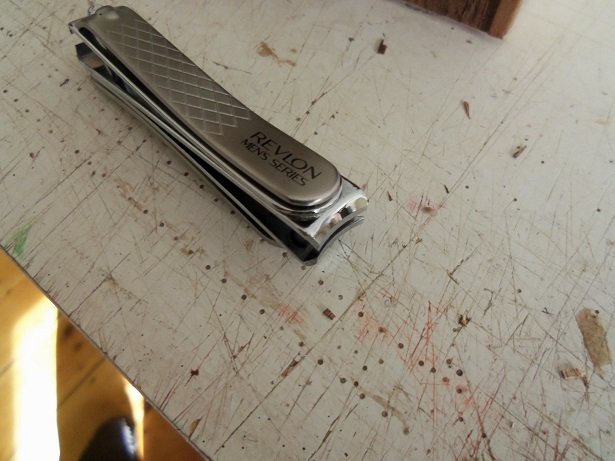
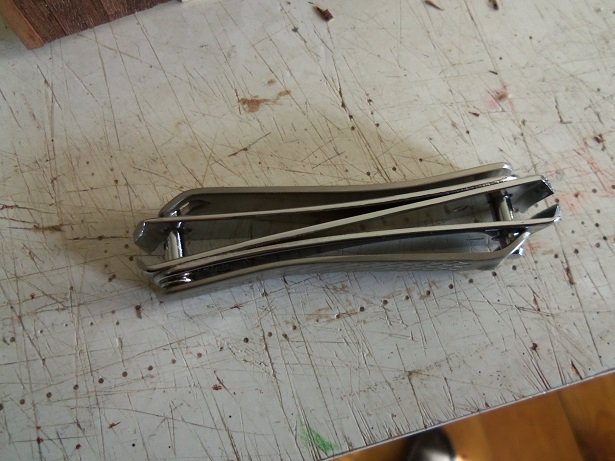
thanks for all the kind comments and to those who hit the like button. I did get back to the structure planking........sadly I didn't get back to the Norden though I'll make it a point today. the planking results came out a bit different than I was planning, but the solution was very easy to come up with I use them for the same reason Piet.......this is why I needed a new pair. I was at the hobby store one day and found that they were out of the brass rod I was looking for. I saw some steel stuff and thought it would do the trick......boy........was I wrong! it served well for the mast braces for the Nordkap......but it ruined a pair of cutters, as well as the nail clippers I had at the time! .....took those cutters and snapped them off at the jaw! I still have some on hand......bought a larger pair of flat nosed nippers, just in case I ever needed to use it again hello Wallace! glad to have you looking in I really like them for trimming thread {rope}........gets within a hair of the knot, so no tell-tale tails. with all the tutorials and helpful folks here, I like to think we are the 'go to' place for anything model related. your here now.......your next model will look all the better for it
-
don't know how I lost track of this project.......but I did?!?! truly excellent work...especially the hull plating. very well done
- 281 replies
-
- 1
-
-
- falls of clyde
- tanker
- (and 2 more)
-
thanks John......oh...there a lot more planking to come. by the time I'm done, I should be frazzled
-
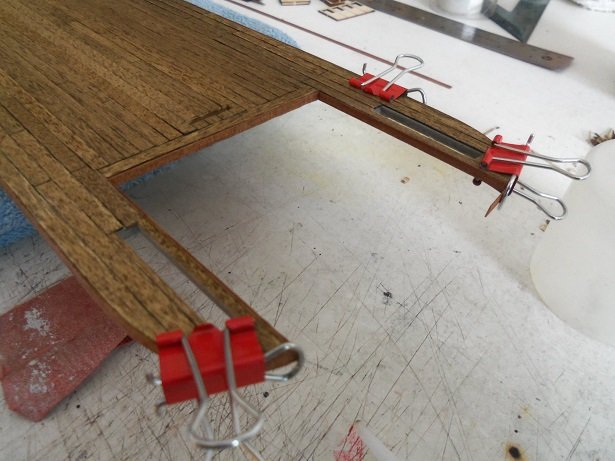
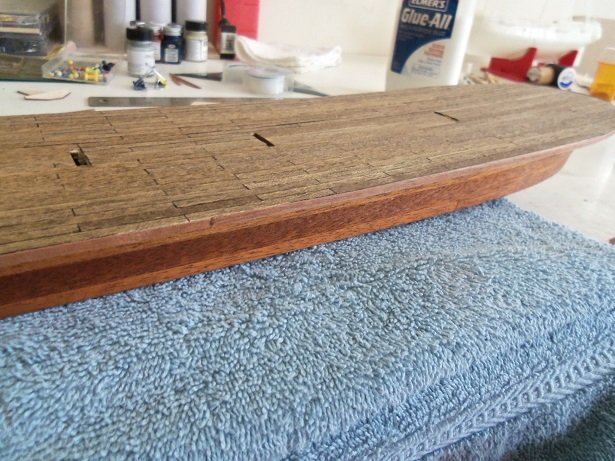
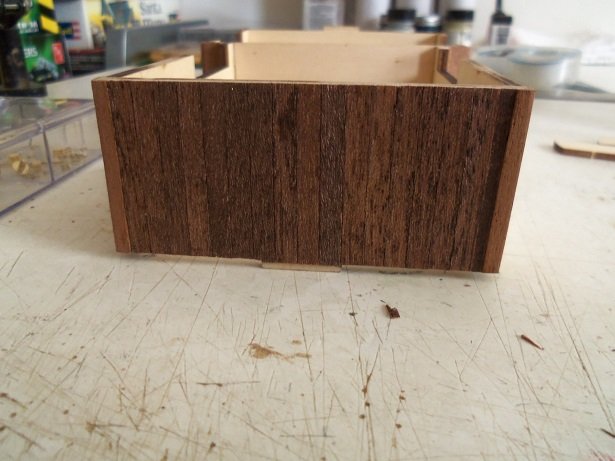
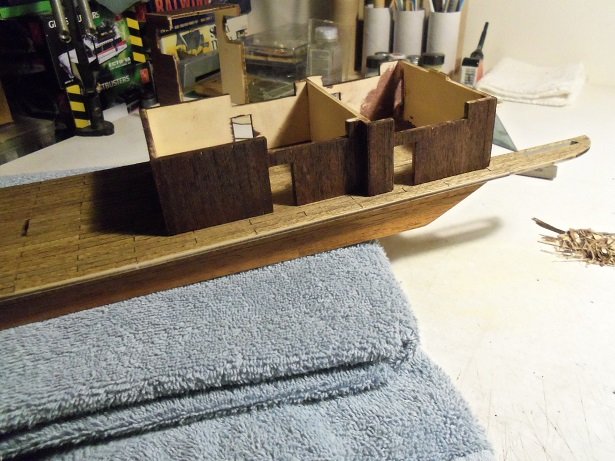
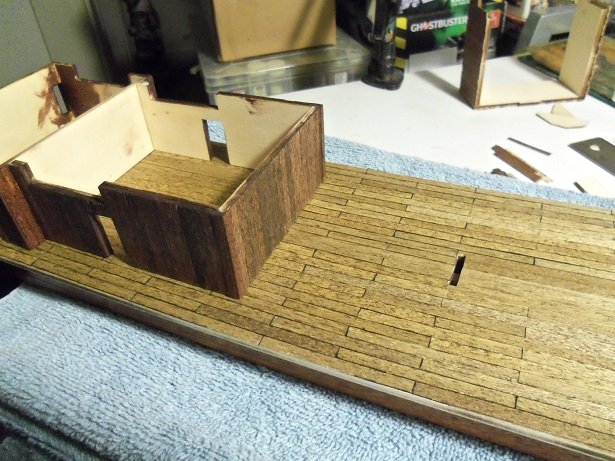
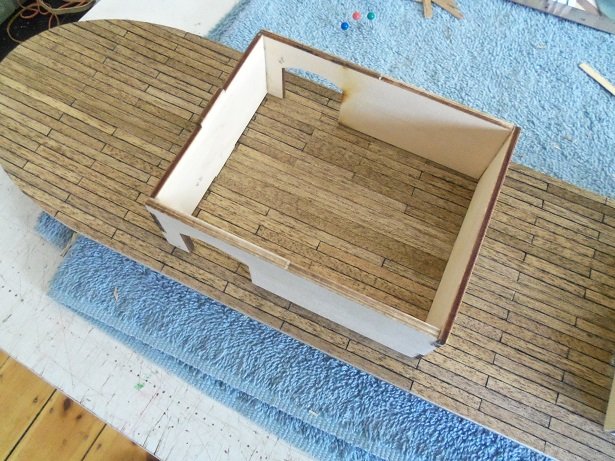
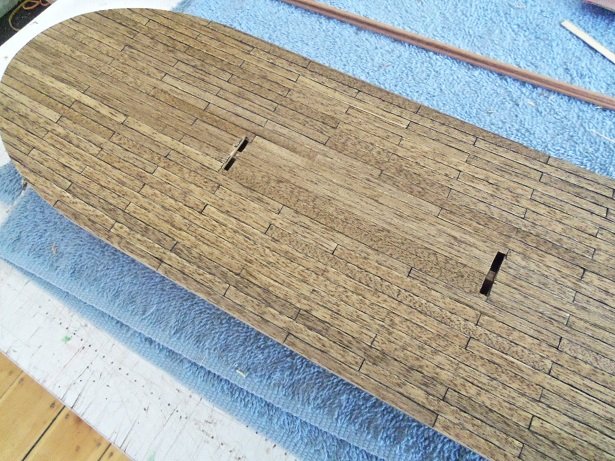
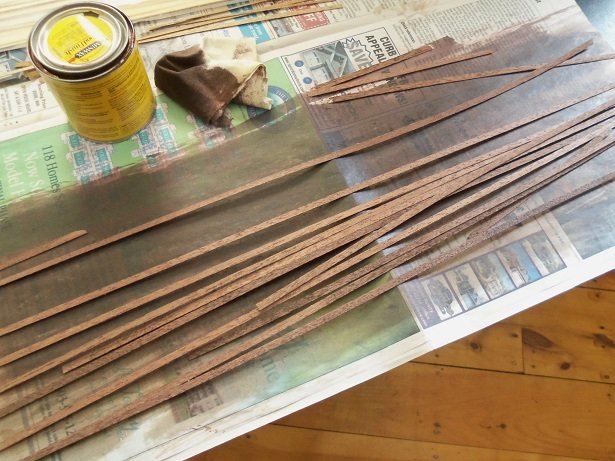
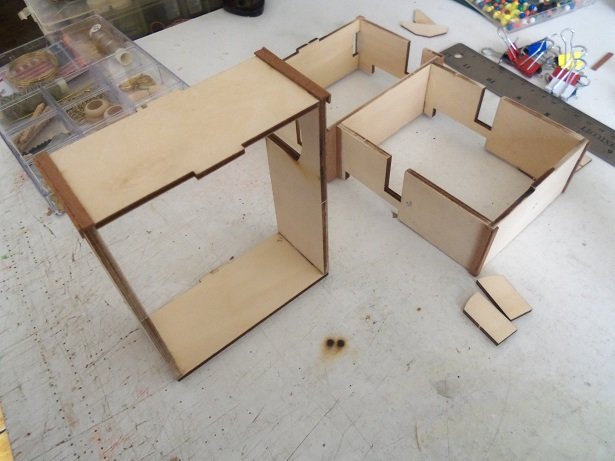
thanks Bob....I'm hoping I can achieve what I'm going for thanks for the good word! this morning was fairly productive. around the deck, the edges were trimmed and cleaned up. the structures were put on the deck to see how they will look. not that there will be much of an impact....they're as barren as a desert. the deck was finished out the rest of the way, and then a light sanding over the whole thing. to richen it up again, I went over it again with stain. it needs to be banded before the seal coat is put down......I want to get started with the structures, so I'll do it when I get to a point that requires some major dry time. the structures are to be planked with thin strip, that has been stained with Mahogany. this is red Mahogany stain, kinds skeptical, since it doesn't seem to have the red characteristic. perhaps it will when the seal coat is applied. I did find the parts list...in about three different languages. at least now, I can get a better idea of what wood to use. I made the same choice as Hugh did, putting the corner molding on the structures first. I planked one wall already.......this made me wish I had gone the other way. the increment was off, leaving not enough space for the final plank. again, I fell back to the 3 mm planking, staining up one {which came out very dark}, to fill the gap. to make matters worse, one side is a tad off, so I had to taper the plank as well. in this case, instead of having all of them ending in the same place, I will alter how each side is planked, so it ends up in different places. trimming this was the pits as well.......I need to go on an errand anyway. when I got back, I was all smiles.......I bought a new pair of clippers. not just any pair either......I found a two in one pair of clippers! it has the convex on one end and the concave on the other end! the convex side seems like it has less of an angle too. they can also be use for trimming rigging....they are great for getting close enough to the knot, so you won't leave the tell tail bit of thread. so now I can trim the excess planking cleanly. should have more for you soon

-
really nice progress Tom......rigging and yards look very nice congratz on your upcoming retirement......wish I could say the same. you'll love the countryside up there.......does this mean your next project could be R/C?
-
you've done a great job with the balcony.......all three together are going to really look nice
-
nice way of stowing the studding sale booms too...........well done!
-
that's odd..........nothing I've done on my end. the structures only assemble one way....and the only assembly done at this time.
-
if you tire of watching you glue tube, looking like a tiki torch, just use a drill bit of the same diameter. I'm a no fuss guy at times......in those times I just shove a pin in the hole, and let's go!
-
thank you Kevin........and all who hit the like button. I really need to get back to her........planking has distracted me something terrible. I will make time for her today
- 378 replies
-
- 3
-
-
- t78 norden
- billing boats
- (and 1 more)