popeye the sailor
-
Posts
16,007 -
Joined
-
Last visited
Content Type
Profiles
Forums
Gallery
Events
Everything posted by popeye the sailor
-
 very nice detail Patrick........with the imagination your putting into her, you'll have no problem whipping up a cat engine
 -
thanks John.........good that I'm on my work week ......it will give the paint time to fully cure. then I can fix the bad spot. we'll see what it looks like when I do the last bit of it thanks for the good word....and the likes thanks as well Patrick.......the Boulogne Etaples...the hull that I modeled these from, is a stern trawler. it was very easy to modify this hull to become the Andrea Gail. but I liked the large deck...I'd have lots of room to play with I still need to get a prop, so I can do the rudder, but I ca play a bit more on deck....and I will. I gotta put in another order....I getting much needed supplies a little at a time. I need to replace the parts for the Boulogne.......then I can bring her out for a while
-
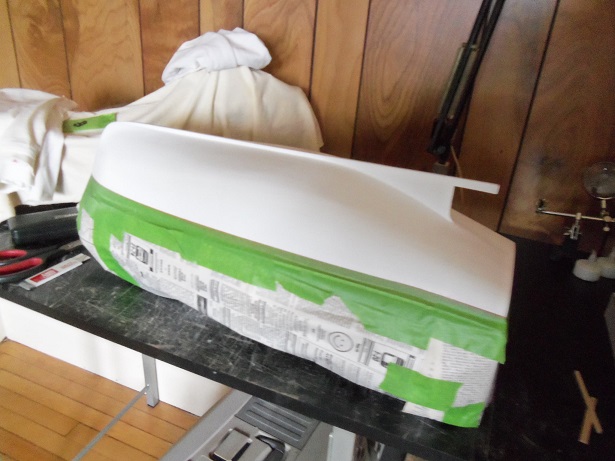
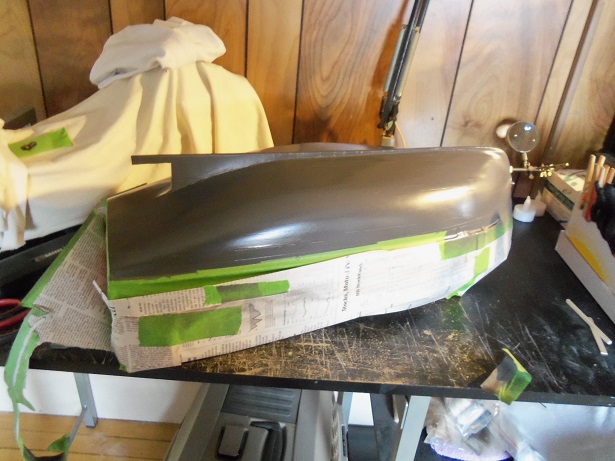
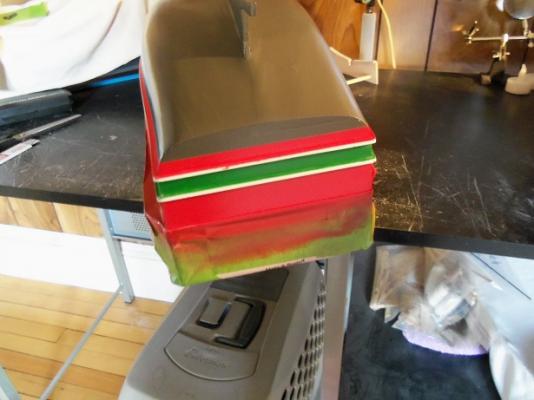
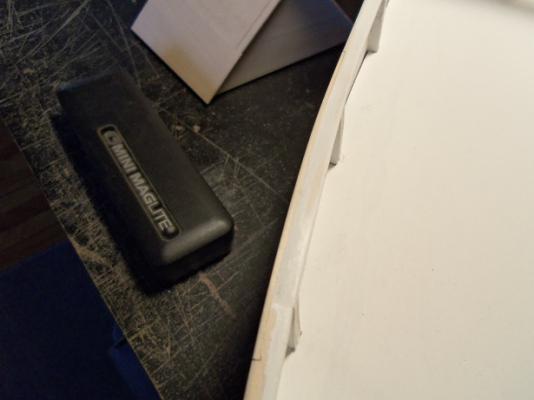
it was a productive morning........a little bump, but otherwise A-O-K I had said....the heck with it......the bottom paint is going on as planned. I used the Model Master paints this time....Dark Drab for the bottom paint color. funny how it works though.......you get comfortable doing something.....and then other things get in the way. shopping......Gibbs......putting a starter in my son's car.......things meant to keep one on his toes. I wanted to get a shot of the hull without the masking on the bottom, but I was too fast for myself. I had the upper part of the hull masked and ready. all I could get was this I almost did it again........I was removing the masking before I took this I left the deck masking still on there, so I can fix that bad spot again........still don't know what's causing it. it's not as bad, as it first appeared.....so I may be getting the better of it. there are a couple of really minor bleeds that can be easily touched up. take care of them, and fix the blemish......and I should be ready for phase 4.


-
very nicely done Charlene!
-
you are kidding.........right!?!?! love the sloop.......she's really sweet
-
I'm sure of that.......Billing's sells them, but they're plastic and in halves {you gotta put them together}. I'm not a big fan of that type of plastic either.......and worst of all........they don't incorporate a throat in the bowl, like you do. {I drilled mine}. hee...hee
- 2,625 replies
-
- 4
-

-
- kaiser wilhelm der grosse
- passenger steamer
- (and 1 more)
-
I don't believe the word rush is in the modeling handbook....but the word impatient pops up a lot take your time and take advantage of life's opportunities. we'll still be here.....watching the creation of that gem of an engine......and soon, the creation of the hull to put 'er in.
-
Cutty Sark by NenadM
popeye the sailor replied to NenadM's topic in - Build logs for subjects built 1851 - 1900
me too Nenad.......you'll do well in getting her hunkered down.- 4,152 replies
-
- 3
-
-
- cutty sark
- tehnodidakta
- (and 1 more)
-
vents look awesome nils..........that is one sweet idea. I've seen those in various sizes at office supply stores. definitely something to keep in mind
- 2,625 replies
-
- 3
-
-
- kaiser wilhelm der grosse
- passenger steamer
- (and 1 more)
-
I use photo shop......sounds like they're pretty much the same. I also use the Testor's decal paper, both clear and white. knowing that printers don't do white, I've been able to print white decals by altering the background color, like I did with the Andrea Gail. white decal paper would be a good choice, since the white decal film will act as a backing for the image and produce a bolder finish. the only problem I see there though, is that laying the decal on a different color surface, would create a 'sign' effect. I saw this while trying to do the depth markers for the Cutty Sark {this build started me doing my own decals}. I think you'd do well with wood Kees........you have the eye, the skill, and the talent. most of all.....imagination
- 434 replies
-
- 4
-
-
- pelikaan
- beamtrawler
- (and 2 more)
-
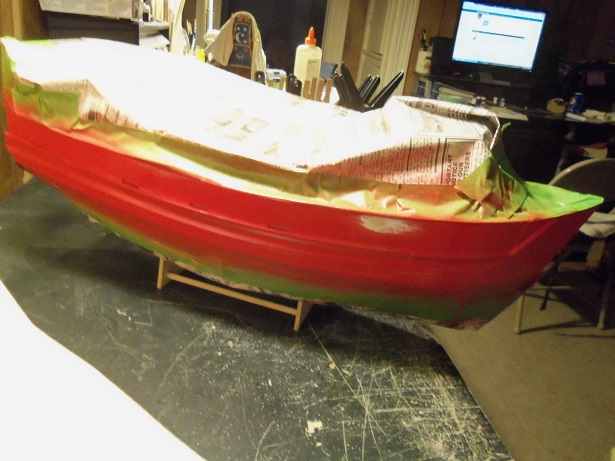
thanks Marty.......welcome to the project I did a few repairs to the hull and took it down to touch it up. that one spot has resurfaces again! I did however, remove the bottom masking and most of the green area {I left the area where the spot is masked for the time being}. I like the looks of it.......next will be the bottom paint, and the pin striping along the borders. I should have something to show for my troubles soon thanks for the good word!
-
sweet looking search light you make your own decals too? what program do you have? I have the Testor's 'decal it' standard edition {it's put out by 'sure thing'}. they come out nice, but this program has a sort of transparency issue. I don't have the means to darken them, or adjust the pixels. so, it limits where I can use them......mostly on light colored backgrounds. I can change the background to match the color I'm using, but there are so many off shades and hues, it tough to get a good match. does the manufacturer have a web address?
- 434 replies
-
- 4
-
-
- pelikaan
- beamtrawler
- (and 2 more)
-
Fittings/Accessories to Billing Boats Meta af Byxelkrok
popeye the sailor replied to samaka's topic in Wood ship model kits
I did a search for the Meta.....found a couple of old auction sites. quite a ship you have there. I looked in the Billing's instruction archives, and they don't list it, which means that it's been a long time out of production. I used to know the fellow that ran Billing USA...I keep in touch. the last time I heard was that Kent sold the business...but he didn't say to who. the denmark site has been up and down........I checked tonight, and I saw what everyone else has seen....a new website coming soon. I also looked for the instructions.......bust! probably the only way your going to find out, will be to keep your eye on E-Bay...or other auction sites, until one surfaces. hopefully, a fittings kit shows up. box art may be your only hope. for anyone who is looking for Billing's parts for their builds, the Billing USA site is still up. it is now run by Ages of Sails, out of California. http://www.billingboatsusa.com/ http://www.agesofsail.com/ecommerce/ -
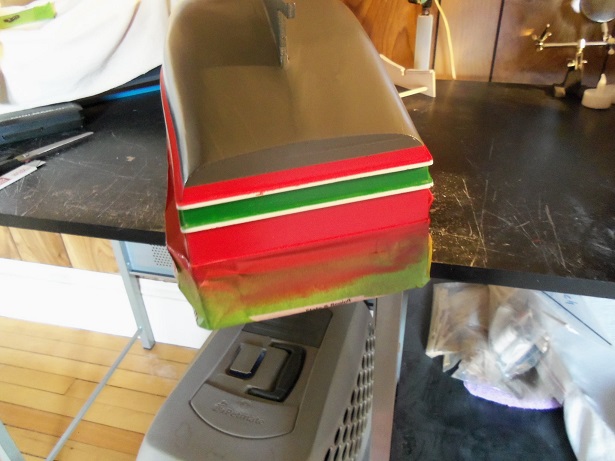
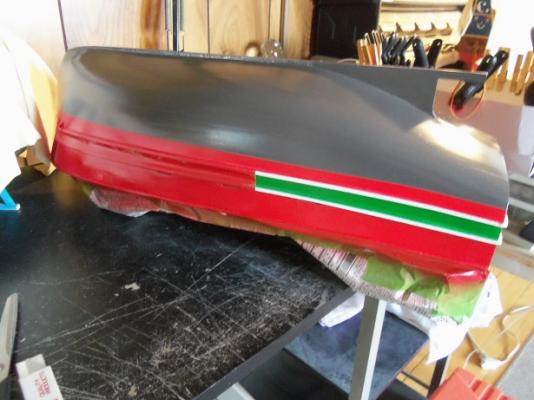
thanks Nigel..........it's just me, refusing to give up on the Billing's paint. I like the paint..........it has a nice shine, and it dries to a very hard finish.....come in handy with the minor bumps and nudges. usually I mix up the entire bottle, but of late, I've been doing it in batches. here's a couple of shots of the paint work. the port side didn't come out too bad.......just a couple of small cracks. nothing too serious but, the starboard side had a bit more wrong. the white blotch you see is where the rippled primer was. I've already sanded it out........take care of the other issues and I'll re shoot it. there is one other mistake I made.......I forgot to cover the scuppers. I can imagine what the deck looks like thanks George...........trouble?!?!?! now, whatever do you mean me.........get into trouble?!

-
thanks Kees........kinda got into it after I saw how the M&M Fun Ship came out. that one was easy though.....I had everything planned and figured out before I even began building it. I even added a few things, thanks to suggestions folks gave me. The Holiday Harbor Fleet was a concept I had, but I was starting from scratch {literally}, but I had no concrete ideas in how to go about it. it started with three hulls........one of them ended up becoming the Andrea Gail. so now I'm down to two hulls........the Christmas Tree Boat still needs to have it's hull planking done {believe it or not}. I've been focusing on the Jingle Belle........probably because I've already given it a name. you can say that I like this form of modeling......I still have a subject and I have a lot more freedom to add detail and imagination. the jury's still out on the stress level though.......they can be just as stressful, as building a replica ship. thanks for the good word.......I still gotta catch up with your build. fantastic work your doing! Thanks for the good word Patrick.......and thanks all for the likes!
-
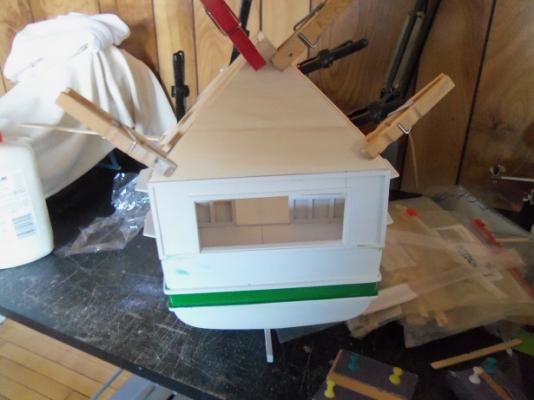
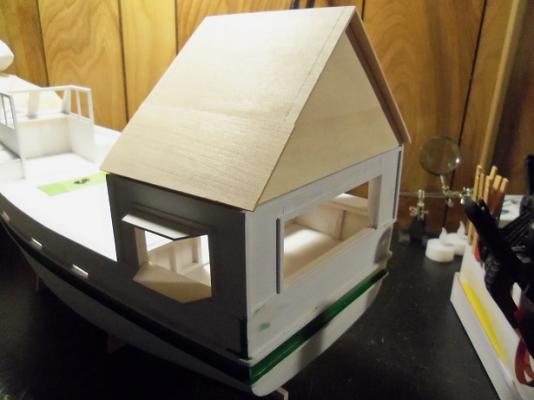
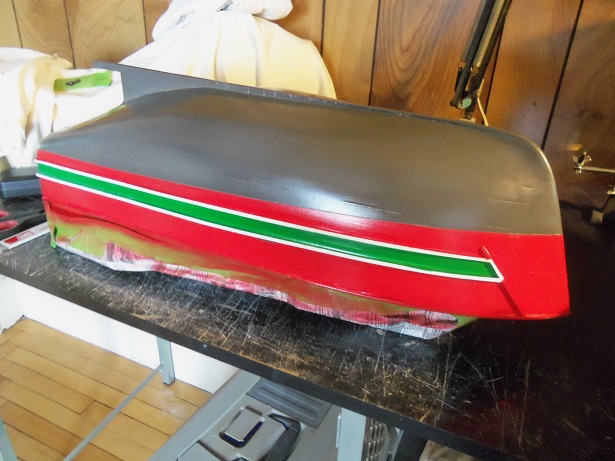
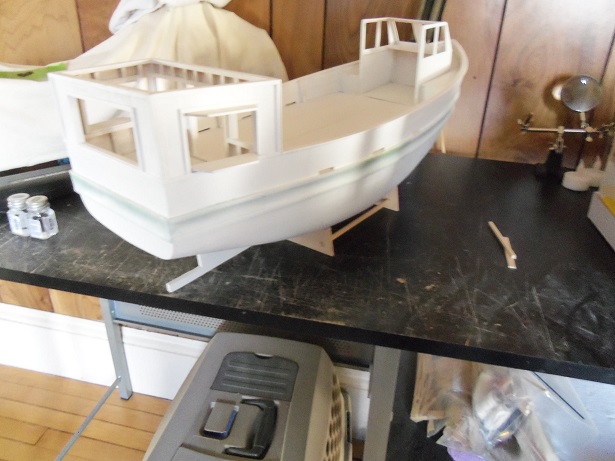
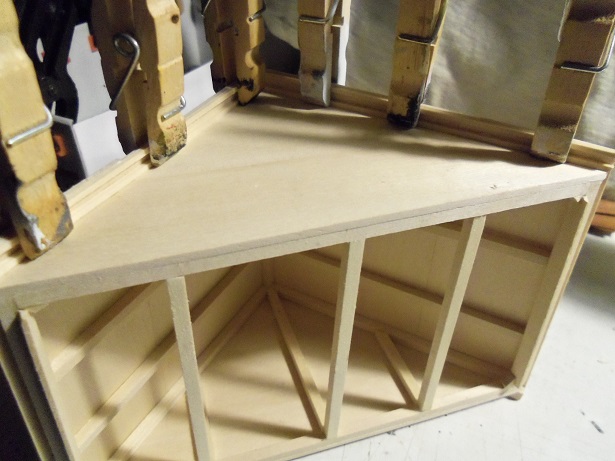
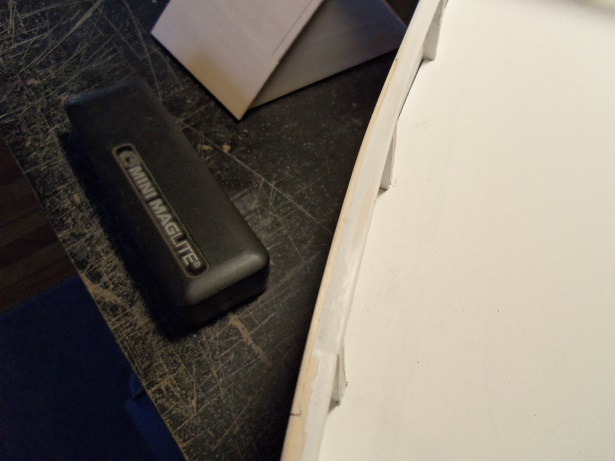
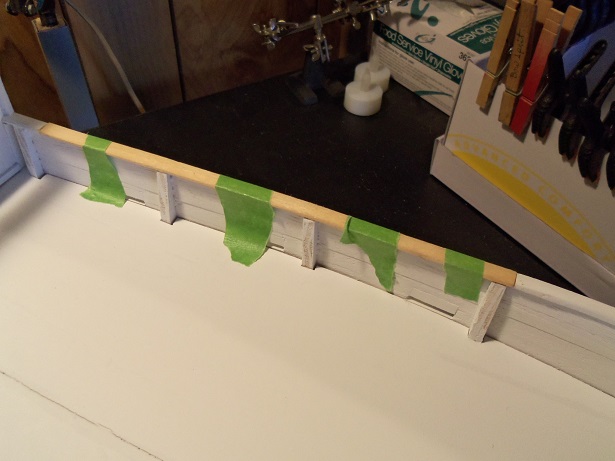
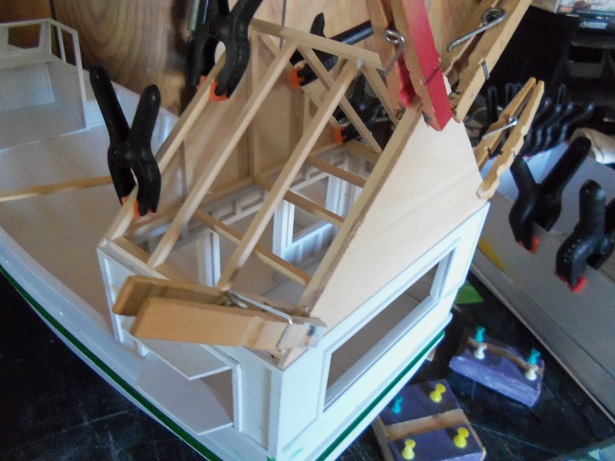
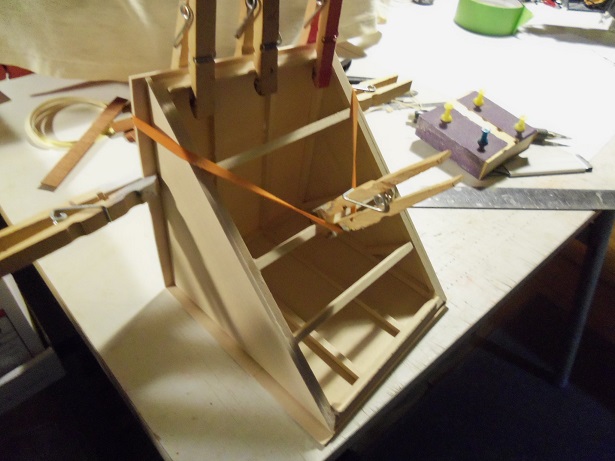
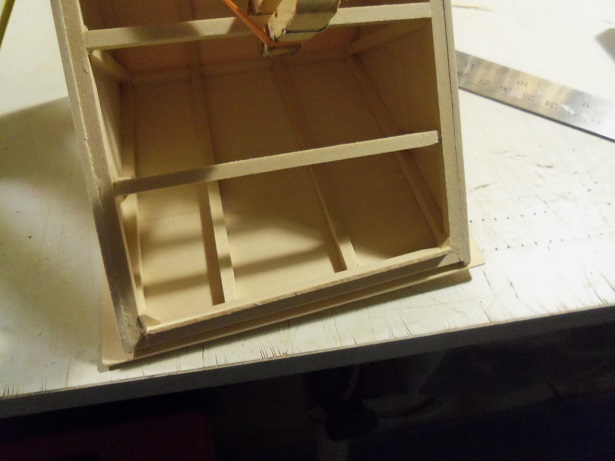
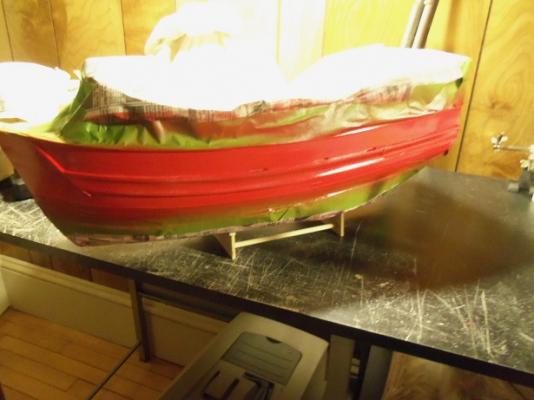
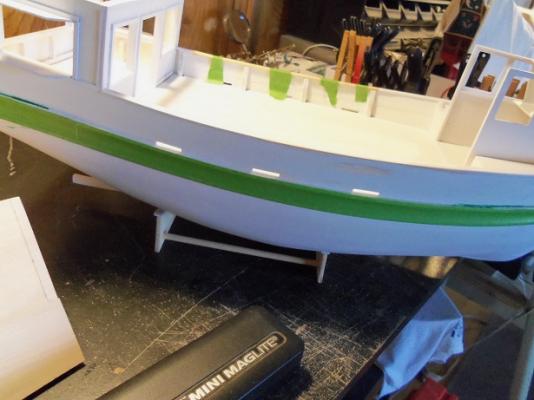
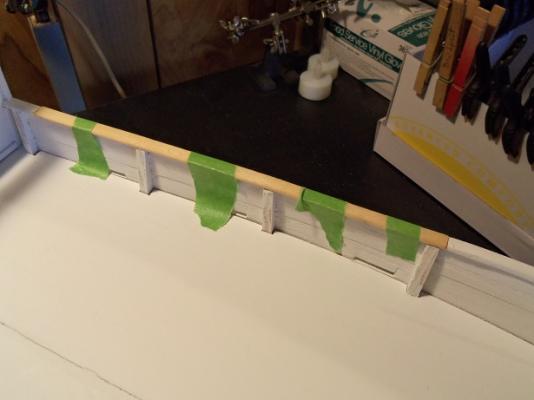
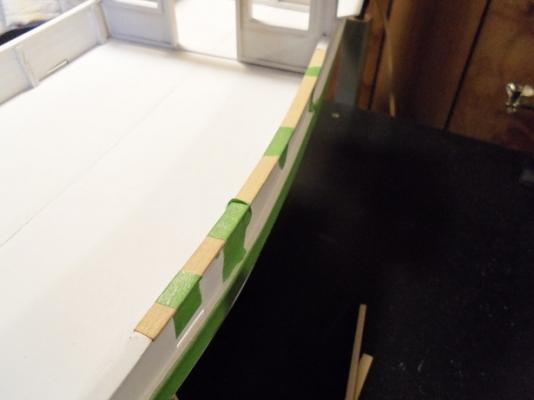
by this time, I have her masked up and down in the cellar, having her primer touched up. ...and while this was going on, I did a little work to the roof section, thickening up the front and rear eves. I'll show the parts involved.......but first the look of the hull, back to square one. the masking wasn't much, I only did the green part. the masking tape had to be trimmed, since it was wider than the strip itself. now that this is done, it will be masked even more........time for the main color. it took a while, as you can guess.....and then back down to the cellar it went. as for the actual paint work........let's just say I ran into the same technical difficulties. it didn't run like the green did, but it exposed cracks in the hull.......ghosts.......and a weird thing, where it activated the primer and rippled it. only in one area though...kinda curious what caused it. while it was drying, I did the rear eves. it starts with strips of 1/16 square stock...inner and outer under the eves. then, a fascia board was cemented over them. this will hide any gaps along the front and read fascia walls, under the eves. the outer surface is then sanded flat, getting it ready to accept a cover board...I'm looking for something decorative. when the back pair are dry, they will be sanded too. any gaps in the roof sides will be covered with shingles. now I go play damage control........it's really not as bad as it sounds.


-
John said the same thing Greg..........if you folks have a Wal-Mart........I can relocate. I have a very understanding admiral...she loves the boats, but has come to dislike plastic I got the Santa Maria for Christmas......she got it from a website that I like to window shop oldmodels.com it's a Revell kit that was produced back in the mid 60's. it doesn't specify a scale, but I think it's around 1:89. she cringed having to order it it should be interesting when I get to it. now, it's update time......When I had done the cap rails, I used some basswood that I had gotten in an earlier Billing's kit. the cut of the strips was not that great...the edges looked very rough. I figured that I'd be sanding it anyway, so it might smooth it out. it didn't......ended up sanding the outer lip close to the bulwarks. I was going to let it go.......but the more I thought about it, the less I liked it. I was able to fatten up the starboard side with some 1/16 strip stock, sanding and blending it into the existing cap rail. I wasn't so lucky with the port side though, so I had to replace the offending section with a bit more sanding and blending, I can finish fixing the green bleeds, and get her masked up for the second stage of outer hull paint.
-
I will have something soon Mark........had to work this morn.....got home an hour ago. I have an errand to run and then..............
-
thanks for the good word Greg and Bug! also to all who hit the like button my admiral....what a peach! she saw the look on my face when I came up from the cellar, after the botched paint job.......she directed that I do my painting in the house. she pointed to the kitchen table. I simply told her ....'you don't know what your saying!" our weather has moderated.........I've cleaned up the mess on the hull, and even modified the top rails. they had a couple of shallow spots on the bulwark. I'm at the point now, where it's time to mask her up again.......this time....the main hull color. I should have an update soon.
-
yea....we got a lot of folks crying in their snowcones up here what crazy weather we're having
-
nice progress Sjors! masts are looking excellent!.....time to call the spider brigade!
- 1,616 replies
-
- 6
-
-
- caldercraft
- agamemnon
- (and 1 more)
-
thanks for the good word and the likes. we dodged the bullet on the big snowstorm George, I feel bad for those south of us. some parts were hit with over 2 feet of snow! in my area, we still have patches of lawn peeking out........getting very little snow fall to date. this is all well and good........but I bought a *#%!%$ snow blower......and so far, it's not paying for itself! we're heading into some milder weather......should be better for painting. I know it looks plain at the moment......but while the hull is getting it's splash of color, I'll be adding to the roof. hard to say exactly what will be added, but I will try to make it interesting
-
it's roughed out Mark......now with the aide of your new toy, your going to be able to clean up these areas and enhance her looks! very nice upgrade!
-
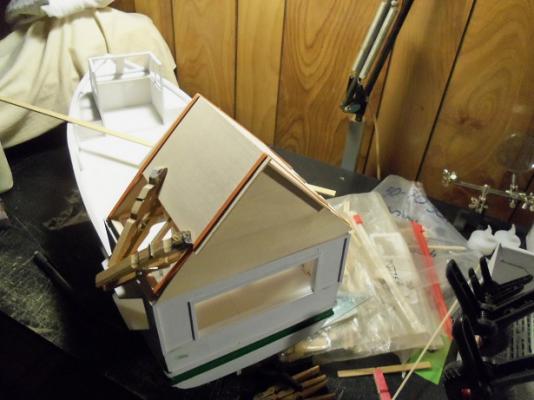
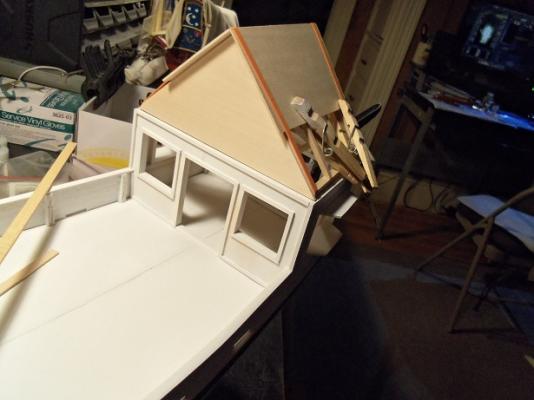
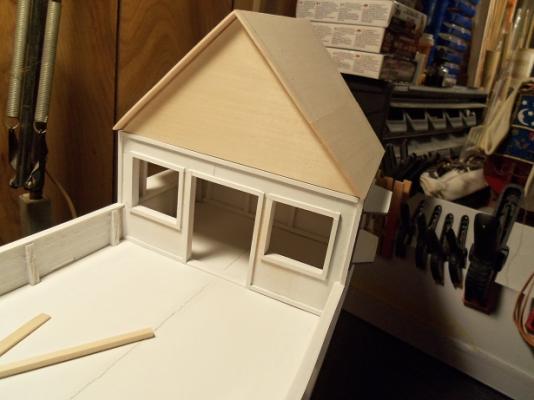
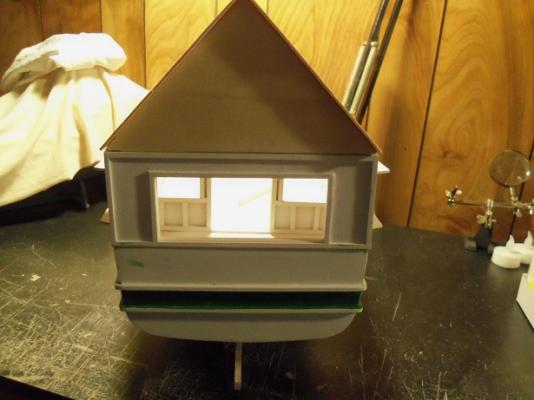
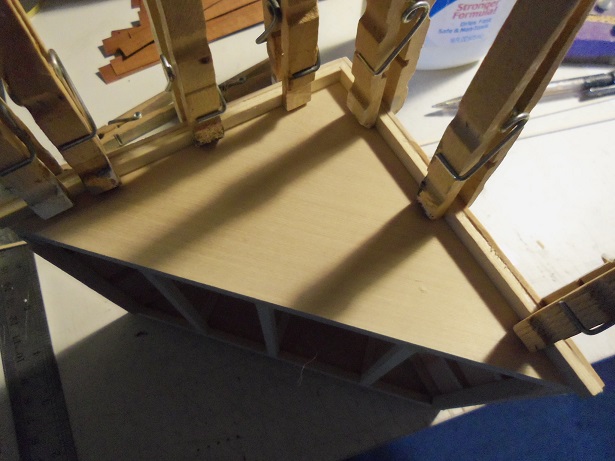
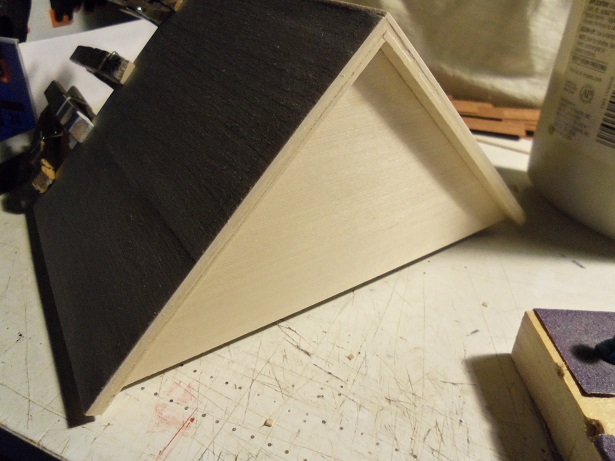
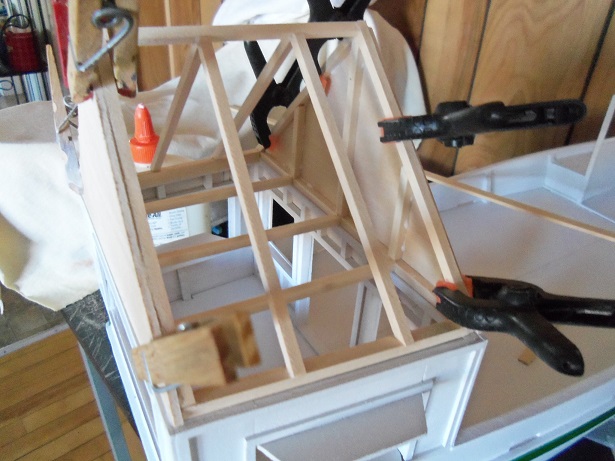
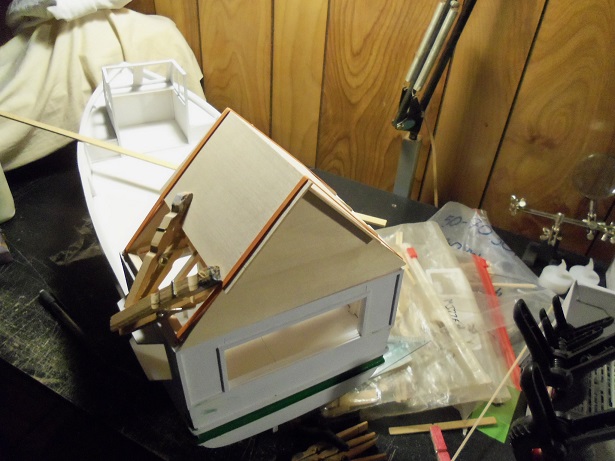
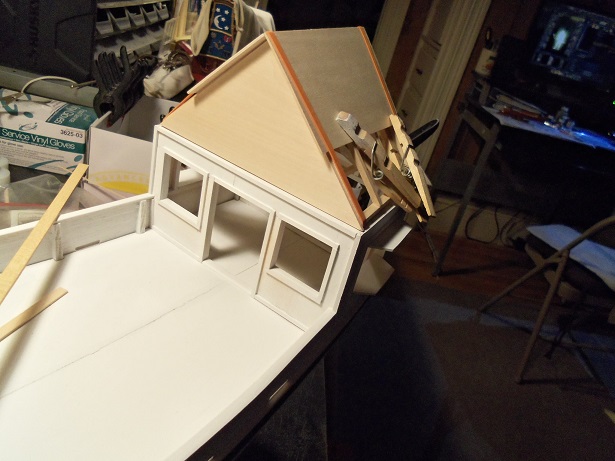
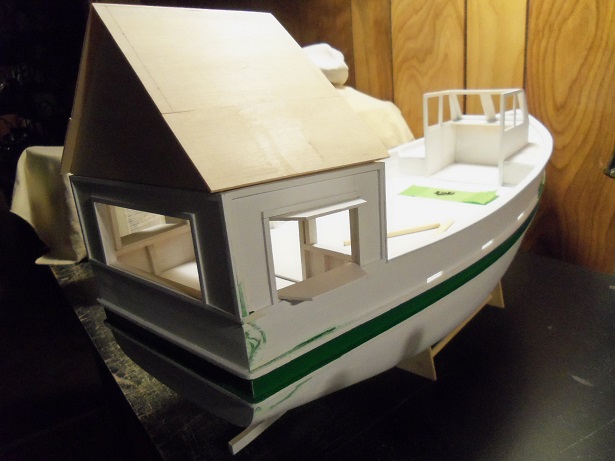
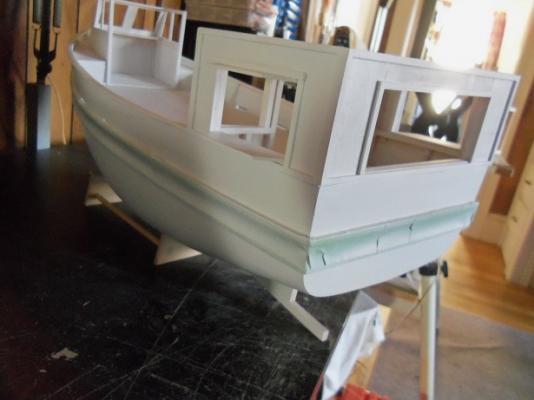
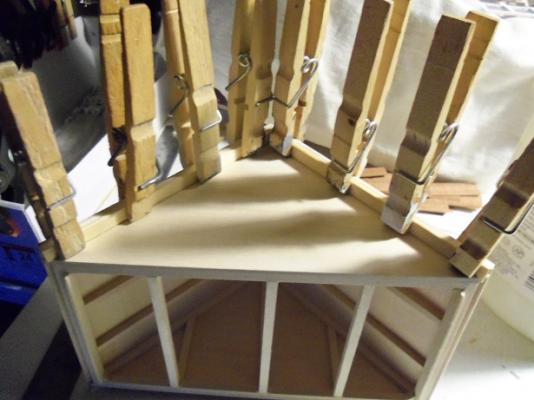
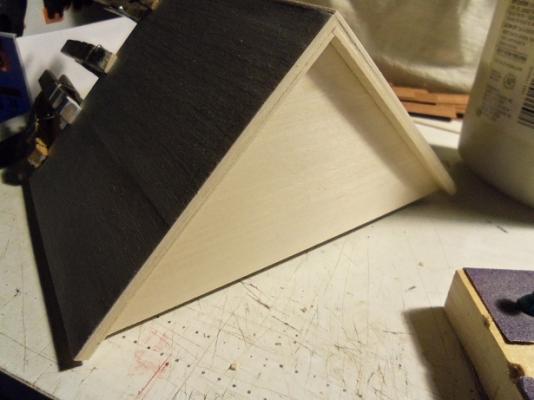
getting more done on the roof, it begins with the front and rear fascia. then the roof underlayment because of the shape of the roof, trimming was needed for them to fit good. I left 1/4 of an inch overhang at the front and rear......I have something I think would be neat to do. should have left a bit more on the pitched ends though....I will fix it cementing down the bottom panels was a bit tricky. here is a shot of the tabs that locate the roof assembly to the house. so, this is where I am at the moment. there.....the roof is done. now perhaps I can get the boat painted