druxey
-
Posts
13,368 -
Joined
-
Last visited
Content Type
Profiles
Forums
Gallery
Events
Everything posted by druxey
-
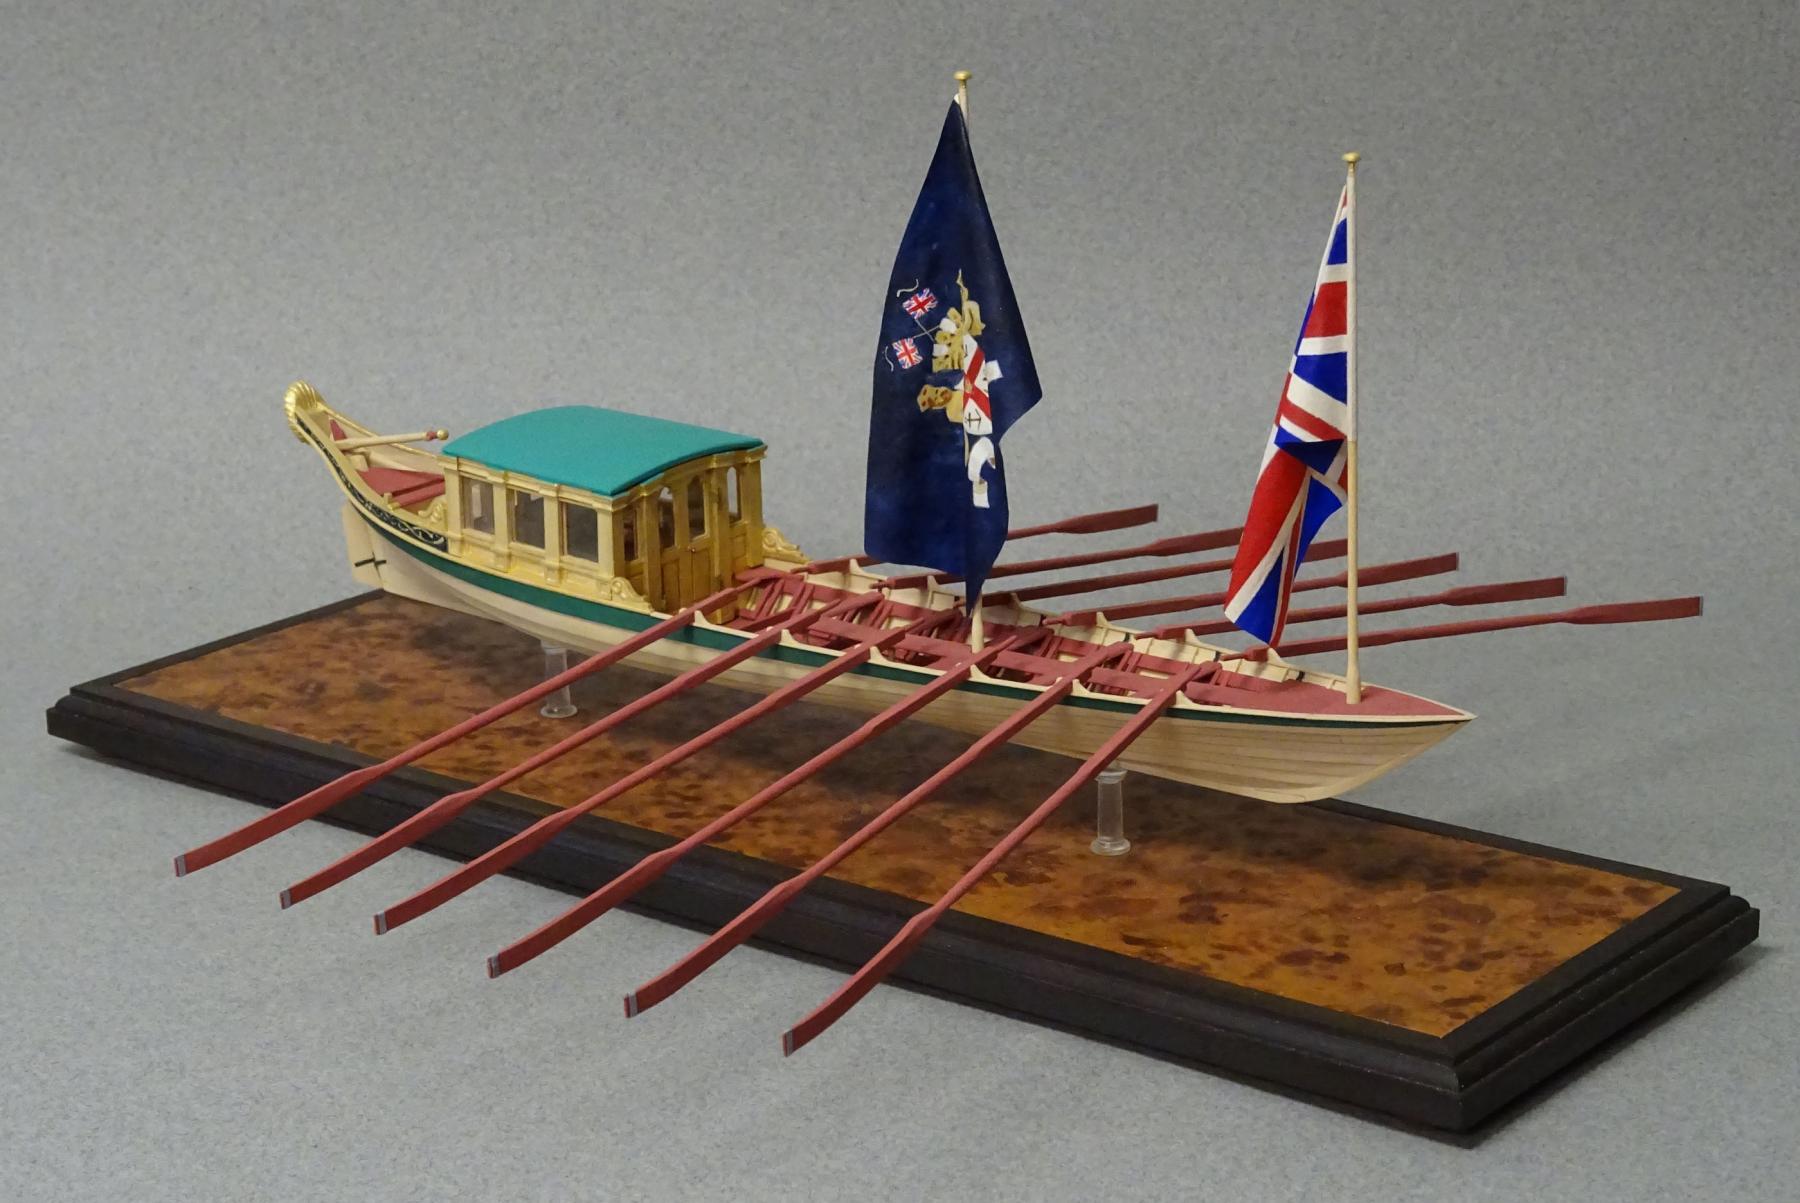
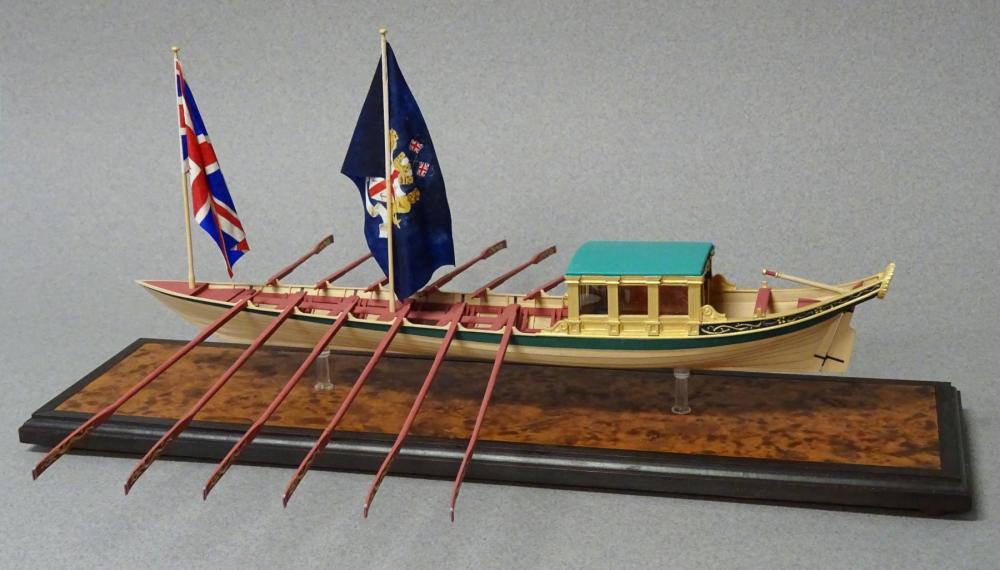
 'Positively final farewell appearance!' So the old theatre posters read. And this is true for the Greenwich Hospital barge. The sub-base has been made and finished, and so is this log. My profound thanks to all who looked in, 'liked' and commented. You are a great world-wide network of craftspeople with whom I am proud to be associated. Happy model-making! Serious enquiries of interest only for acquiring this model are invited.
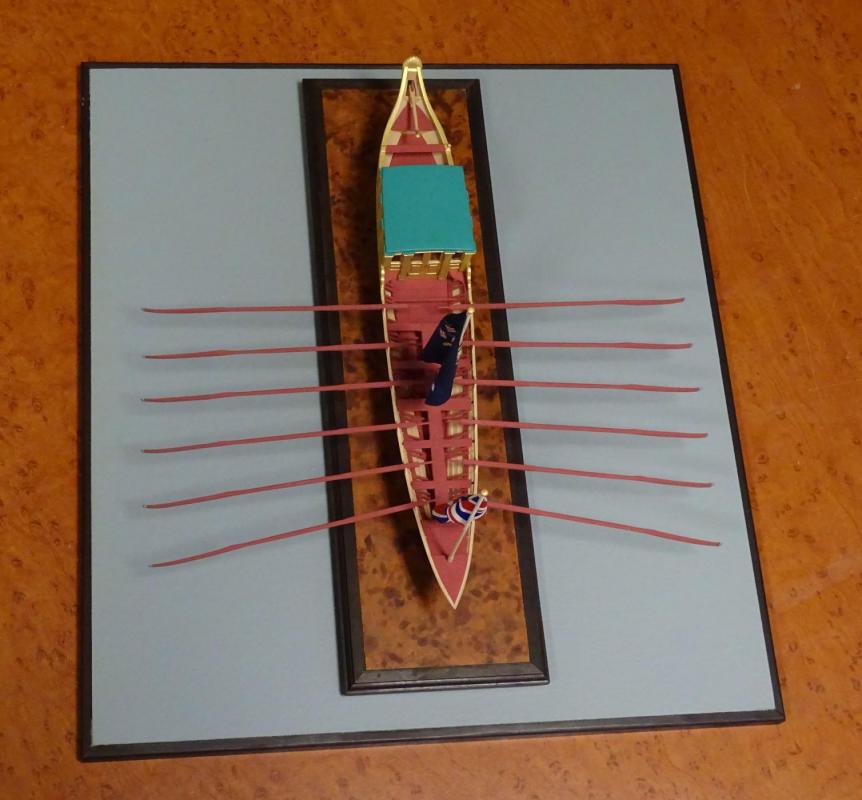


- 641 replies
-
- 42
-

-
- greenwich hospital
- barge
- (and 1 more)
-
If one lantern were lit aft, it would need to be the central one. At night, one could tell the relative position of the ship to one's own accurately. If asymmetrically positioned (i.e. left or right) a single light could result in....
-
Nice photo: it should go on the flap or rear of the next volume's dust jacket!
- 3,618 replies
-
- 8
-
-
- young america
- clipper
- (and 1 more)
-
Caroline's bottom
druxey replied to GrantGoodale's topic in Building, Framing, Planking and plating a ships hull and deck
I might add that perhaps 'pease' was intended to spell 'peace', as Britain was not at war at the time. Either way, a pease/peacetime bottom is still a mystery! -
Another possibility is to have a ledge above (below, when inverted!) the line of the gunwale, inset the by thickness of the frames. Then you can glue the frame extensions to the ledge's side and cut them off when the planking is completed. It would only not work if there is tumblehome to the hull.
-
Beautifully rendered, Glenn! Your posts are one of the highlights of my week. Thanks for sharing.
-
For really fine slots, one needs a watchmakers' screw slotting file. These are very narrow and consequently very expensive!
-
Caroline's bottom
druxey replied to GrantGoodale's topic in Building, Framing, Planking and plating a ships hull and deck
Interesting possibility for 'pease'/'petit pois'. The reference I came across was dated July, 1753. "...a pease Coat bottom upon her, which will last very well until Spring." This was for a small sloop. The reference to spring suggests something less permanent than copper nails, though. -
Caroline's bottom
druxey replied to GrantGoodale's topic in Building, Framing, Planking and plating a ships hull and deck
Very entertaining, Robin! There was also some other 18th century bottom preservative called 'pease'. I've not been able to determine what this was. Anyone any clues? -
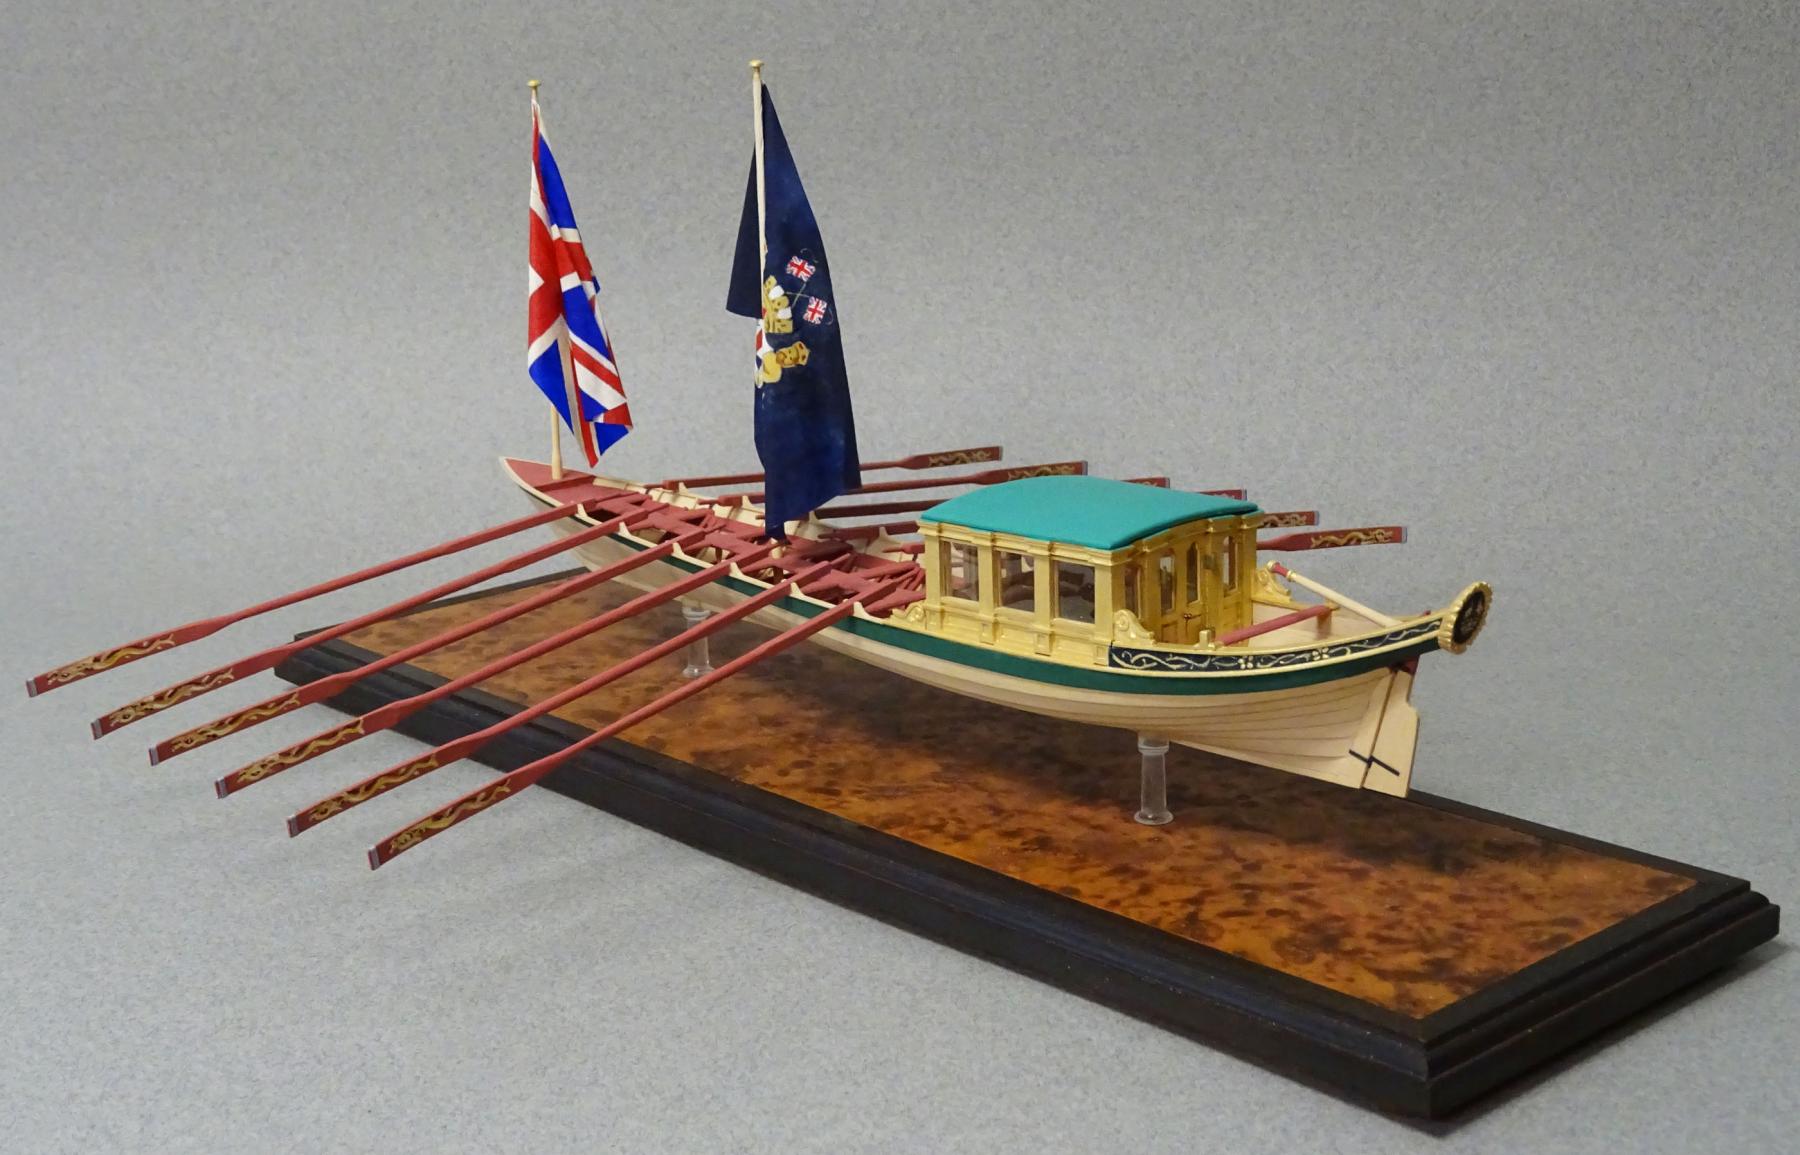
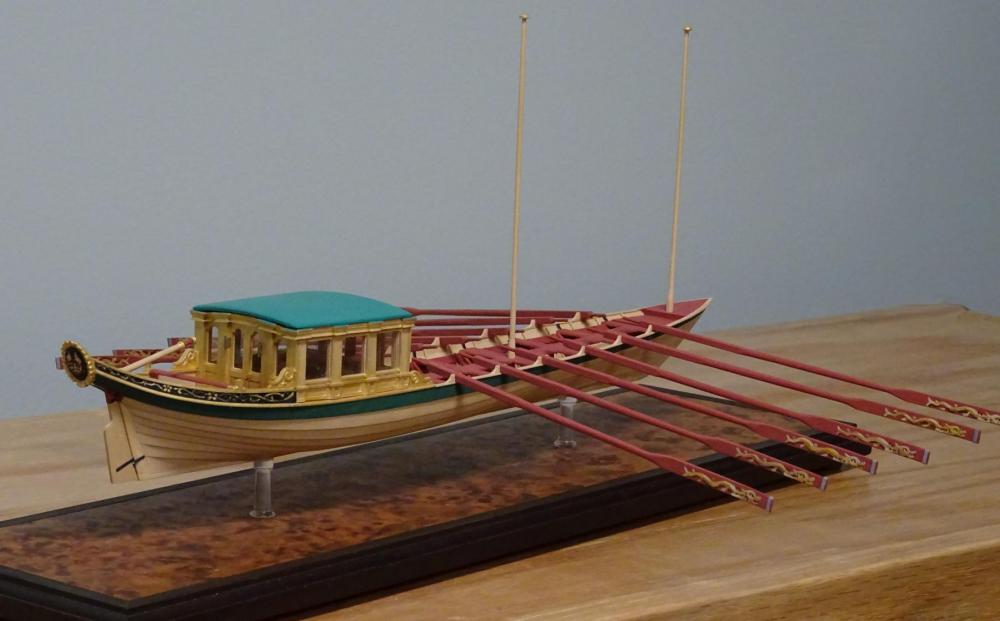
Thank you, everyone, for your kind comments, compliments and questions. Your interest certainly spurred me on and the model was completed sooner than expected. What's next? When I have the time, another open boat, this time a Royal barge. In the meantime, I'm working on restoration of several yacht models and both writing and illustrating a book on modelling open boats. Part of the book will be an amplified version of this build log. It aims to cover both clinker and carvel construction. Joel: what keeps the oars up? Invisible oarsmen. Seriously, the sweeps are glued in position in the tholes and on the gunwale.
- 641 replies
-
- 13
-
-
- greenwich hospital
- barge
- (and 1 more)
-
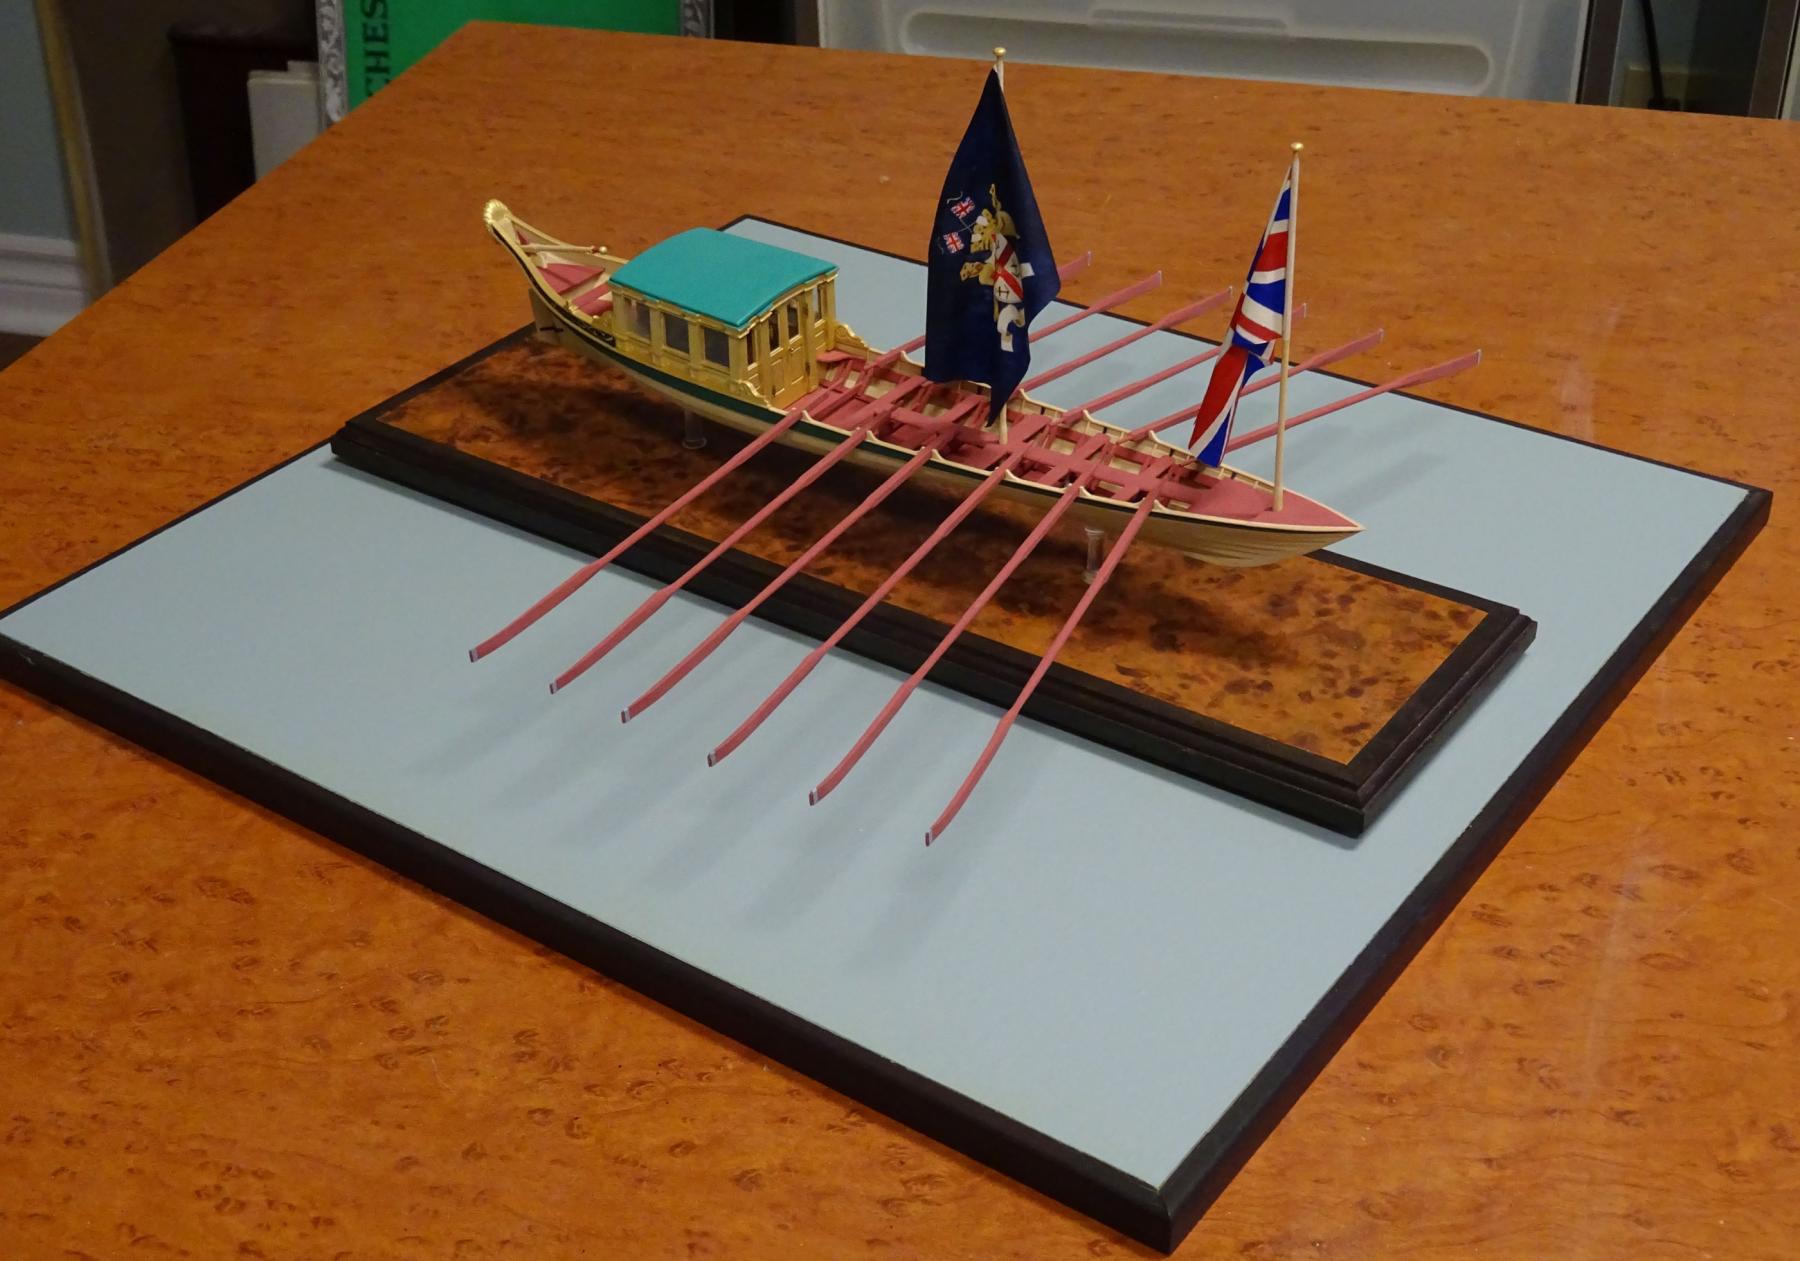
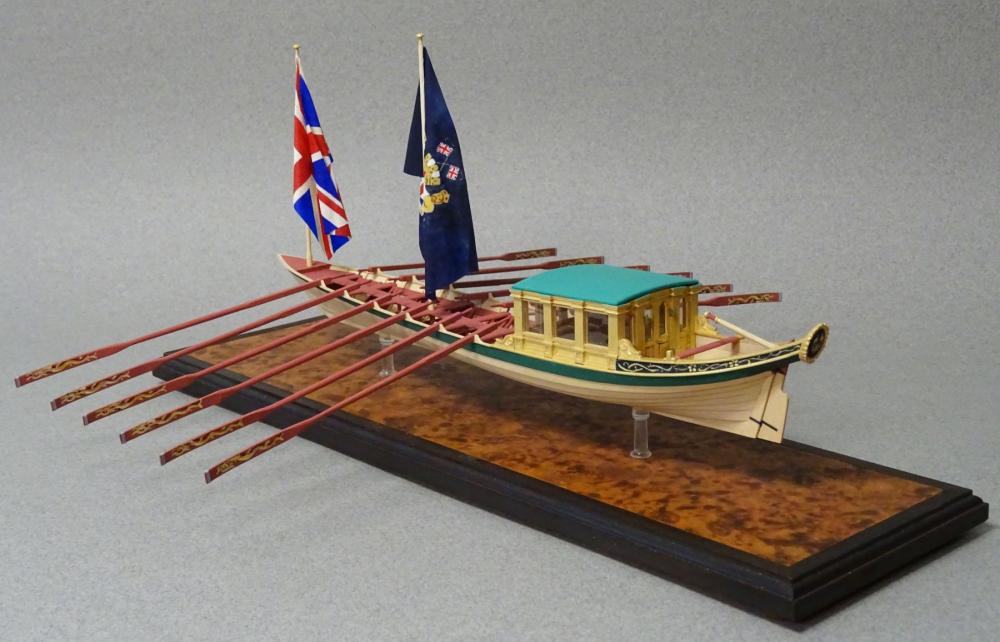
Well, folks, we've come to the conclusion of this log. The Greenwich Hospital barge is about to row off, colors flying. Thanks to all who have looked in, 'liked', commented, complimented and discussed her. It's been quite the experience. I really appreciate the support of this electronic community over the past months. Thanks to each and every one of you, world-wide. So, what's next, I wonder?

- 641 replies
-
- 45
-
-
- greenwich hospital
- barge
- (and 1 more)
-
I suspect the number of reef bands differed depending on the depth of the topsail: fewer in smaller ships, more in larger ones. The upper illustration (unattributed) is from Volume IV, The Fully Framed Model by D. Antscherl, adapted from Steel's Rigging and Seamanship. The latter showed the topsail for a 20-gun ship. The TFFM illustration is for a 14- or 16-gun ship. For what size ship is Lees' illustration? I also notice that the reinforcements are different in the examples illustrated - Lees omits the top lining.
-
As usual, it's a pleasure to follow your progress, Frank. Seeing your scrap bin is a nice reminder that even expert modelmakers have a failure rate!
- 649 replies
-
- 6
-
-
- dunbrody
- famine ship
- (and 2 more)
-
Ingenious arrangement!
-
Without hijacking this thread, I appreciate your input about CA adhesives, Kurt. I've always been highly suspicious of their longevity, but your experience with these is interesting and informative. Thanks! Glenn: your work continues to inspire and amaze. Keep those Saturday supplements coming, please!
-
I agree with Robin about dates and number of reef bands. The animation is terrific, Magnus!
-
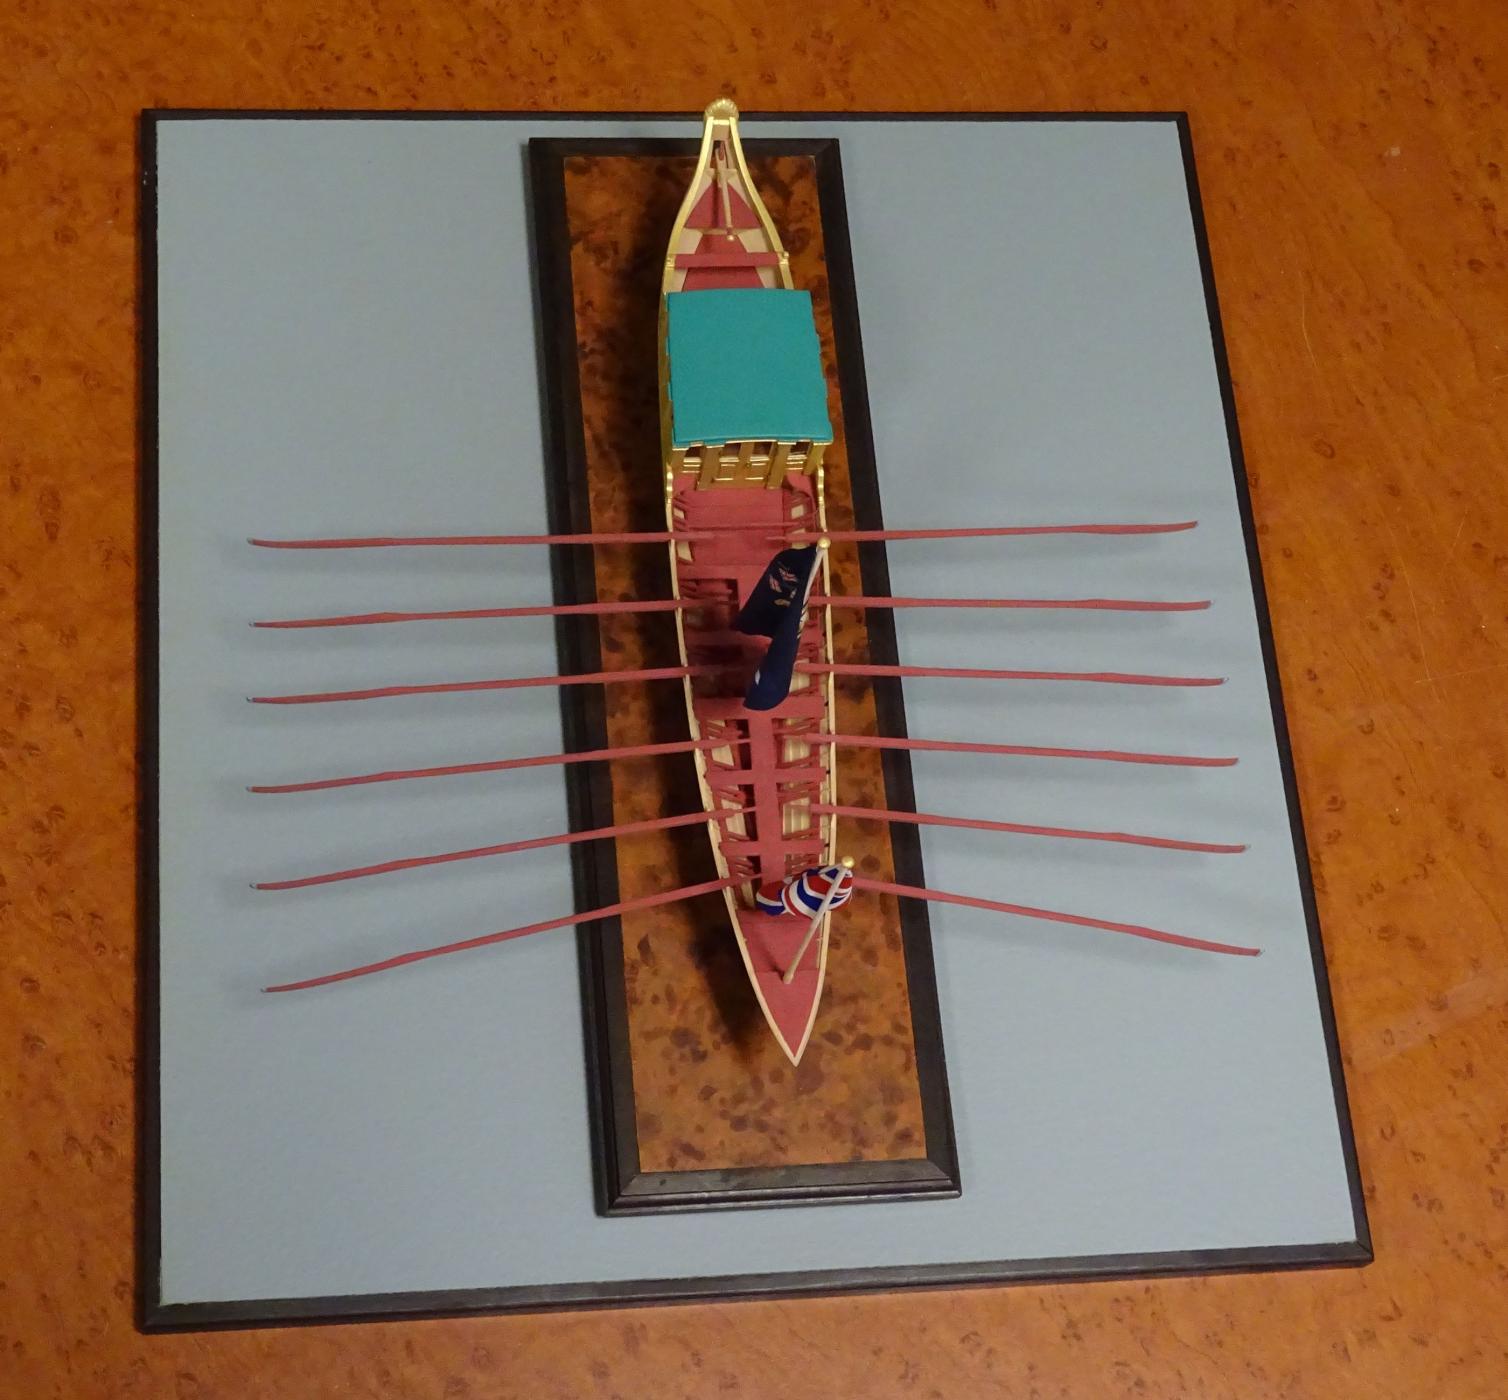
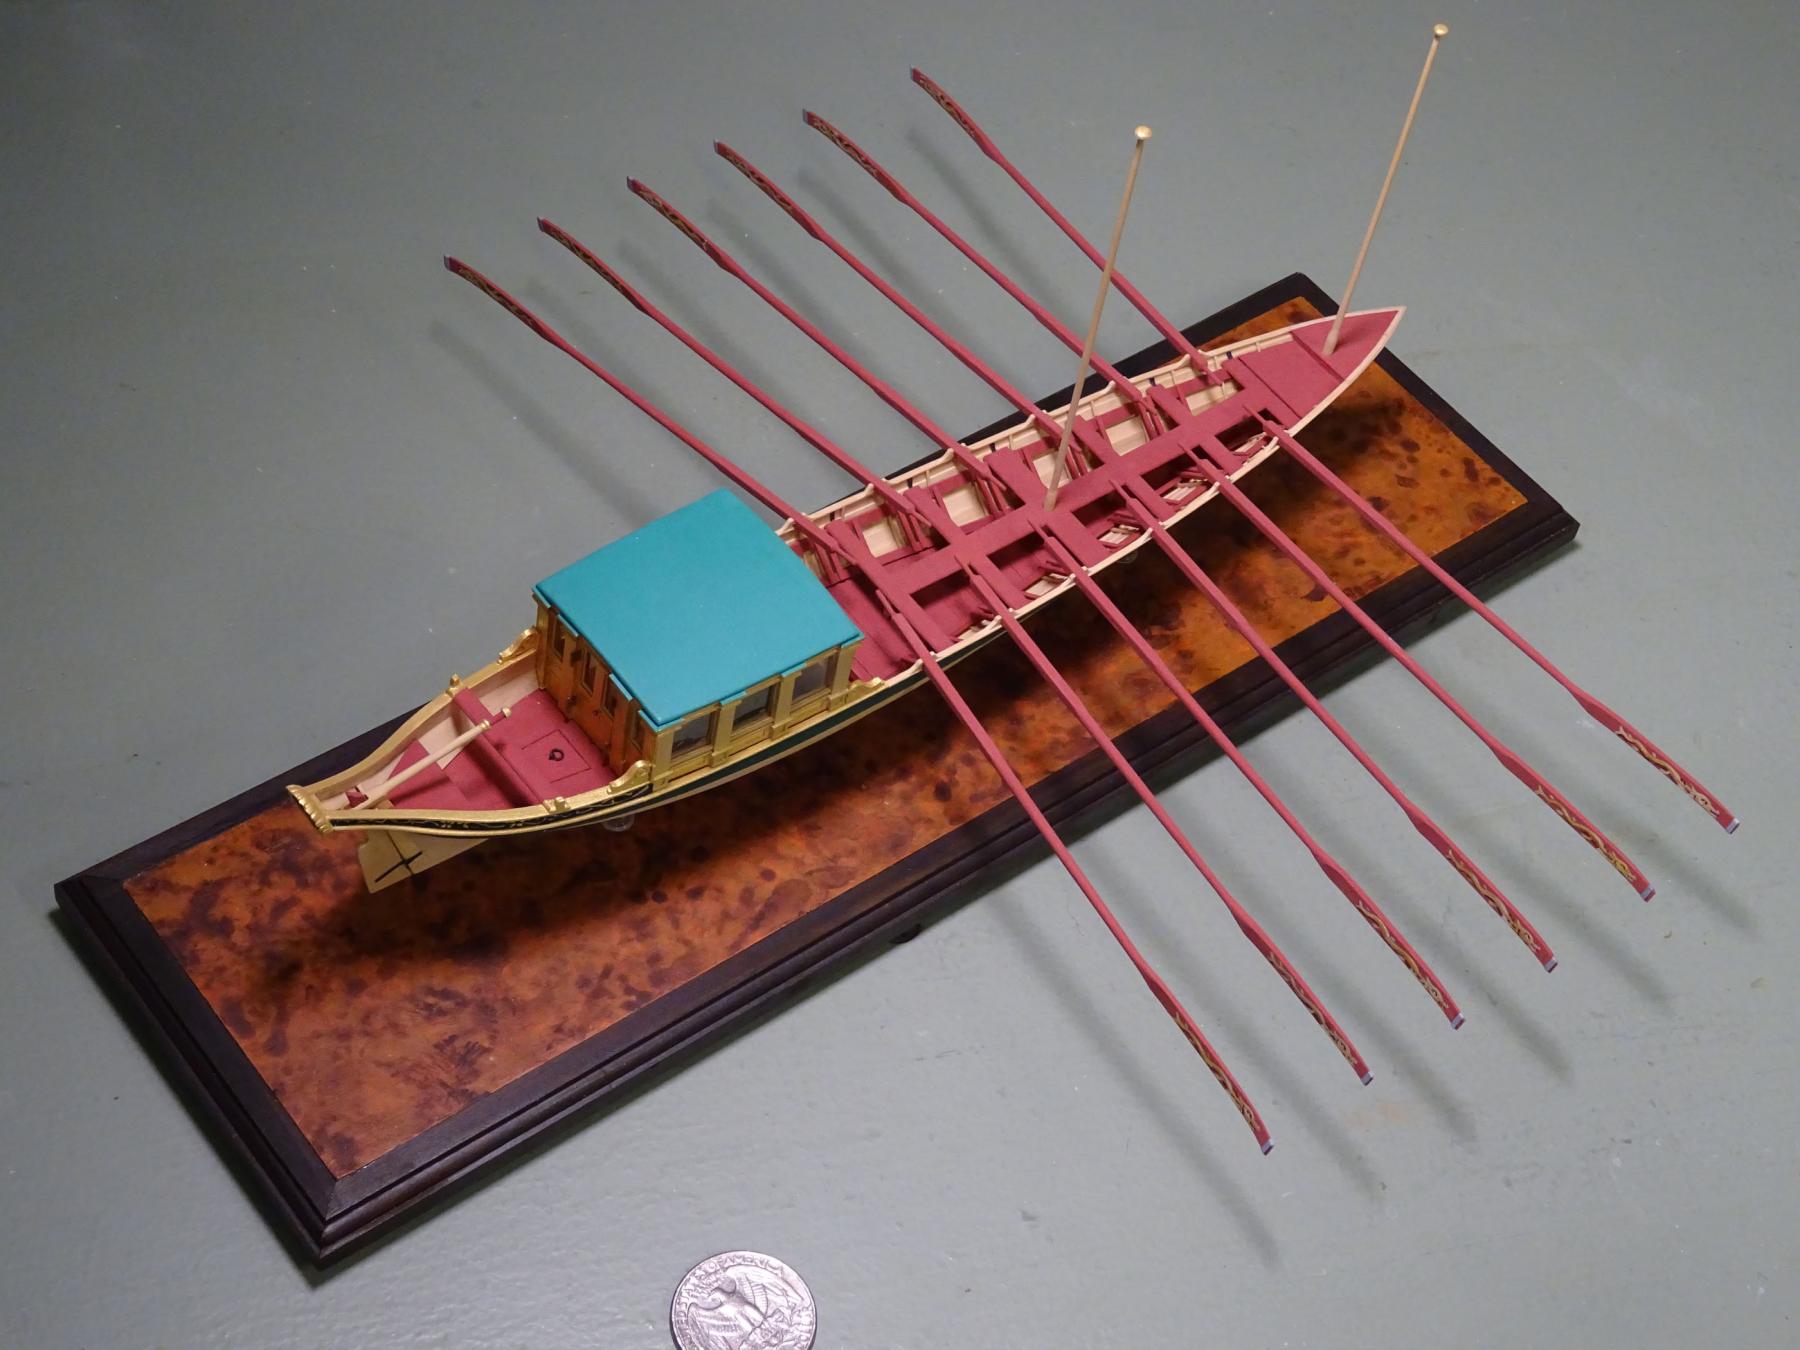
Well, the sweeps are now fixed in position, after a rare weekend off work. Hopefully I made the right call on displaying them in this way. I still have the two ensigns to complete and fly on their staffs before calling it quits. I hope you enjoy the pictures.
- 641 replies
-
- 48
-
-
- greenwich hospital
- barge
- (and 1 more)
-
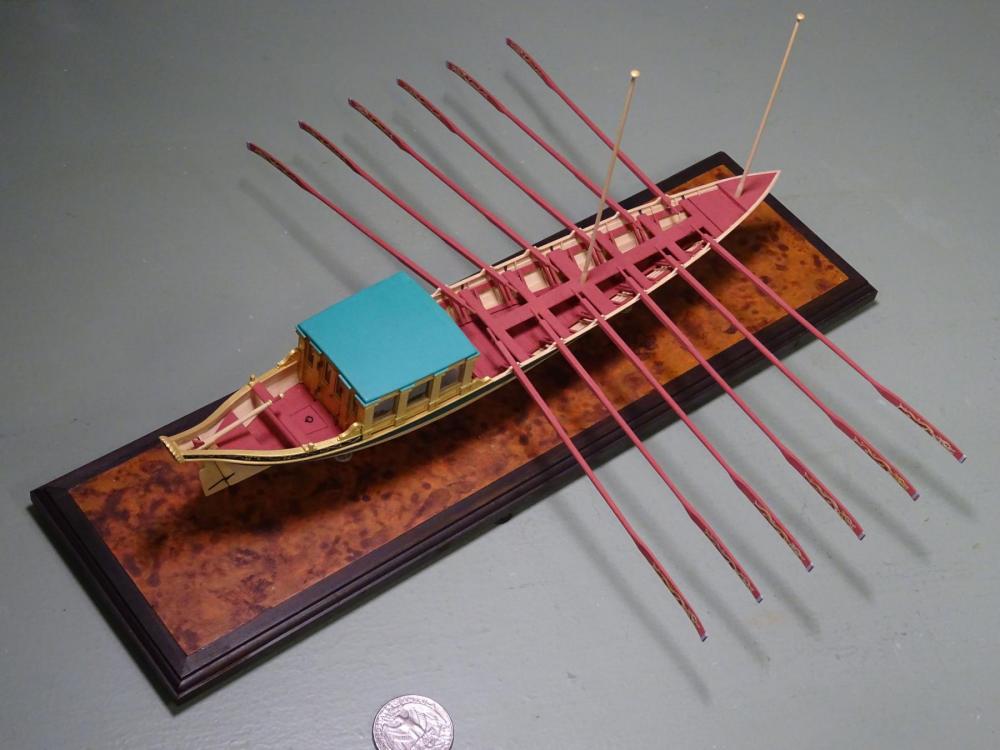
Yes, half the dolphins will be inverted. Live with it! I'm a bad model-maker.
- 641 replies
-
- 7
-
-
- greenwich hospital
- barge
- (and 1 more)
-
6H pencil is good. However, sharpen it with a sharp knife using long, slightly concave cuts. This exposes more of the lead, which can be repeatedly pointed on fine sandpaper. The wider the mark-out line, the larger the margin of error. And you know where that leads to....
-
Self-criticism is good - but only if it spurs one to better efforts, not if it brings one to a stand-still. It's also good to have a goal to strive for, as well as moveable goal-posts!
-
Difficult decision. But you've a ship to complete first, so there's lots of time to make up your mind! Seriously, I find many decisions become clear if I stow the problem in my sub-conscious for a while.
-
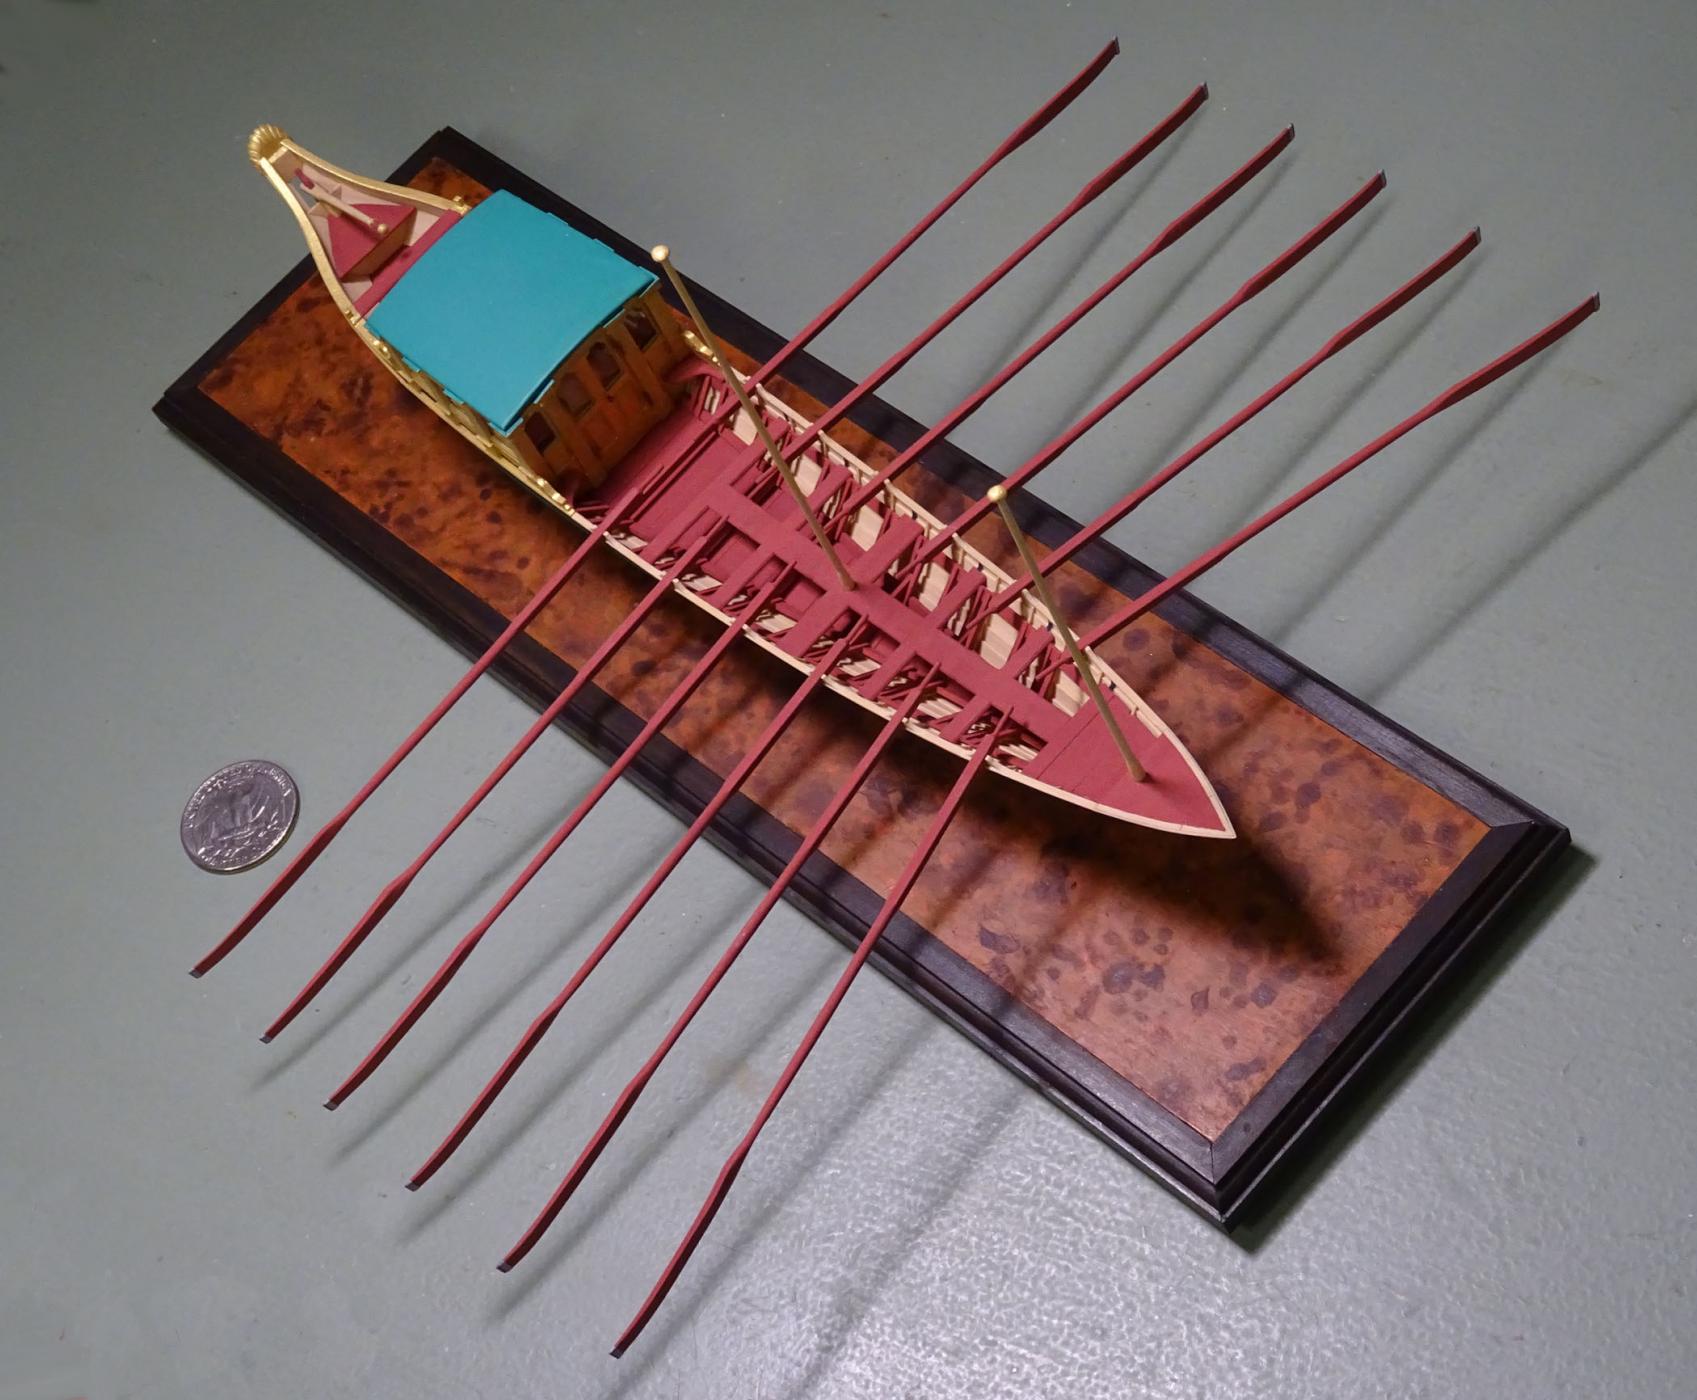
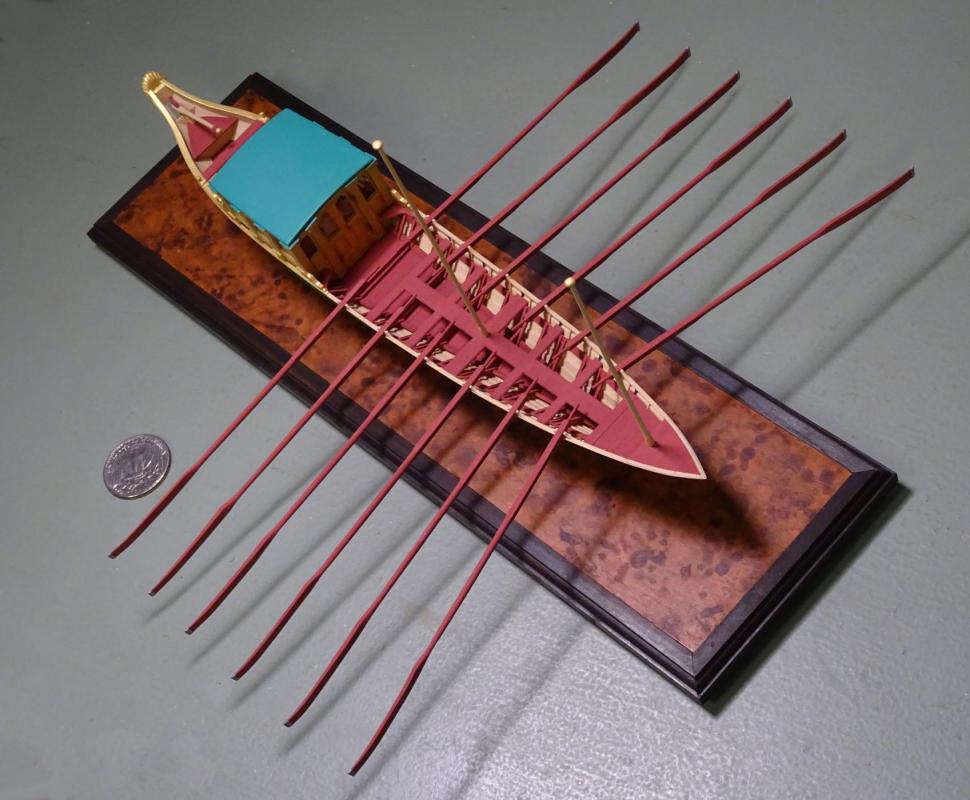
Well, decision time for the sweeps! While 'feathered' is an attractive and perhaps obvious choice, I think I'll place the oars with blades vertical. Why? The dolphins draw the eye away from the boat too much and, by placing the blades vertically, one can see the transition from body to blade on the other side clearly. The viewer will only 'discover' the dolphins as his or her point of view changes. I really appreciate the time and trouble those of you took to give me input on this issue. It certainly helped clarifying my own thinking. Pictures later!
- 641 replies
-
- 16
-
-
- greenwich hospital
- barge
- (and 1 more)
-
Papegojan 1627 by mati - FINISHED - 1/48
druxey replied to mati's topic in - Build logs for subjects built 1501 - 1750
Lovely neat metalwork, Mati! -
One might consider Polyfilla or a similar compound. I would add a little color into it to tone it down.