CaptainSteve
-
Posts
1,858 -
Joined
-
Last visited
Content Type
Profiles
Forums
Gallery
Events
Everything posted by CaptainSteve
-
 That's some mighty fine carving there, Dave.
- 962 replies
-
- 5
-

-
- sovereign of the seas
- ship of the line
- (and 1 more)
-
If that is your first attempt, then I suspect it won't be too long before your dragons are looking scarier than Smaug himself !!
- 270 replies
-
- 3
-
-
- red dragon
- artesania latina
- (and 1 more)
-
Really nice work, Boyd ... I can't wait to see how your bread-fruit nursery turns out .. Have you considered thin cardboard or thick paper for your leaves ?? For matured fruit on my Bounty Launch build, I went with small pieces of Sculpey baking clay. (External skin dimpling was made by rolling the unbaked clay around on a bed of toothpick tips)
-
Harvey, I had exactly the same problem when rigging my Bounty Launch build, and posed the question in my build log. (As a land-lubber, I really had no idea !!) It was pointed out to me (Thanks, Mark), that it is perfectly acceptable to belay more than one line to any one pin/point.
-
Looks pretty darn good at 3"-from-monitor-using-super-exploded-resolution scale, as well. Nice work, Mark !!
-
Hey Jerry .. Hope you don't mind if I follow along. Mostly, I just sit up the back and snack on the free popcorn ... But, I was wondering if lap-straking is the same as (or similar to), clinker planking ?? Also, would there be any merit in grooving out your bow and stern guide lines, to create a rabbet ??
-
Whoops ... I nearly missed the beginning. The stands are filling up fast ... I'll just take a seat up here in the nose-bleed section.
- 1,306 replies
-
- 4
-
-
- syren
- model shipways
- (and 1 more)
-
Looks like a challenging project, Jay ... but we all know you are up to the task !!
- 572 replies
-
- 2
-
-
- constitution
- frigate
- (and 1 more)
-
I'll be d/loading your files as soon as I get home tonight, Sam. Then, I believe a trip to my friendly, neighbourhood electrical supplies store will be in order.
-
Great idea on the ruler, Matt. I'm thinking of picking up a couple of early 19th Century sailors to use as a rough scale guide. But I'm having difficulties locating a press-gang to aid with recruitment.
-
Welcome aboard, Sam !! (Nose hair, huh ?? Who would've thought ??)
-
Thanks everyone for the on-going comments and support. Believe me, I need all the help I can get. Tom, please don't misunderstand my comments. Your gun-deck is looking superb. And I understand why you are putting in all the additional work on it. But, especially as this model is planned for a home that contains zero Naval Historians whatsoever (or MSW members), then I'm planning on spending more work on the external details. By the way, I spent an hour or so reading thru your log yesterday and how you made the filler and counter blocks. Most helpful for what looks to be a very tricky stage !!
-
Cutty Sark by NenadM
CaptainSteve replied to NenadM's topic in - Build logs for subjects built 1851 - 1900
Let me add my congratulations for your chain-work ... and add a 'Happy Birthday', as well !!- 4,152 replies
-
- 3
-
-
- cutty sark
- tehnodidakta
- (and 1 more)
-
Fantastic job, Dave ... I (and everyone else) are looking forward to seeing the final product.
- 962 replies
-
- 5
-
-
- sovereign of the seas
- ship of the line
- (and 1 more)
-
Just one minor point I need to correct you on there, Grant ... it's TOYS, not TOY.
-
A nice motley collection o' gunnery there, Matt. The mortar looks like it could take-out a small-to-medium-sized town all on its' own !!
-
Happy Birthday, Tom !!! (Did someone mention fairy-bread ??)
- 1,354 replies
-
- 2
-
-
- constitution
- model shipways
- (and 1 more)
-
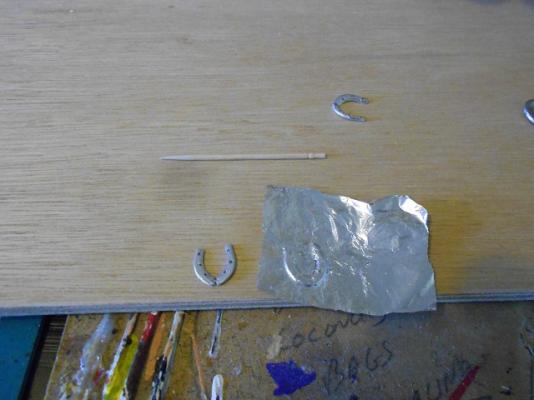
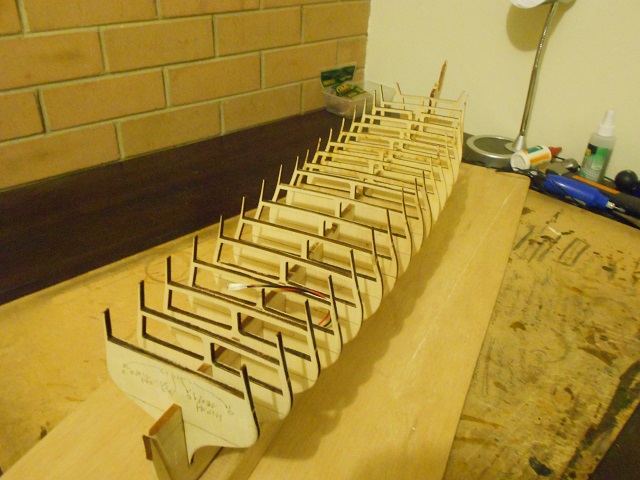
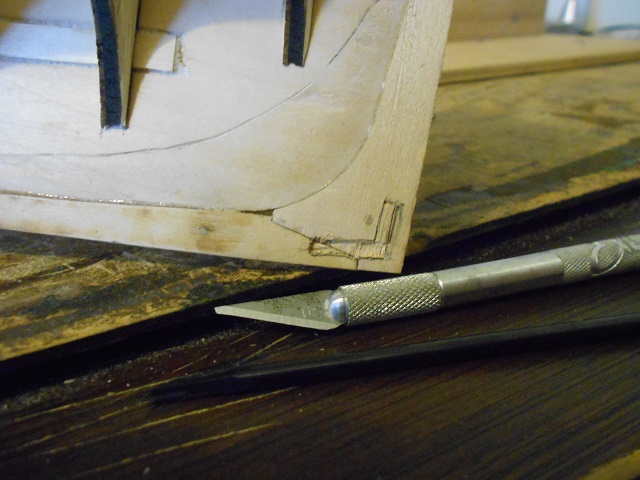
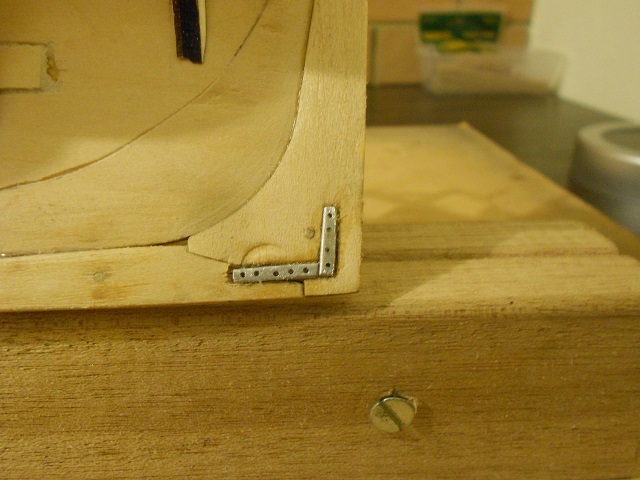
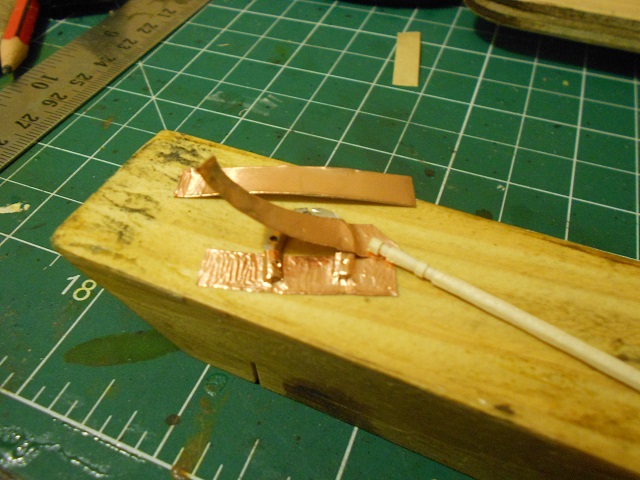
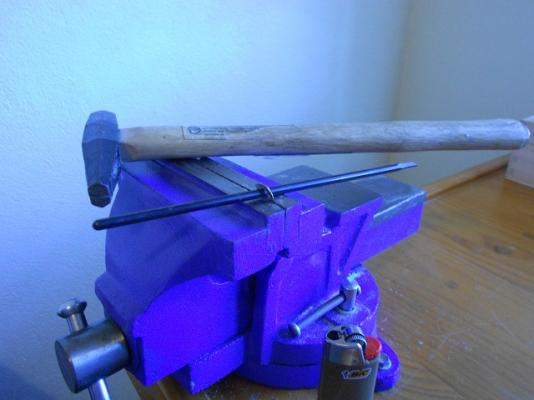
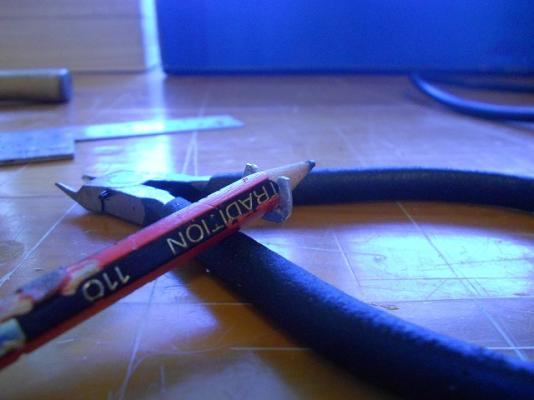
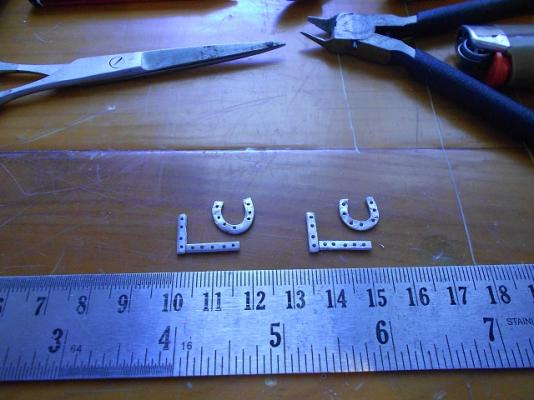
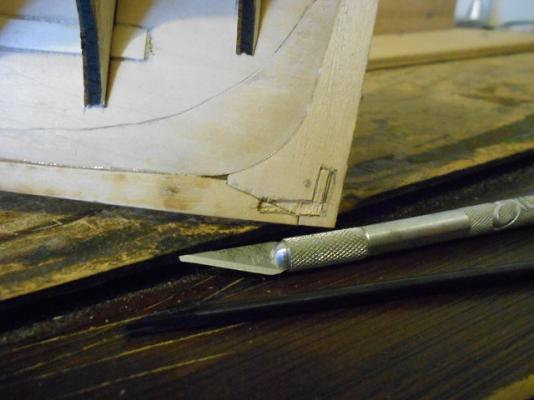
Whence last we left Our Hero, he were contemplating the matter o’ massively o’ersized drink-can ring-pull hull-horseshoes. “The problem were to be resolved,” CaptainSteve didst interdict, “by using not the ring-pulls, but, instead-eth, by a-clipping out the folded-over lip from ‘round the top of the drink-can.” The problem there be that this piece didst require-eth to be edge-bent to make the horseshoe shape … and, verily, we all know-eth how much fun THAT can be-eth. "Now", Our Hero were to begin-eth, "annealing be a process whereby one doest heat-eth metal, and then doth beat-eth the bejeezus out of it." But, after much hammering and annealing and wailing and knashing o’ teeth, CaptainSteve didst forge ahead (pun intended), producing these … “By the way !!”, Our Hero were to explain. “I be a-seein’ on me plans the plottin’ o’ a set o’ keel-clamps, and didst figure to be a-making those at the same time.” Firstly, ‘twas necessary to gouge-eth out a seat for the newly-forged iron-workin’s. Finally, here they be after the two-part epoxy didst dry-eth and the clamps were to be removed. “I shall be a-needin’,” CaptainSteve added, “to buff that clamp mark out, methinks !!” “As ye would know-eth by now, I be a-plannin’ to over-copper these pieces later on.” Now, those wi’ a keen eye wouldst, verily, be a-noticing bulkheads in the last few pictures, e’en though Our Hero has made naught mention o’ them thus far. “Oh, them !!”, he were to stammer. “I be a-puttin’ those in o’er the course of the past seven-day.” This was a relatively painless step seein’ as they had already been marked-up with reference lines, and the fairing had been done previously … Exciting times lay ahead now for Our Hero. What with bulkhead spacers and framing and filler blocks to be done (not to mention more thought to be given to matters o’ Electrification) then, most verily, it couldst be some time a-fore the next instalment of the Adventures of CaptainSteve. “By the way, a teaser,” Our Hero were to add-eth, in closing. “I be expectin’ a couple more additions to me toy-box o’er the coming week and a bit.”


-
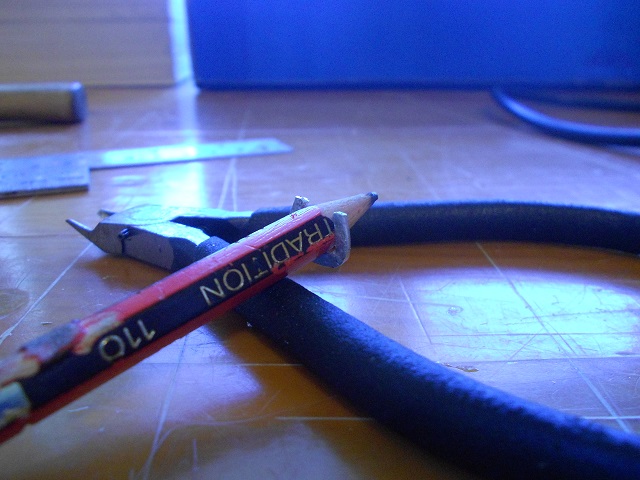
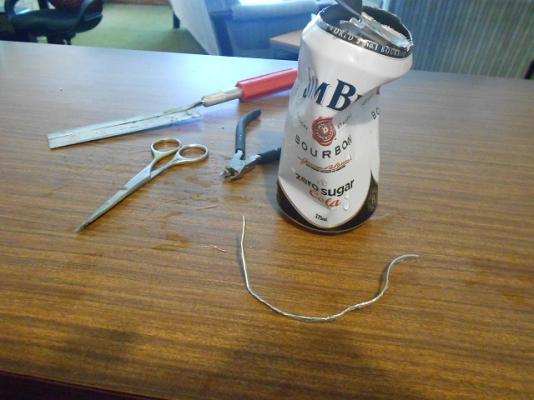
I have actually been thinking along those lines meself, Harv'. I have a bottle of Black Japan wood stain which has only been used for some tints and dry-brush highlighting on the Bounty Launch build. So, the bottle has been hardly touched. Reckon I'll find a use for it once I'm a lot further on in this build. Back to the horseshoes, and a midnight conference with the Squirrel Whisperer and his squirrels has brought to light an unforeseen problem. This being that the ring-pull horseshoes (15mm) are just waaay too big for scale. Assuming a standard, large horseshoe size of 8", a 'shoe to scale would barely be 3mm in height !! However, Harrison Nutz did point out that a shoe for a Clydesdale could be up to 22" in height, giving a scale size of about 9mm. This fits better with the scale of the pic from AOTS. This is do-able ... but NOT using the ring-pulls, as these are just too big. But, fear not !! Our Hero has found a possible solution ...
-
Exquisite work, Karl. I have enjoyed watching this build from the beginning.
- 662 replies
-
- 1
-
-
- bonhomme richard
- frigate
- (and 1 more)
-
Nice pic, George. As my earliest recollections of the USS Constitution are of the Revell plastic kit, then I will most likely be stickin' with the black and white colourations. However, as I have most conveniently decided to go with an "1812 era" appearance, and since the evidence to disprove one look o'er another has long since been lost to the ravages o' time, then the final look o' me stern galleries (as just one example) still be not set in concrete. I DO like the look o' them taff-rail (?) decorations, tho' !!
-
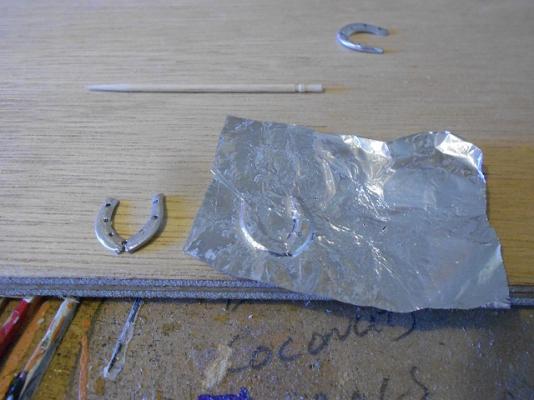
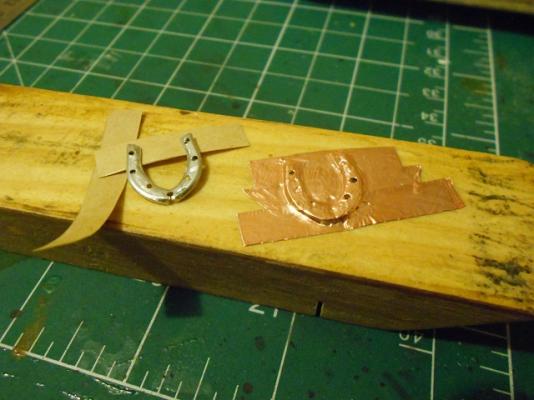
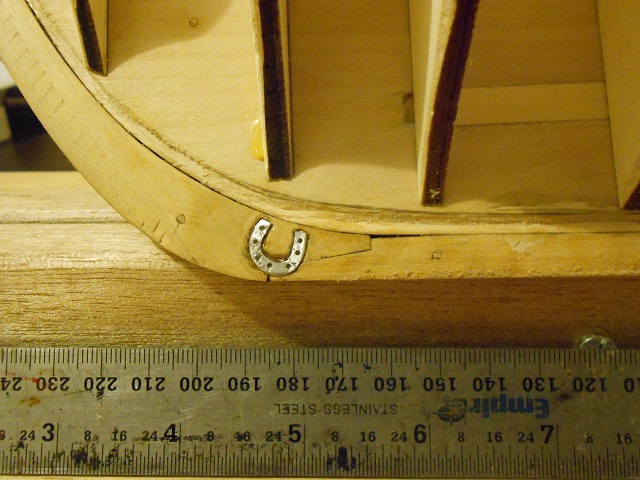
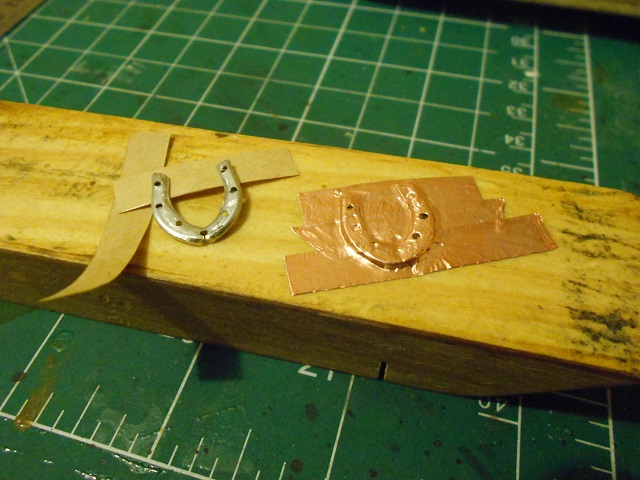
This be jus’ a brief update fer now as Our Hero be a-realizing that mayhaps he cannae be making his way through an entire section o’ a build like this each an’ every week … CaptainSteve doth be explainin’, “For now, I be a-testin’ the concept of coppering the horseshoes.” First up, Our Hero didst choose-eth to try simple kitchen aluminium foil on one o’ the earlier ring-pulls/horseshoes. “Me ring-pull were to be a-breakin’,” CaptainSteve was heard to whine, “at the bottom whence I were to be tryin’ to forge a more horseshoe-shaped horseshoe.” Nonetheless, he were to plough-eth forth and try the same test using the kit-supplied adhesive-backed copper foil. “Verily, methinks this didst work-eth much better,” Our Hero were to proclaim-eth. “I mus’,” CaptainSteve were to conclude-eth, “be bluntin’ me toothpick more a-fore shapin’ the nail marks … but, erstwhile, methinks proof o’ concept hath, most verily, been established !!” Our Hero has much work ahead-eth o’ hisself.