
HOLIDAY DONATION DRIVE - SUPPORT MSW - DO YOUR PART TO KEEP THIS GREAT FORUM GOING! (89 donations so far out of 49,000 members - C'mon guys!)
×
DBorgens
-
Posts
327 -
Joined
-
Last visited
Content Type
Profiles
Forums
Gallery
Events
Everything posted by DBorgens
-
 Looking good. I did not complete the shrouds until all were in so I could adjust them together. They were a bit intimidating to me but worth it. I learned a lot since mine was a first build. Let the fun begin! Dave B
 -
Peter, I enjoy checking up on your build from time to time. She looks great! I'm glad you enjoyed Cuba, sounds like you met some great people. Dave B
- 293 replies
-
- 1
-

-
- pickle
- caldercraft
- (and 1 more)
-
Don, Good to hear you're back at it. Rigging is acutally the part I like best. I woudl disappear upstairs to the workshop and my family would say I was "tying knots". Enjoy your build. Dave B
-
Mobbsie, Spectacuar! You have a wonderful "little" project to show off. I too am impressed that you have accomplished so much in one short year. Congratualtions, Dave B
- 255 replies
-
- 5
-
-
- granado
- bomb ketch
- (and 2 more)
-
Hi Robbyn, This is the easiest way and it might be easier to work wiht the hull upside down. I gave up too early and used a laser level to show the waterline and marked it by hand every inch or two. I then drew the waterline keeping an eye on symmetry when viewed from below (fish eye veiw). it worked for me but not worth buying a level. Dave B
-
Don, On the MSW main page scroll down to "Shop Notes, Ship Modeling . . ." then down to "Building, Framing, Planking . . ." and open the first pinned entry "Planking Tutorials". This post contains a link to a page full of tutorials. To quote Ed McMahon "Everything you could possibly want to know!" is certainly there. Happy hunting. Mike, my Pegasus is awaiting completion of the English Pinnace first. Your log is one of my chief research sources. Yours is beautiful by the way. Dave B
-
Nick, I will second Bob's comment. It will be a while before I have any rigging but will certainly save your method. Thank you for the how to. Dave B
-
Looking good, you are making much faster progress than I did. You're blessed to have a wife who will help your hobby in such a good way. Seems they often know exactly what we need when we don't have a clue. Keep up the good work and enjoy the ride. Dave B
-
Your progress looks good, nice work on the stern blocks. With the stem and stern pieces in place, be careful when you fair the bulkheads so you do not damage these pieces. If they are high, simply sand them down to fair with the rest of the deck. If they are low, glue e a thin strip on top and sand it down. This is one reason I like working with wood. Dave B
-
Welcome! Bluenose is a great kit for your first build. A couple of suggestions. One, glue a piece of thin sheet (1/32 ply works best) over the joints in the keel before framing. This will help stiffen the keel. Two, I added blocks at the aft side of frame N to stiffen the keel. I cracked mine there as have many others. At least wood is very forgiving of our mistakes. Do check out some of the Bluenose and other build logs here, they were a big help to me. Do not hesitate to ask questions here, a lot of friendly builders want everyone to succeed. Dave B
-
John, Amazing work. I like the way you built them, thanks for showing your method. Mini tutorial indeed. The boats already show some character and with tools will really shine. I'm looking forward to seeing them fully fitted out. Dave B
- 2,250 replies
-
- 3
-
-
- model shipways
- Charles W Morgan
- (and 1 more)
-
Static ports for measuring speed, mystery solved. I work on airplanes and couldn't resist, sorry 'bout that. Dave B
-
Jim Byrnes Model Machines
DBorgens replied to Mahuna's topic in Modeling tools and Workshop Equipment
Keith, Use Firefox or perhaps Chrome from a Mac. I had no trouble contacting Jim with Firefox. Dave B -
Such fine work and you make it look easy. I admire your builds, especially your skill in making them beautiful. Dave B
-
Danny, Wow! I marvel at your execution of detail. You could easily publish your log as a practicum on how to do a ship well, including the bumps along the way. Showing us your rework is pure encouragement. I've a Pegasus kit awaiting completion of my current pinnace so I am trolling if you don't mind. Your log is a gold mine for information to all of us. Dave B
-
Frank, It looks very good in the photos. These kits are a good way to decide if you want to do something more ambitious. It will clean up well with a few coats of paint. BTW soaking wood in ammonia will will keep its shape after it dries. Works pretty well with basswood. It does break down the wood fiber a bit but for some applications it will work out okay. Dave B
-
Baggywrikles are one of those things where we all seem to find our own way. Yours looks fine from the photos. Maybe the important part is how much fun we have discovering new ways to make them. Keep up the good work. Dave B
-
John, Fine work with the serving machine, these details really bring the ship to life. Your shrouds look great. The rigging I'd coming along very nicely. Dave B
- 2,250 replies
-
- 2
-
-
- model shipways
- Charles W Morgan
- (and 1 more)
-
Gil, When should we start to chill the champagne? She does look wonderful if not a bit intimidating. I love the cutters and their effect on the whole ship. Dave B
- 755 replies
-
- 1
-
-
- finished
- caldercraft
- (and 1 more)
-
Fuselage works for me, I almost missed it reading. Almost as many straight lines as on an airplane. . . None. Dave B
-
Rivie, I have not come across this problem myself. I would try some dry heat and weight it down (phone books, encyclopedias work well). Just make sure your work surface is flat. Dave B
-
Rivie, Hi and welcome to MSW. You will find lots of support and help. There are active J-class build logs (I will try to find you a few). Endeavor is a beautiful ship. We love pictures of builds to browse and enjoy. This hobby is a lot of fun and more so when shared. Dave B
-
Amazing, a true master's work. This is just beautiful. Dave B
- 662 replies
-
- 1
-
-
- bonhomme richard
- frigate
- (and 1 more)
-
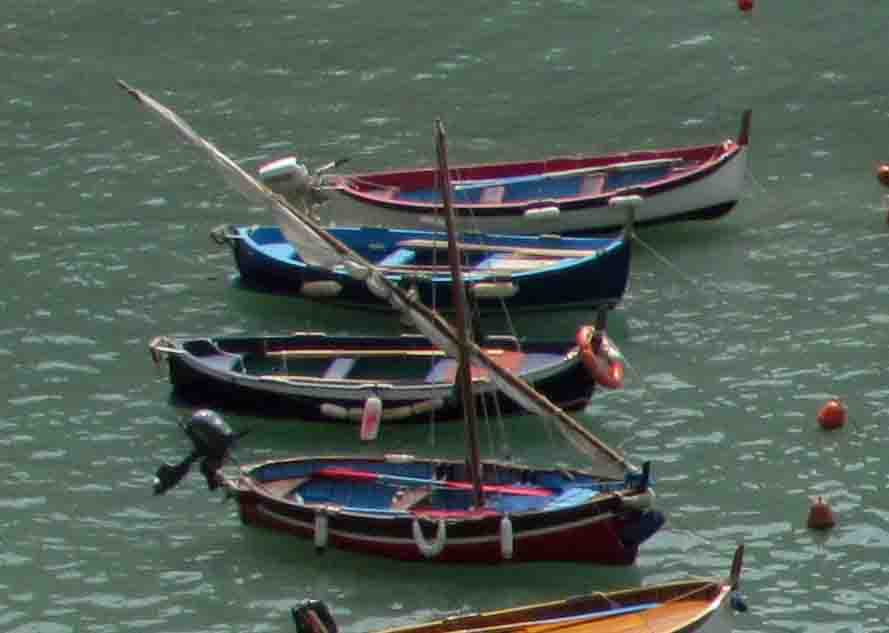
Gil, Wow! I am still amazed at the details you bring out, especially at this scale. You show four buoys completed. I would have another dozen in the scrap box. Excellent work, and thanks for the tutorial. Dave B
-
Harvey, Looking great and wonderful progress. Looking forward to seeing her. Dave B