ccoyle
-
Posts
10,594 -
Joined
-
Last visited
Content Type
Profiles
Forums
Gallery
Events
Everything posted by ccoyle
-
 Superb work, Craig! Looks a properly grungy, hard-working piece of machinery.
 -
It's labeled as "fine" but doesn't specify the diameter (actually width, since it isn't round in cross-section).
- 98 replies
-
- 12
-

-

-
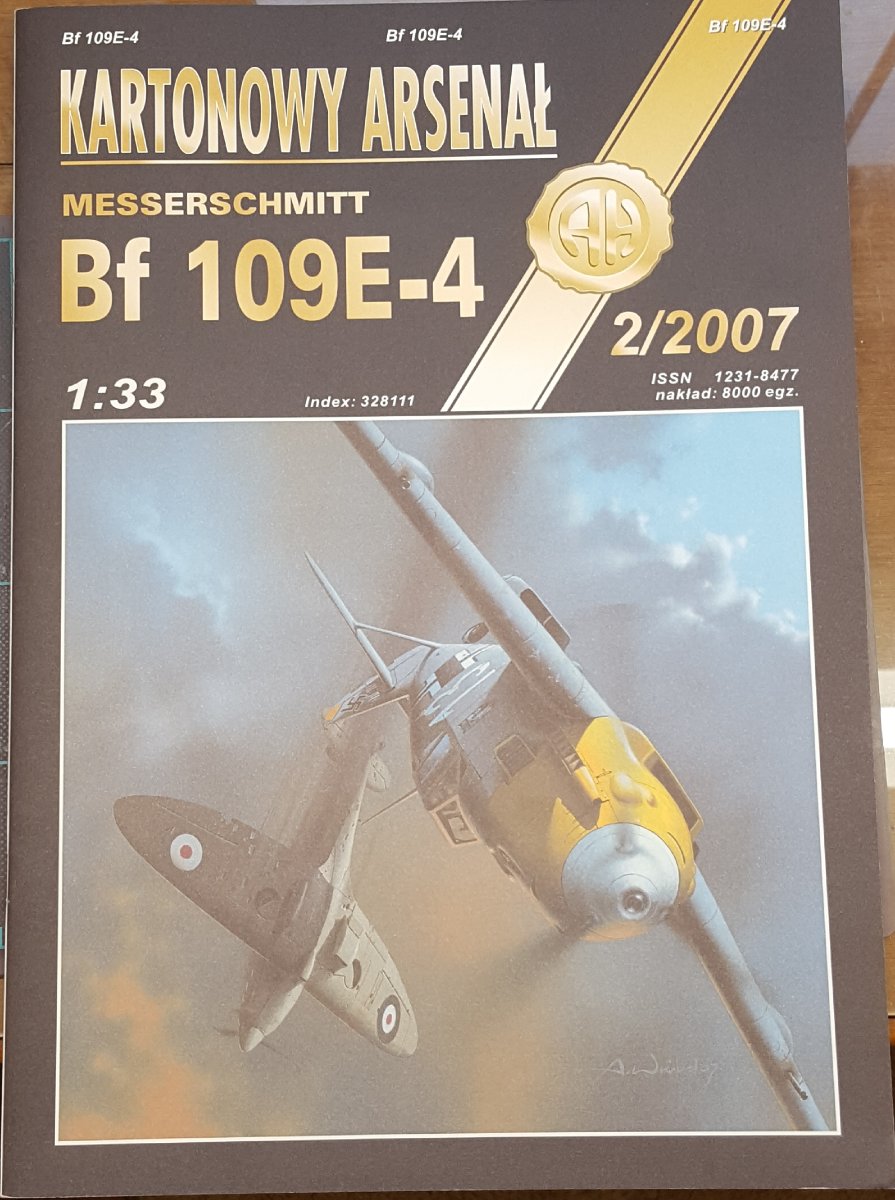
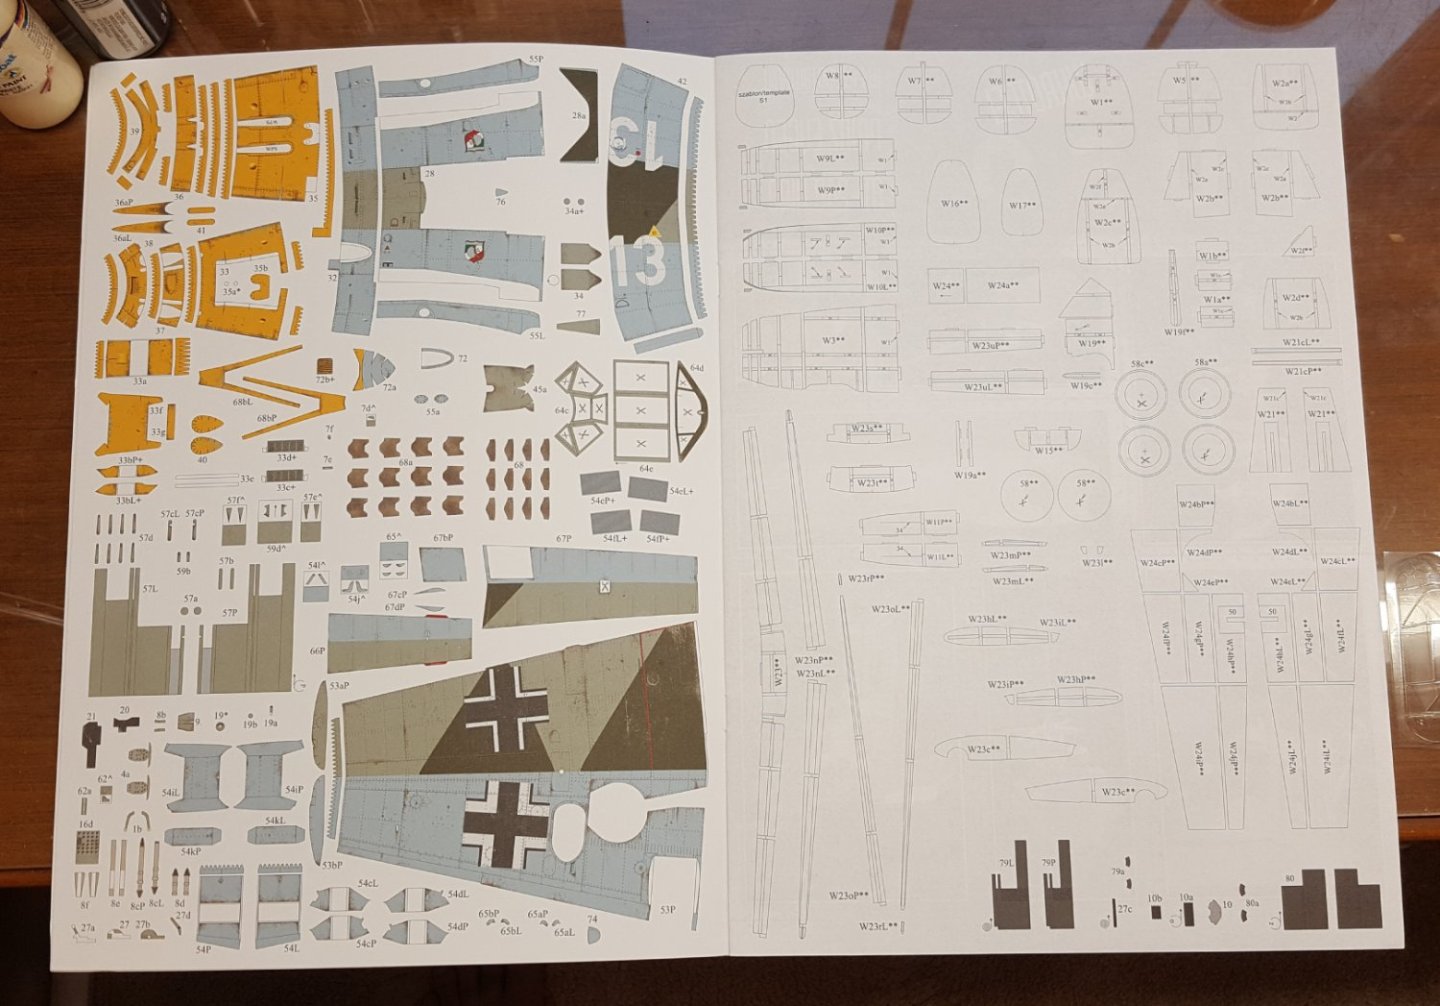
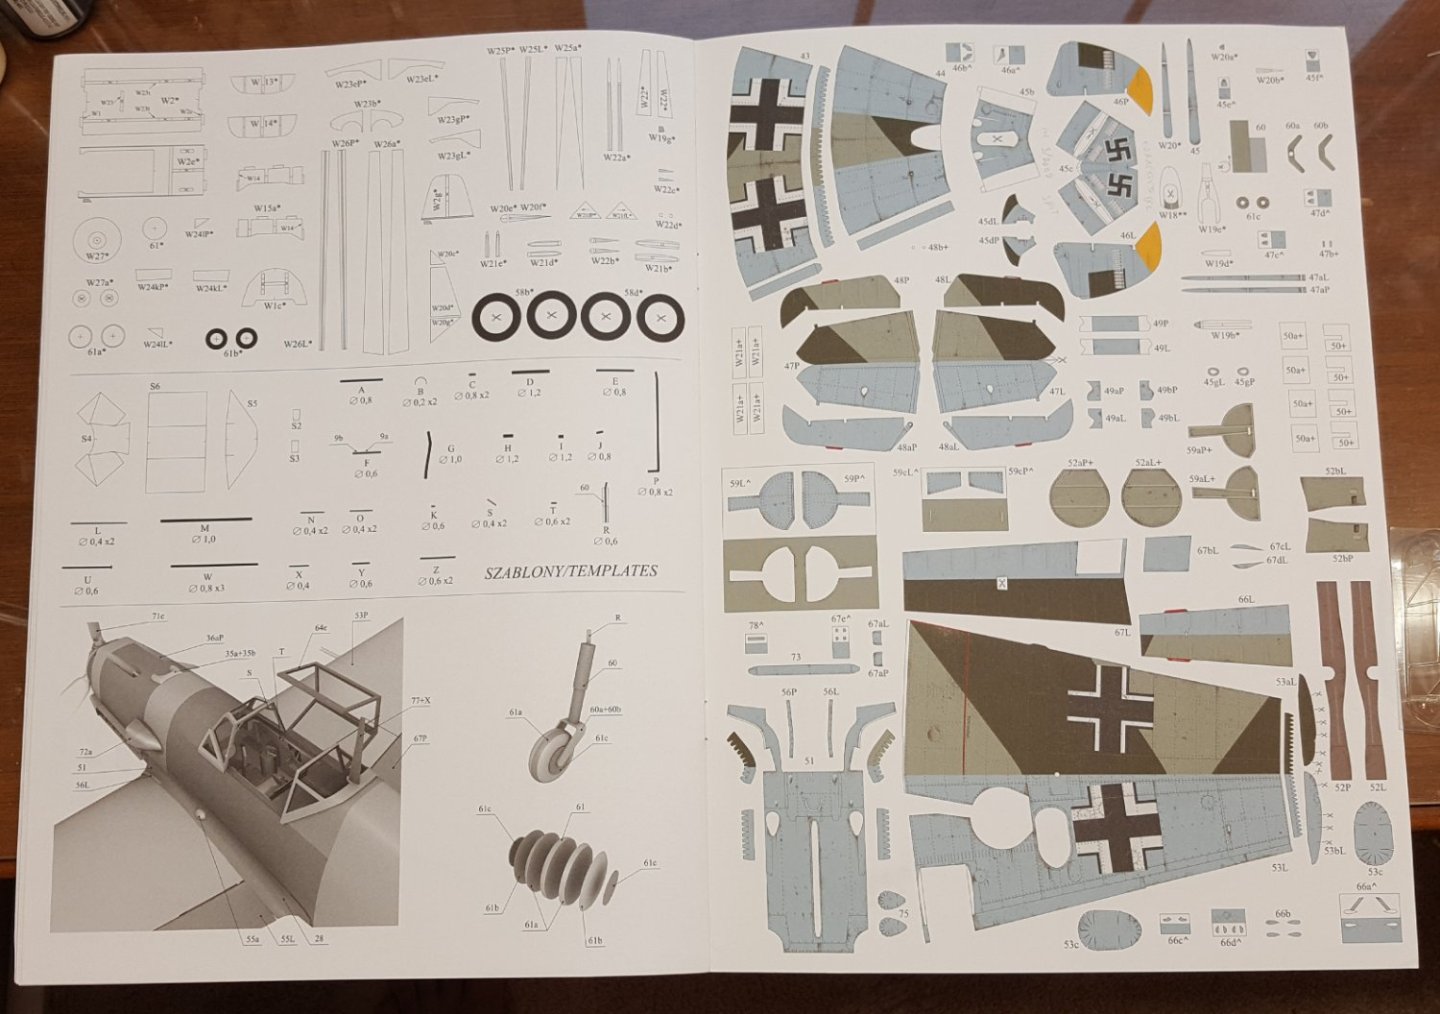
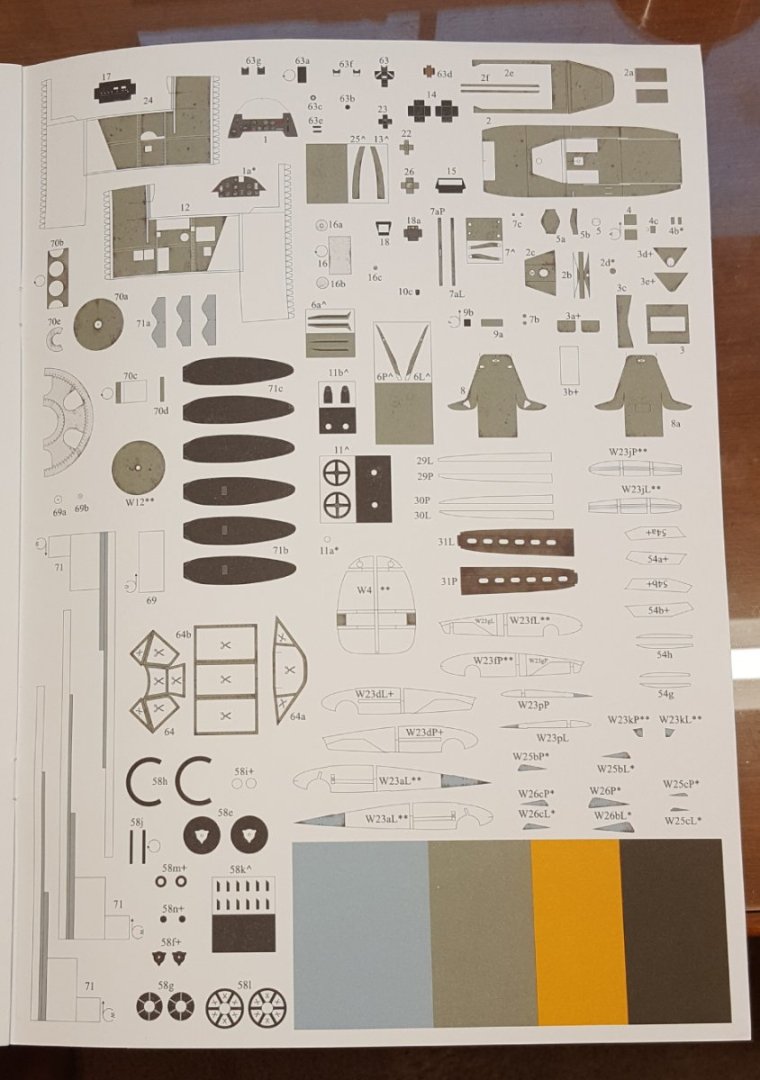
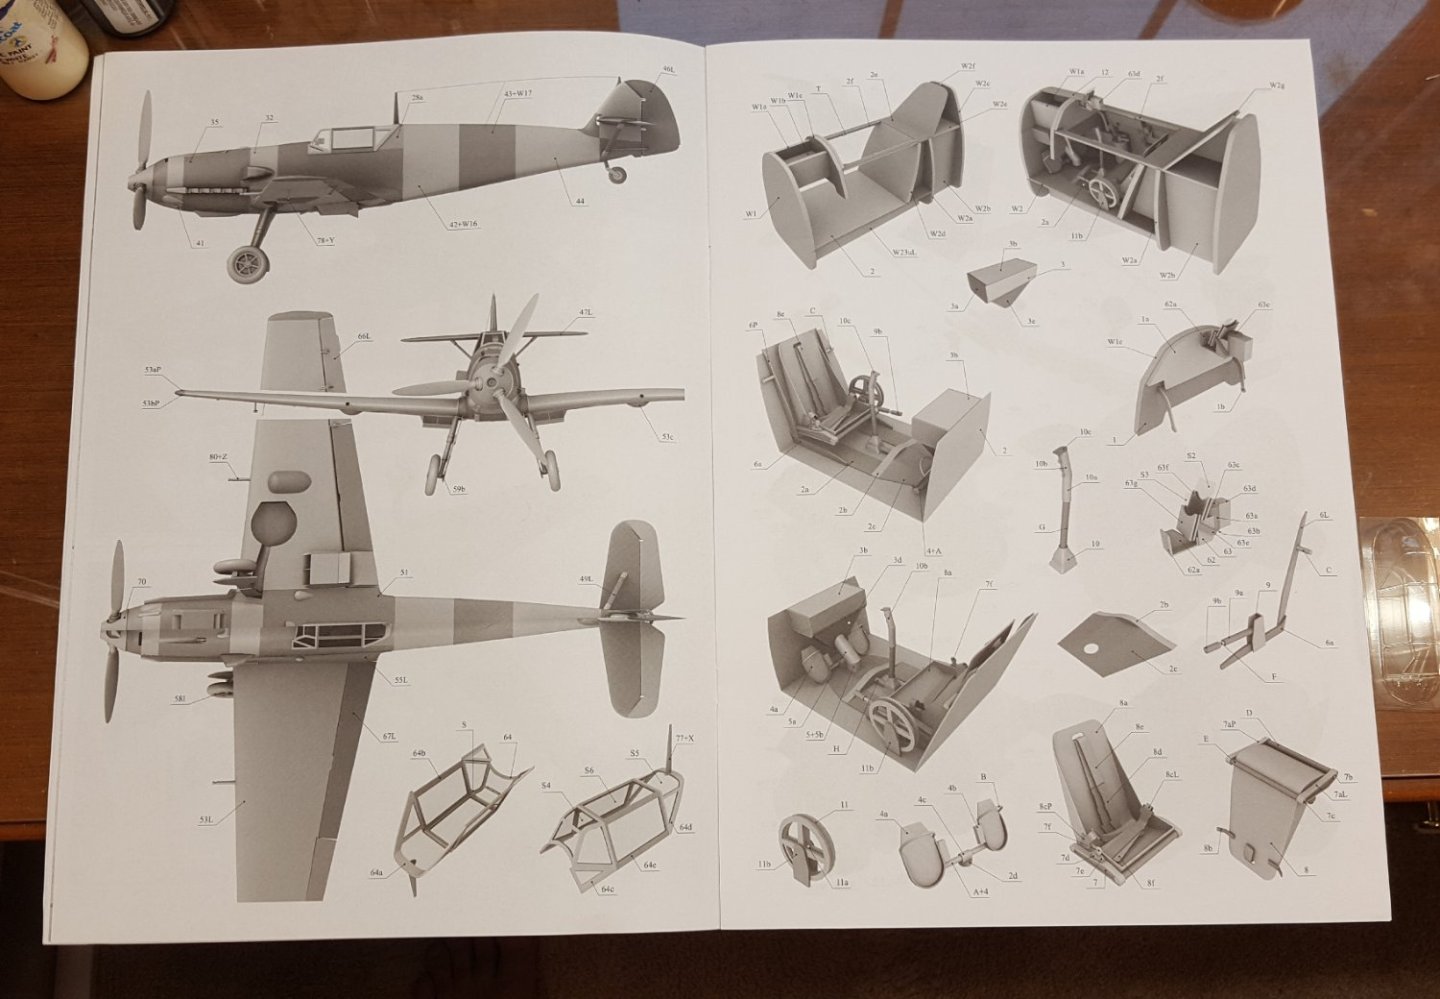
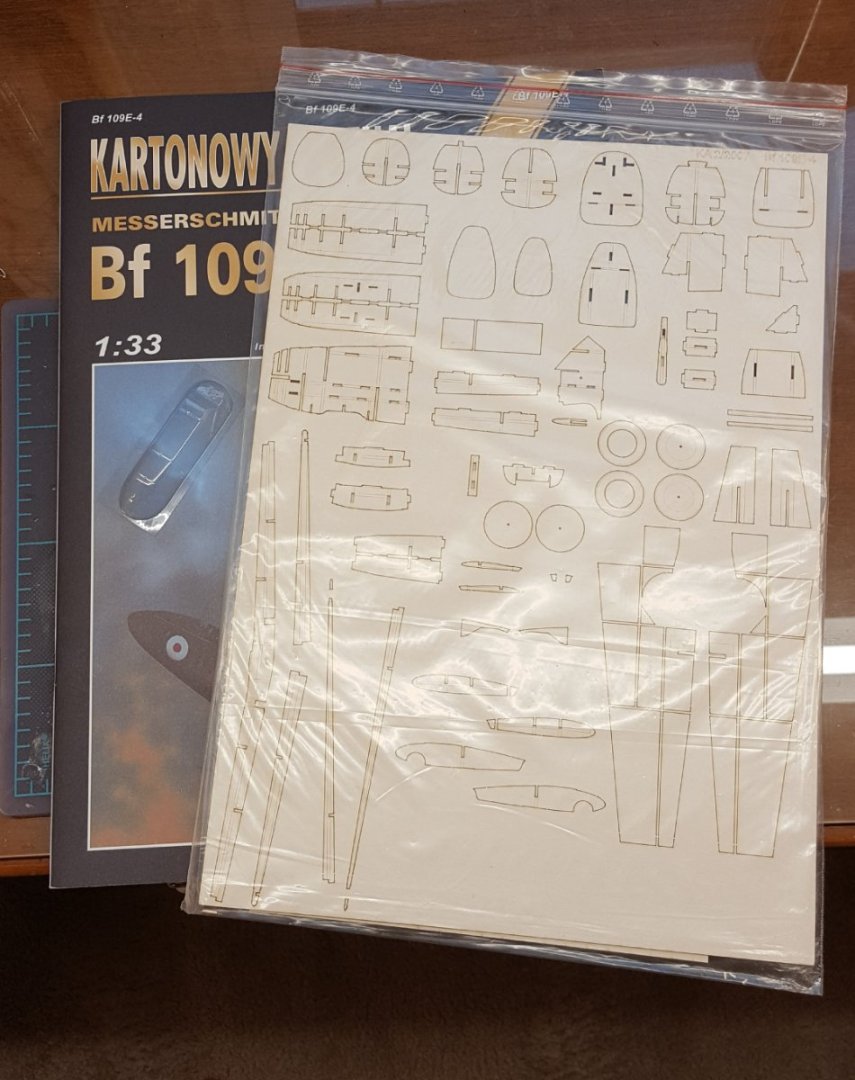
And off we go again! I still have USS England on hold for the moment while I look into to getting some after-market parts, so for now I have decided to go with the hot hand and take on another airplane project. This time I will be tackling Halinski's Messerschmitt Bf-109E-4, a 2007 issue depicting the mount of Walter Oesau of JG 51 in 1940. I chose this kit for several reasons: I feel like I need a contemporary for my recent Spitfire Mk Vb. The Emils had largely been replaced by the Bf-109F in Luftwaffe service by the time the Mk V came into service, but close enough. Believe it or not, I don't have a single Luftwaffe plane in my finished collection as of yet, nor even a Luftstreitskraefte mount. It shouldn't take too long to build. It's a Halinski -- 'nuff said. But it's also not hugely complex by Halinski standards. It's small, so unlike the Hellcat, it will fit on one of my shelves. Okay, on to the kit! Halinski kit covers always feature artwork of the kit subject in action. Sometimes the subject is shown in an interesting flight attitude. This is one such kit. The kit features Halinski's usual high-quality graphics, including realistic weathering. An unusual feature of some Halinski kits is that some parts are printed on the inside back cover. Plenty of CAD diagrams are included. And to round things out, I have the laser-cut frames (two frets) and molded canopy (but not the resin wheels). So, first thing to do will be to seal the parts sheets and rummage through my paints to see if I can find some edge colors, otherwise it'll be off to Hobby Lobby tomorrow. Look for first cuts soon!

- 165 replies
-
- 23
-
-
I almost bought the Val that was available from the recent estate sale at Paper Modelers, but it's a bit large for my display options.
- 98 replies
-
- 10
-
-
Welcome aboard! Cutters make excellent first kits, and many kit manufacturers offer one. You can use our search feature to find these at MSW to get lots of visual hints. Besides Lady Nelson, look for Alert (Vanguard Models), Sherbourne (Caldercraft), Hunter (Mamoli), and Le Cerf (Dusek). As for second kits, assuming you complete Lady Nelson you will have acquired the skills needed to tackle a wide variety of available kits. You could shoot for something a step up in complexity, such as an armed schooner or brig. Mainly you'll need to watch out for something that will keep you engaged during a lengthy building process. Cheers!
-
I don't know a particular site off the top of my head, but if you do a Google search, you should find something.
- 84 replies
-
- 1
-
-
- Statenjacht
- Kolderstok
- (and 1 more)
-
Which ones? I think my next one (when I get to it) will be the Bf-109E-4 (#43).
-
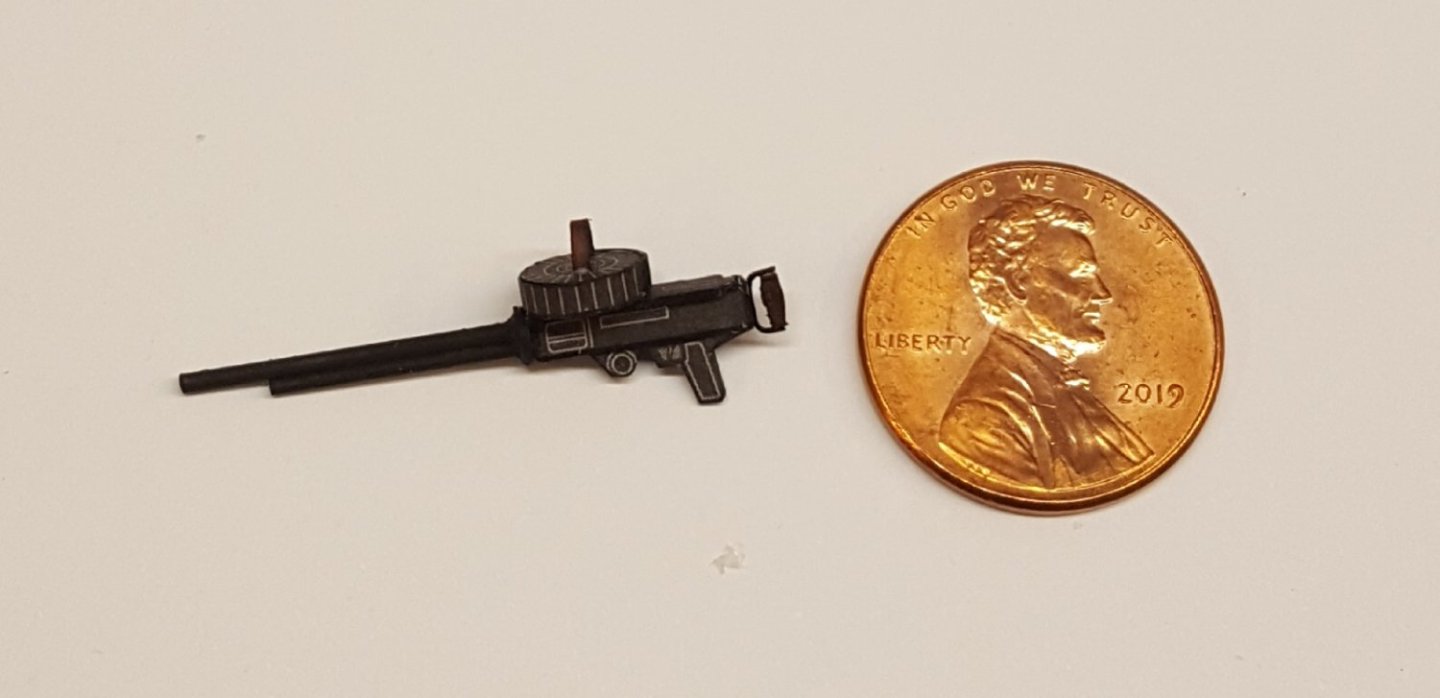
The Nieuport 11 gun mount allowed the gun to be pivoted downward to allow for changing the ammo drum. Later, the Foster mount was adopted. I'm virtually certain that the gun was fired by a cable.
- 98 replies
-
- 13
-
-
Yes, but these are actually rather easy to do. The trick is to carefully slice open the ends of the control horns. Once the forward end of the line is tacked to the fuselage, I put a dab of glue on the control horn and stretch the line across the cut end, then pinch the cut closed. Not historically accurate, of course, but it works.
- 98 replies
-
- 15
-
-
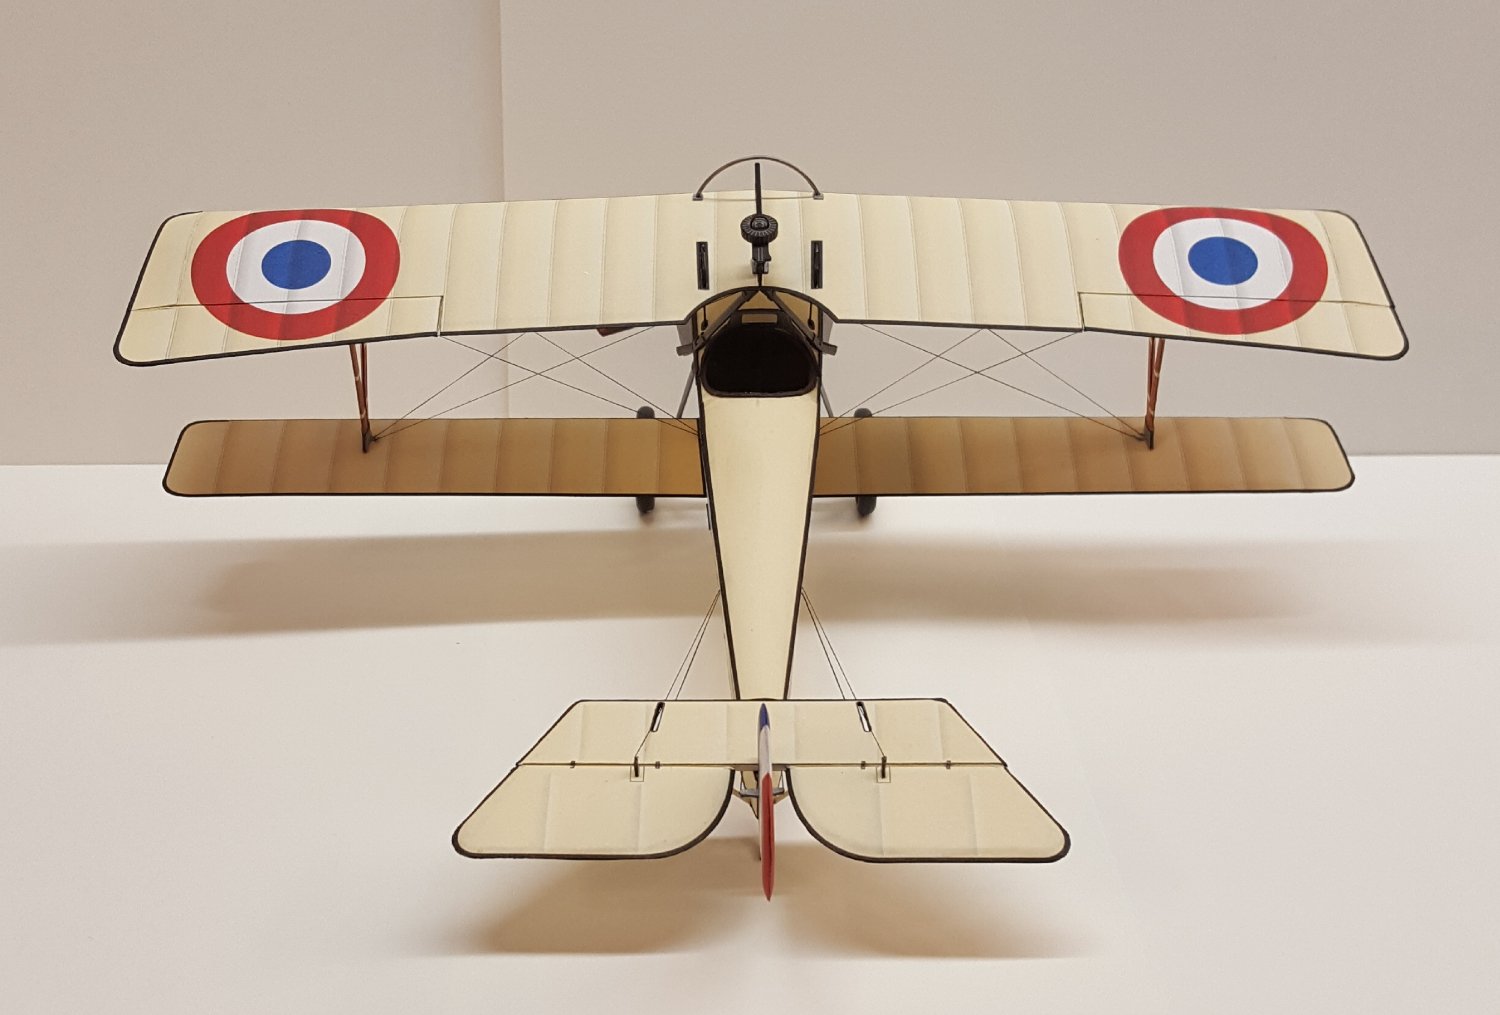
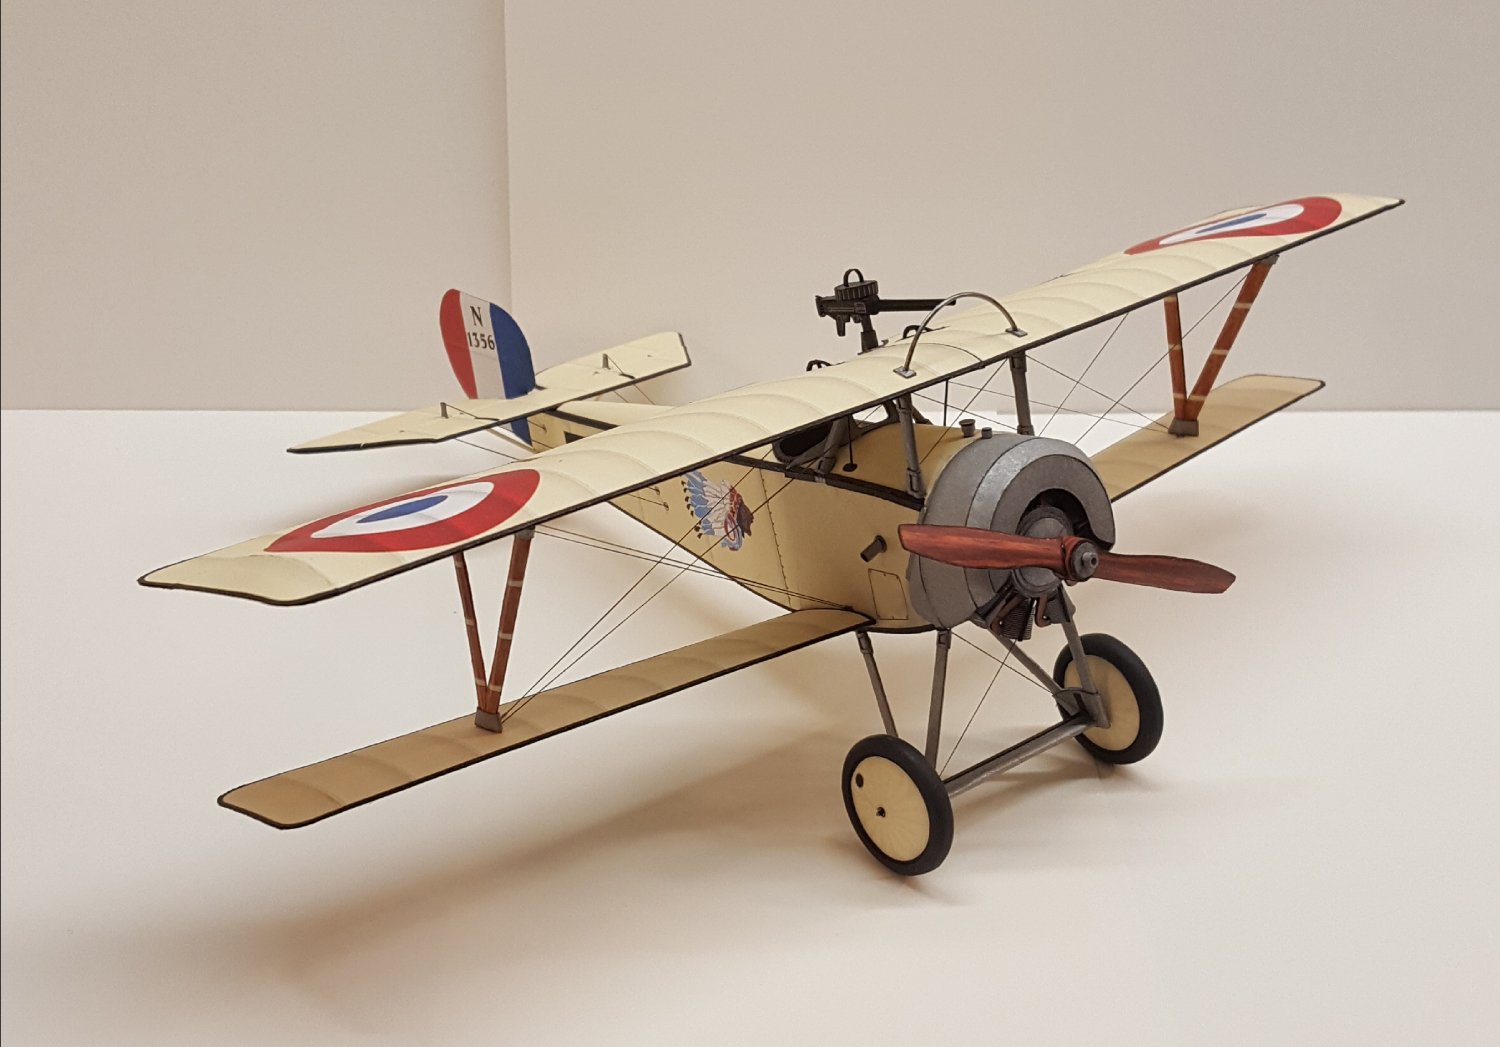
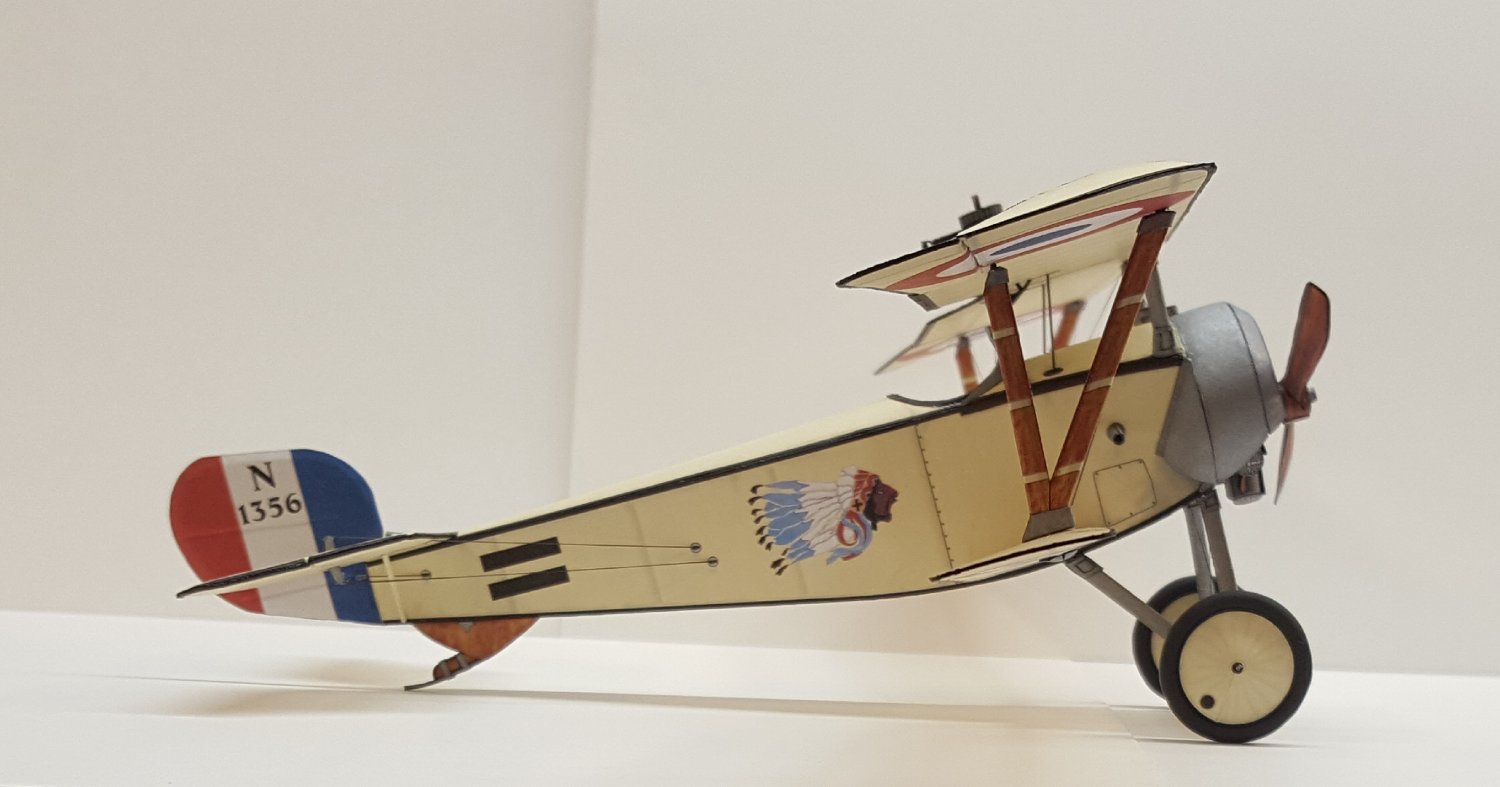
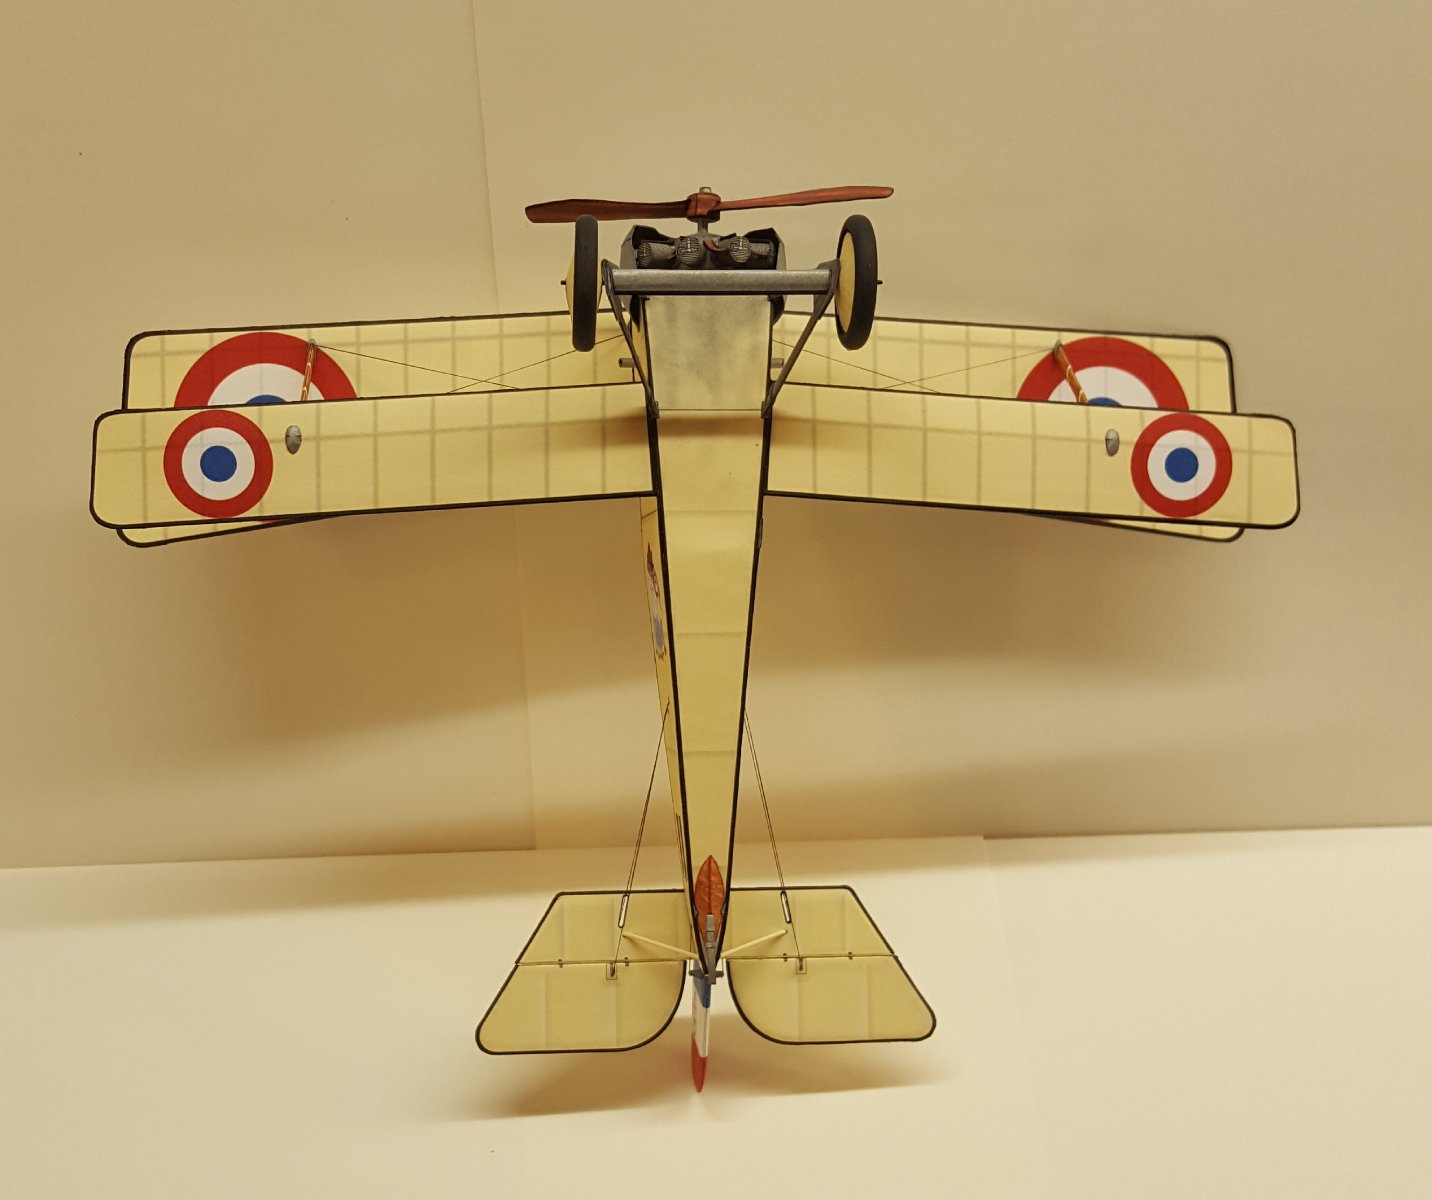
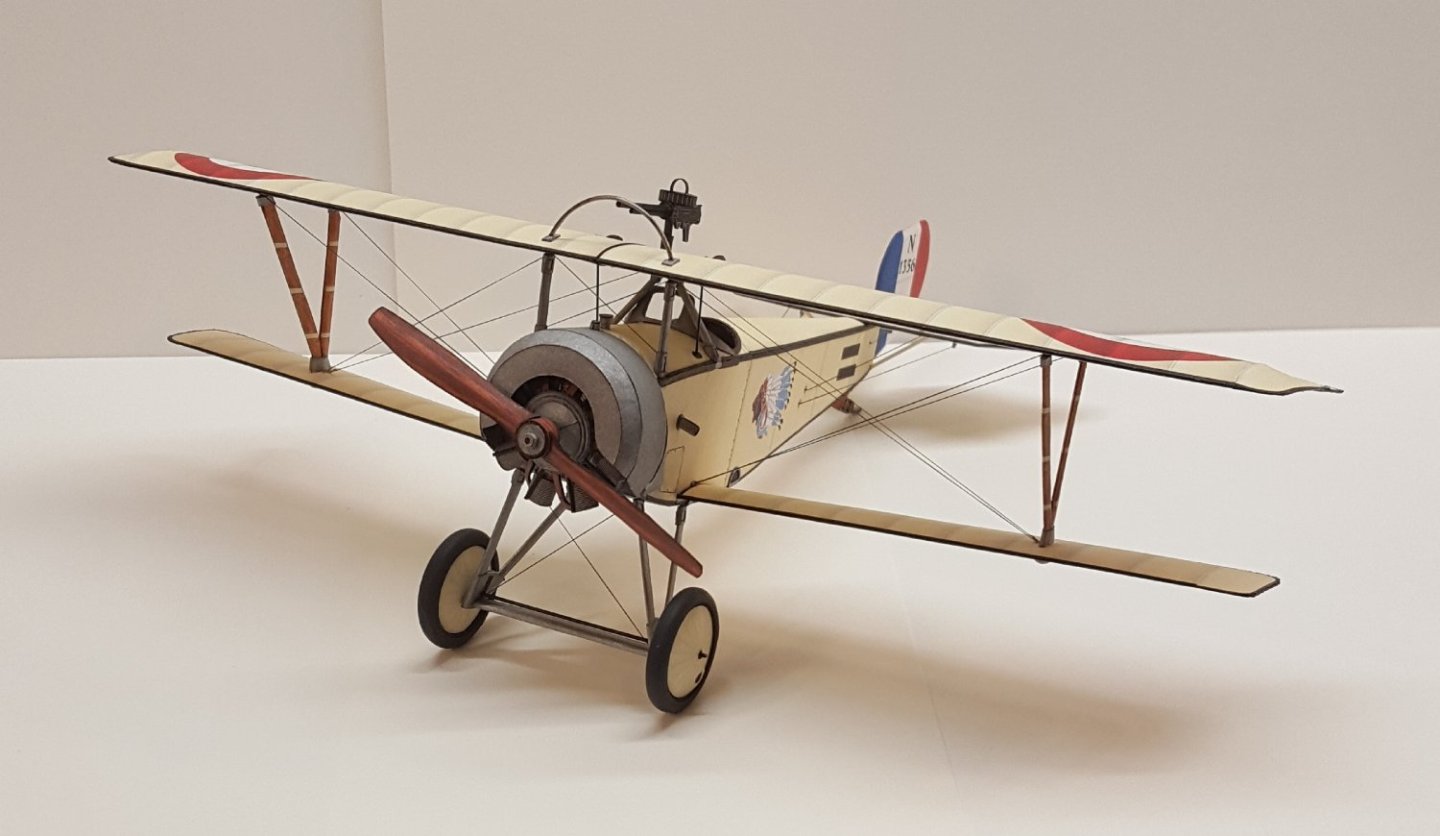
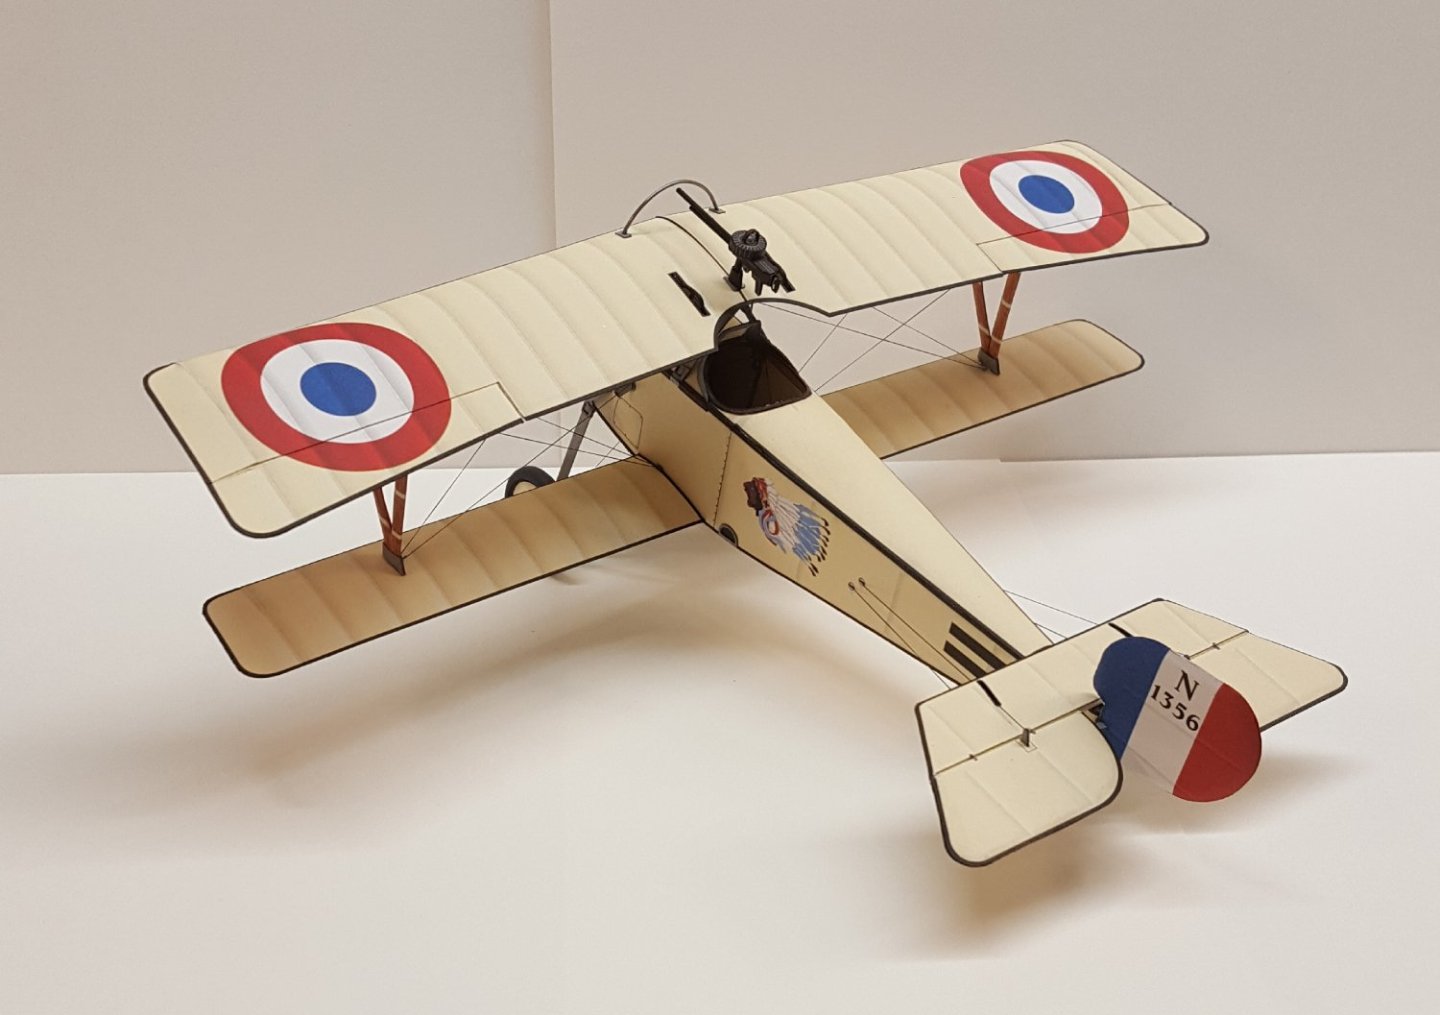
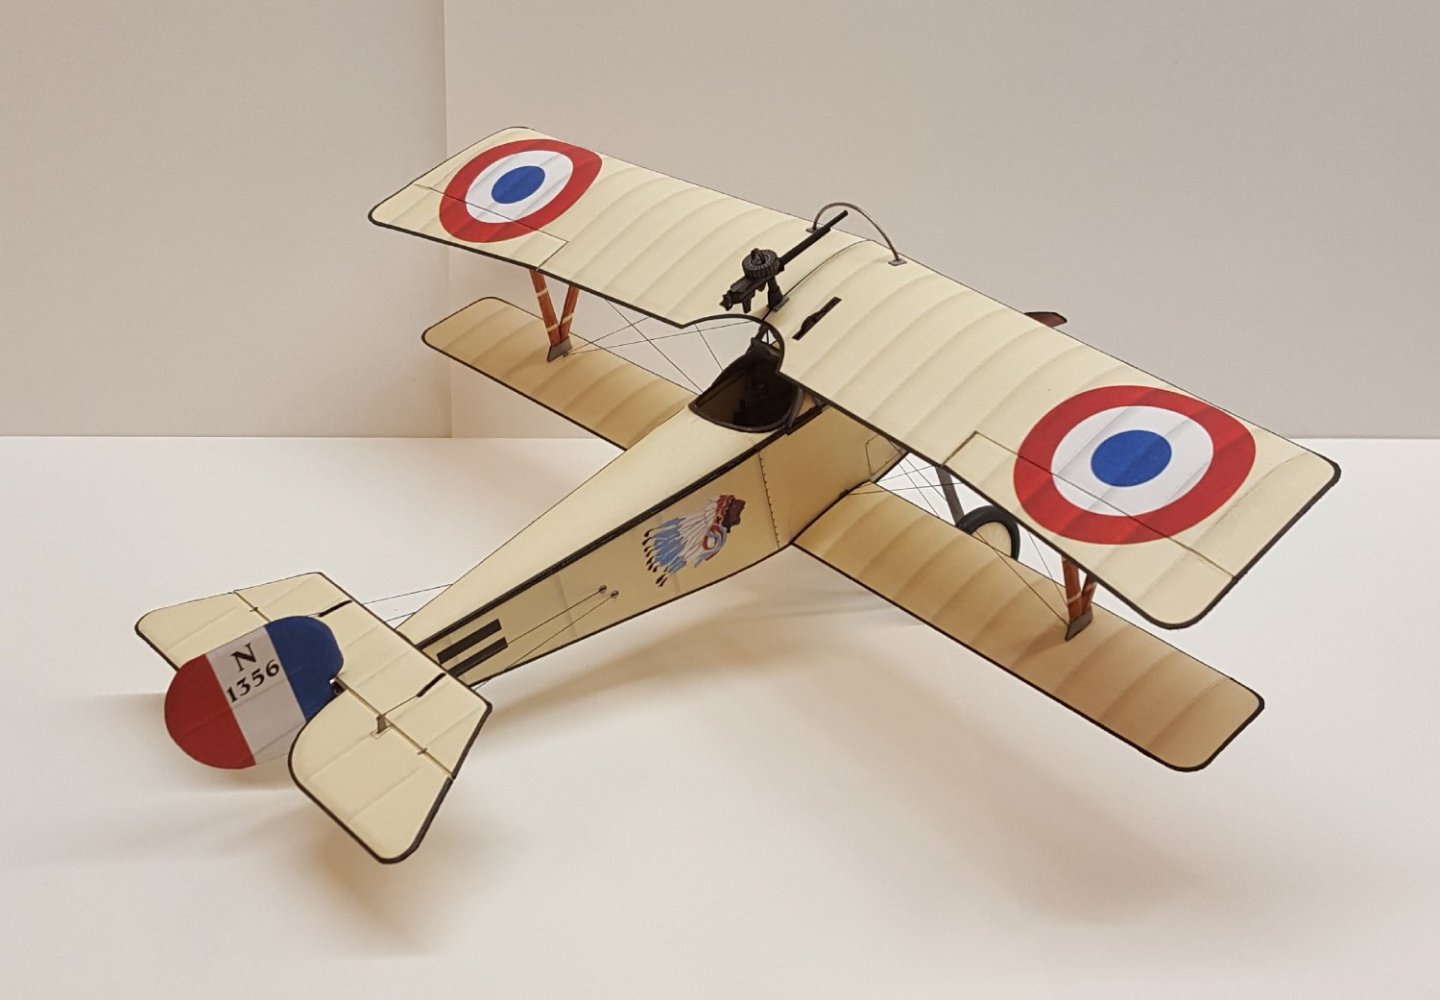
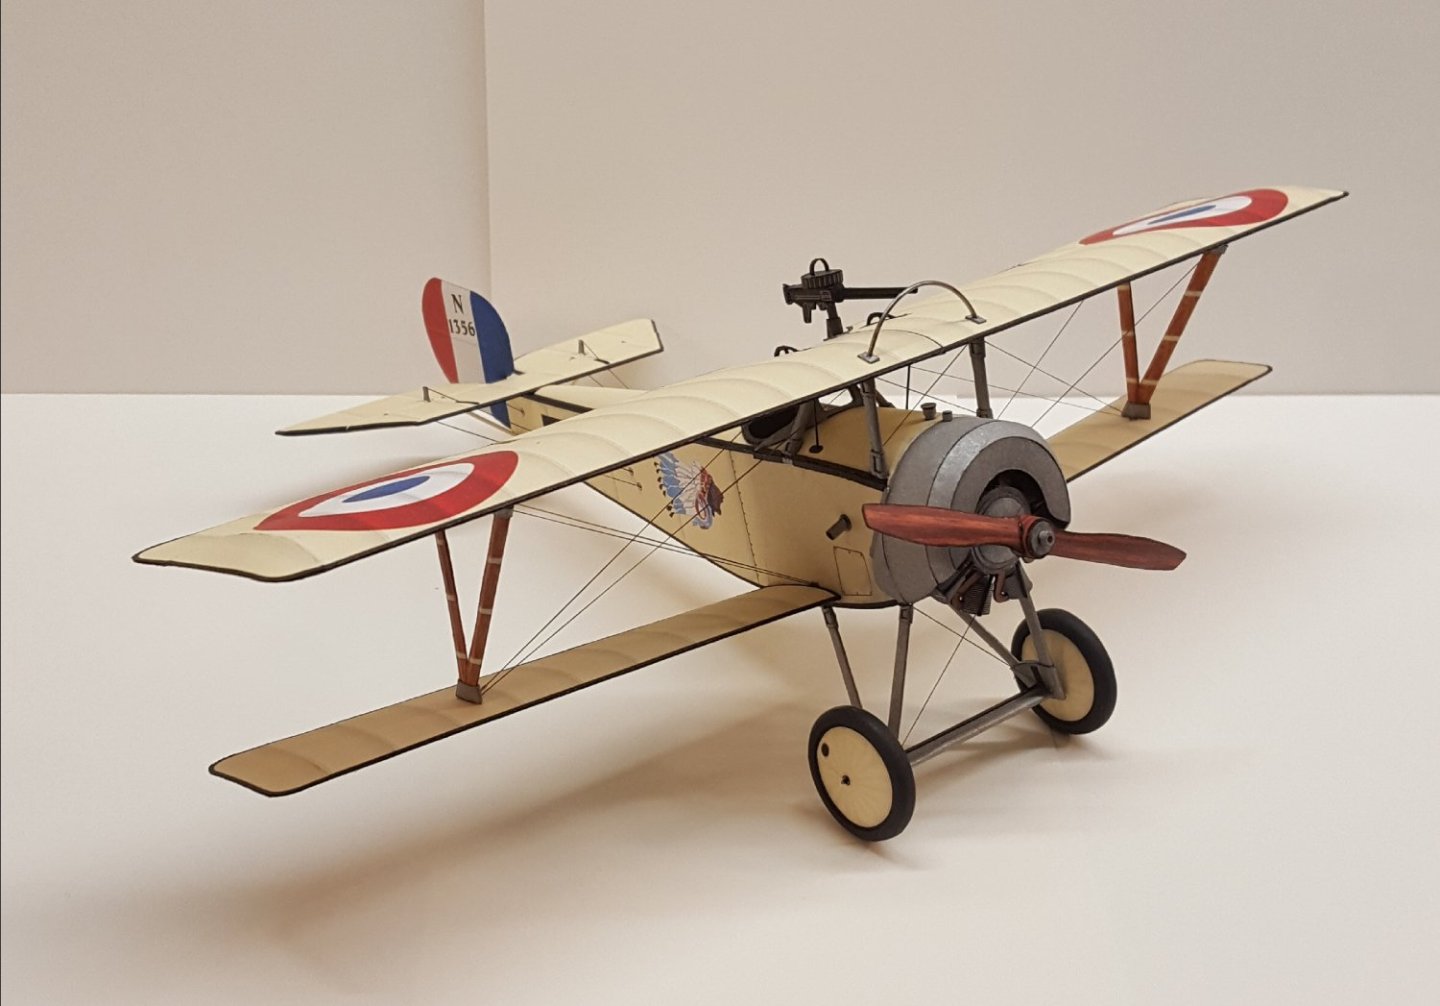
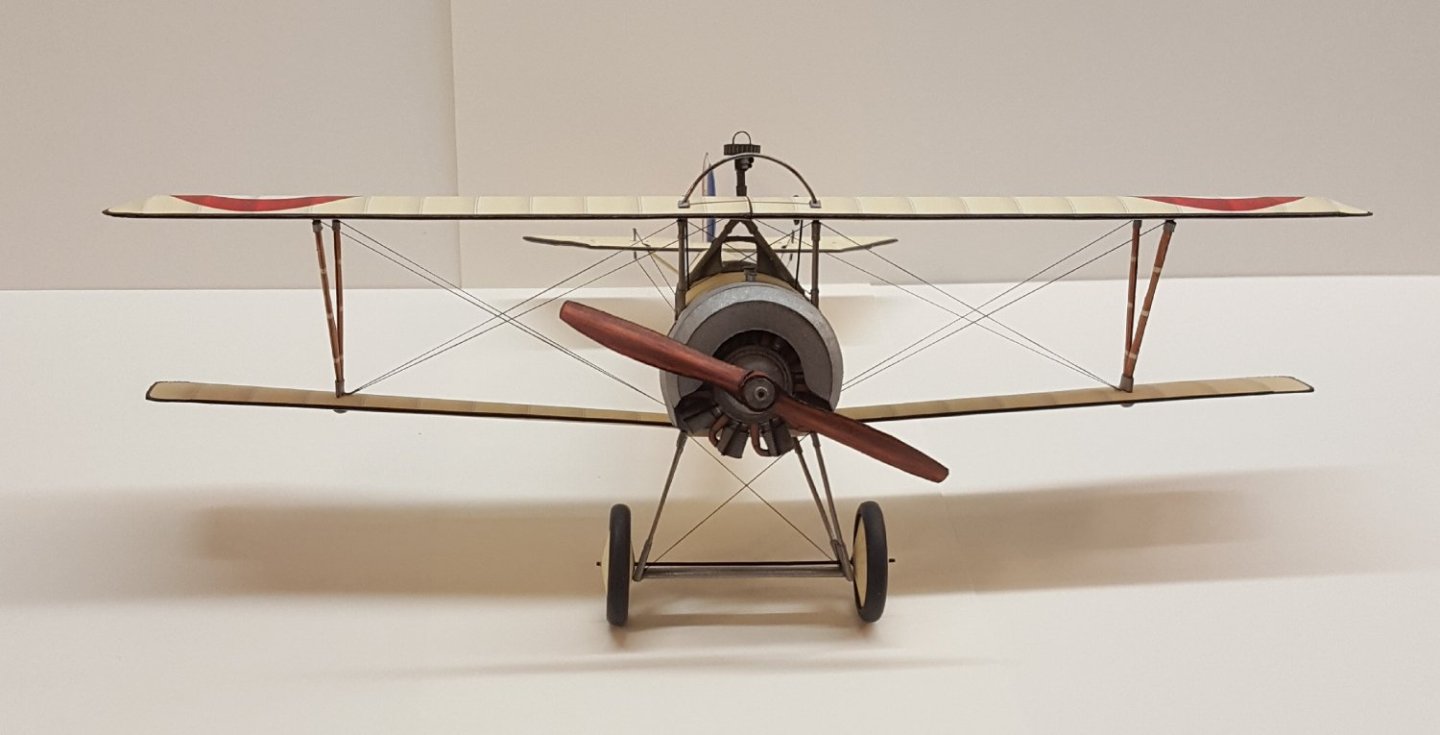
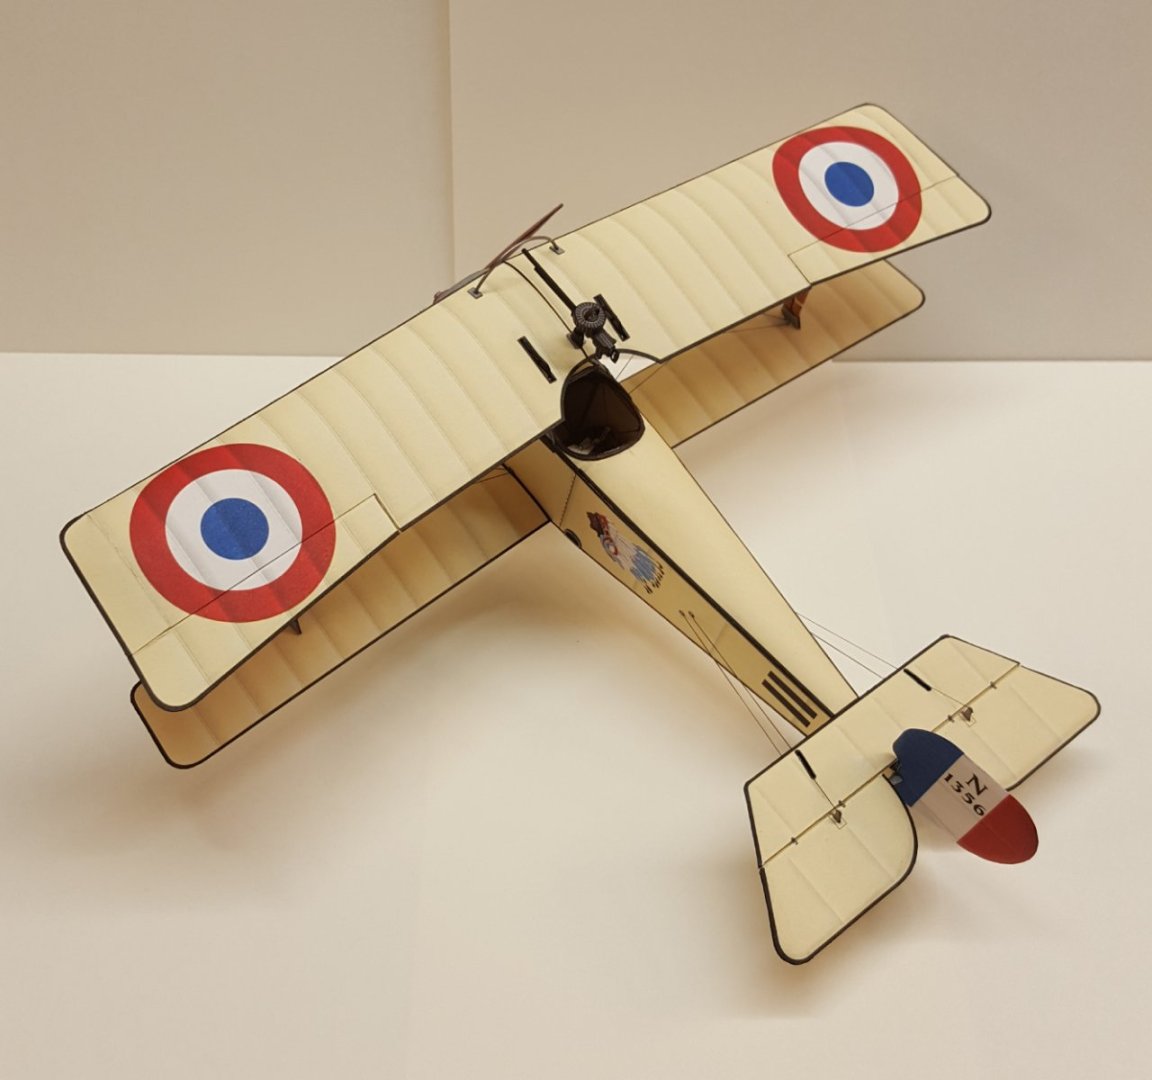
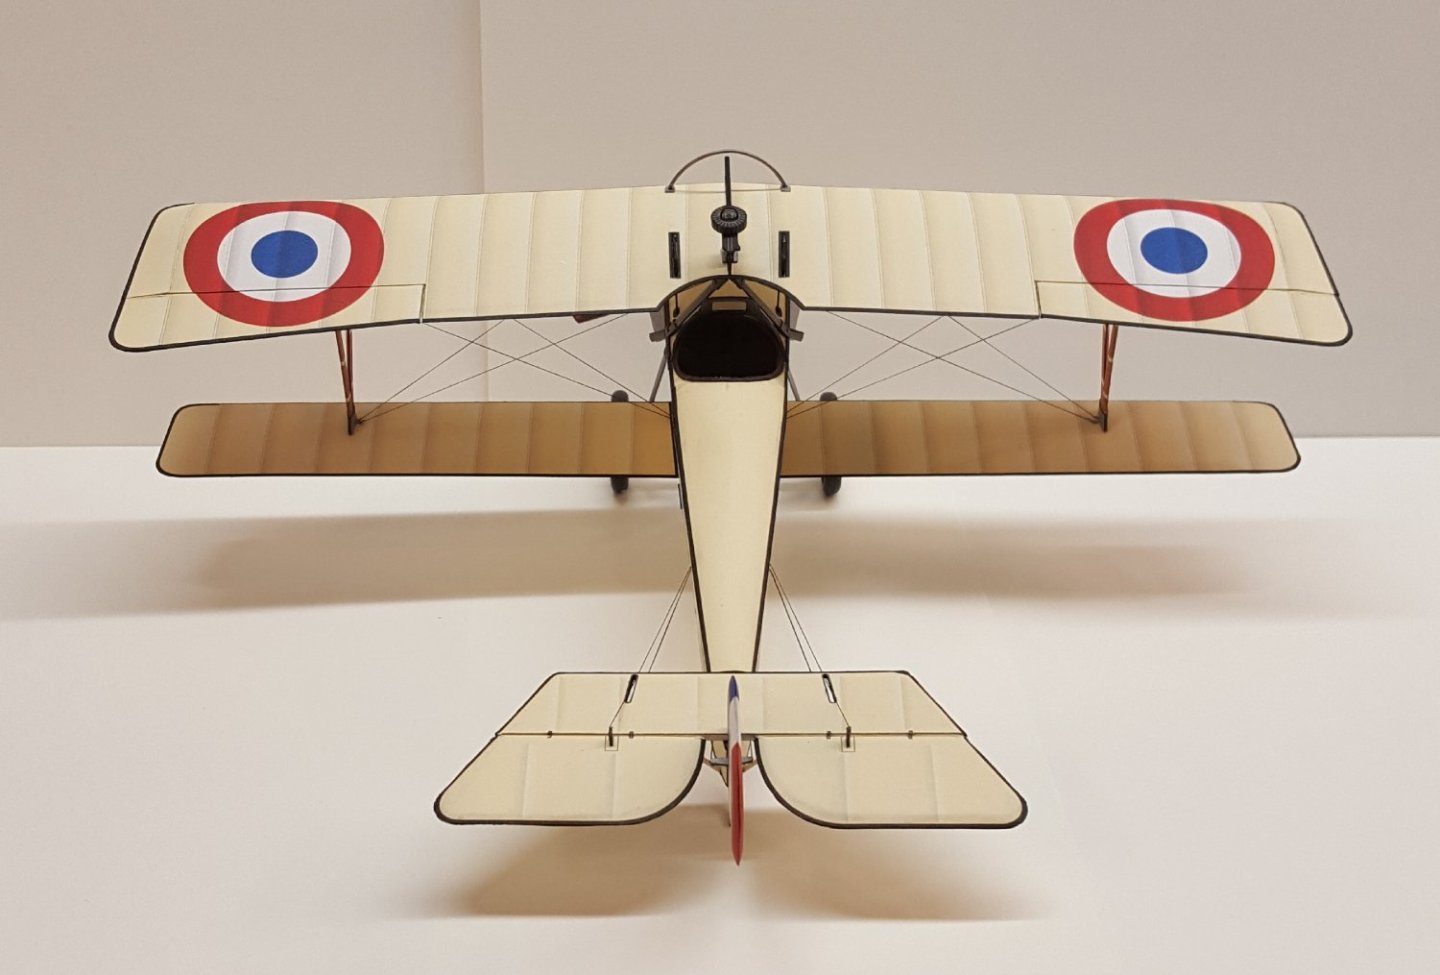
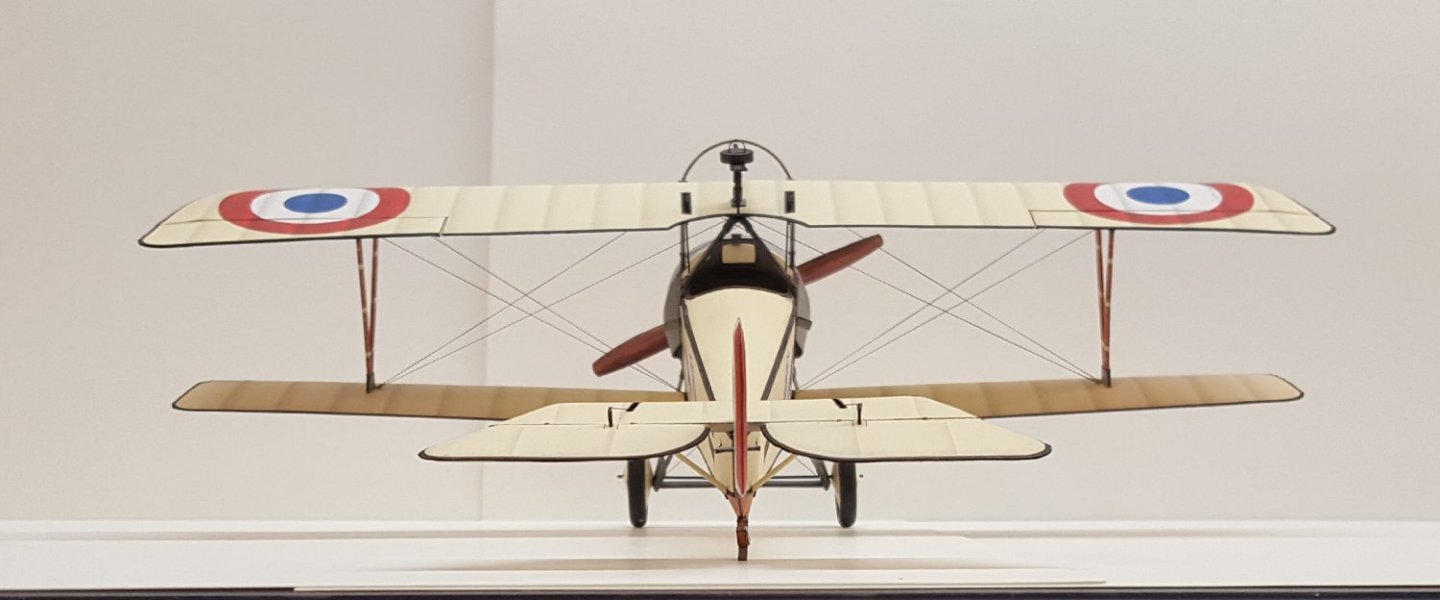
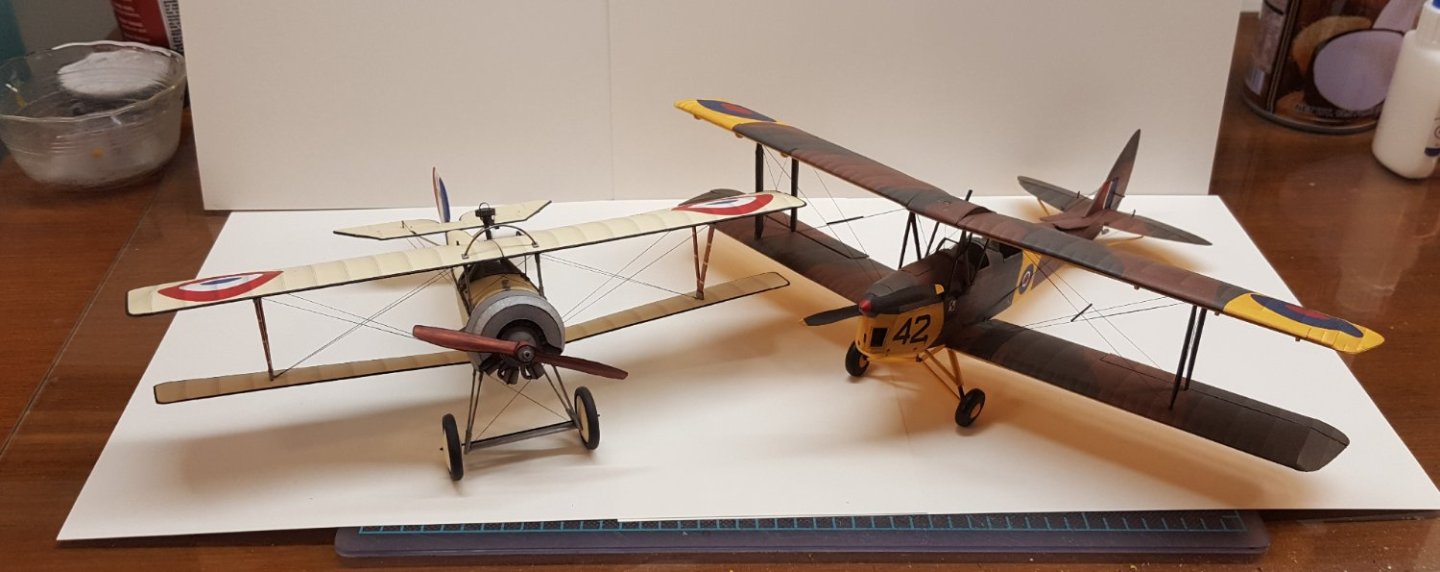
The Big Reveal! The Lewis gun took about three hours to build, but now she is all done. I really enjoyed this build -- quite refreshing after the struggles with the GPM Hellcat. I can't recommend the Kartonowa Kolekcja kits highly enough -- try one! Now, enjoy the pictures! First, the Lewis gun. The Allies didn't have synchronization gear at this point in the war, so the Lewis gun was mounted to fire above the propeller arc. And now for the glamour shots! And lastly, a family photo of the two KK kits together, the Nieuport and the DH.82A. Thanks for looking in!


- 98 replies
-
- 35
-
-

-
Congratulations on completing your first model! It's a great achievement.
- 89 replies
-
- 2
-
-
-
- Enterprise
- first build
- (and 2 more)
-
Bummer! But at least the damaged pieces are made from wood -- wood is pretty straightforward to rebuild.
-
I'm thinking that USS England will be moving back to the front burner in the not-too-distant future.
- 98 replies
-
- 11
-
-
-
Welcome aboard! Be sure to click here for some tips on how to navigate our site.
-
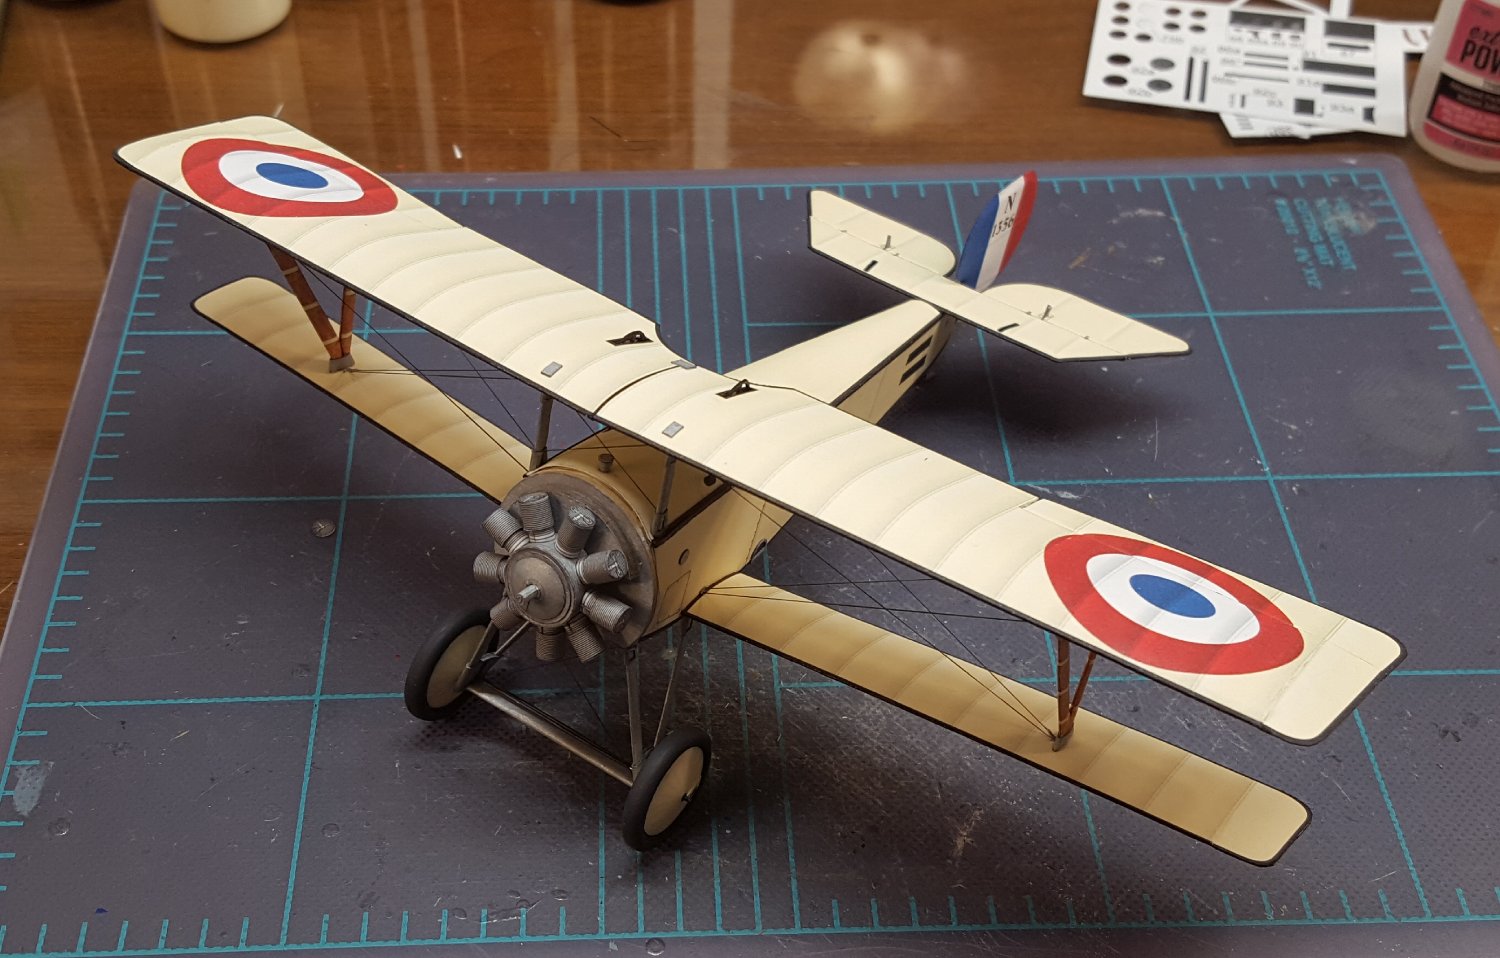
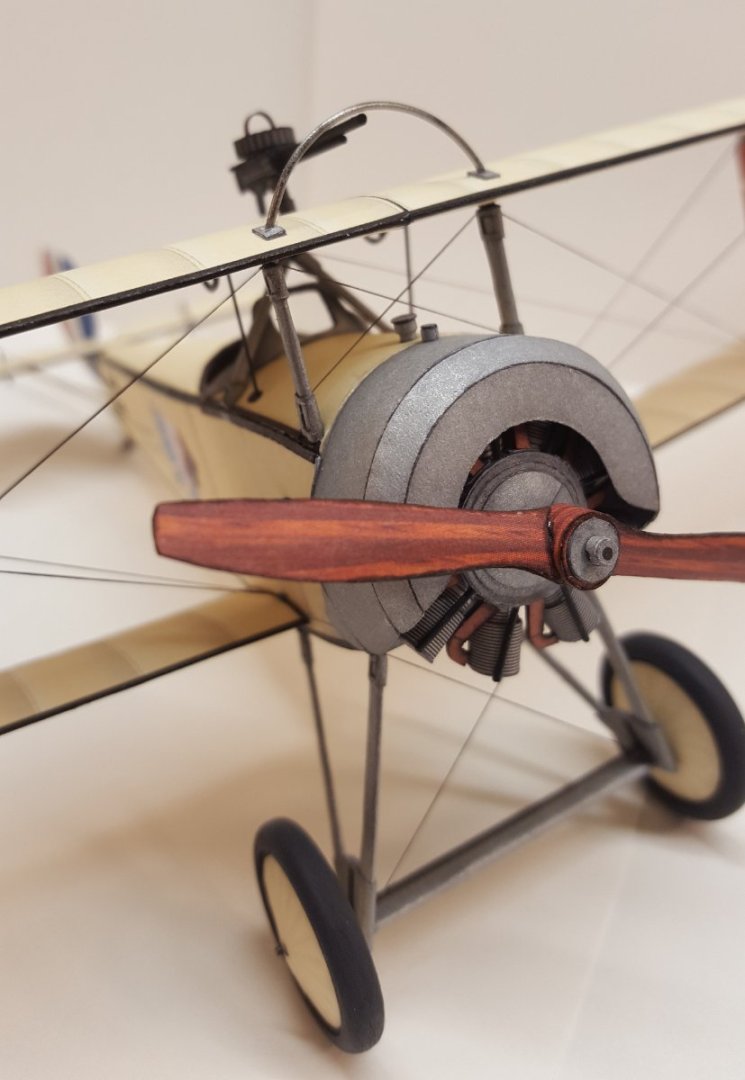
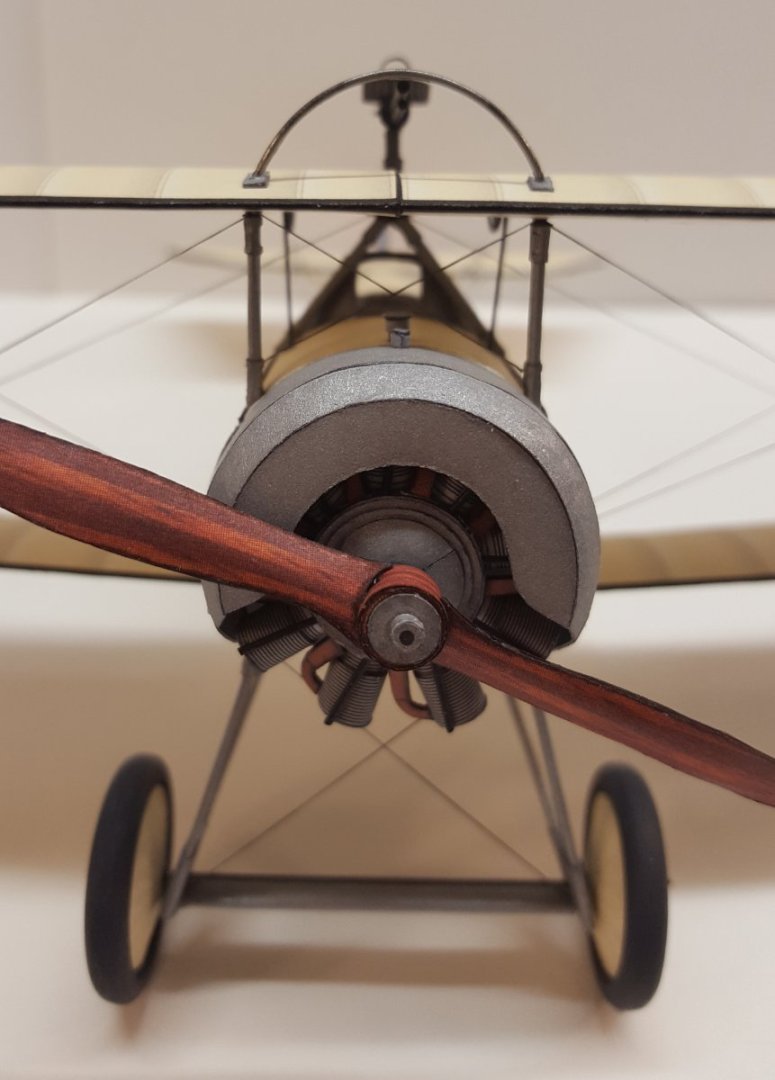
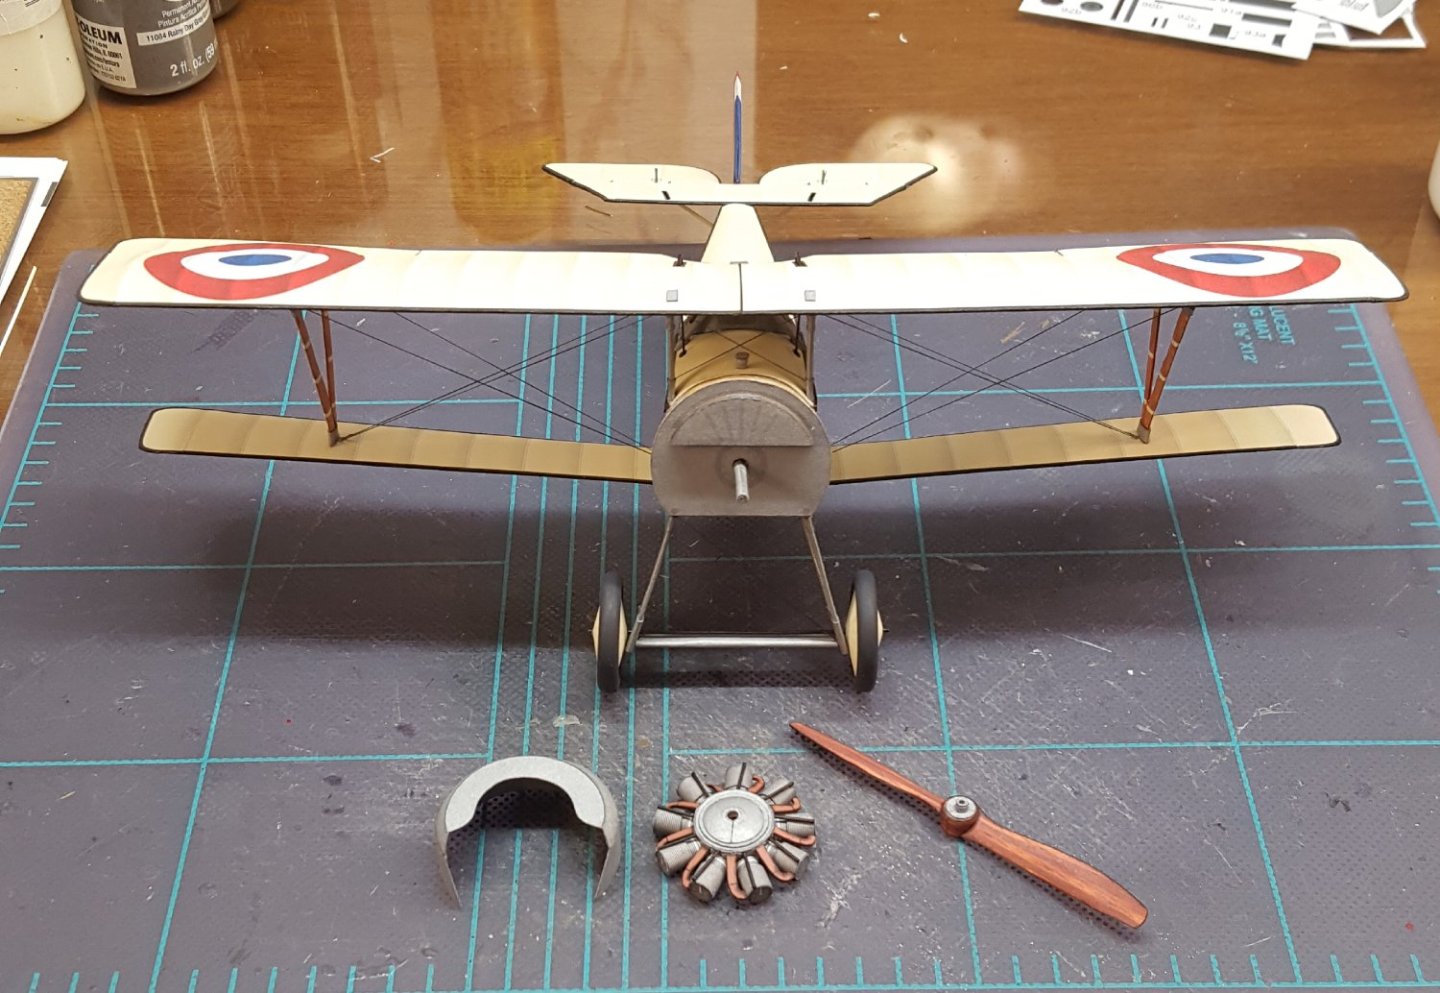
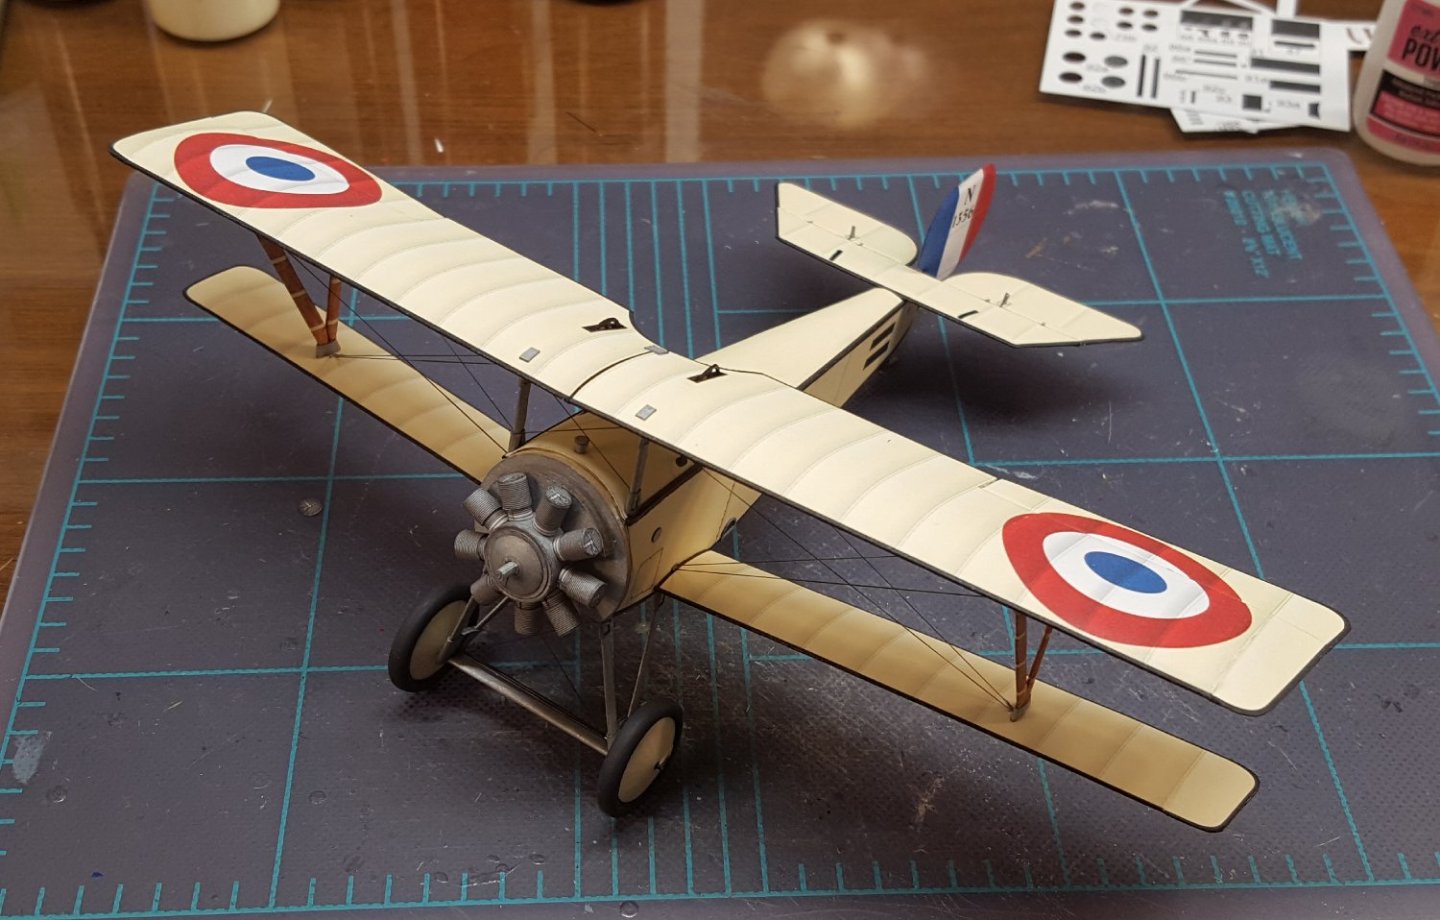
Update: engine, cowl, and propeller completed, but will leave the final installation for later. Struts for horizontal stabilizer added, but no control wires yet. The last significant assembly to do will be the Lewis gun.
- 98 replies
-
- 23
-
-
-
That's part of why I like the KK kits so much. They've a good amount of detail without being insanely difficult to build.
- 98 replies
-
- 11
-
-
It's mostly paper tubes and not particularly difficult -- nothing compared to an 18-cylinder, twin-row radial in a Halinski kit.
- 98 replies
-
- 15
-
-
Nice work!
-
Last update for today. The empennage is on, but not braced. The engine is only test-fitted for this shot -- it's still incomplete.
- 98 replies
-
- 20
-
-
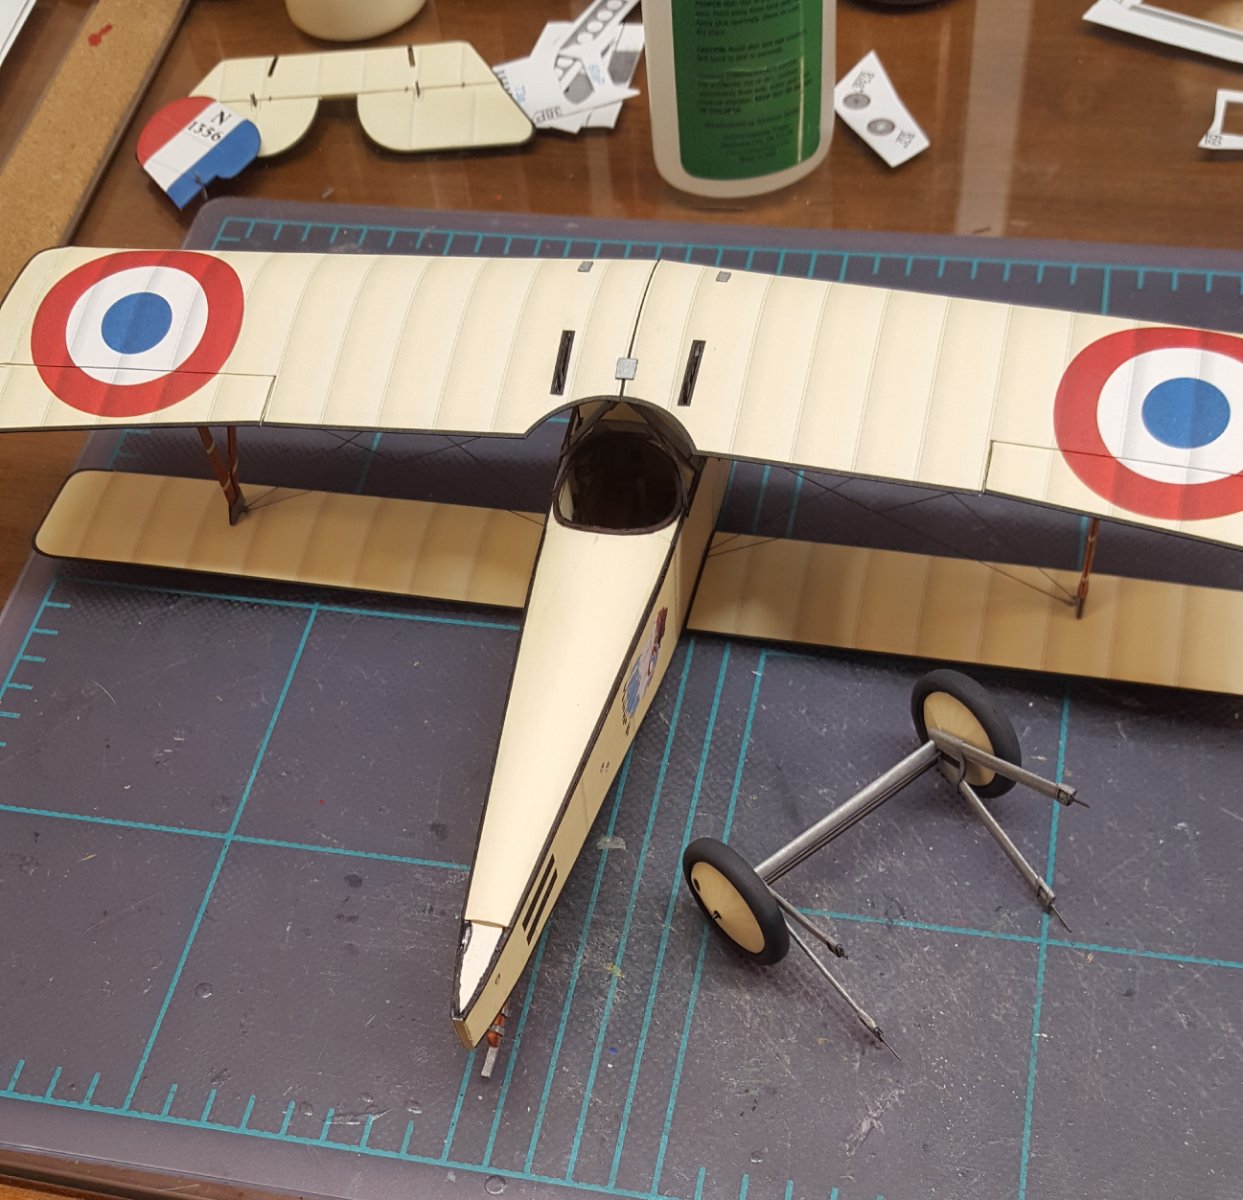
The landing gear are now complete and sitting overnight to dry thoroughly. I will rig the bracing between the struts before attaching the gear to the fuselage. In the background you can see the completed horizontal stabilizer -- the empennage will go on after the gear have been attached, because I still have to turn the model upside down to do some work.

- 98 replies
-
- 17
-
-