


G.L.
-
Posts
1,553 -
Joined
-
Last visited
Content Type
Profiles
Forums
Gallery
Events
Posts posted by G.L.
-
-
I don't know how far you'll go in making the boat inventory, but there is so many equipment to put in the boat and structural parts as the thwarts a.s.o. will fill the boat as far as those gaps will be completely covered.
-
Great job, Yankee D. The way you make these complicated constructions it all seems so easy. You are a true professional!

- YankeeD, mtaylor, FrankWouts and 4 others
-
 7
7
-
-
Giampiero, you are a real master.
- giampieroricci, laarmada, mtaylor and 2 others
-
5
-
3 minutes ago, G.L. said:
-
4 hours ago, G.L. said:
-
6 minutes ago, G.L. said:
-
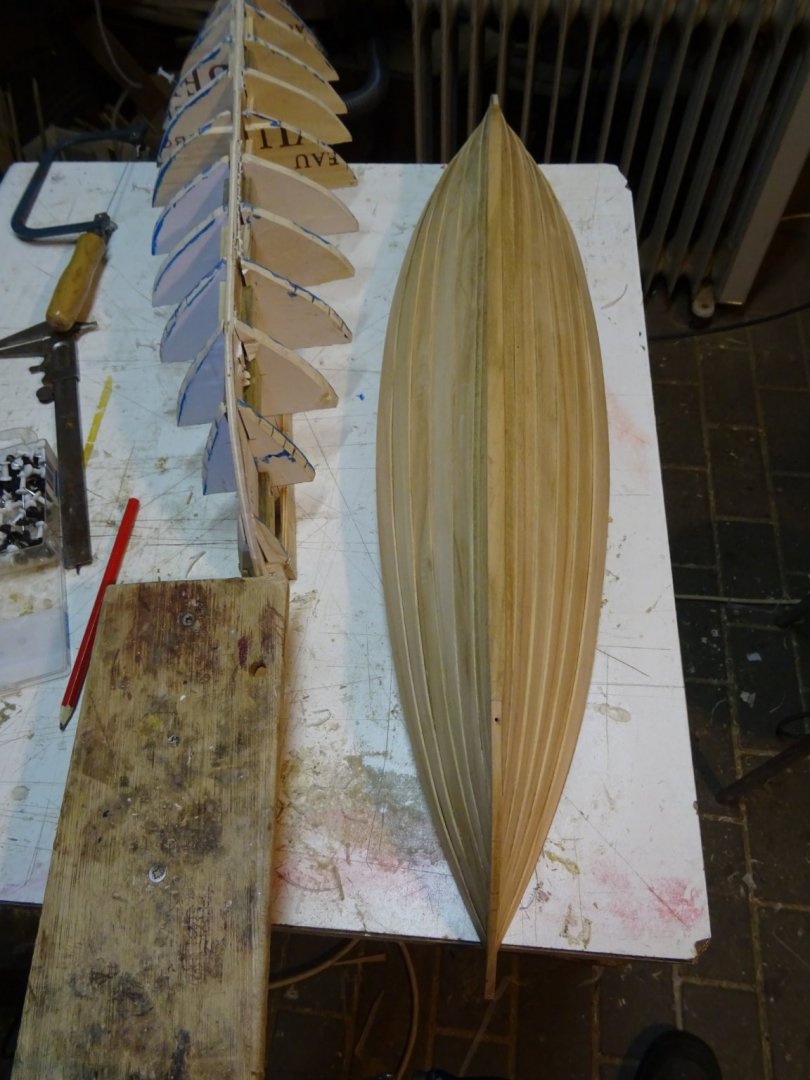
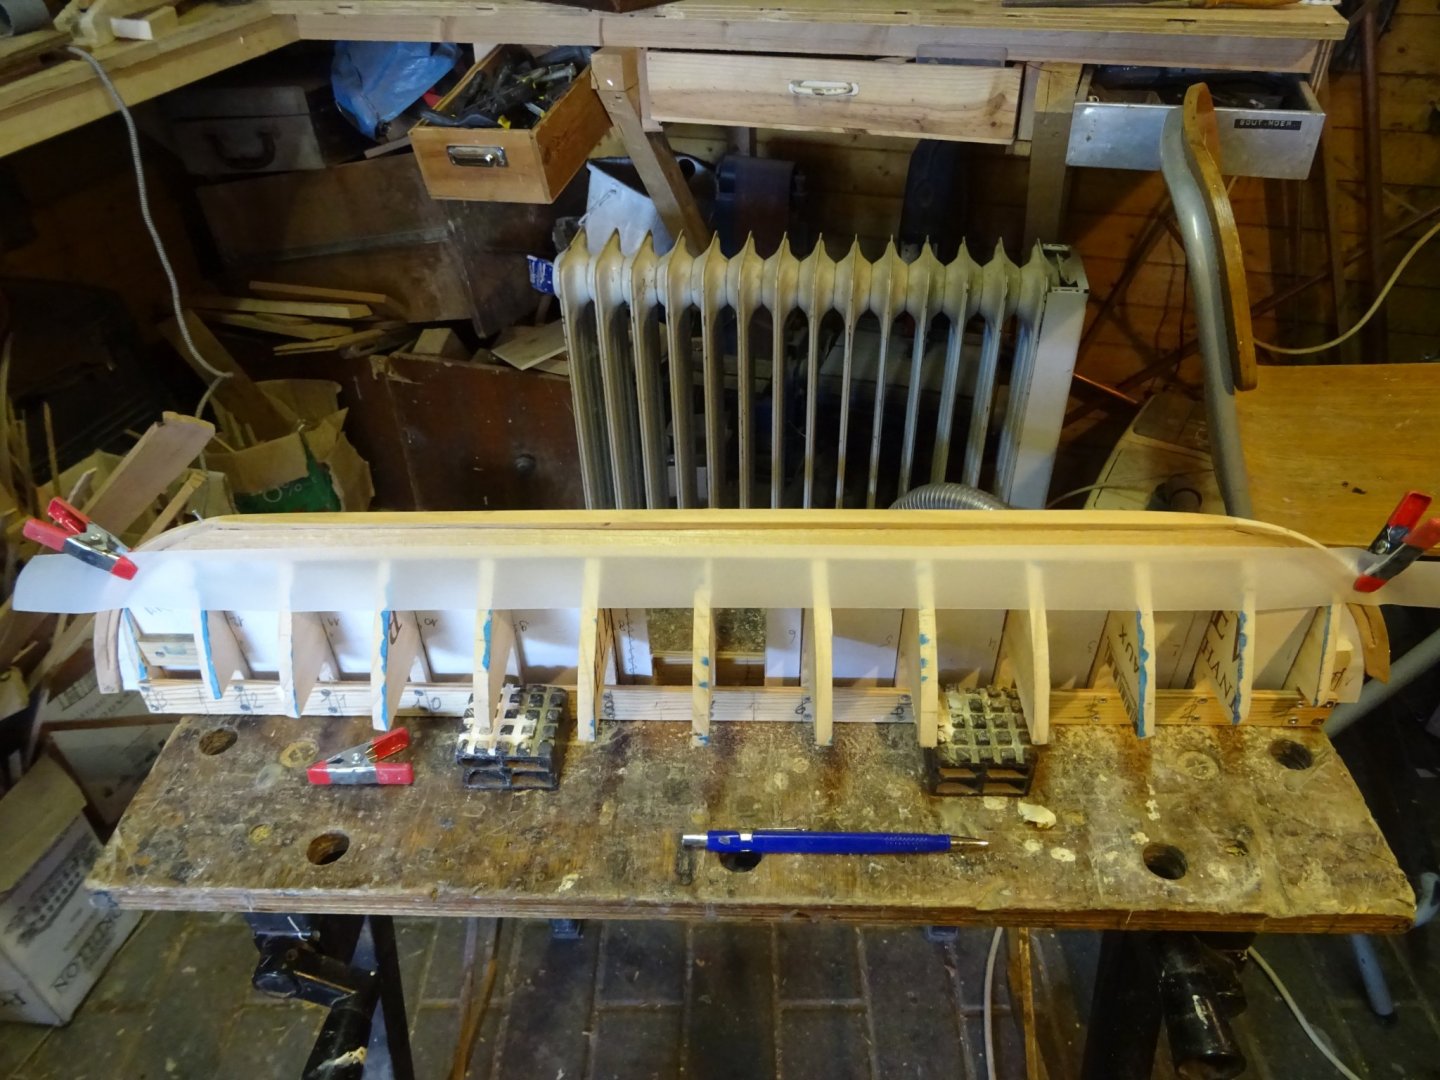
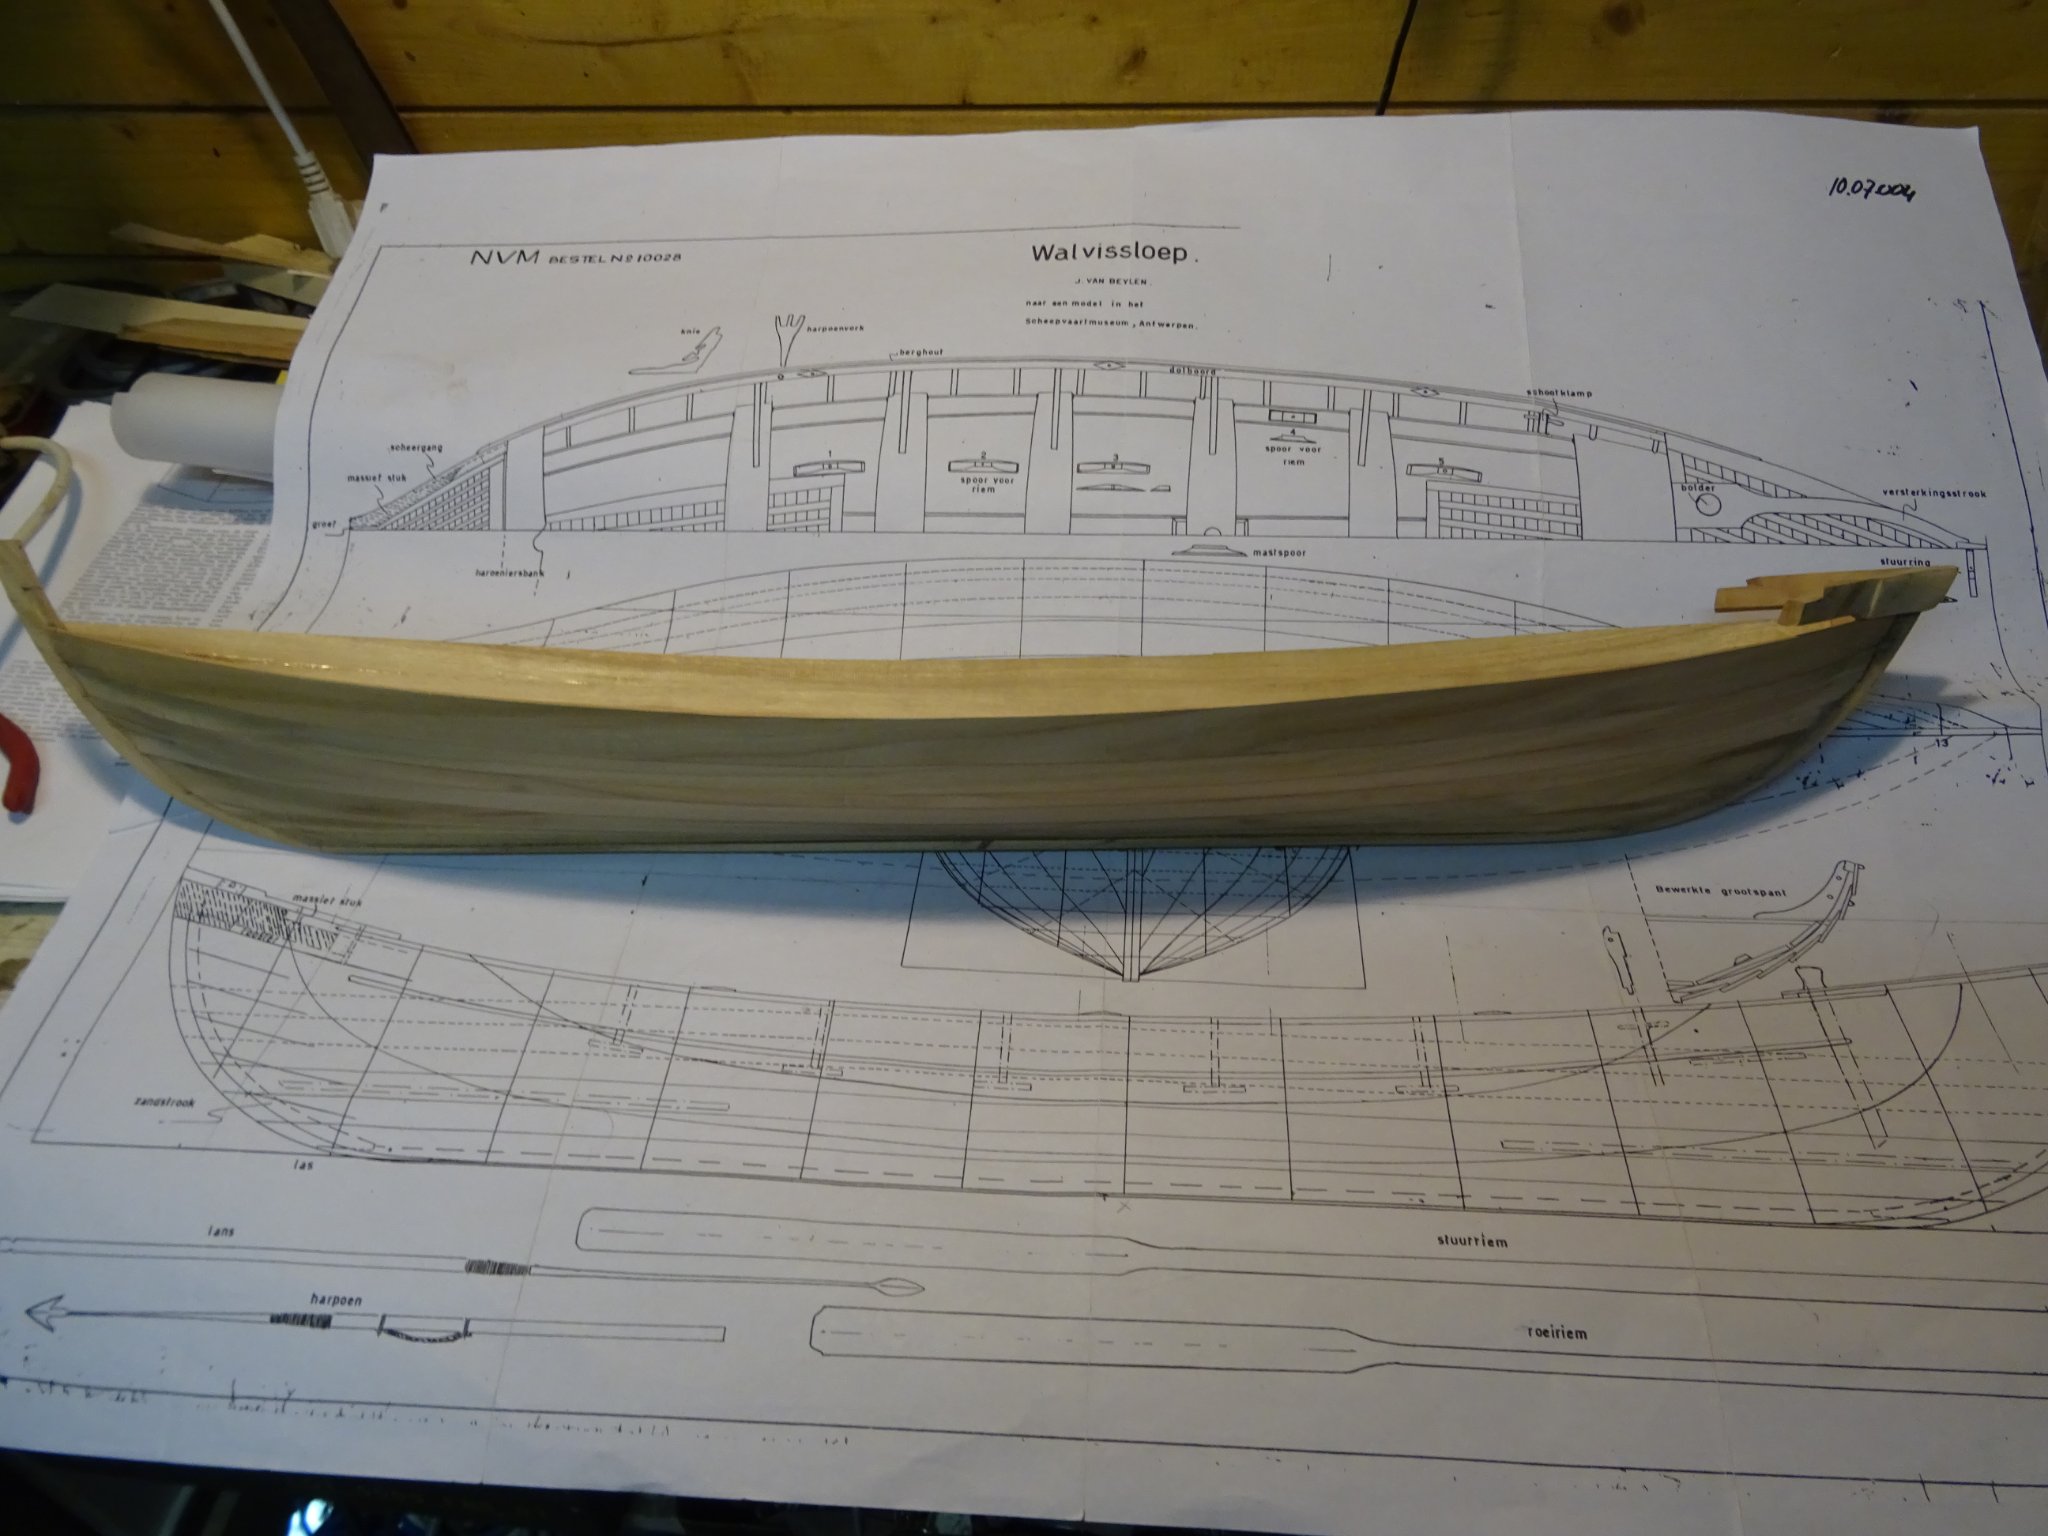
3. The ribs.
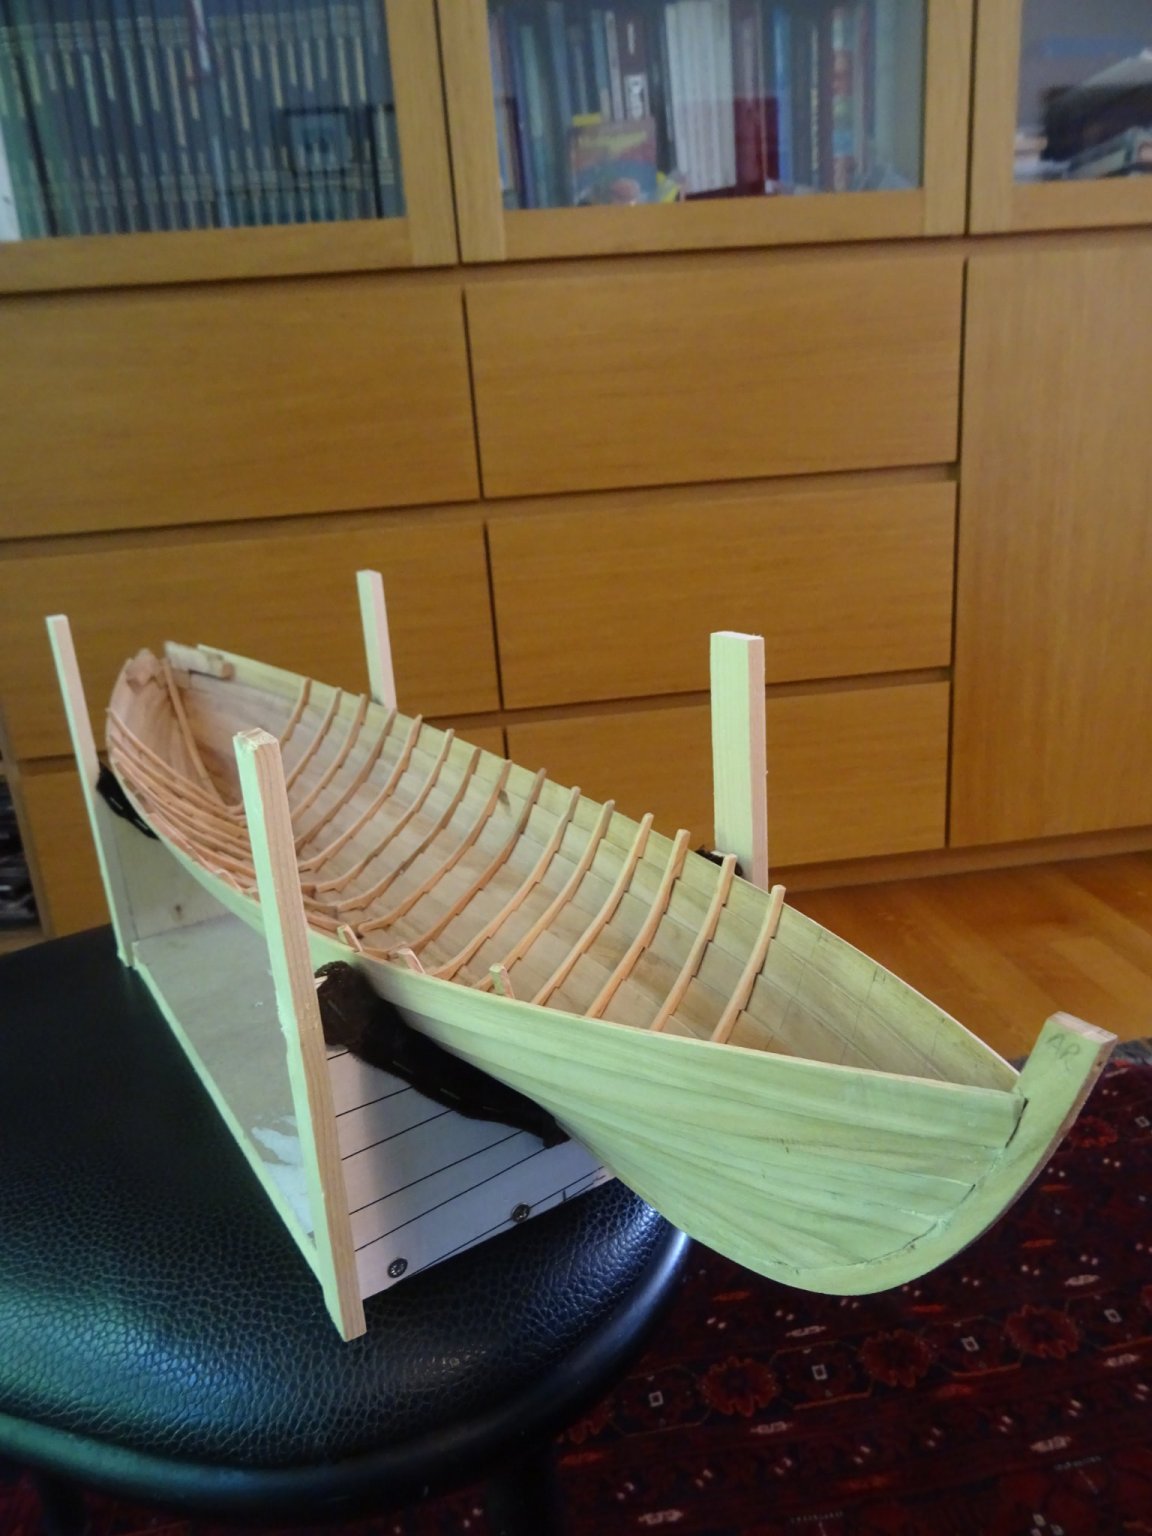
The hull can now definitively been removed from the building frame to provide it with ribs.
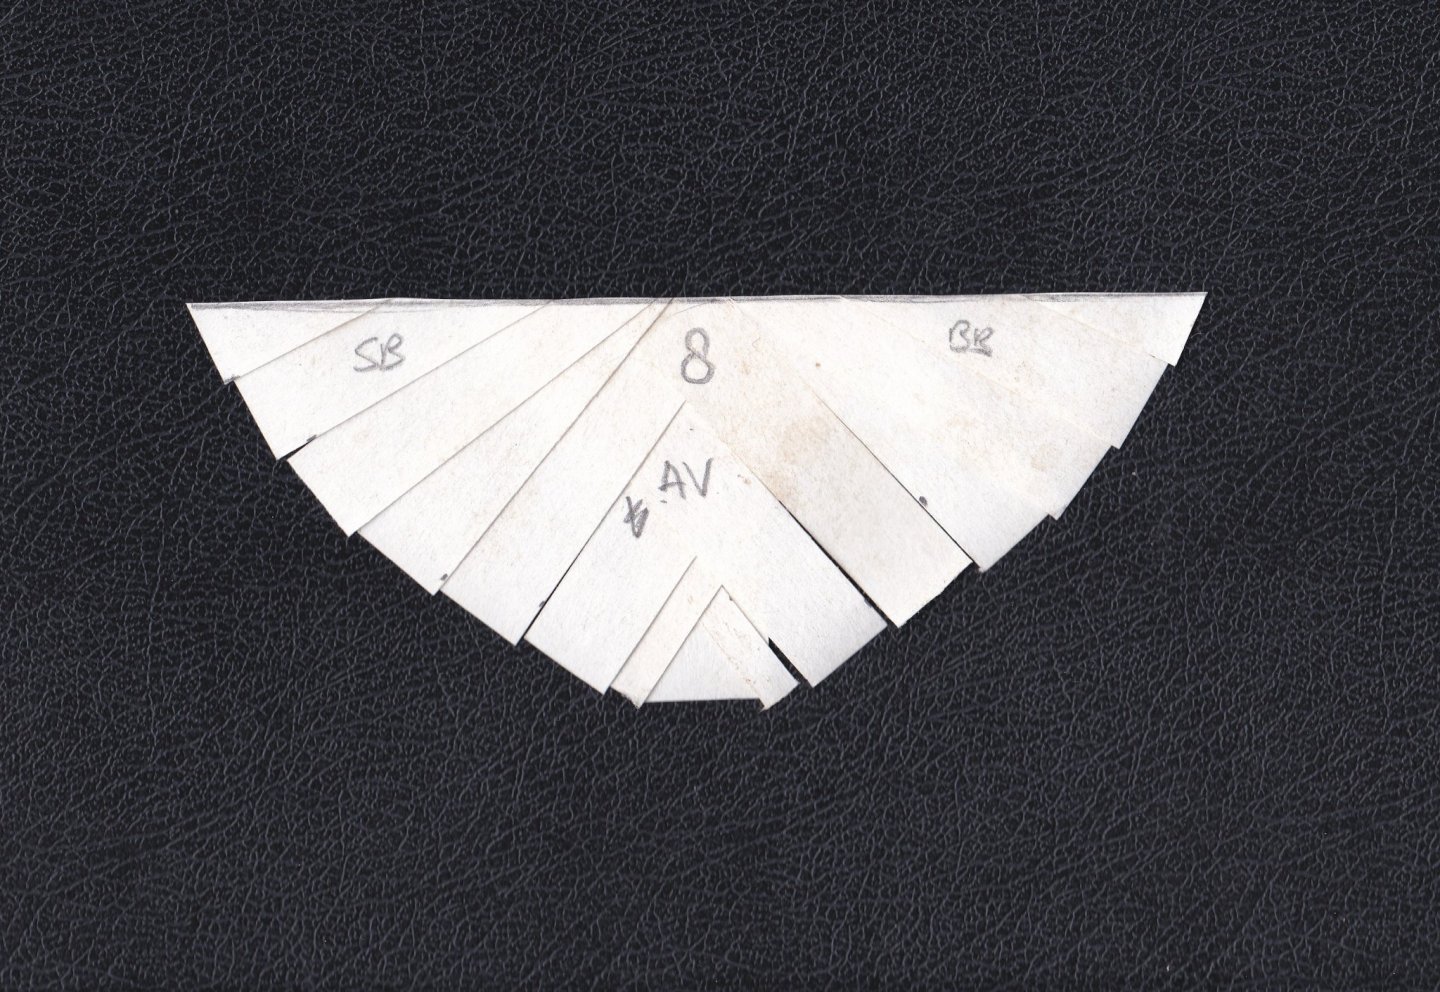
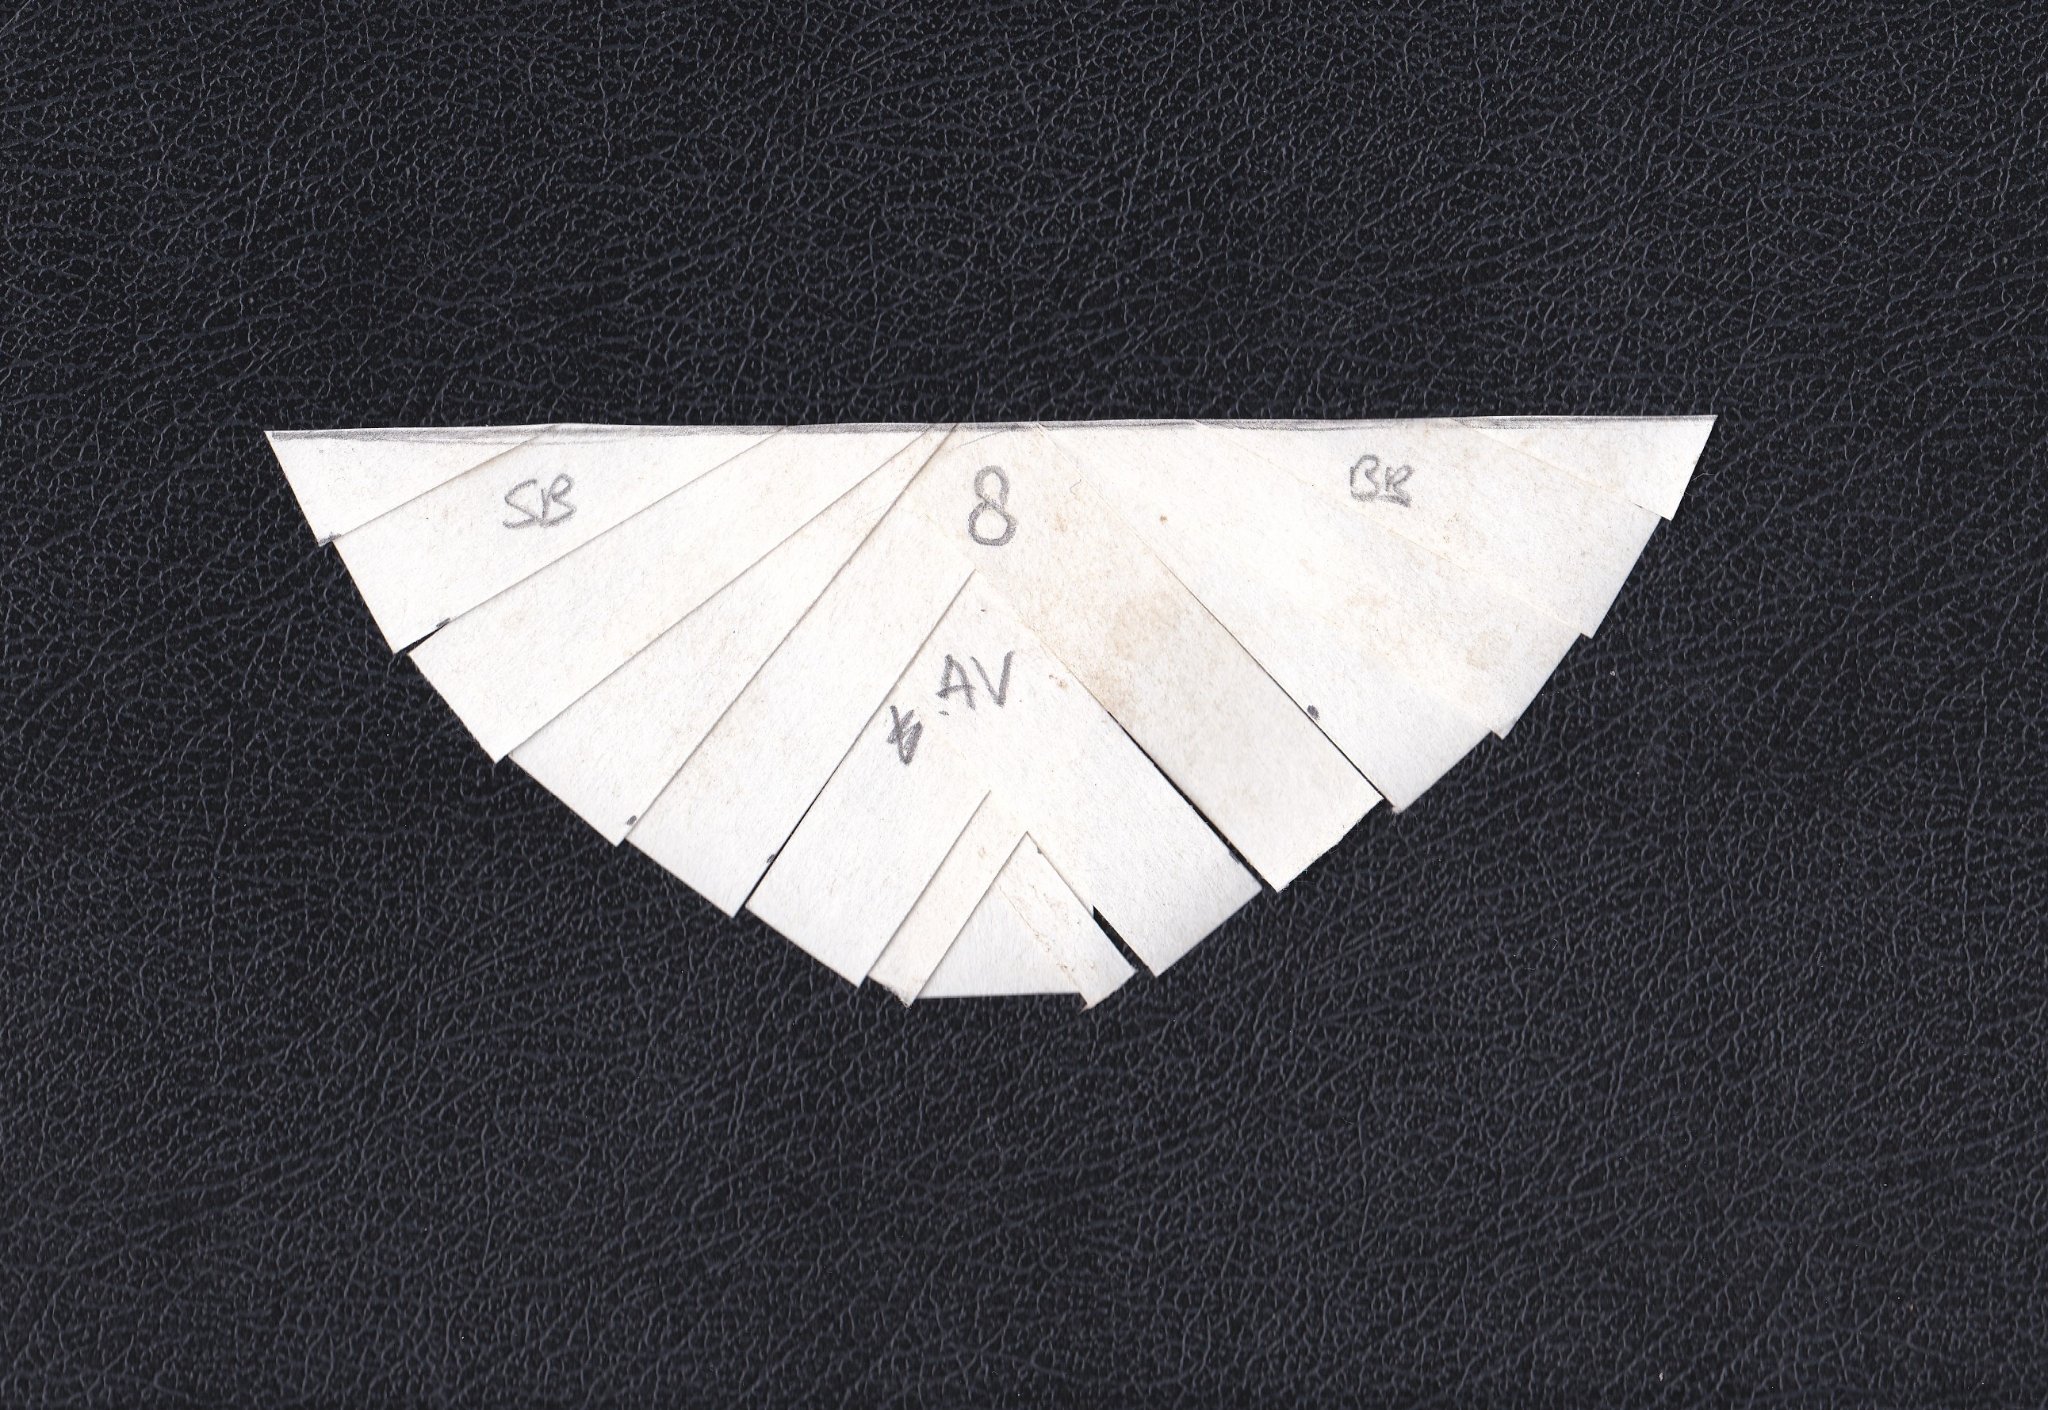
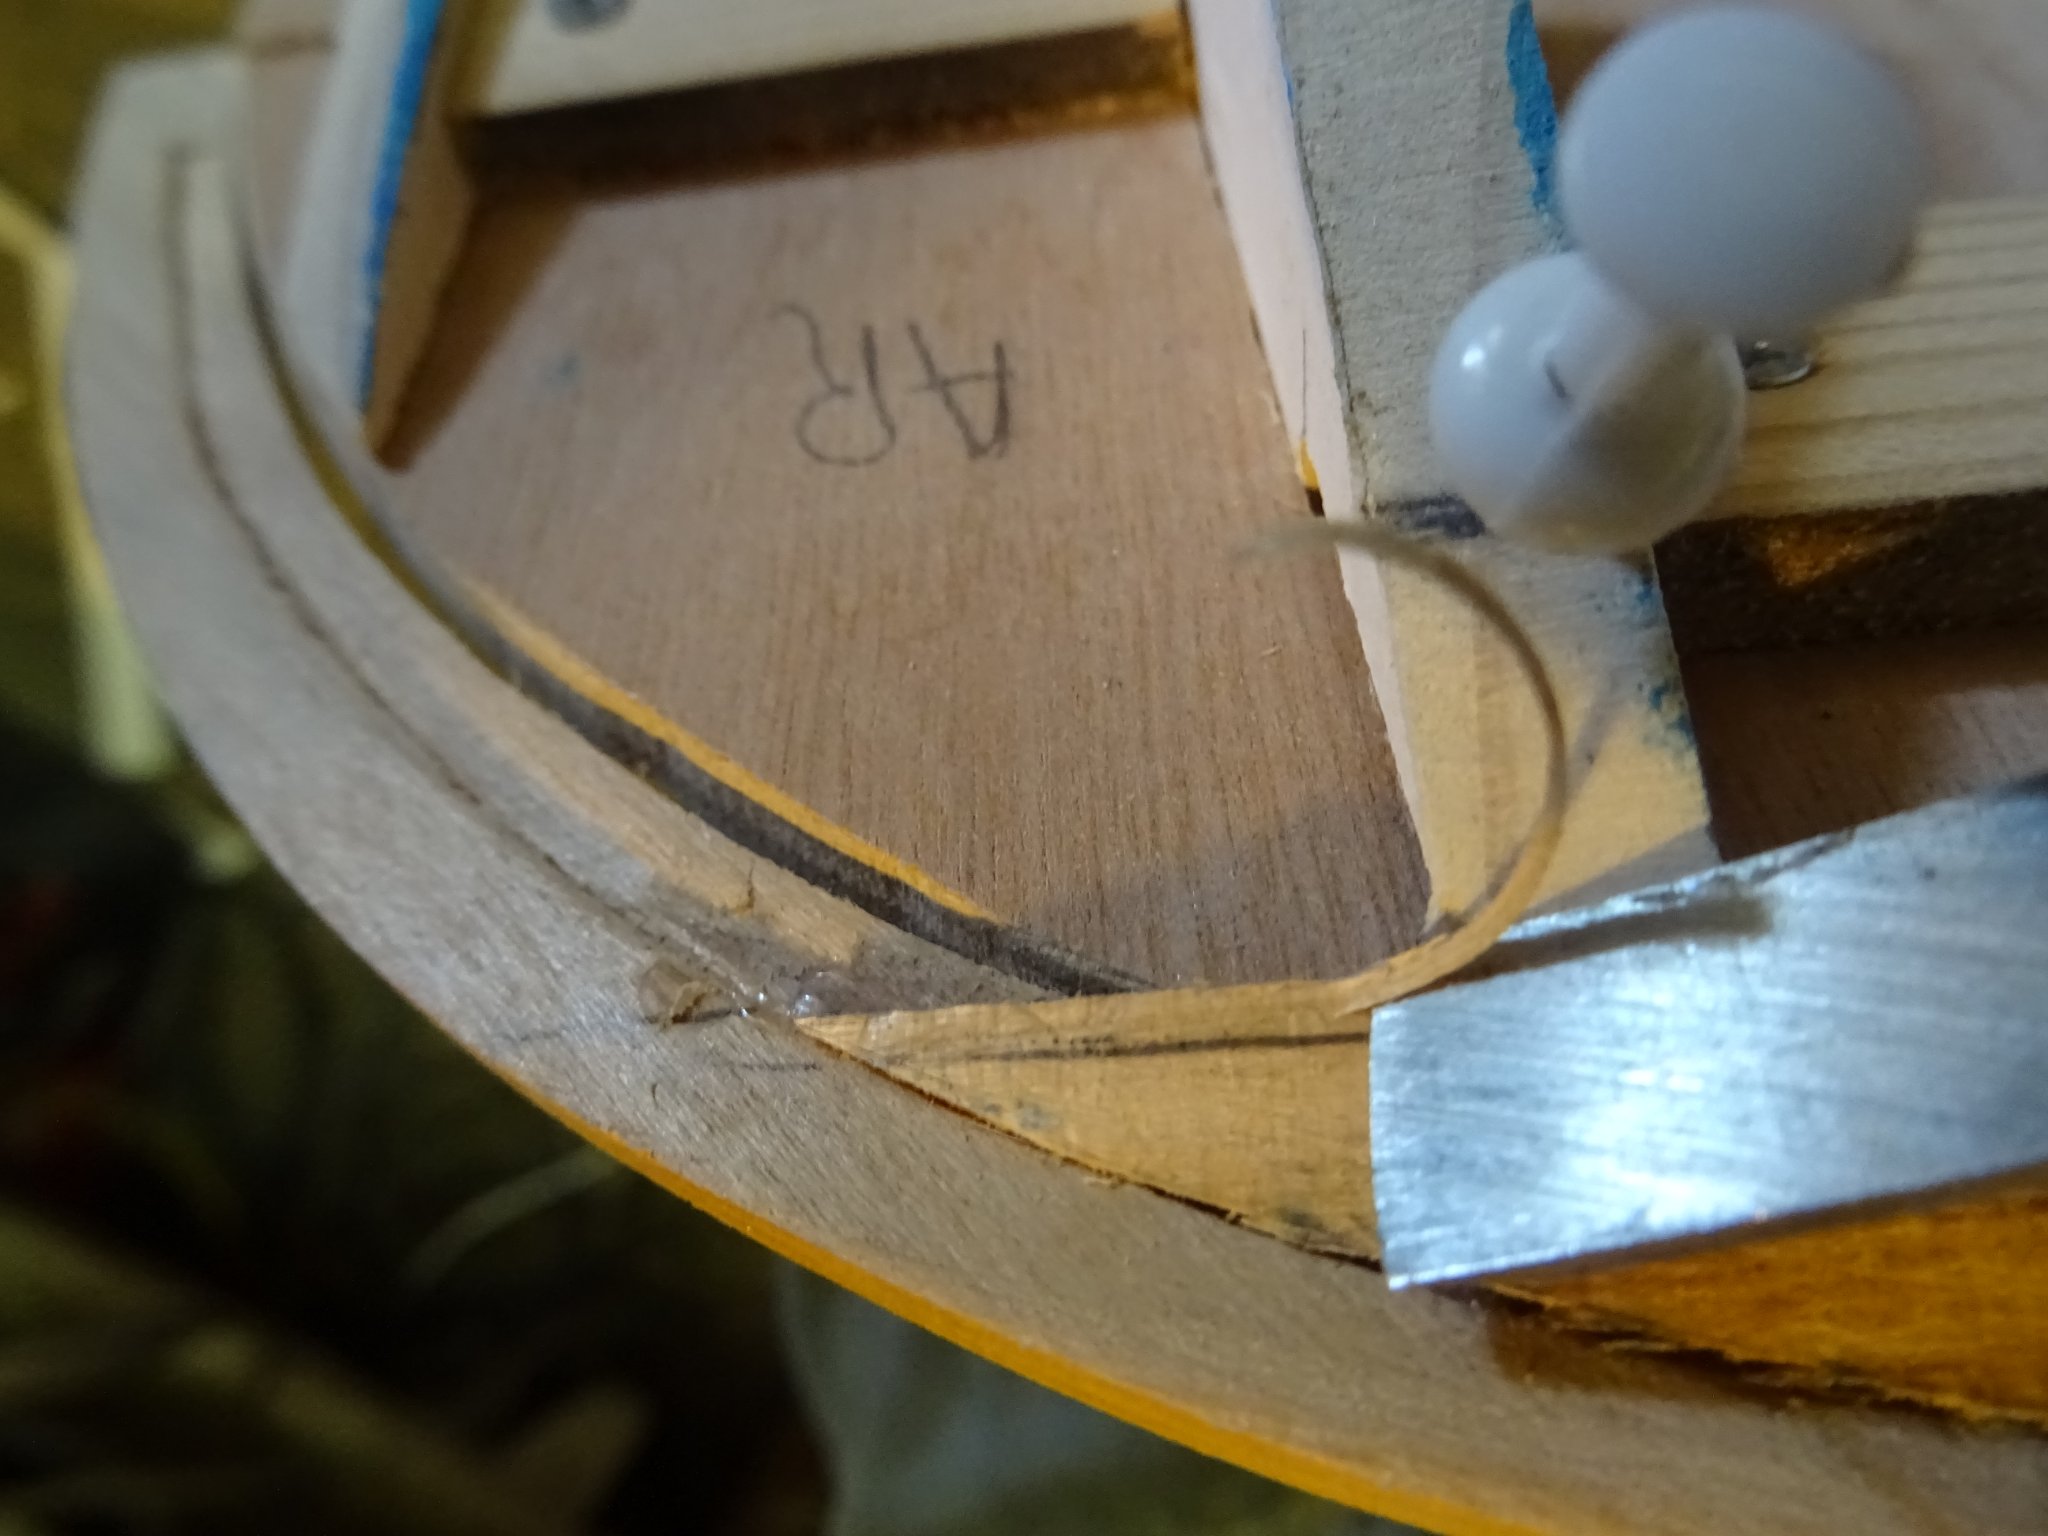
The model will have 22 ribs at both sides. The ribs have to fit in the steps shape of the inside of the hull, so for each pair of ribs I make a template of strips of stiff paper.

I copy the template on a dark background which gives me an excellent sawing template.

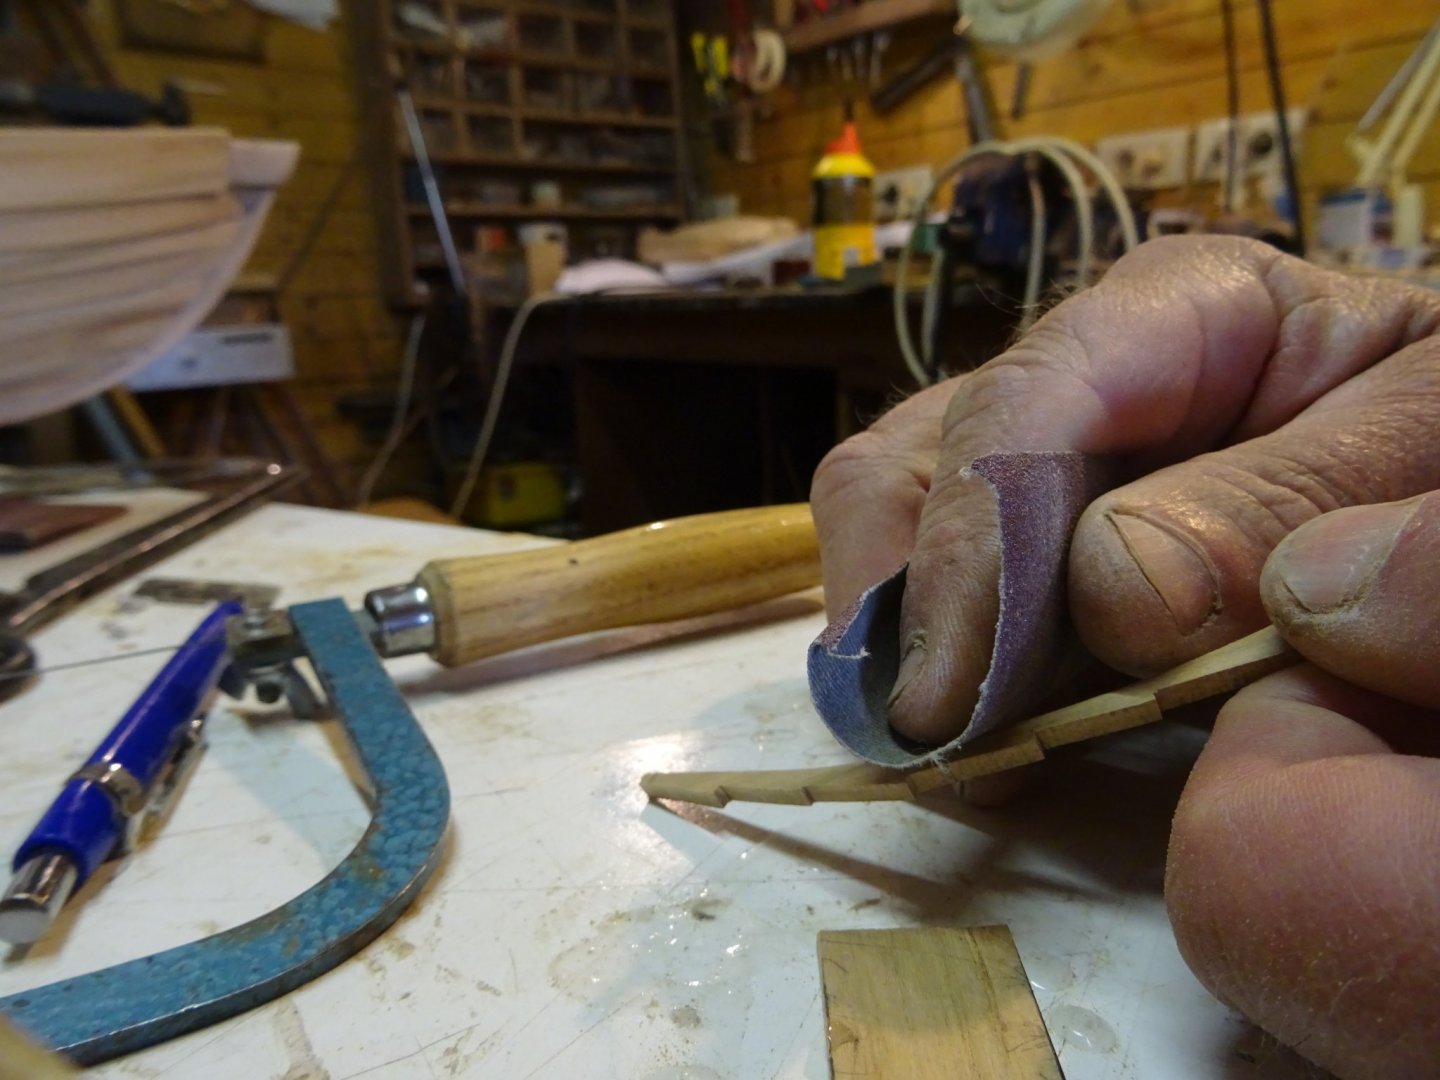
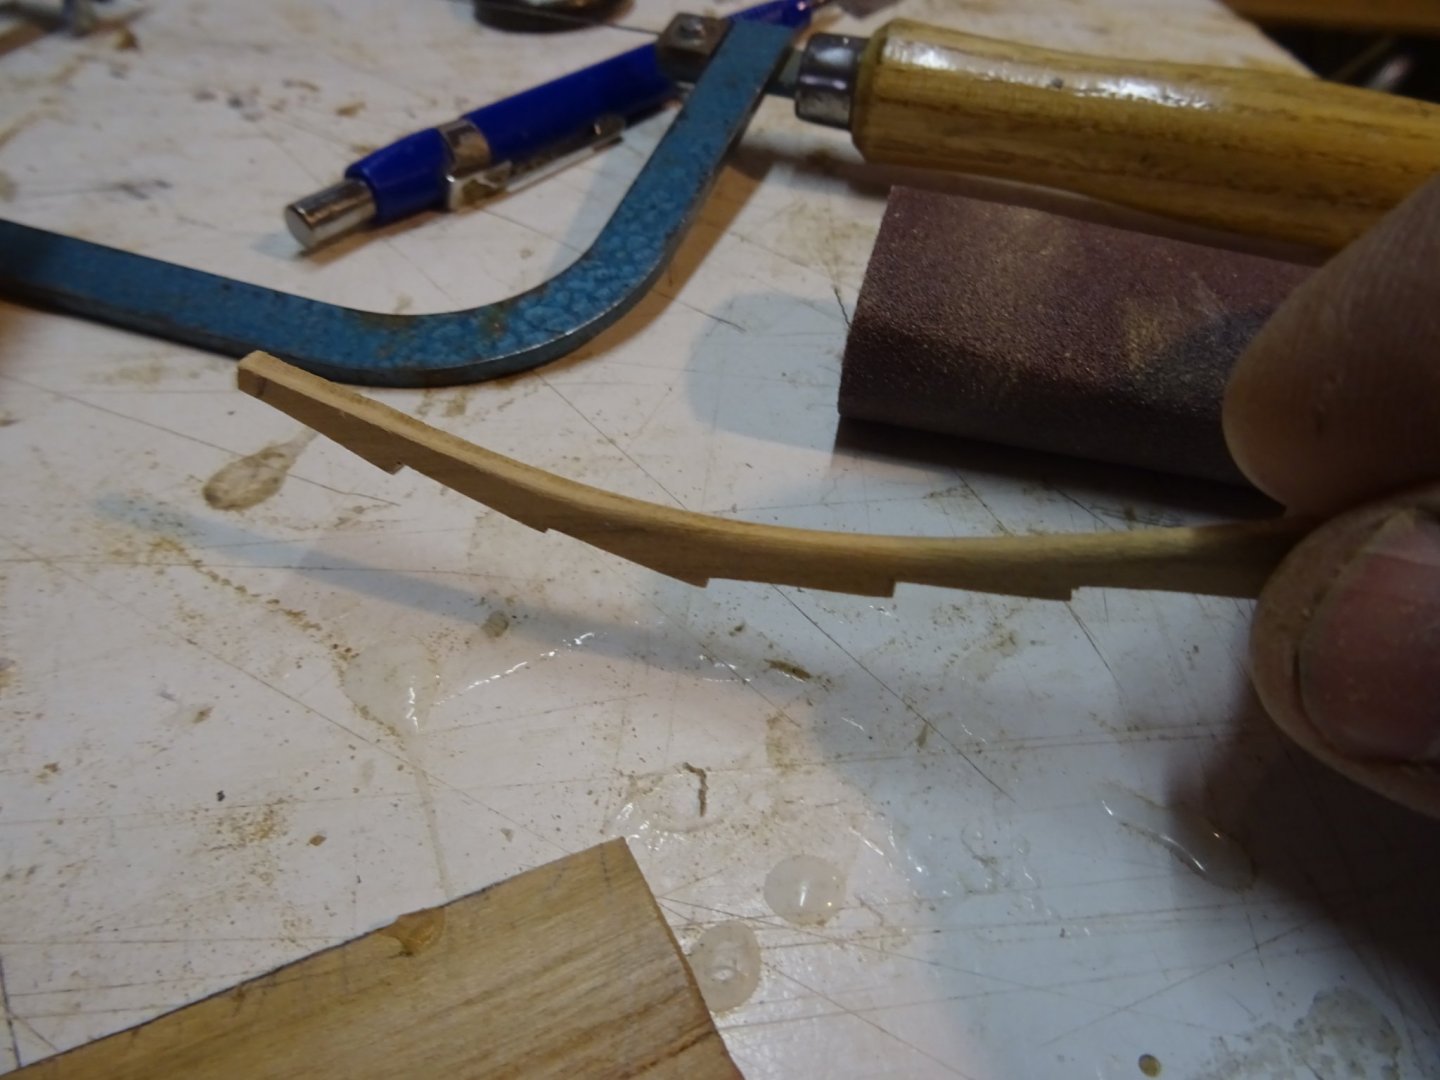
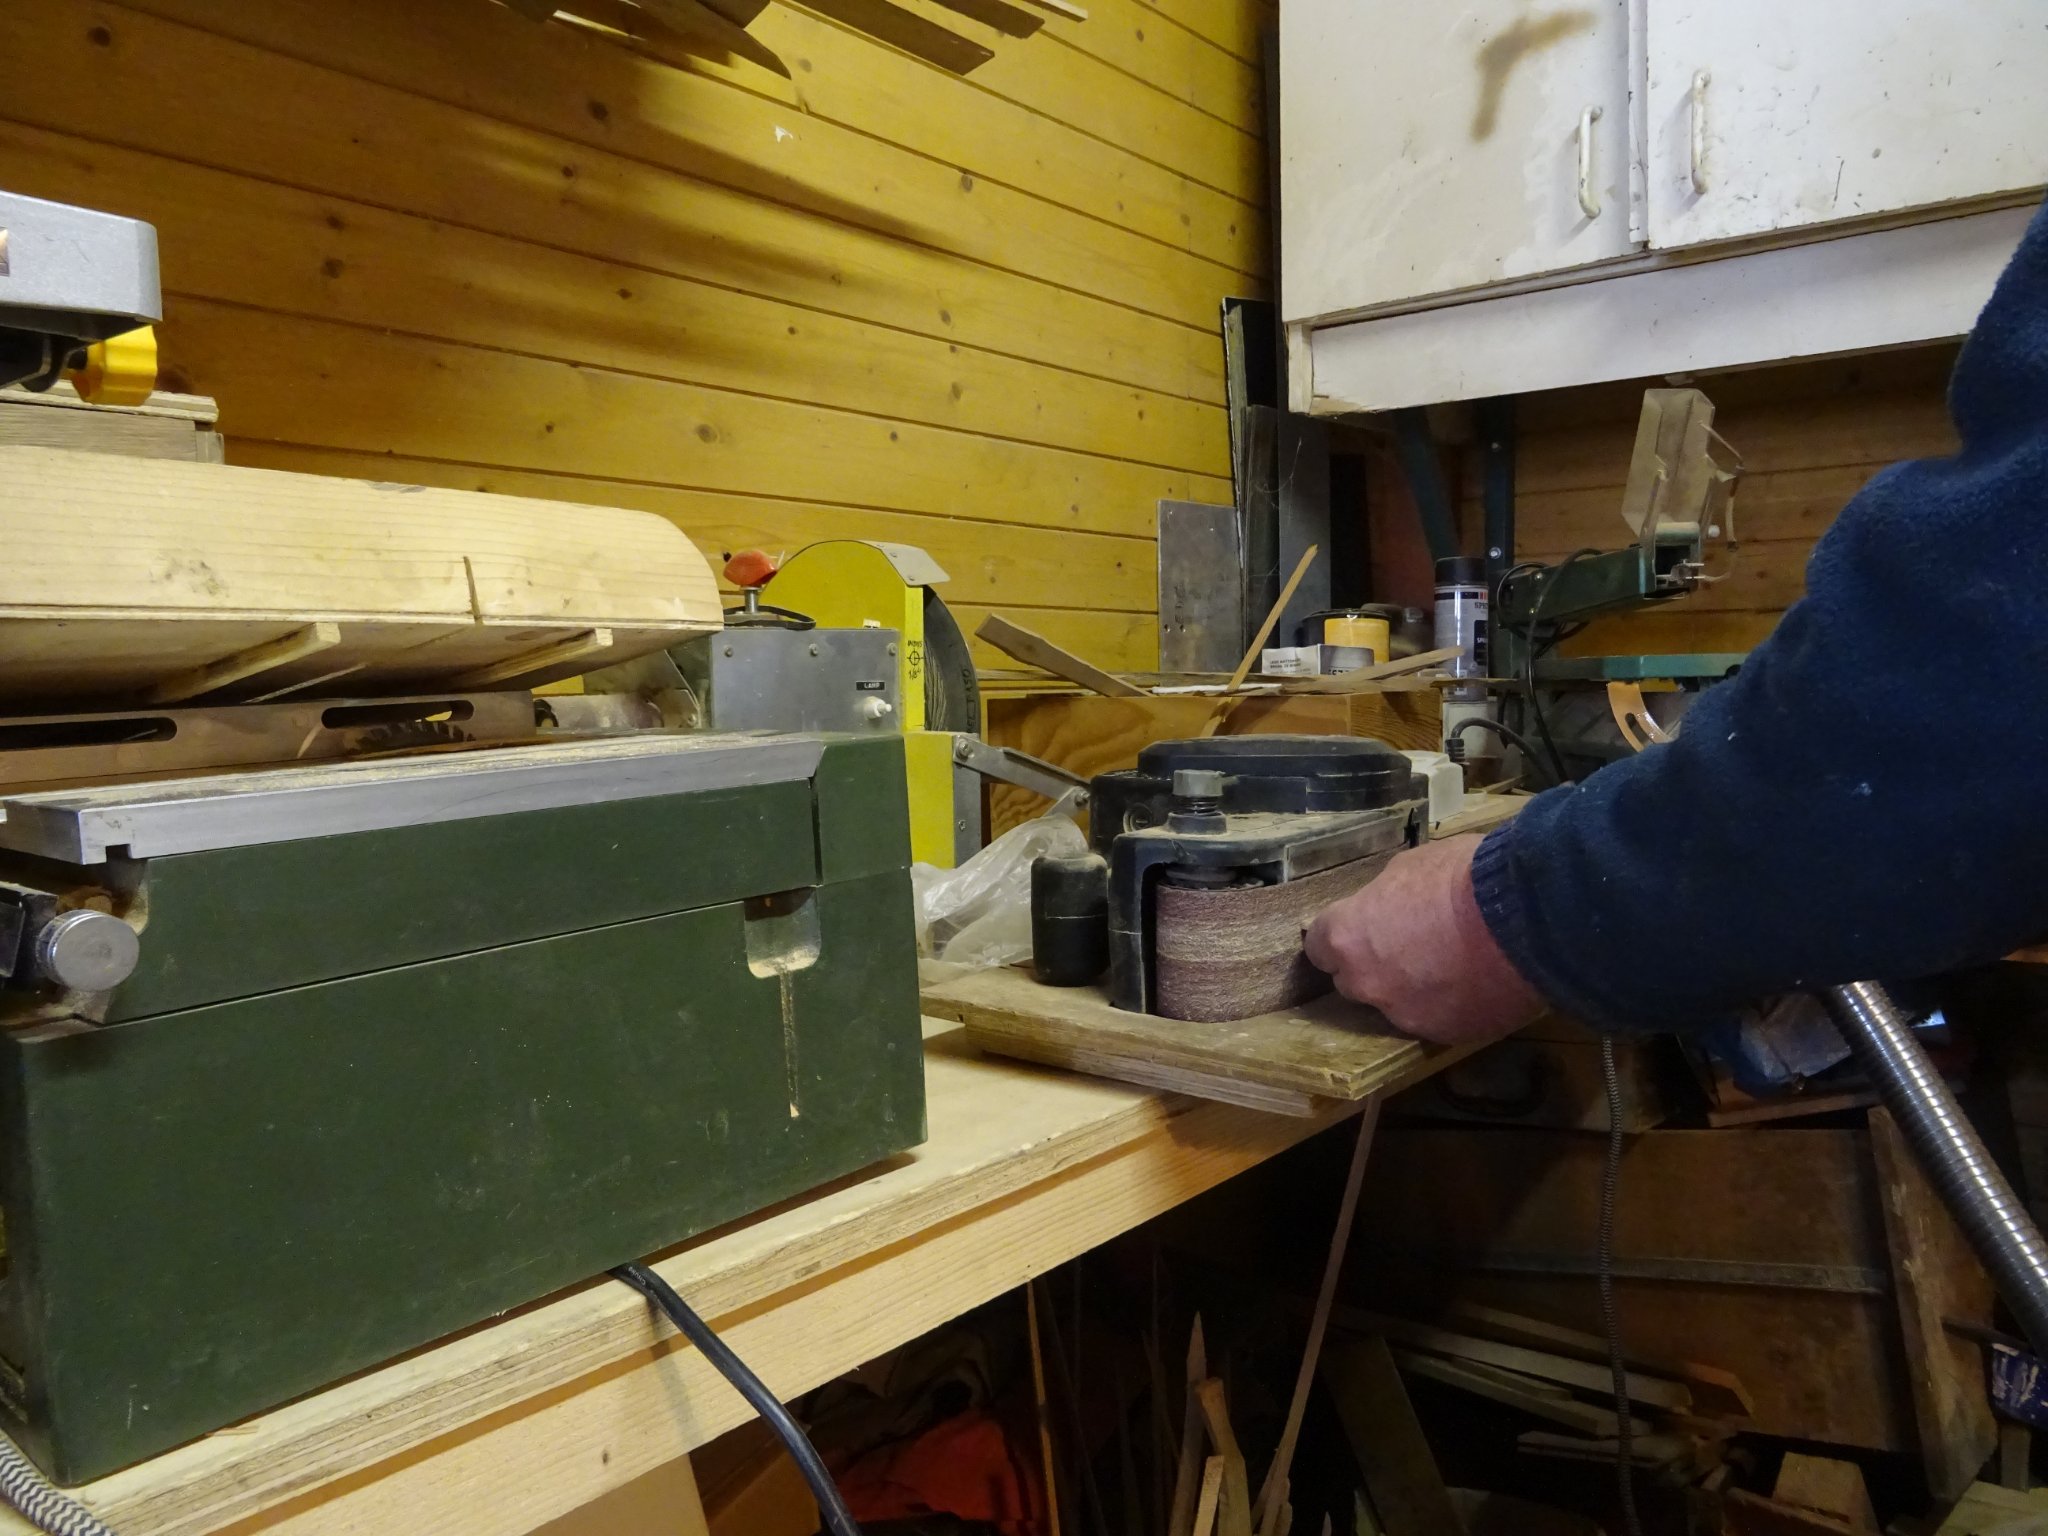
When sawn out, I sand the outsides of the rib to break the sharp sawing edges.
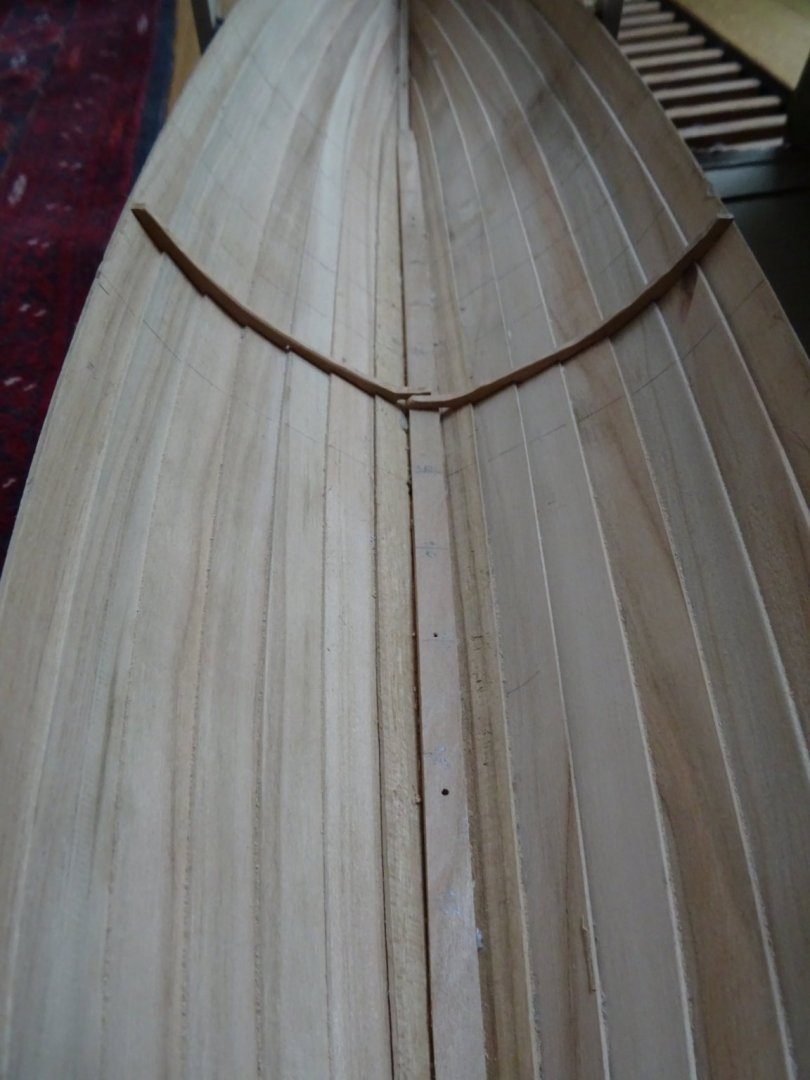
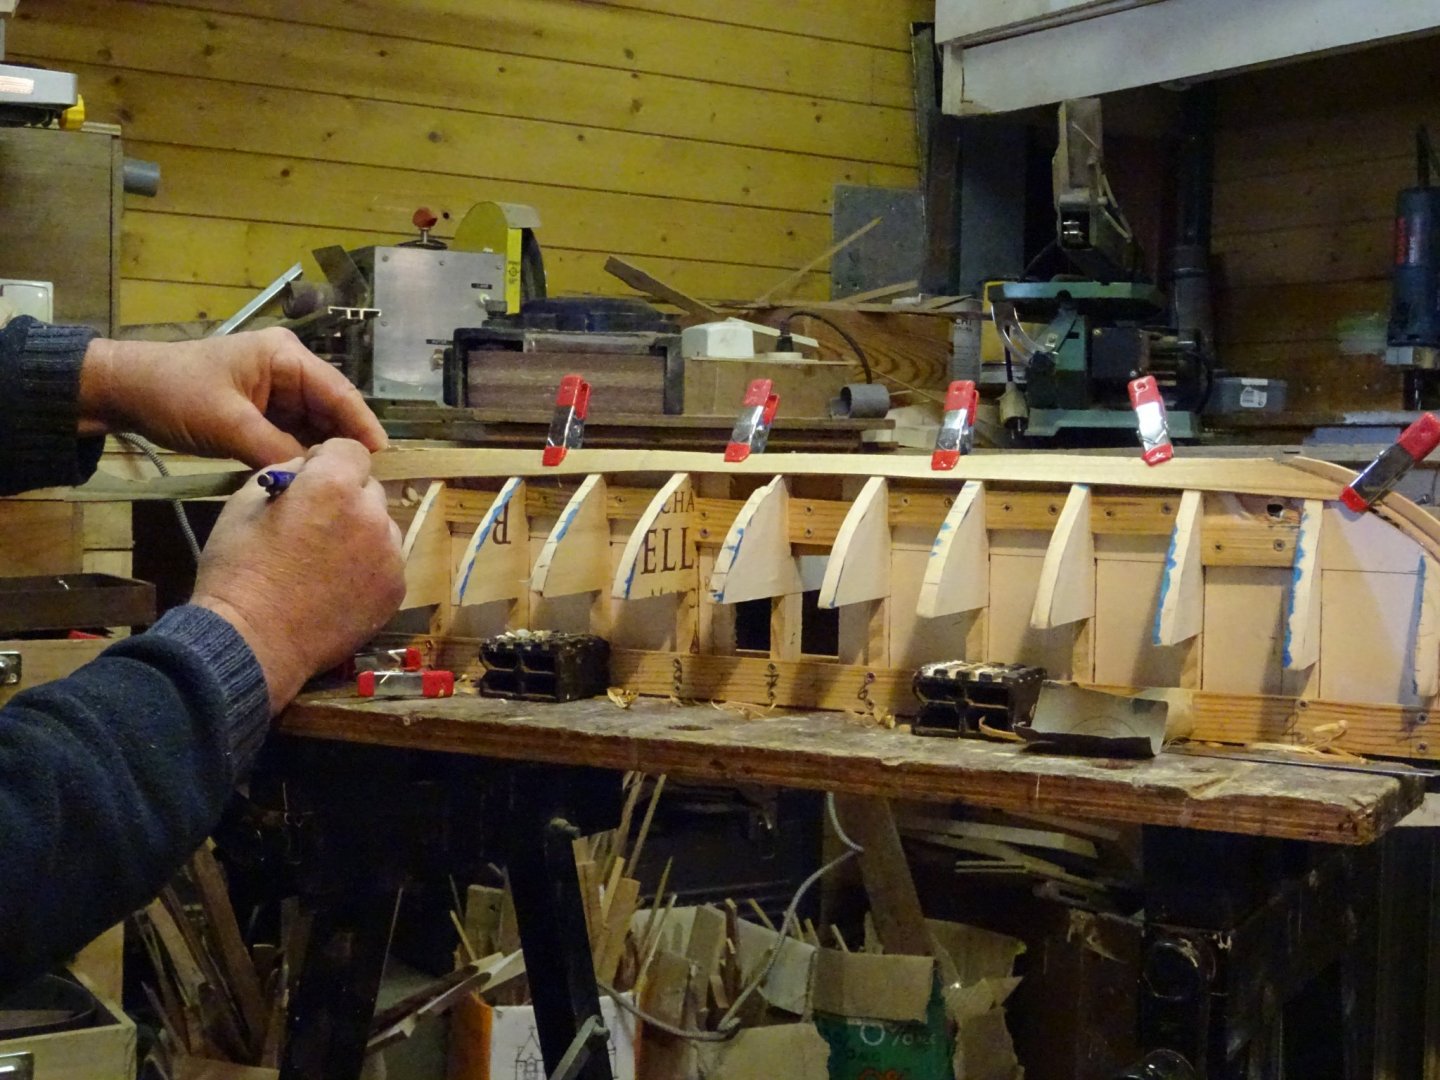
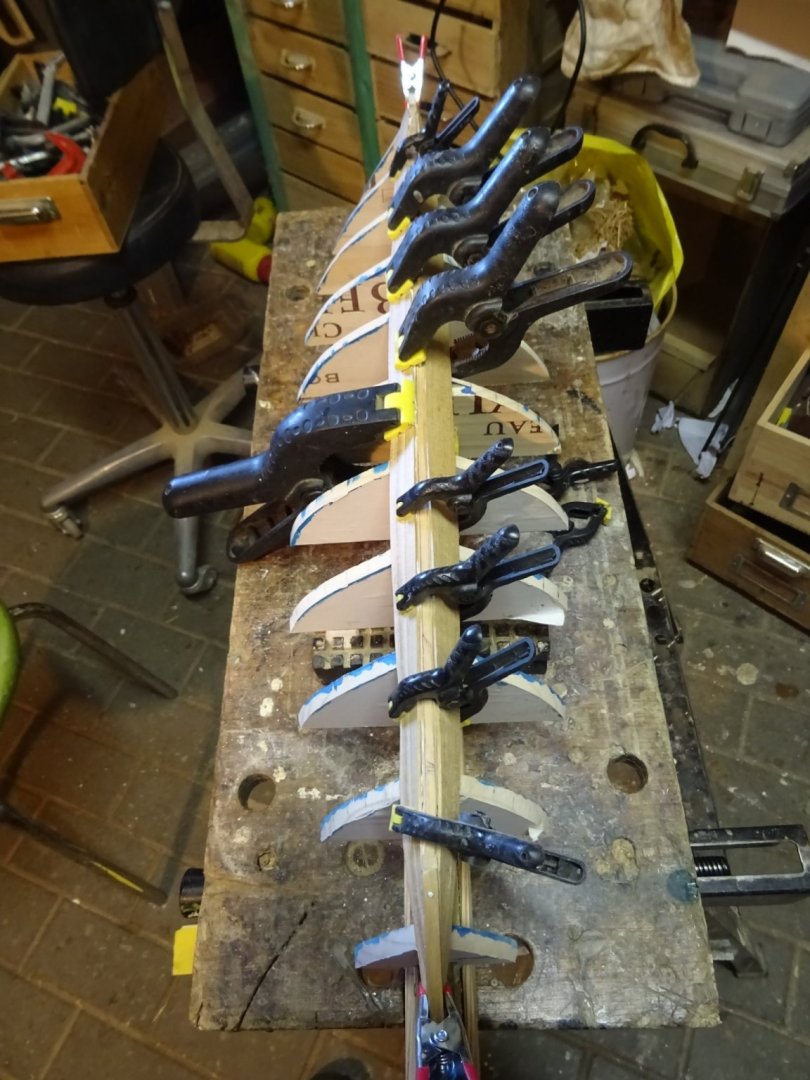
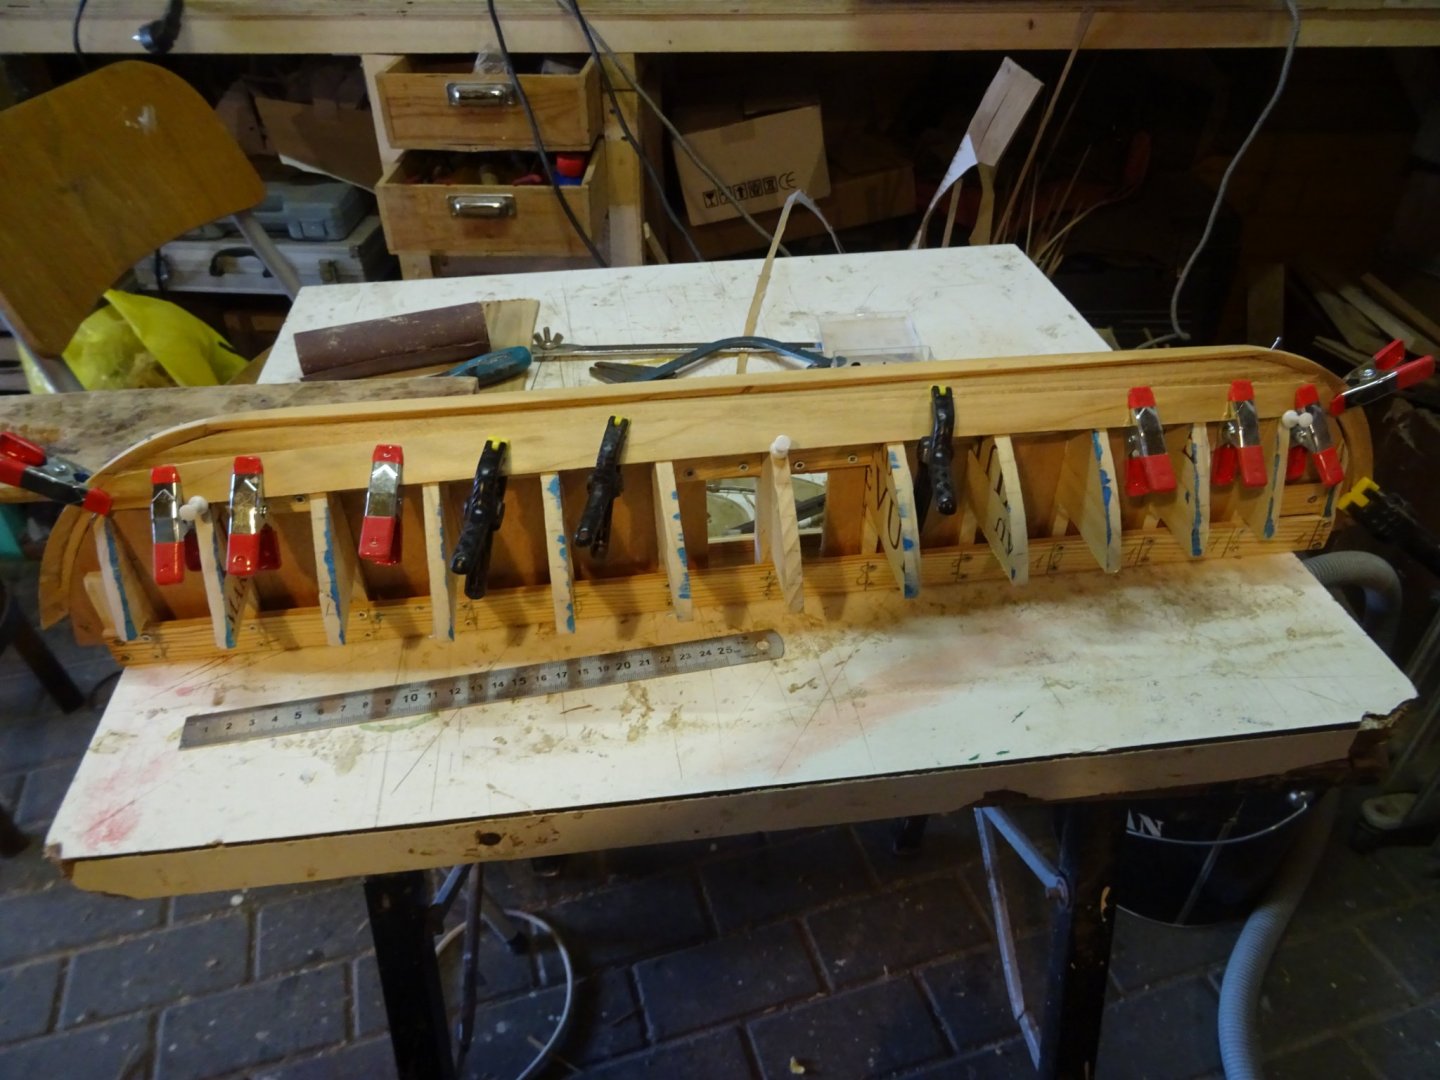
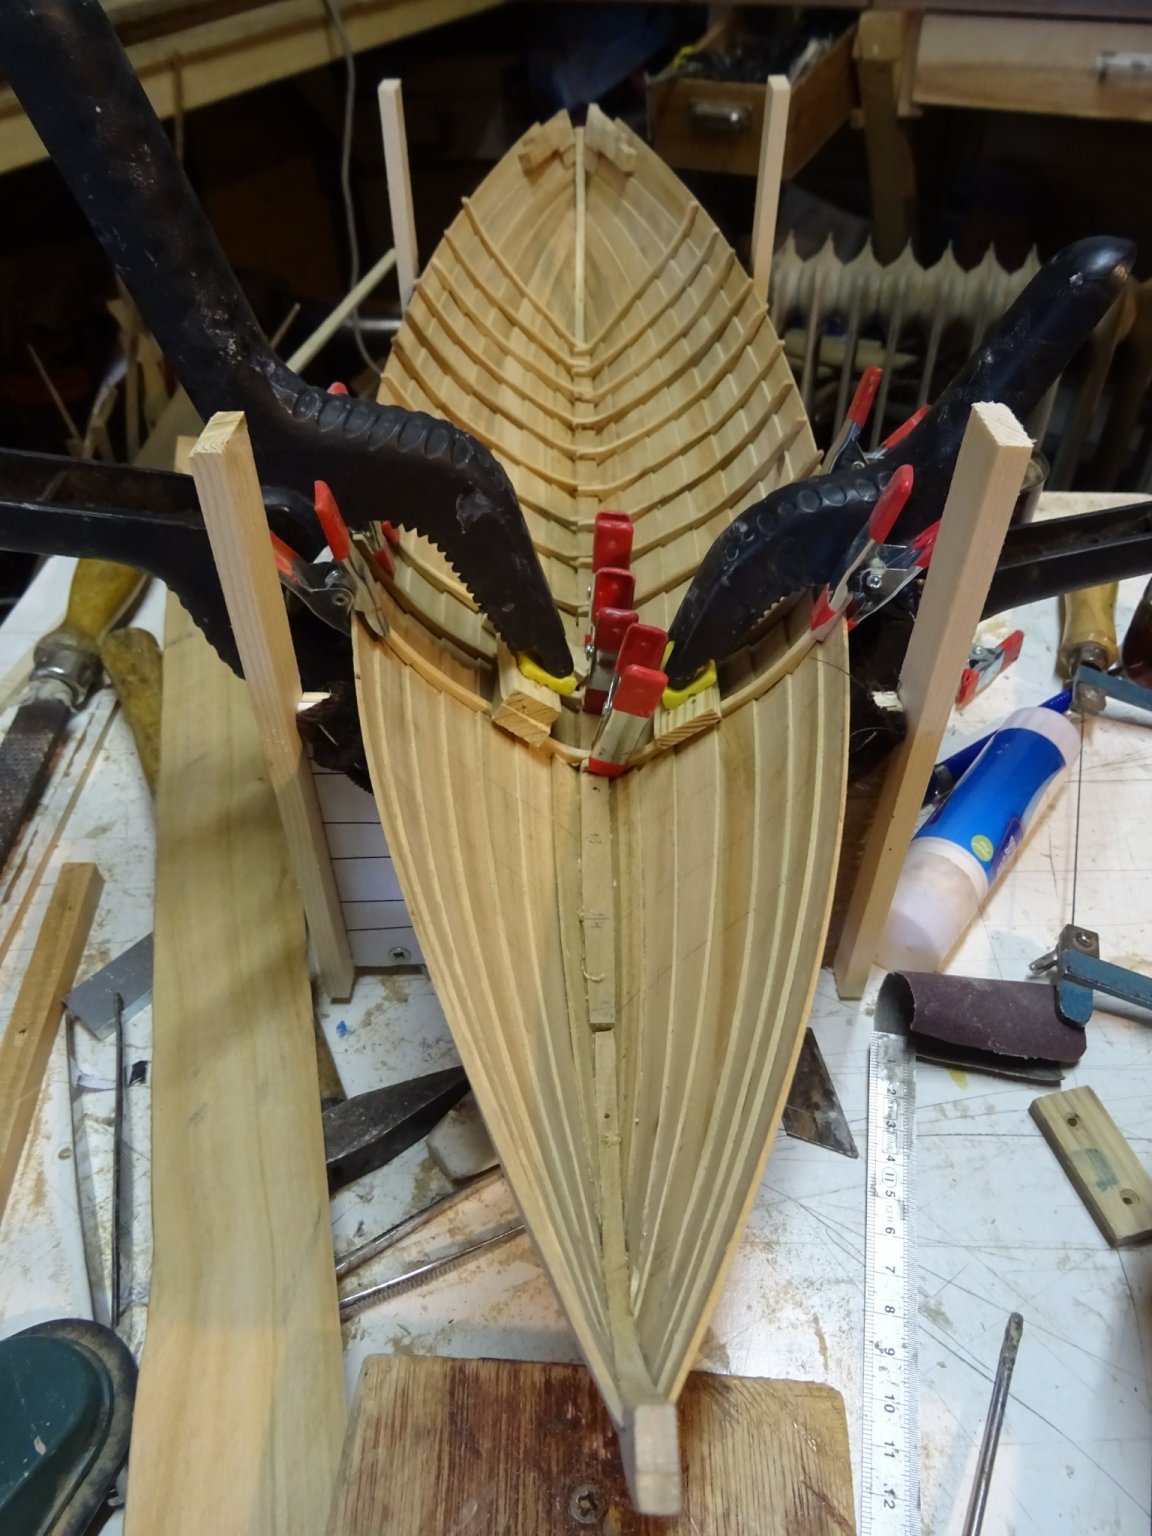
The first pair of ribs in the hull.
They are soon followed by some others.


The ribs are more or less perpendicular to the boats hull; when approaching the bow and the stern they become more and more cant frames.
Thank you very much for reading this log, for the comment and for your likes.
Till next week!
- Blackreed, GrandpaPhil, johnp76 and 3 others
-
6
-
-
That's indeed bad news, Patrick. Luckily you are not too ill.
Hopefully you can use your quarantaine days for the Bounty and Golden Hind.
Take care!
- Ryland Craze and Baker
-
2
-
-
-
Very clear tutorial.
Thank you, Valeriy
- Louie da fly, mtaylor, Keith Black and 4 others
-
7
-
-
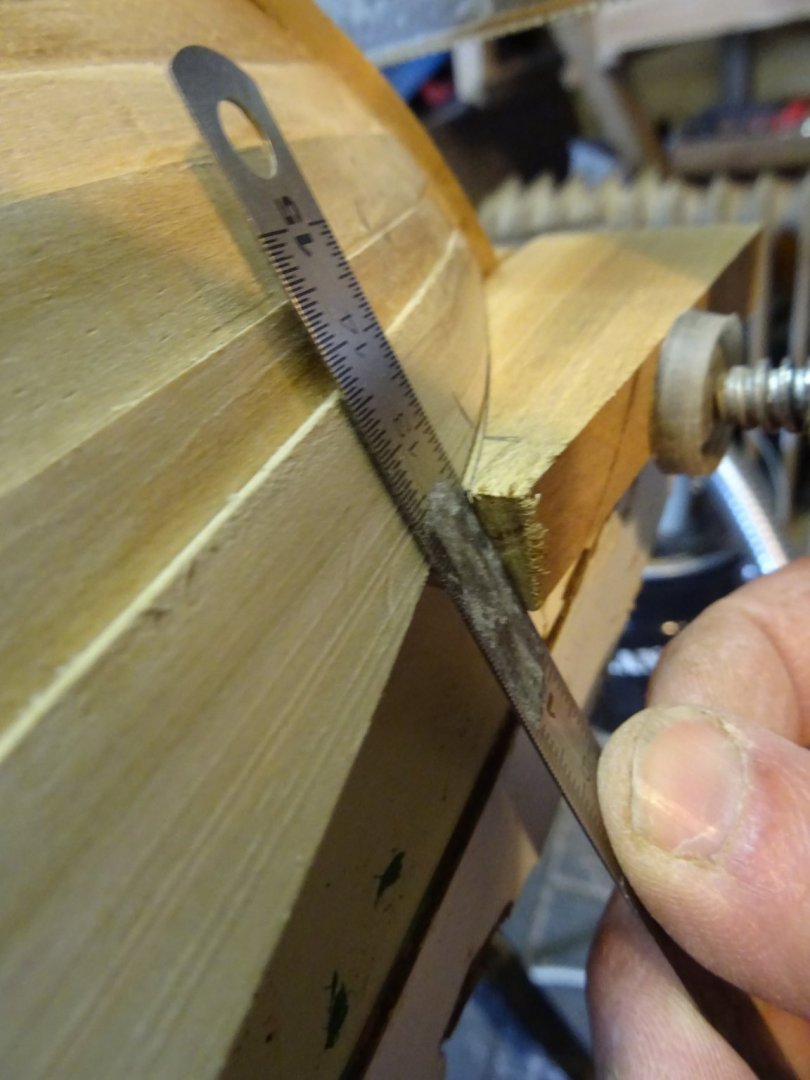
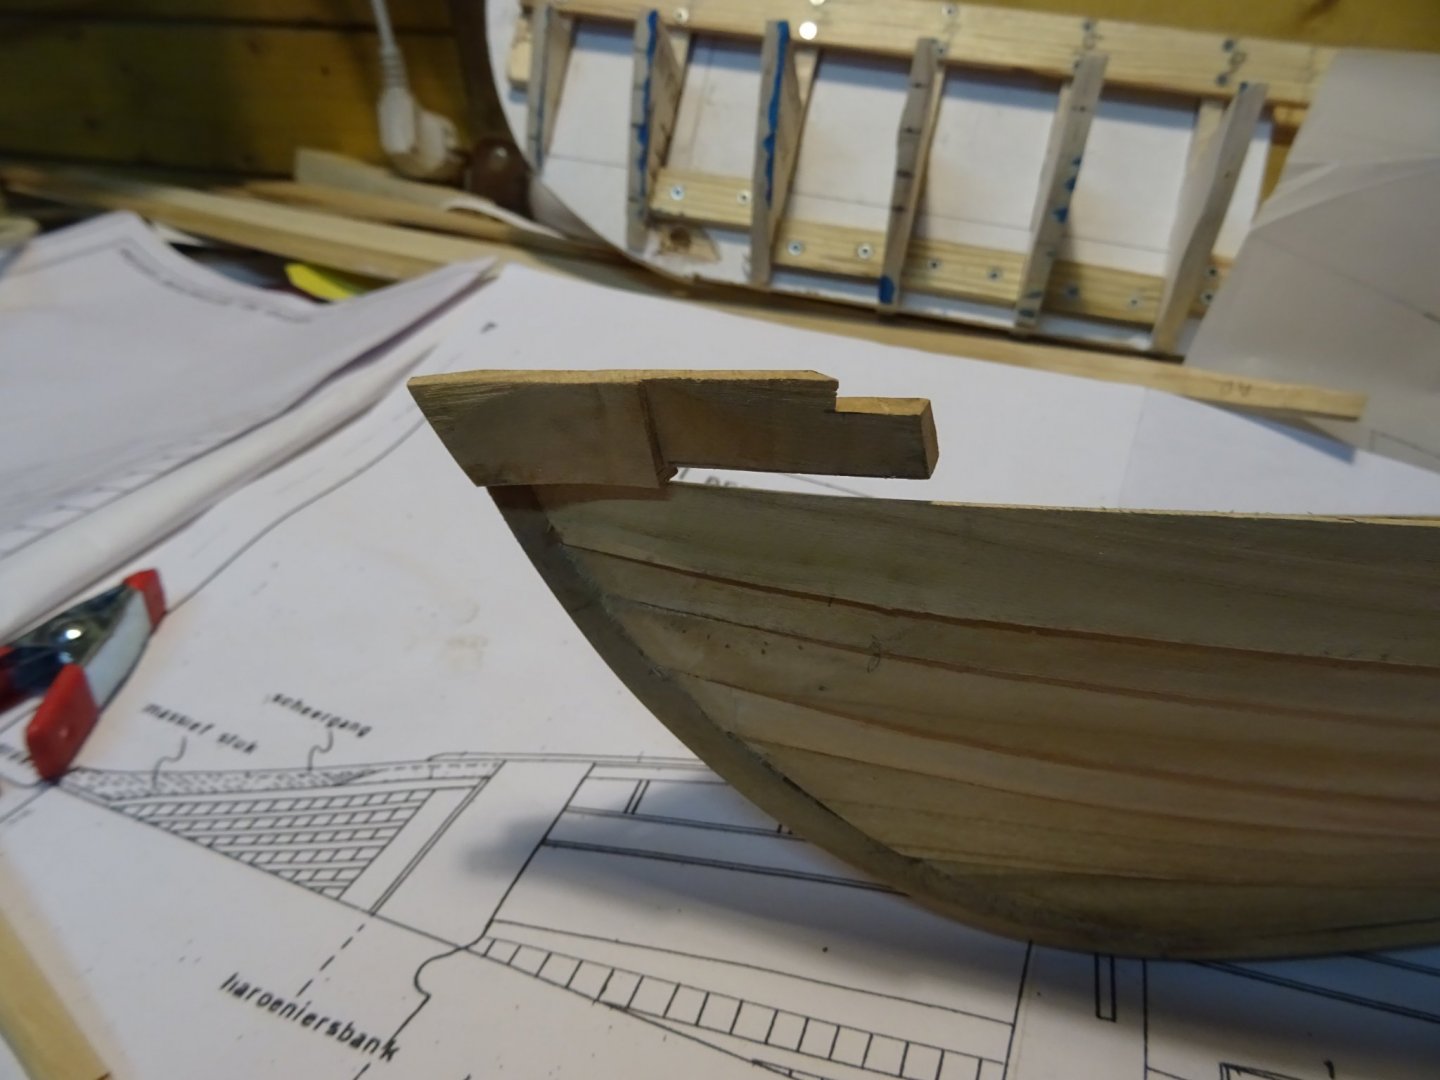
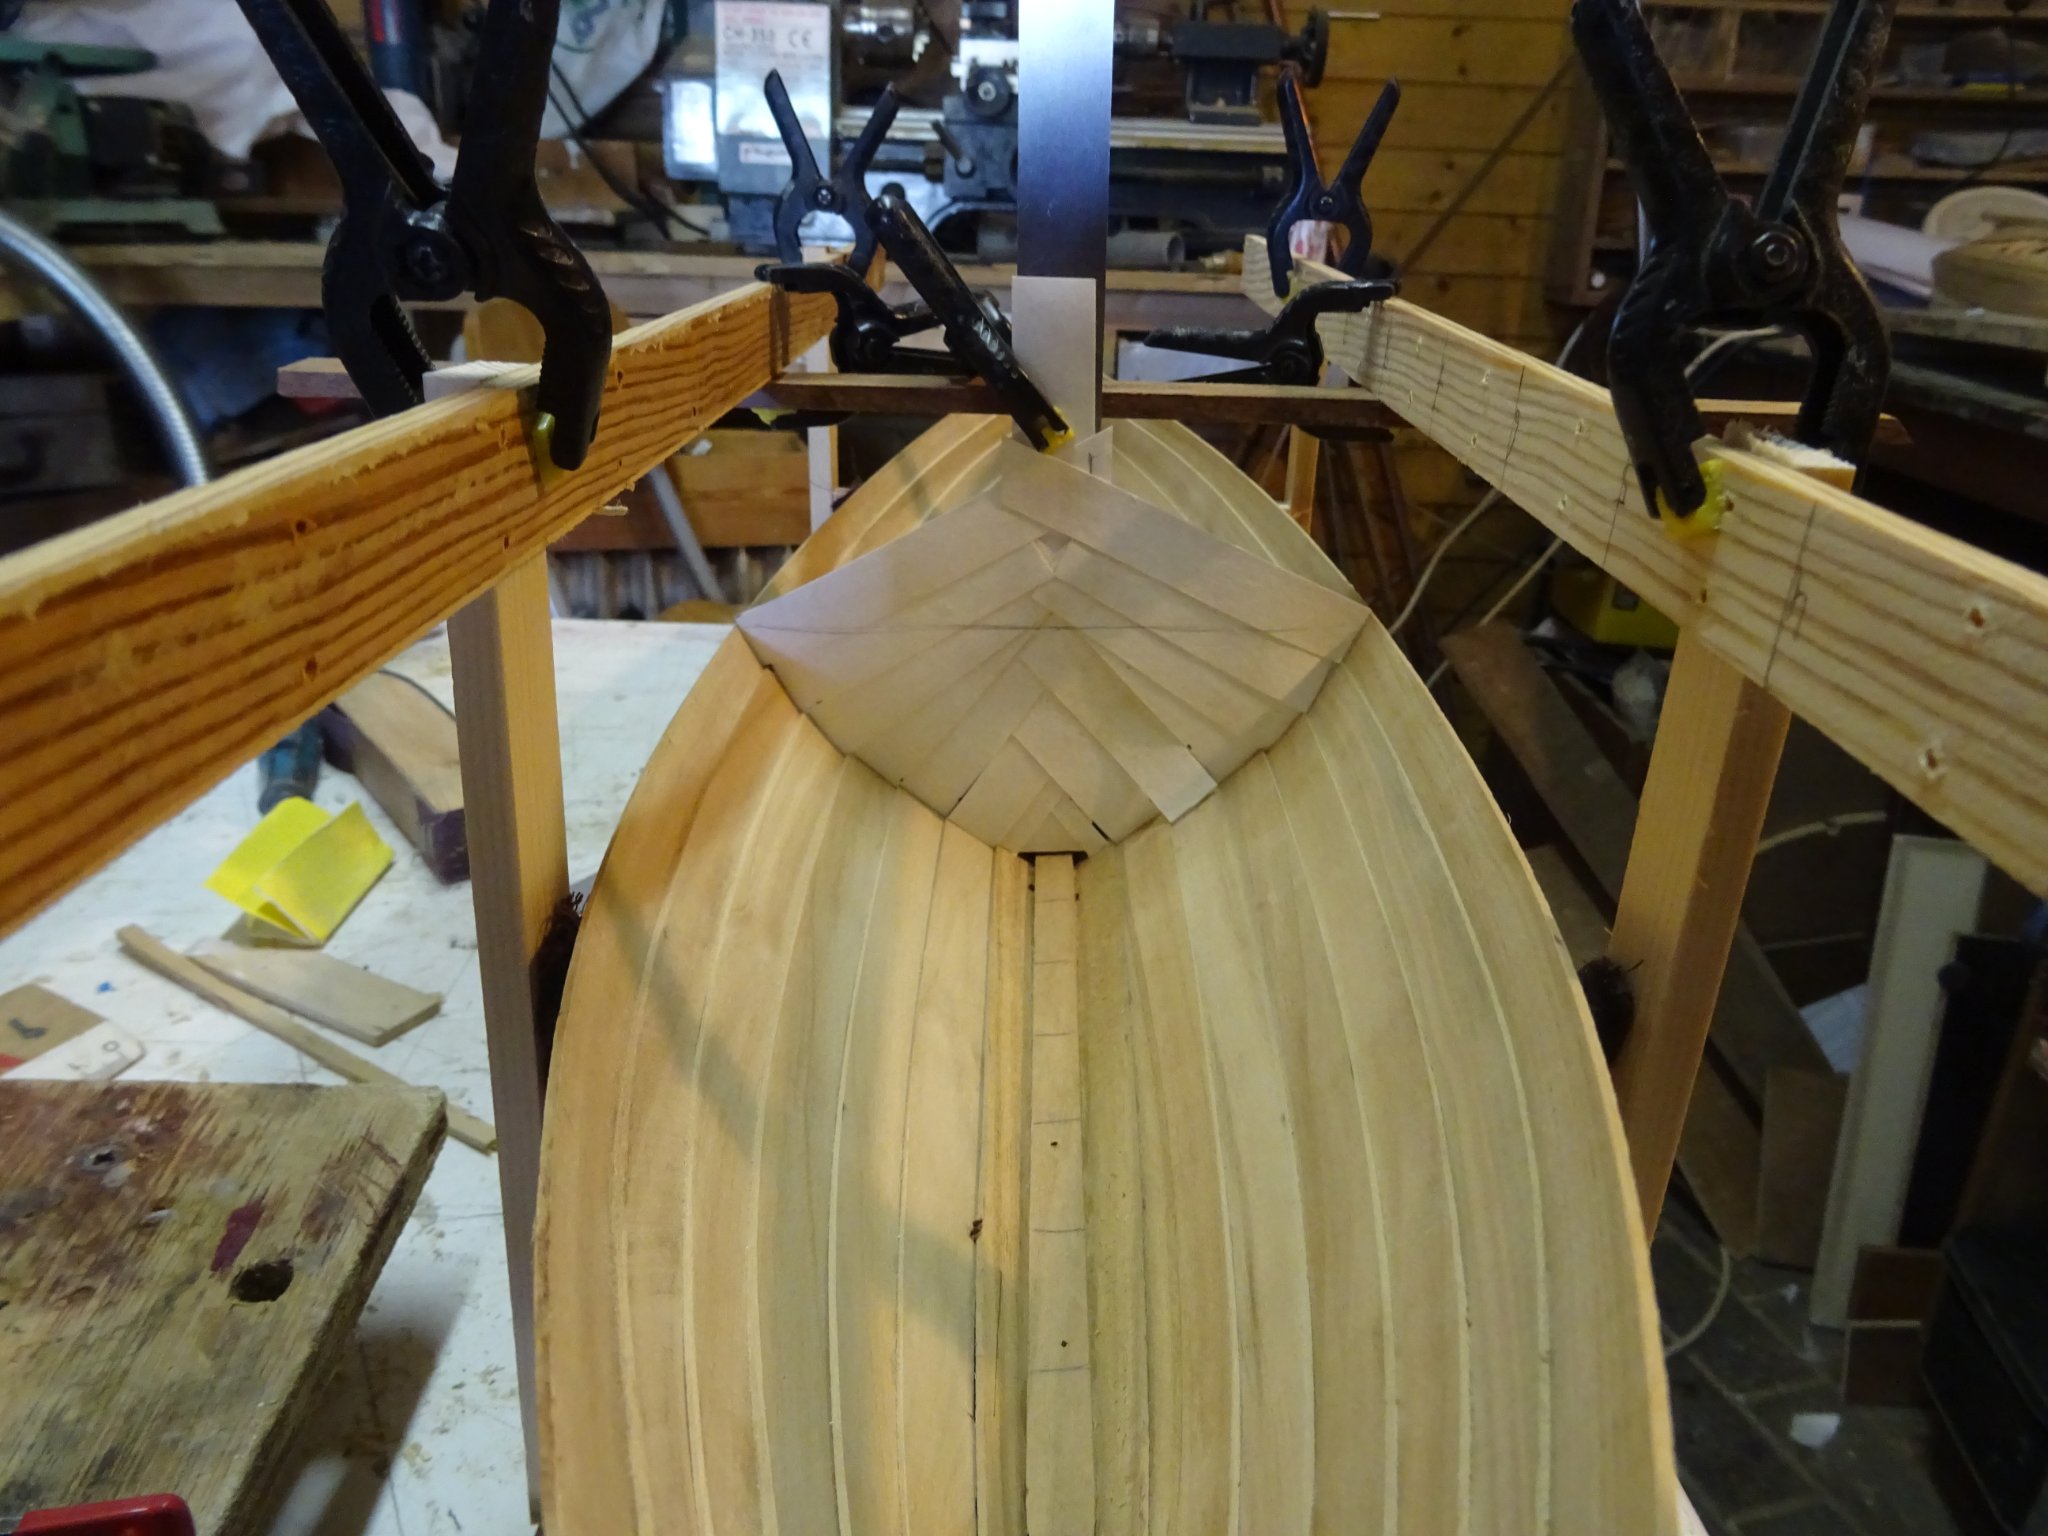
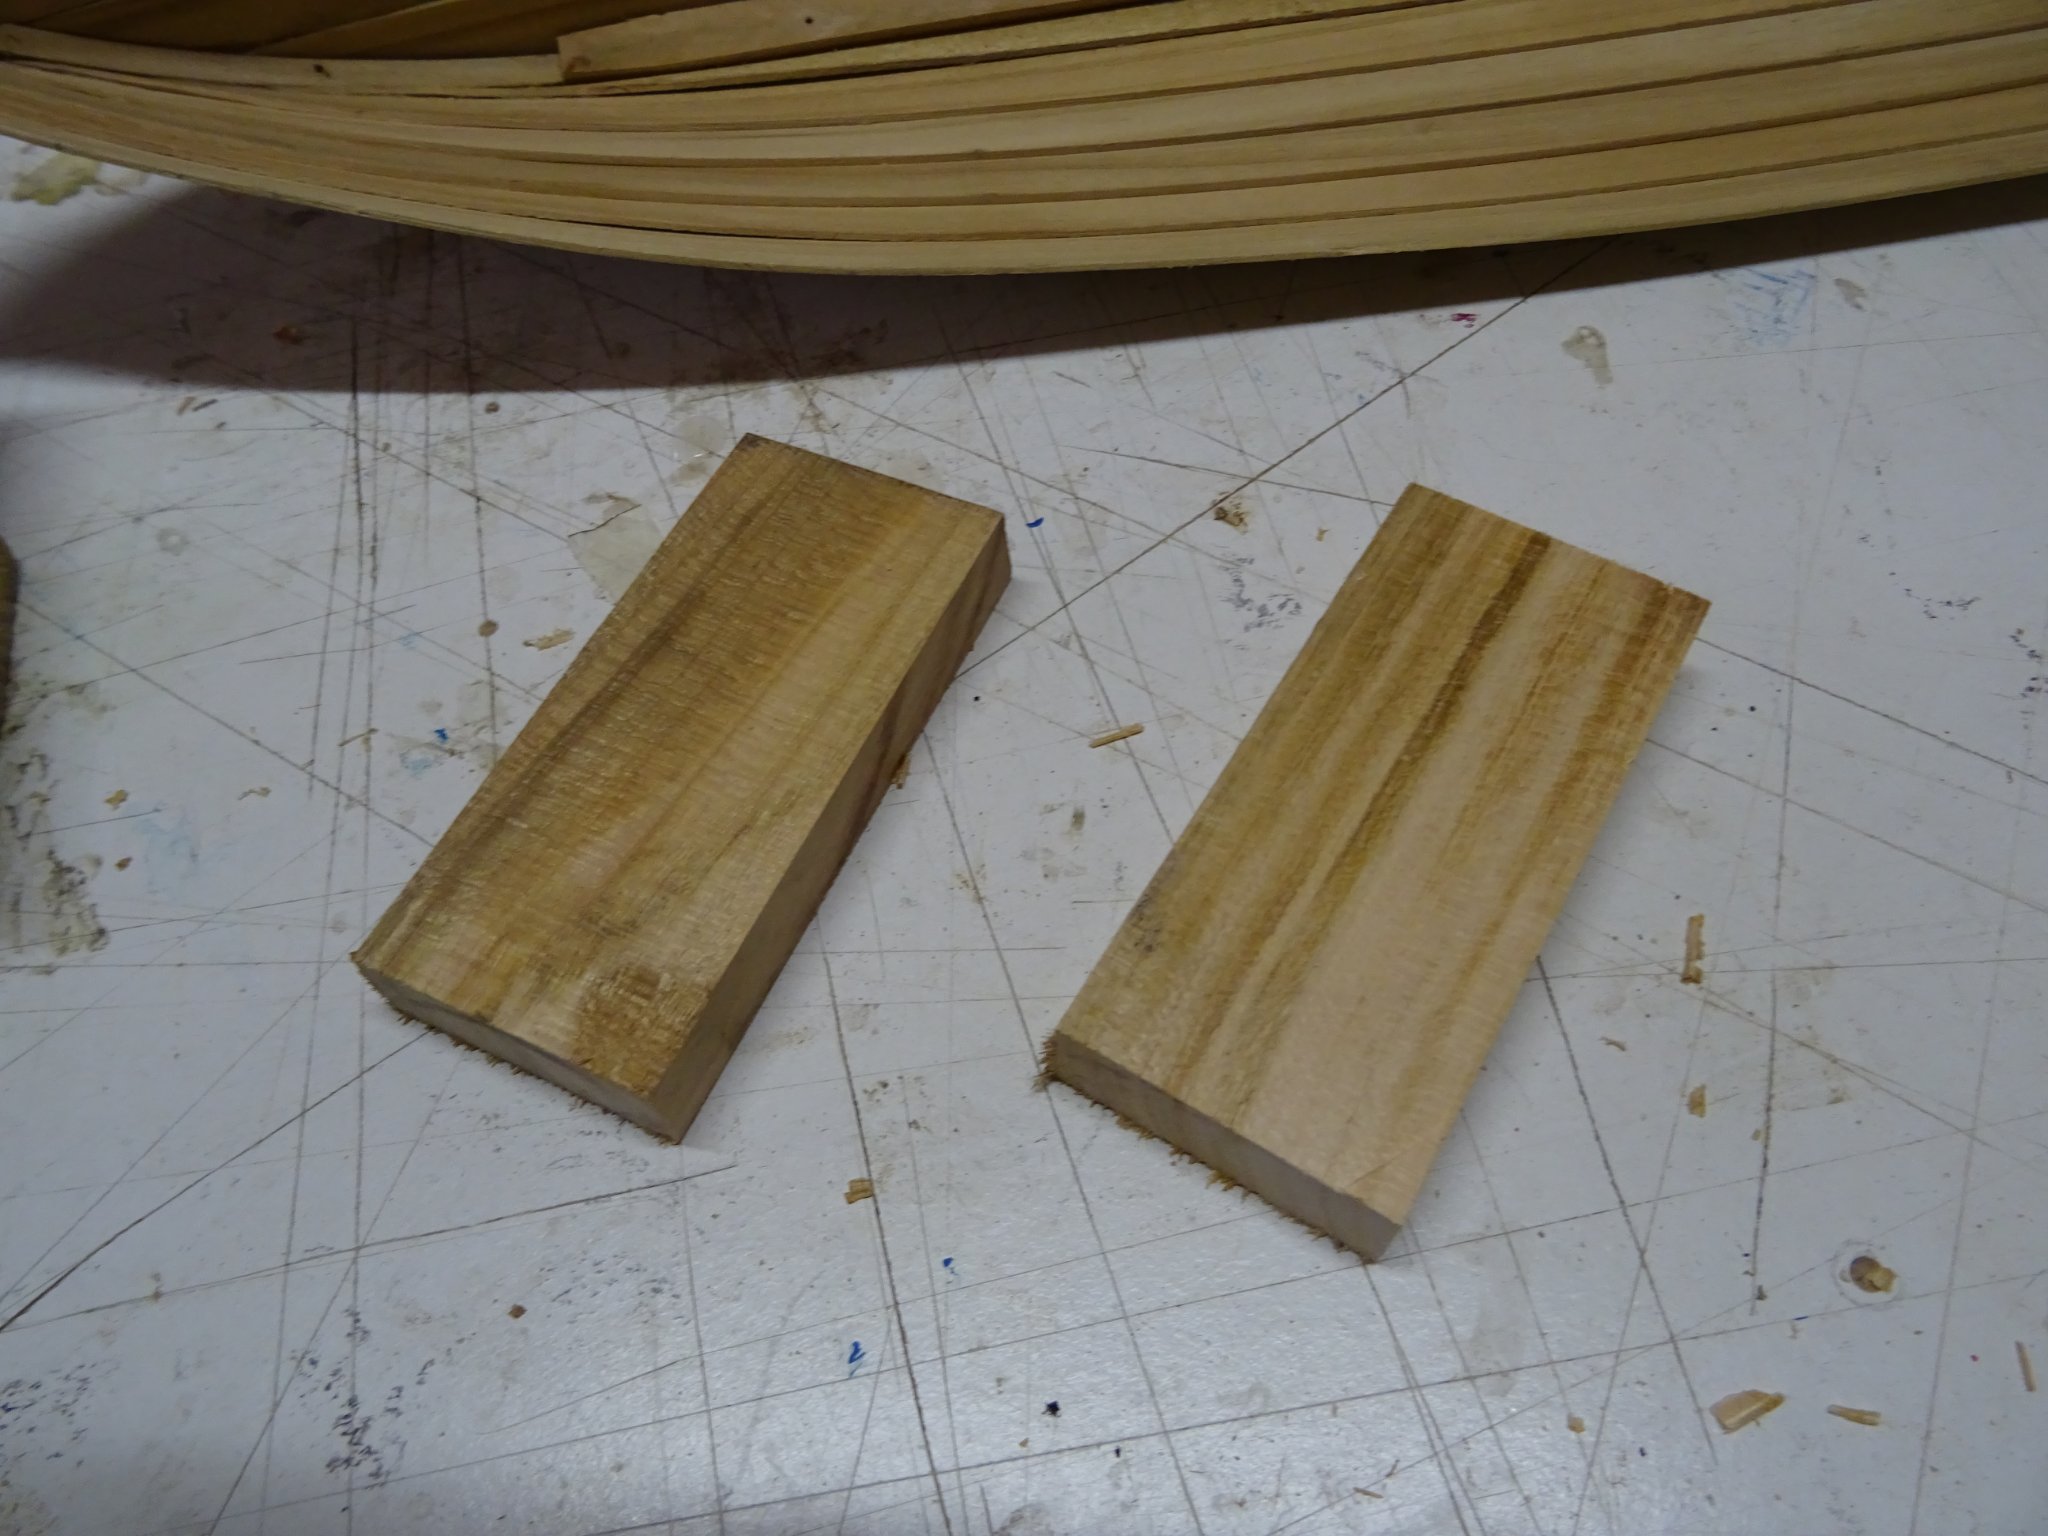
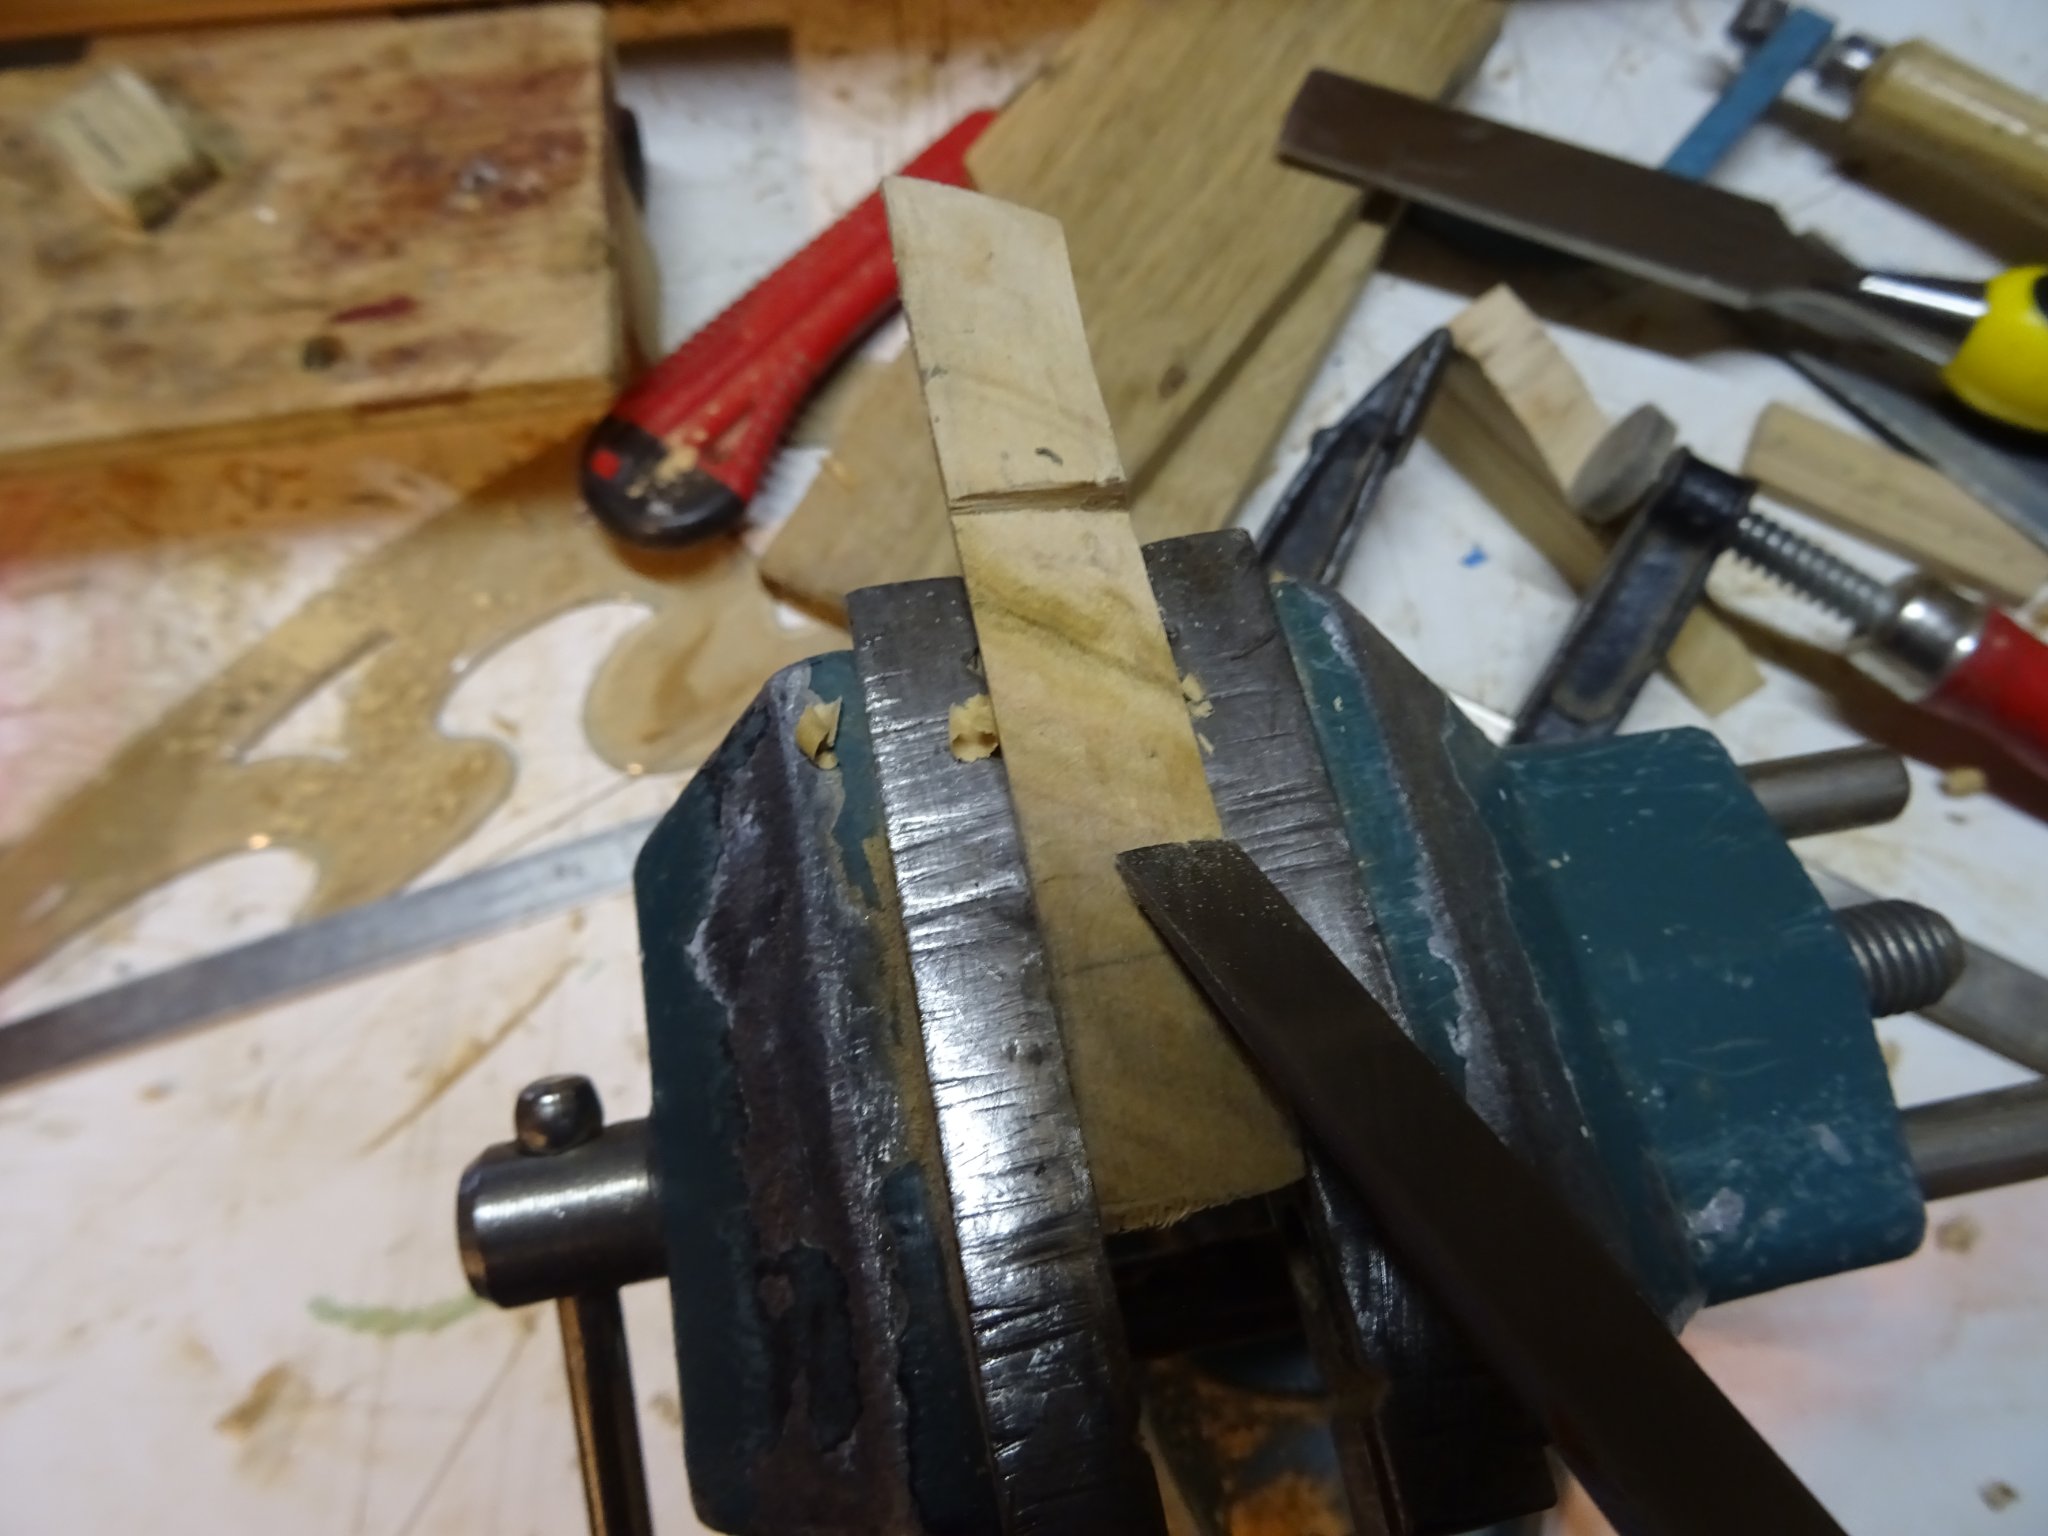
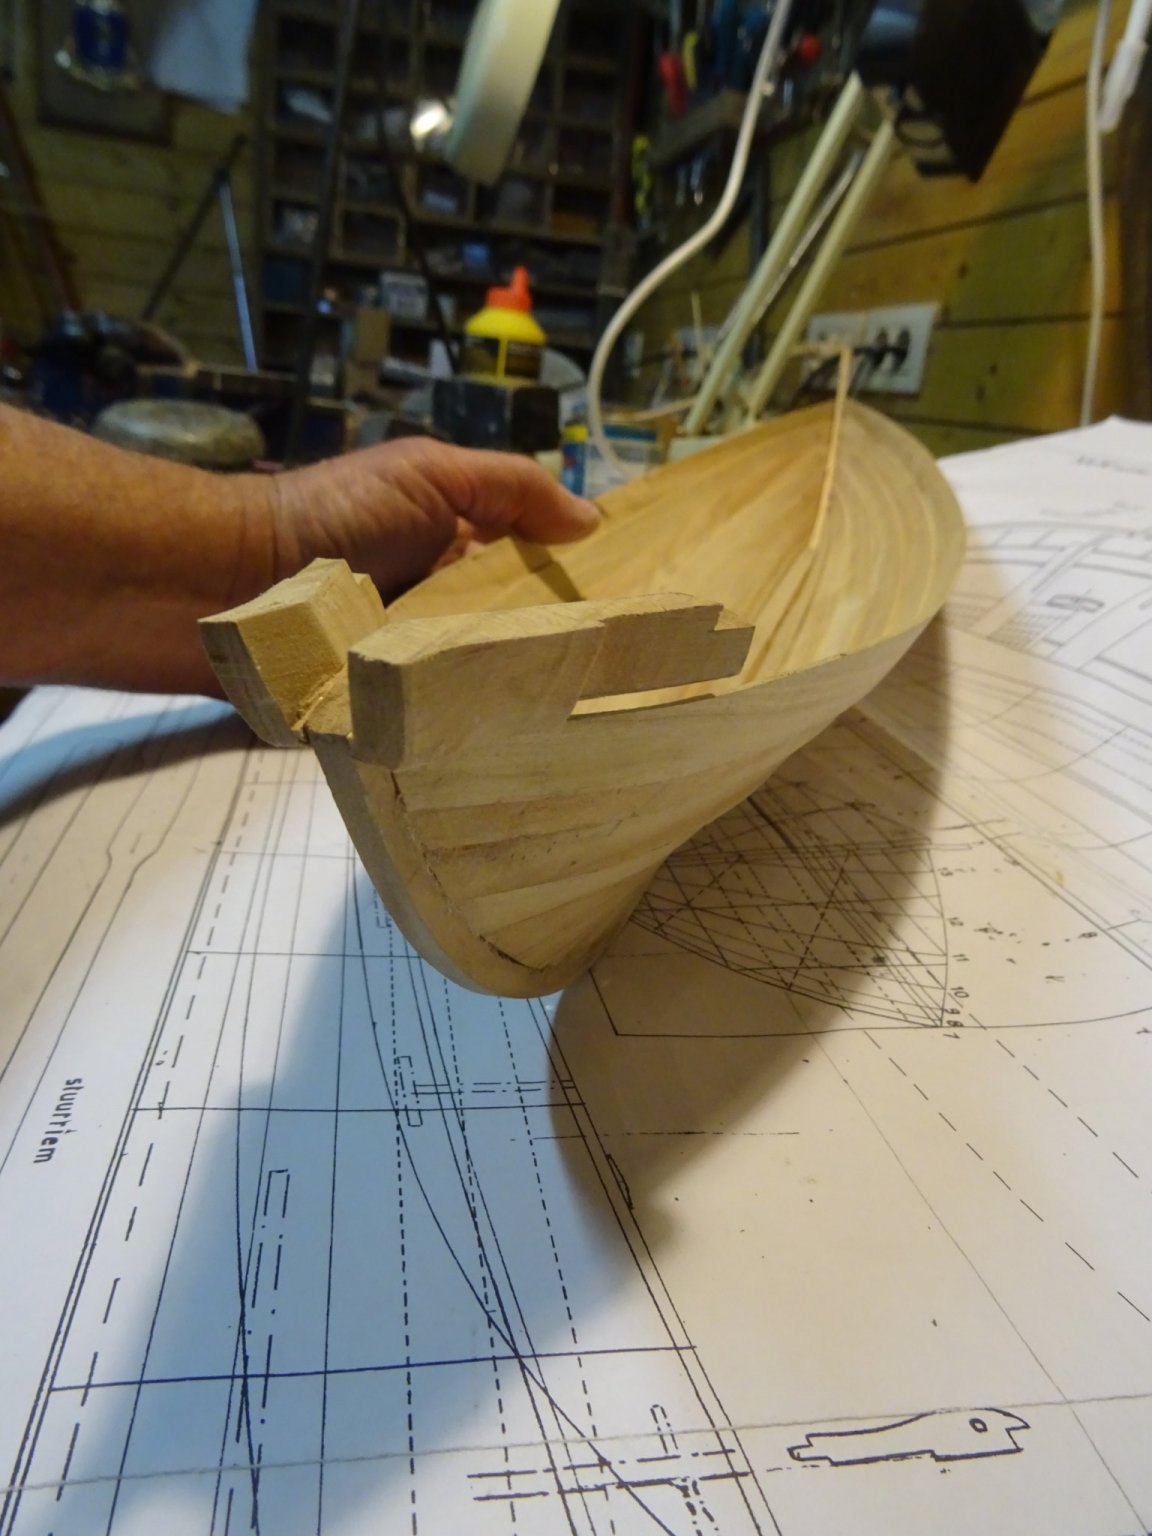
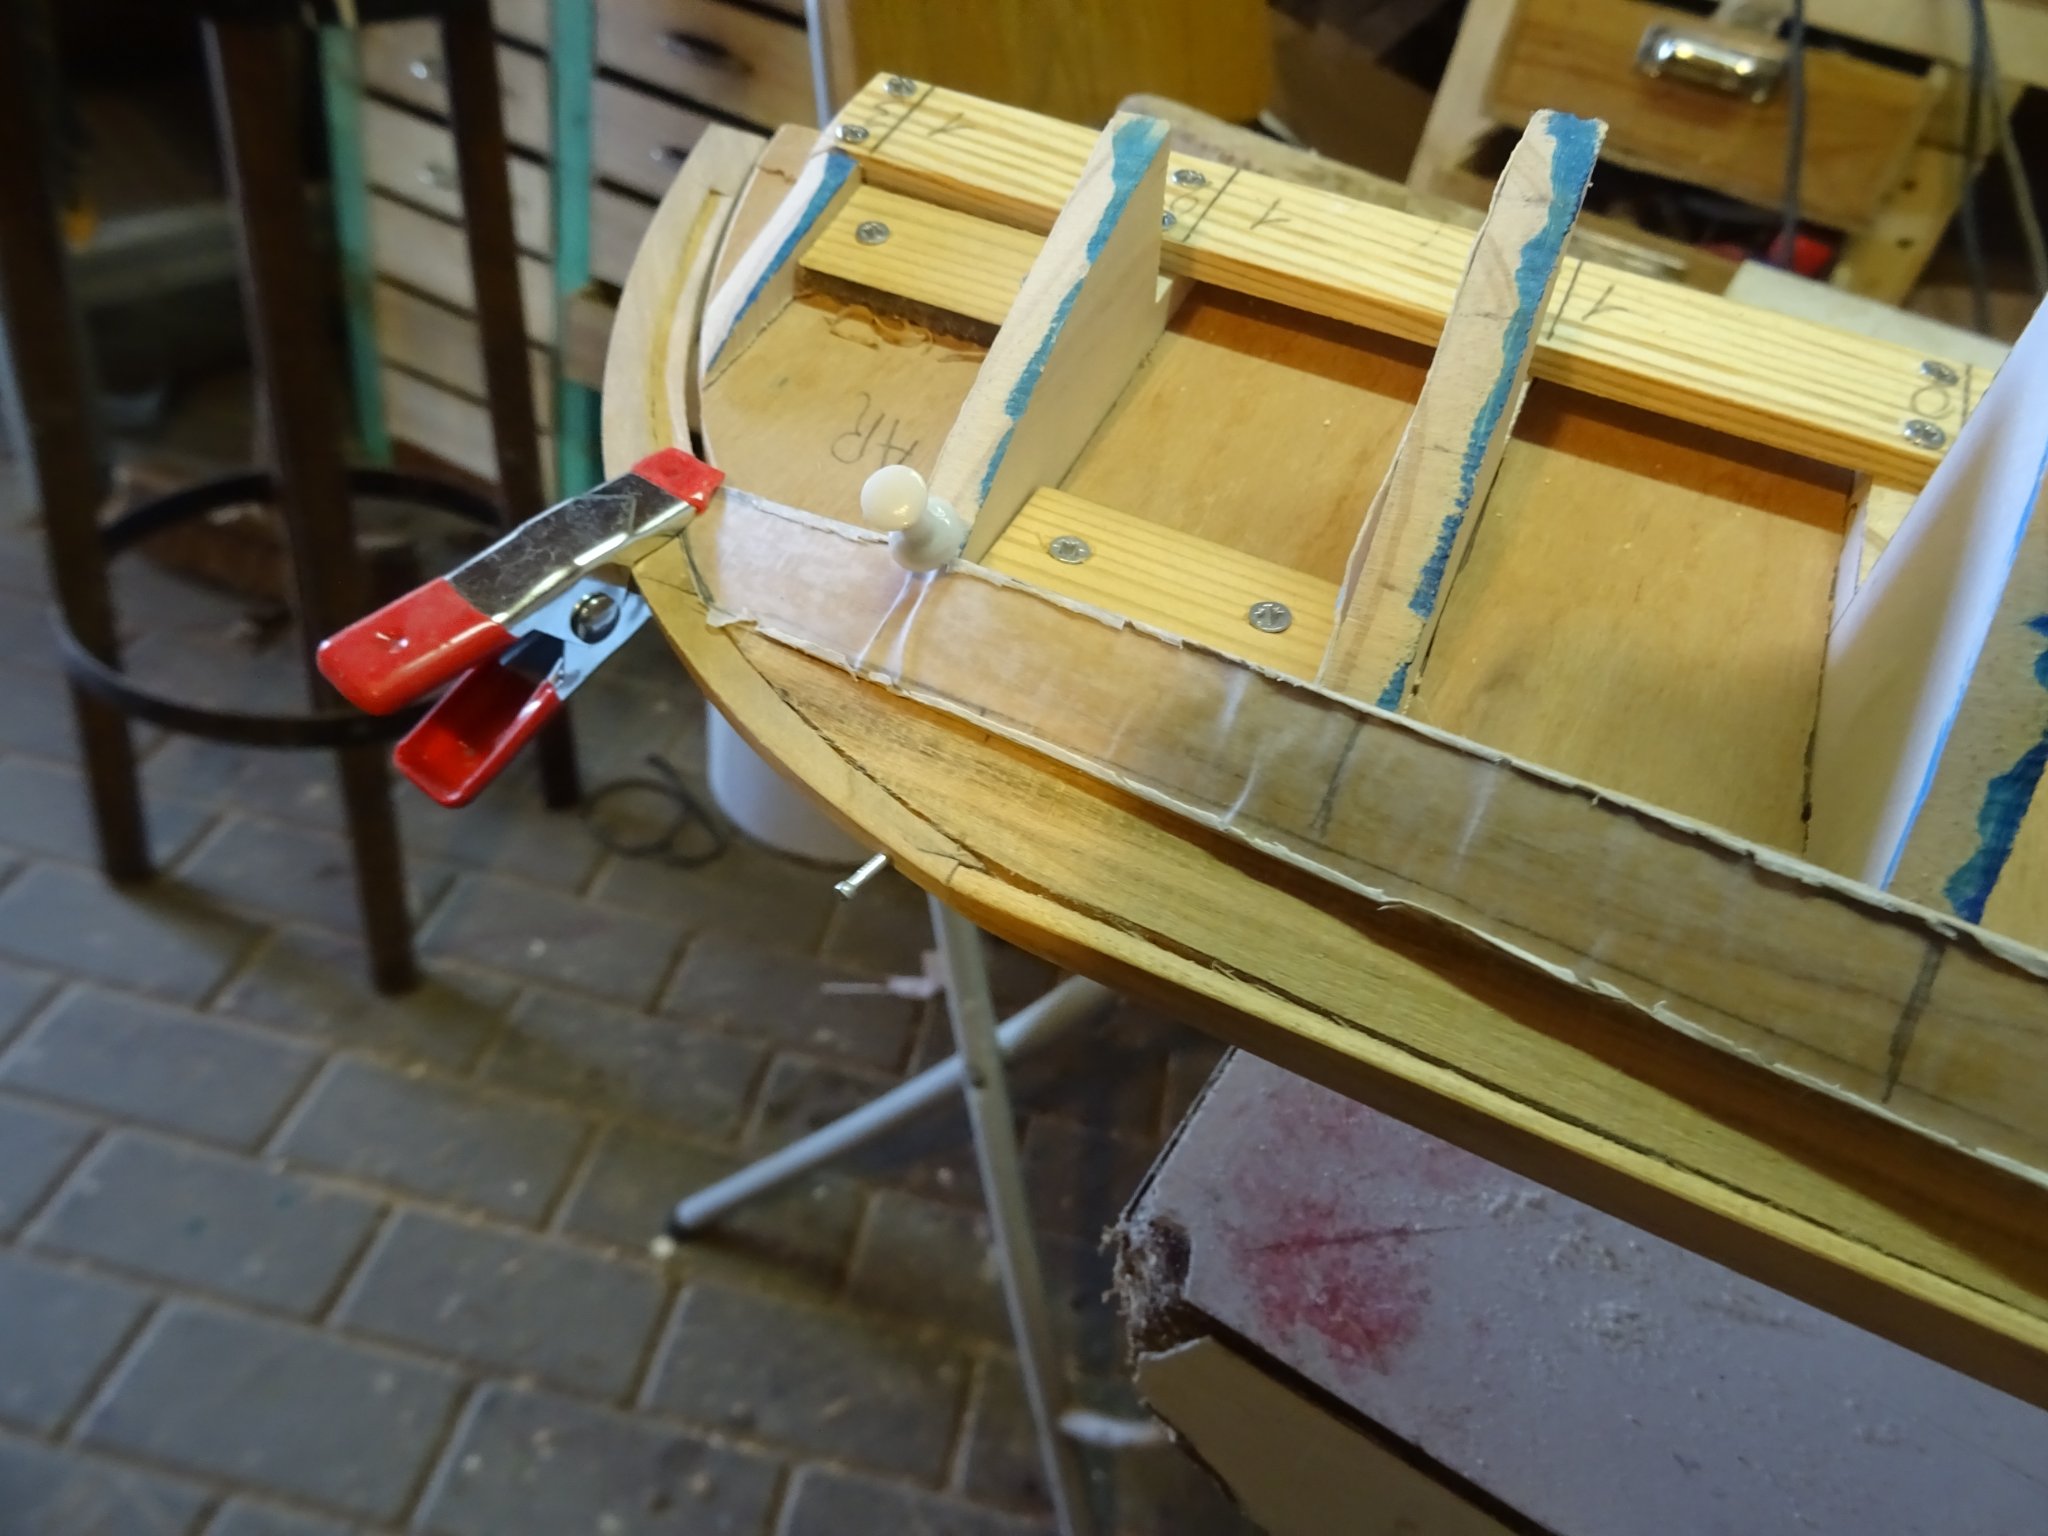
The reason why the inside of the hull has to be accessible at this stage of the built is that the bow of the boat has to be reinforced with two massive wooden cheeks. Between the fronts of those cheeks will be a narrow opening in which the harpoon line has to run out over a sheave. When a whale is harpooned, large forces can come on the bow.
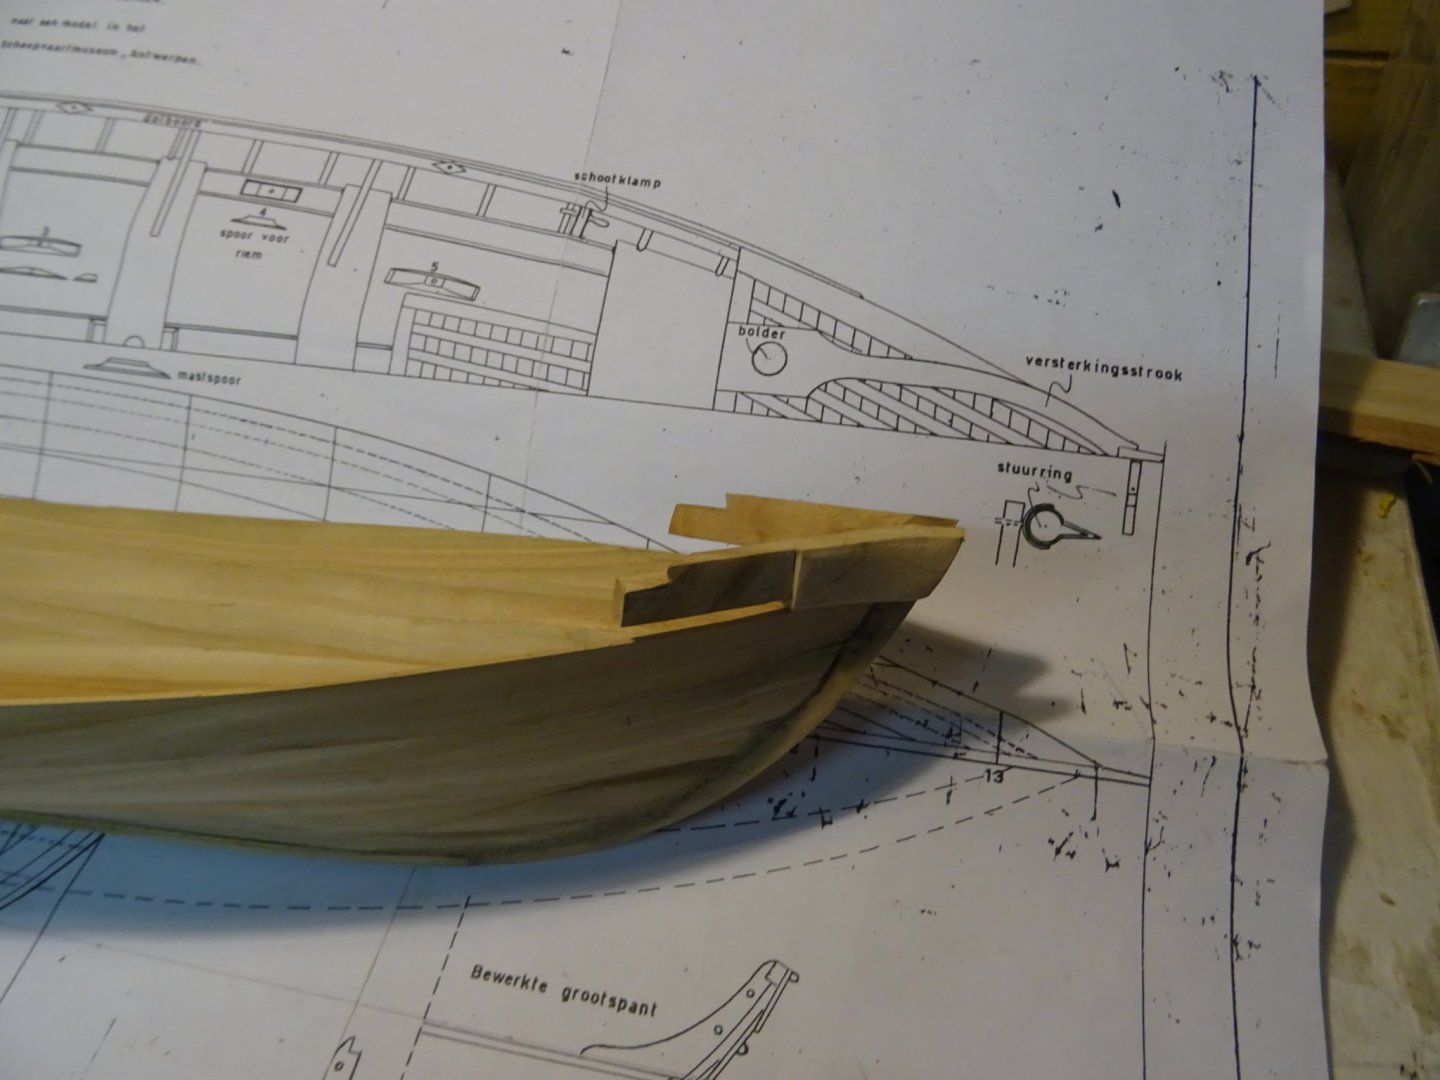
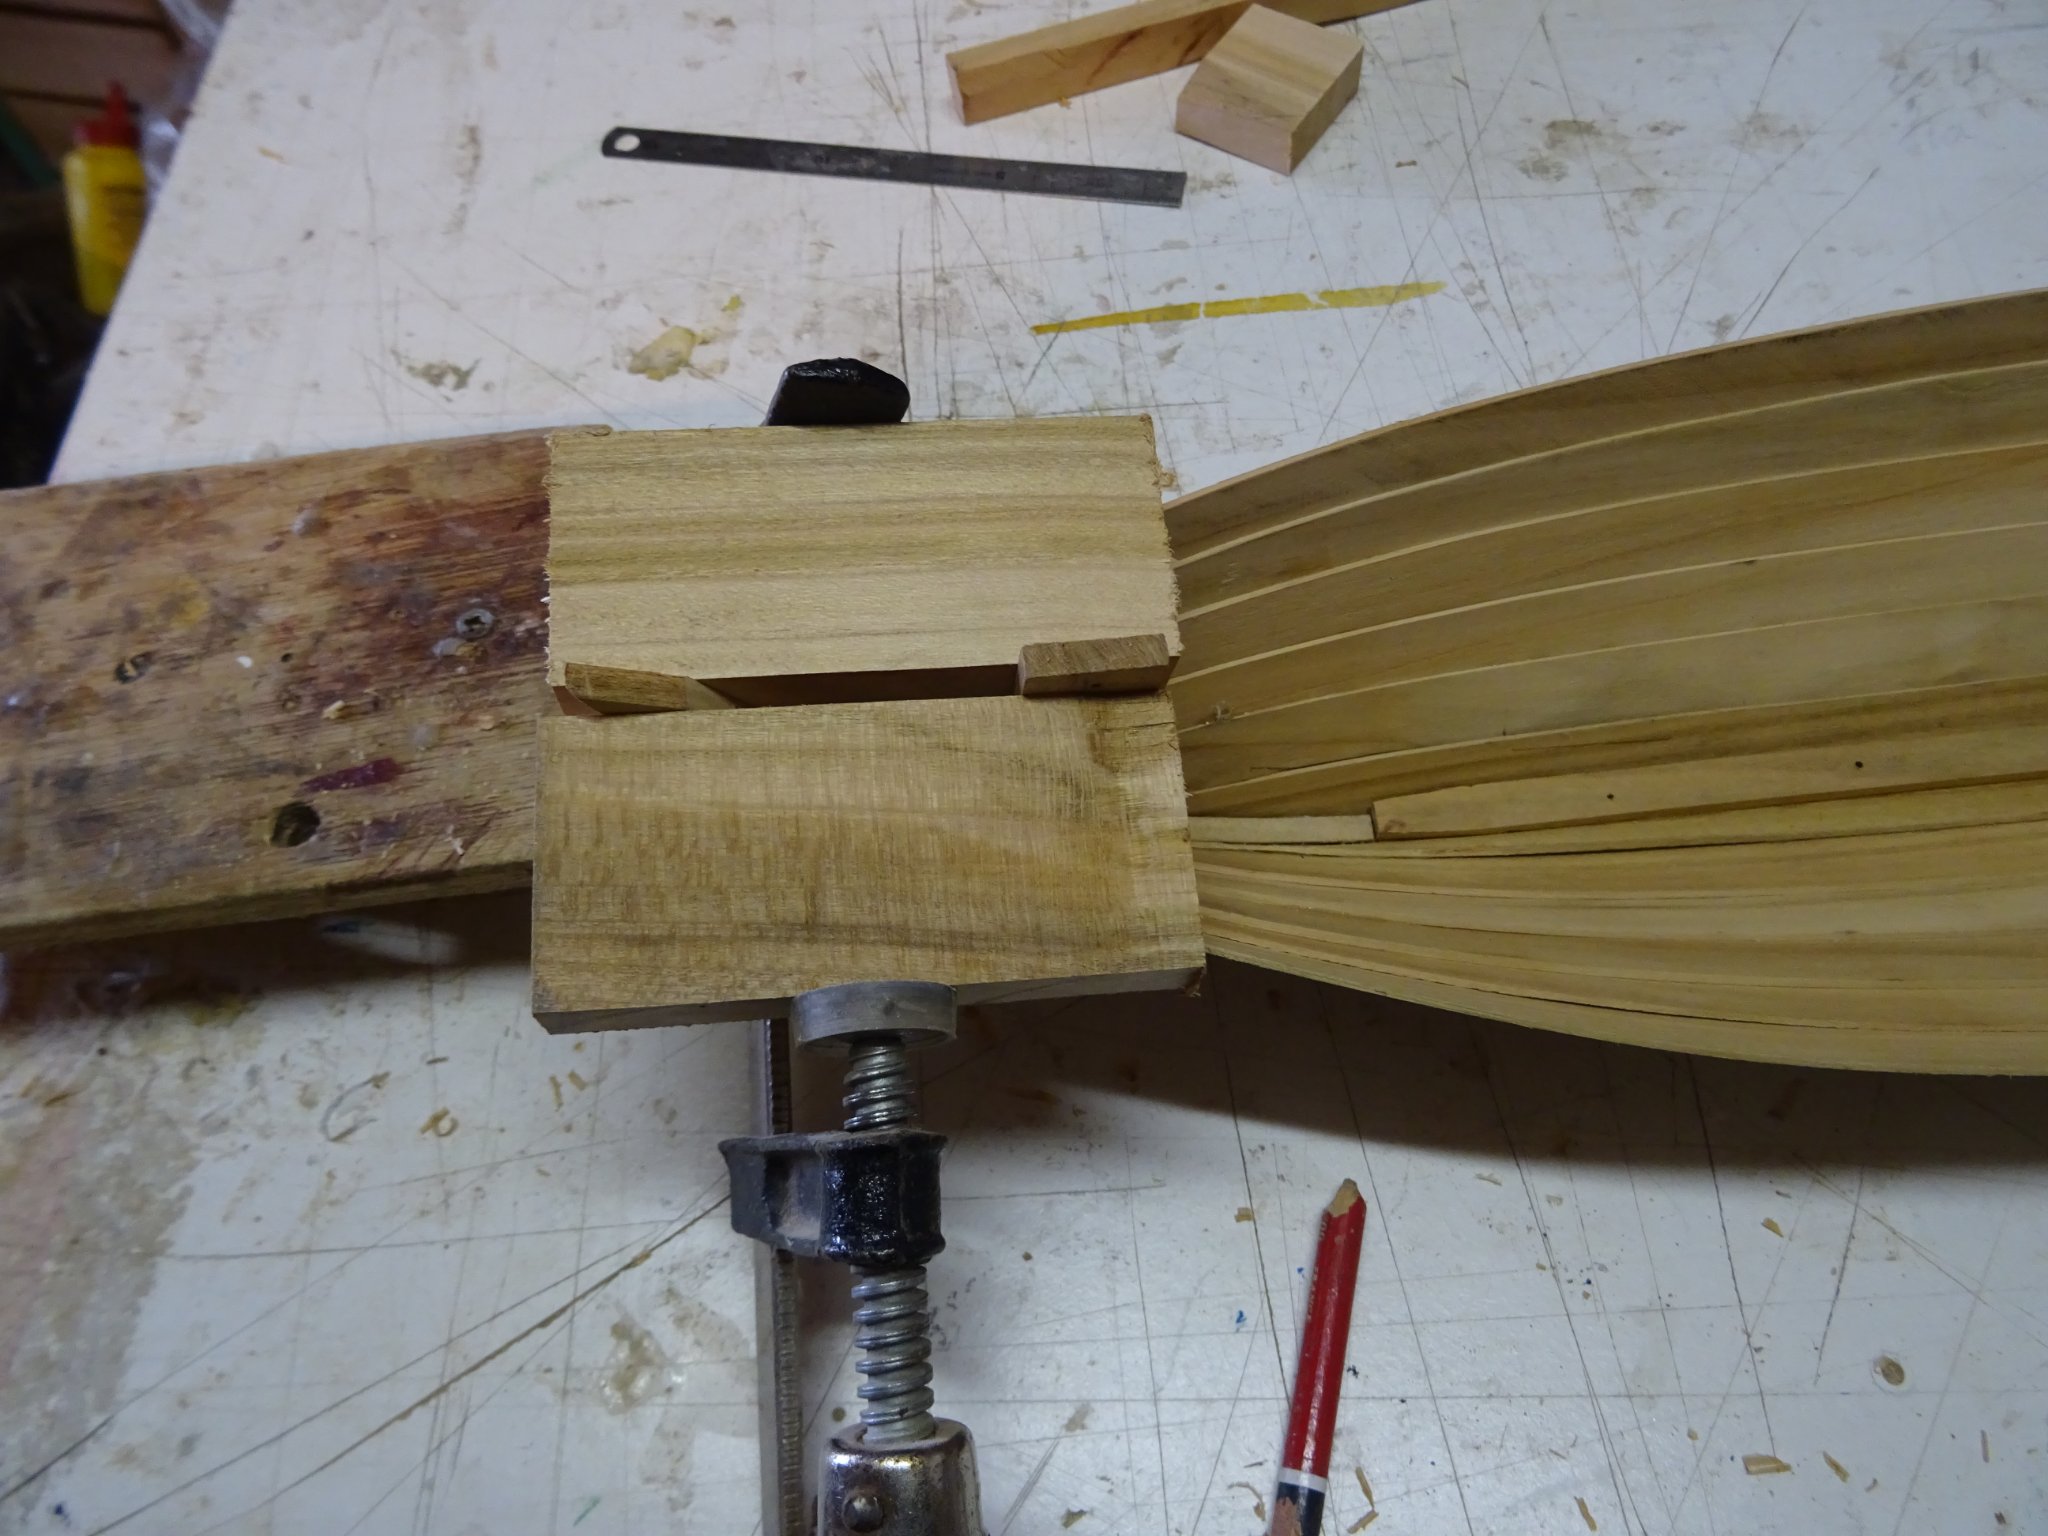
I saw two blocks of cherry wood to make the cheeks and attach them to the bow to take measurements.

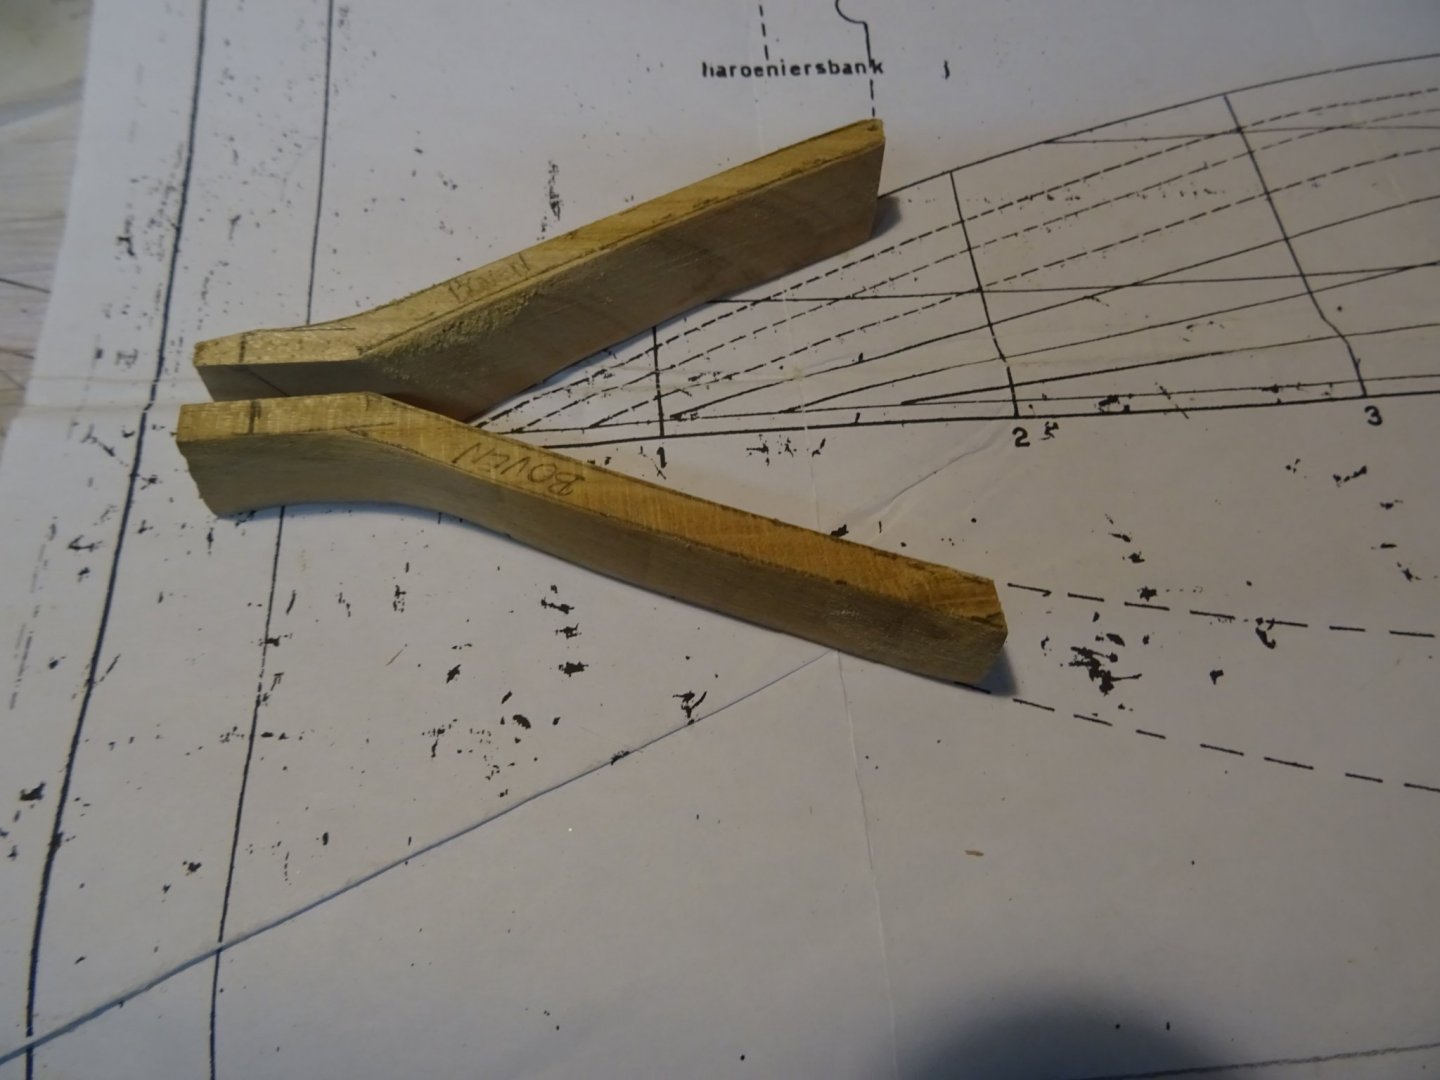
Taking over the hull forms on the blocks.
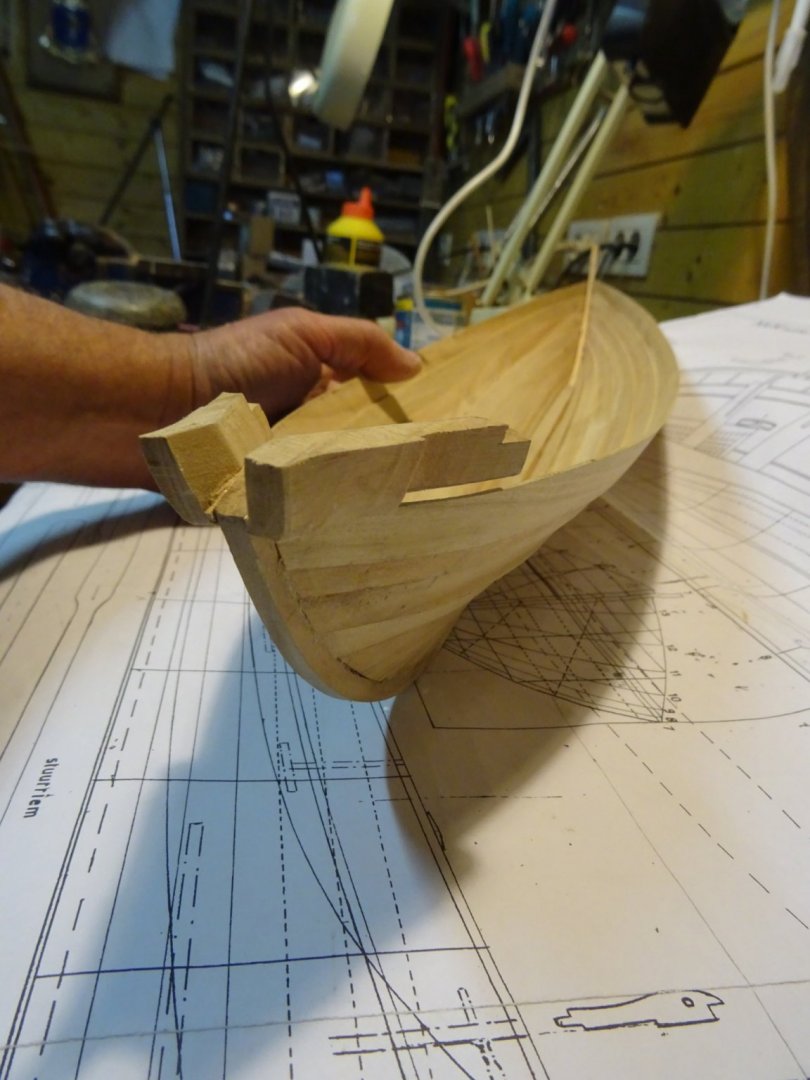
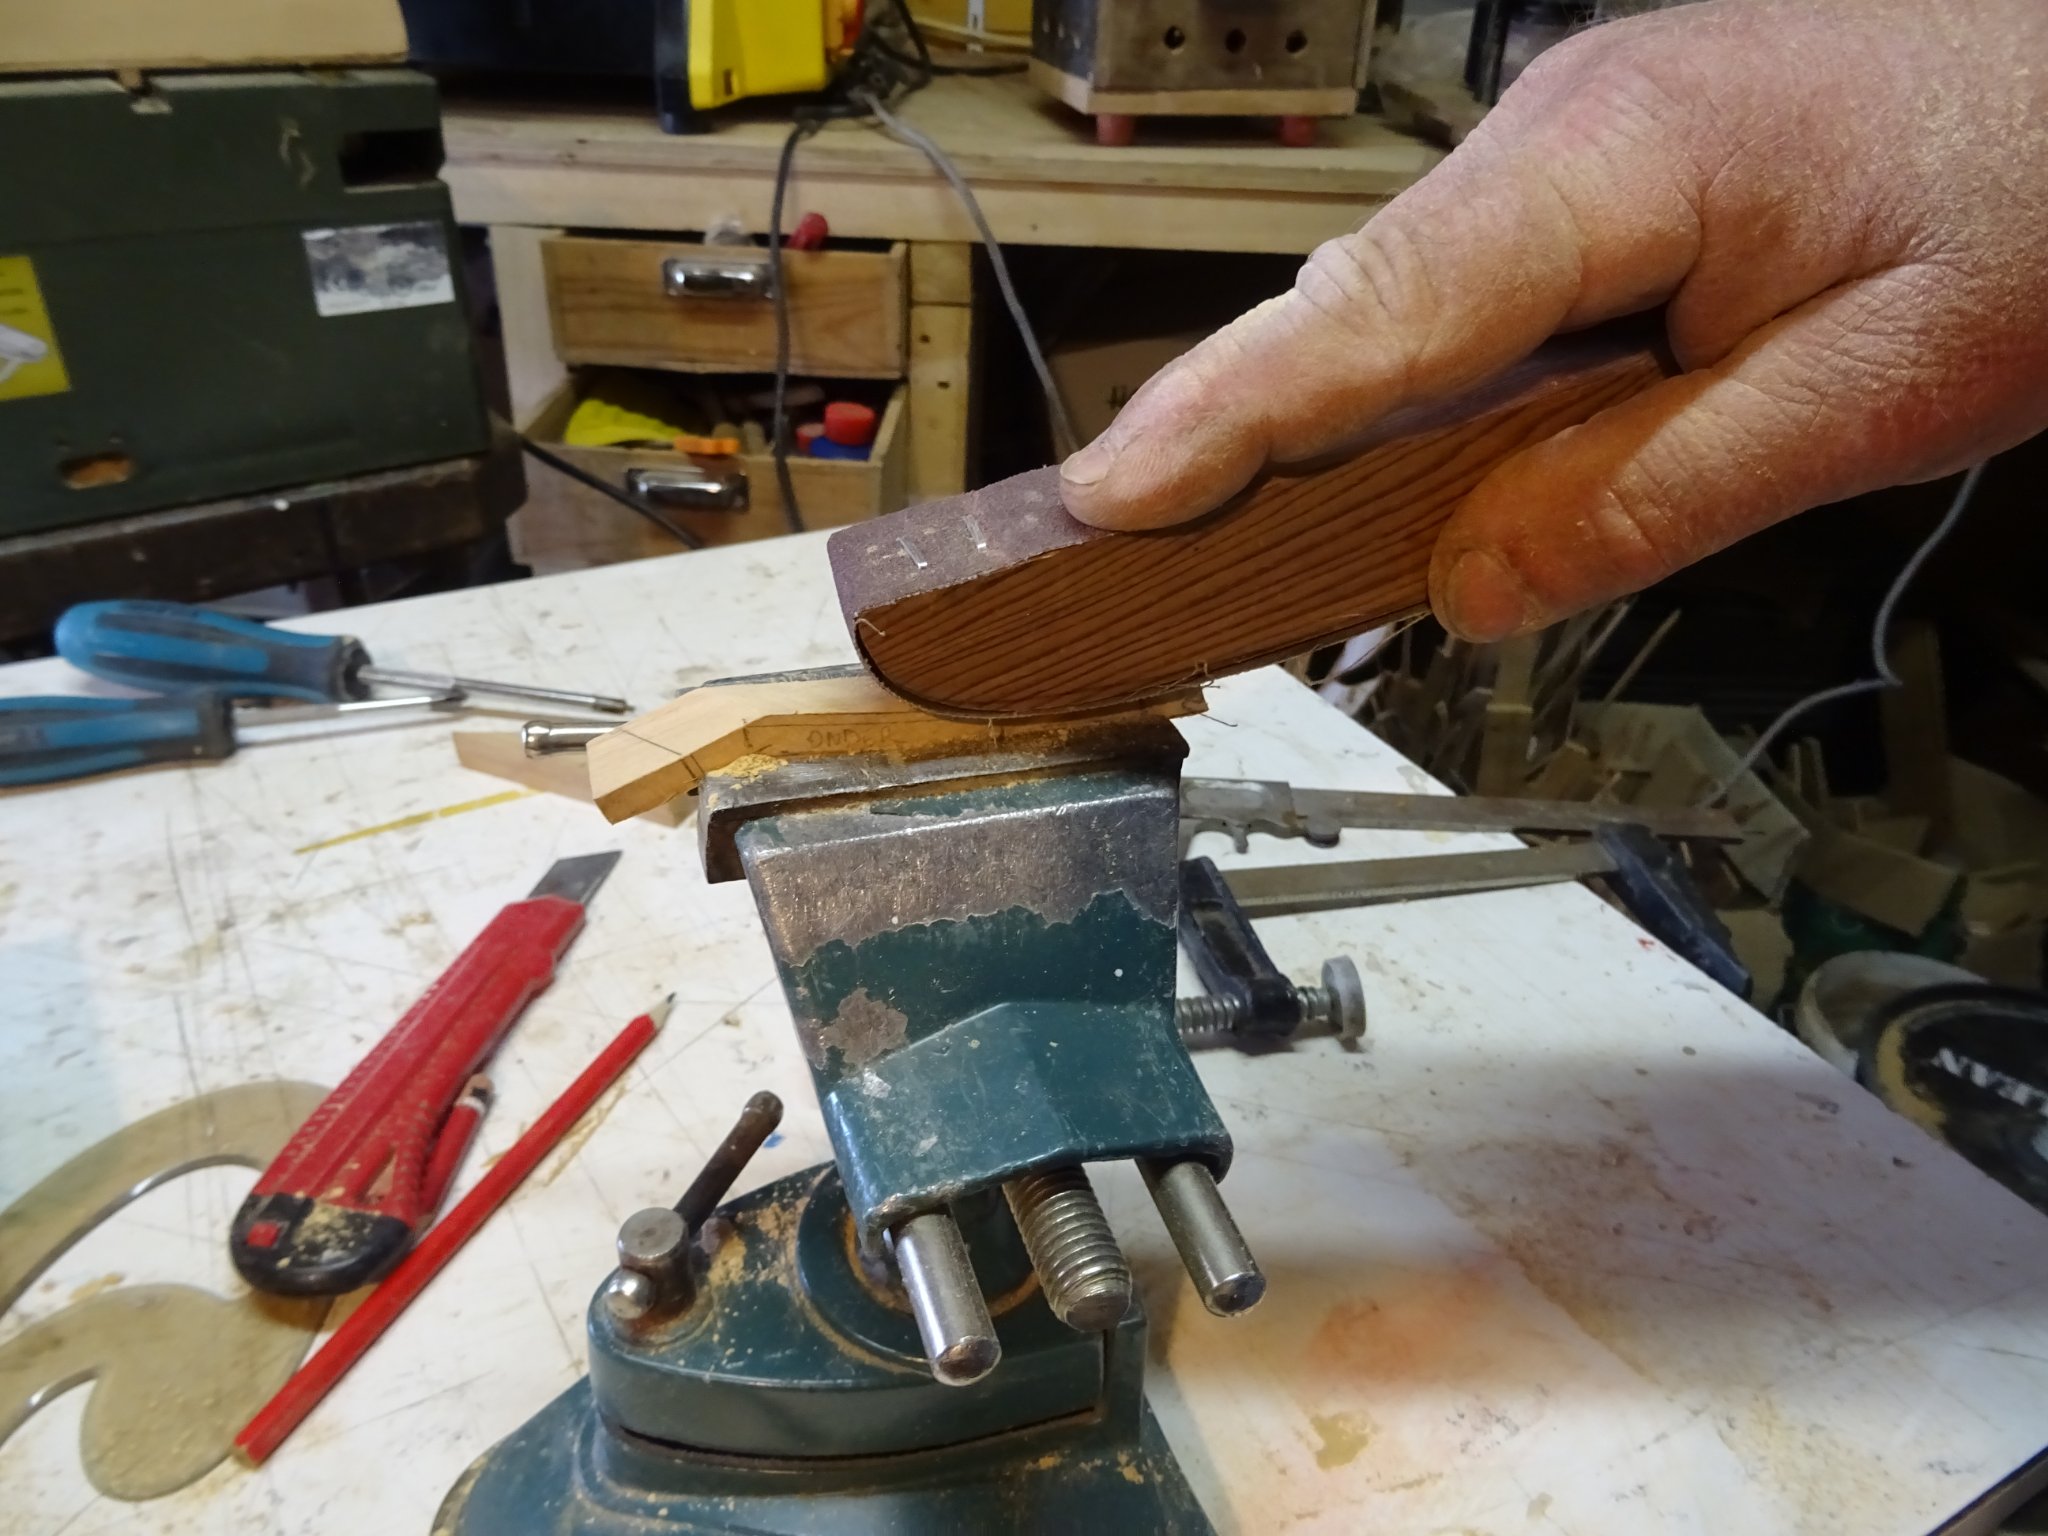
Sawing out and sanding the cheeks.


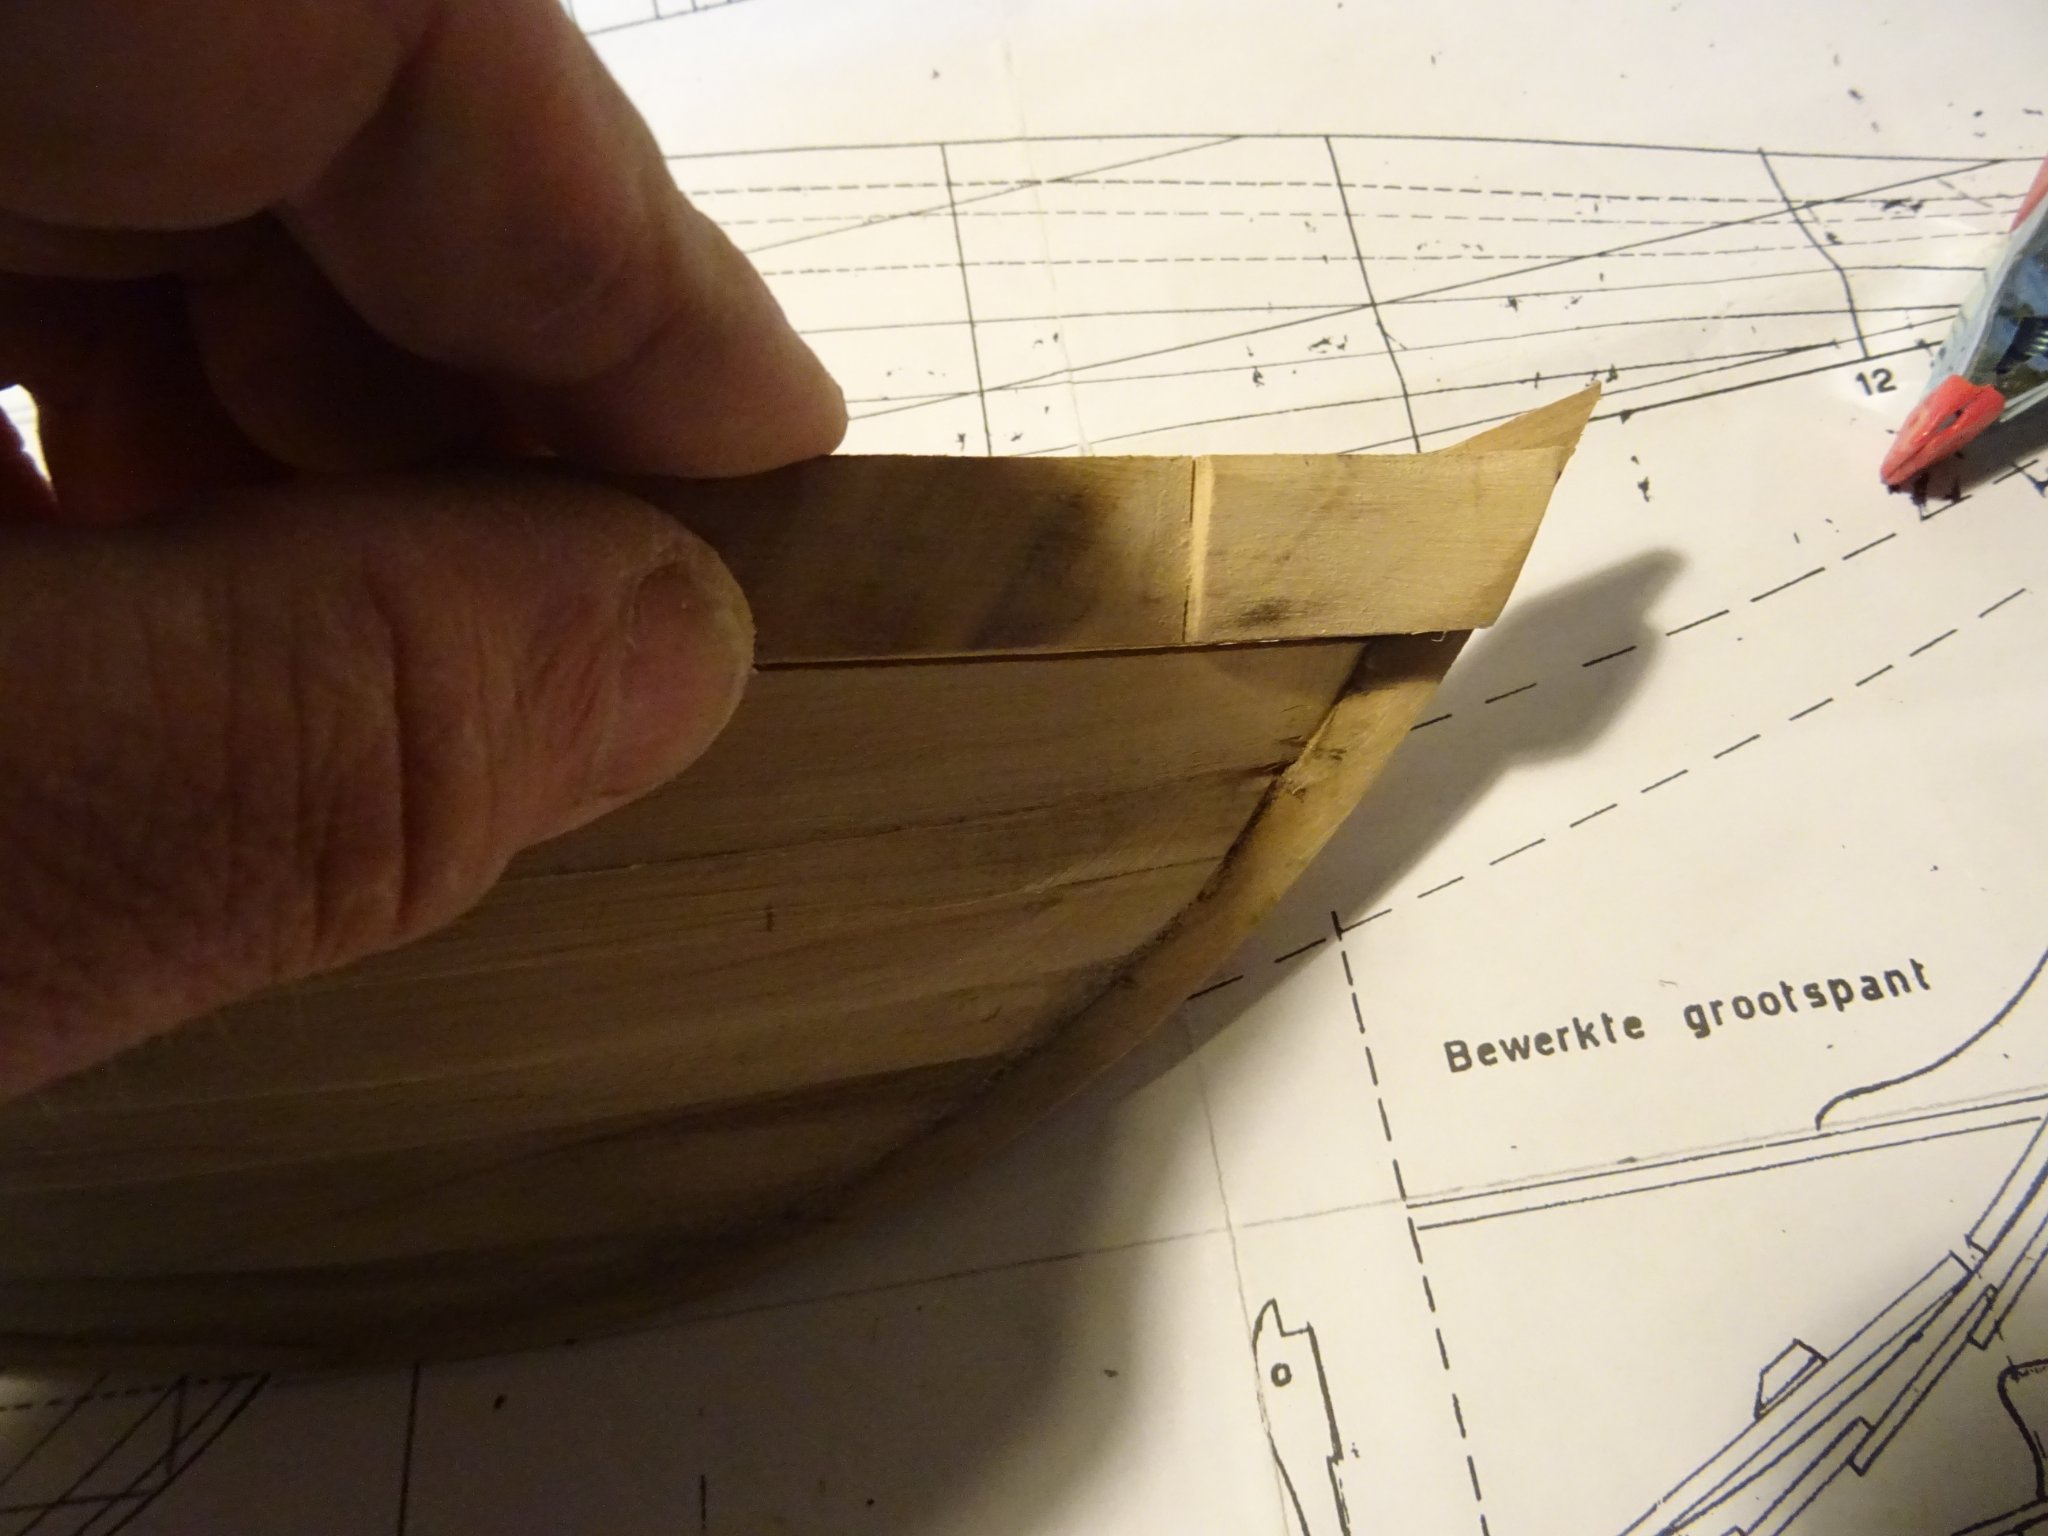
The cheeks, roughly shaped:
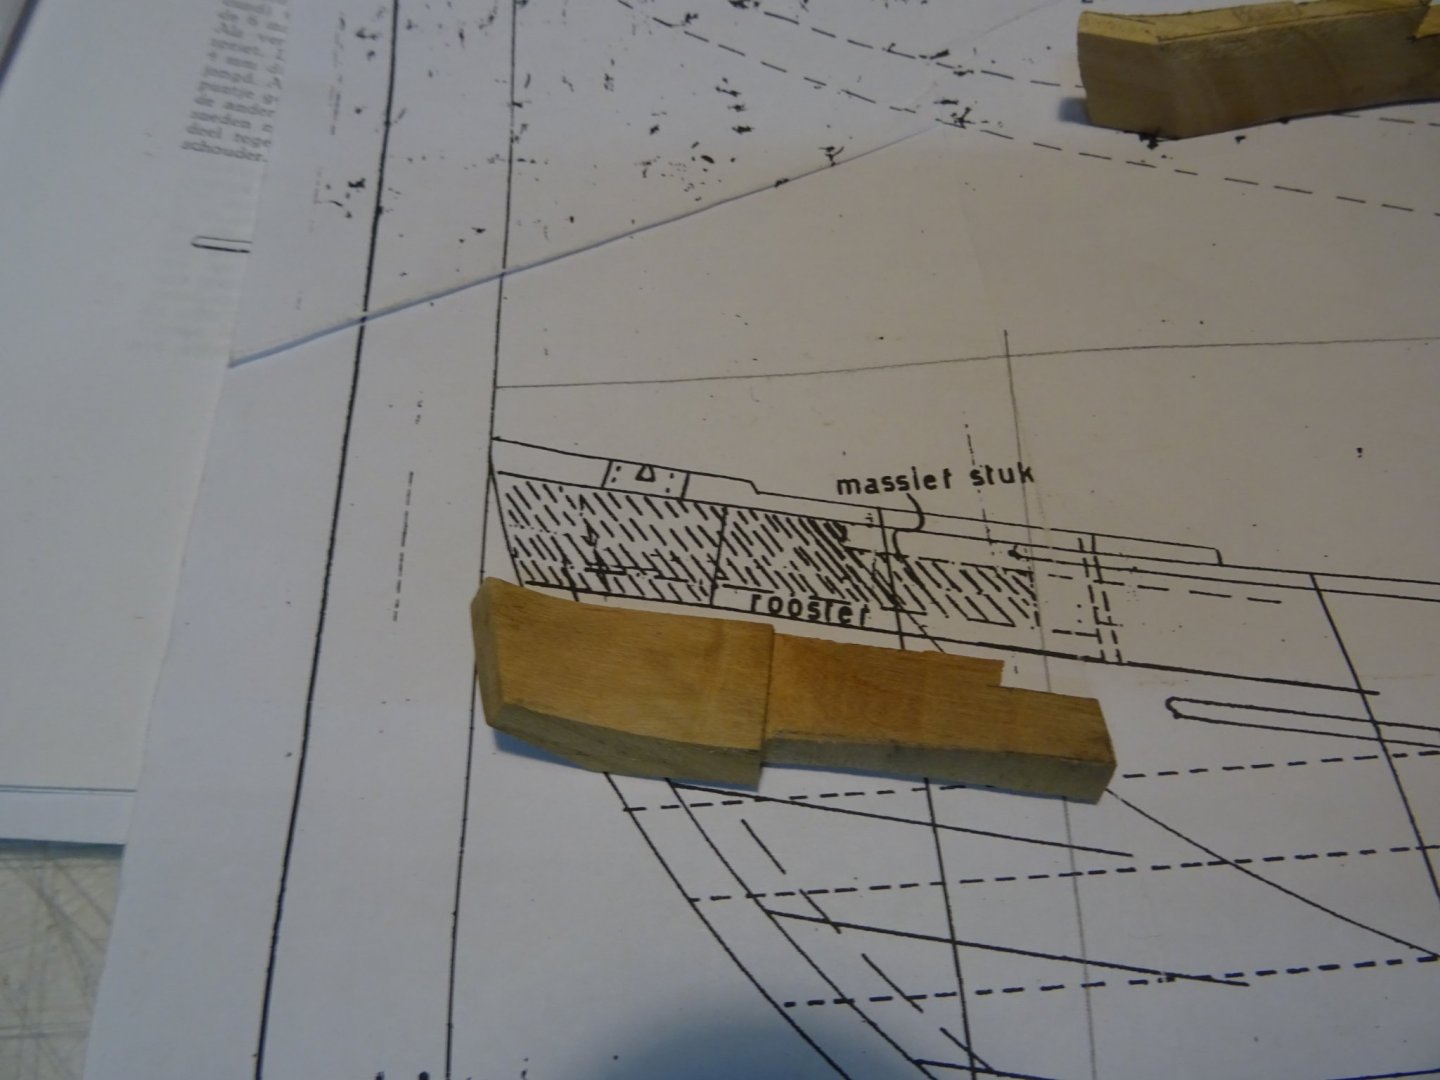
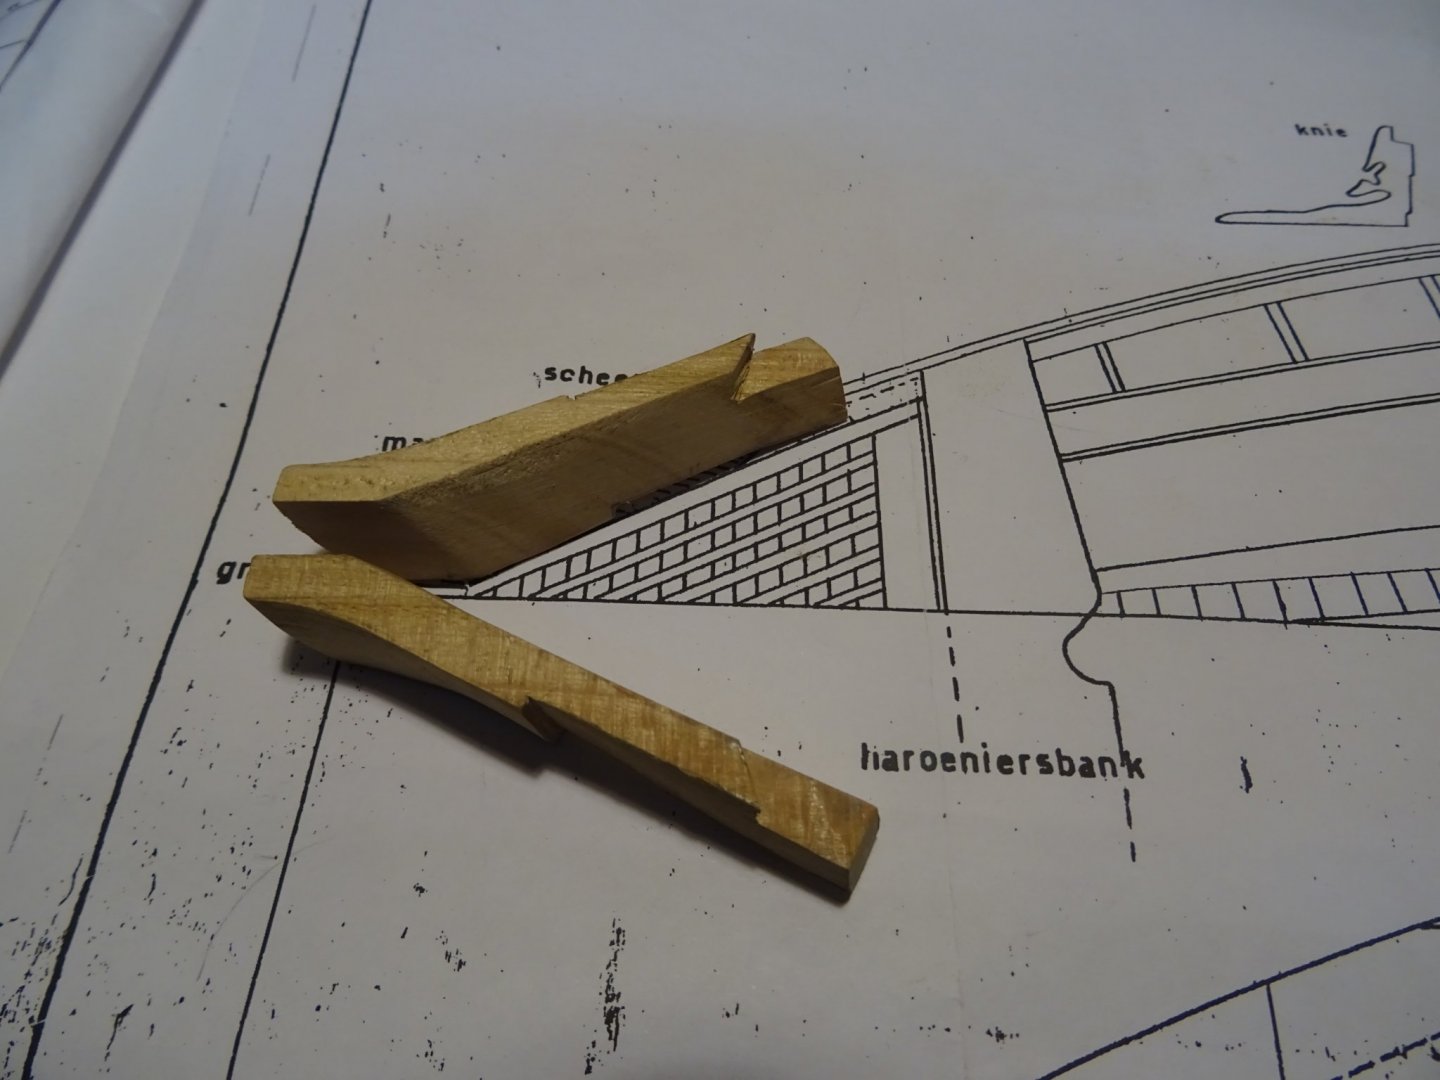
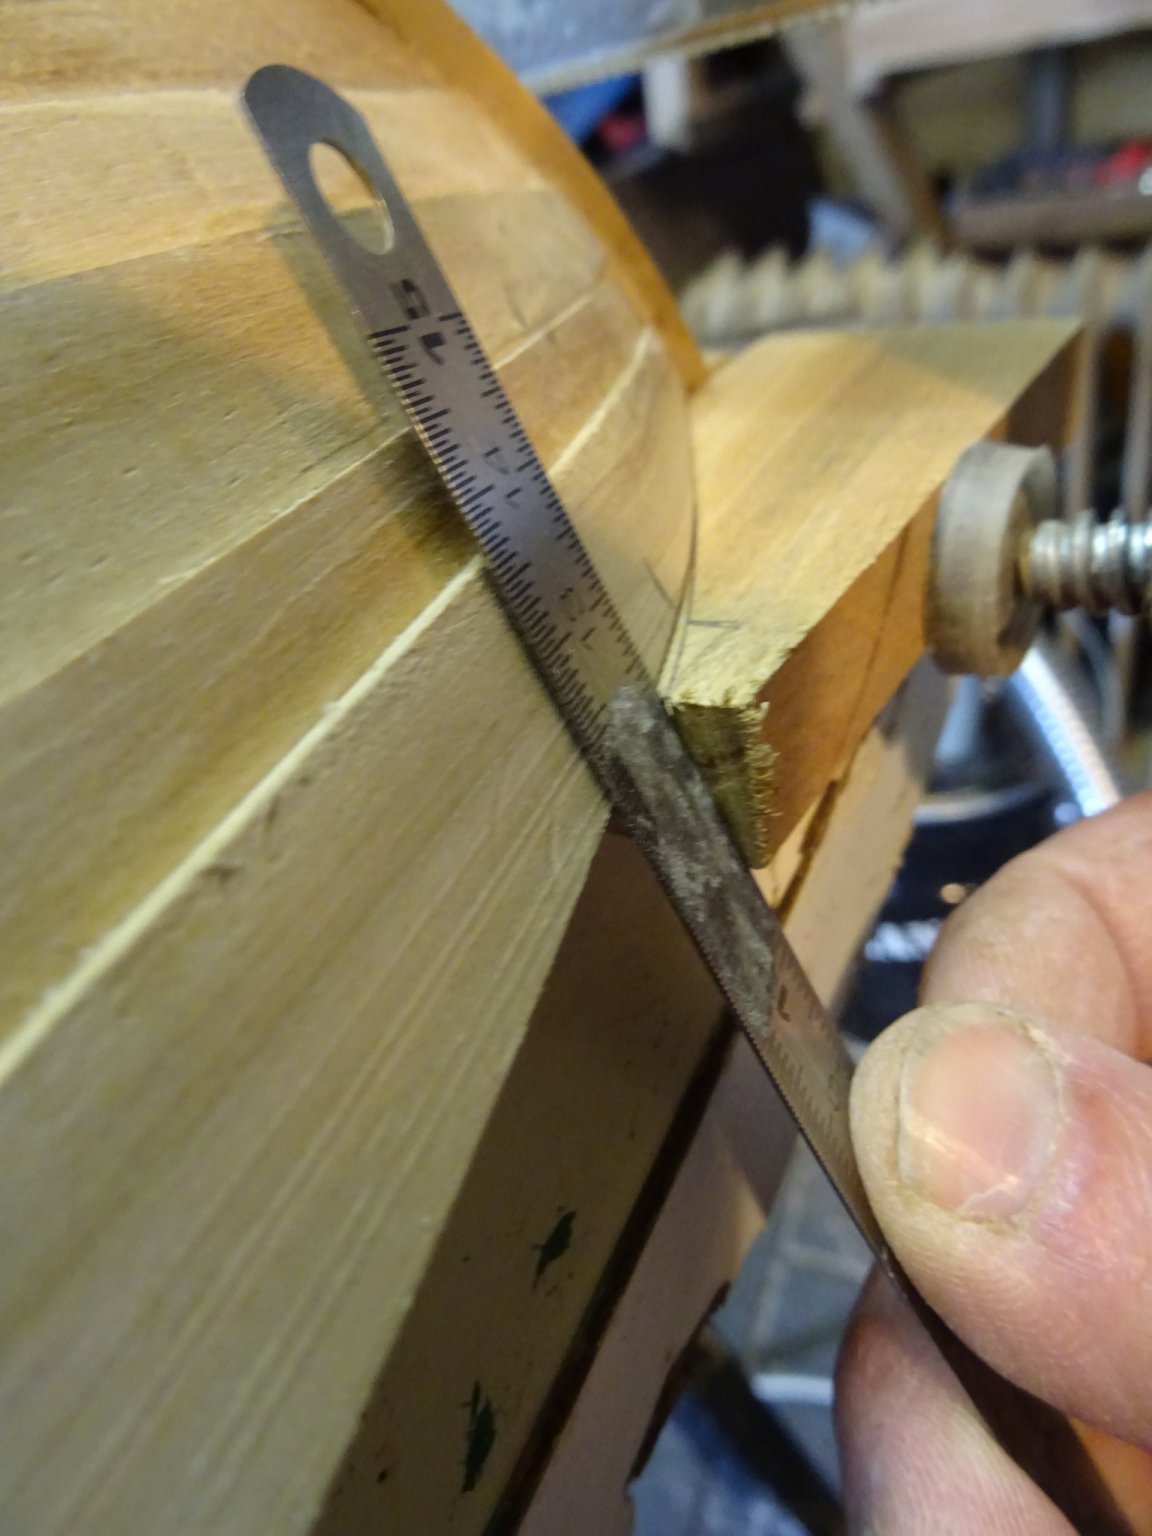
The sheer strake is incorporated into the cheeks. Making the notch for the sheer strake and fitting it.


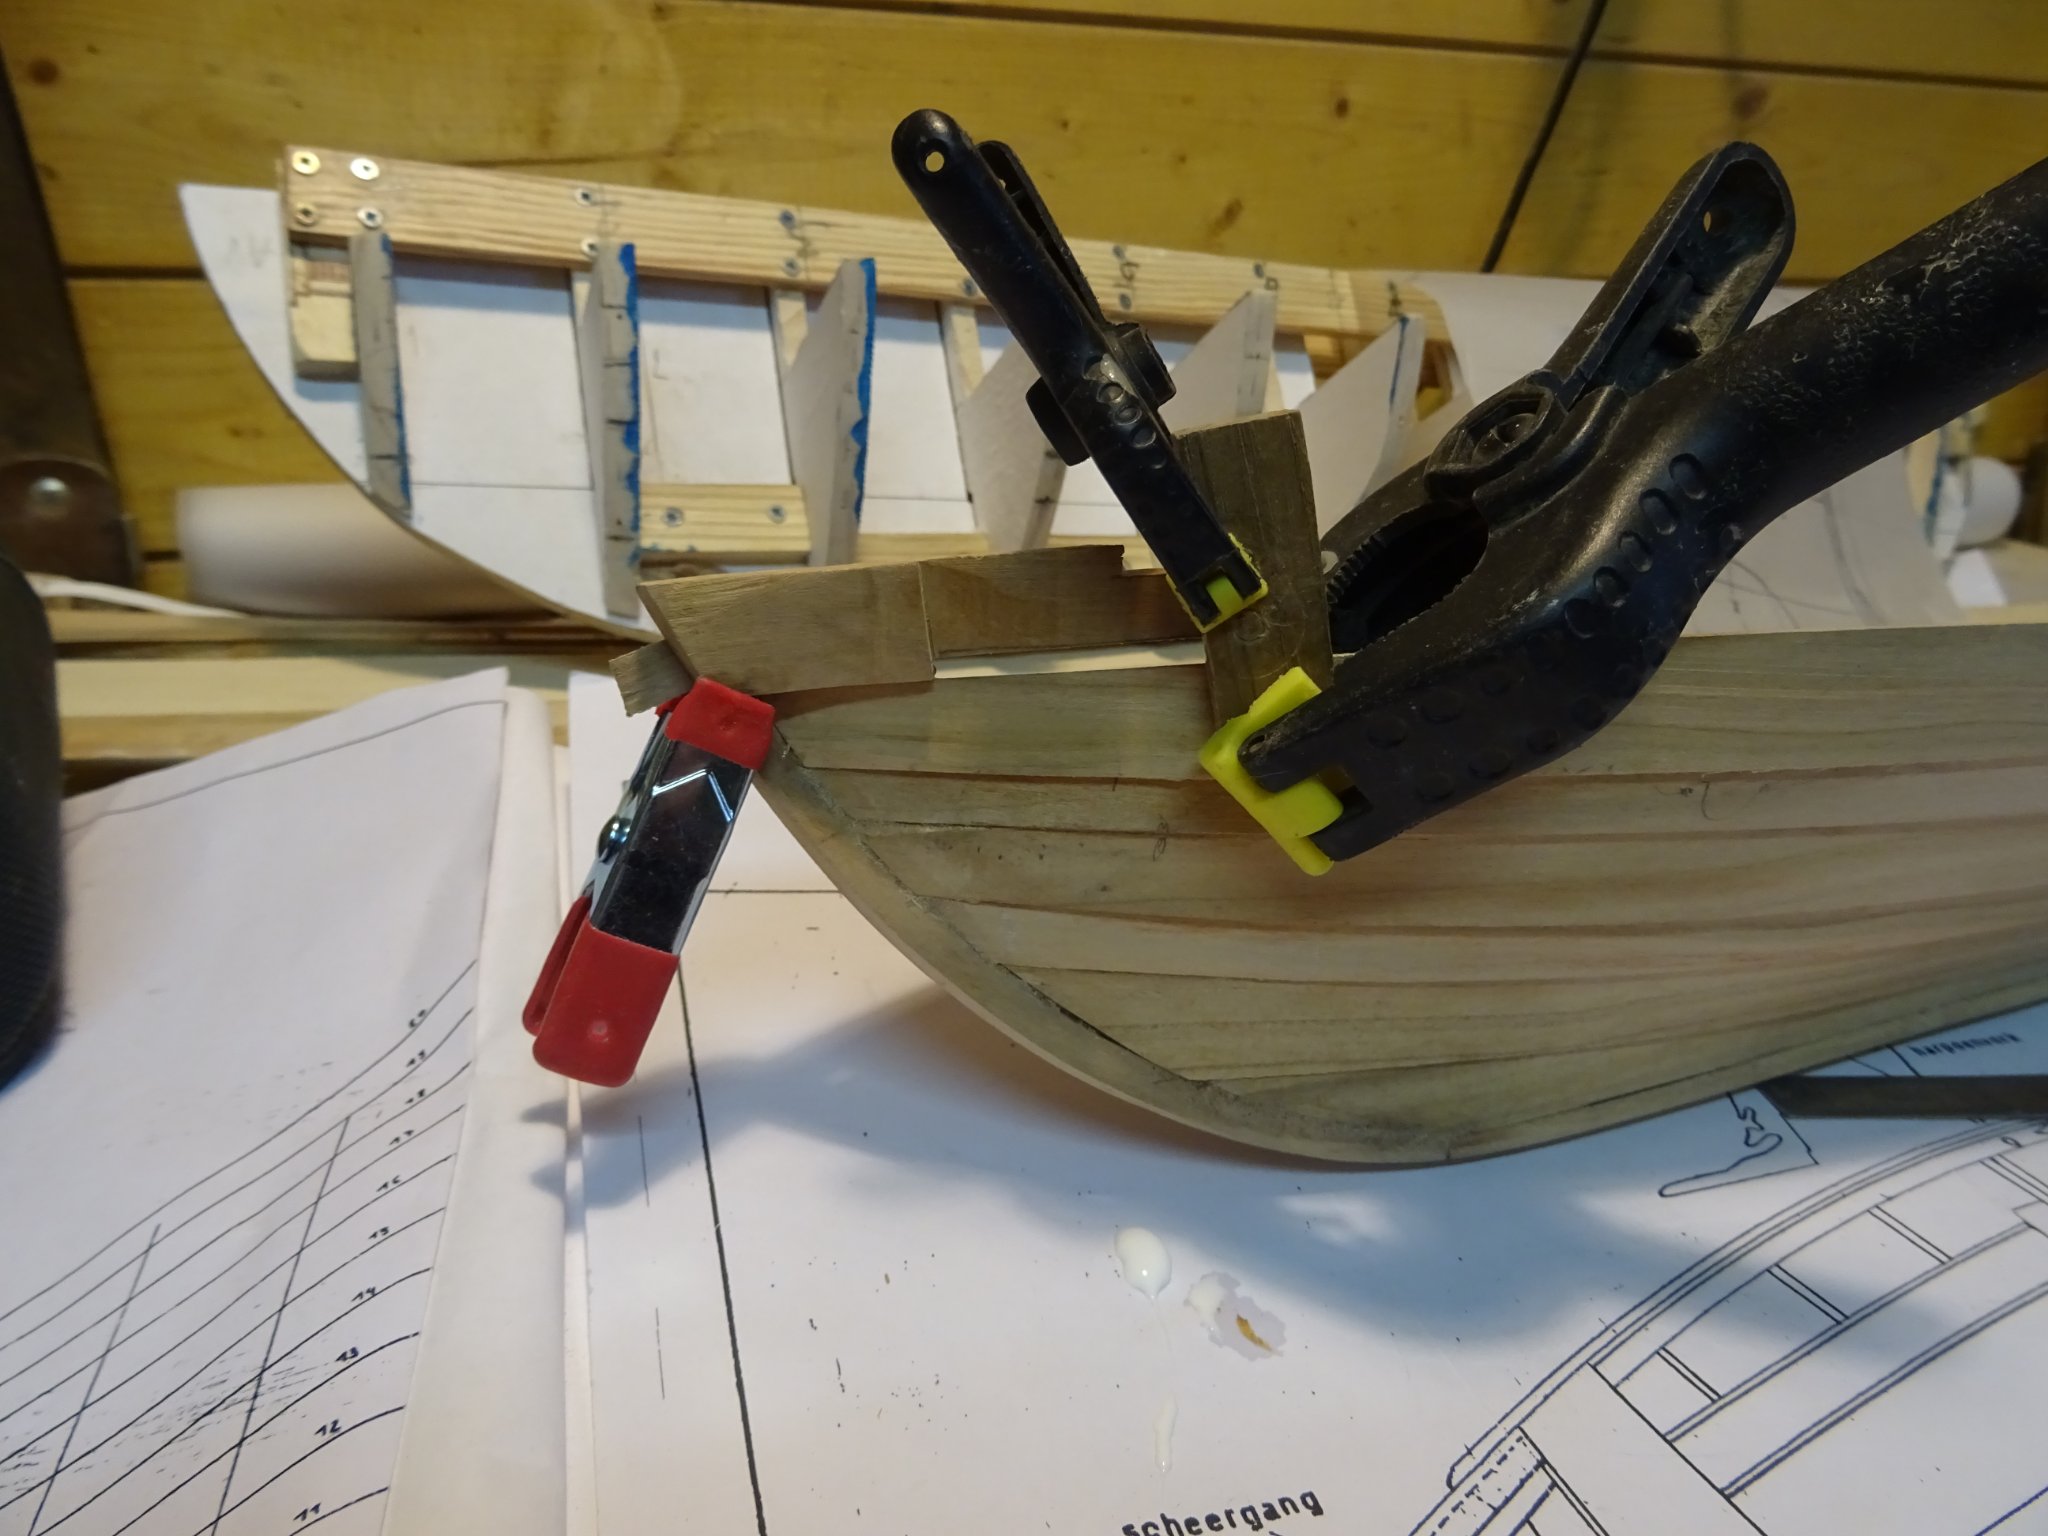
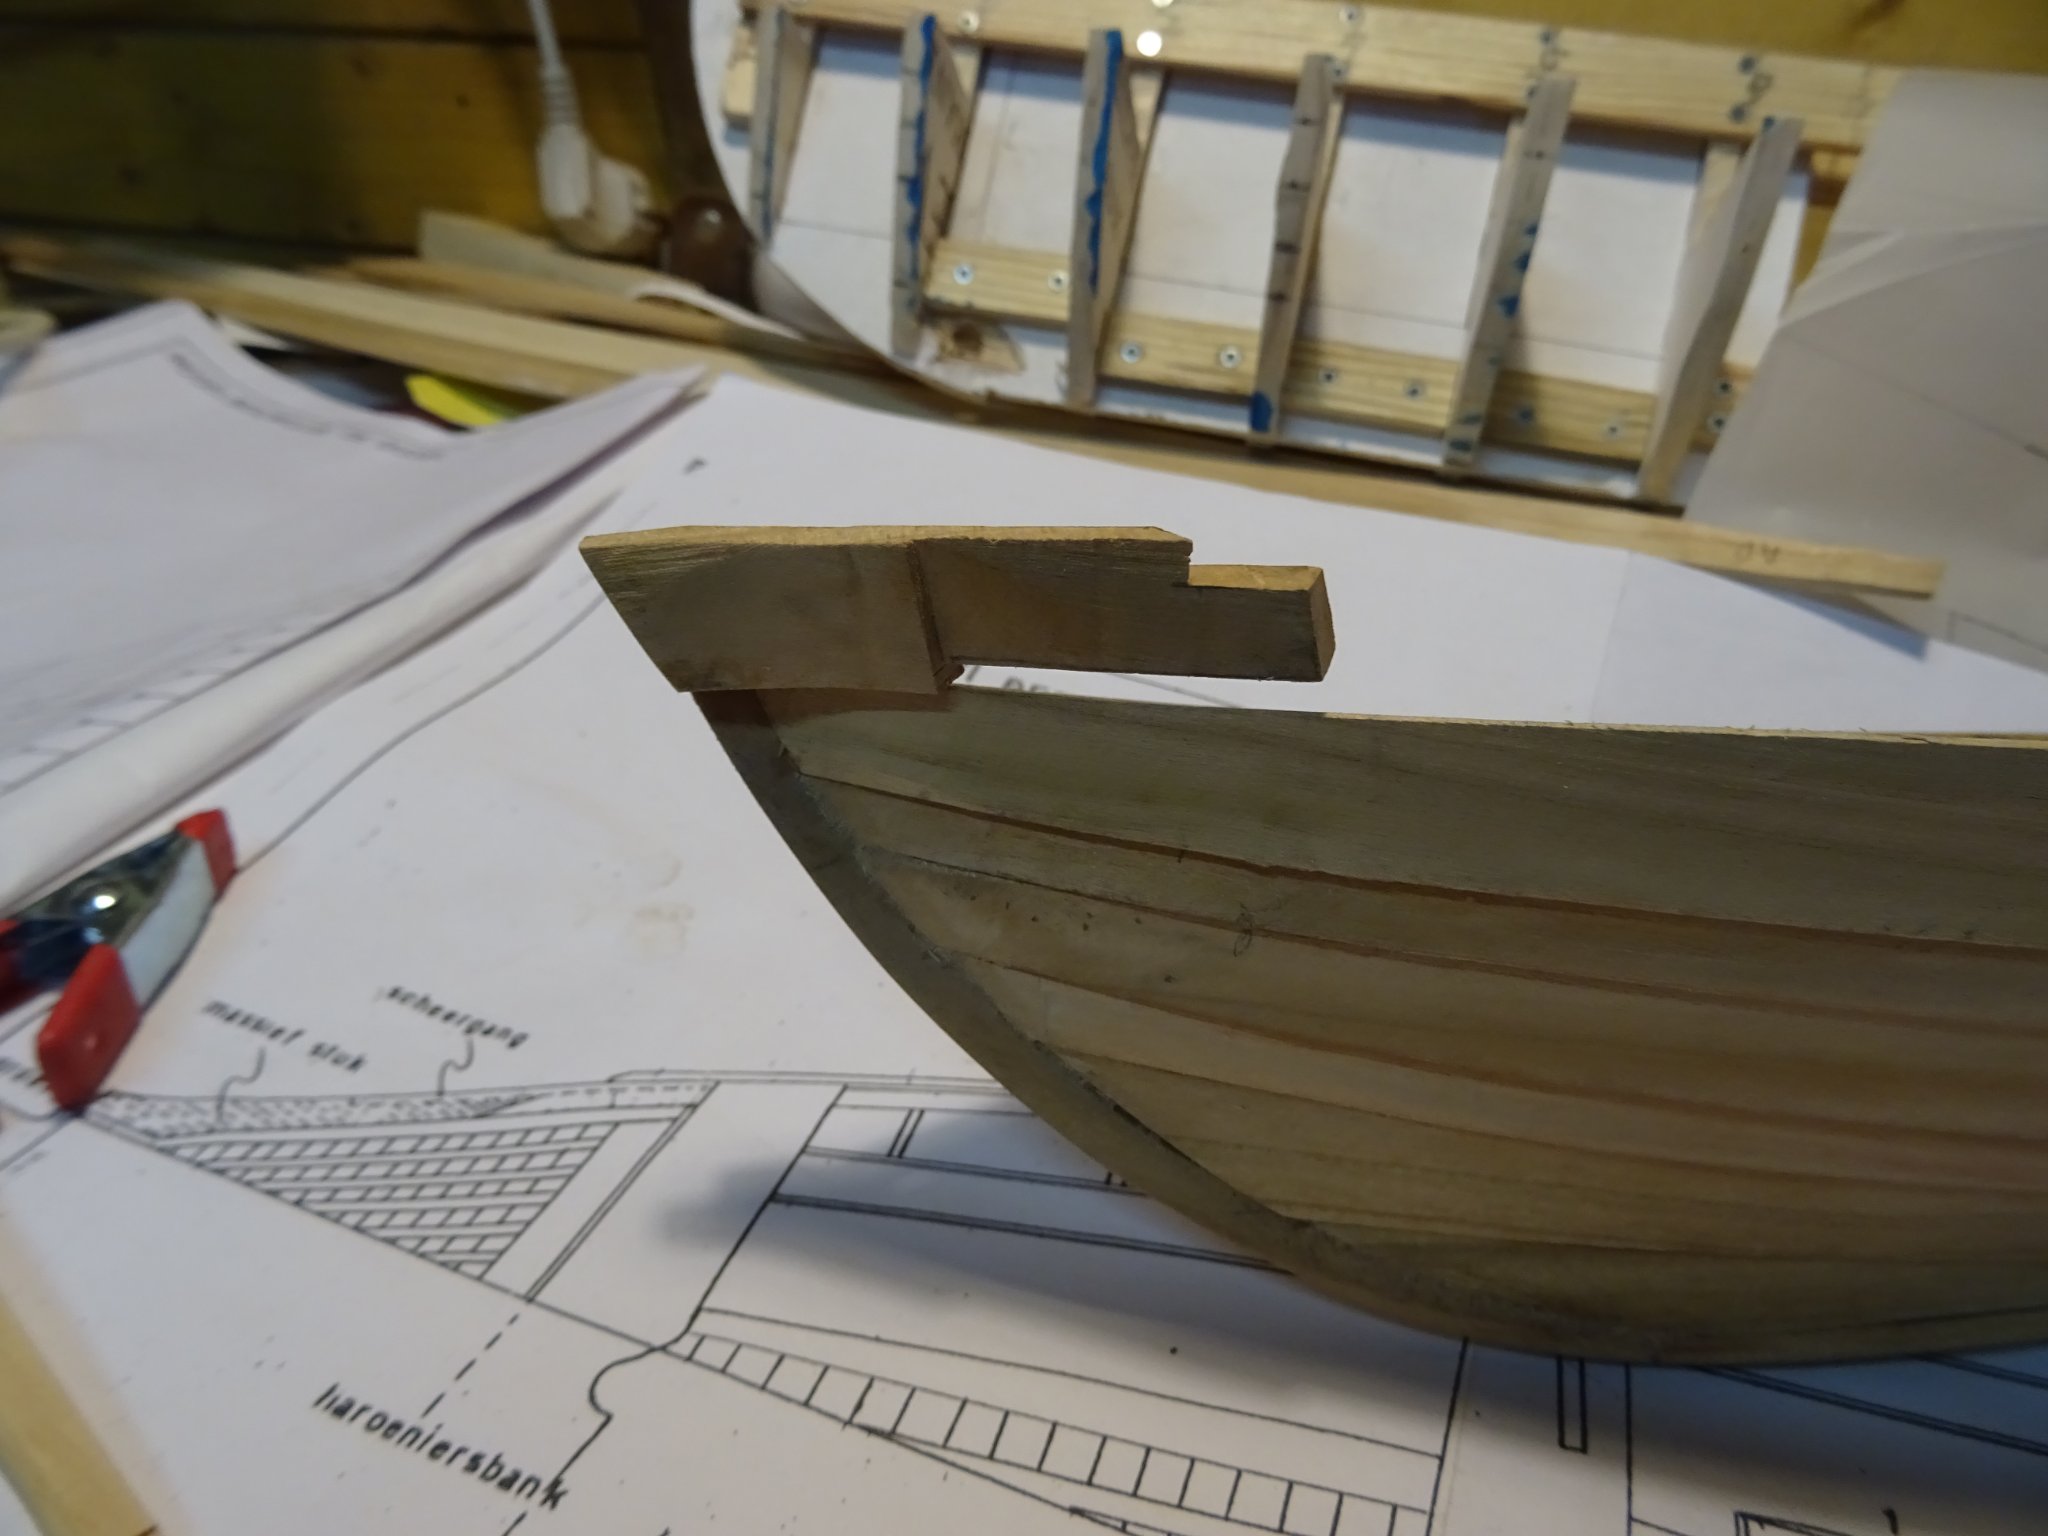
The cheeks are ready.
Gluing the cheeks into position.


The model can now be replaced on the building frame to place the sheer strake.

Thank you very much for reading this log and for your likes.
Till next week!
-
-
-
-
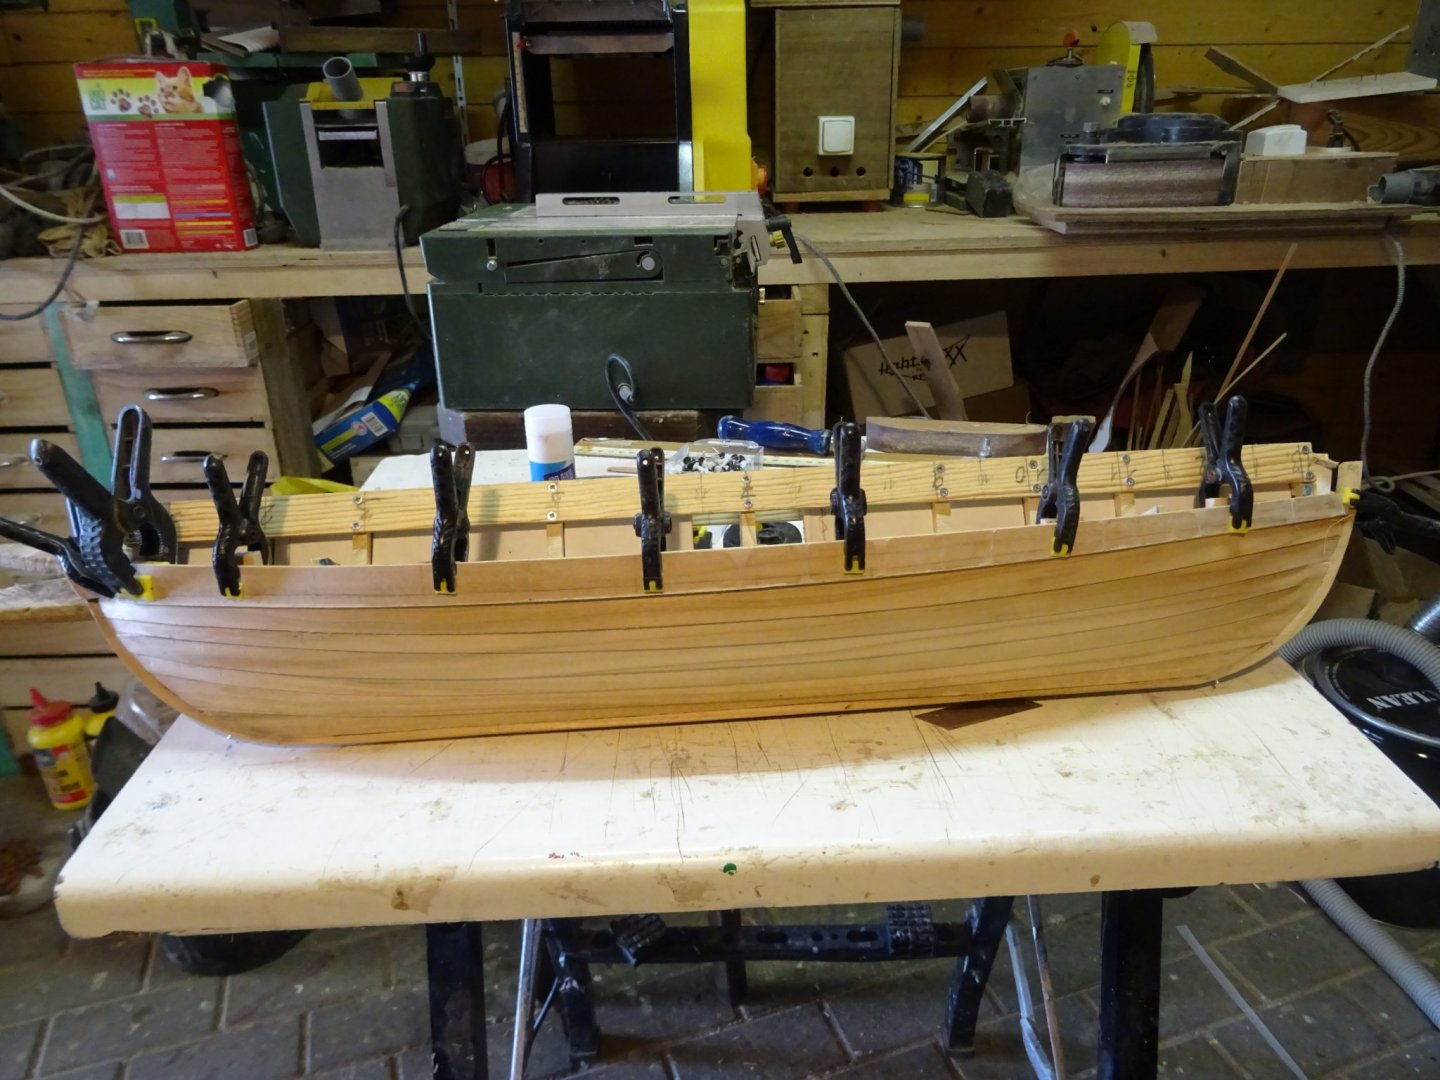
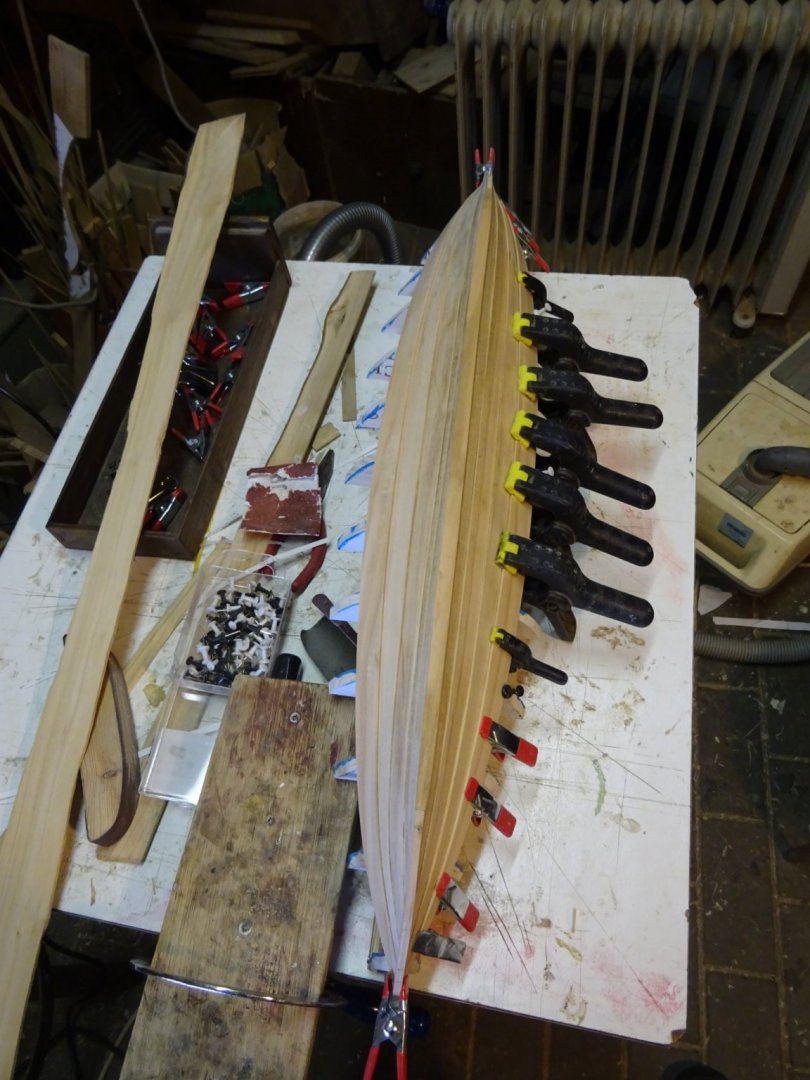
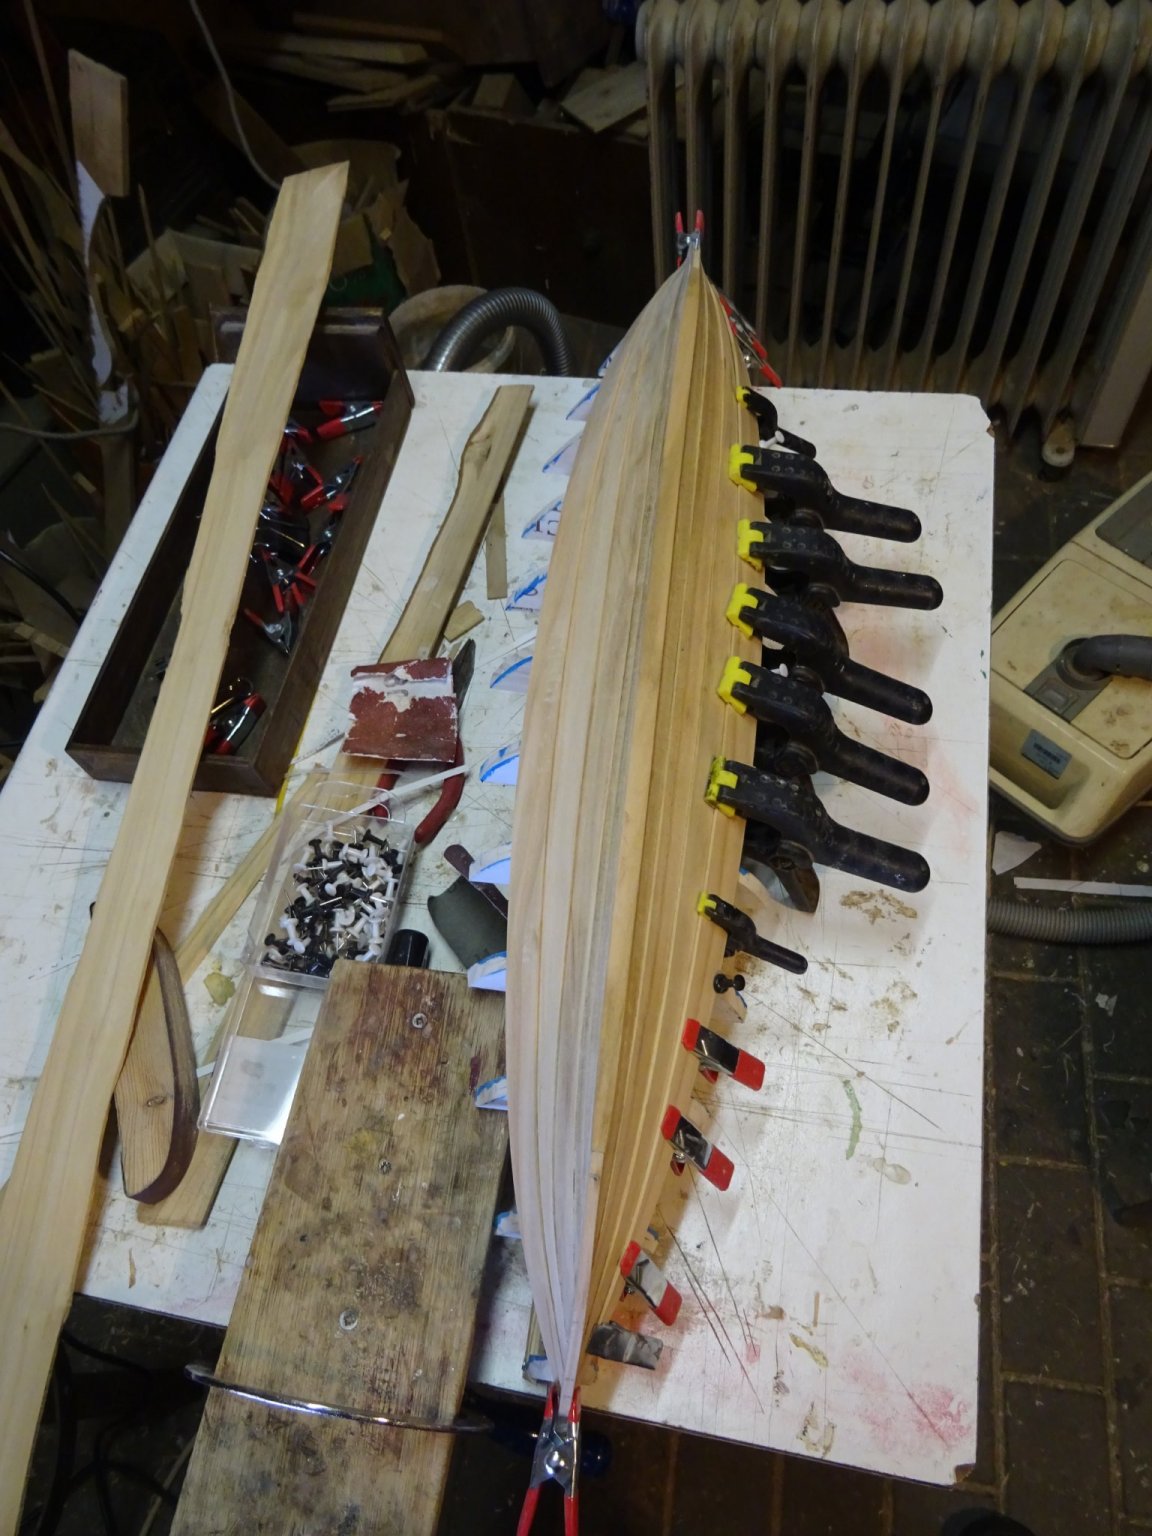
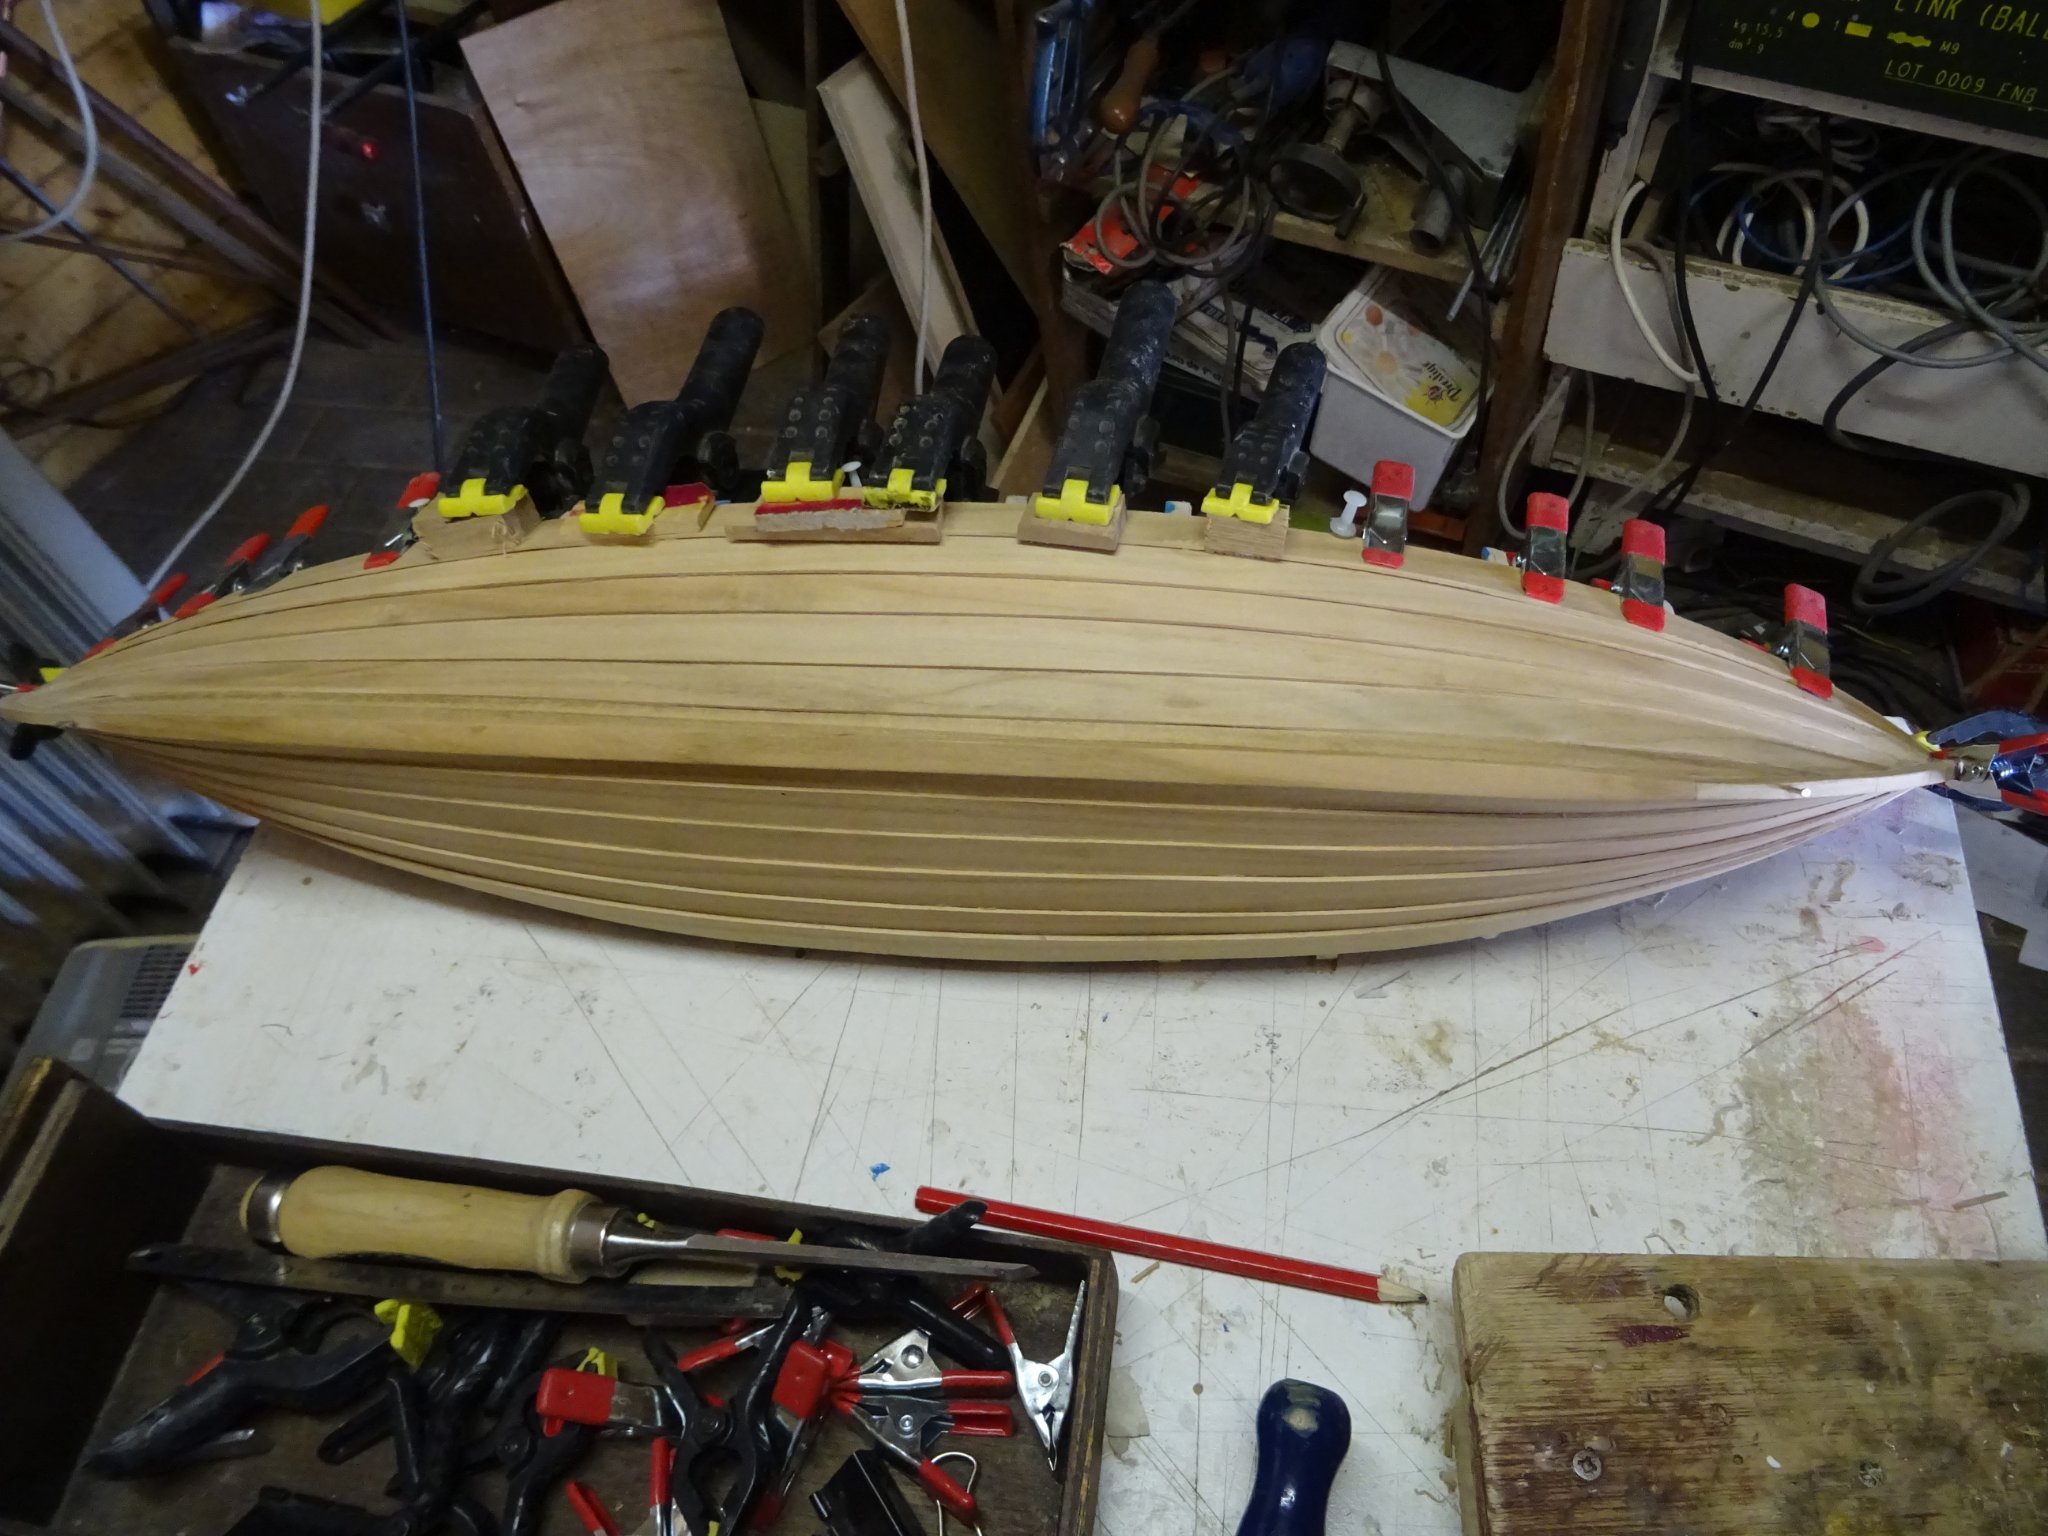
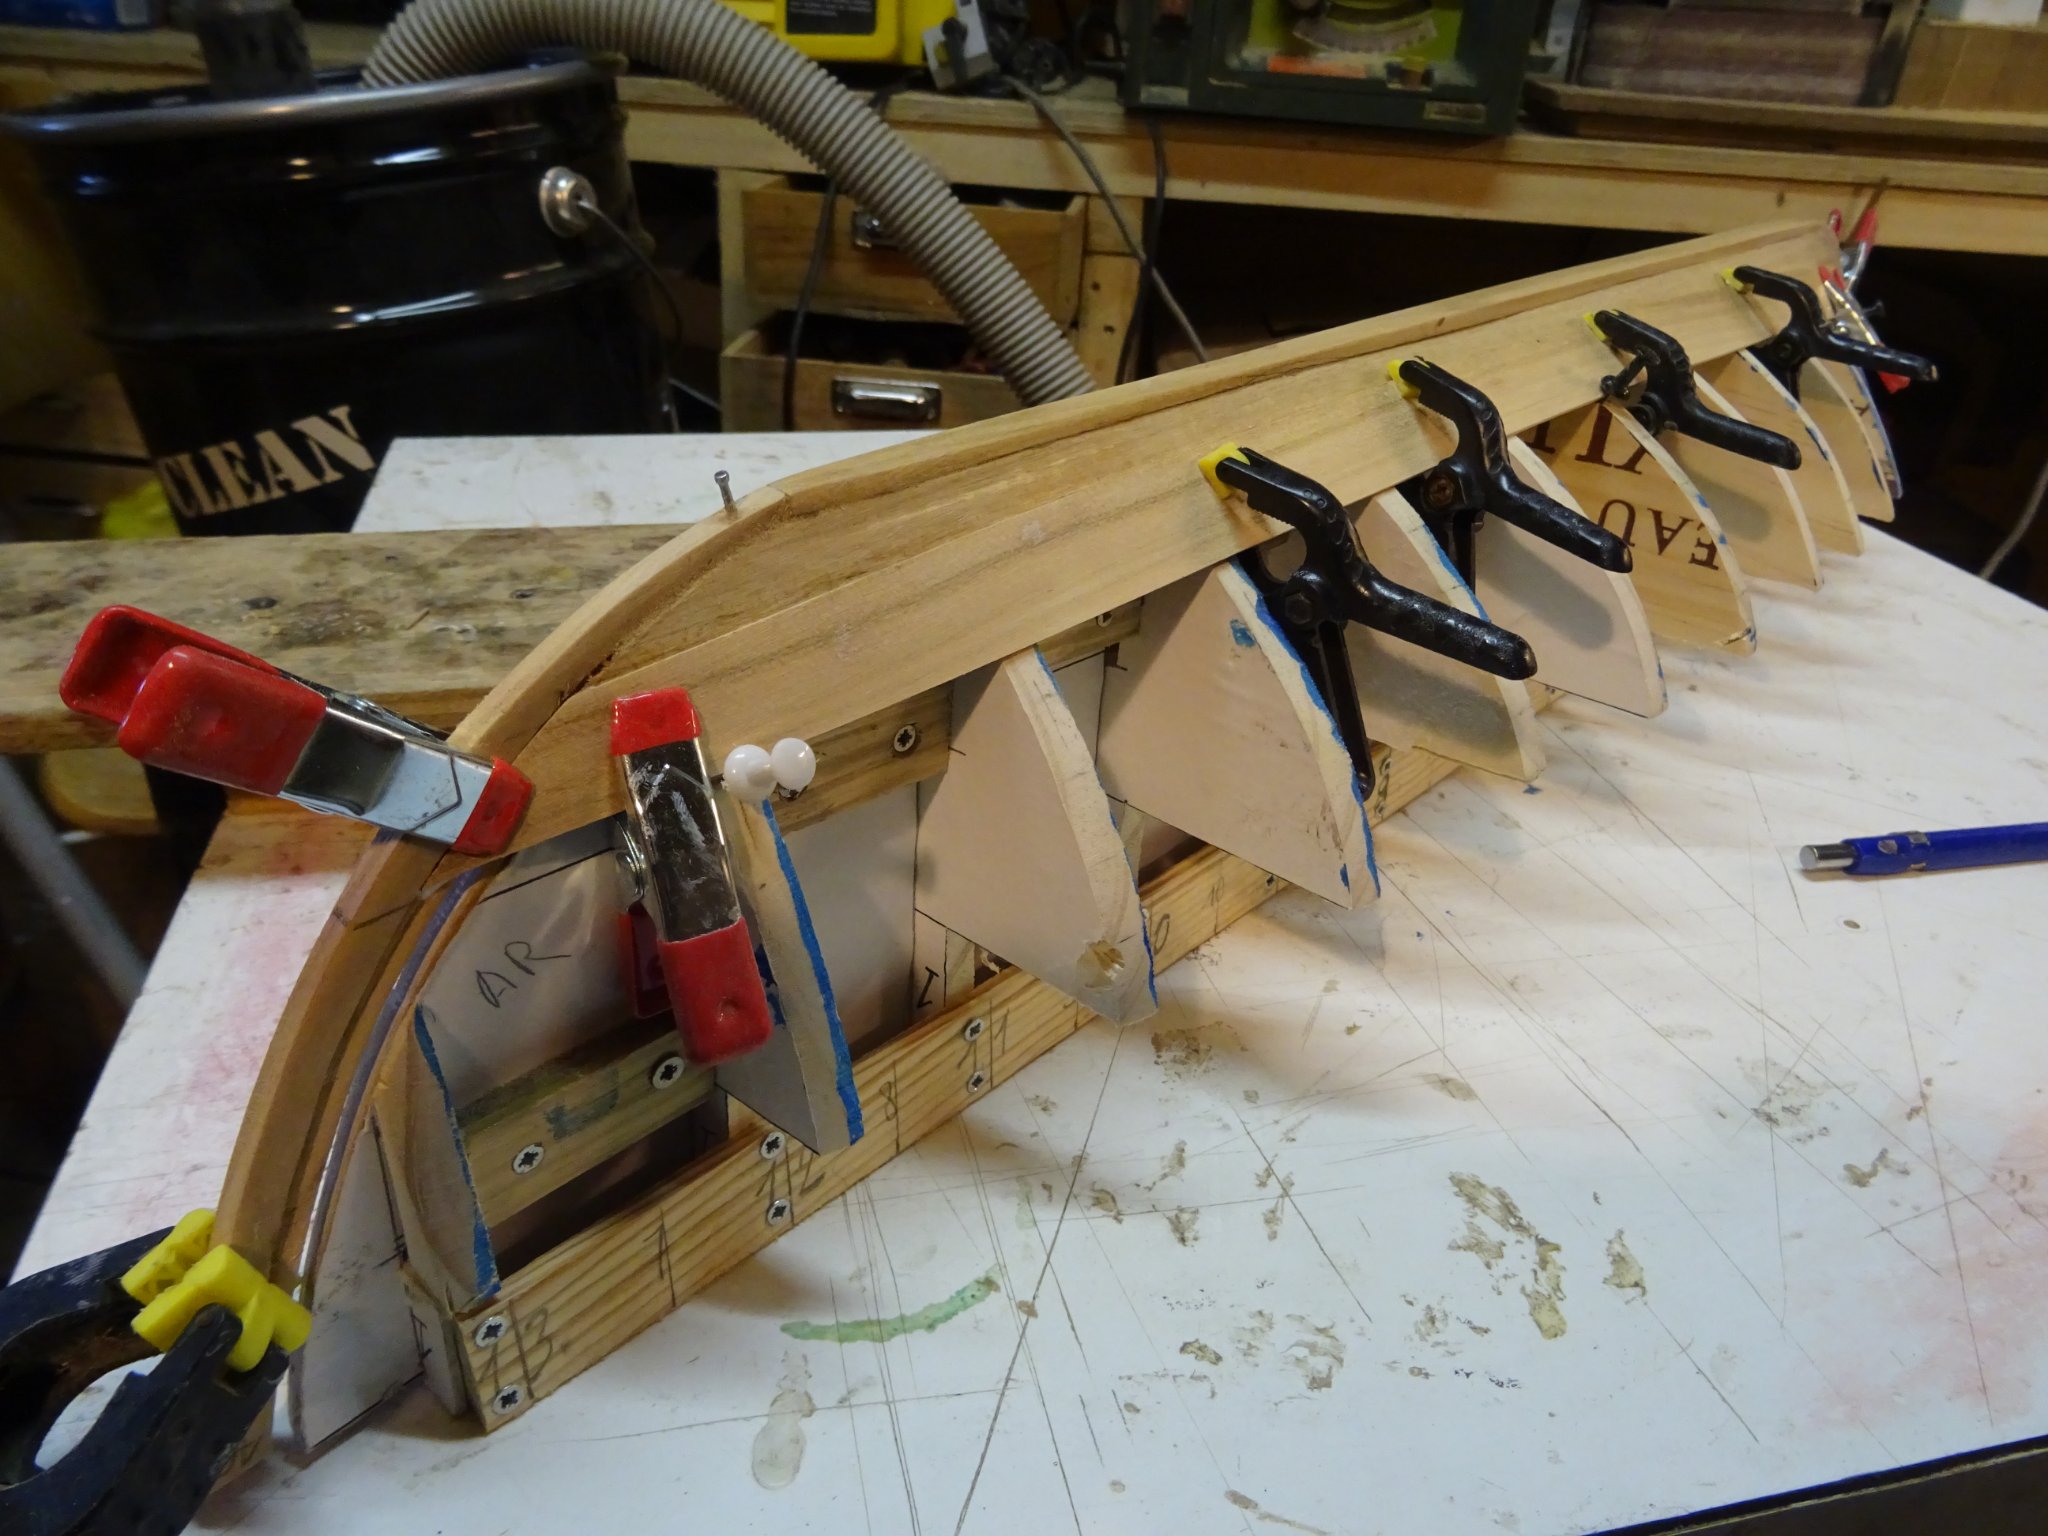
I am taking my time and glue one strake a day at each side.
After a couple of days.
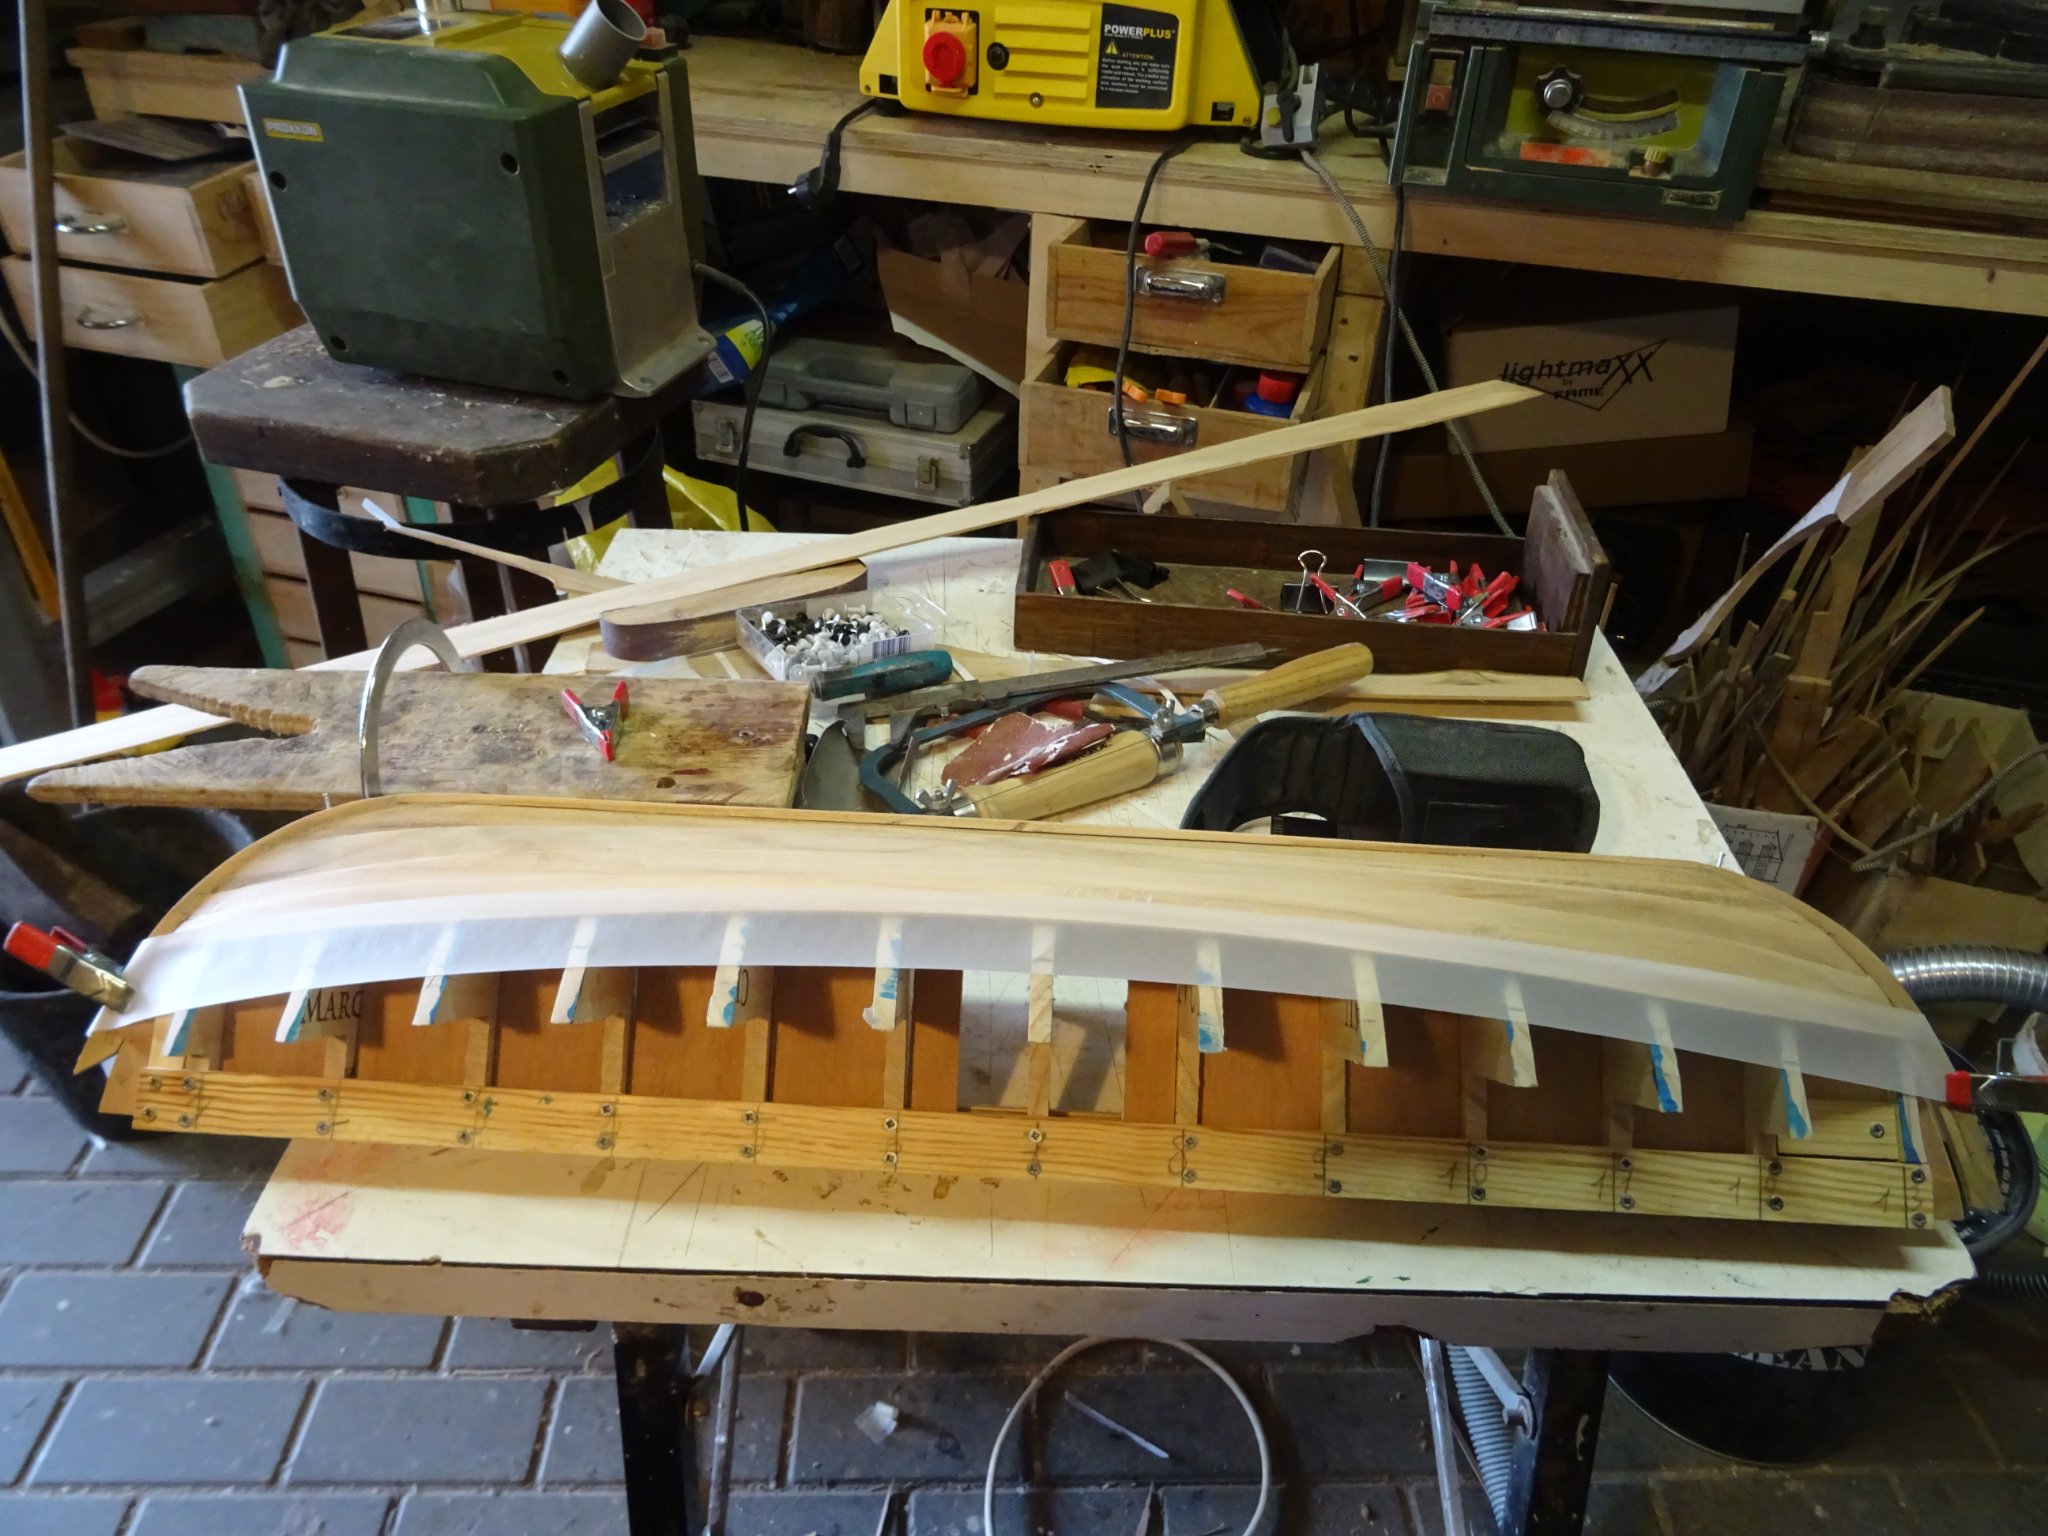
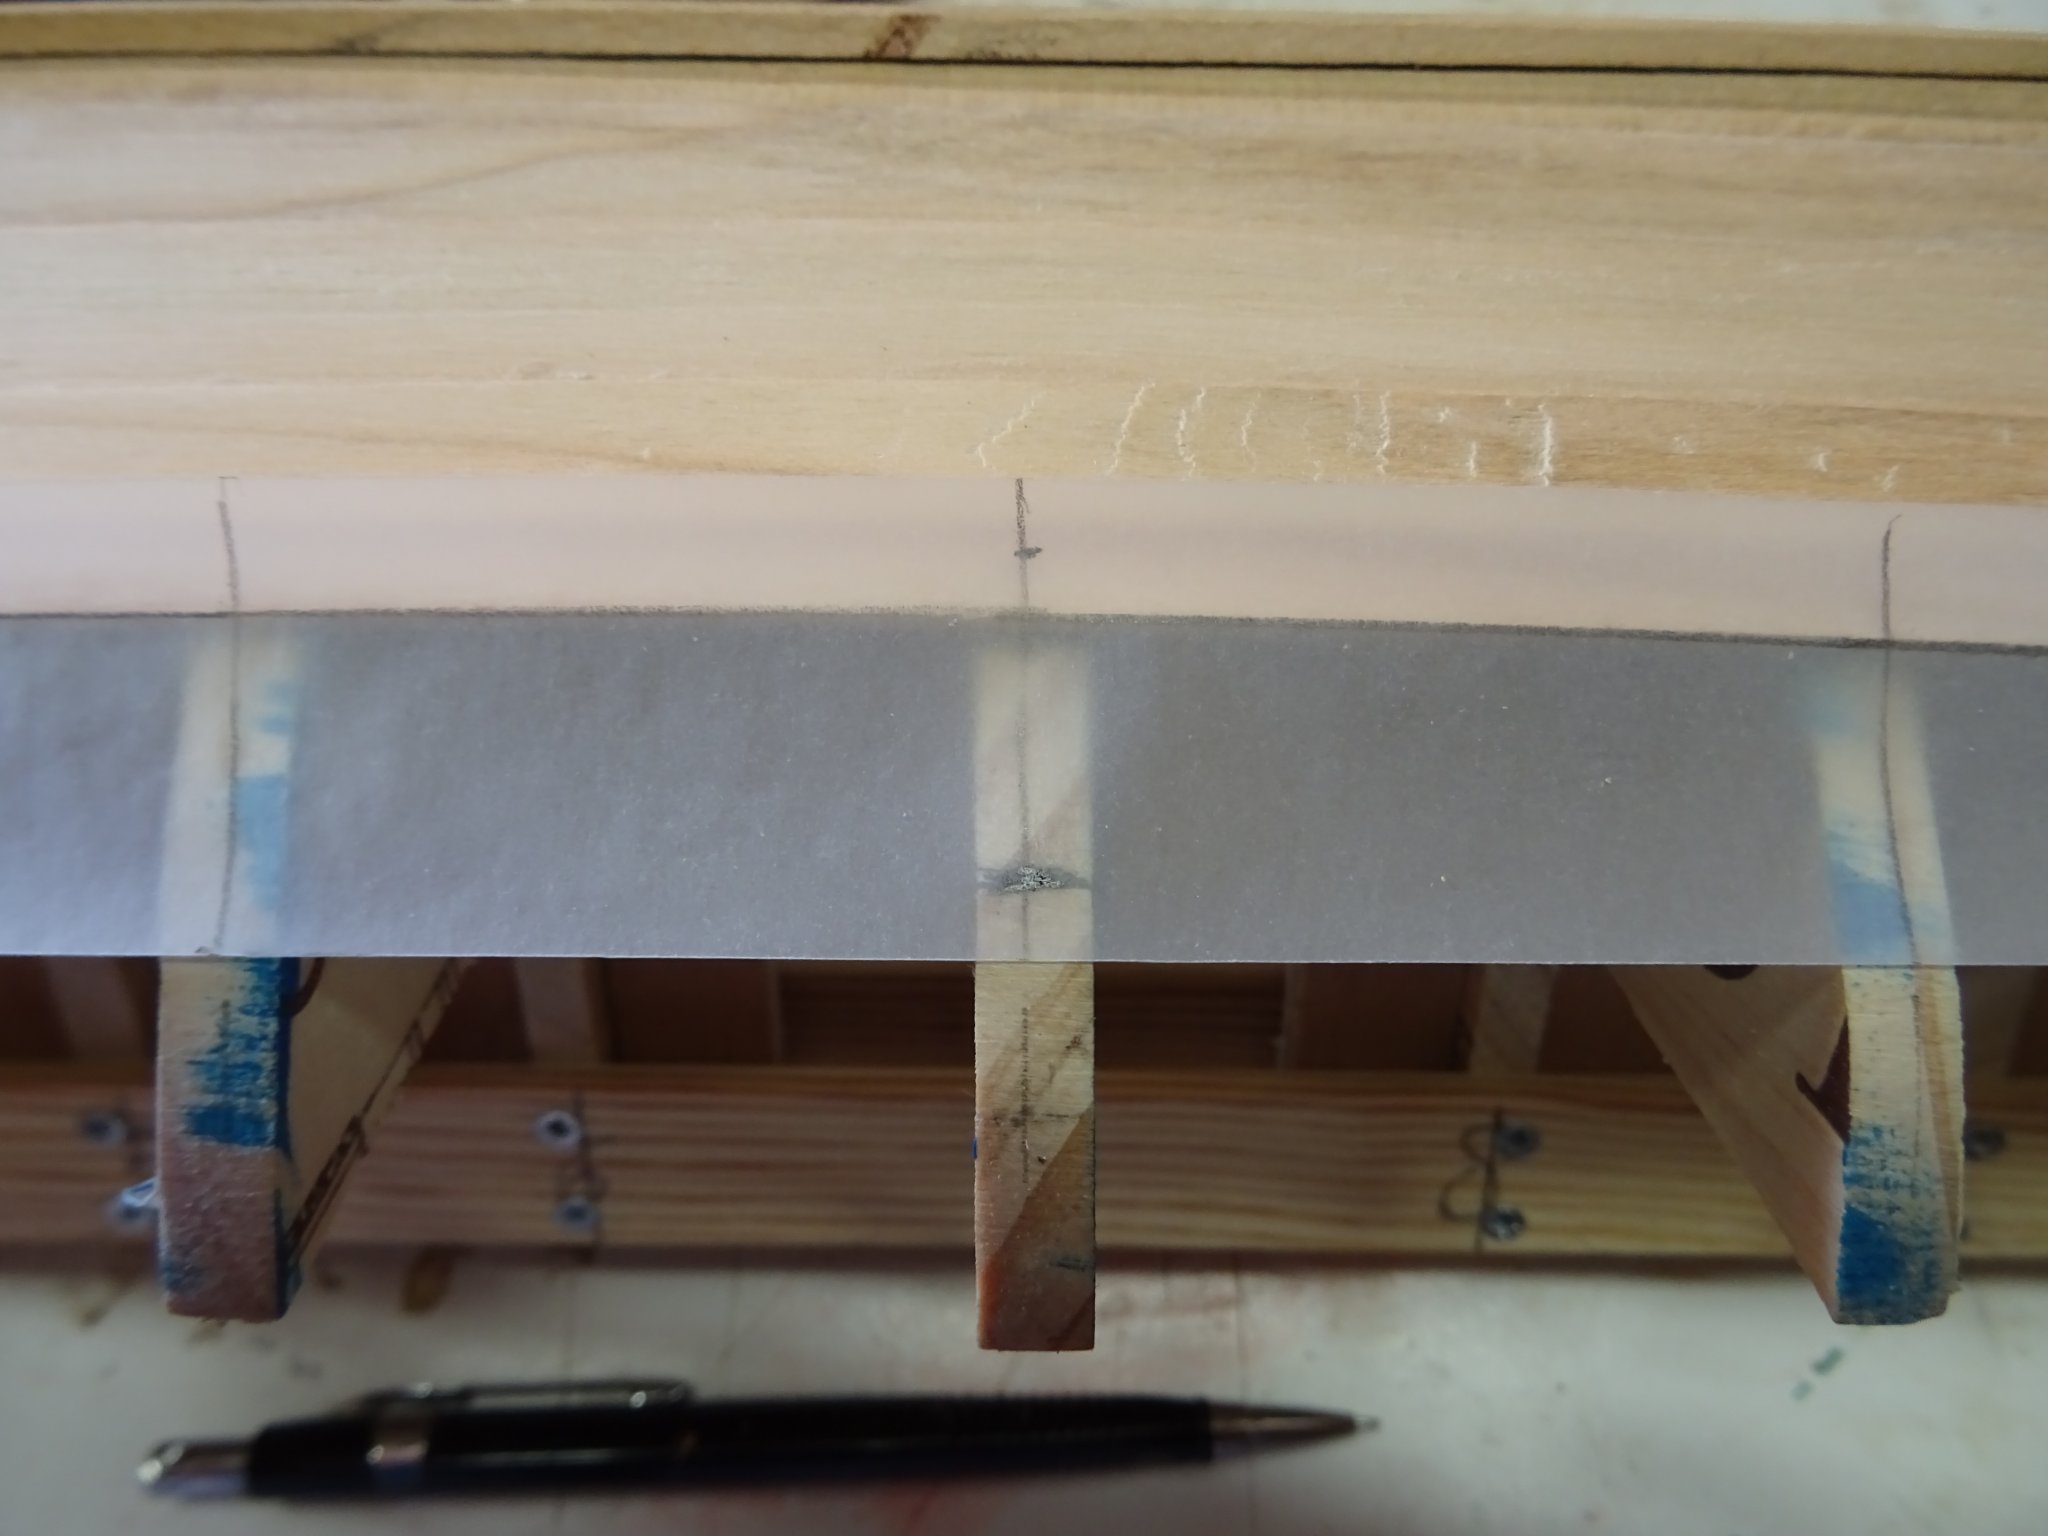
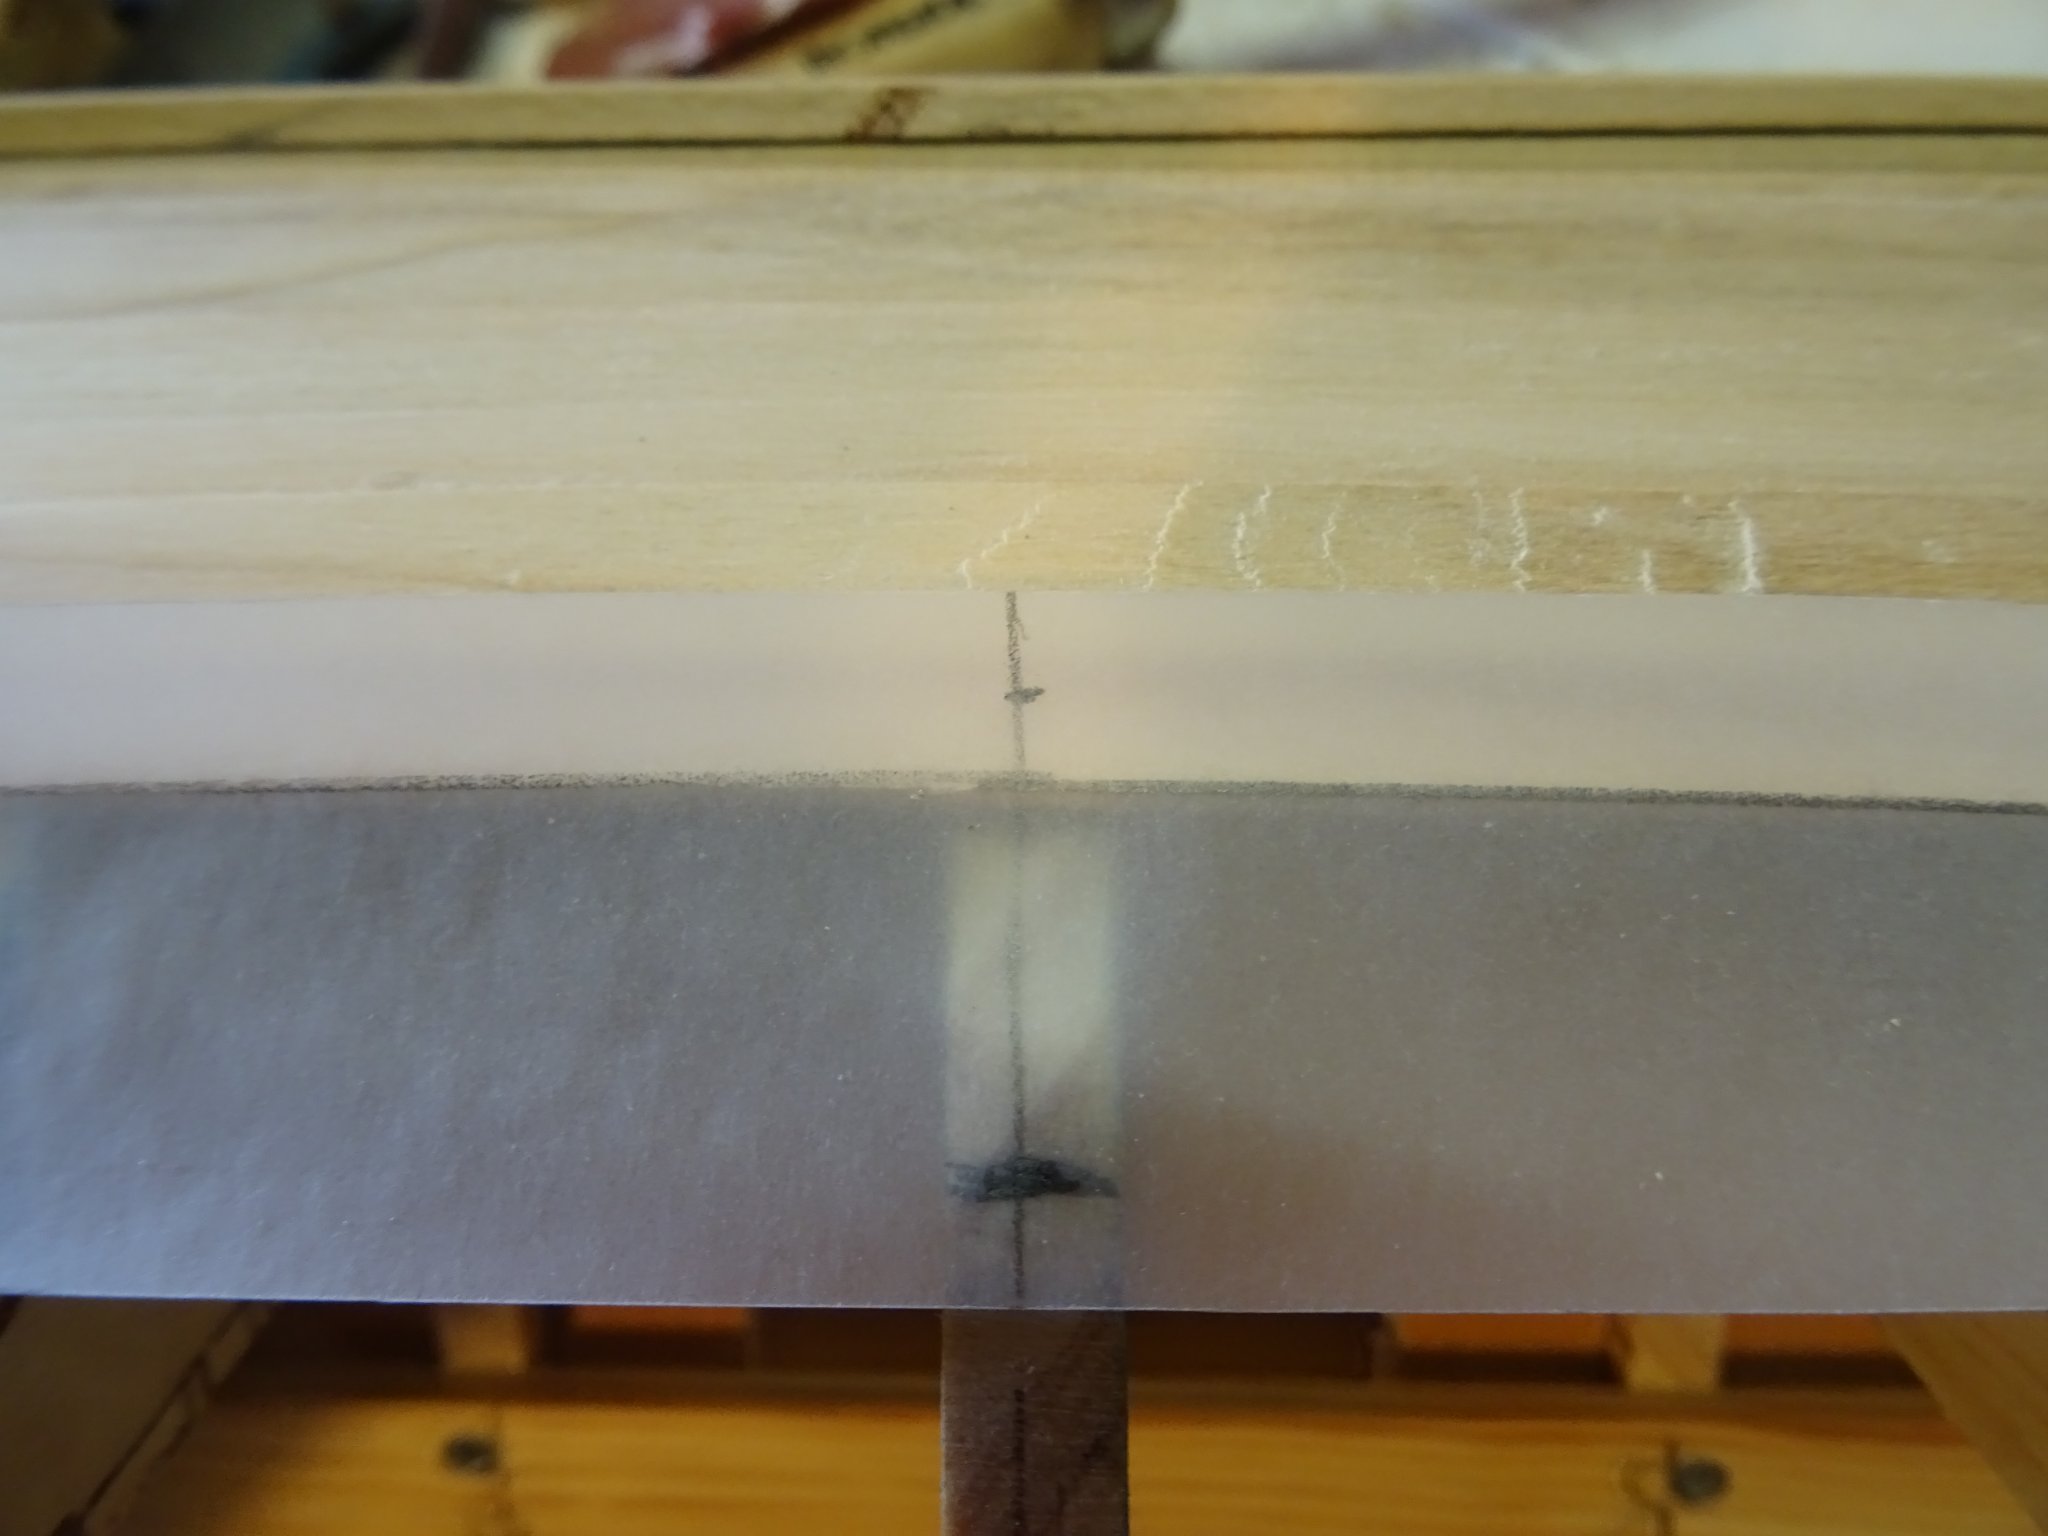
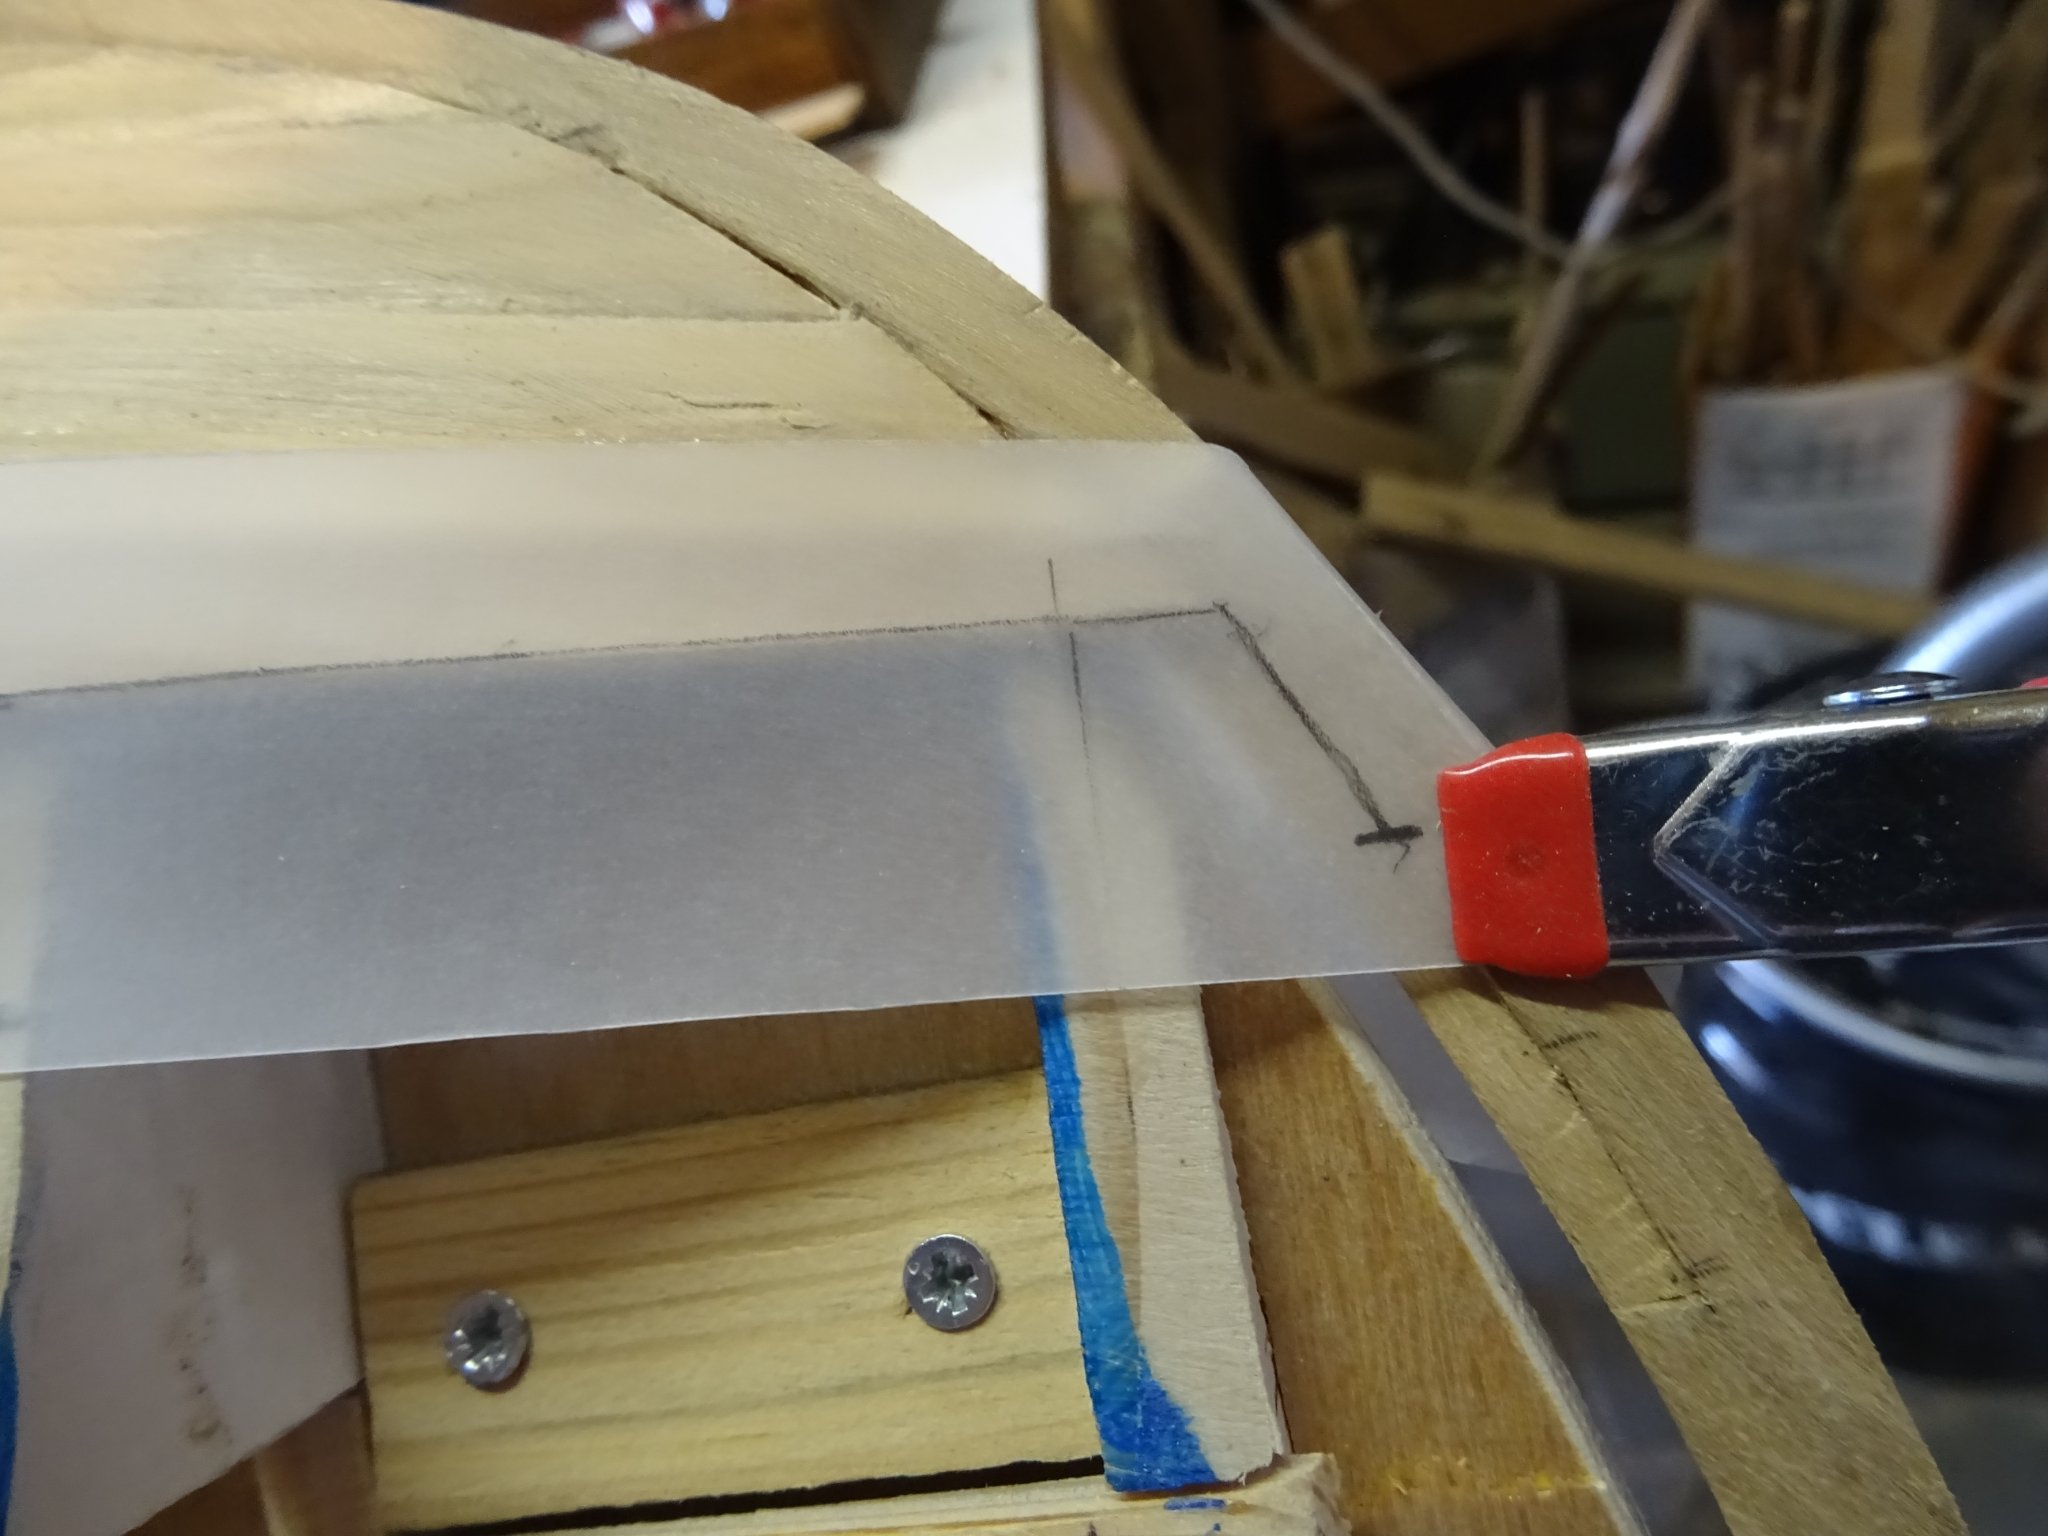
I use the same method to make each strake. Taking over the upper edge of the present strake on the tracing paper. The strake division is marker on some of the stations, I take the marks also over on the tracing paper.

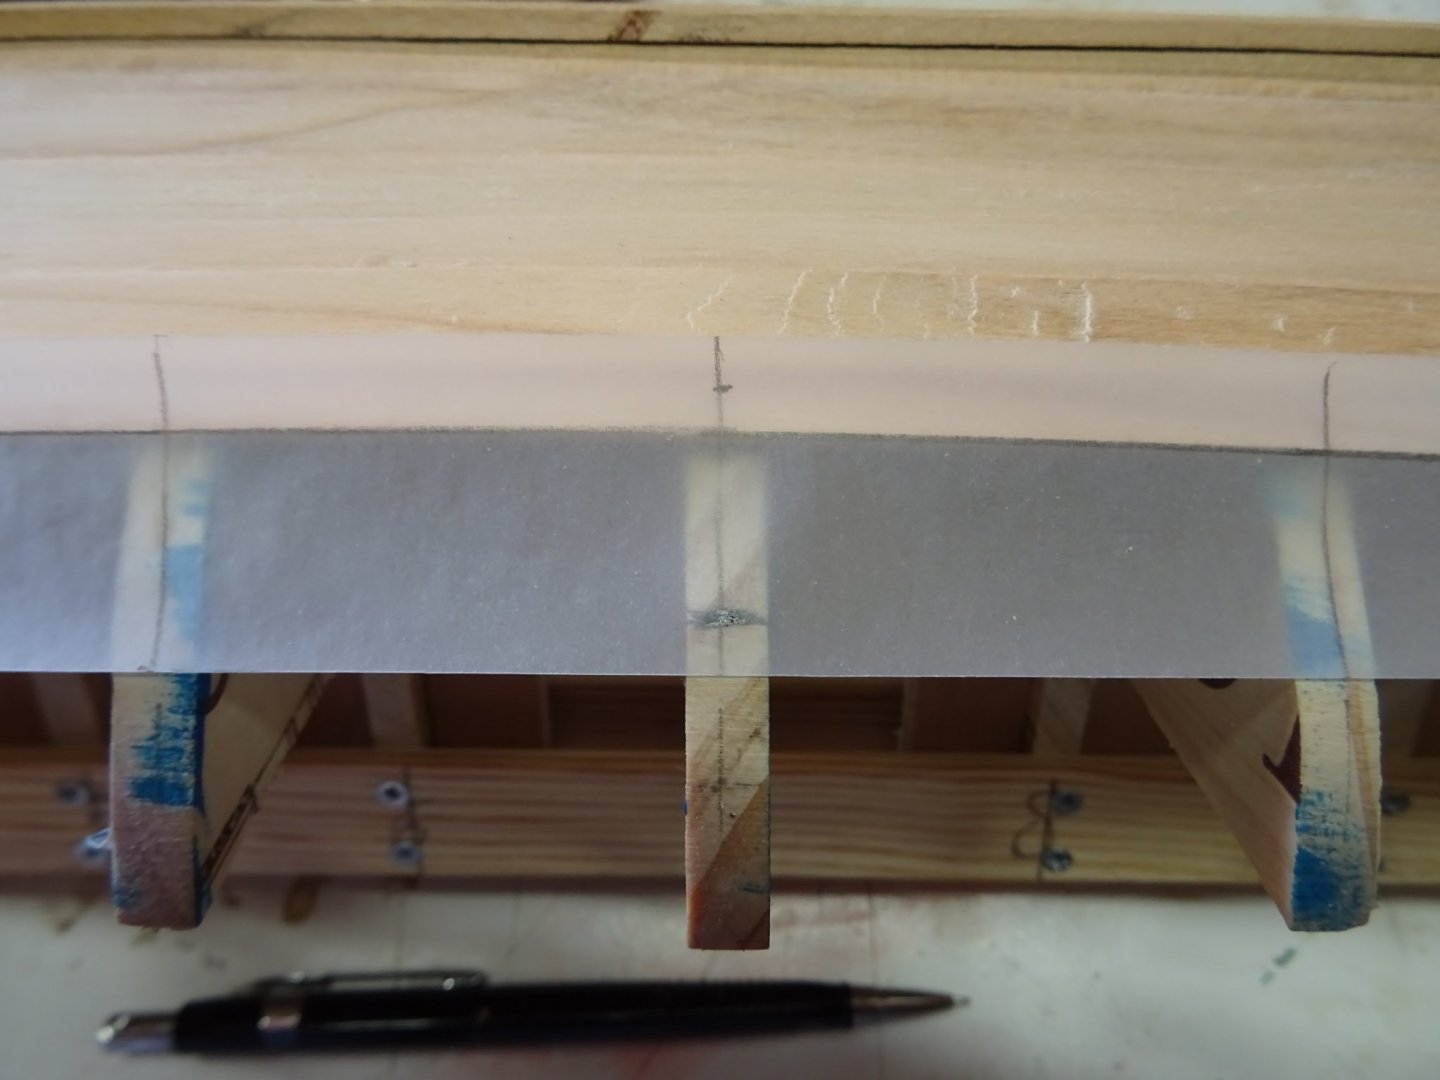
The strake division is marker on some of the stations, I take the marks also over on the tracing paper. The pencil mark above the strake edge indicates the overlap of the new plank.

and finally I mark the the fore and after end of the plank.
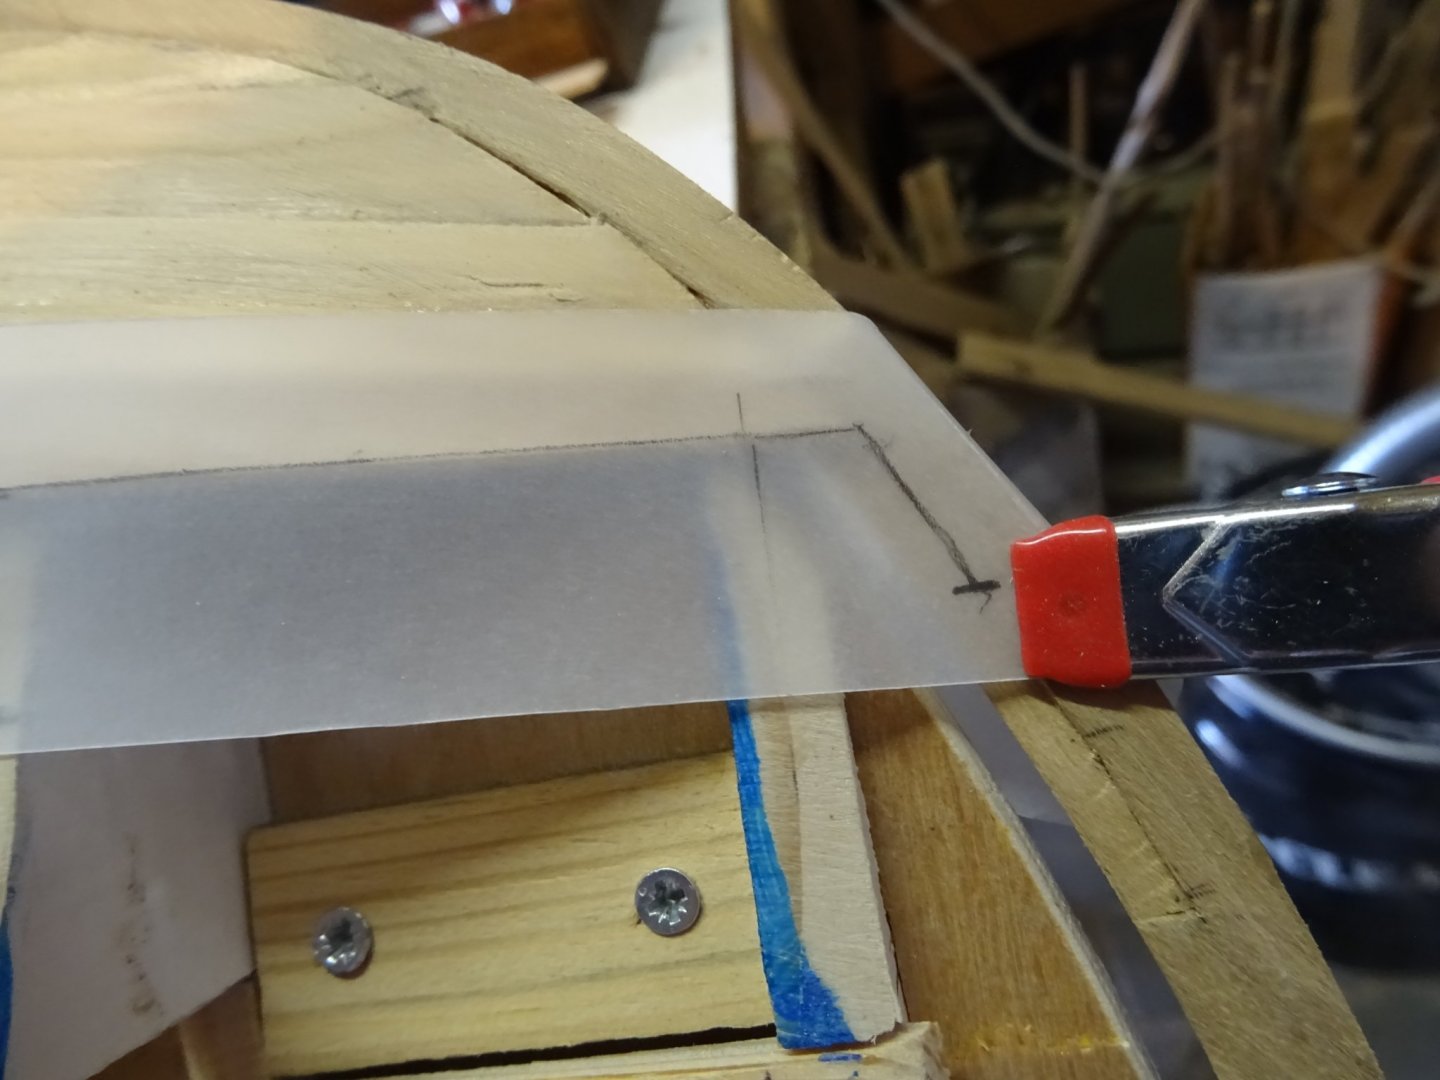
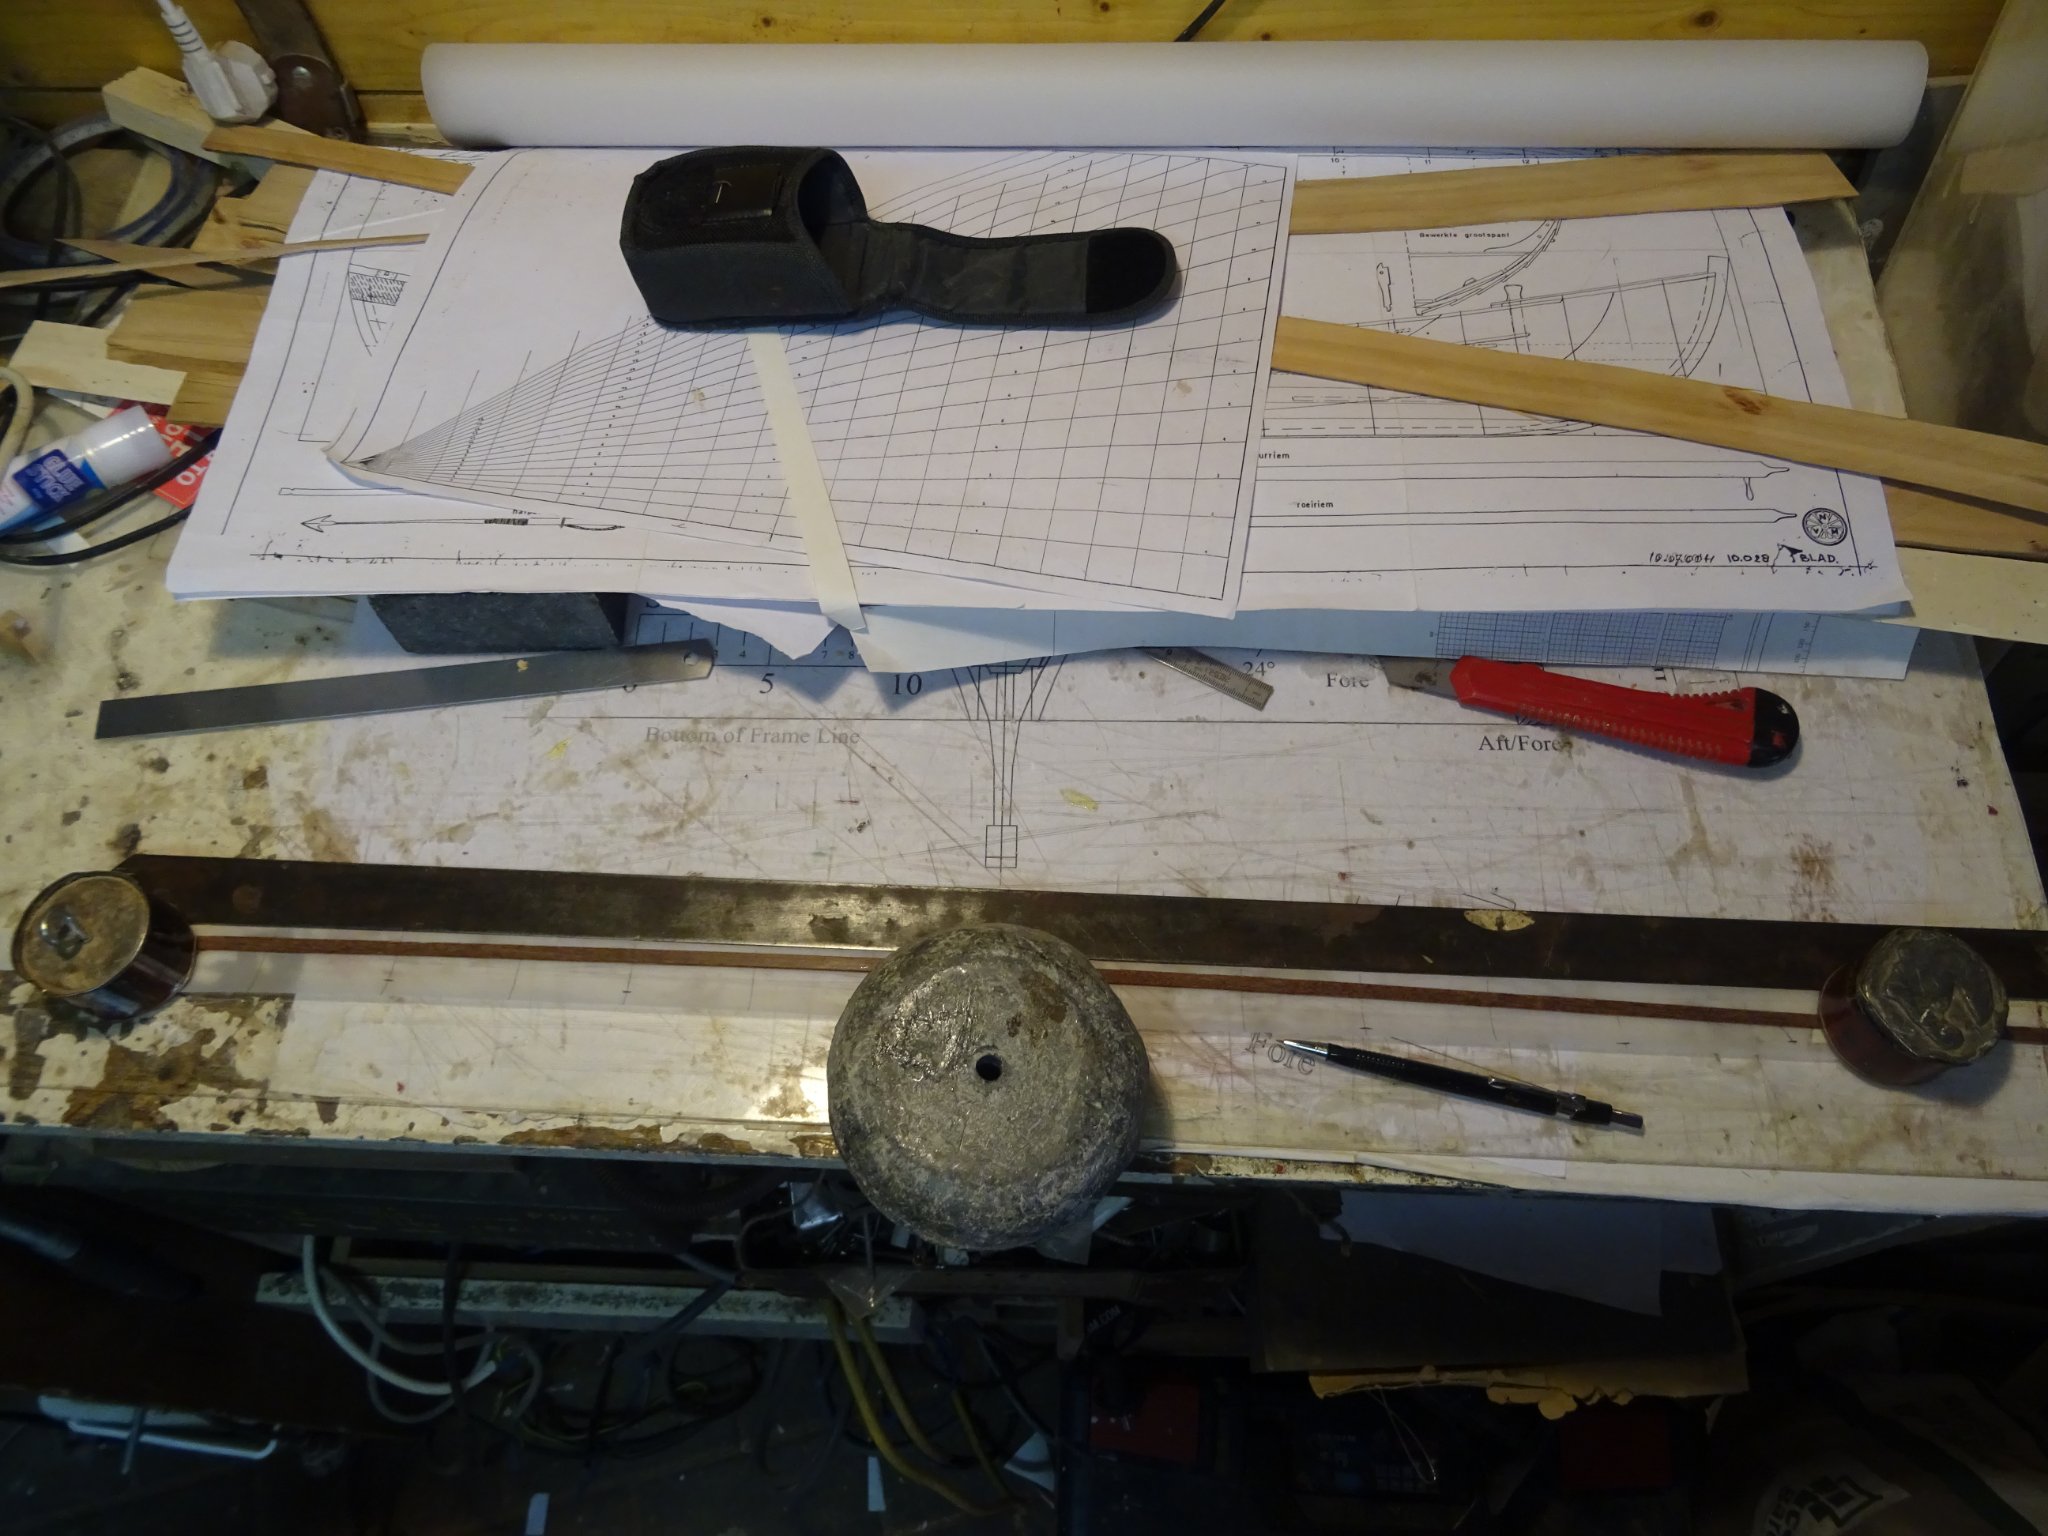
I connect all marks on my tracing paper template with smooth curved lines with the help of a flexible lath and some weight to hold it in position.


Then I glue the template on a plank, saw it out with the fretsaw, san the edges carefully and another strake is ready.
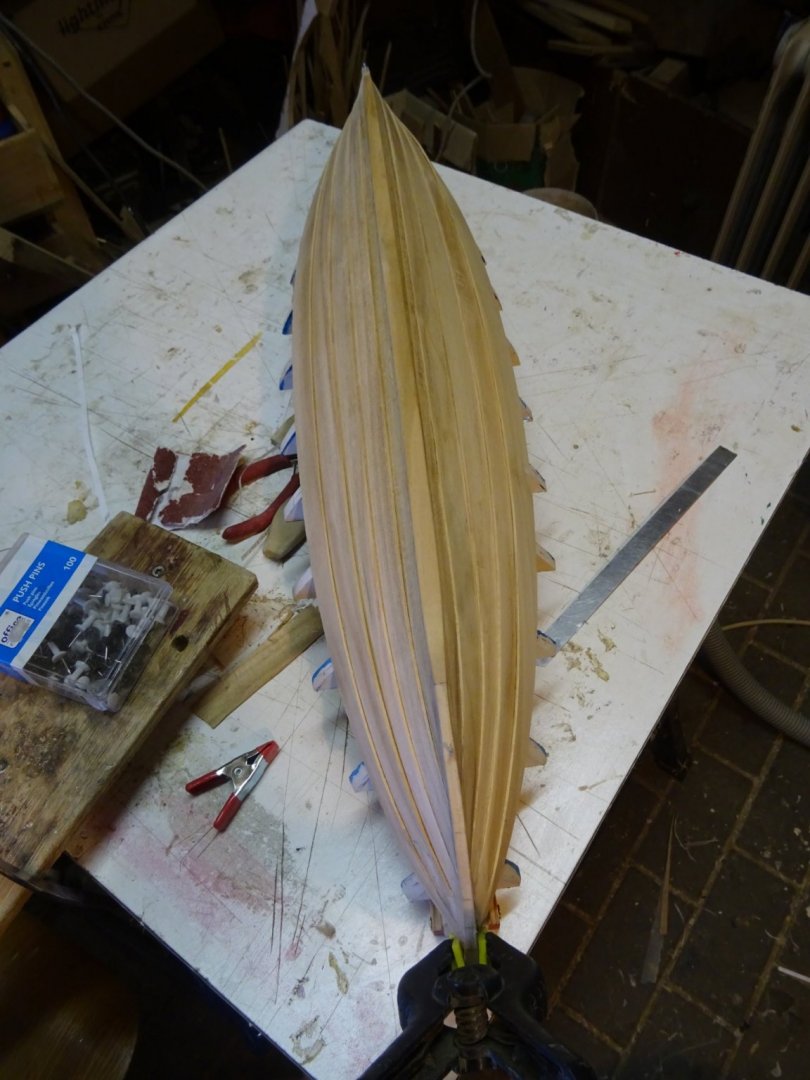


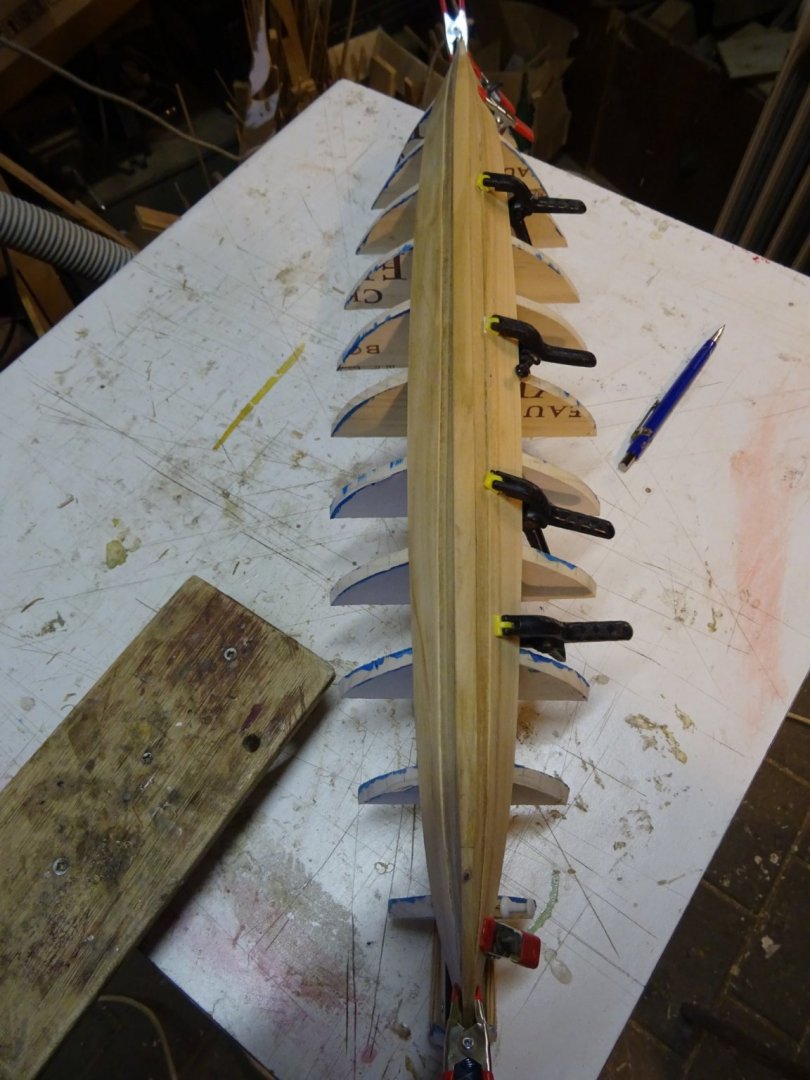
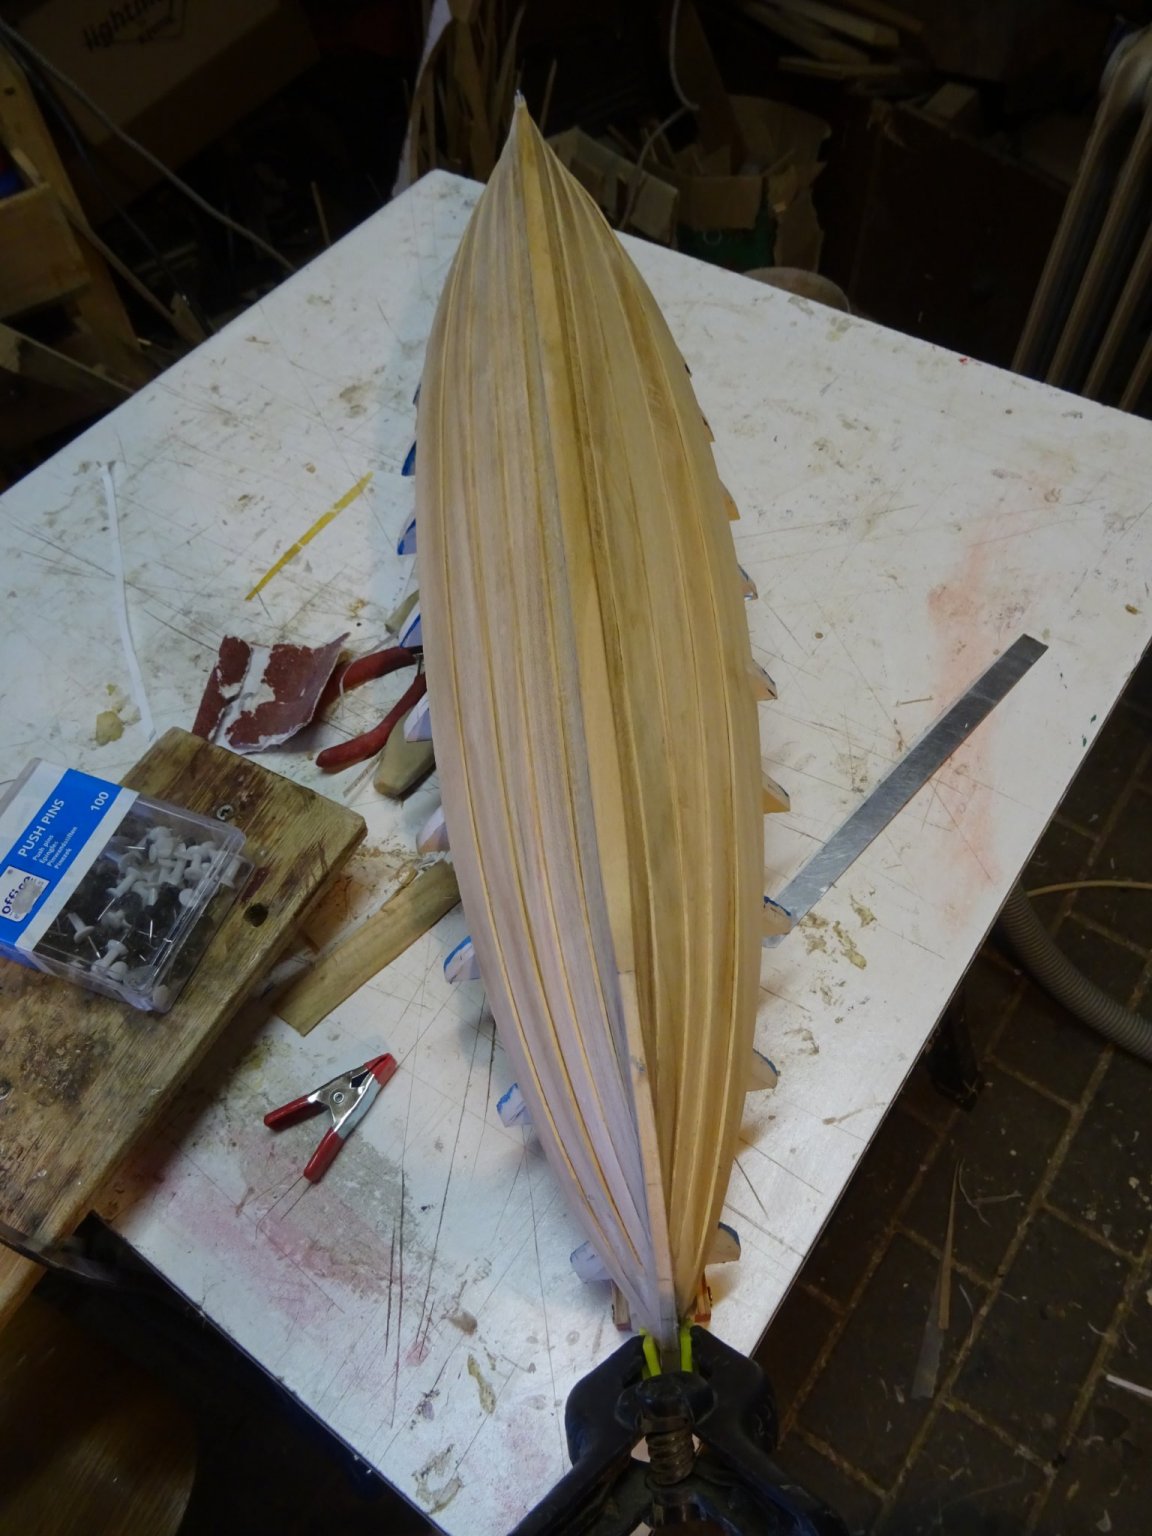
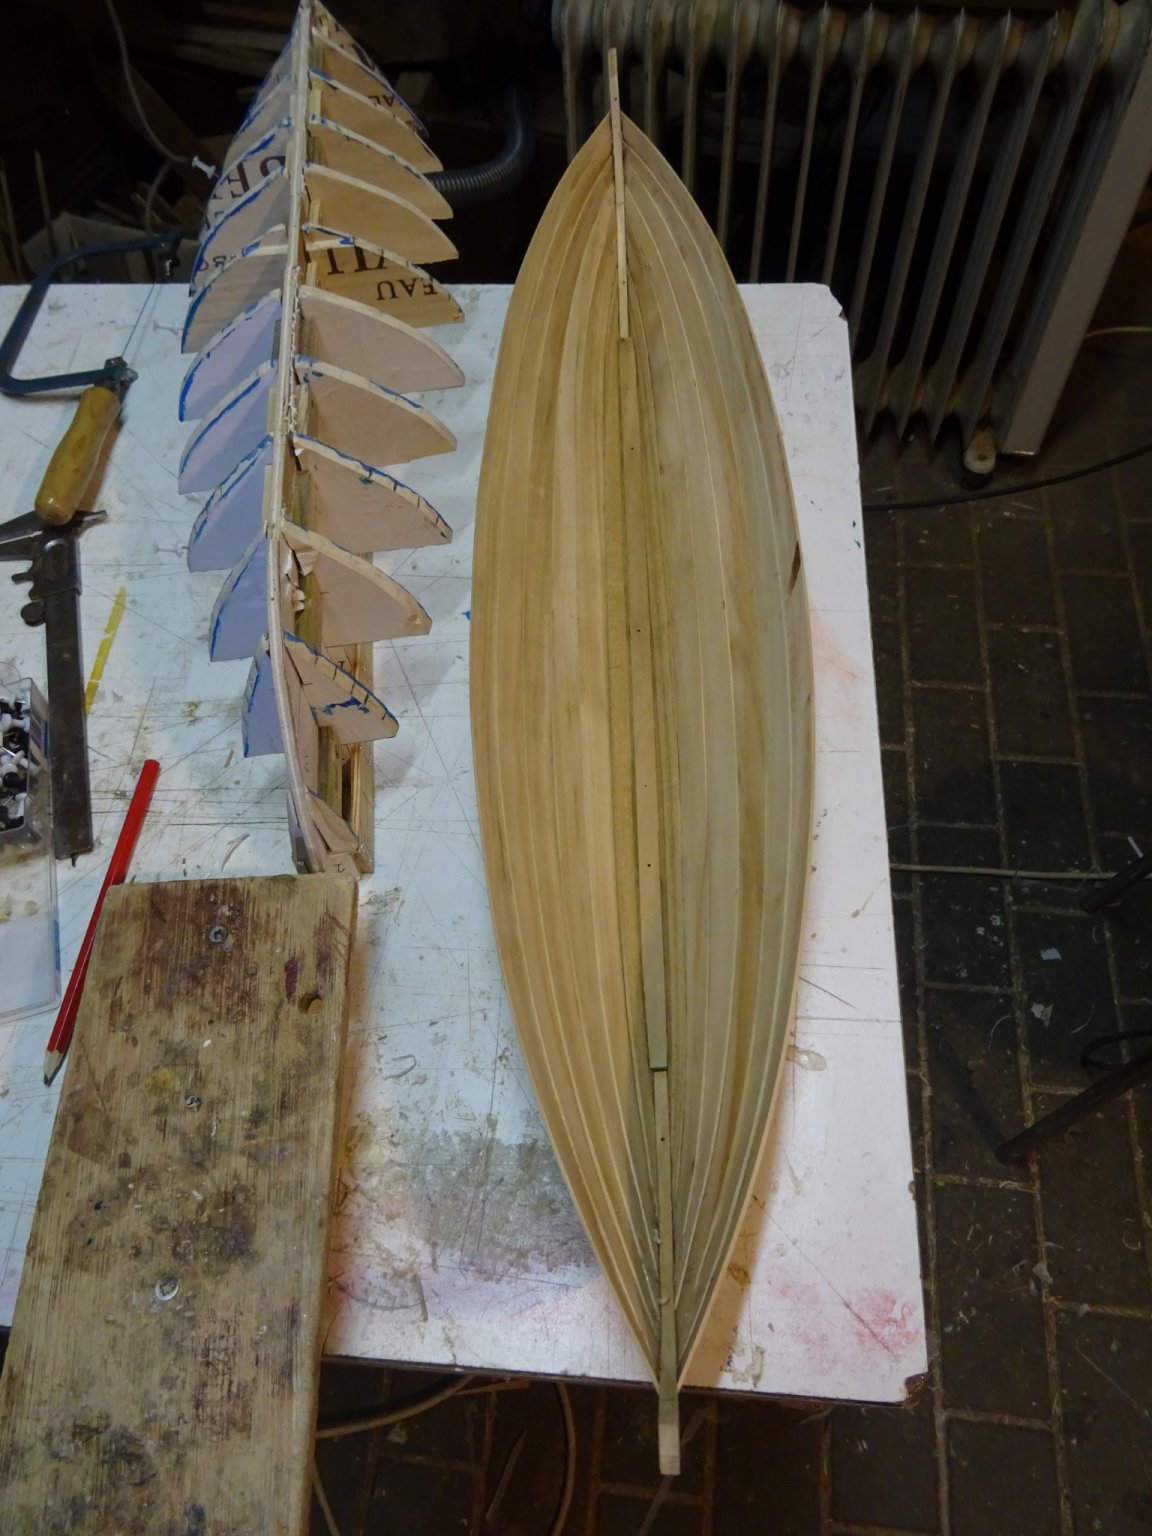
Before laying the two upper strakes, I have to take the model off the building frame. That goes easy. The hull is stiff enough to keep its form.
The inside:

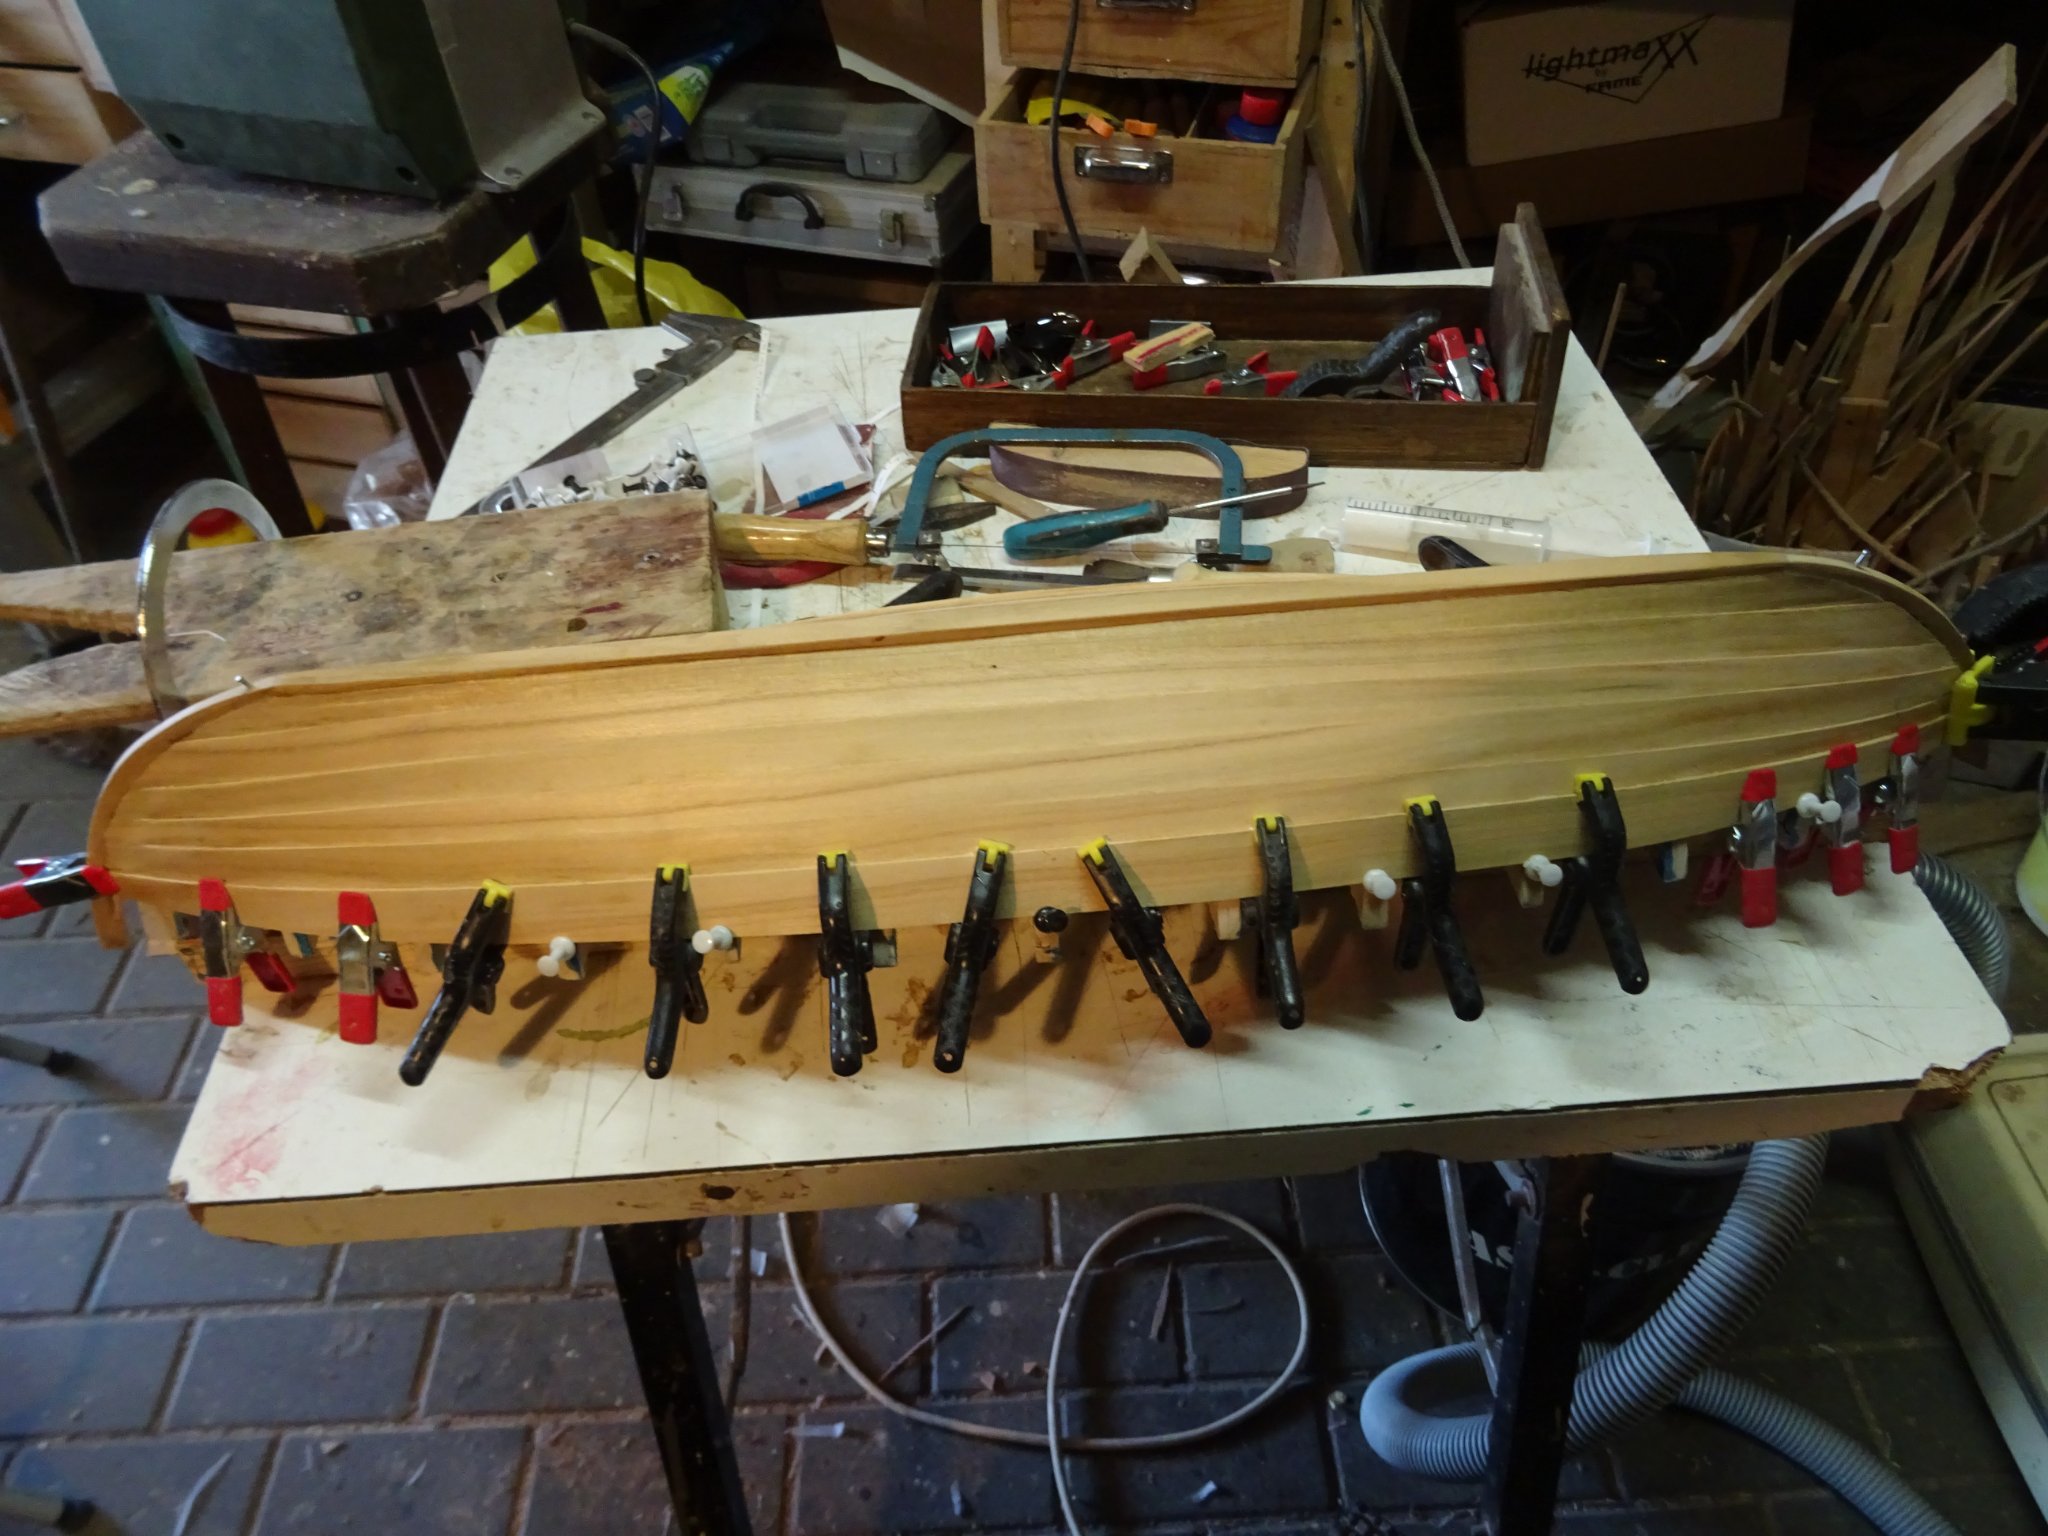
The outside:
-
Congratulations, Yves a fantastic model and a fascinating log to follow!
-
-
-
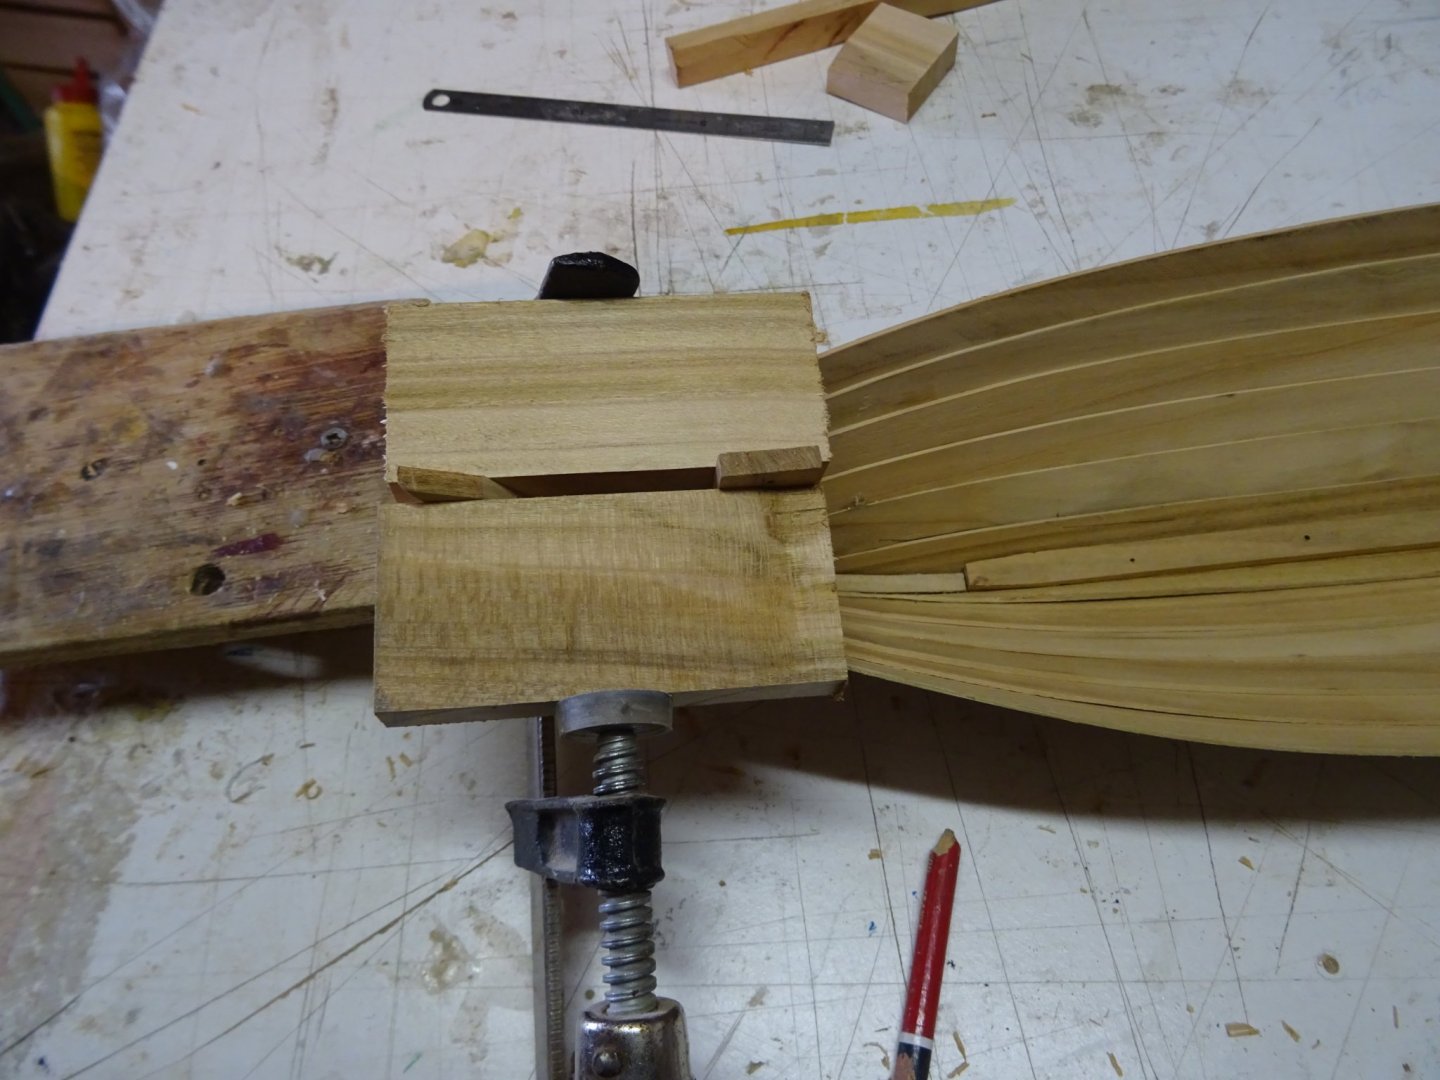
Now it is time to make the garboard strokes. Fitting the garboard stroke and marking the shape of the end to fit in the stem rabbet.
The garboard stroke is glued.

The gardboard strokes at both sides:
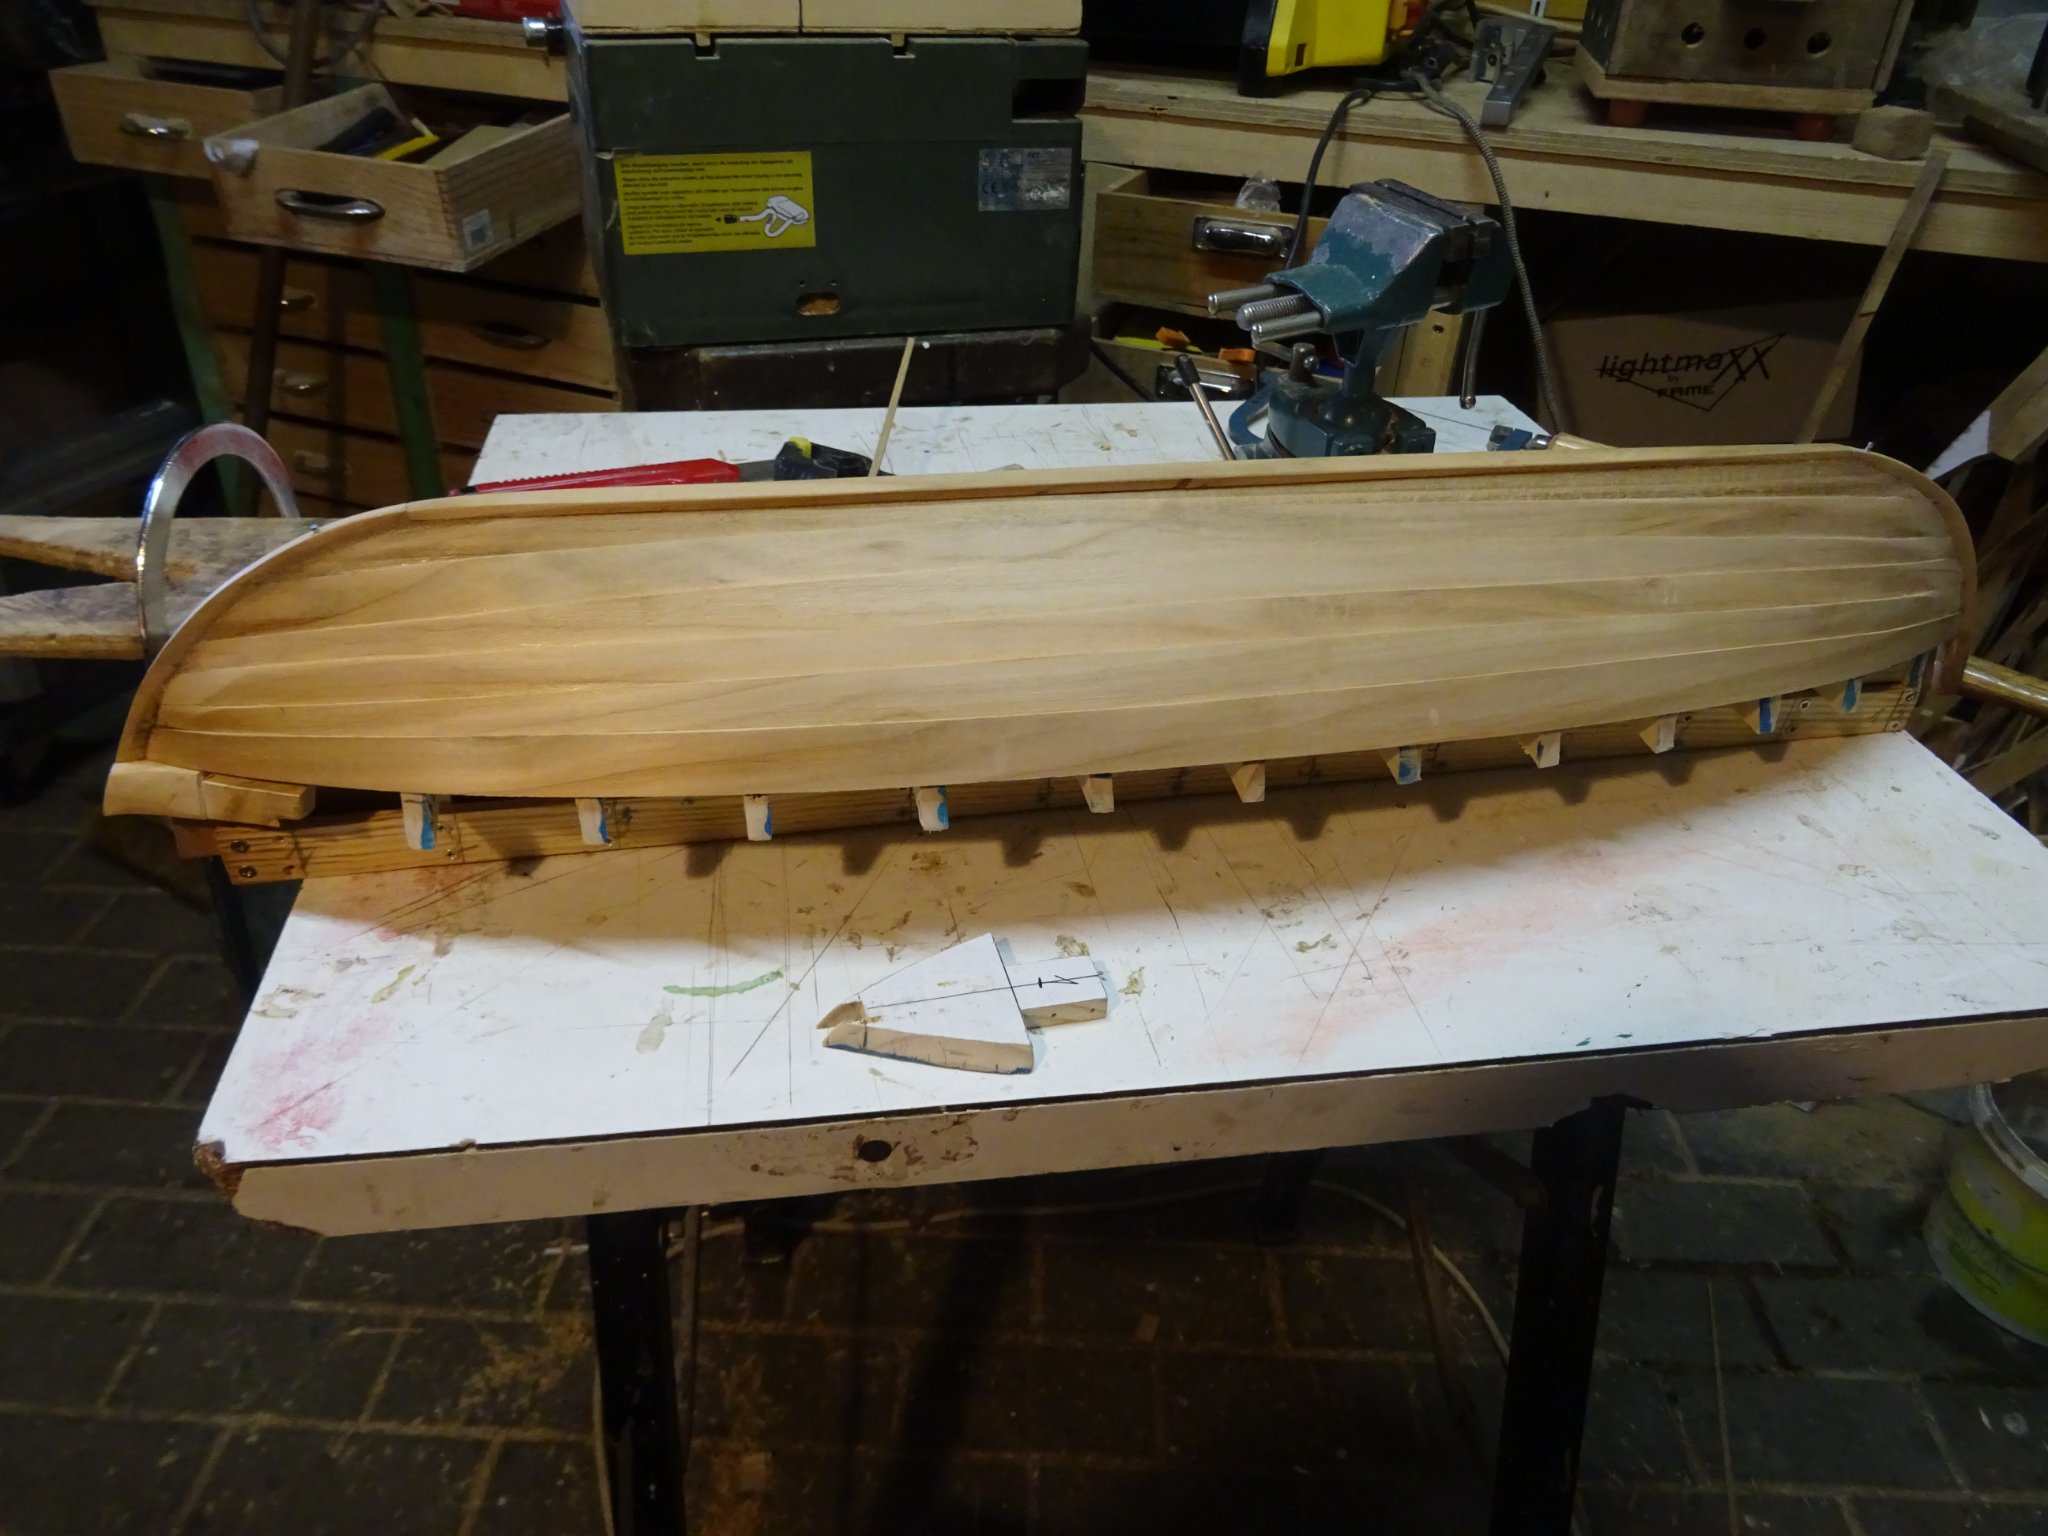
Now the under part of the keel can be made.
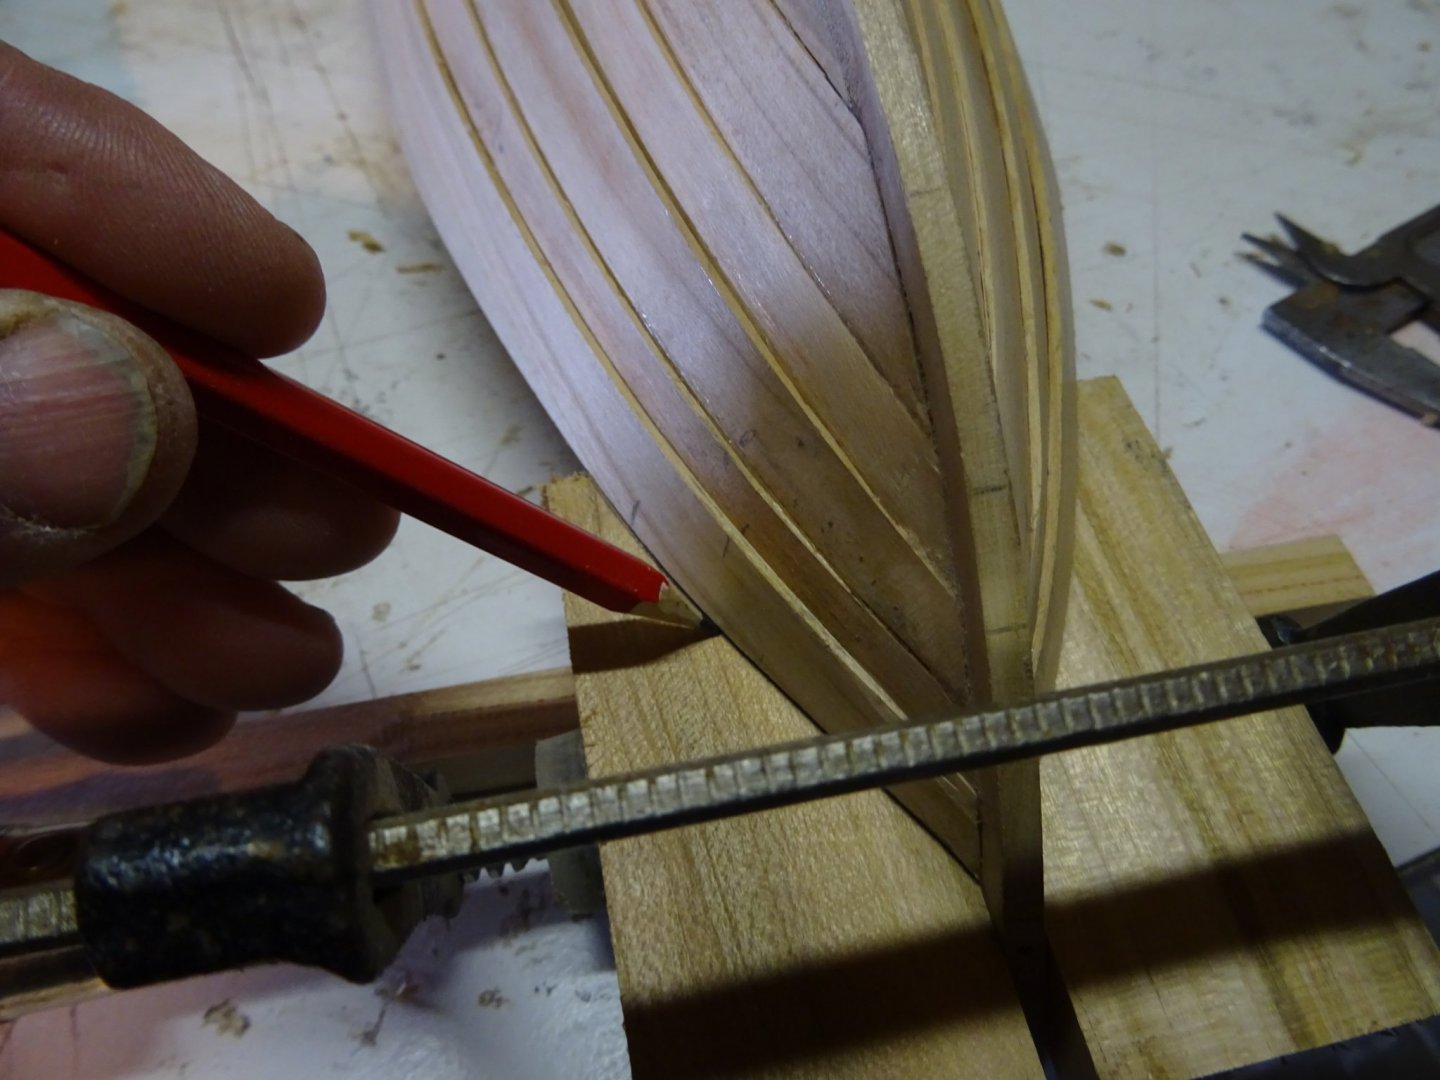
Towards the front and the end of the vessel the keel becomes narrower. Marking the changing width and sanding roughly in shape.
Gluing the keel ...
... and sanding it in shape.

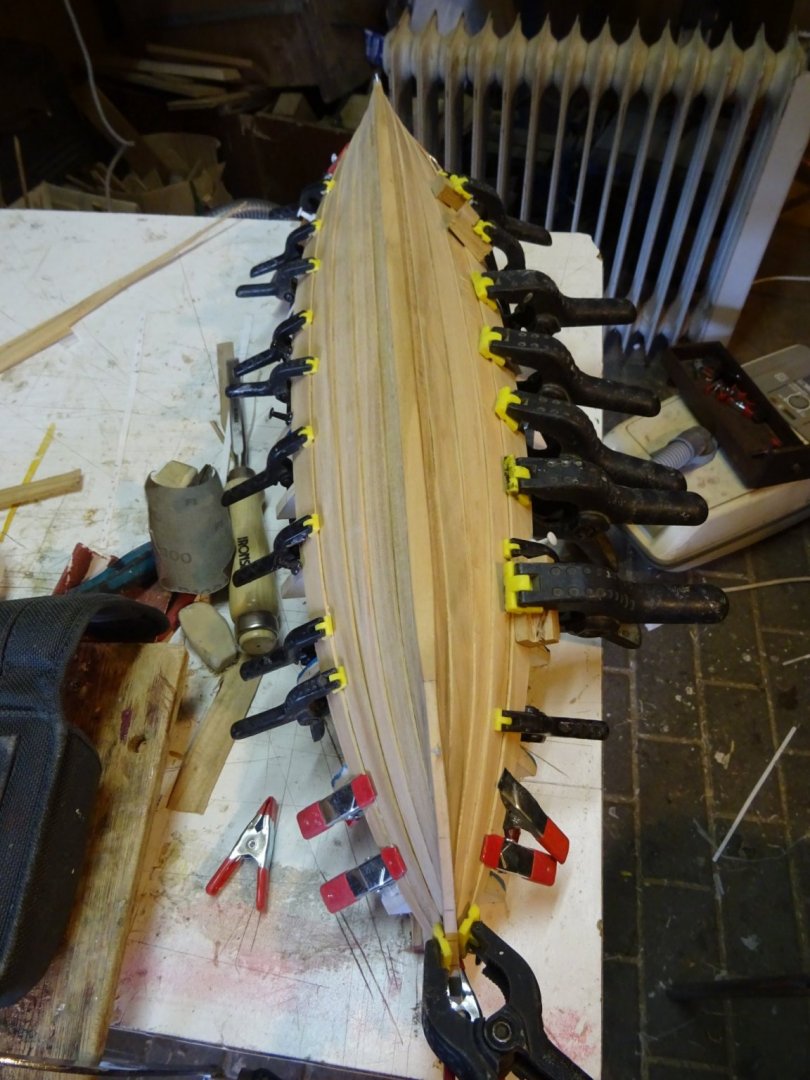
Now I can continue the planking.
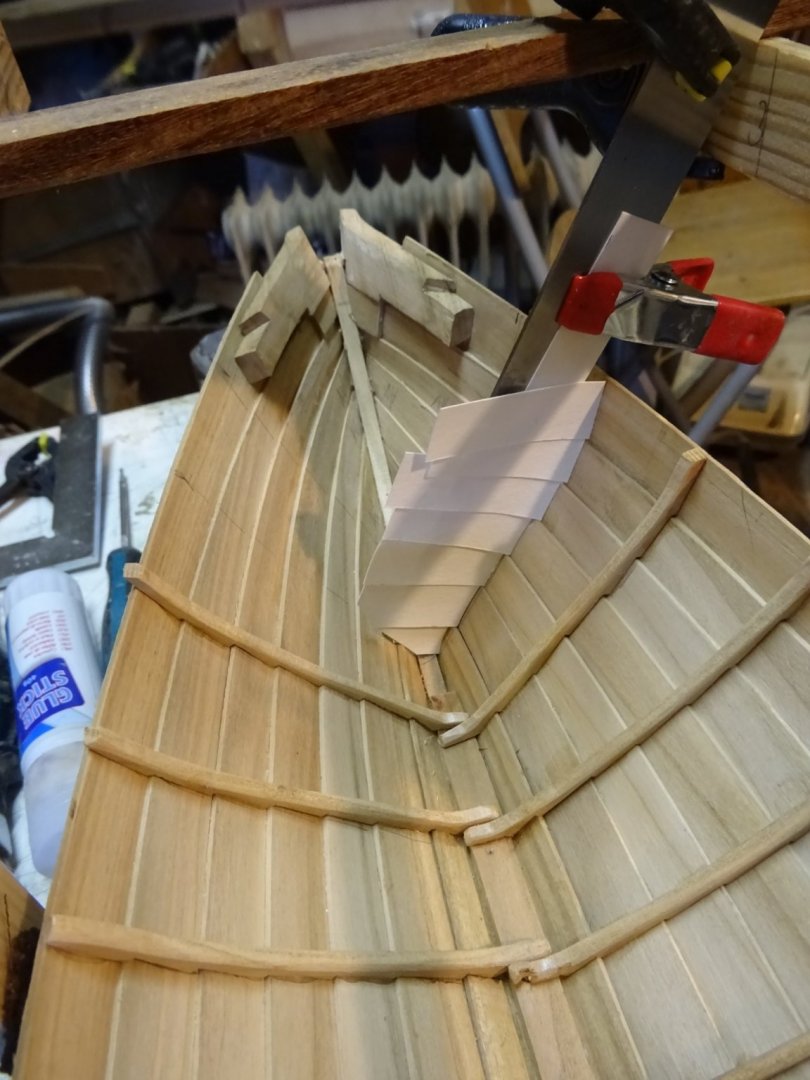
Unlike the New Bedford whale boat, this boat is clinker planked, so each plank overlaps its lower neighbor.
I determine the shape of a plank with a piece of tracing paper.
 The upper plank overlaps the lower plank up to a small distance from the stem and the sterns, from there they gradually join to a flat surface.
Here I chisel a rabbet in the lower plank, in the upper plank will come an equal rabbet.

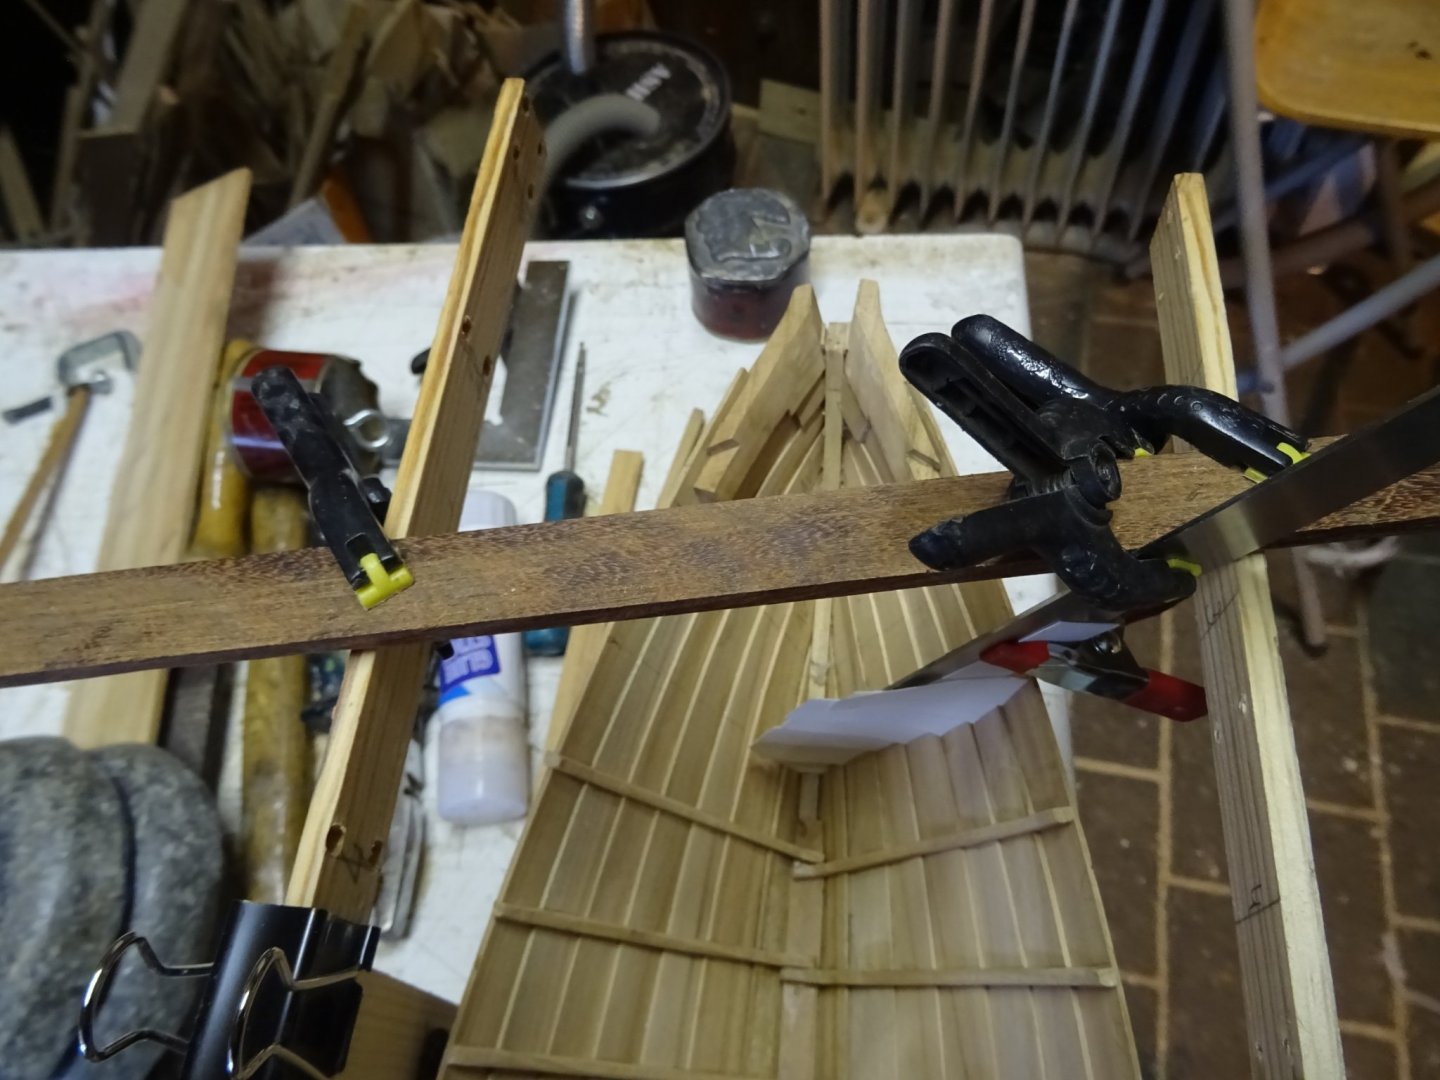
Fitting the second plank. Here the tracing paper template is not yet removed.

Fitting it at the other end ...
 ... and gluing it into position.

Two strakes at both sides.
Thank you very much for reading this log and for your likes.
Till next week!
-
Looks very clever, like a dangerous shark.


Norwegian Whale Boat by G.L. - FINISHED - scale 1/10 - SMALL
in - Build logs for subjects built 1801 - 1850
Posted
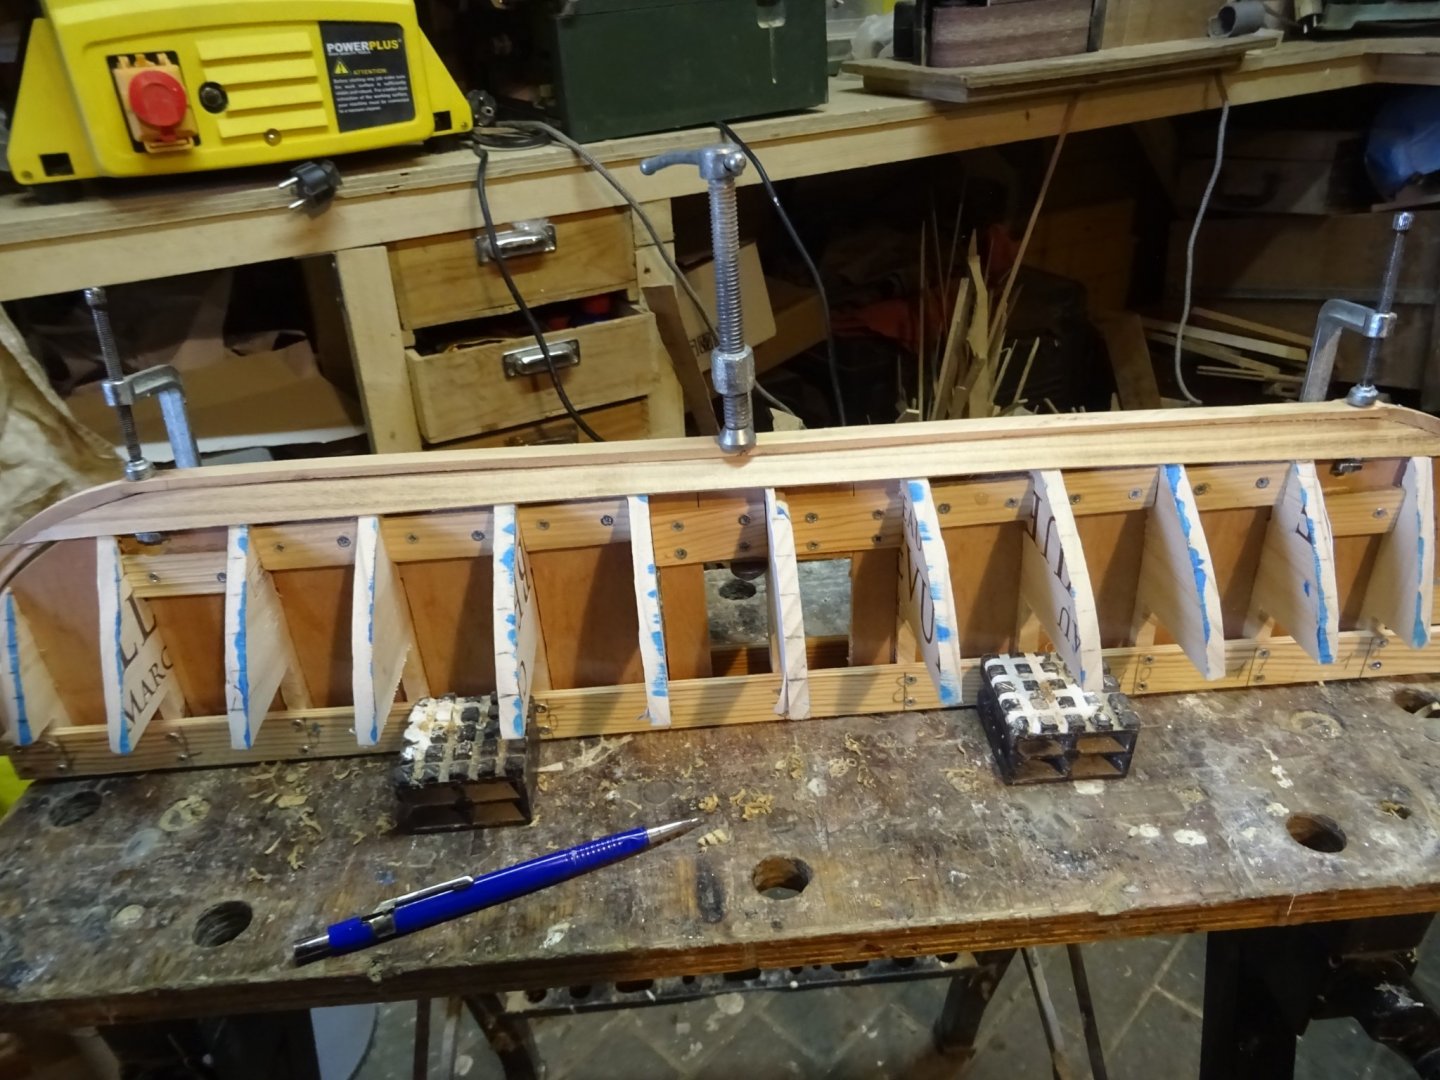
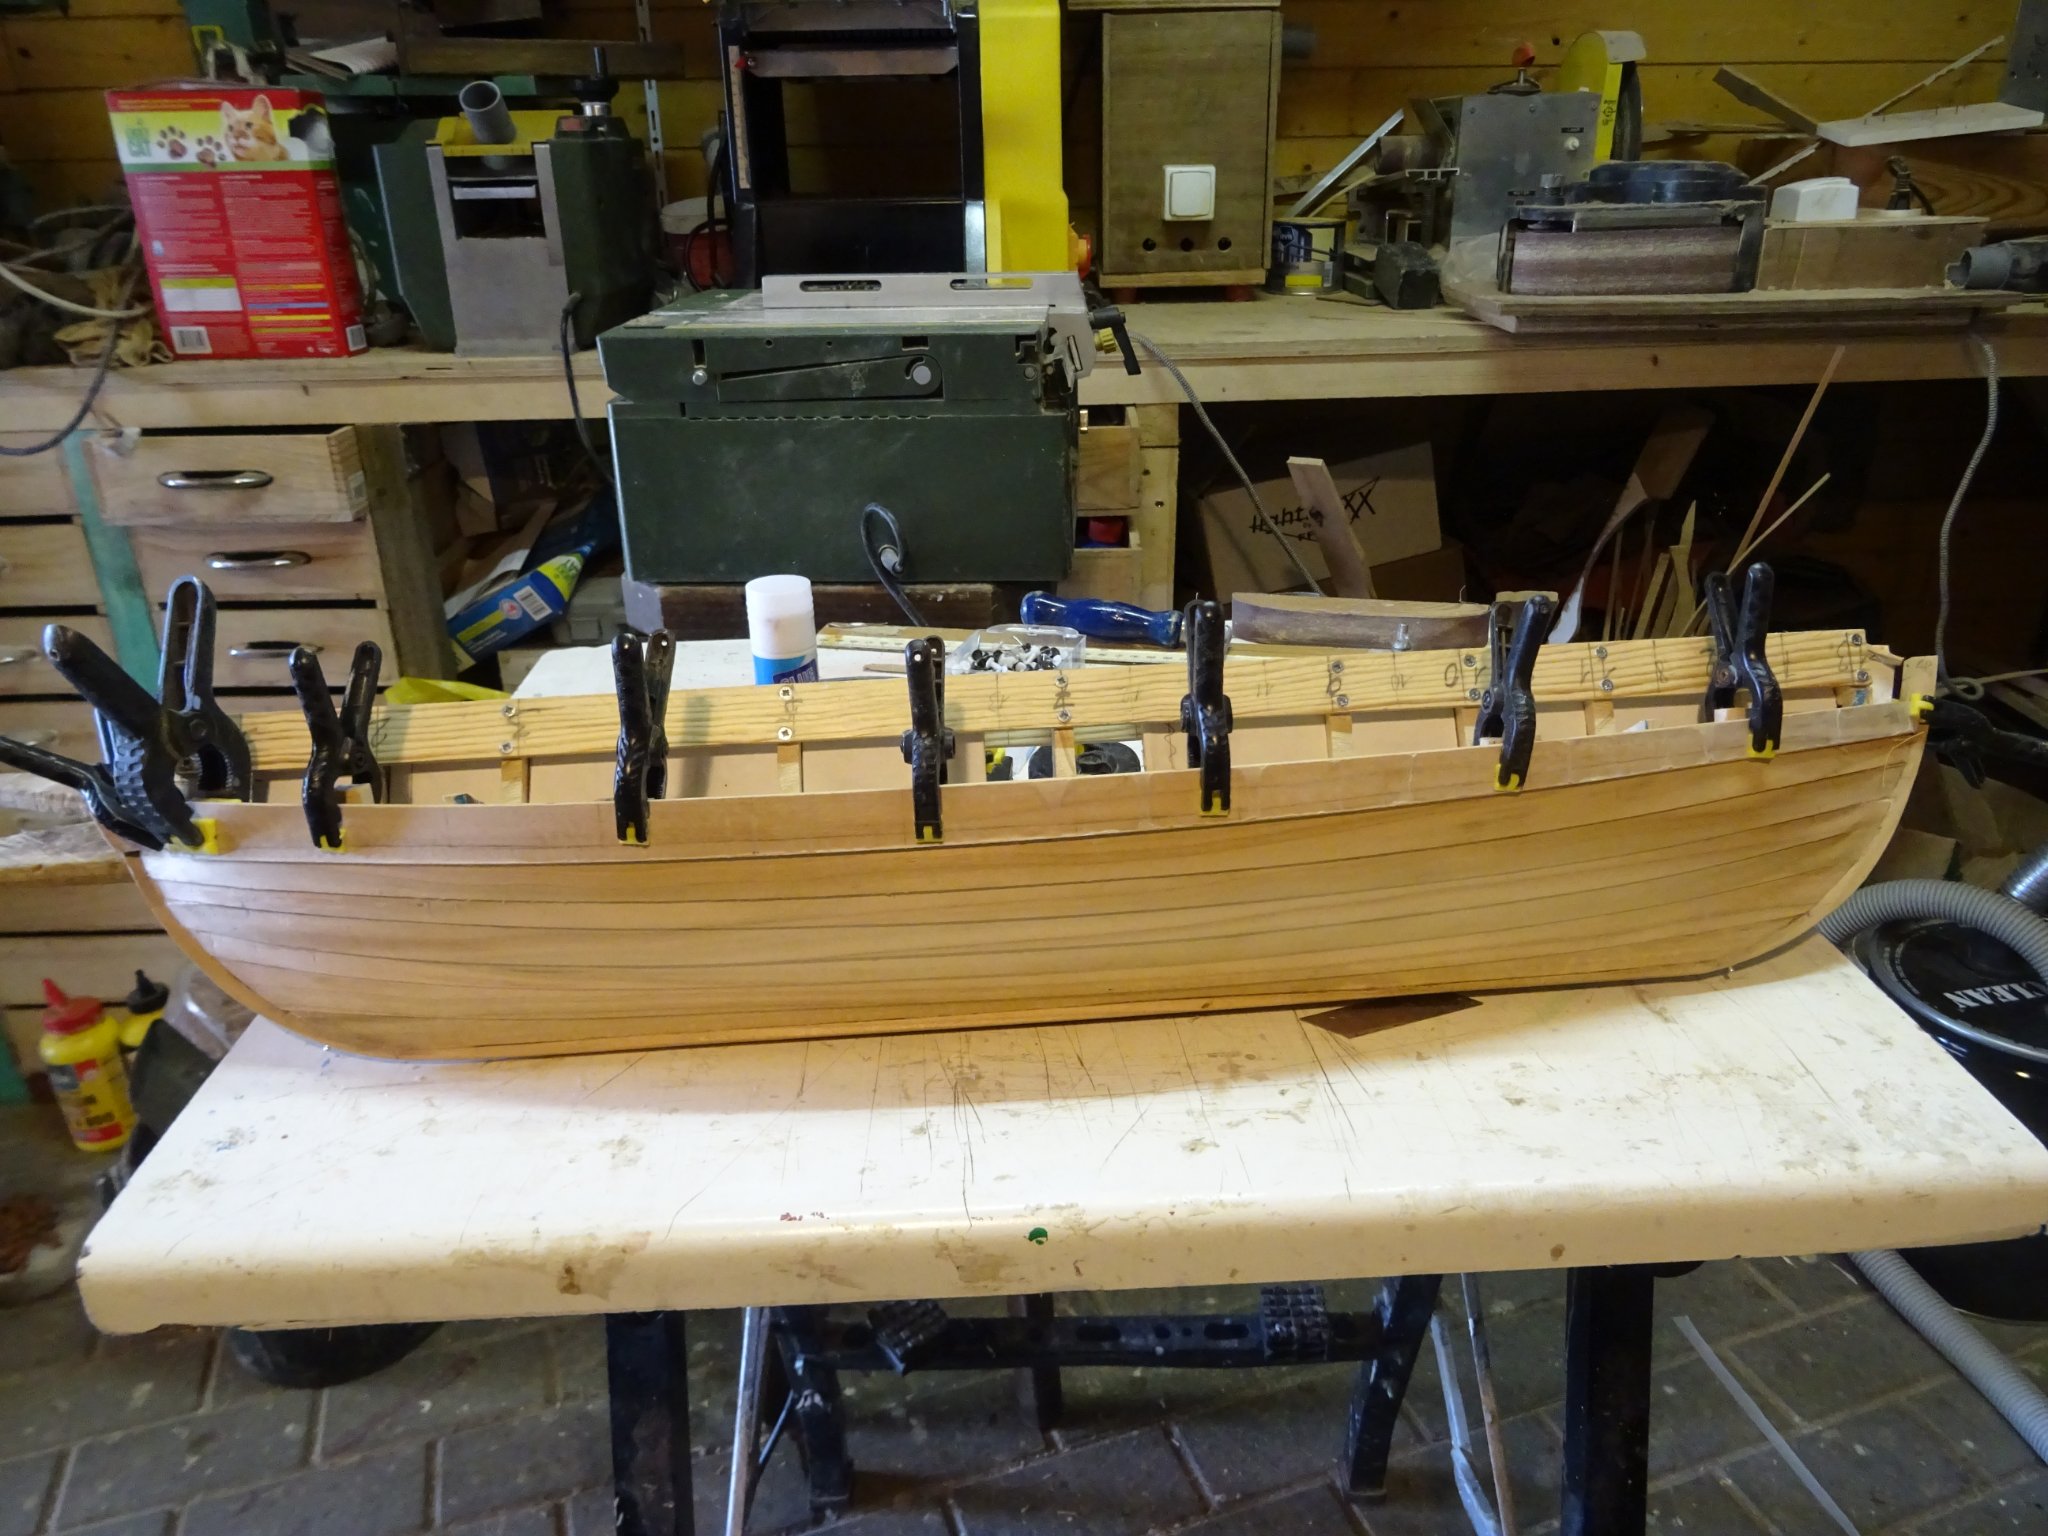
In case of this Norwegian whale boat, the planks are nailed to the ribs and to each other.
To prevent the planks and the ribs to split while nailing them, I pre-drill the nail holes.
Then I put the nails in. I use the smallest brass nails that I could find but I realize that the nail heads are anyway a bit too big. I hope that it won't stand out too much when the model will be finished.
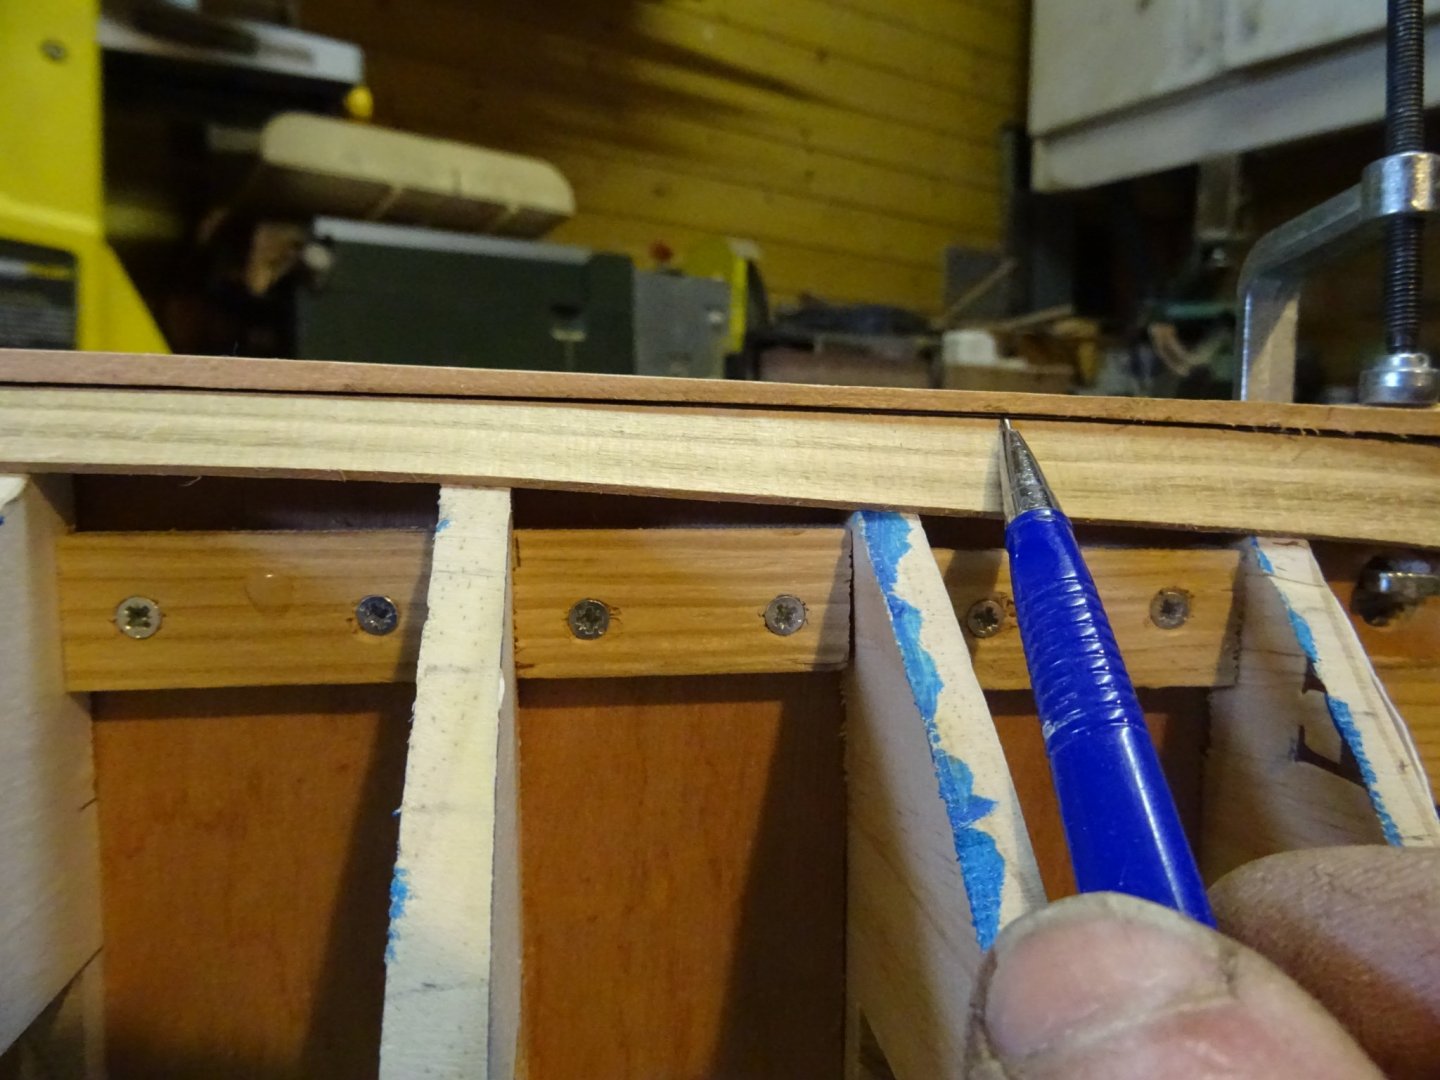
That is what it looks like inside. On the real boats the part of the nails which sticks out at the inside were bent over and flattened with the point of the nail again punched in the wood.
I use only one row of nails between each pair of ribs because of the size of the nail heads. On real boats there were probably a lot more nails. On the left side of the picture the nails are all ready flattened, on the right side those between the ribs still have to be bent over.
Bending over the nails has to be done carefully because cherry wood is soft and it can easily be damaged. Most of the nails in the ribs can be punched using a pin punch and a light hammer.
For the nails between the ribs, I have to be more prudent. I have to bent over the nail first with a small pair of pliers, then I flatten the nail by giving it a tap with the hammer on the nail head at the one side, using the pin punch as an anvil at the other side.
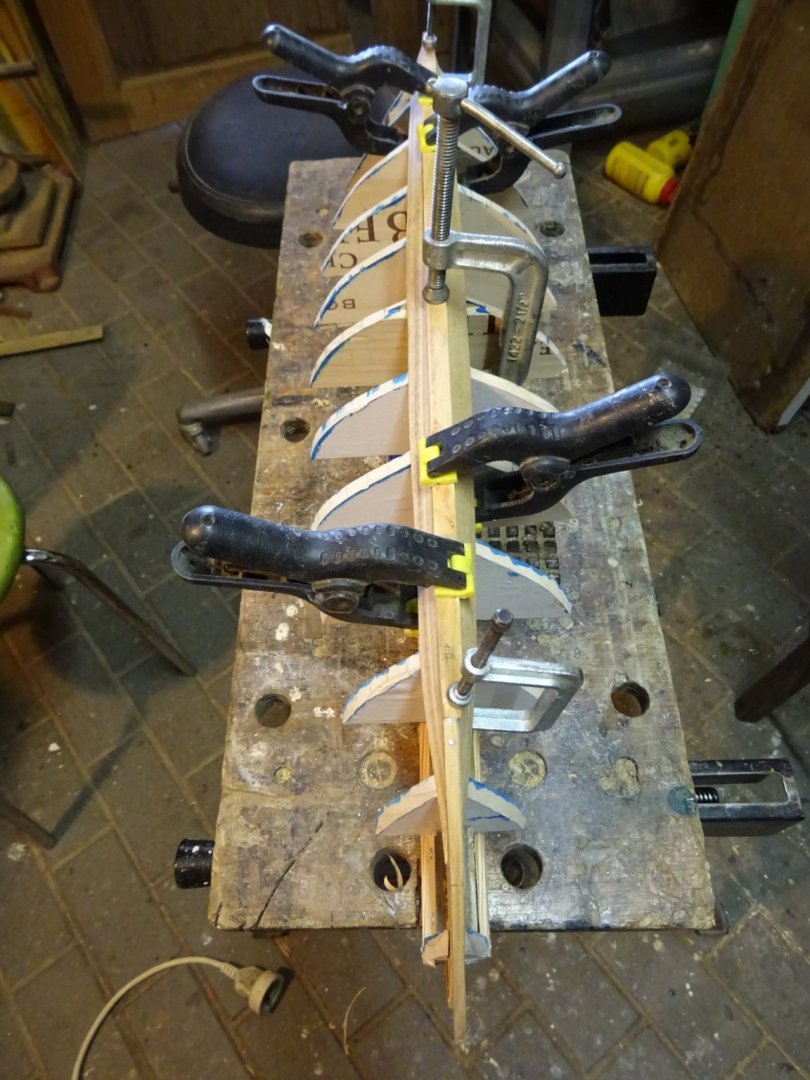
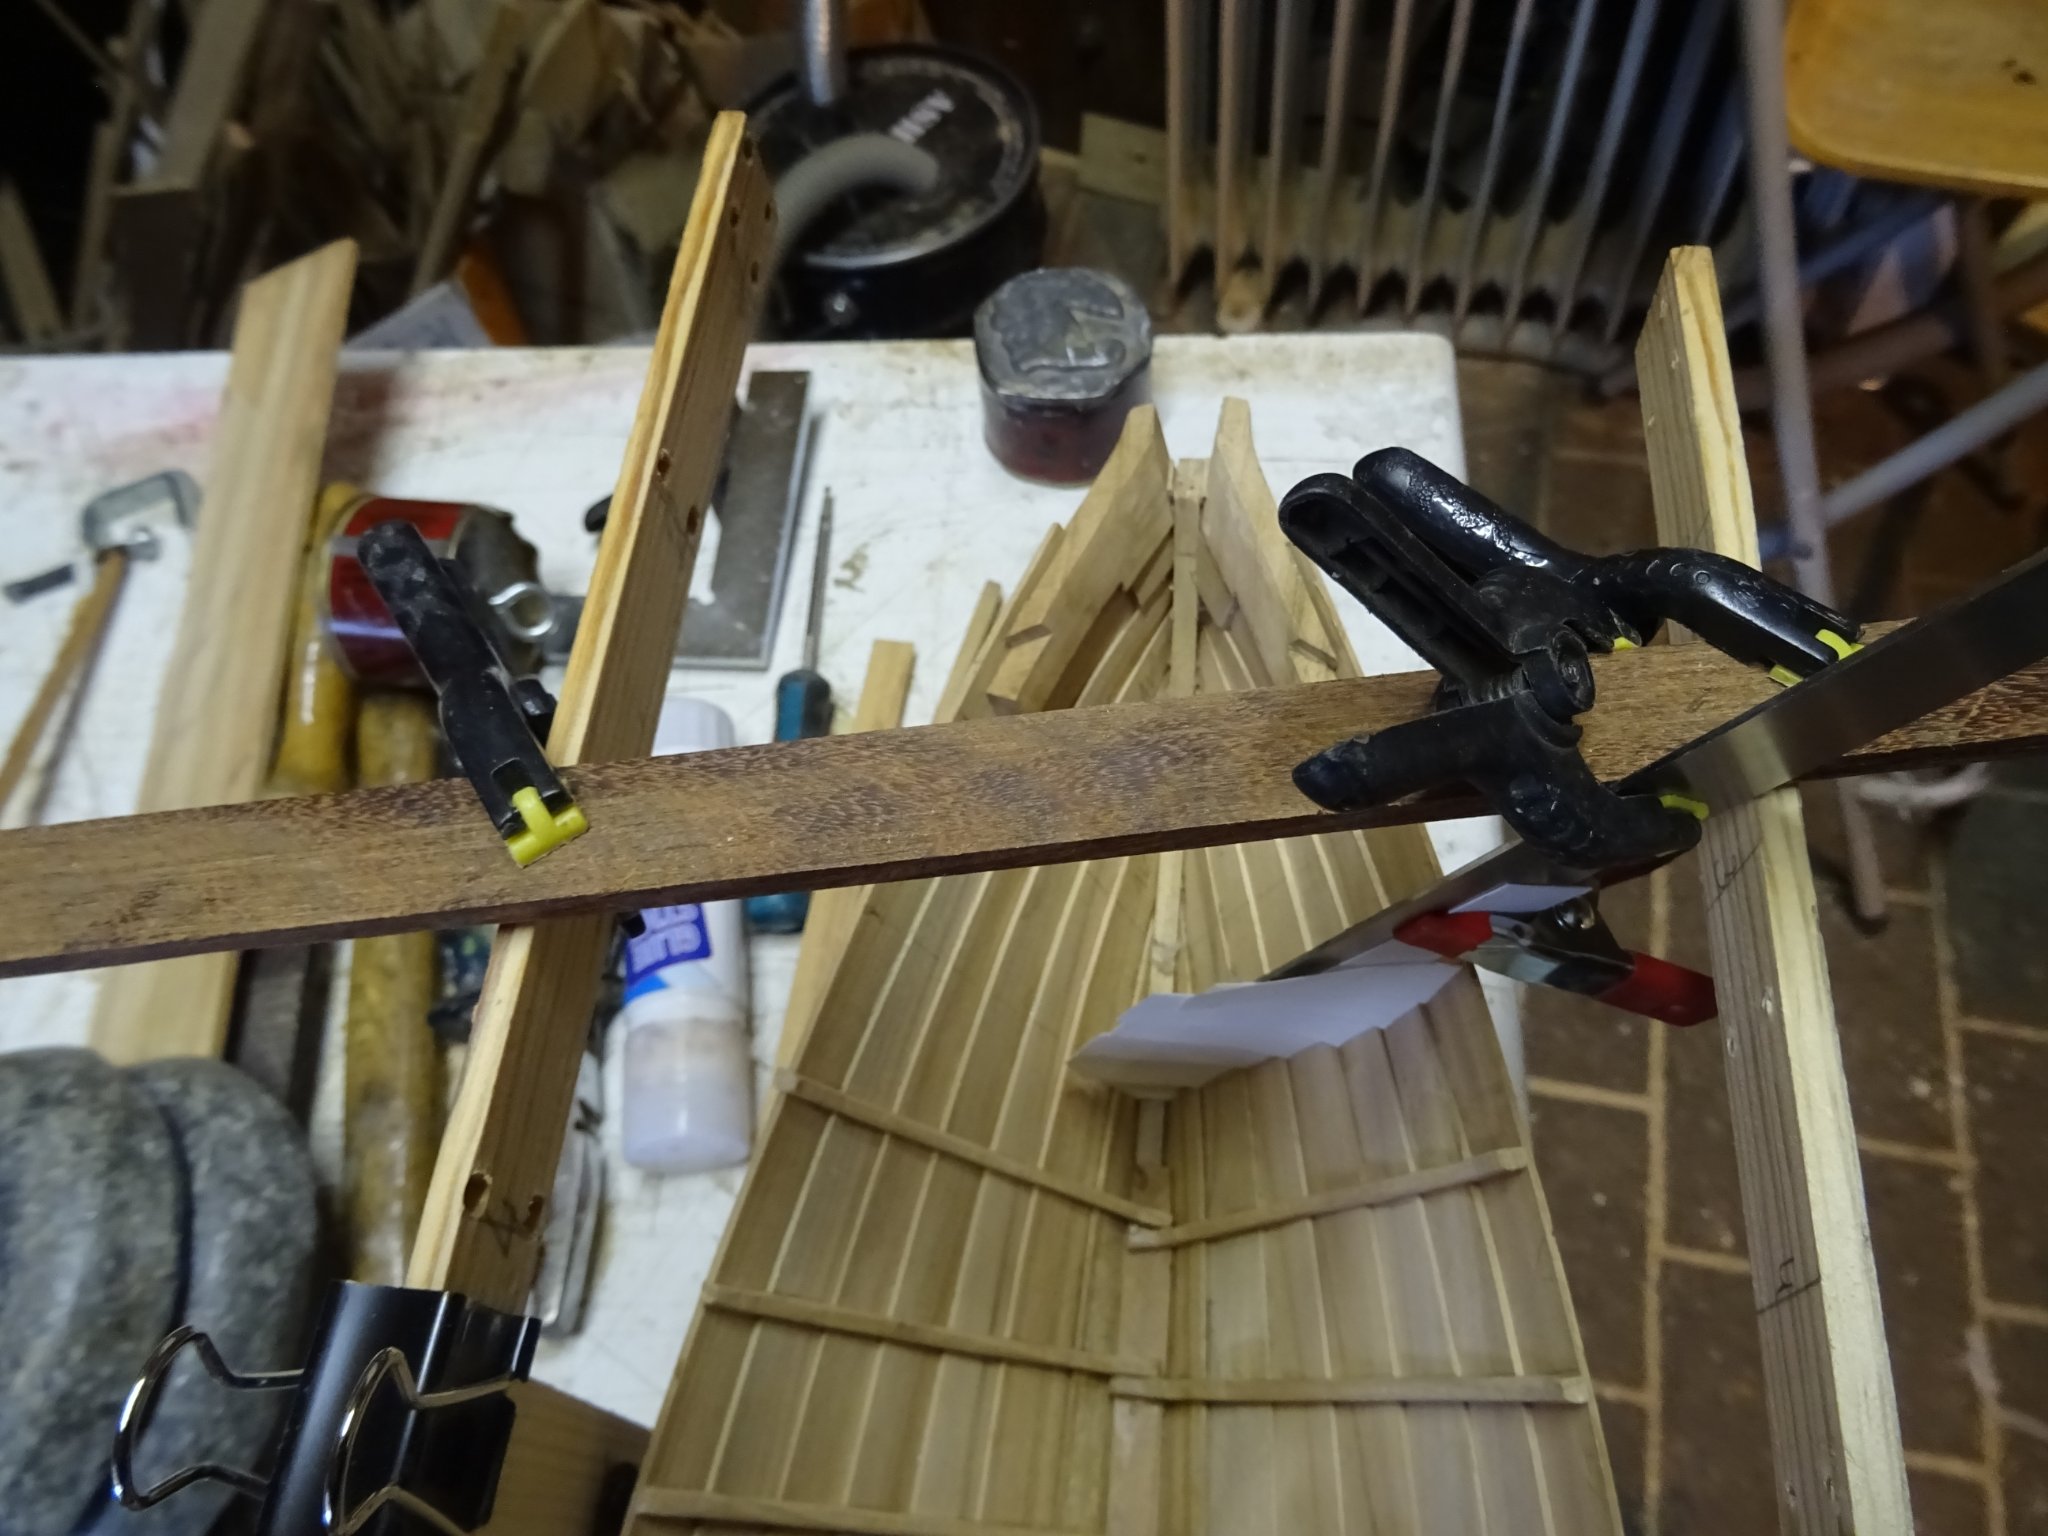
All ribs are a bit too long; they are now cut to the correct length to be able to place the gunwale.
Gluing the gun wale.
In the slot at the bow for the harpoon line sits a sheave, it is more a kind of roller, to guide the harpoon line.
Making the roller.
Thank you very much for reading this log and for your likes.
Till next week!