-
Posts
5,185 -
Joined
-
Last visited
Content Type
Profiles
Forums
Gallery
Events
Posts posted by michael mott
-
-
Absolutely lovely, do the saddles have leather on them or are they just metal?
Michael
- Retired guy, Keith Black, mtaylor and 1 other
-
 4
4
-
By putting the letters on a thin strip you can simply cut between them. Do a quick test with some printed letter from your printer to get a feel for what I am describing.
Cheers I'm off to bed.
Michael
- WalrusGuy and Retired guy
-
 2
2
-
To be perfectly honest I think you are capable of doing a better one. (you did ask) Might I suggest something that might be thought of as completely bonkers. If you were to paint the letters in a straight line on a thin material of the background colour and just paint each letter several times. Then you could transfer all of the best ones to a curved line so that you can adjust the letters so that the (kouerning) Sp? can be tweaked. Sort of like setting out waterslide transfers. Remember how we practiced our cursive writing in school.
Michael
- WalrusGuy and Retired guy
-
 2
2
-
7 hours ago, Bob Cleek said:
Just a tip if you haven't tried it as yet: You can practice technique using water as a medium on absorbent paper,
That is a really great bit of advice, I wish I had though of it Bob. There you go one learns something new every day.
Michael
- druxey, Ryland Craze, mtaylor and 4 others
-
 7
7
-
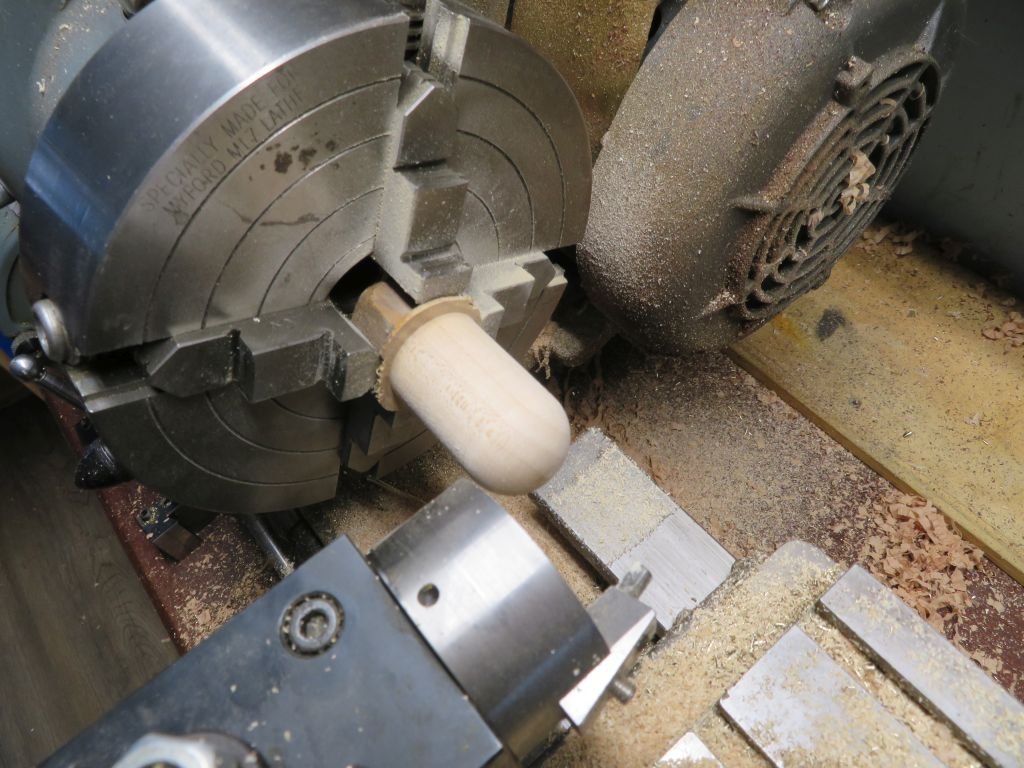
Did a little metal bashing to take my mind off stuff around the country.
first a bit of maple turned down to 1 inch diameter, the using the ball turning attachment rounded the end.
A old bit of silver approximately 1/32 inch thick was wrapped around and clamped with a hose clamp, my finger are not strong enough to hold it and tap with the leather headed mallet.
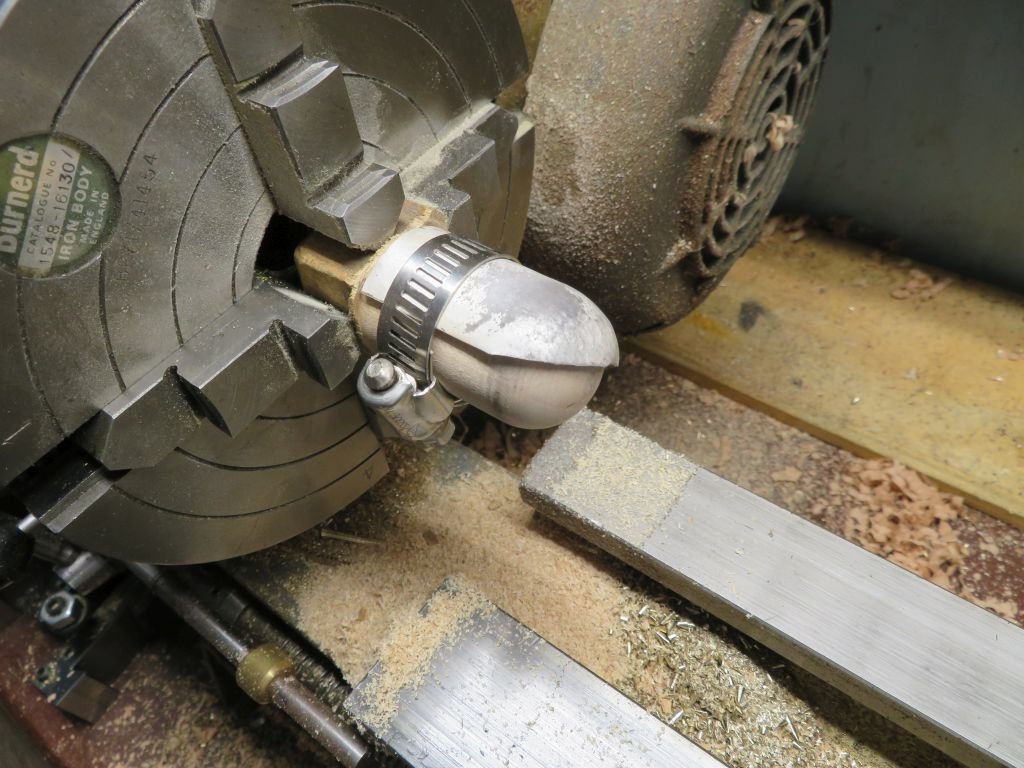
About an hour later after many annealings
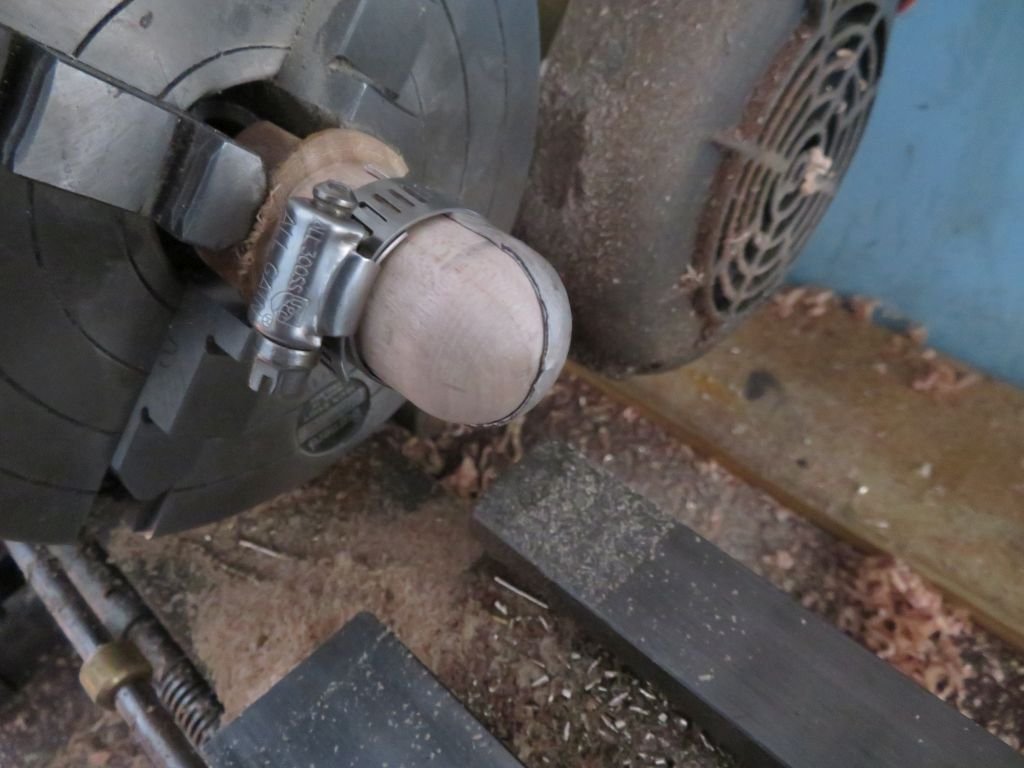
I had it fitting snugly around the dowel.
Another Half an hour of time with some 400 wet and dry. and now it looks like this.
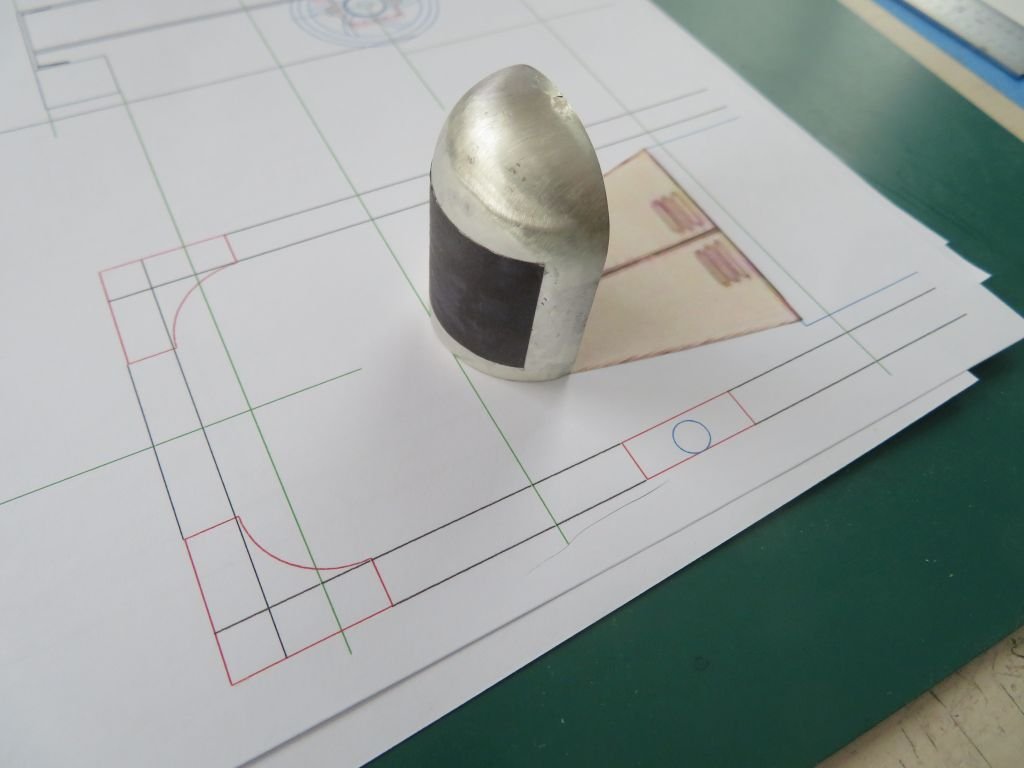
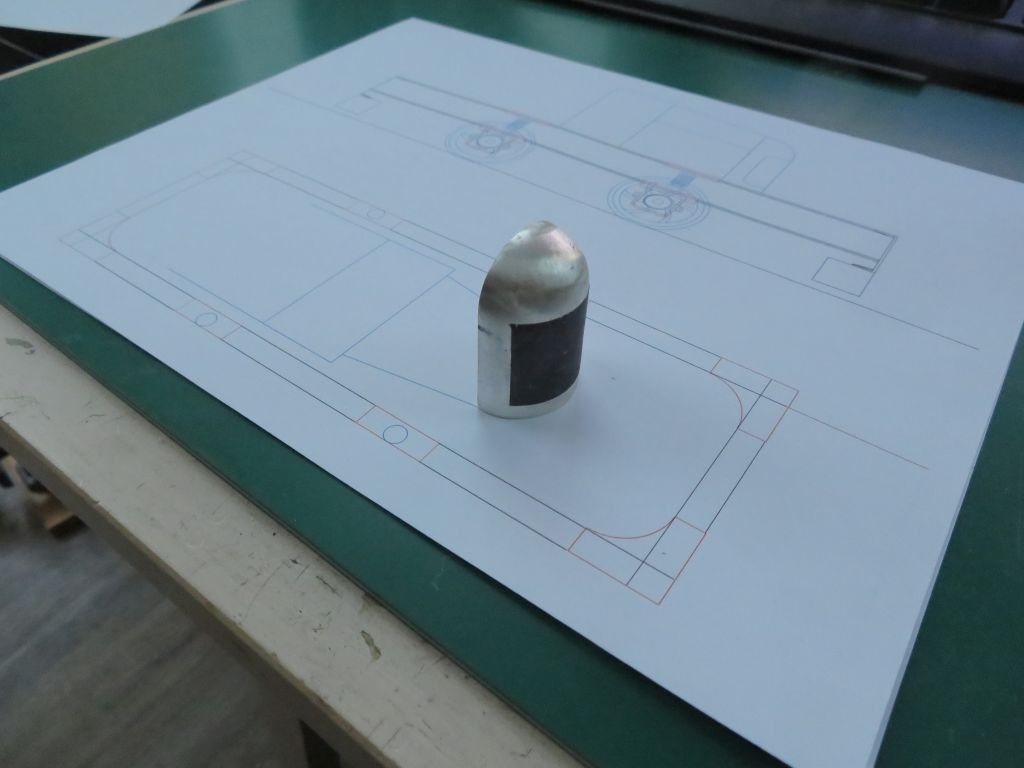
I know its not a boat, Ill get around to it.
Michael
-
Very nice work on the planking Harshil, your willingness to fix the small errors speak well to your future models. I find that for myself accepting well found critical comments, helps me improve my own skills. I am sure that one day it will be your turn to help others as well.
Michael
- Retired guy, WalrusGuy and toms10
-
 3
3
-
Kieth it is such a joy to see such fine work. The Mahogany and Brass, well I am assuming it is Mahogany from the texture and colour, Seem to embody a level of craftsmanship that transports one back to a gentler time.
Michael
- FriedClams, Keith Black, KeithAug and 2 others
-
 5
5
-
-
Thanks for the kind words Gentlemen! I have put the model on the track for storage for a while and need to get on with a couple of small commitments. here is the loco finished as far as construction with the large filler valves installed
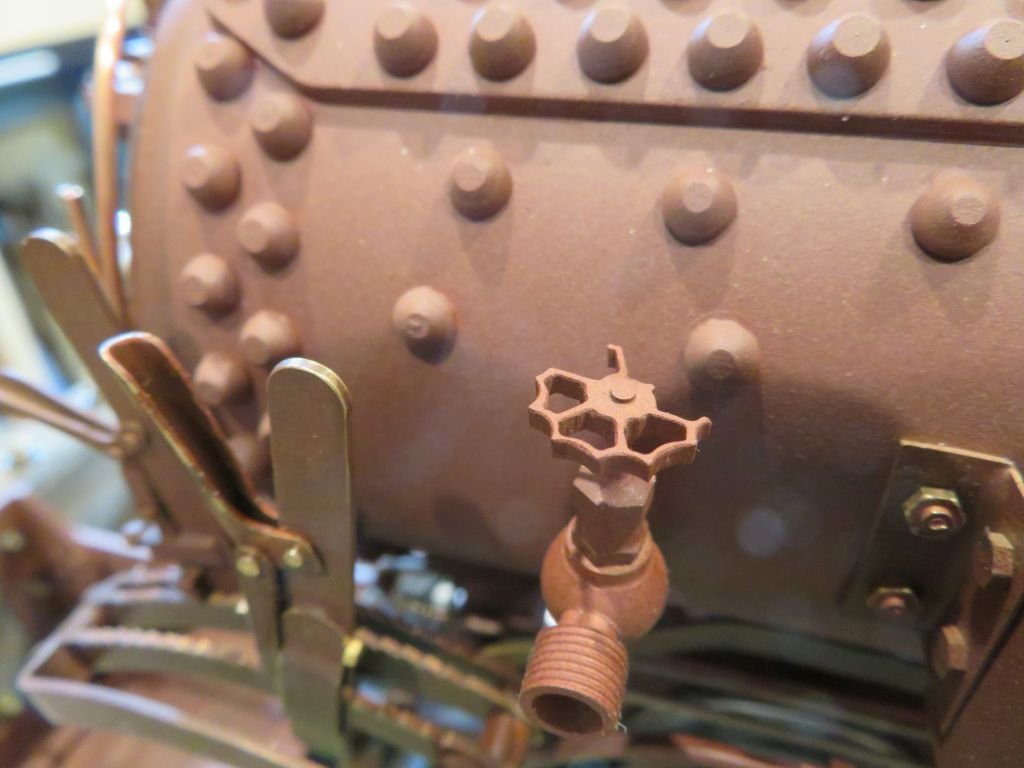
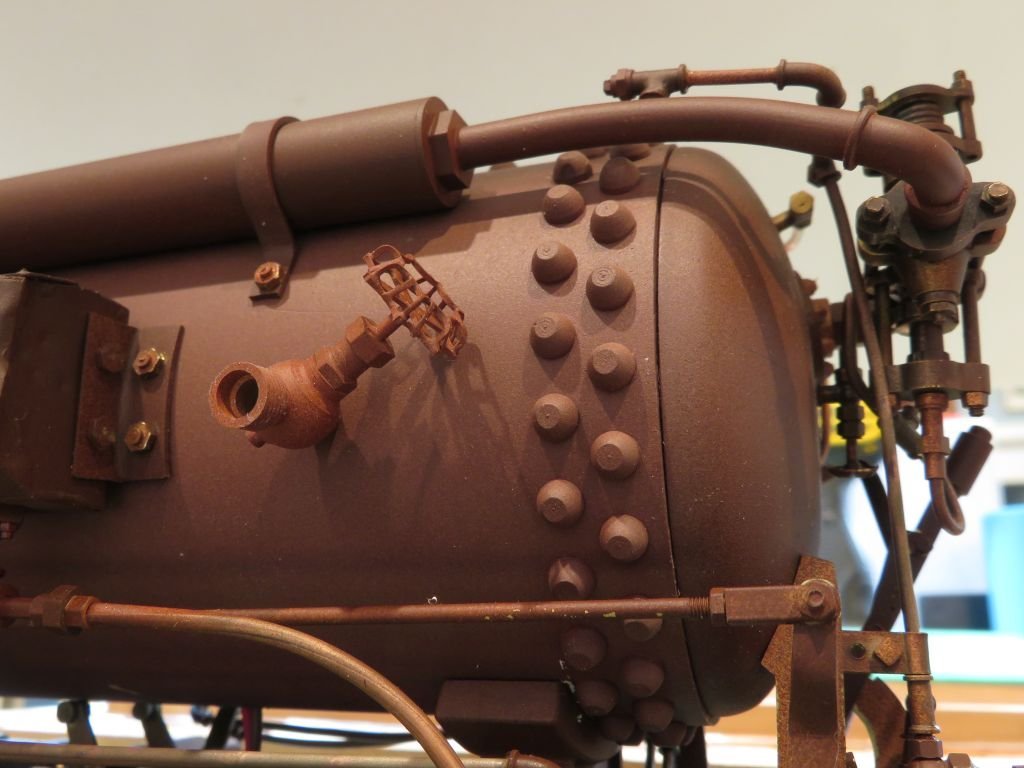
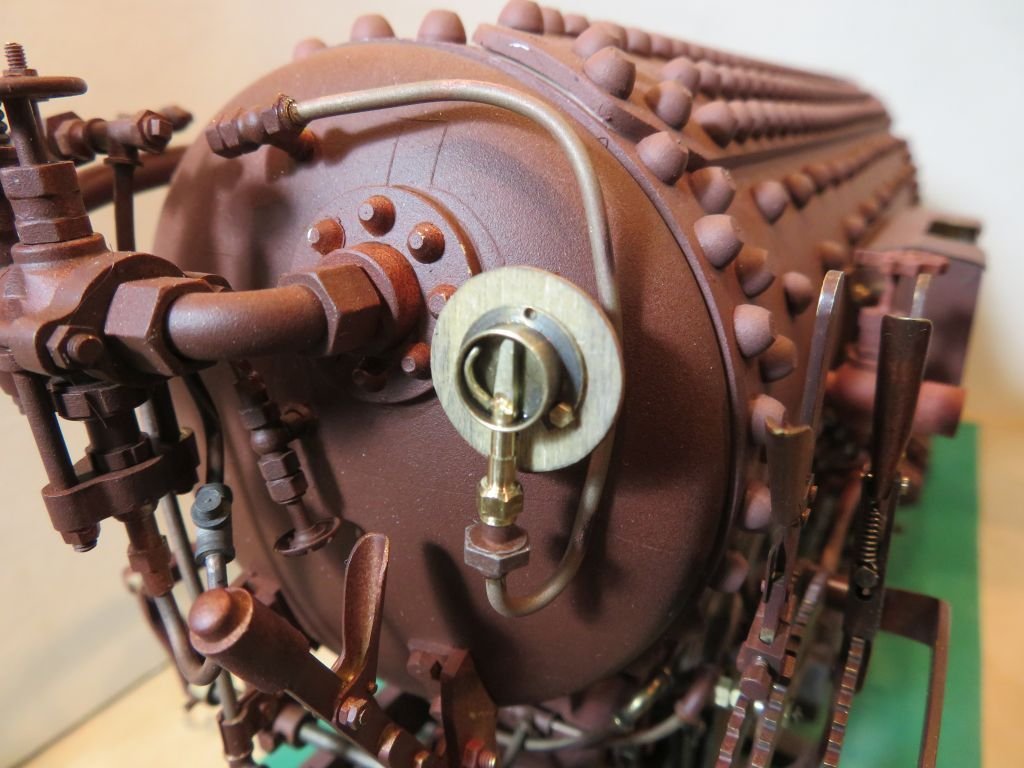
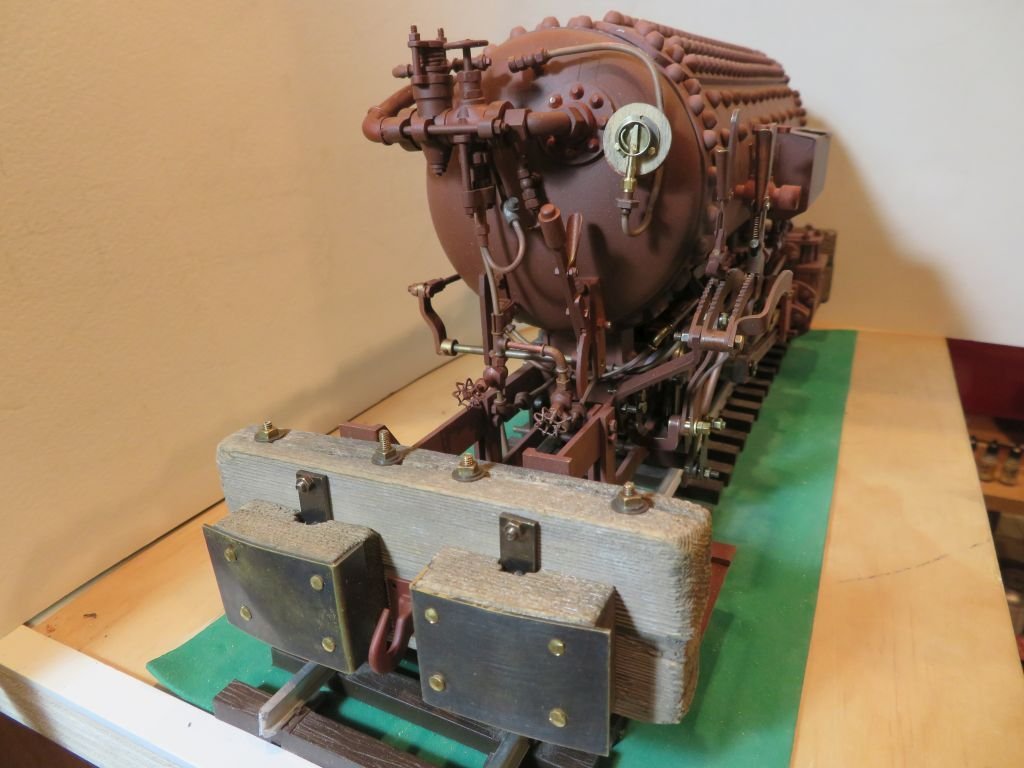
The tiny air pressure valve was a fiddly bit.
The hooks were a combination for brass and copper.
Regards Michael
- Canute, popeye the sailor, Ryland Craze and 12 others
-
 13
13
-
 1
1
-
 1
1
-
Nice work on the booms Keith, I note the clever use of the collet block to ensure the correct right angle orientations, I will file that away for future reference.
Glad you had a safe holiday season.
Michael
- Bedford, Retired guy, FriedClams and 3 others
-
 6
6
-
Thank you all for your kind comments,
This Project is rapidly coming to a close, here are few picture taken over the last day or so.They include the sanding pipes and the air lines and valves for the sanders.
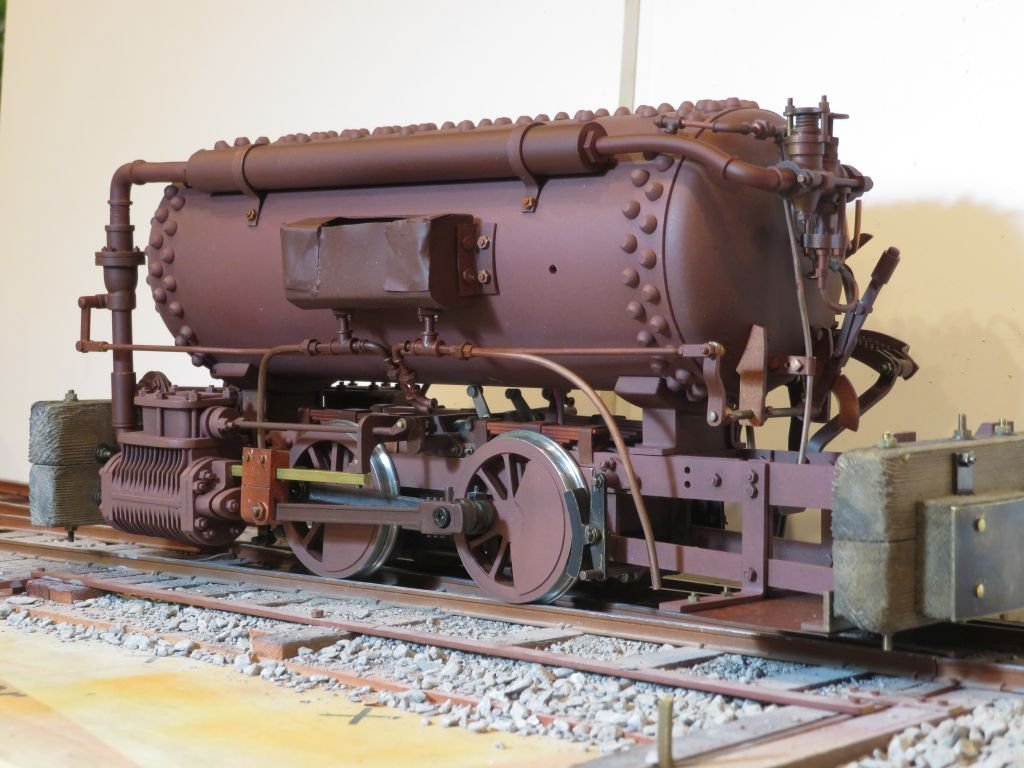
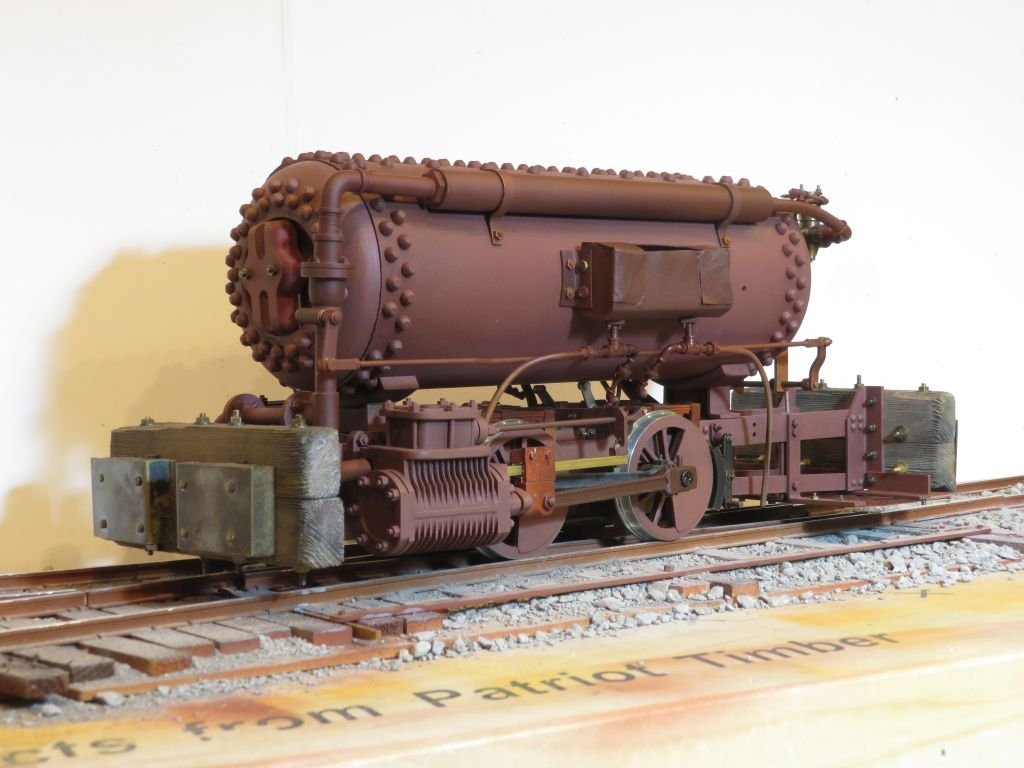
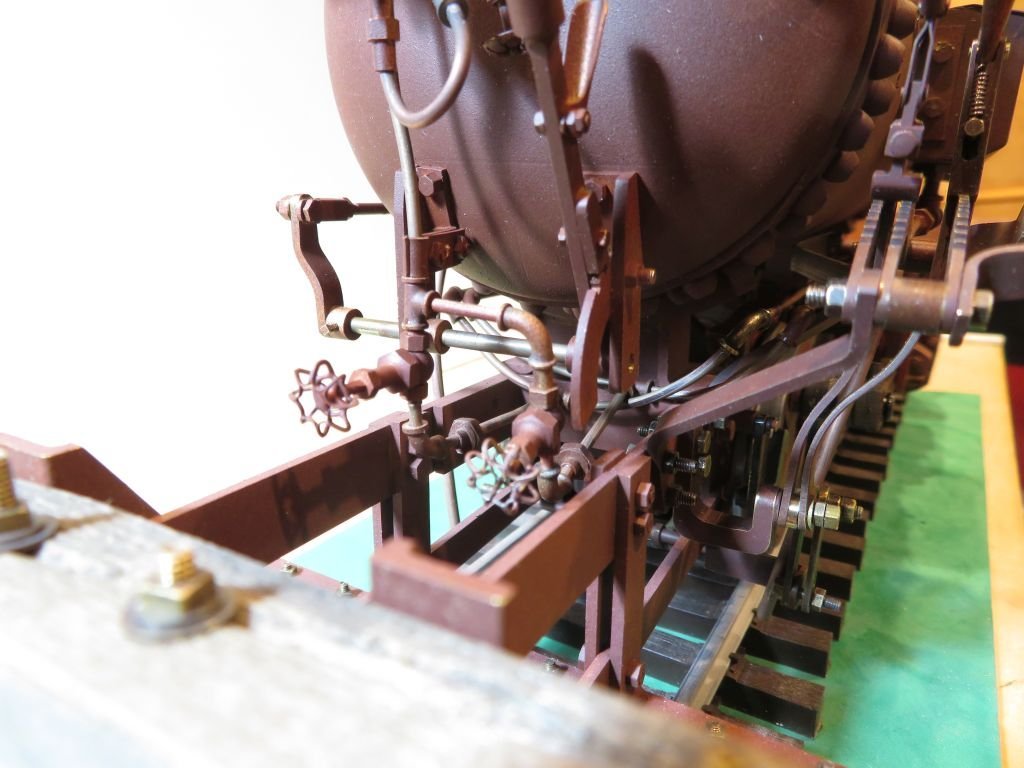
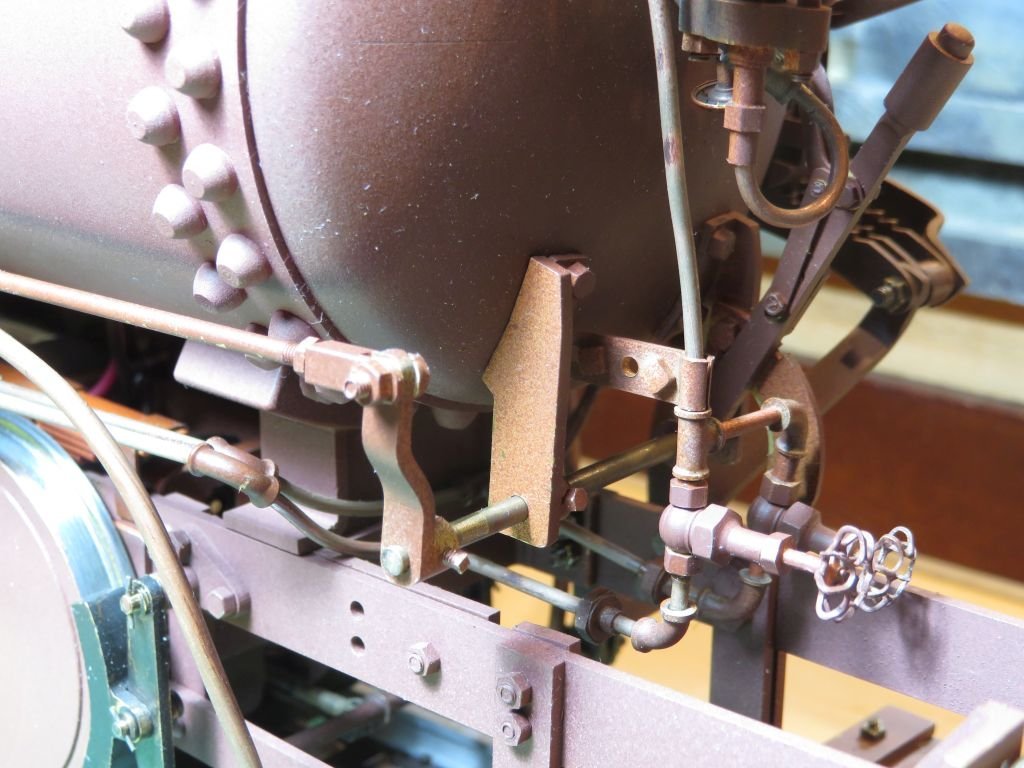
Just a couple more large filler valves to go and a bit of painting and weathering. Then she can become a bit of a shelf queen for a while. I am particularly pleased with the 00x90 square headed locking bolt on the air valve lever hub in the last picture.
Michael
- GrandpaPhil, oneslim, mtaylor and 9 others
-
 12
12
-
On 1/1/2022 at 9:42 PM, bitao said:
Dear Michael, I haven’t seen you for a long time. How are you? In the New Year I would like to express my most sincere greetings to you!
Dear Bitao for you kindness, and inquiry.
I am well and staying safe with my wife Judy, here in a rather cold chilly winter season. My hand has recovered from the surgery, and I am close to finishing an old project that I have been fiddling with since 2004, I am looking forward to getting back to work on my Skipjack Launch within the coming month[s]. There is a lot of interesting detail to sort out on the launch. One of the things that I am contemplating is to complete the launch in a similar way to the way that some of the classic ship models are presented. One side showing the construction of the internal elements and the other showing the external finishes.
Michael
-
Bitao, I have just been catching up with your new build! The work that you do leaves me basically speechless, your ability to solve complex constructions using non traditional methods with creative ways is a great contribution that adds to our collective knowledge.
Your strive for continually improving your skills is inspiring. I admire your willingness to start over with work that you are not happy with, in order to reach the desired result that seek.
All the best in the new year and thank you so much for sharing a greater level of detail in your methods and tooling, How we work is often as valuable for learning as seeing the end results.
Humbly Michael
- billocrates, gjdale, WalrusGuy and 4 others
-
 7
7
-
-
Hakan First I am glad to hear that you are healing well and that your injury to your hand minimal. Second the push stick on the right is the only kind that I will use, I do not however add the piece with the screws at the back. I cut them out of MDF in a few different thicknesses from 1/8th (3mm) to 1/2 (12mm) and as they wear I make new ones or re-cut the bottom edges. I have never used the type on the left as I think they are dangerous.
My saw is a 10 inch Unisaw that was 3HP and has been down powered to a 1/2 HP with mostly 8 inch hollow ground plywood blades. I like the large surface and solid cast iron top that the rigid Unisaw has. I also use zero clearance inserts cut from 3/8 (10mm) MDF I add the leveling screws which are 10x24 grub screws.
Michael
.
- Canute, Wintergreen, mtaylor and 2 others
-
 5
5
-
Just catching up Maury, nice progress, she is looking well in her colour coats.
Michael
- thibaultron and mtaylor
-
 2
2
-
On 12/13/2021 at 10:48 AM, EdT said:
The only gripe I have with Sherline is that the milling vise often makes me want to scream out loud.
See my PM
Michael
-
Sent you a PM Ed
Michael
-
Yes you are correct Roger, the fins were for doing exactly what you are suggesting.. There were even attempts to use some preheating of the air with some of the developments of the air locos. Albeit a bit counter productive in some cases as it negated the reason for using air in the first place, to avoid explosions in mines.
Michael
-
5 hours ago, Roger Pellett said:
Spectacular work as usual. Was this charged with steam or hot water?
Thanks Roger, it was charged with neither, but with air.
Michael
-
1 hour ago, Canute said:
Do you have room for a speaker?
There is room But I am a complete Luddite when it comes to electronics. Locoremote has a number of different set ups including built in speakers and for adding ones own speakers. Perhaps once I have the current unit up and running with a bog standard 6-12 volt unit I would be able to swap it out for the other unit.
As it is the battery and electronics will slide out on a tray through the opening hatch on the front. the large clamp has two bolts that are long and capped at the inside end, by undoing them the plate that is behind the oval opening and the clamp can be rotated through 90 degrees to be removed to access the inside of the tank which is 3 inches in diameter. Then the rechargeable batteries can slid out on their tray.
Michael
- Jack12477, Egilman, Old Collingwood and 5 others
-
 8
8
-
56 minutes ago, mtaylor said:
That is some serious machine work, Michael. And tiny to boot.
Thanks Mark, the scale is 30mm to the foot which is 10.16 : 1 I chose that scale originally because 45mm =18 inches so 30mm =12 inches. A little smaller scale than the cutter.
Michael
- Egilman, mtaylor, popeye the sailor and 4 others
-
 7
7
-
2 hours ago, Canute said:
Beautiful work, Michael. What pressure can you use, if it's going to operate?
Ah Ken sorry to disappoint but this one is Electric. The Real ones had very short operational time between fills up to 900psi. The model will run on 2 9v batteries in parallel and be controlled by Locoremote, which allows me to use my I phone.
Michael
-
First a merry Christmas to everyone

A watercolour after Walter phillips I feel this captures the current Christmas feel.
As it is evident T have not been working on the model boat stuff lately, after the surgery an a spell of doing nothing model related, once the healing had progressed enough That I could do some work it was confined to using the lathe and mill. I had an old project that I had started in 2004 and was inspired to do a bit of work on it.
This picture will give you an idea of where this is going.
Around 2009 I had it set up with a plastic frame this was worked around an Aristocraft 0-4-0 chassis, but the plastic was sagging so i recently opted to rework it all.
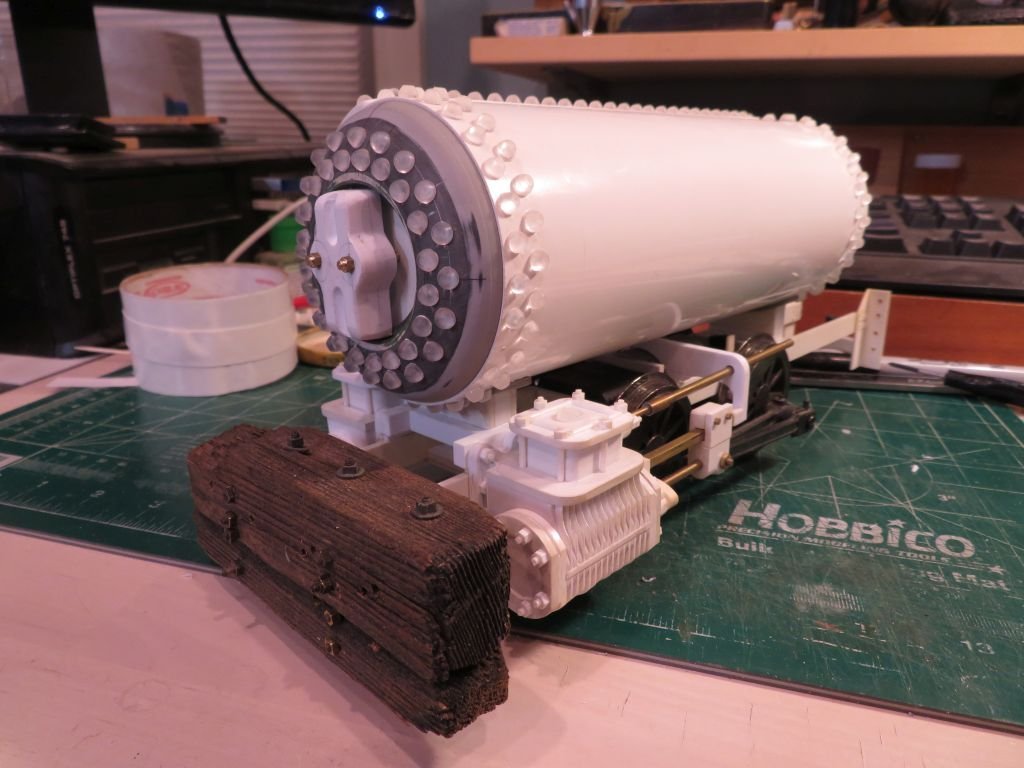
The little fiddly parts were slowly worked on, and although the loco model is compromised regarding the proper gauge etc I decided to press on and try to complete it. As much as possible things work.
The next picture shows the forward reverse lever and the brake lever. all the nuts and bolts are made by me except the 00x90 ones.
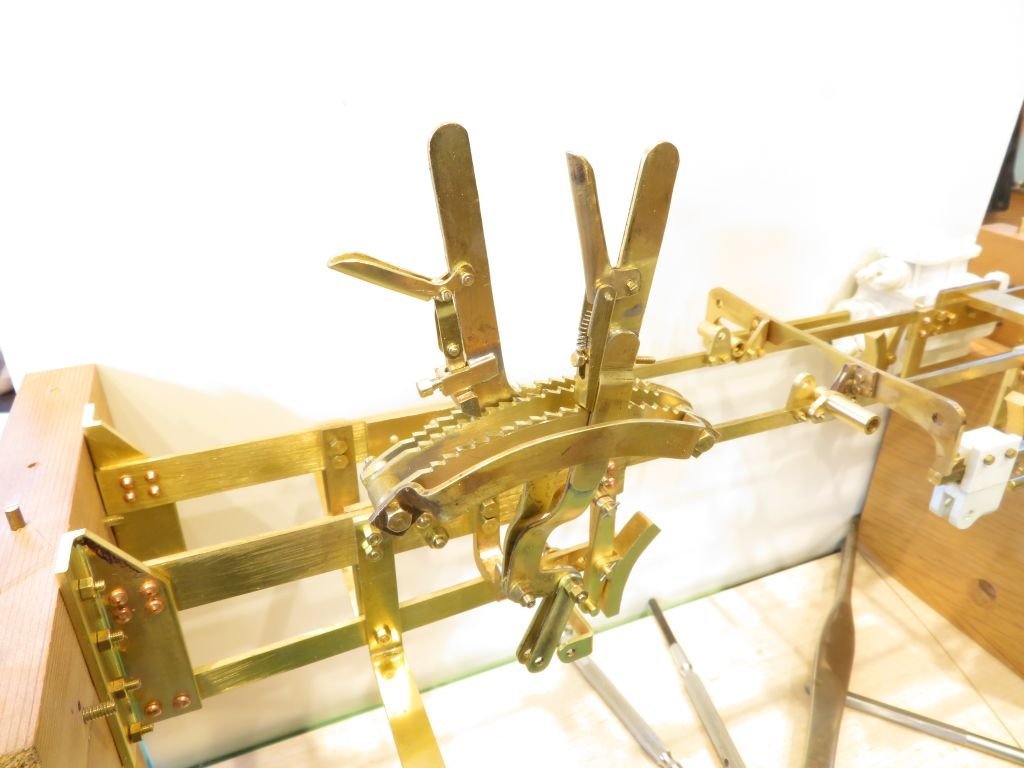
Rivets are 1/16th.
A couple of week were spent sorting out how to make these wire handle valves .
The wire shape was a tricky bit of folding.
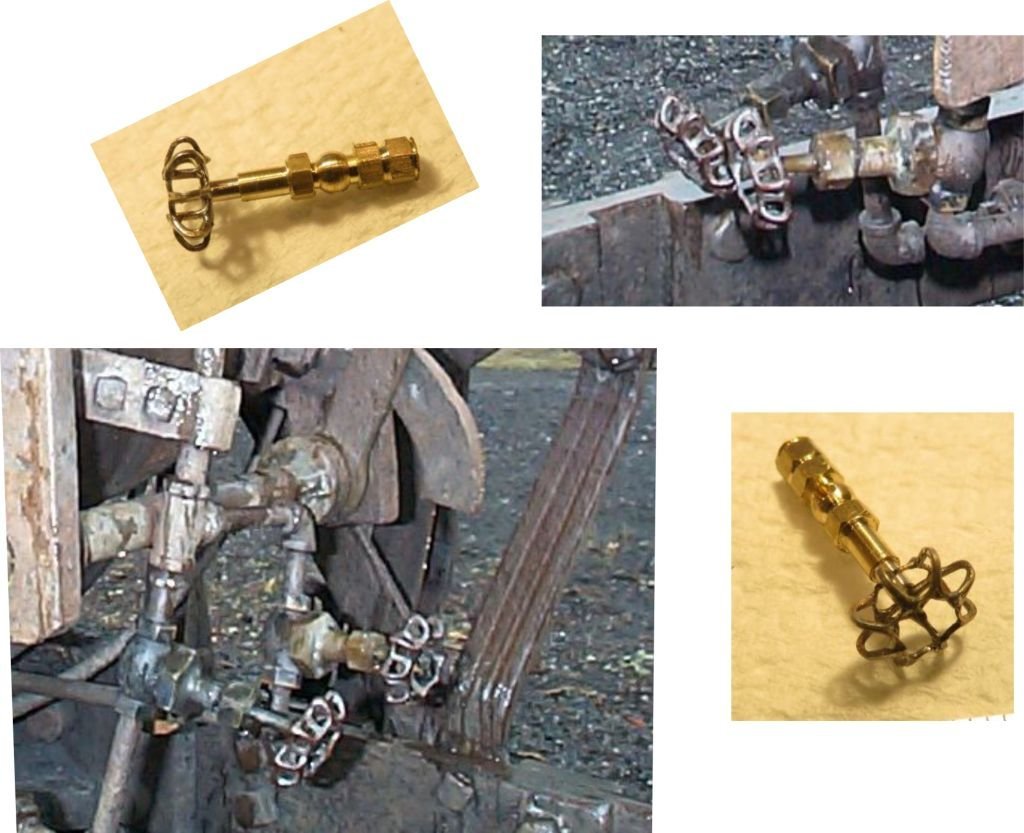
They are not exact but I am ok with that.
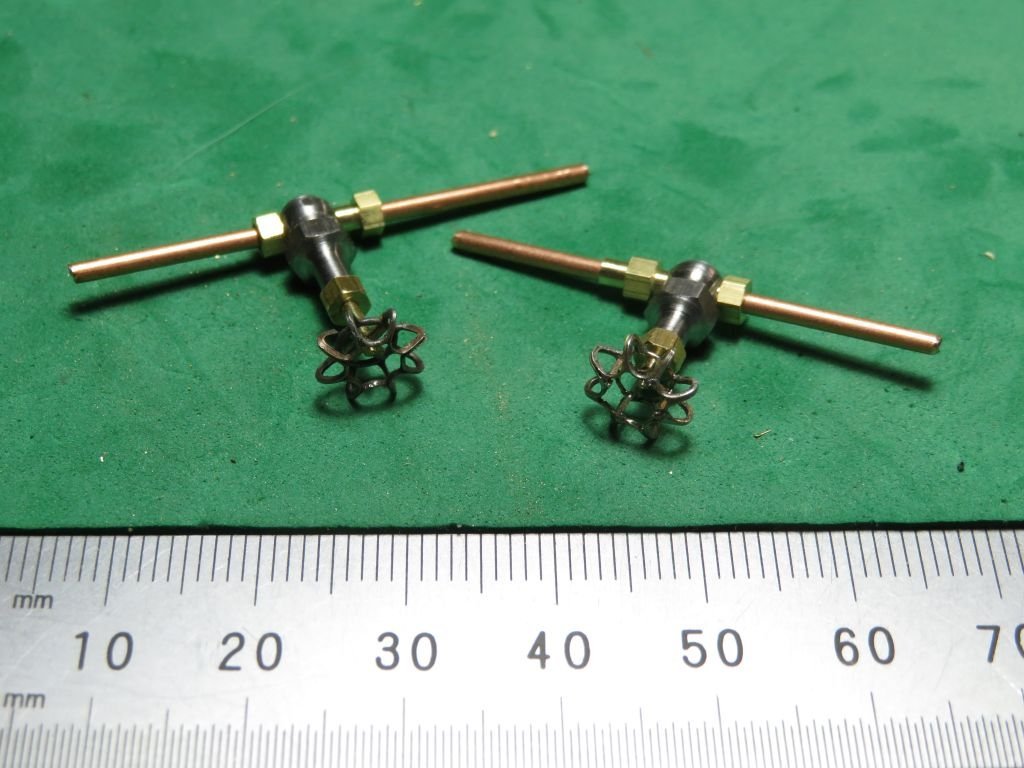
The back of the loco has a fair bit of fiddly bits and the sequencing of assembling the parts is a challenging.
This odd looking bit of brass is the main valve to let air out of the tank.
and fitted to the back of the loco, along with the pressure relief valve.
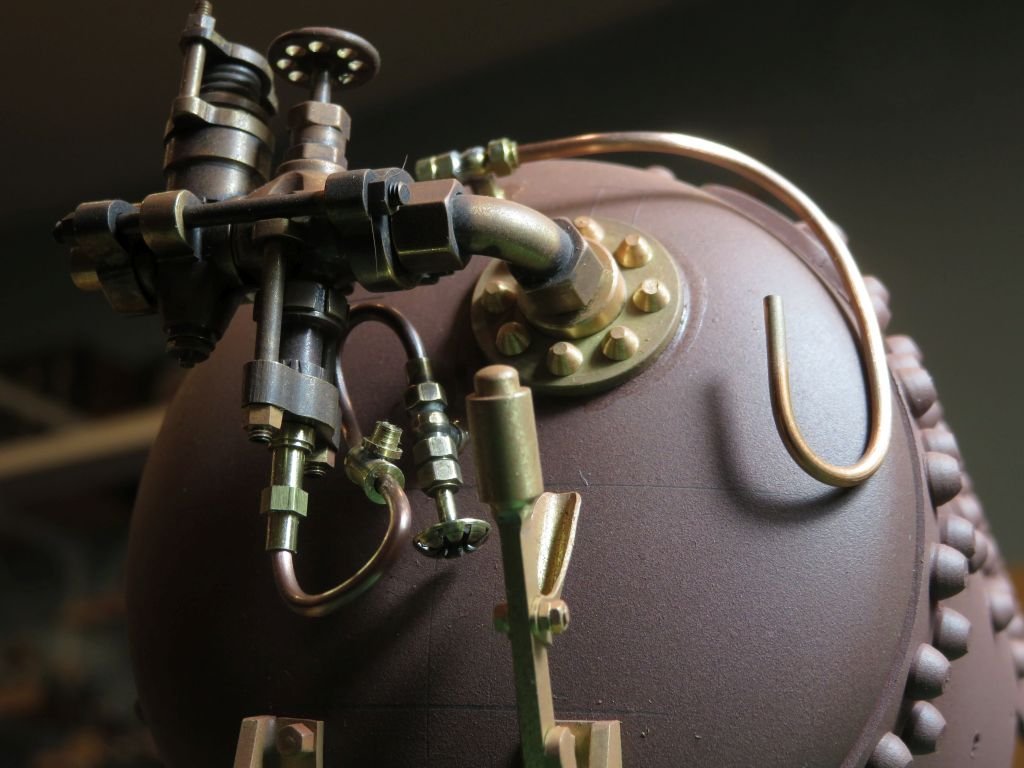
on each side of the loco are sand boxes with a bunch of piping and odds and ends of unions and elbows. the copper pipe is 1/16th diameter, an early Christmas present was a Badger sand blasting kit.
The current state of the loco minus the buffer beams at the moment.
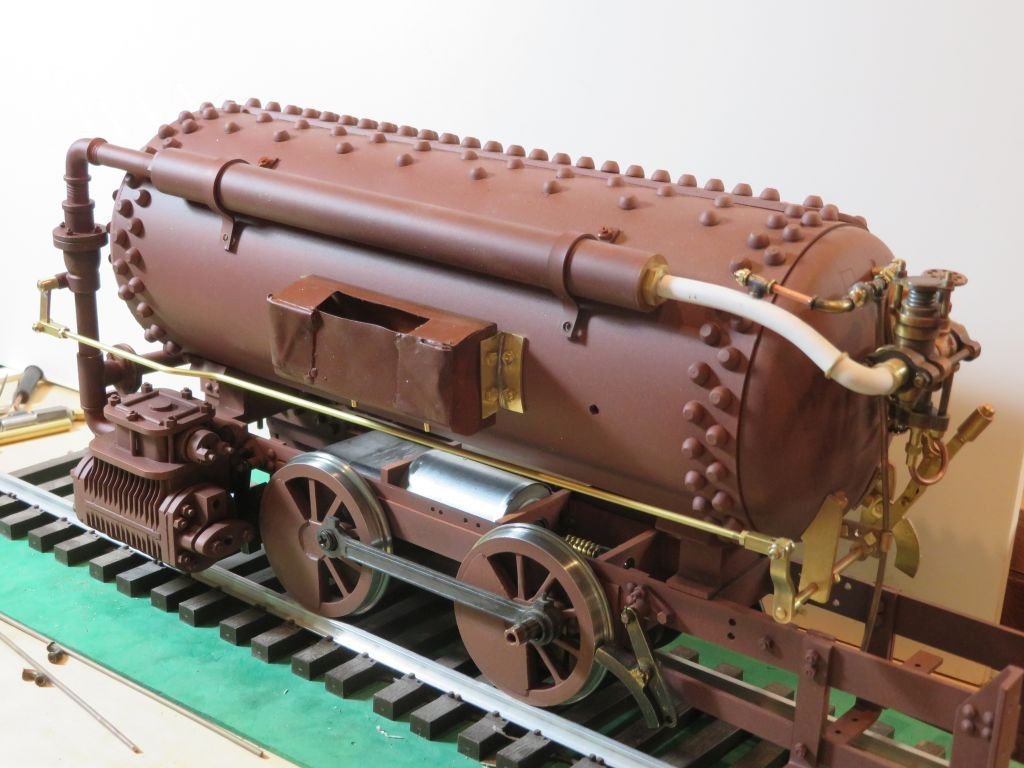
The brakes actually do work here is a short video of them earlier
Happy new year everyone.
Michael
- Old Collingwood, FriedClams, ccoyle and 13 others
-
 10
10
-
 6
6


Metal bashing
in Metal Work, Soldering and Metal Fittings
Posted
Well yesterday I folded a bunch of brass to form some structural channels for the frames for the bashed silver
But it kept nagging at me that the folded channels looked a bit toy like so I spend a bit of time on the table saw and did a proof of concept bit of dadoing on some yellow cedar and maple.
Armed with a set of operations that i knew would work I carefully selected a bit of castello and produced an acceptable section.
A bit of sanding on the back face and all is well.
And so it goes.
Michael