Baker
-
Posts
4,294 -
Joined
-
Last visited
Content Type
Profiles
Forums
Gallery
Events
Everything posted by Baker
-
Hello And
-
 How is a wooden ship built? Trough this detailed lesson i am beginning to understand something of it. Thanks !!
 -
Great work So many electrical wires, and everything connected correctly. If I have to do this, a short circuit right away...
-
Hello and
-
Great Victory
-
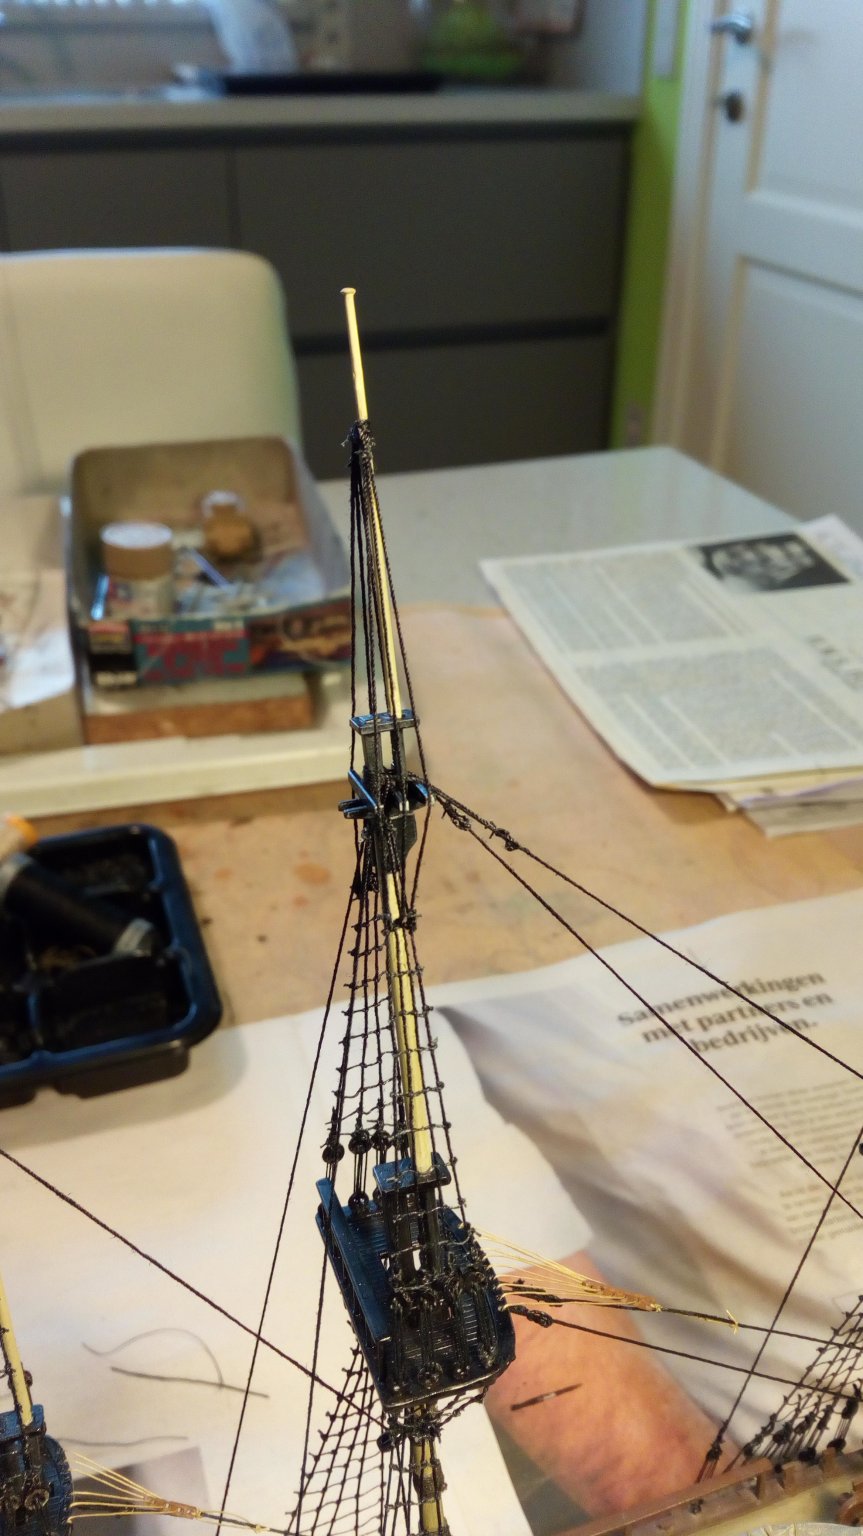
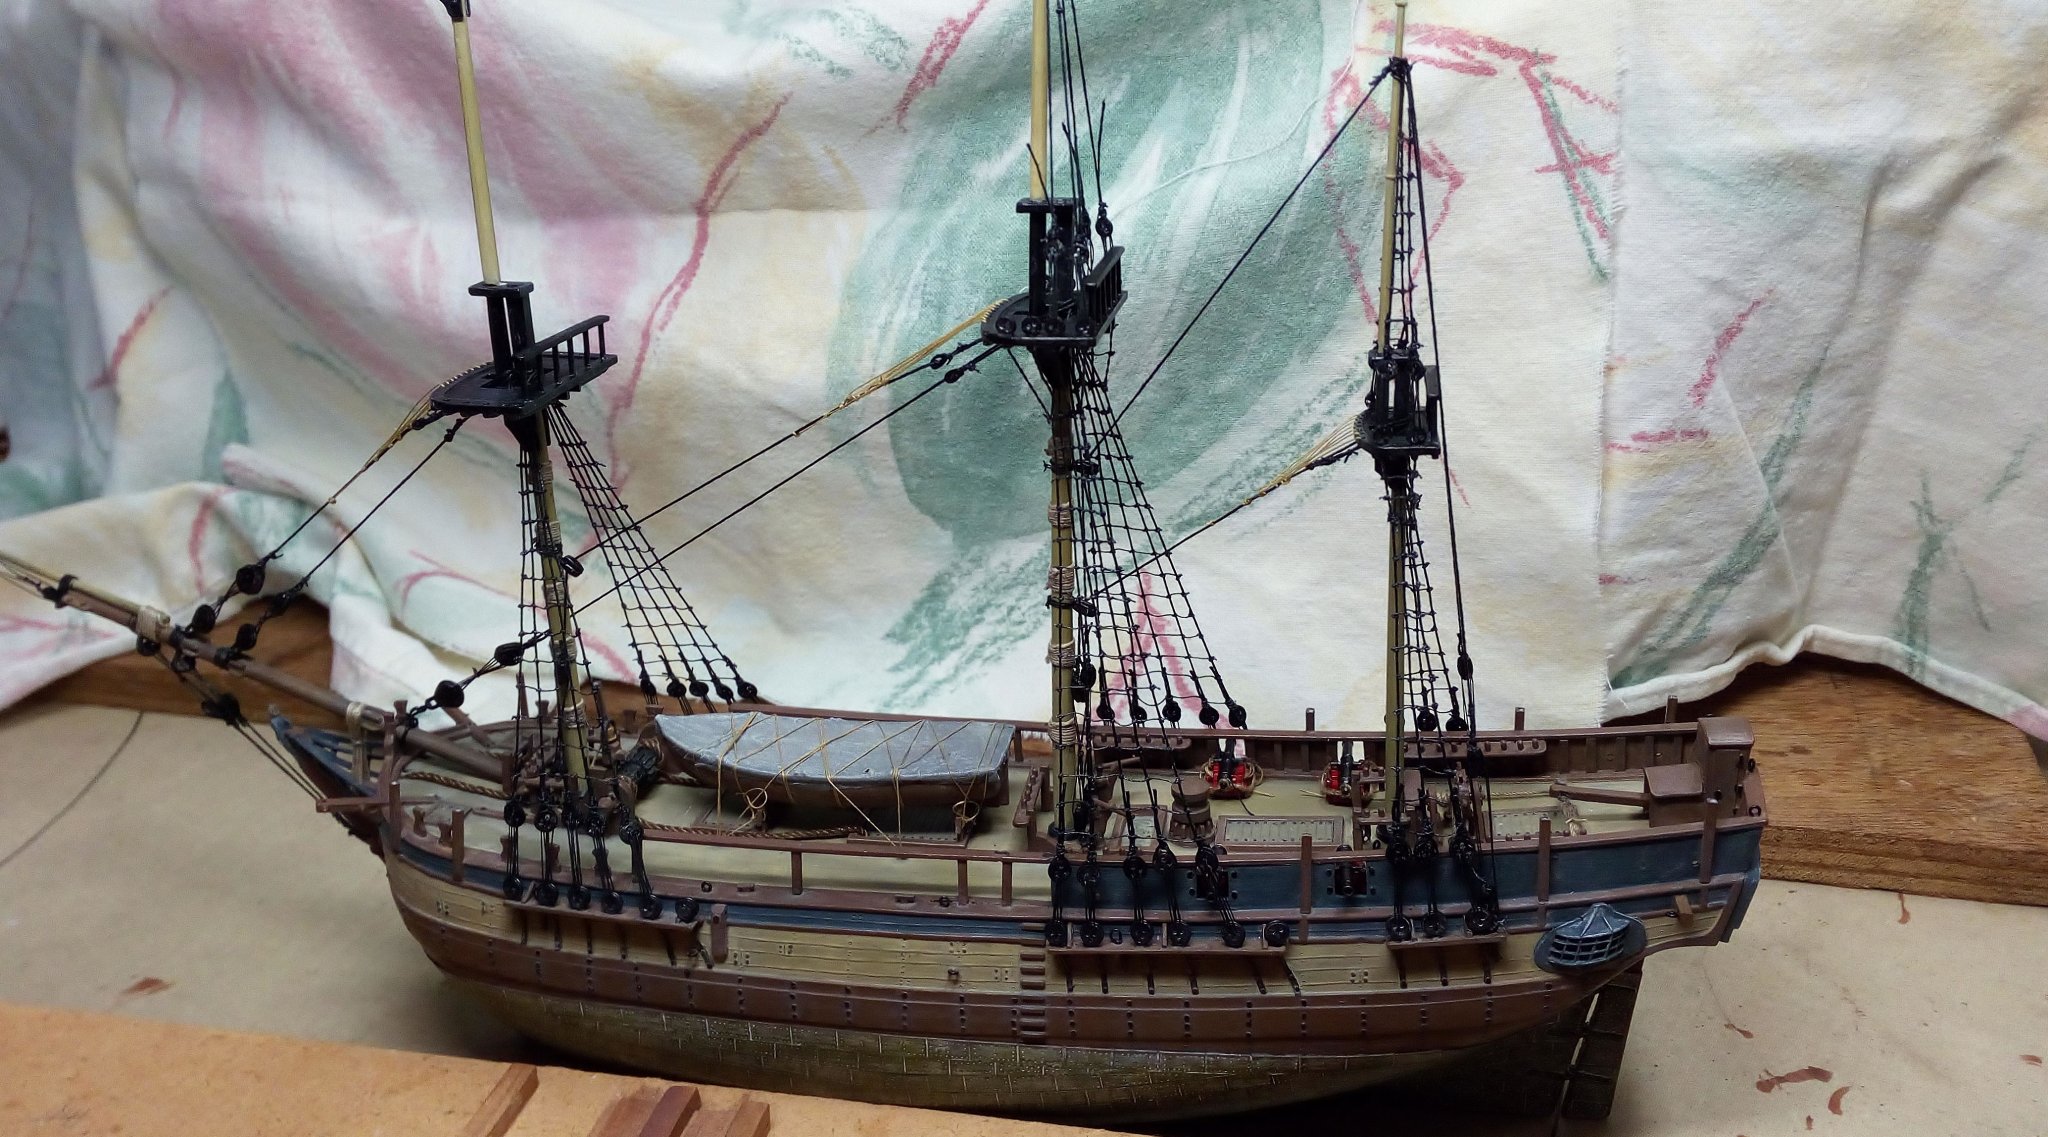
Thanks again for the nice comments and likes. The rigging continues. Started with the schrouds on the top masts. These thin parts of the plastic masts are very fragile. It is not easy to do rigging to these flexible pieces. It would have been better to replace this plastic with wooden parts in advance, i think. Thanks for following


-
Hello, and
-
-
Nice work on the rigging. Great carriages for the cannons
-
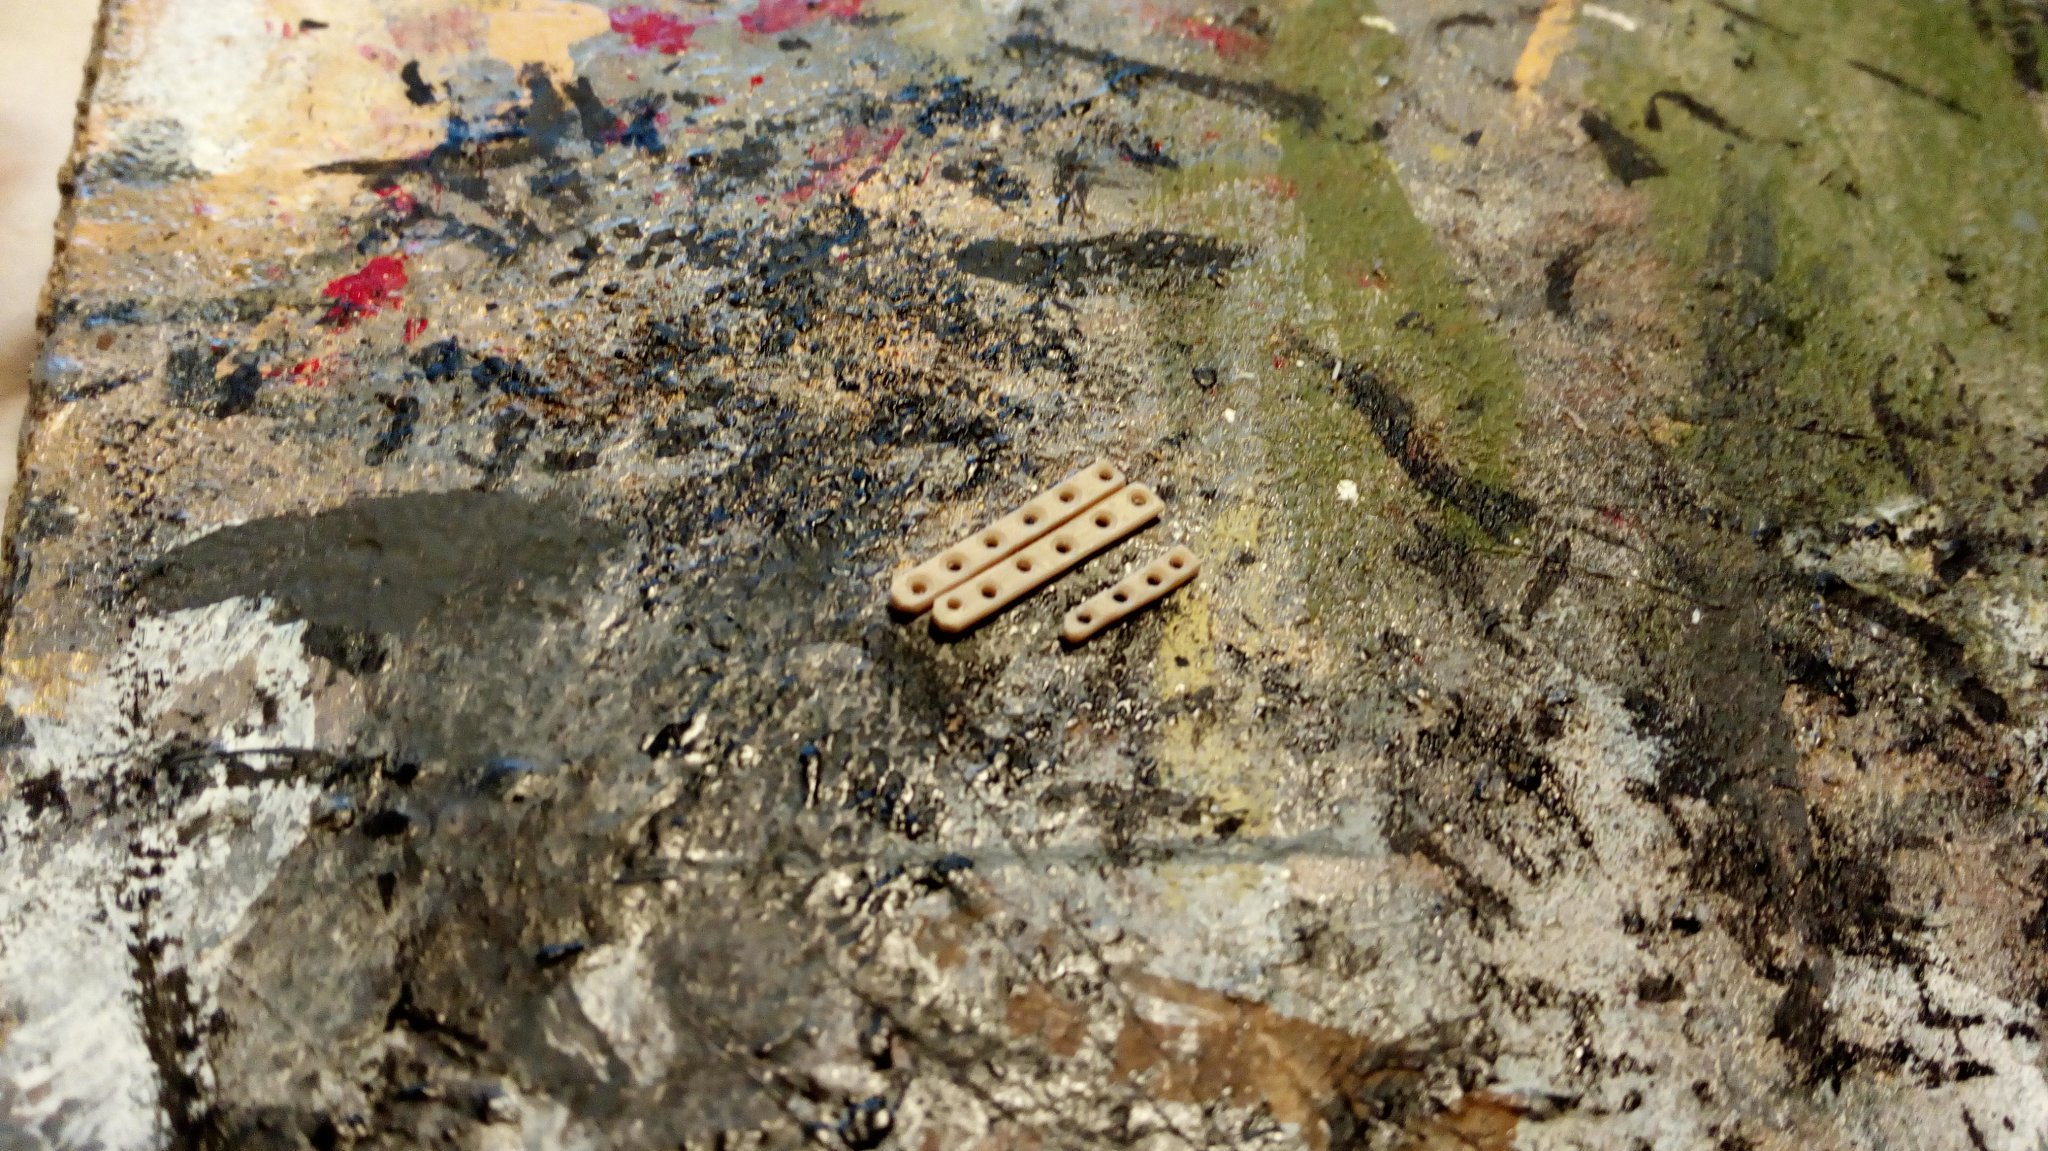
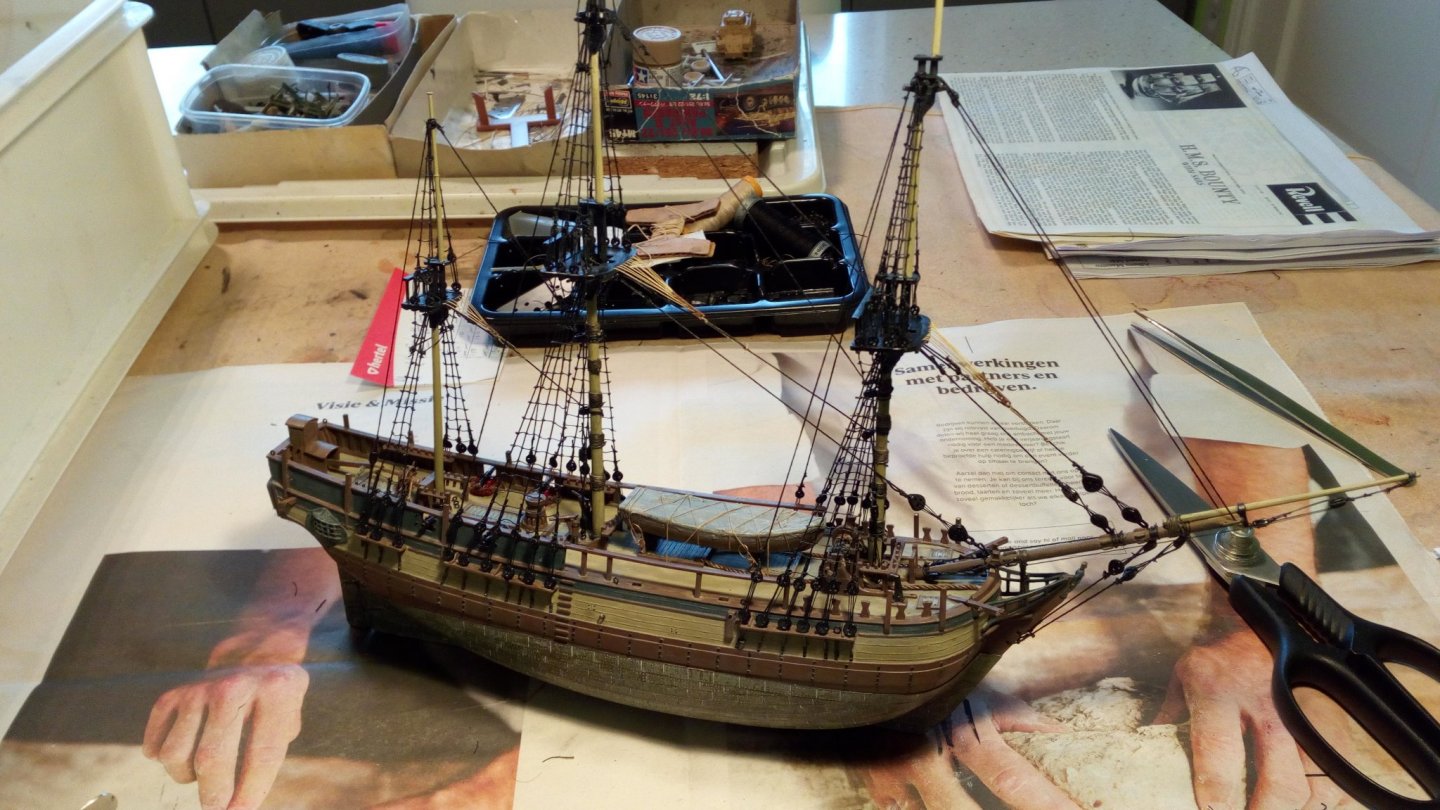
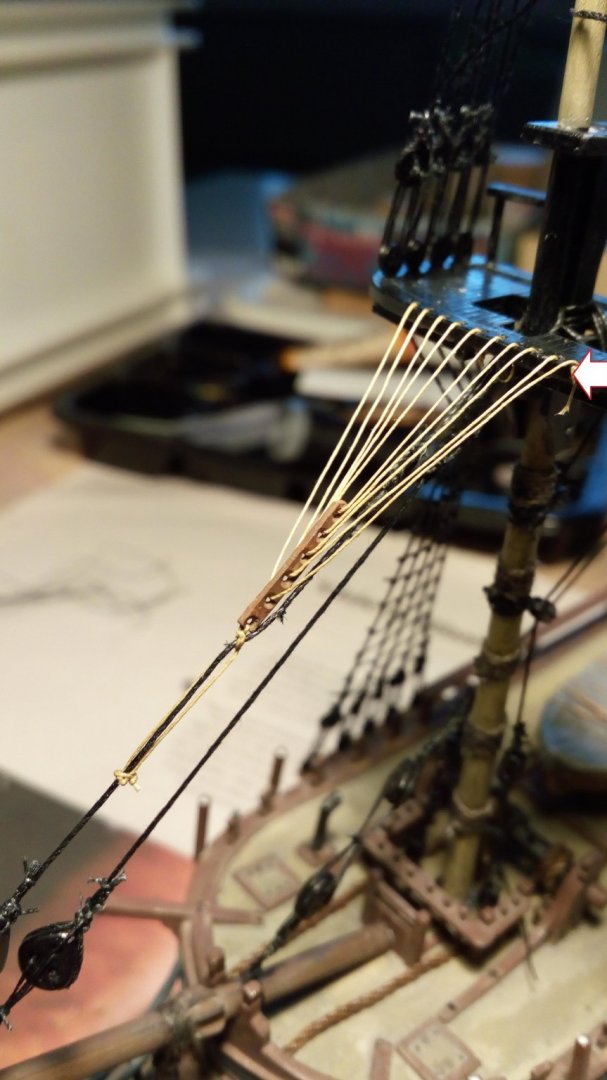
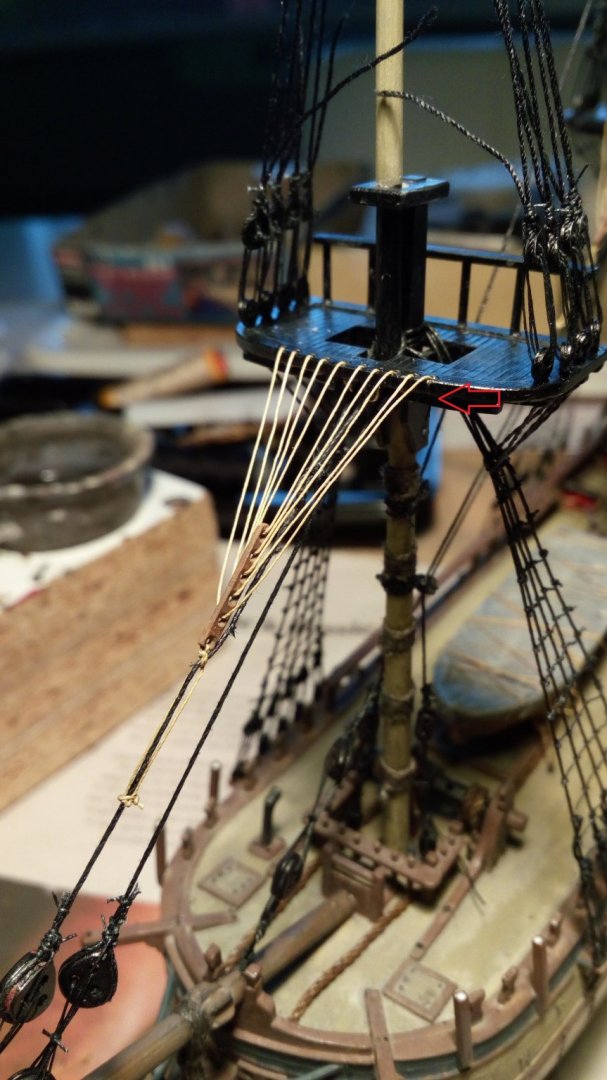
Small update. One thing I have learned on this forum is. If you don't like something you've built. Remove it and rebuild it a 2nd time. Not really neat and correct. So remove and rebuild. New parts in progress and painted Better, except the visible error (arrow) Addet some black paint, error "invisible" Not entirely correct but much better. Did this on all the 3 masts. Thanks for following.
-
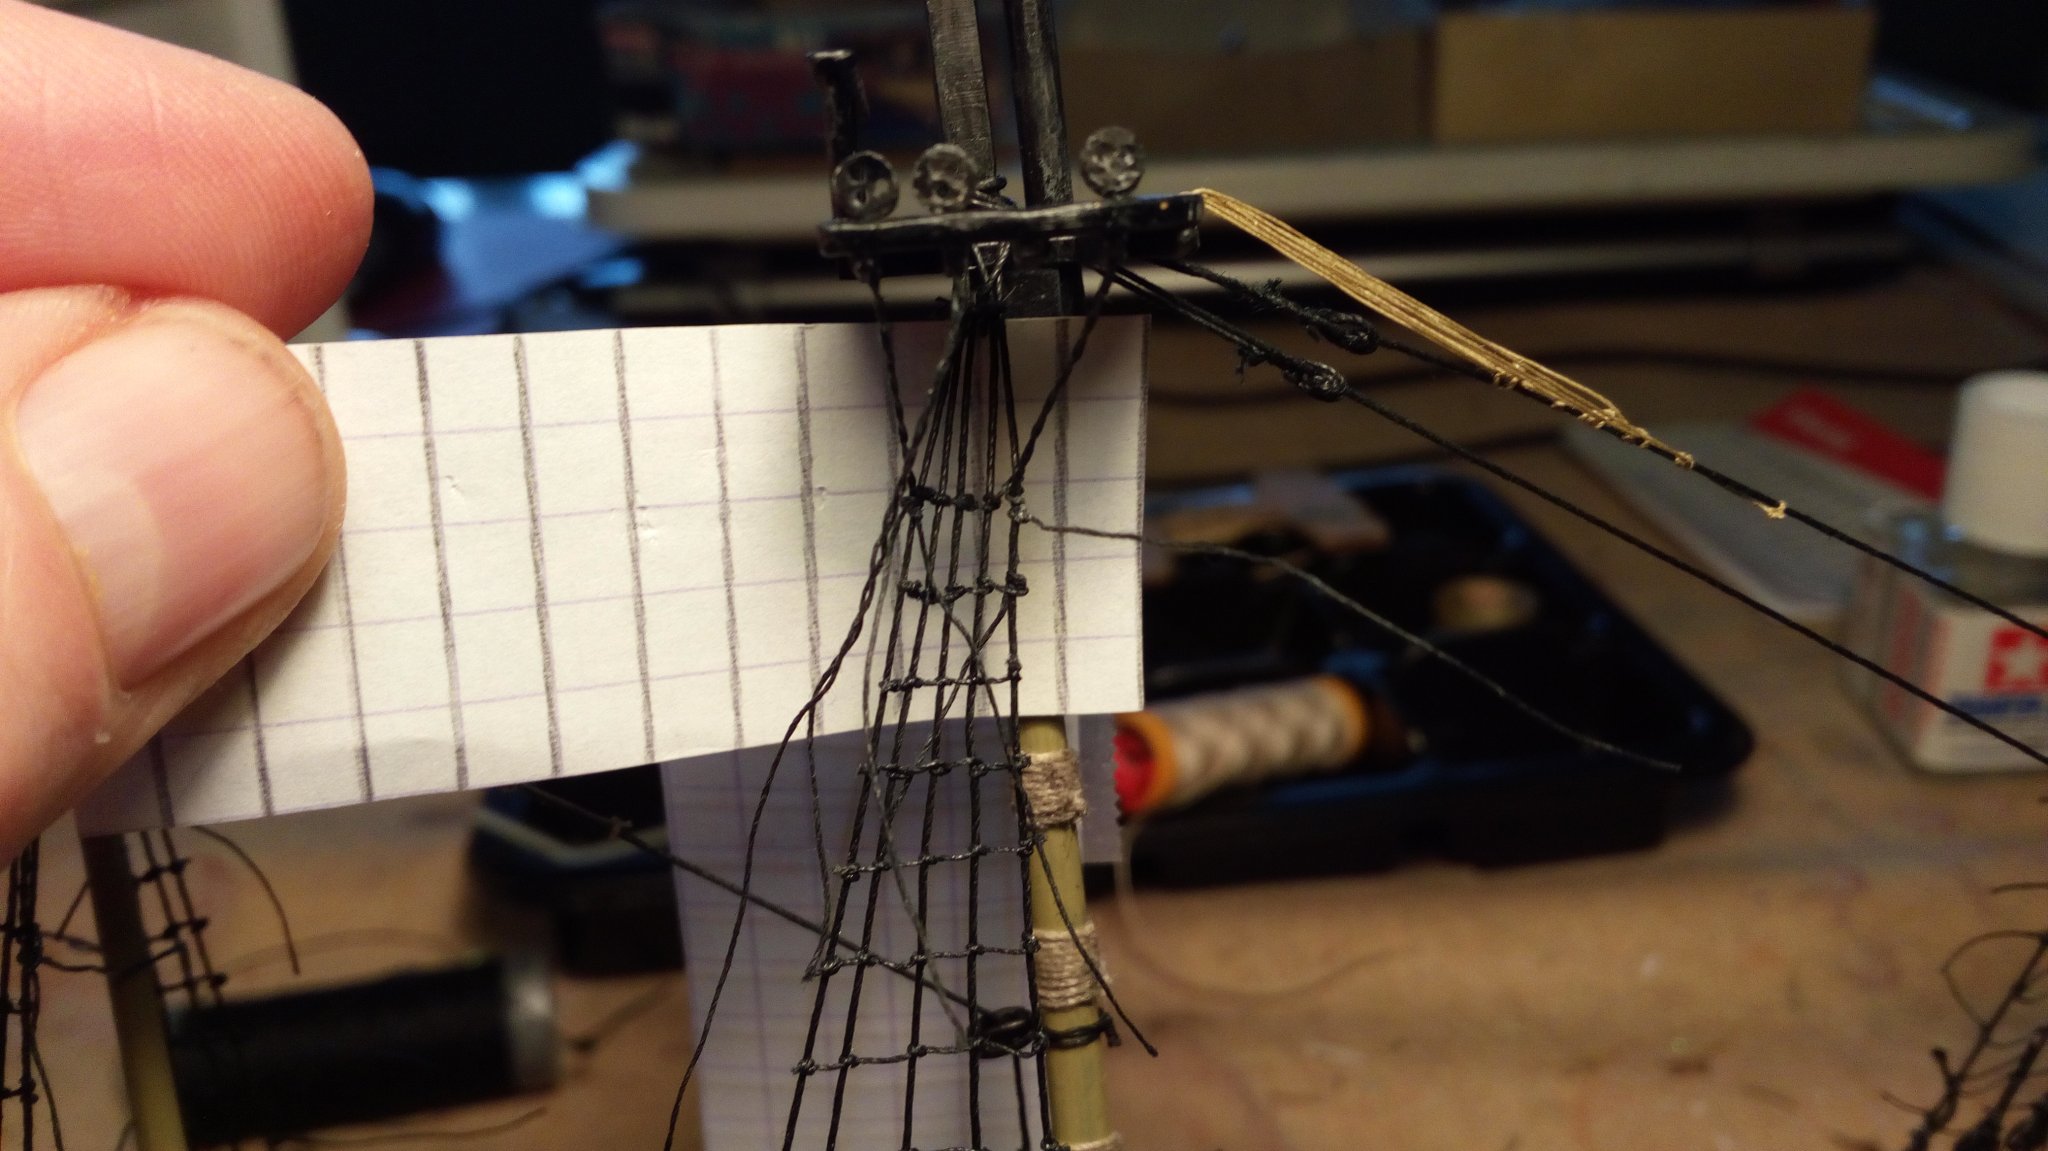
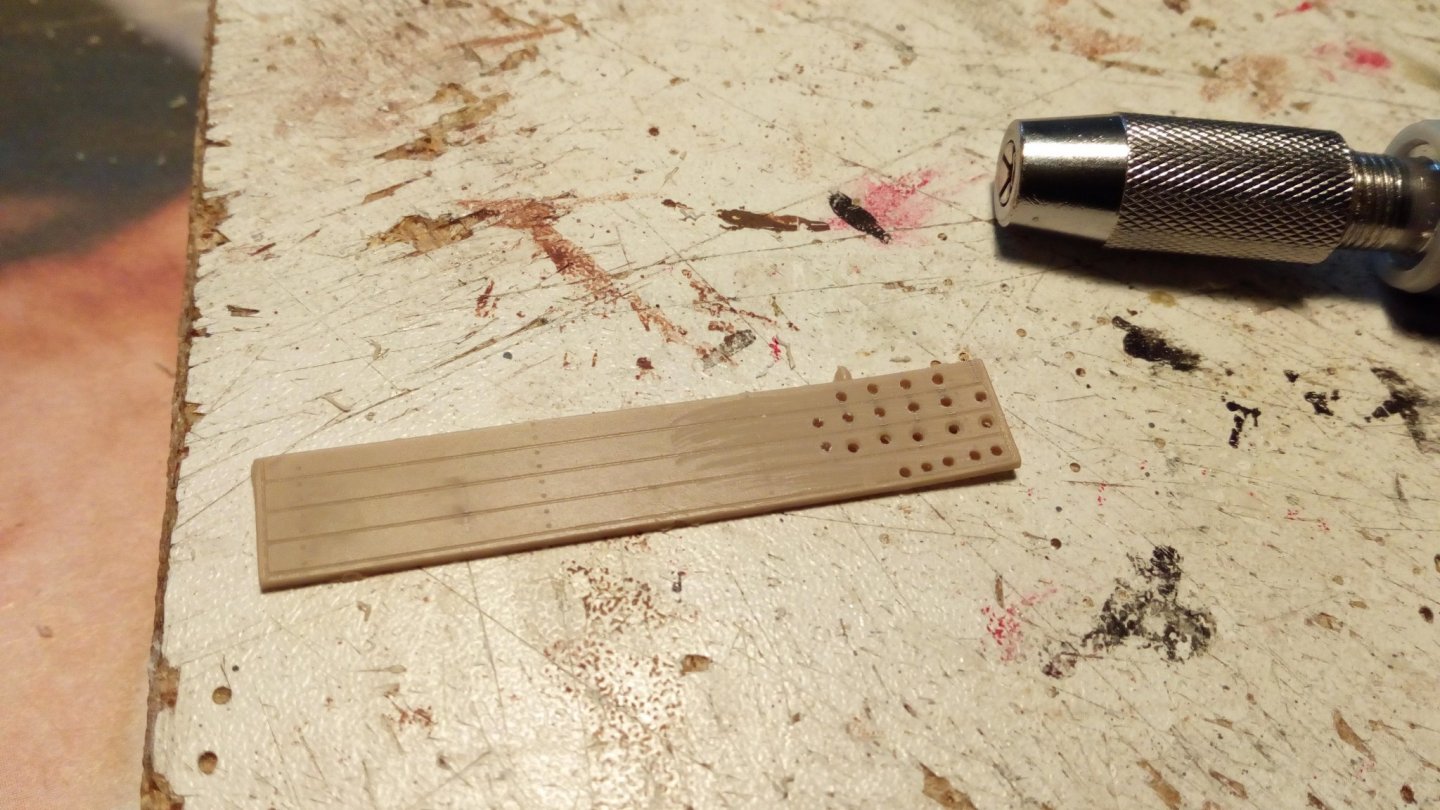
No jig has been used. Everything is done "on sight". Make the deadeyes, drill holes and put in place. For me, plastic ship model building is easier than wooden ship model building. Let's say it is something like the"fingerspitzengefühl" build up after more then 1400 plastic models.) Thanks, The space to work easily on this scale is indeed rather limited. And this space is becoming less and less as more and more ropes are added. So the hardest part is yet to come
-
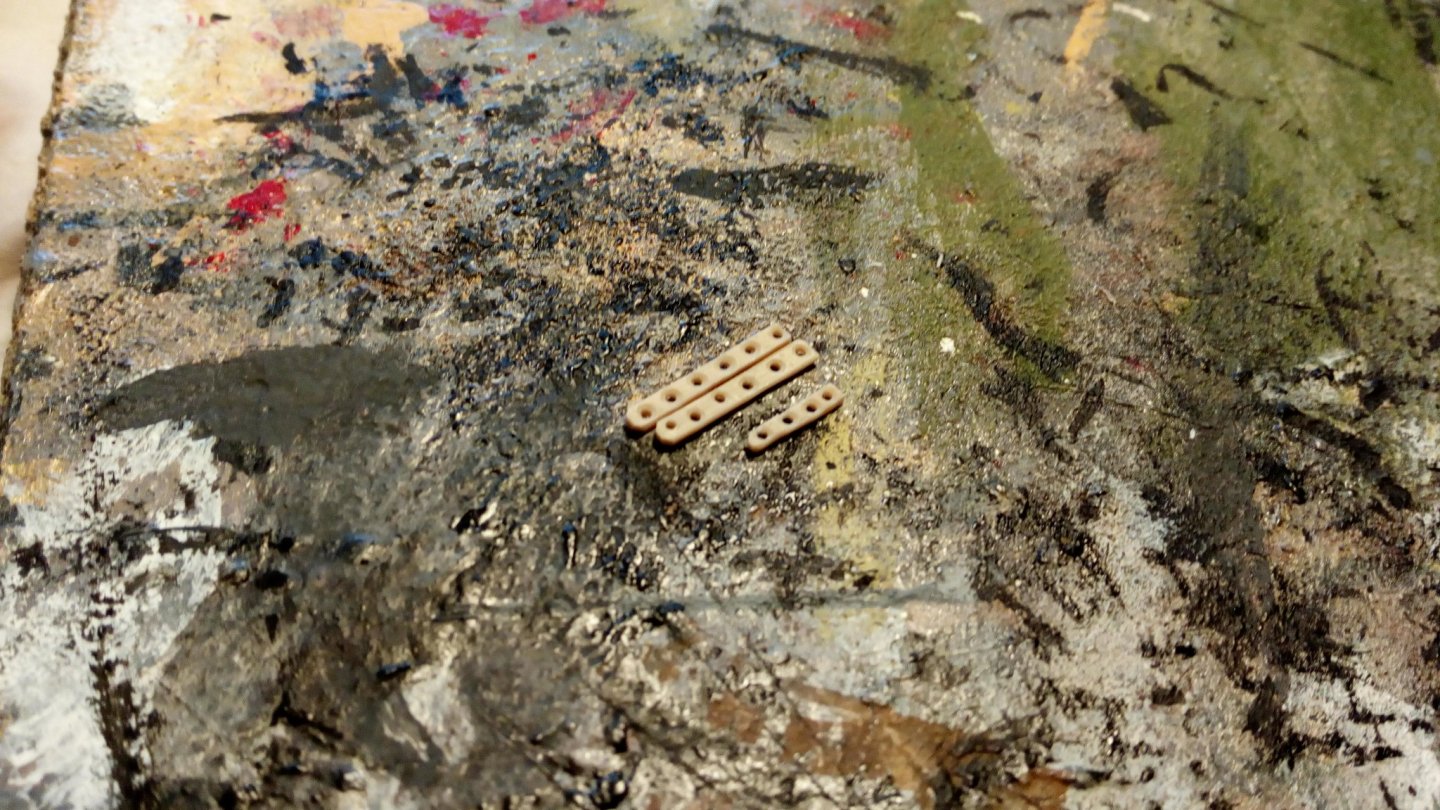
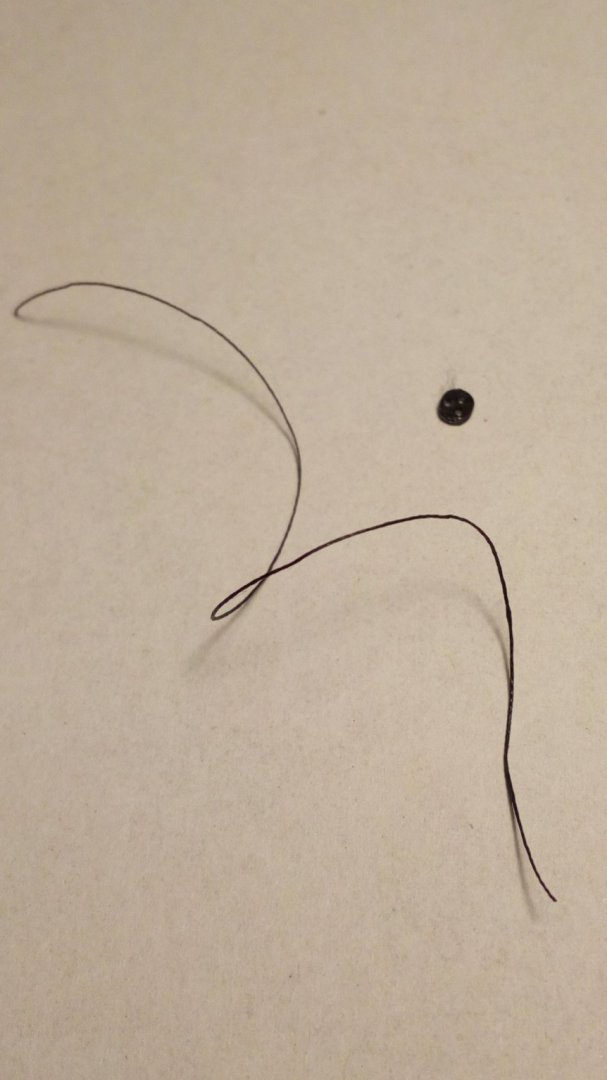
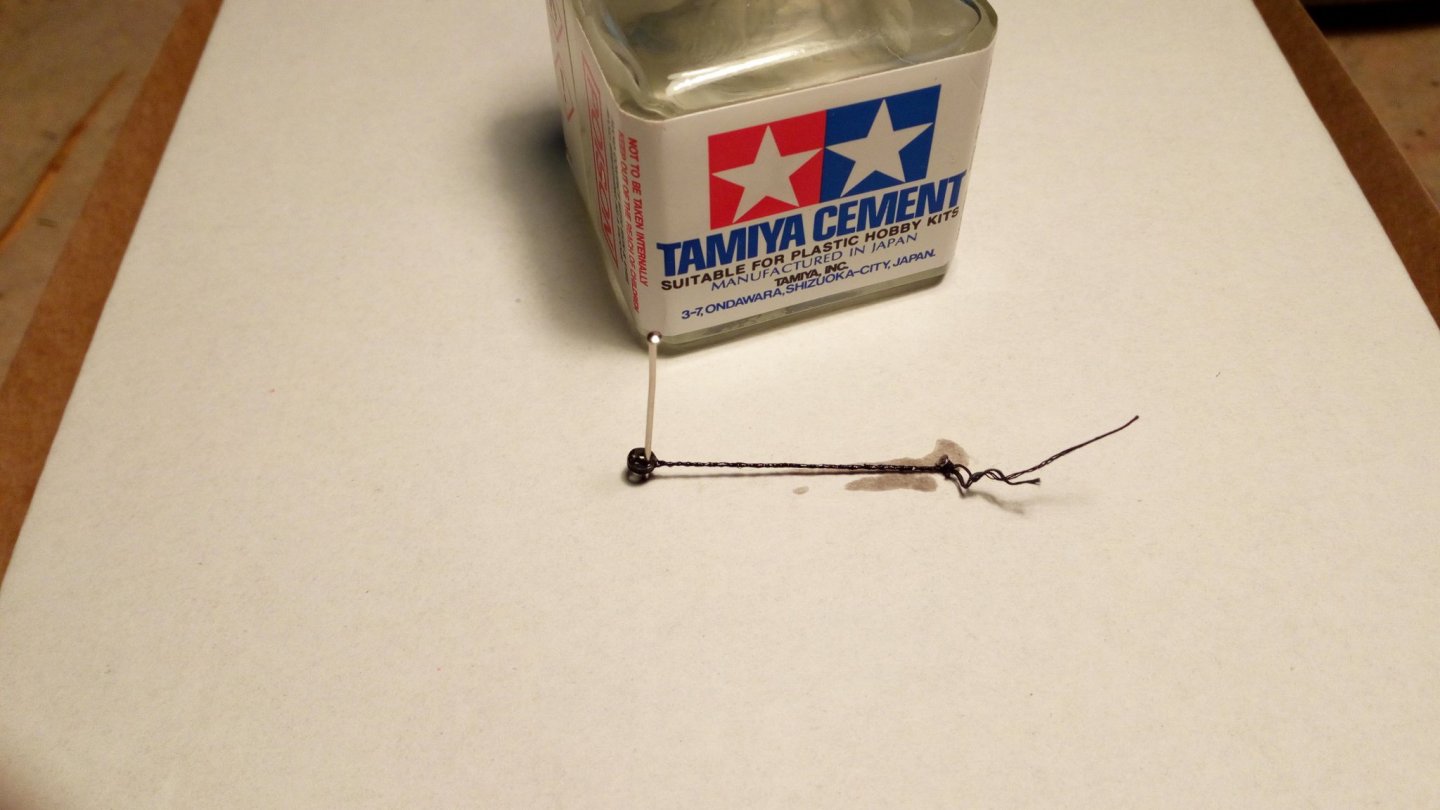
None, i cheat First assemble the deadeyes on the right place and glue with extra thin glue (Tamiya) Allow to dry (24h !) Only after that tie it to the lower schrouds Ready

-
Beautiful models and a great story.
-
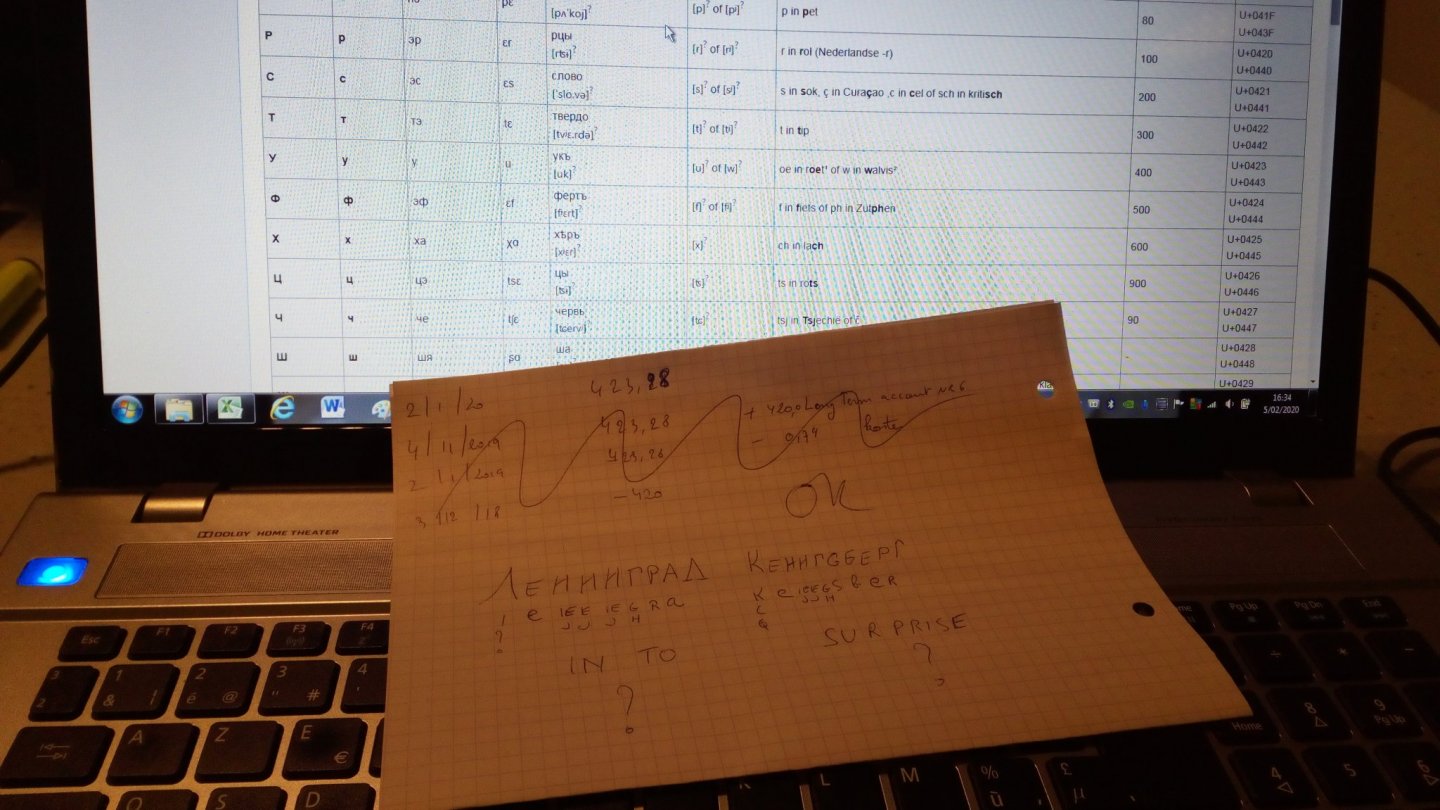
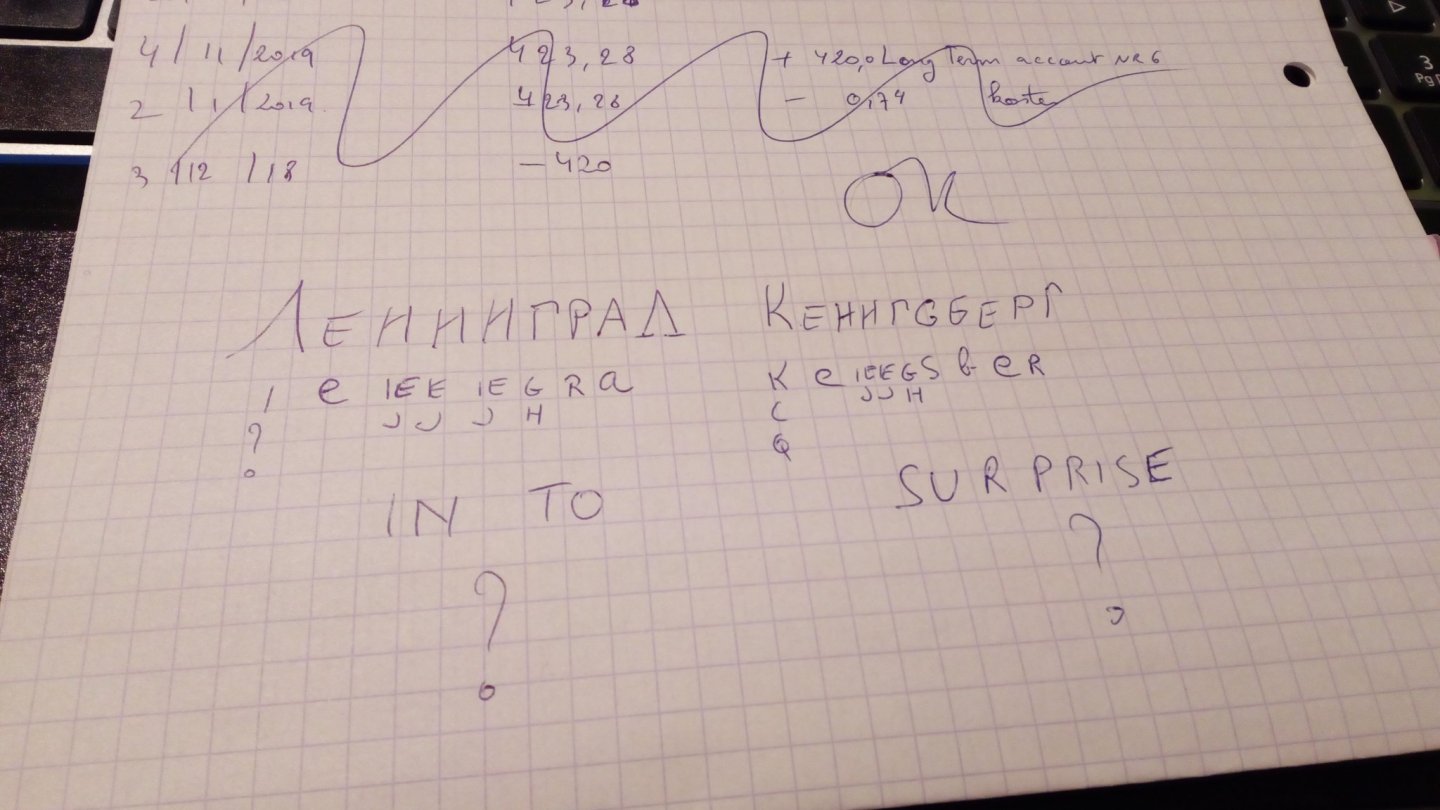
I think it looks like something like this IN TO SURPRISE Suprise , a bomb falls from the sky on your head...
-
A nice model, great work.
-
-
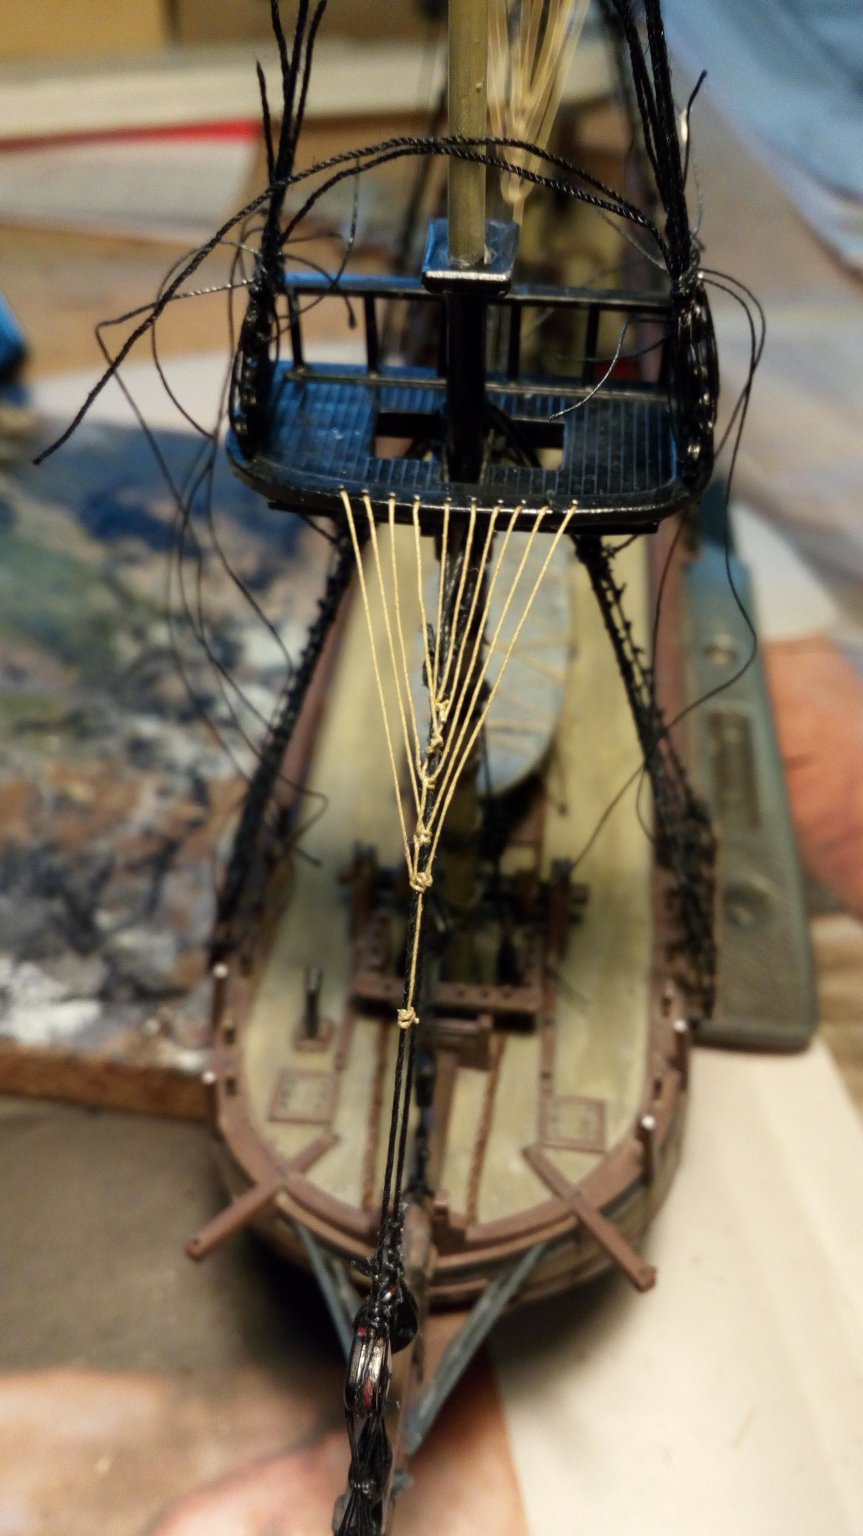
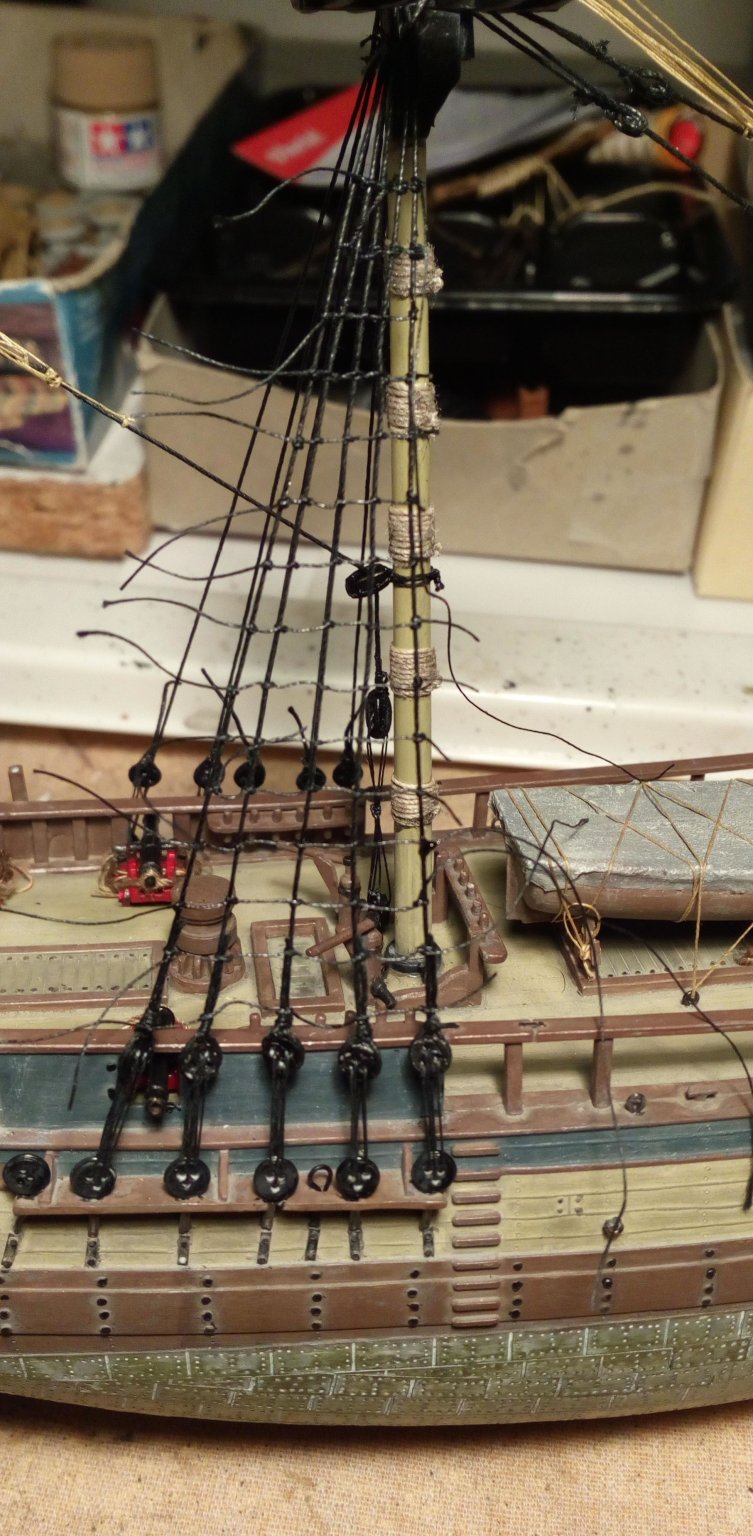
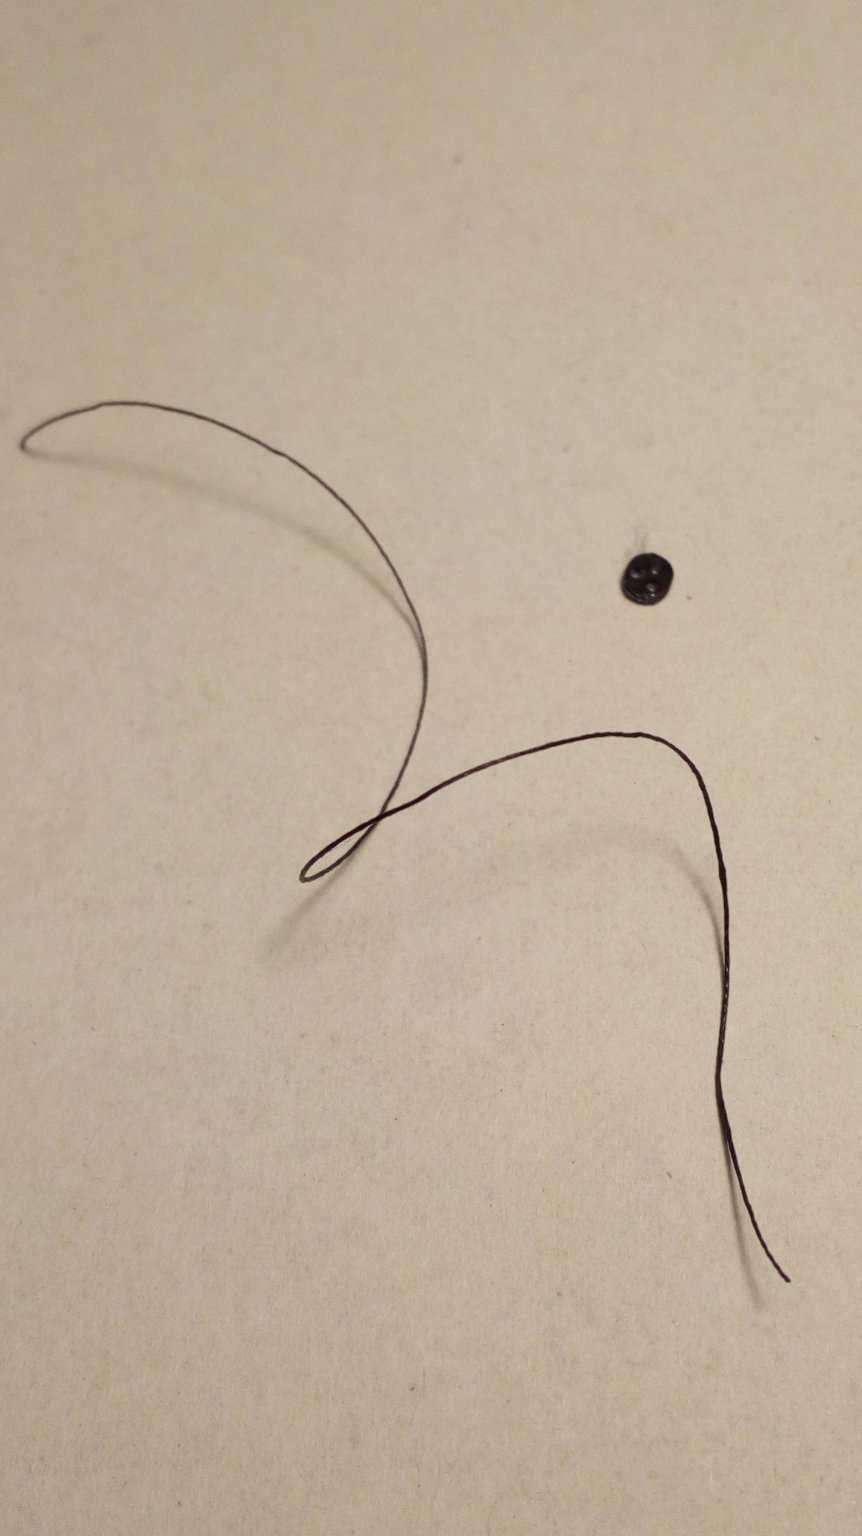
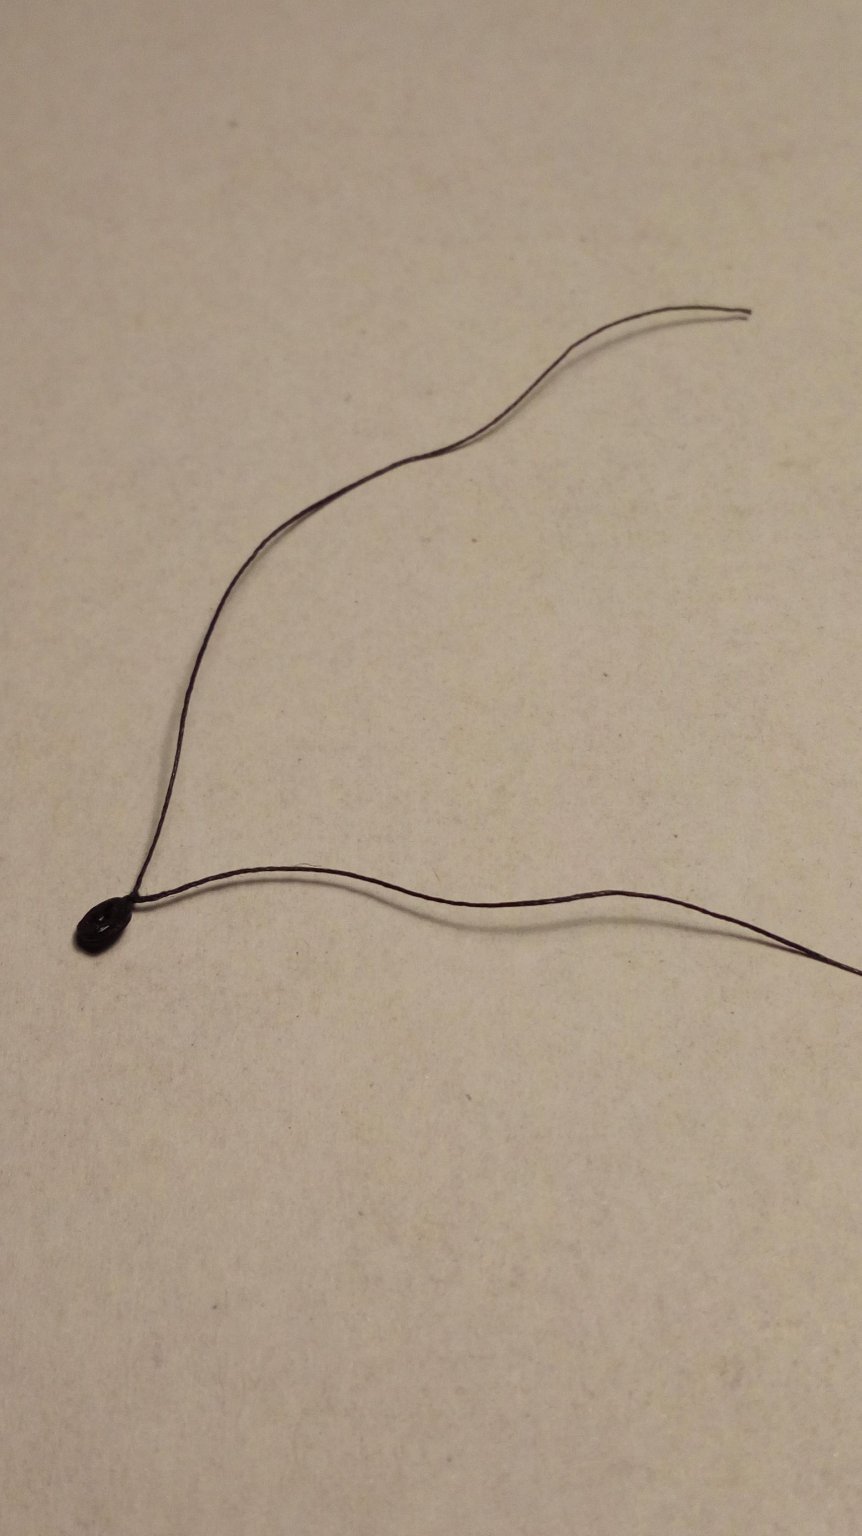
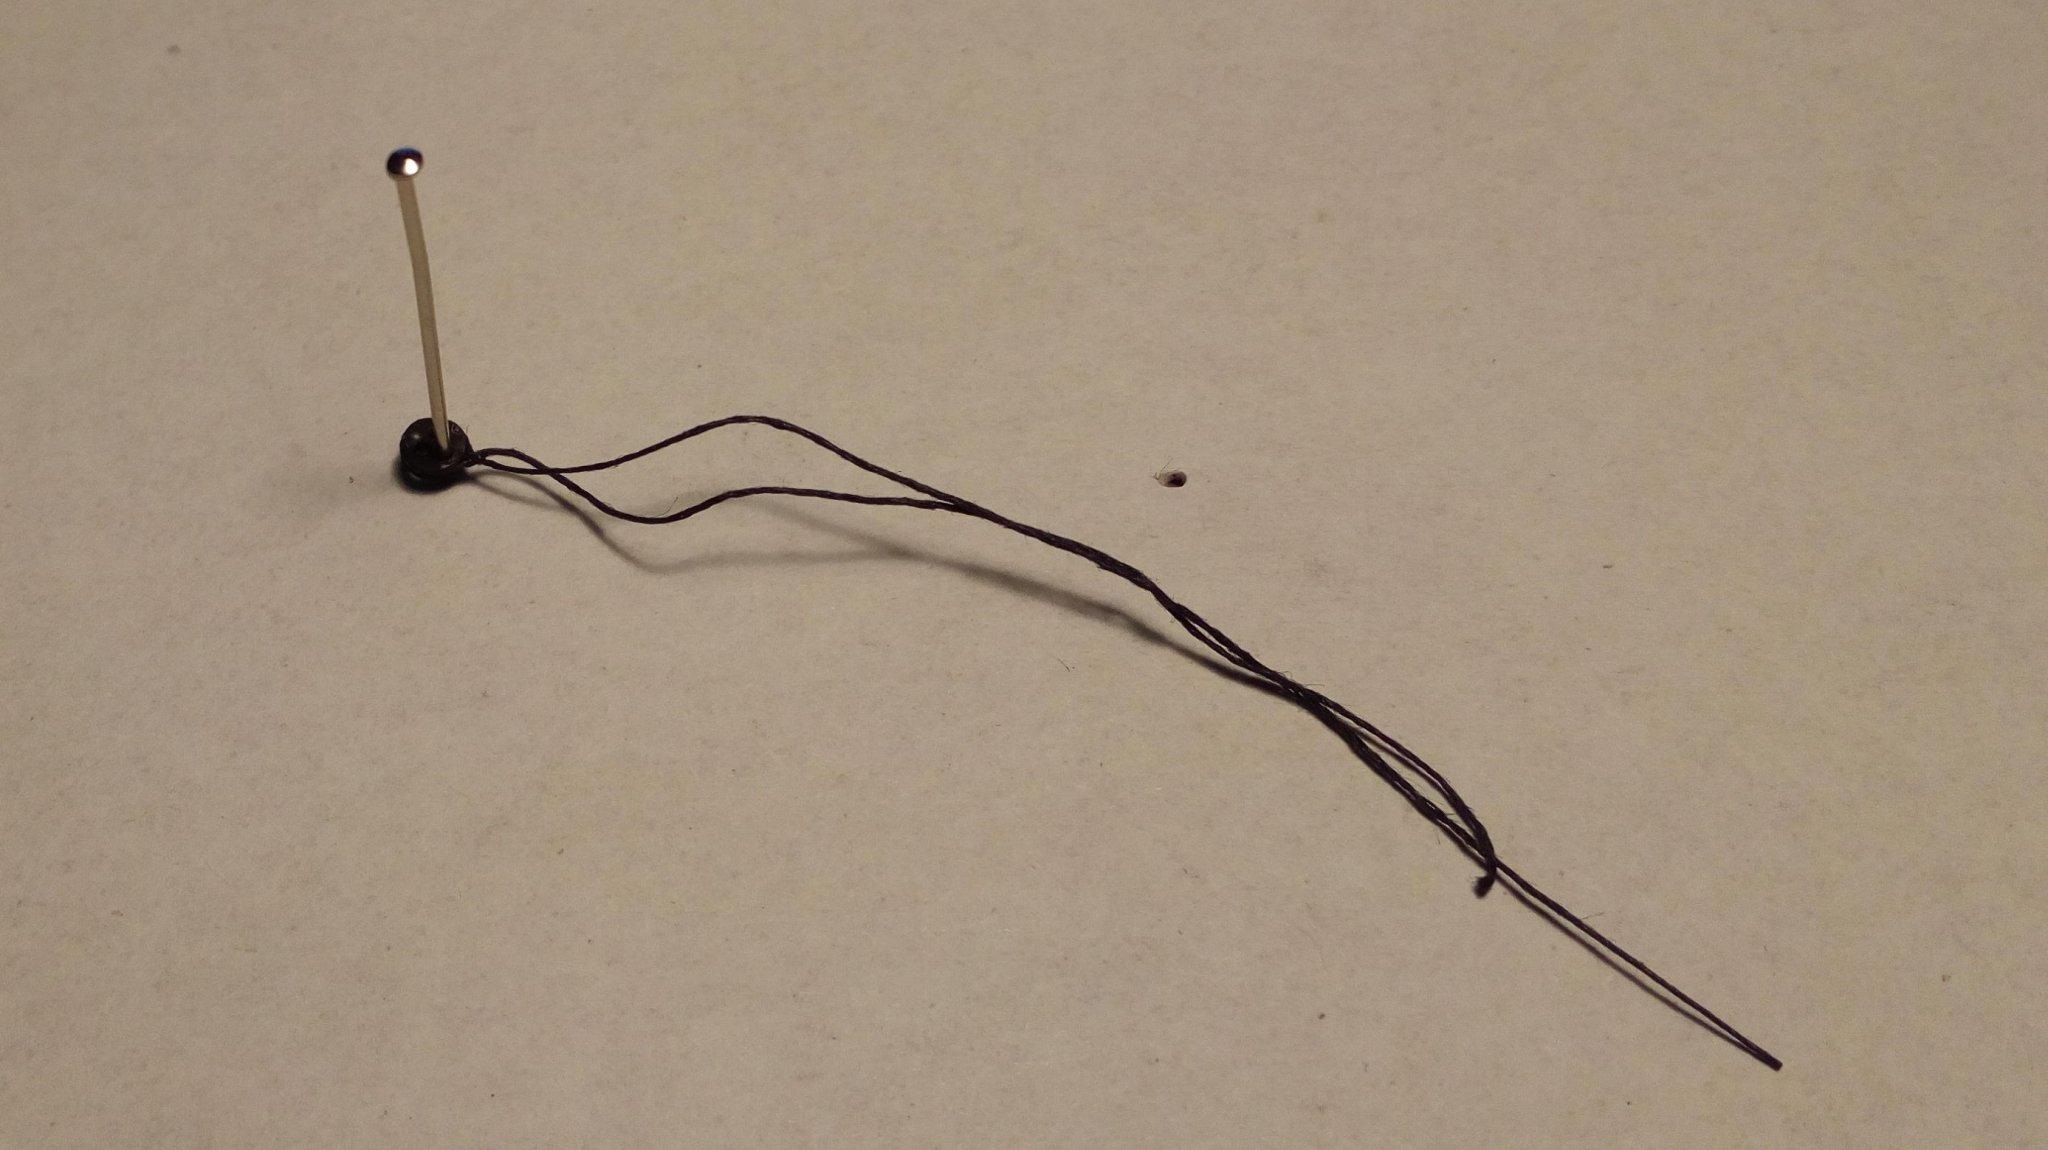
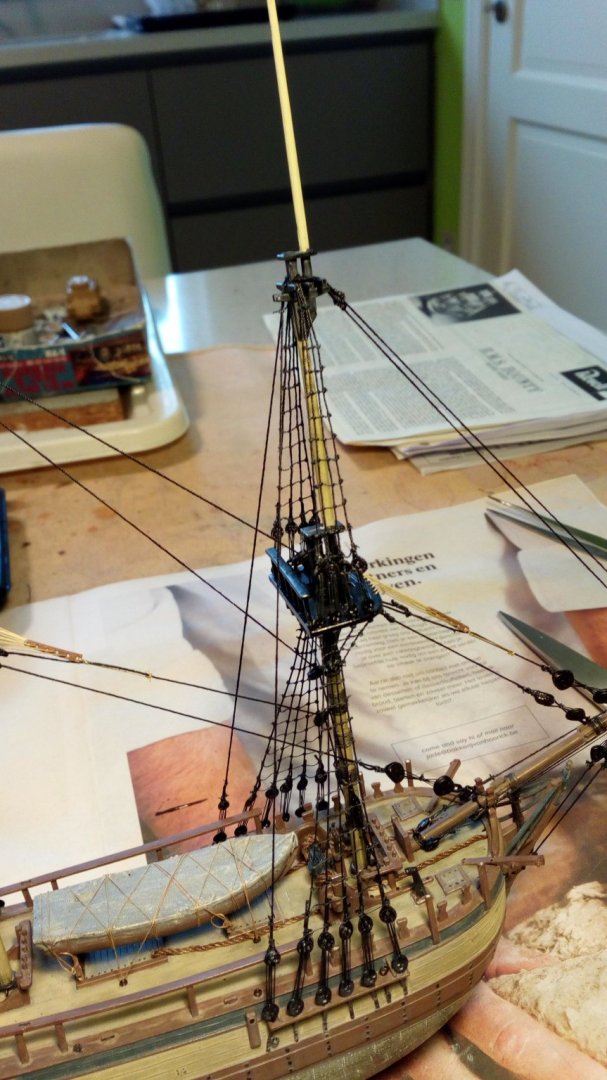
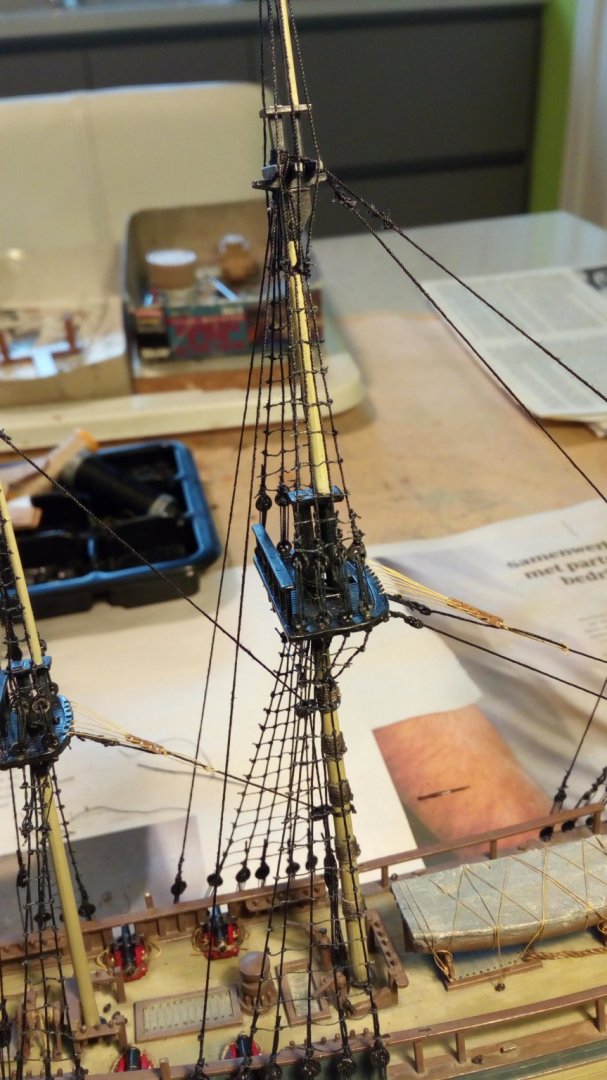
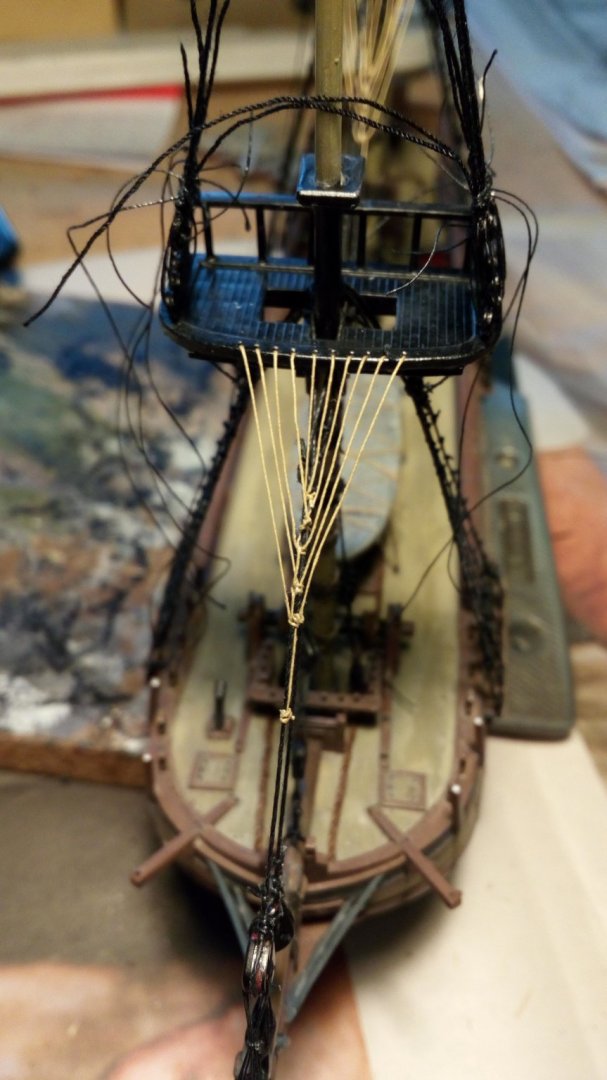
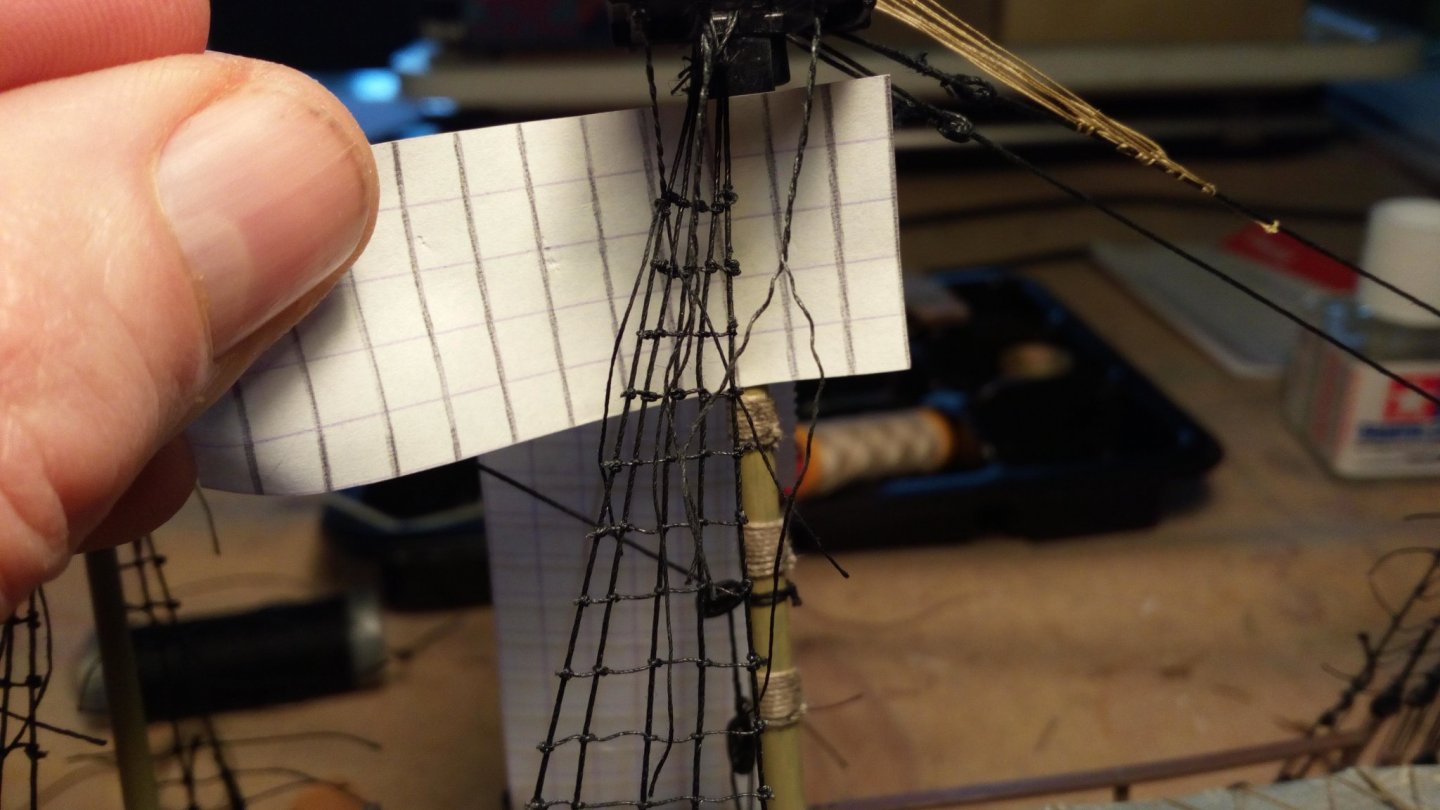
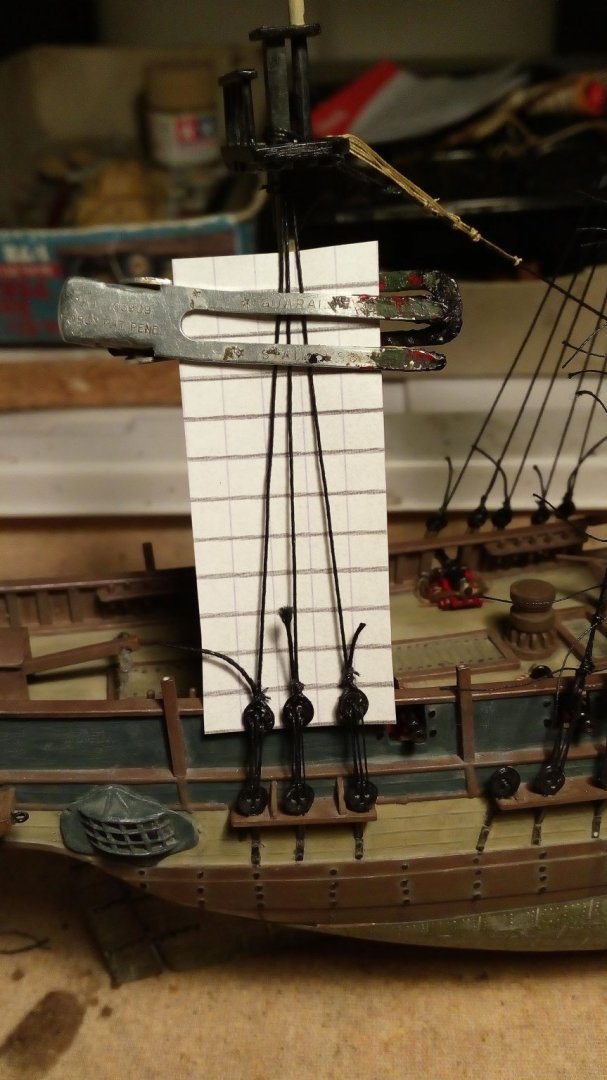
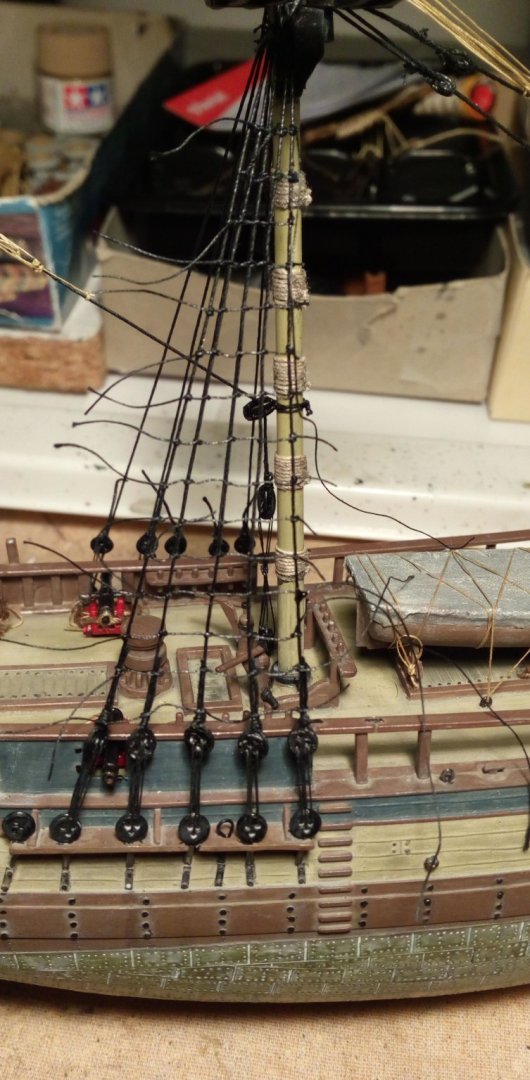
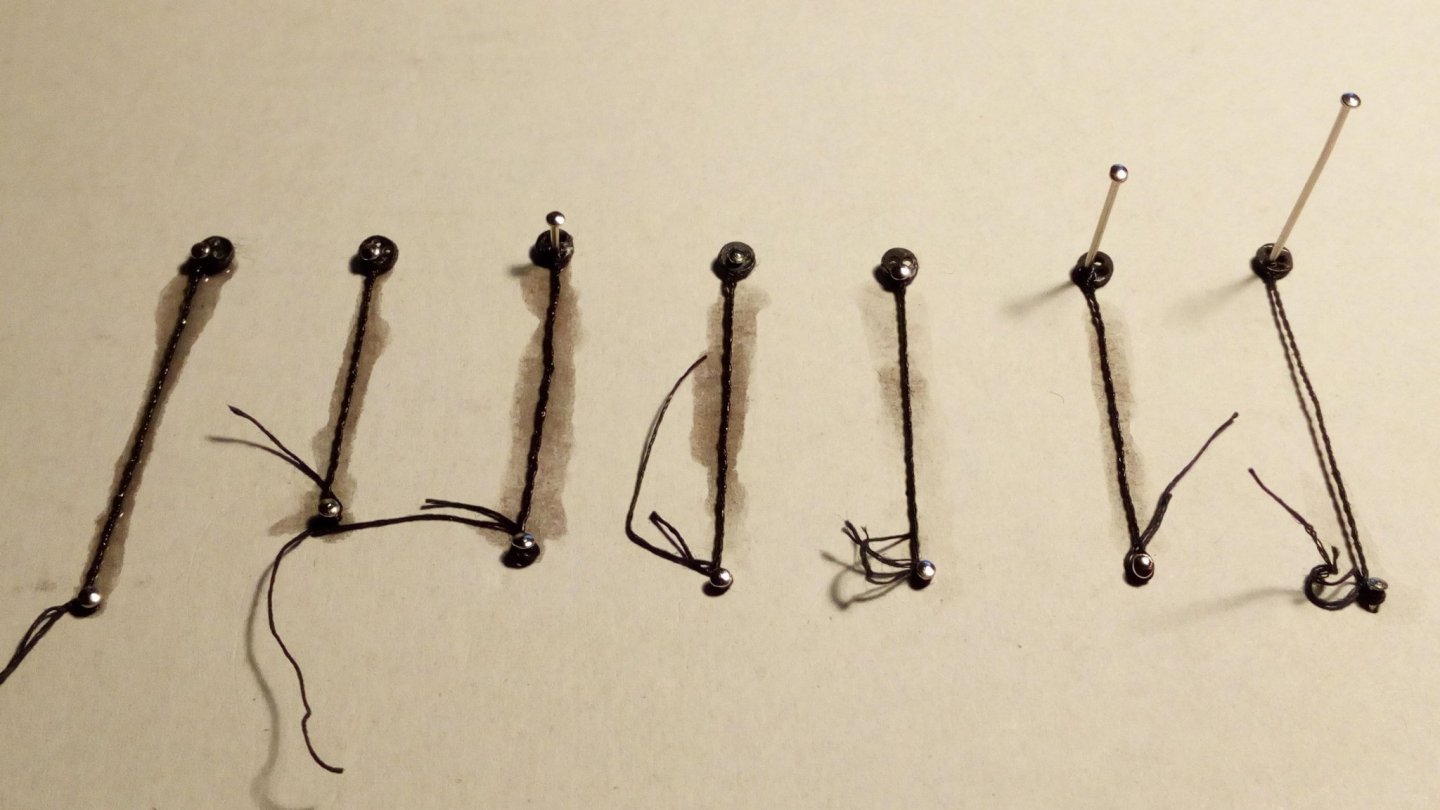
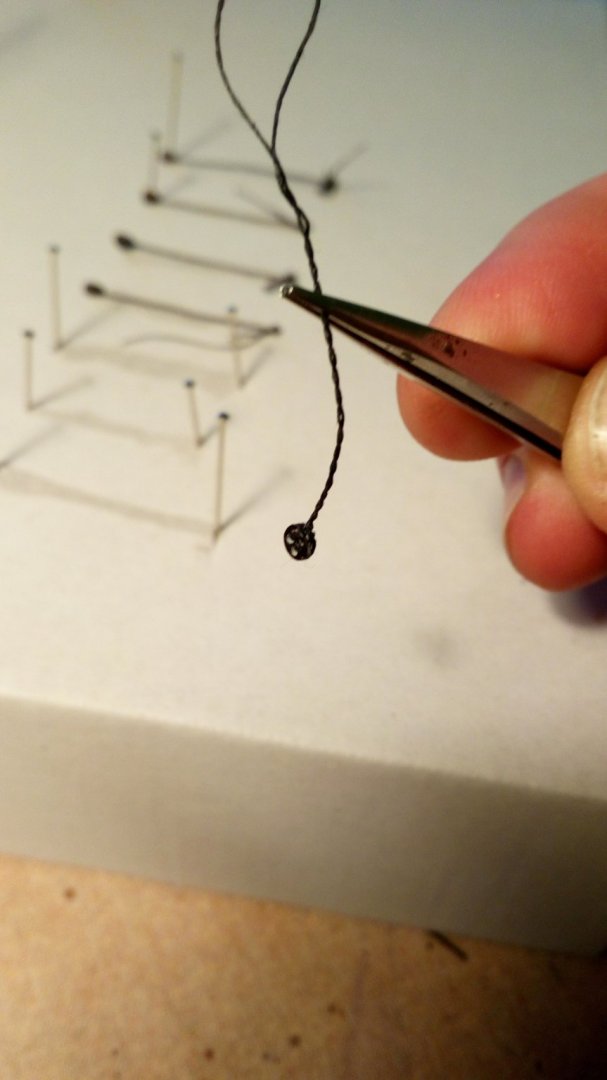
Thank you all for the nice comments and likes Some progress is made on the standing rigging I encountered a problem attaching the deadeyes to the crow's nest. The solution found is not correct as it really was, but well suited for this small scale. The photos probably explain the method better than a long text in my google translate English. Current state Thanks for following


-
Well done 👍 An idea. You still have to start your masts and standing rigging. I would wait with the anchors until this is done. They can get in the way
-
As always great work. But, why is someone from my family glued to your model? Greetings from Backer ( My last name is De Backer)😉
- 2,699 replies
-
- 4
-

-
- heller
- soleil royal
- (and 9 more)
-
Thanks, To add extra detail to these small scales, is the simplest solution usually the best. Unless an extra kit with PE and resin parts is available. (We both do not have that luxury on our models)
-
This is difficult indeed on this small scale. That's how I solved it with my model Btw. nice work
-
Welcome from Belgium