


Baker
-
Posts
4,280 -
Joined
-
Last visited
Content Type
Profiles
Forums
Gallery
Events
Everything posted by Baker
-
 very well done! Congrats
 -
-
-
M29 Weasel family 1/72 (scratch) by Backer Finished
Baker replied to Baker's topic in Non-ship/categorised builds
I imagine I'm Henry Ford I invented a "assembly line" for plastic models. haha 😂 -
M29 Weasel family 1/72 (scratch) by Backer Finished
Baker replied to Baker's topic in Non-ship/categorised builds
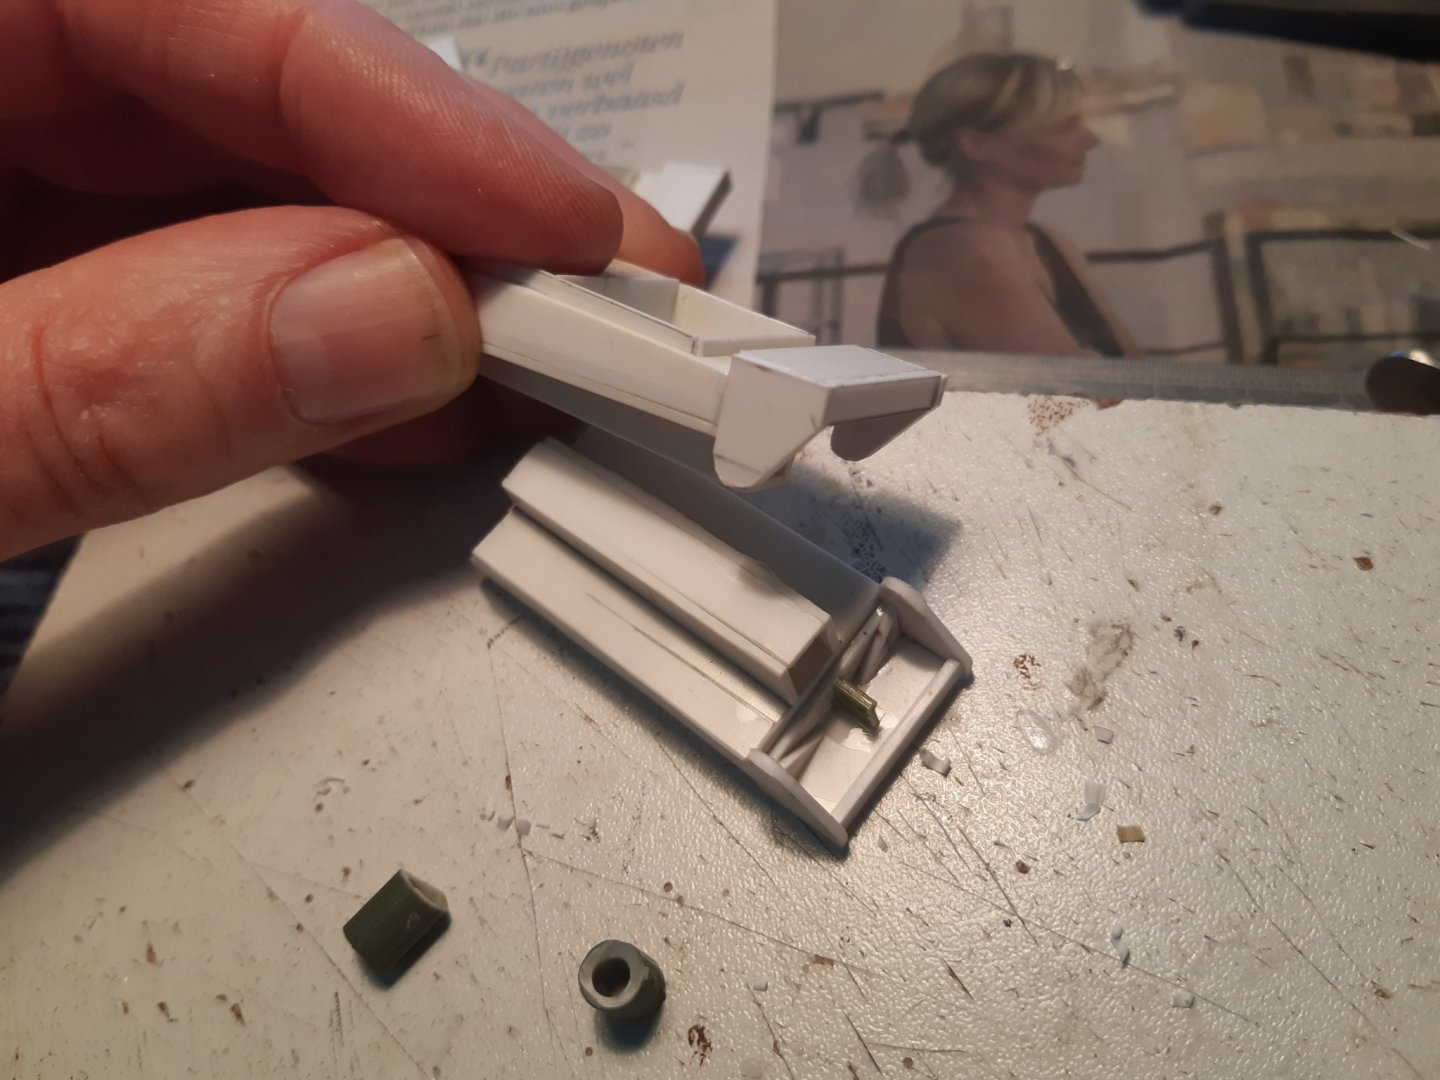
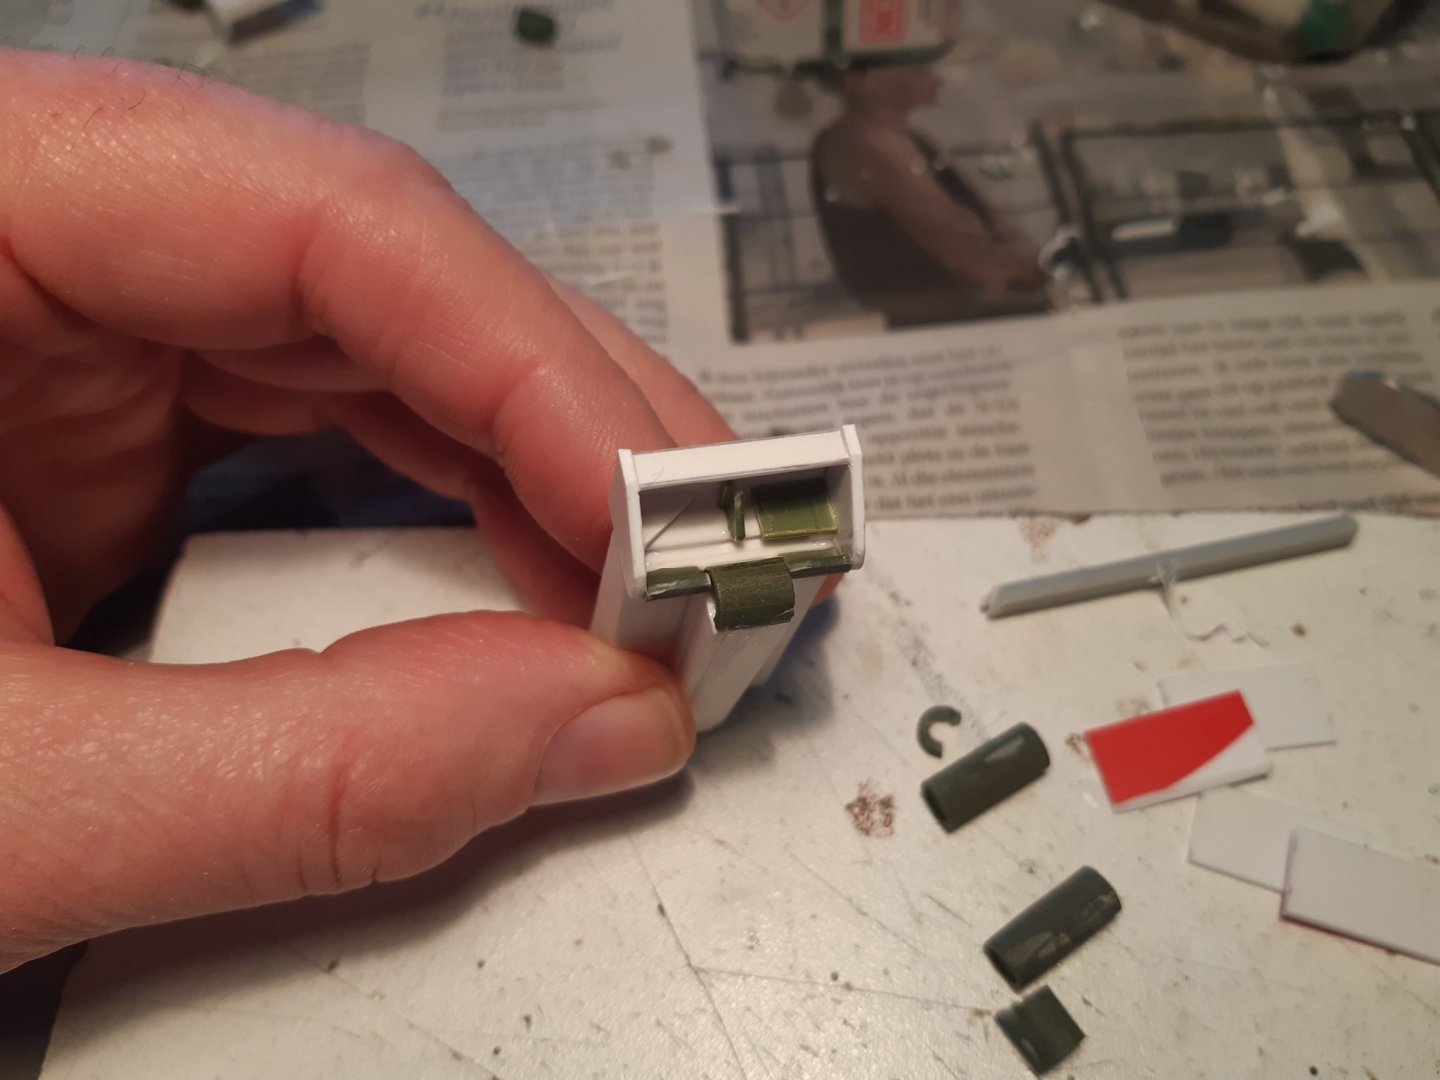
Building the rear "floating tank" This seemed to be the simplest of the 2 to build, so I started with this. Top sides "bottom" rear plate Ready for sanding an cutting rough shape ready Next to do, the front floating tank. Thanks for following


- 50 replies
-
- 13
-

-
Nice canoe!
-
M29 Weasel family 1/72 (scratch) by Backer Finished
Baker replied to Baker's topic in Non-ship/categorised builds
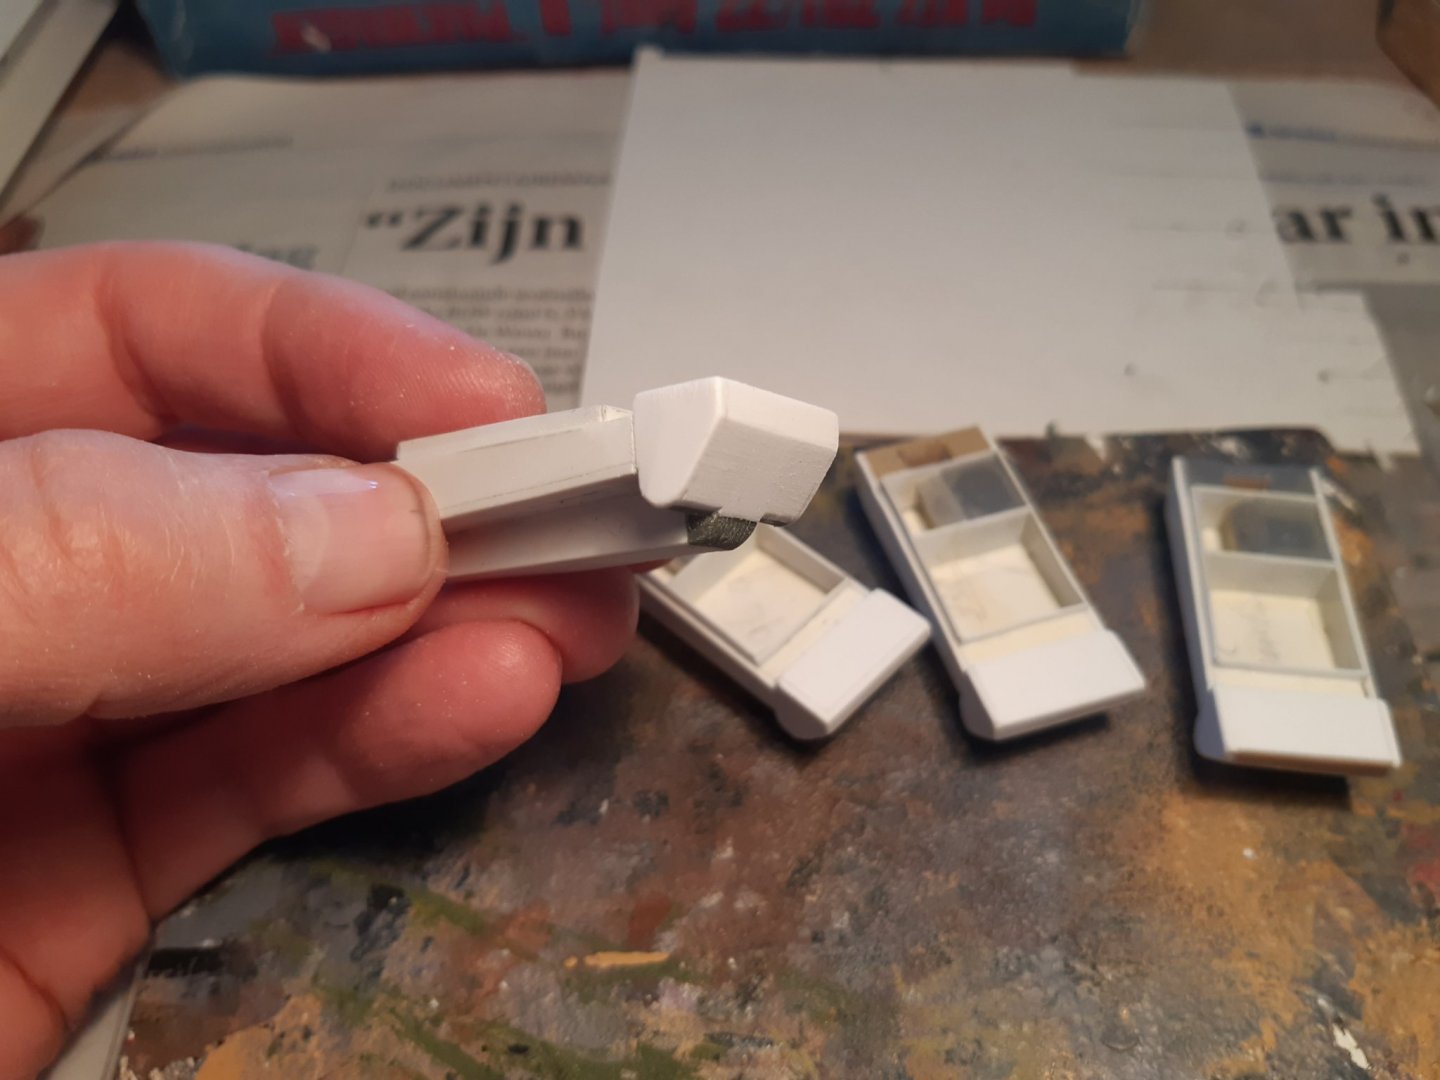
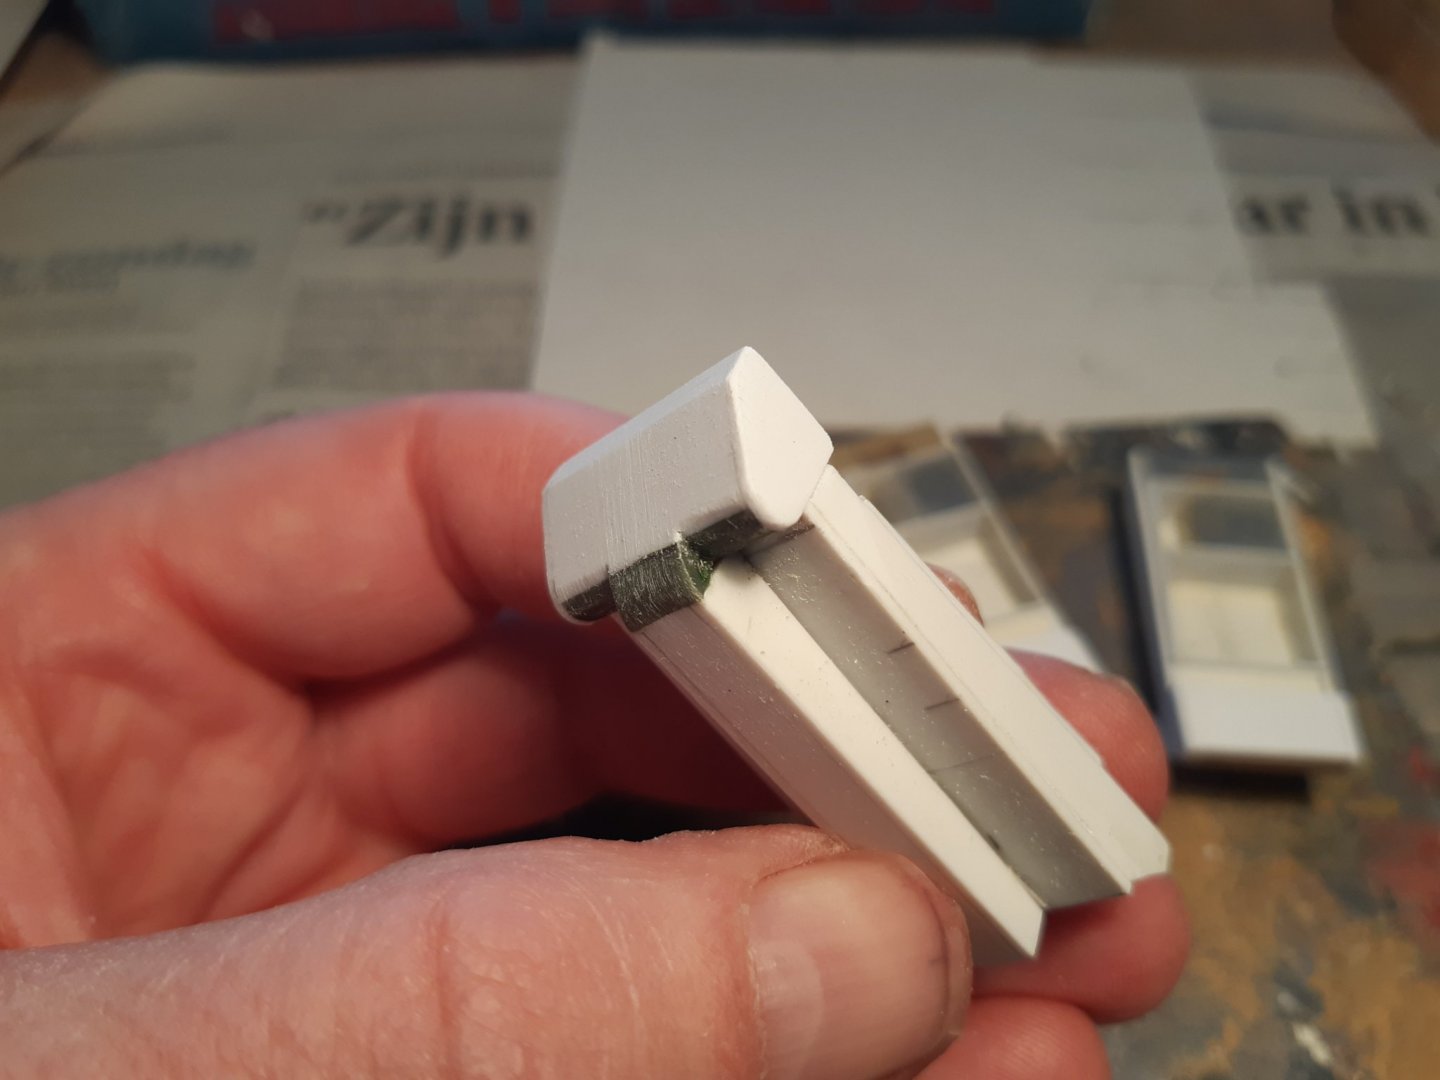
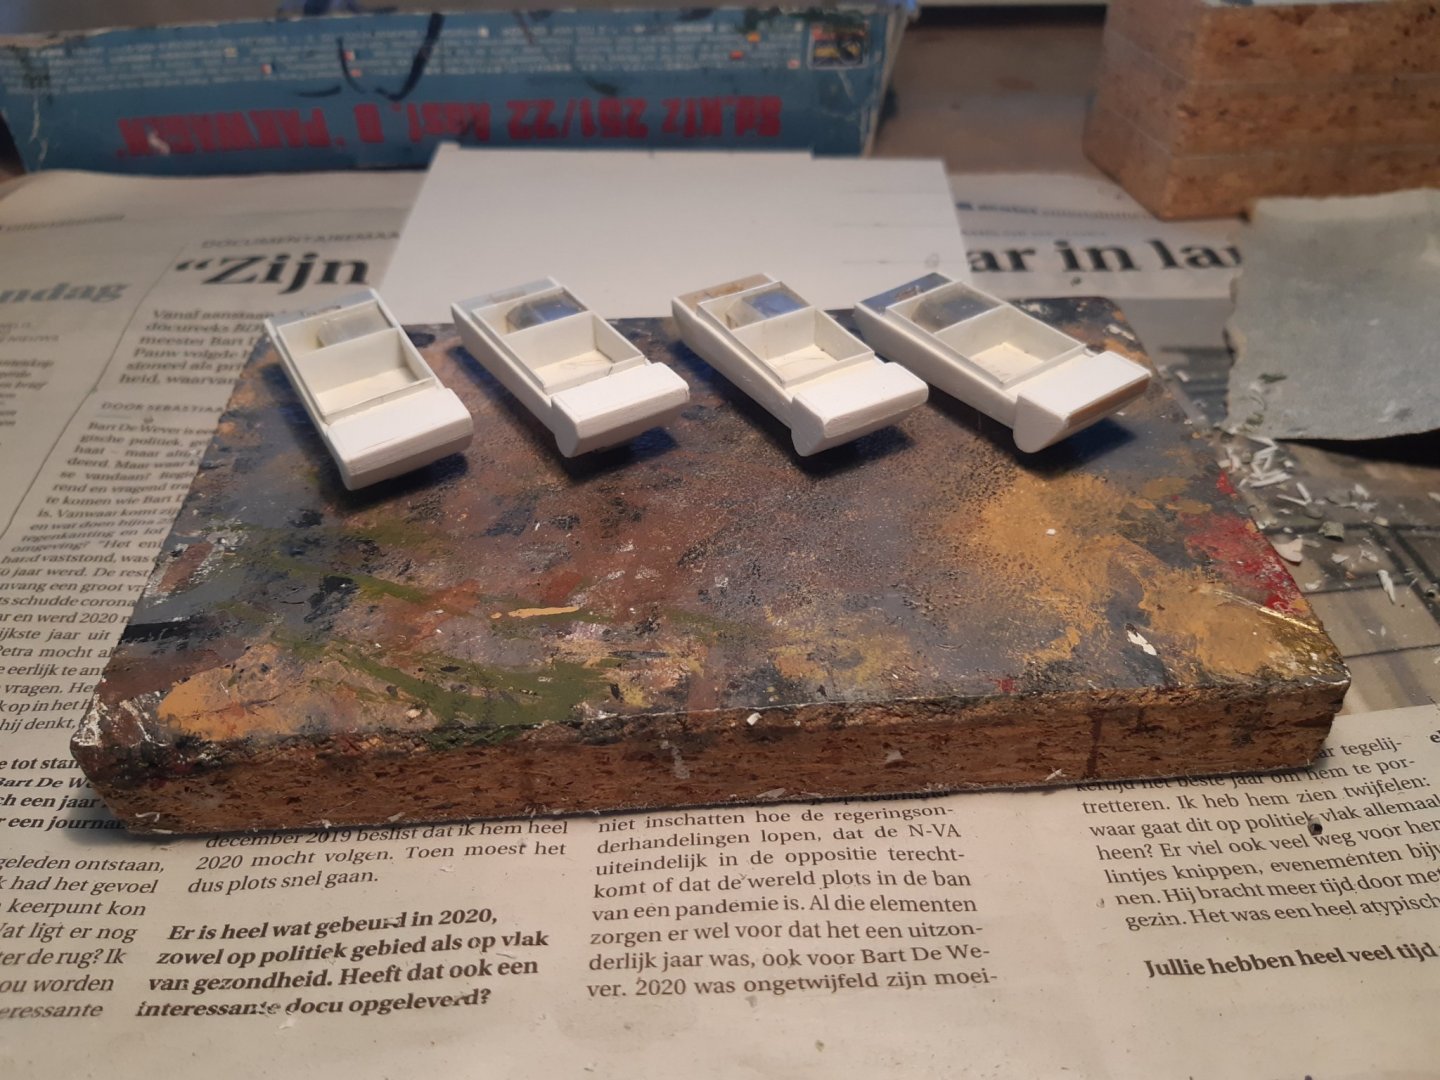
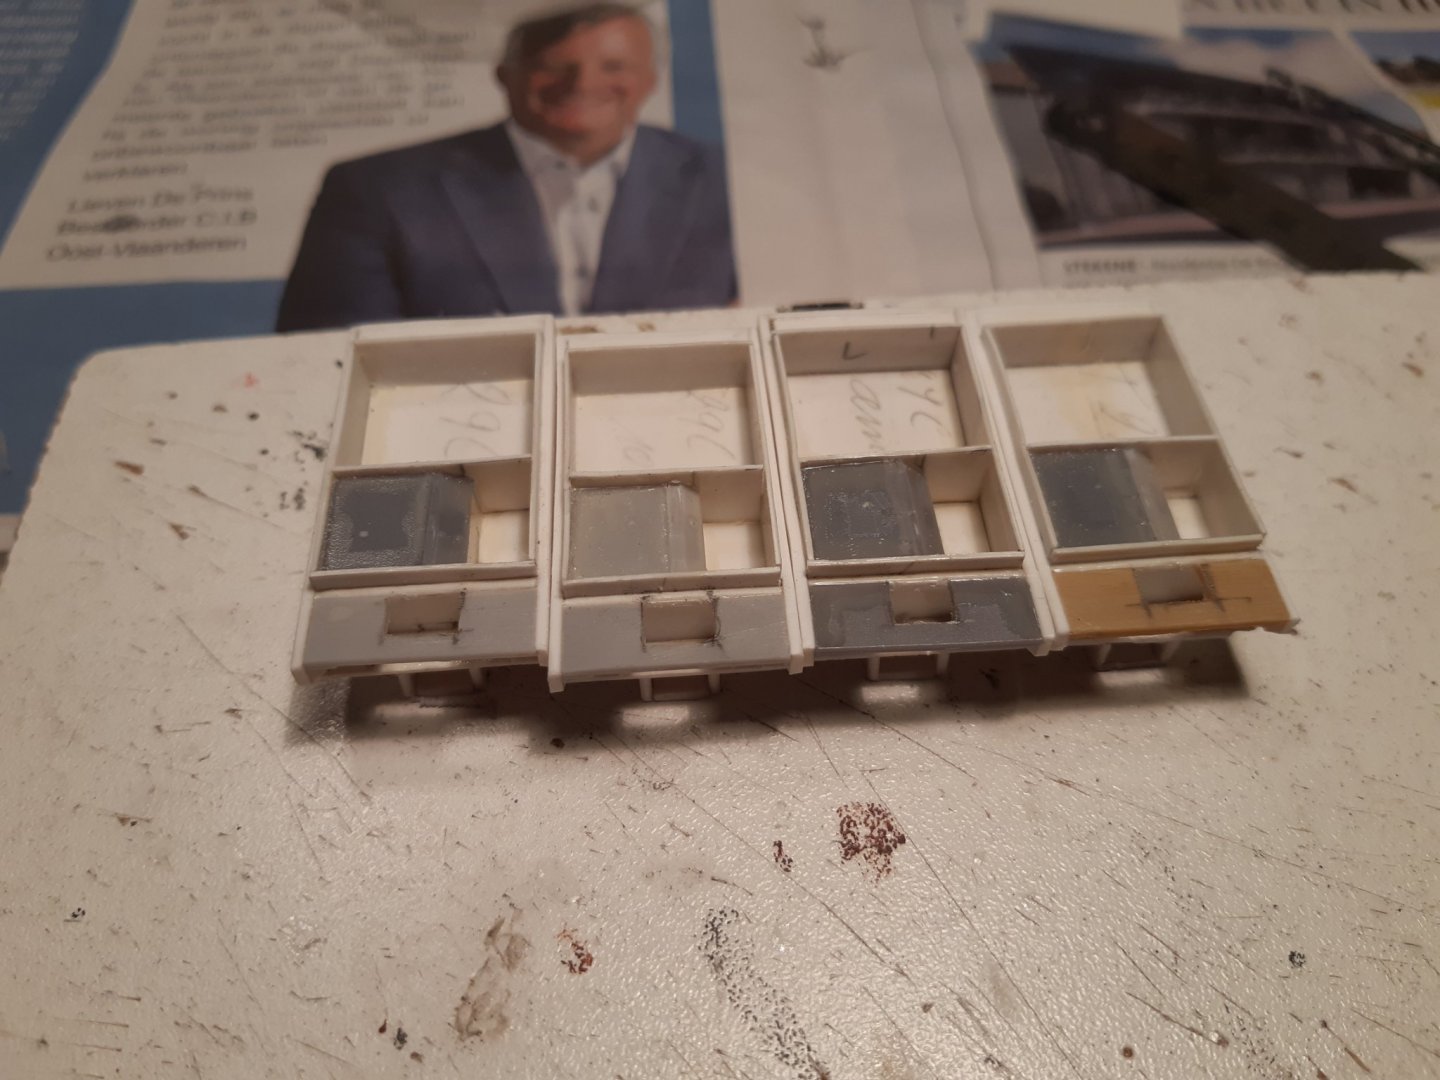
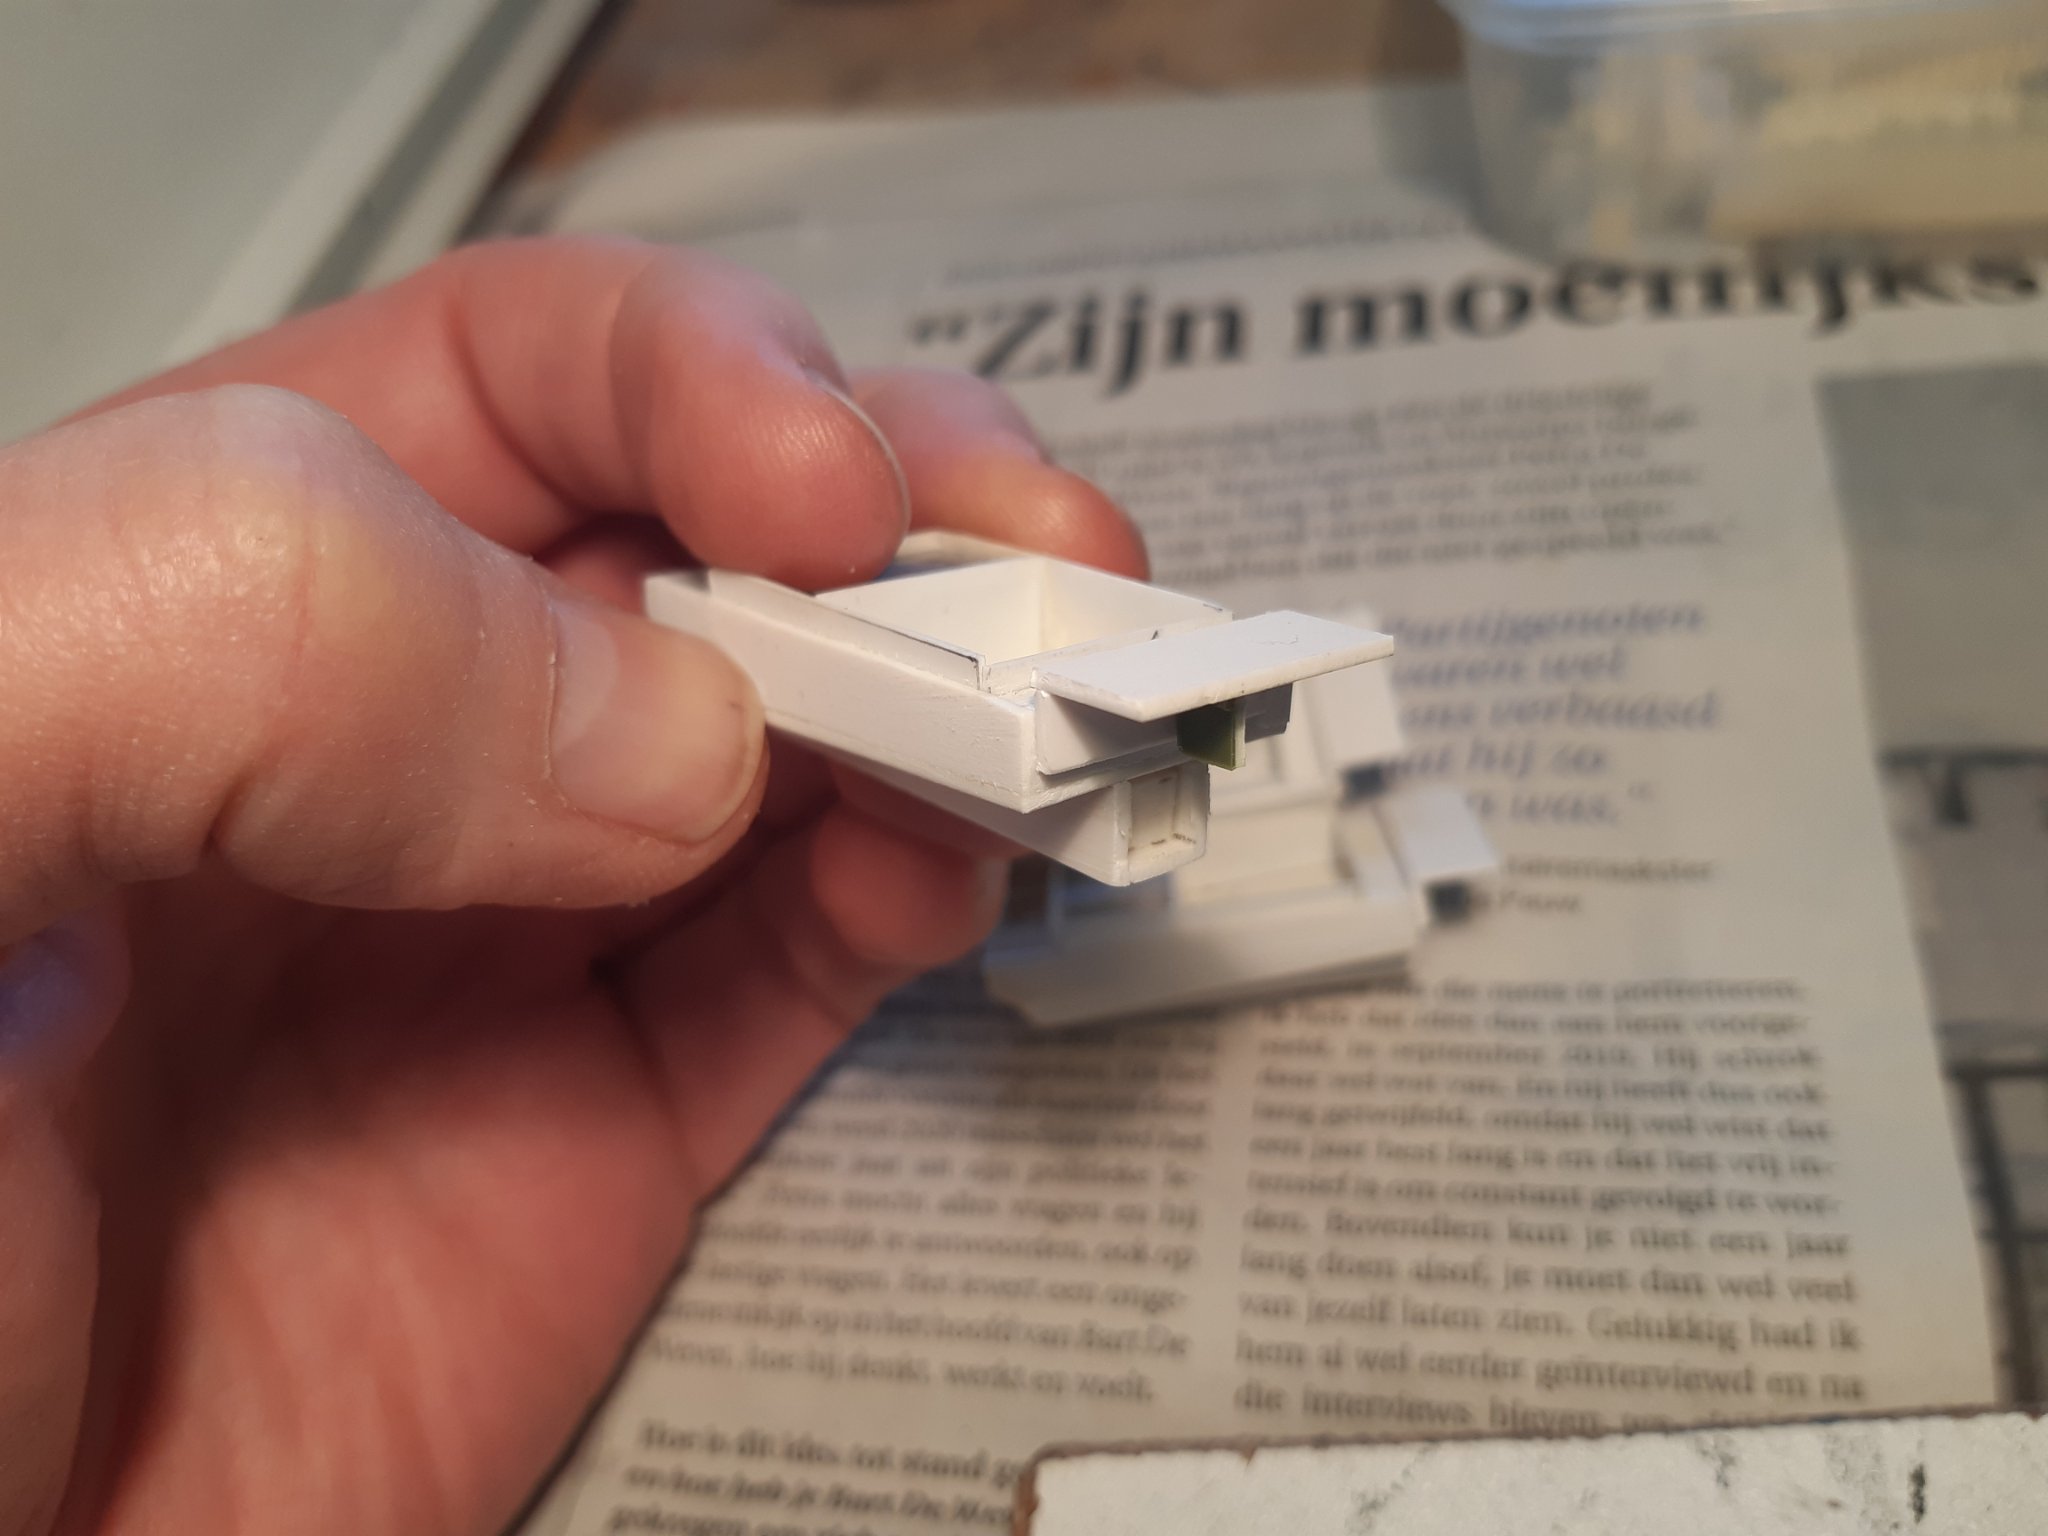
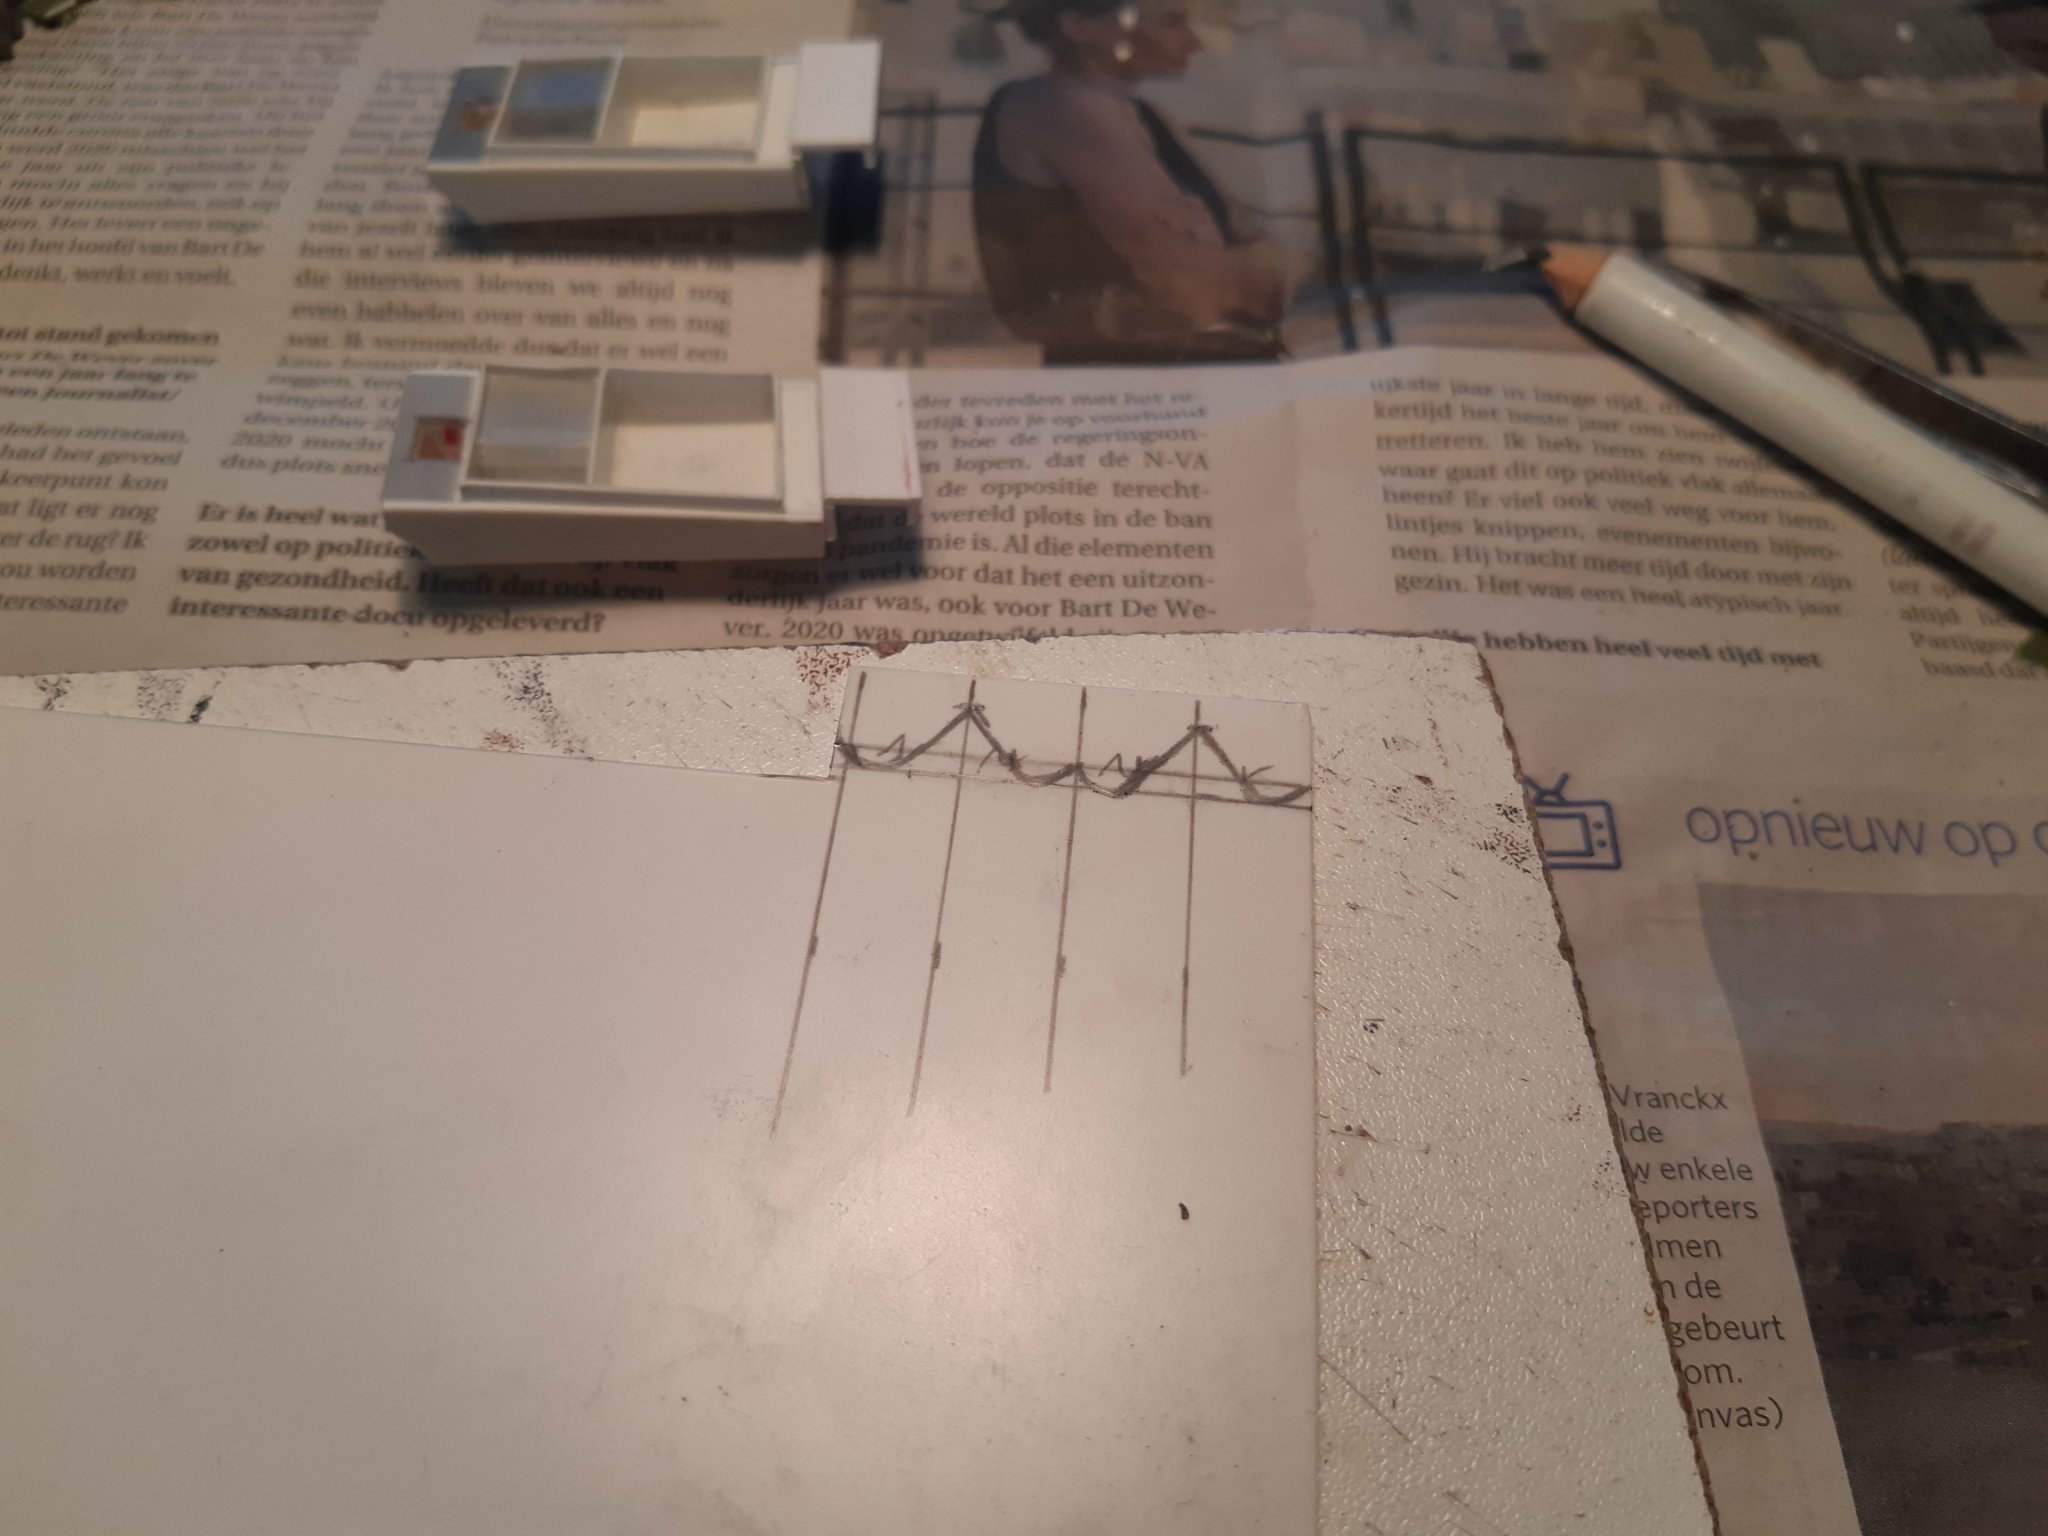
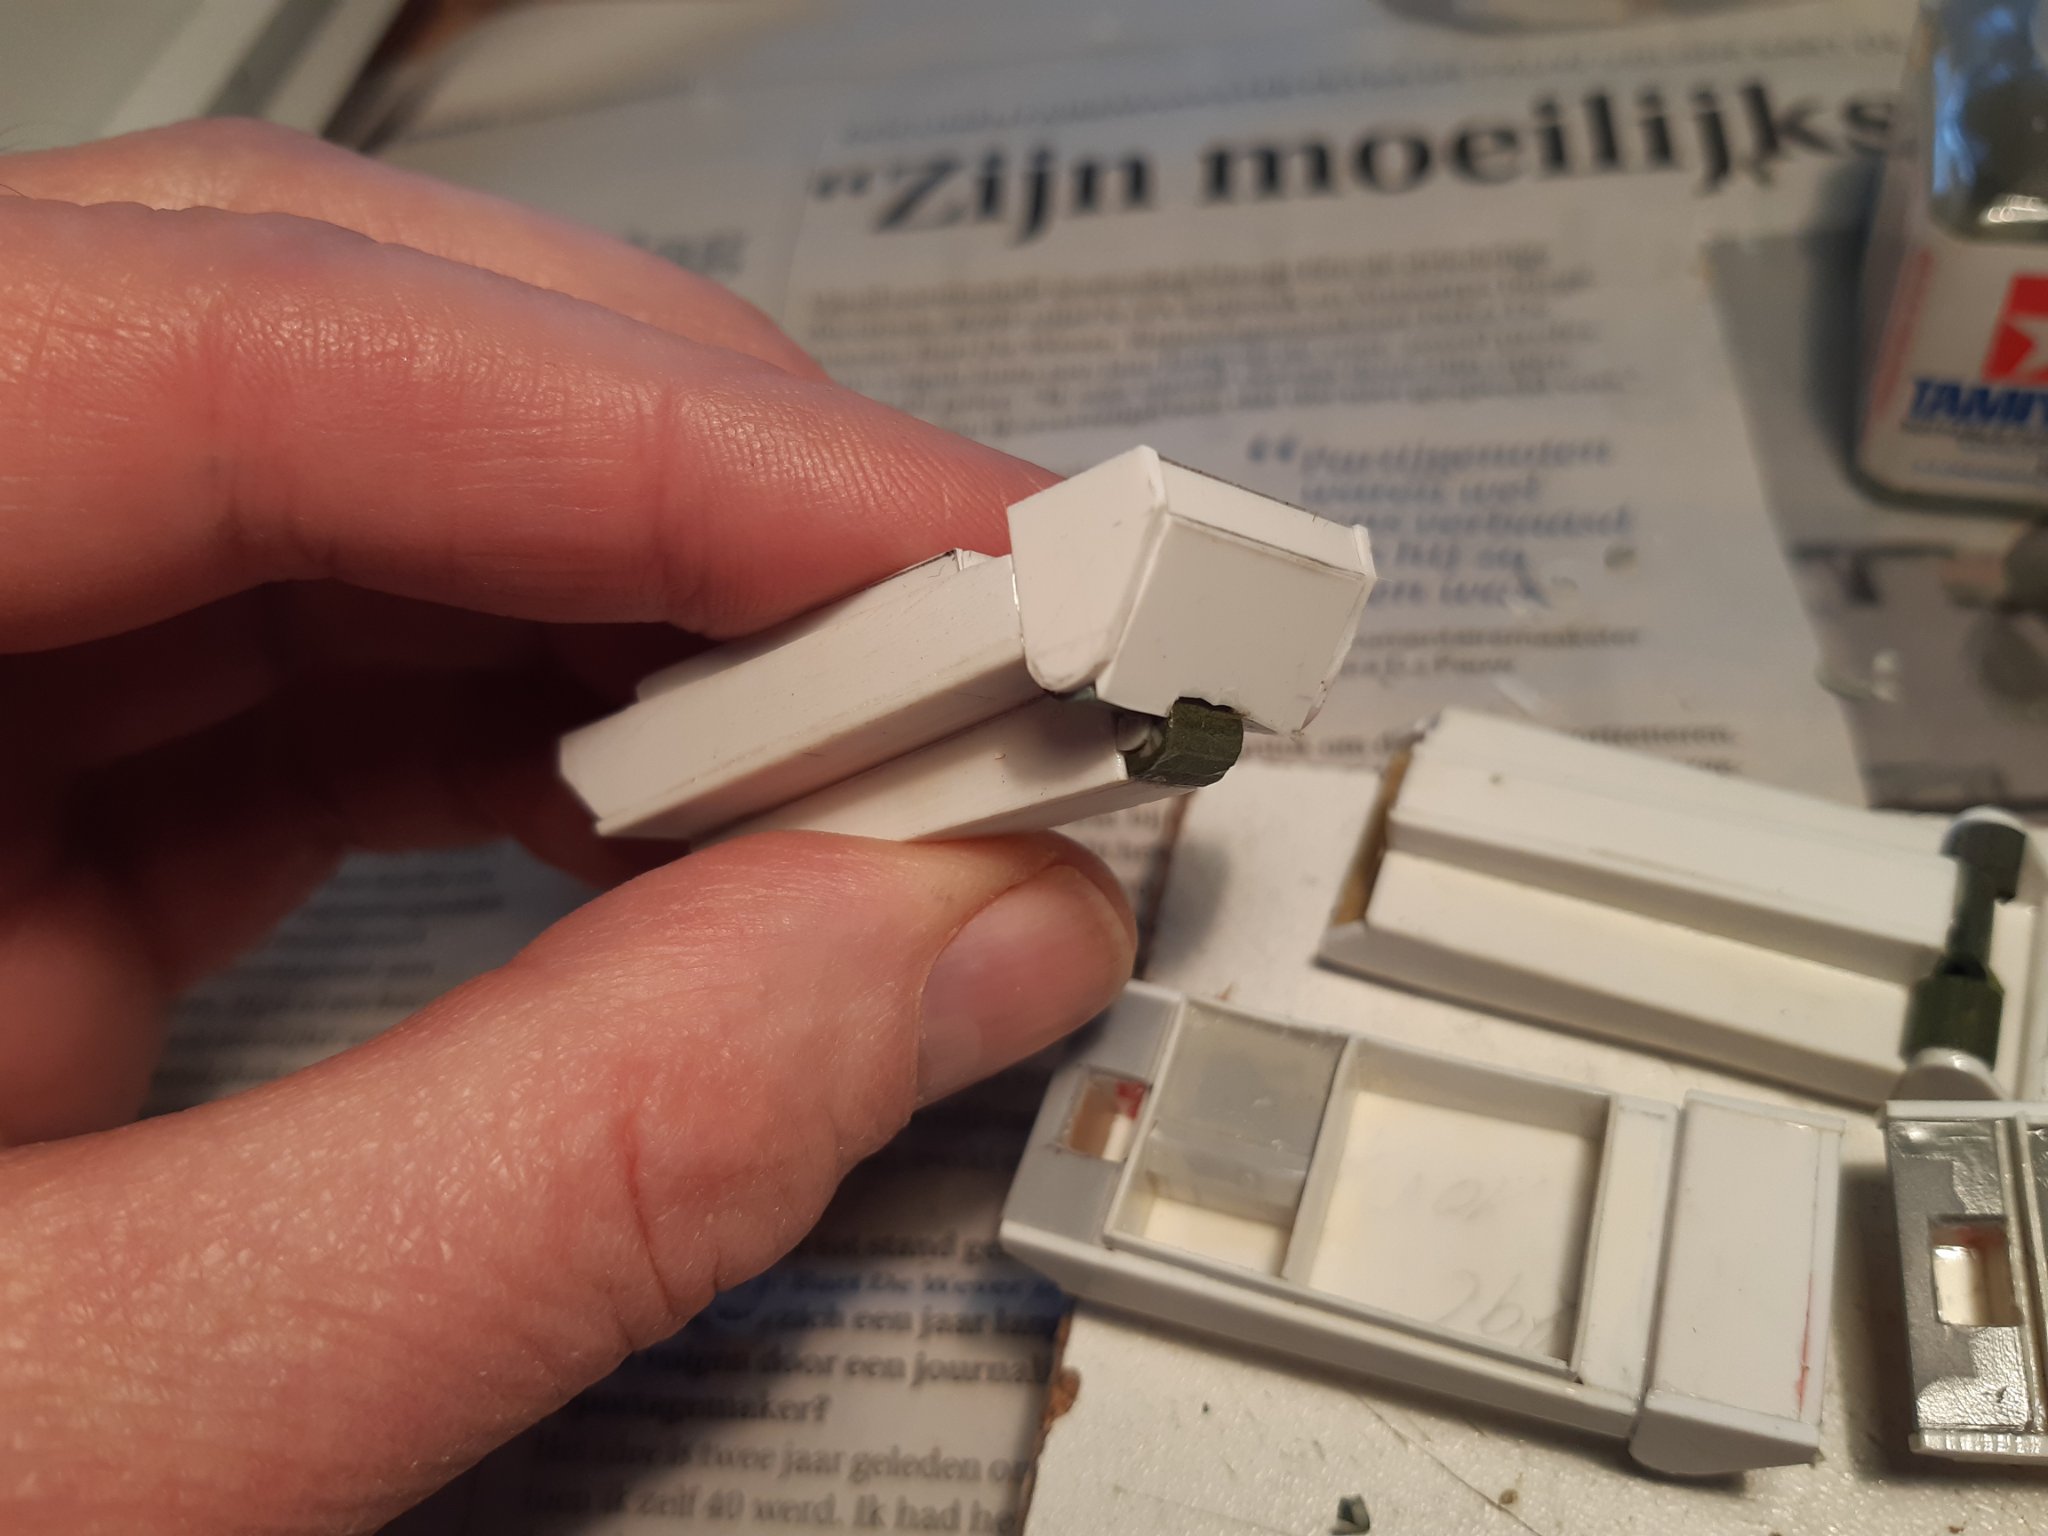
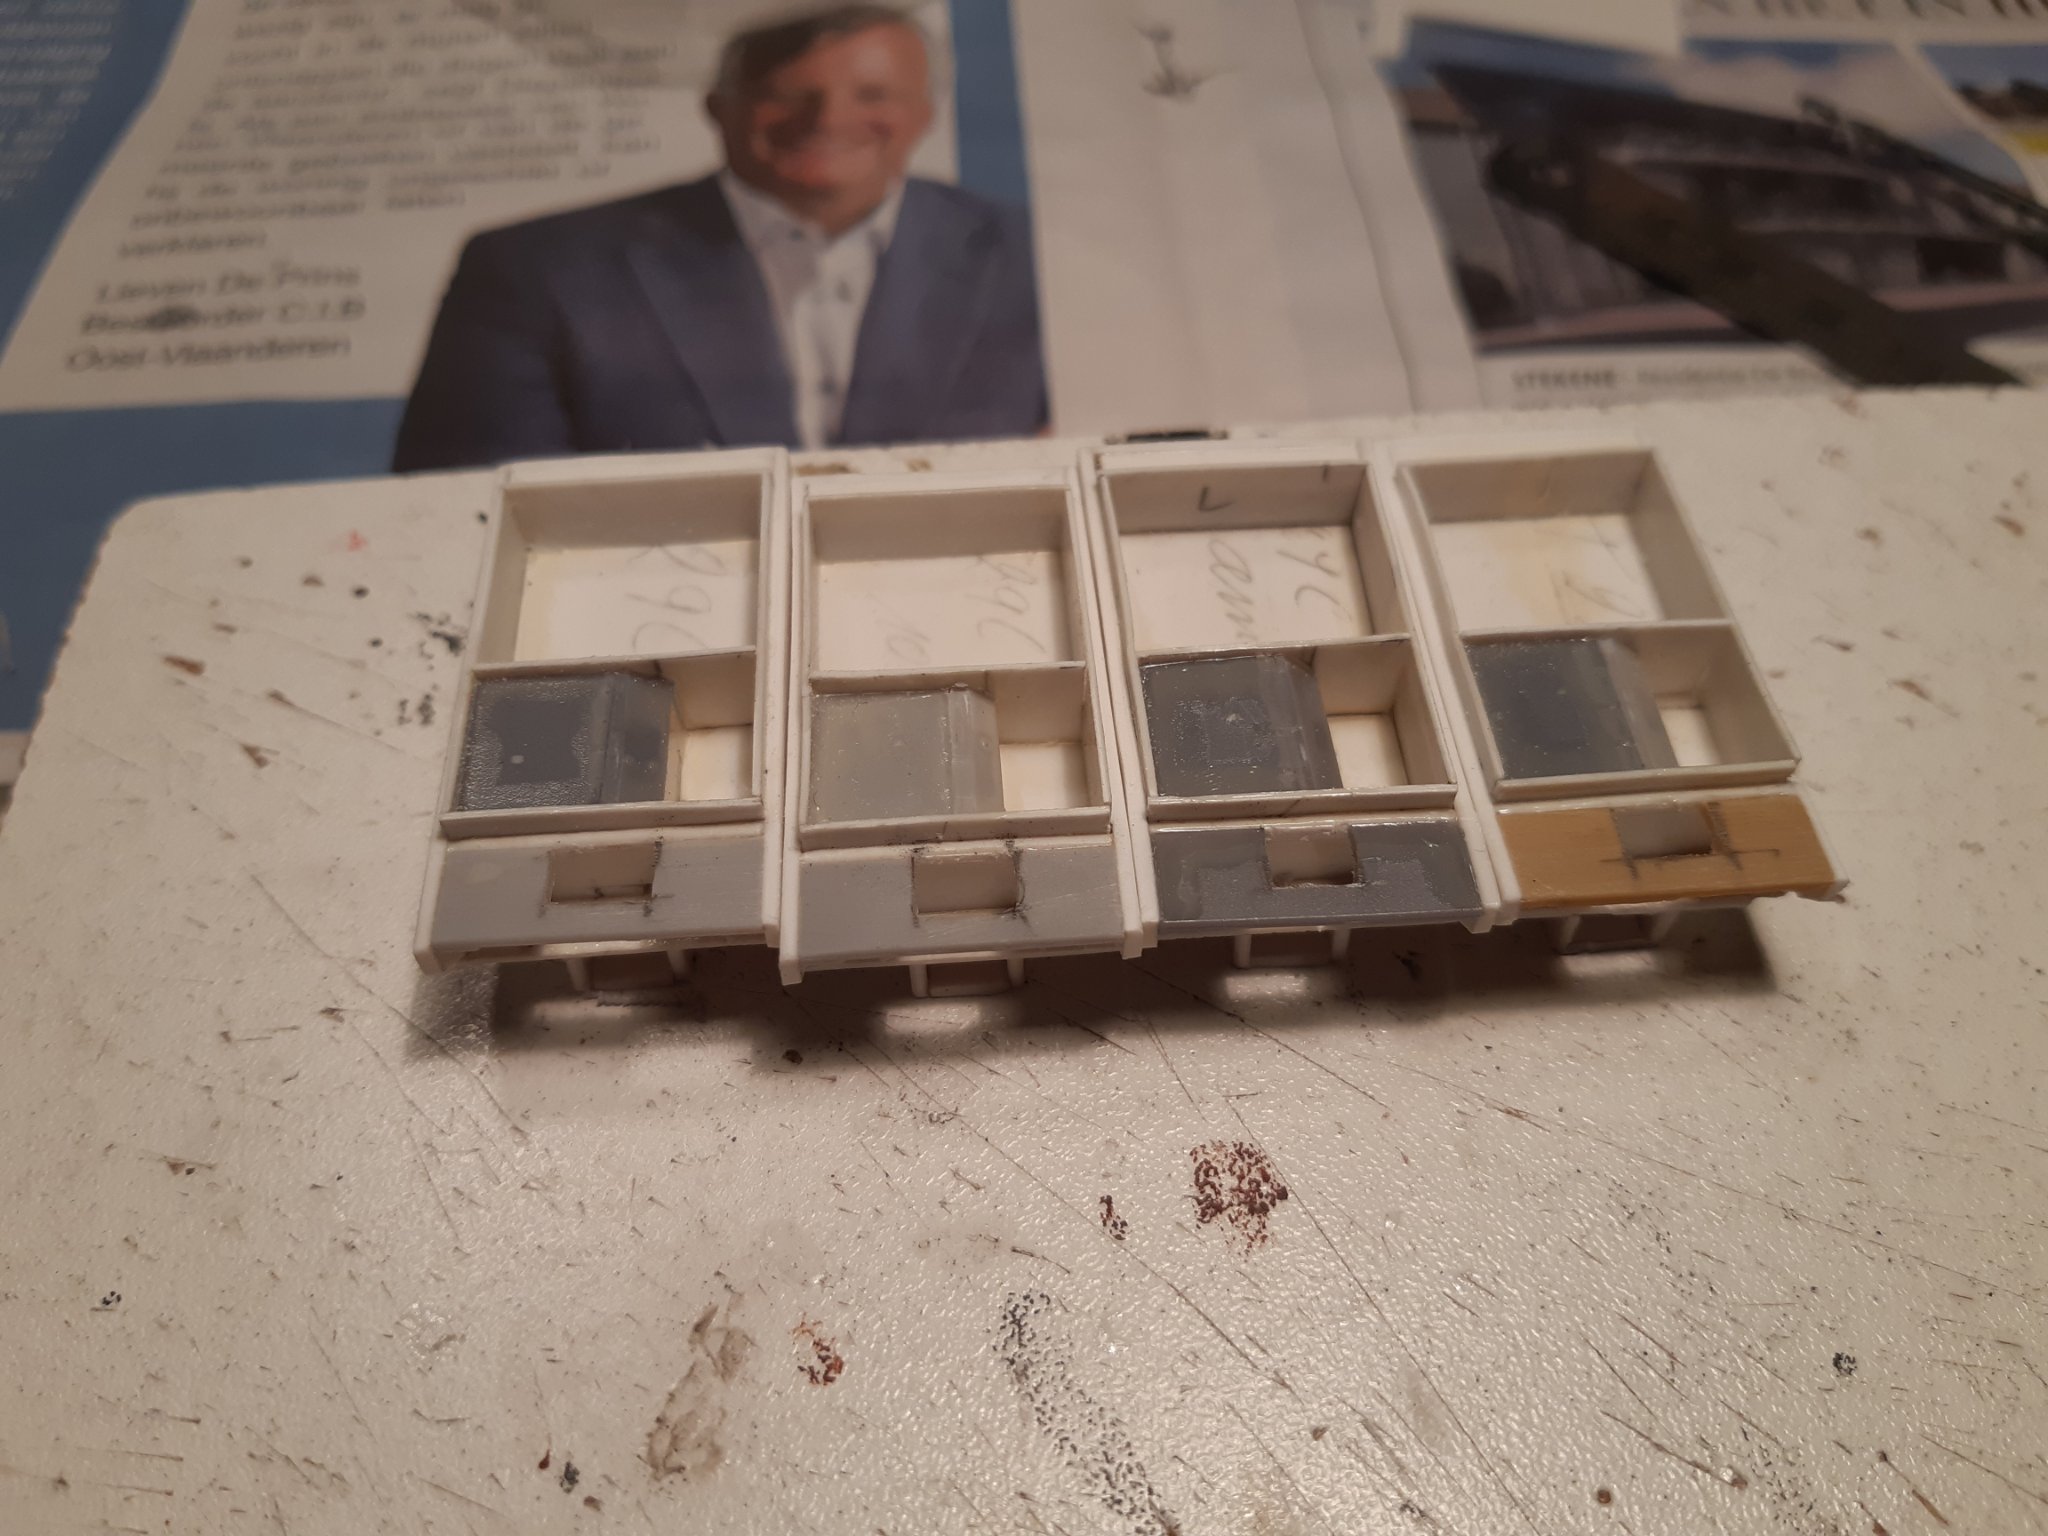
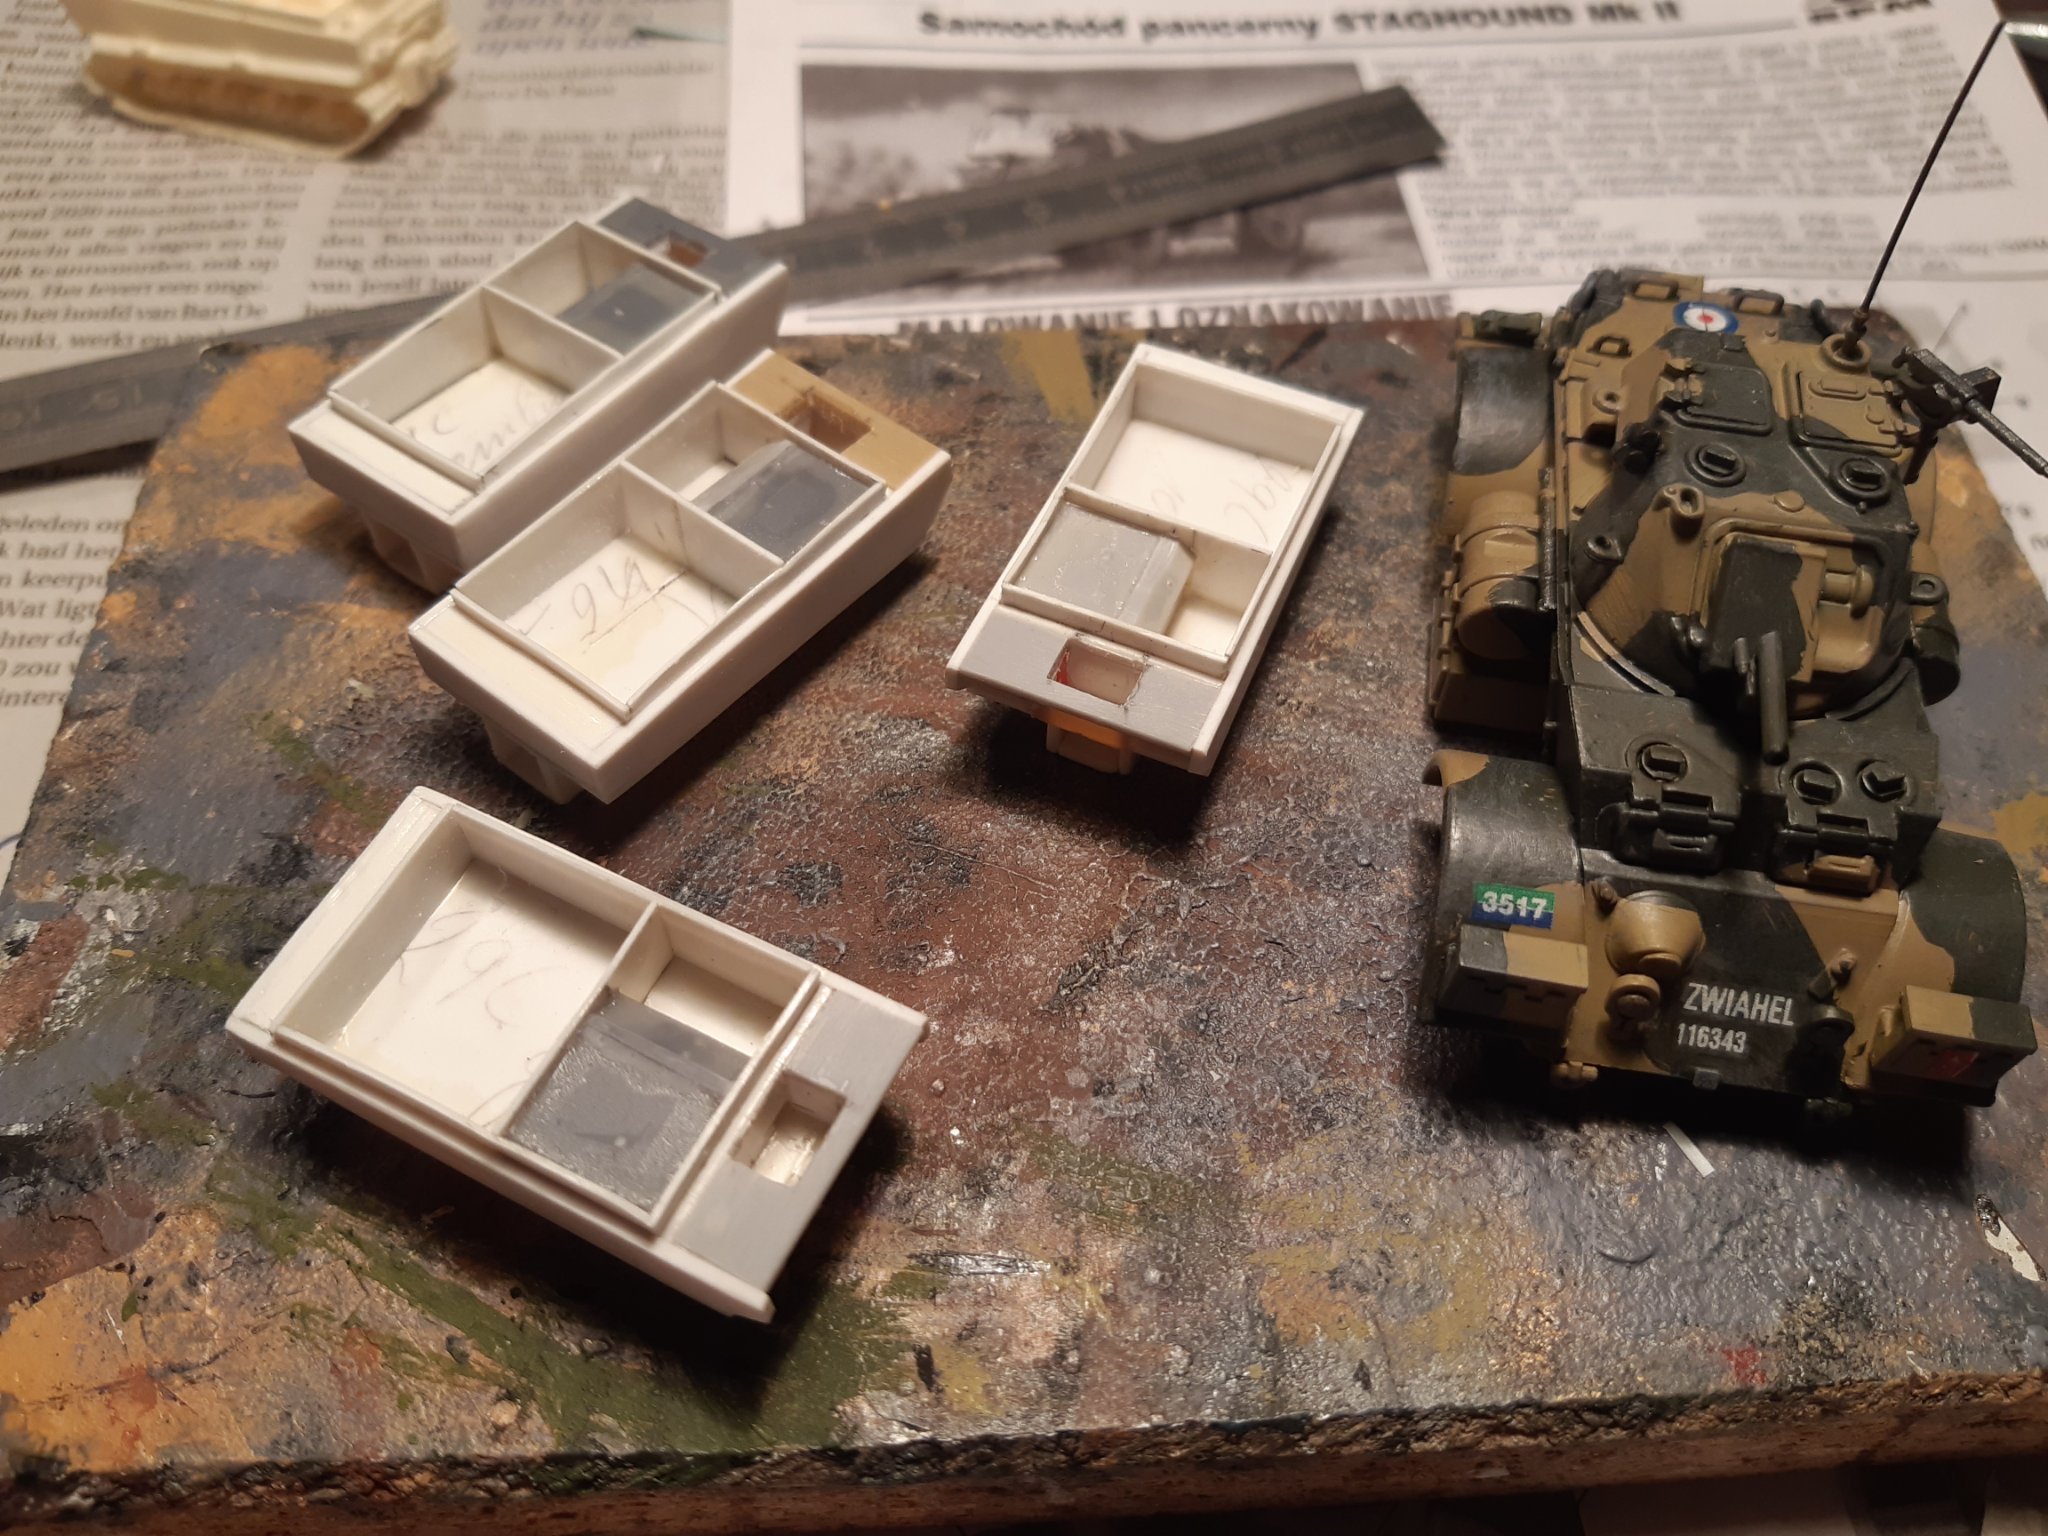
Update, Progress , with a Staghound Mk.2 under construction. The first step is backwards. Everything that was not good has been removed. Building the hole in front of the vehicle. The radiator of the engine will be placed in this later. These 4 will all become c models. A standard, a ambulance, a 75 mm recoiles and a Wasp flametrower. Thanks for following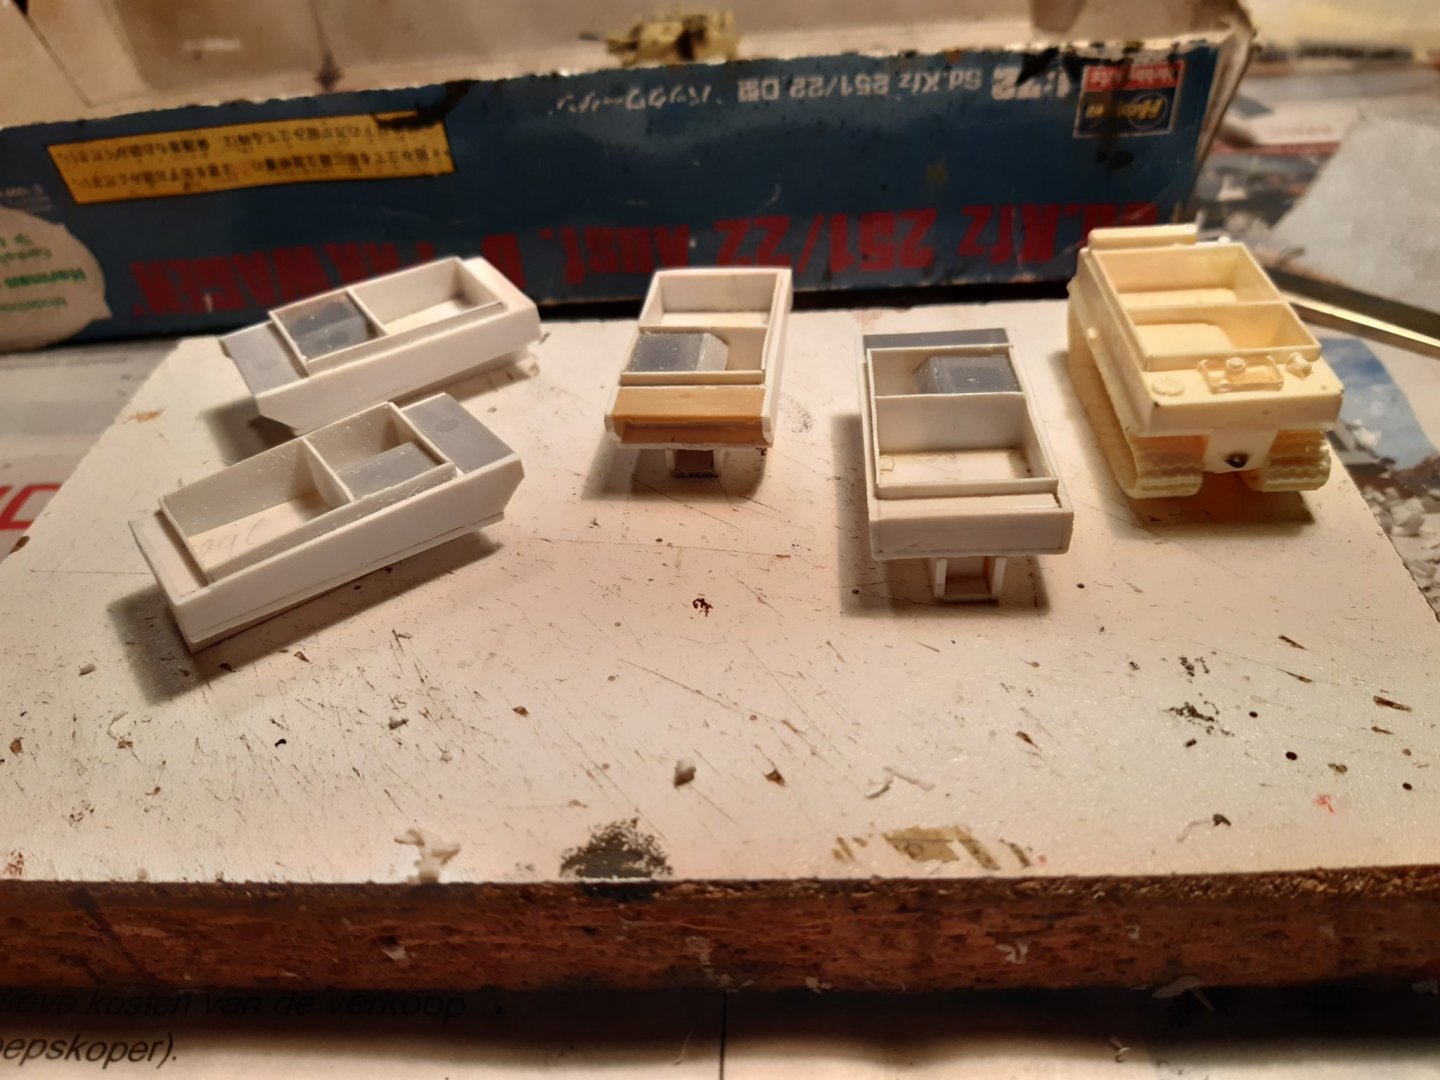

- 50 replies
-
- 10
-
-
Die Kogge Von Bremen by kentyler
Baker replied to kentyler's topic in - Subjects built Up to and including 1500 AD
Well Belgium is a difficult country politically. Believe it or not for the administration of 11 million residents we have 5 governments ... Explaining this whole political question is a very long story and a hopeless task. 😟 To make a long story short. Everyone wants to decide about everything, but no one wants to pay for it The cog Found in 2000 and disassembled. Then the question, what do we do with it, where do we place it, and especially who will pay for it Parts stored for 10 years in containers with water. In 2010 an investigation whether the parts were still suitable for restoration (luckily yes) Return to storage in containers with water. 2014 - 2017 money has finally been found to treat the parts. The planned reconstruction will start in 2023. However, a museum must first be built... I hope I live long enough to ever see this cog 😉 In Dutch http://schoolvoorscheepsmodelbouw.be/wp/specials/kogge-de-middeleeuwen-in-3d/ -
Die Kogge Von Bremen by kentyler
Baker replied to kentyler's topic in - Subjects built Up to and including 1500 AD
Not far from where I live, a cog was once excavated during the expansion of the port of Antwerp. https://www.futurelearn.com/info/courses/shipwrecks/0/steps/7971 My hope is to one day make a model of this cog. So I follow with great interest. -
I once came across this 111 while on vacation in Norway. Shot down, stripped and left behind.

.thumb.JPG.6d37b20061eb11929153da82b0d5e812.JPG)
.thumb.JPG.430d87d219fc5cea4bdd05a9bd22e4be.JPG)
-
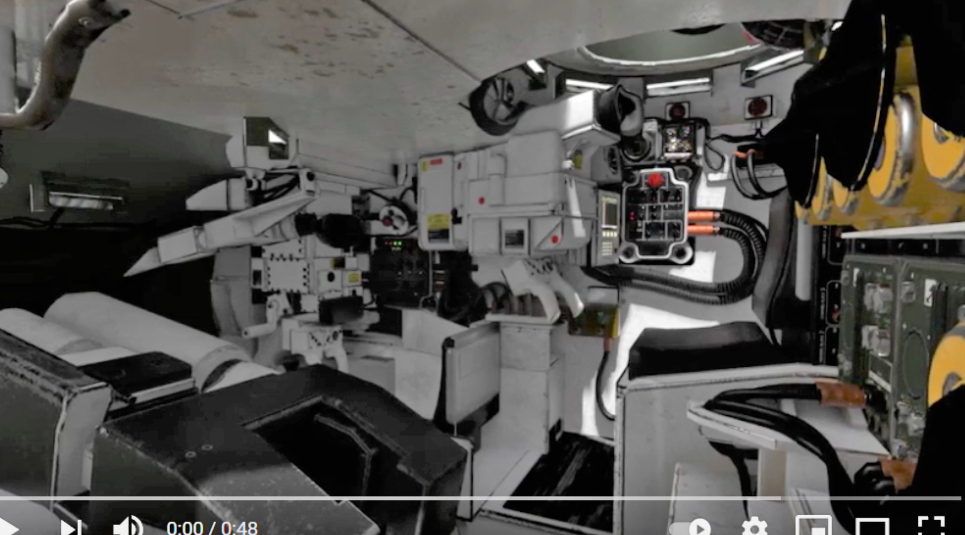
I see something strange. On the chair on which the figure stands. There is a kind of "backrest" (backrest = google translate English..) on it. I think it is placed backwards (needs a 180 ° turn ) see picture
-
Nice model
-
-
Permission to come aboard . . . . again
Baker replied to Peanut6's topic in New member Introductions
Welcome back -
Nice model


.JPG.703869ade71579e8f79c57e3a88aea93.JPG)
.JPG.6d61ec4b30a9963bc12682622e2bd966.JPG)