Tigersteve
-
Posts
1,327 -
Joined
-
Last visited
Content Type
Profiles
Forums
Gallery
Events
Everything posted by Tigersteve
-
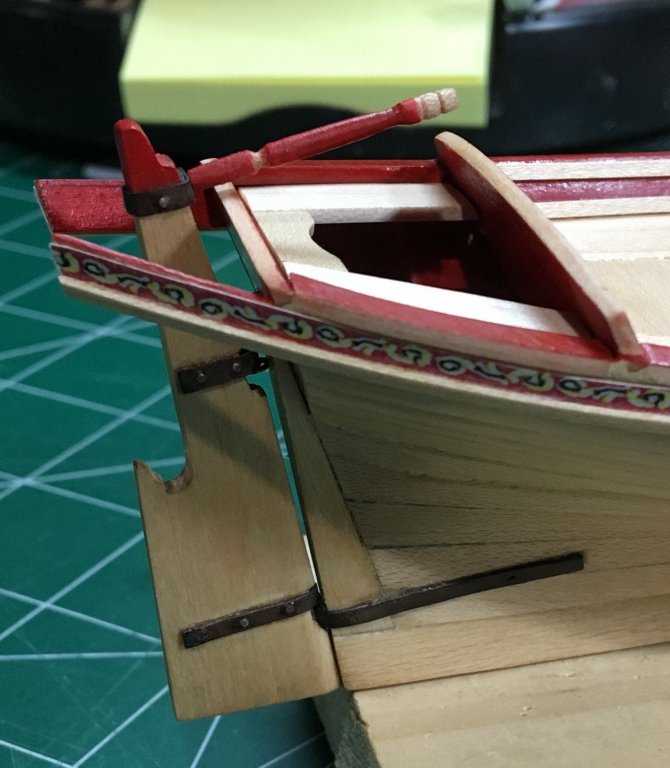
 Thanks everyone! I’m feeling much better about this update. I used tiny nailheads from my Mayflower kit to simulate the bolts for the “iron” strap at the stern. The nailheads were clipped and glued onto the strap upside down. This allowed me to grip them with tweezers for their placement. Afterwards, they were sanded flush, painted black, and weathering powder applied. Steve
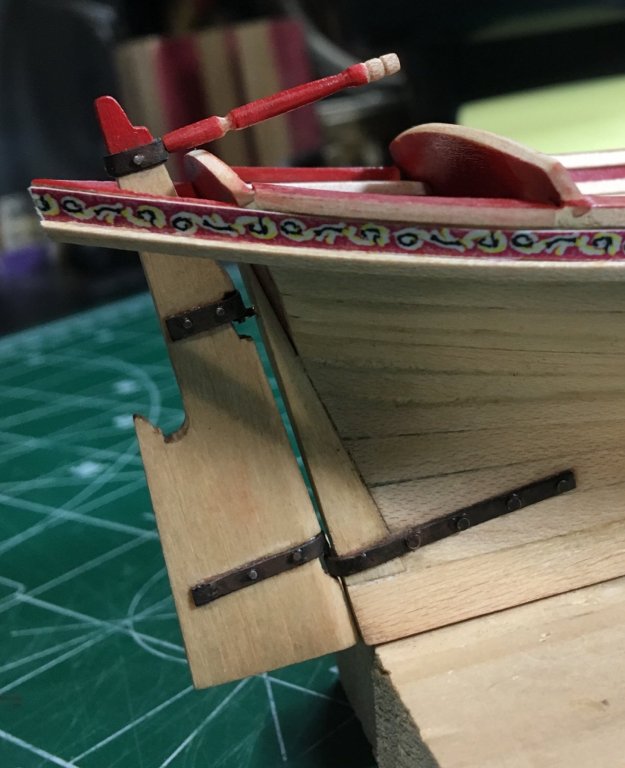
- 190 replies
-
- 14
-

-
- pinnace
- model shipways
- (and 1 more)
-
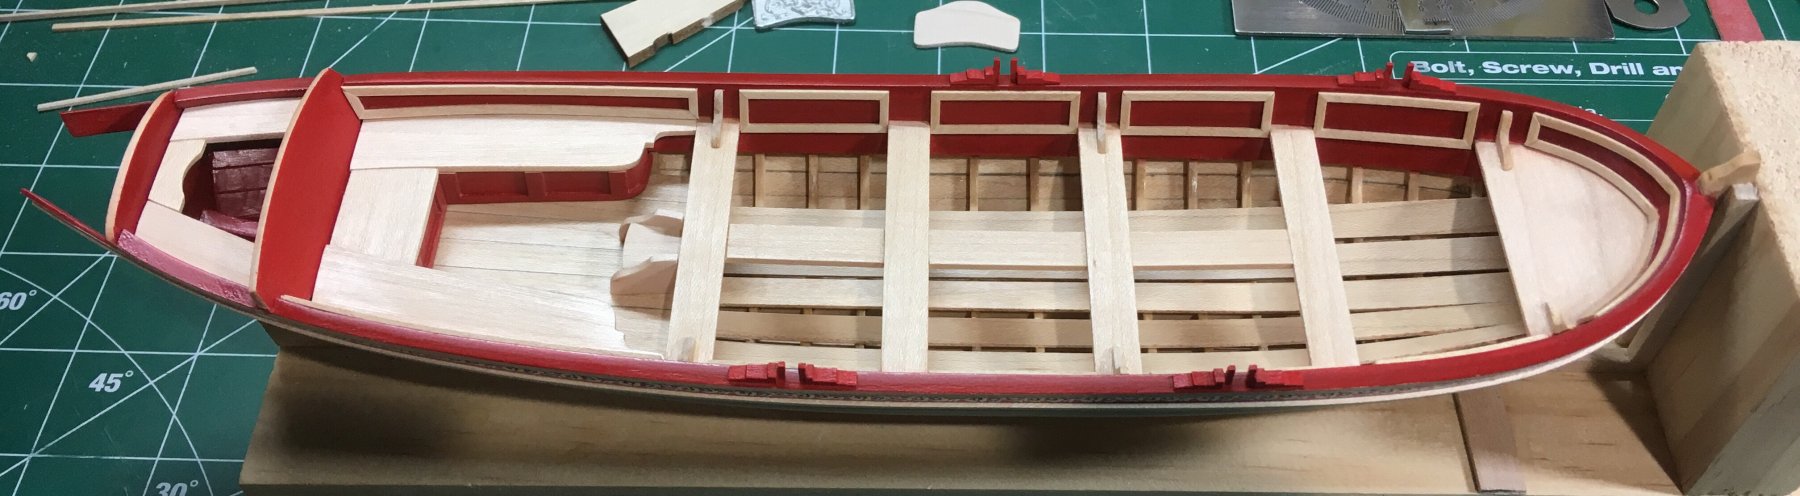
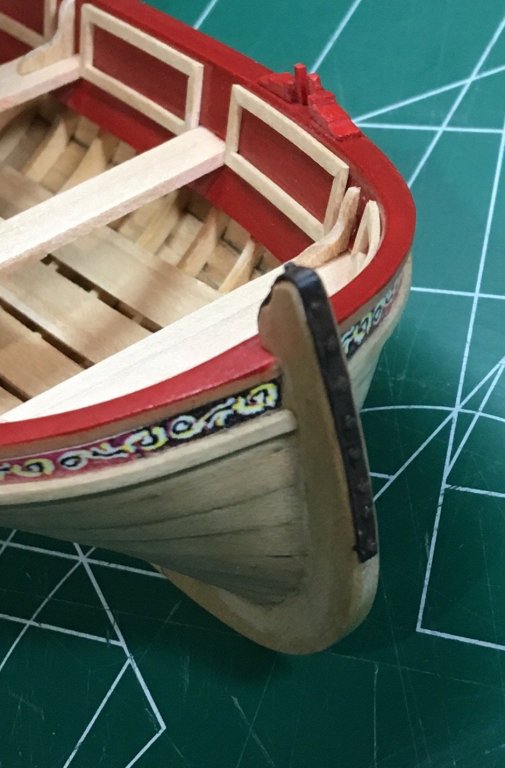
“Ironwork” completed. The black styrene and weathering powder worked out great. Of course, everything was crisp and clean until gluing the wire with CA to simulate the bolts. Everything was sanded prior to weathering and applying Testor’s dull coat. I applied this with a small brush. The strap at the stern was redone three times. At that point, there was no drilling back into the boat to insert the wire (bolts) because some wire was left in the wood. This would prevent new holes from being drilled. I will approach this process differently in my next project. The rudder is dry fit at this point until the boat is mounted on pedestals. Back to working on the display board and oars. Steve
- 190 replies
-
- 16
-
-
- pinnace
- model shipways
- (and 1 more)
-
An amazing model, Thomas, and a great tutorial. Steve
-
Price point, look of the completed model, size. It was difficult, but with the support from members on MSW, I was able to complete it. I have some technical experience and arts background. I chose the Pinnace as my next model because I had been curious how different it would be. It’s actually more challenging. Steve
-
I’m interested to see how you proceed with your planking. You certainly have everyone’s attention. This kit was my first build and I don’t think it’s a good first kit for many. Depends on your skill set. Bob F did an extremely in-depth log on this kit and his build is unsurpassed in my opinion. Steve
-
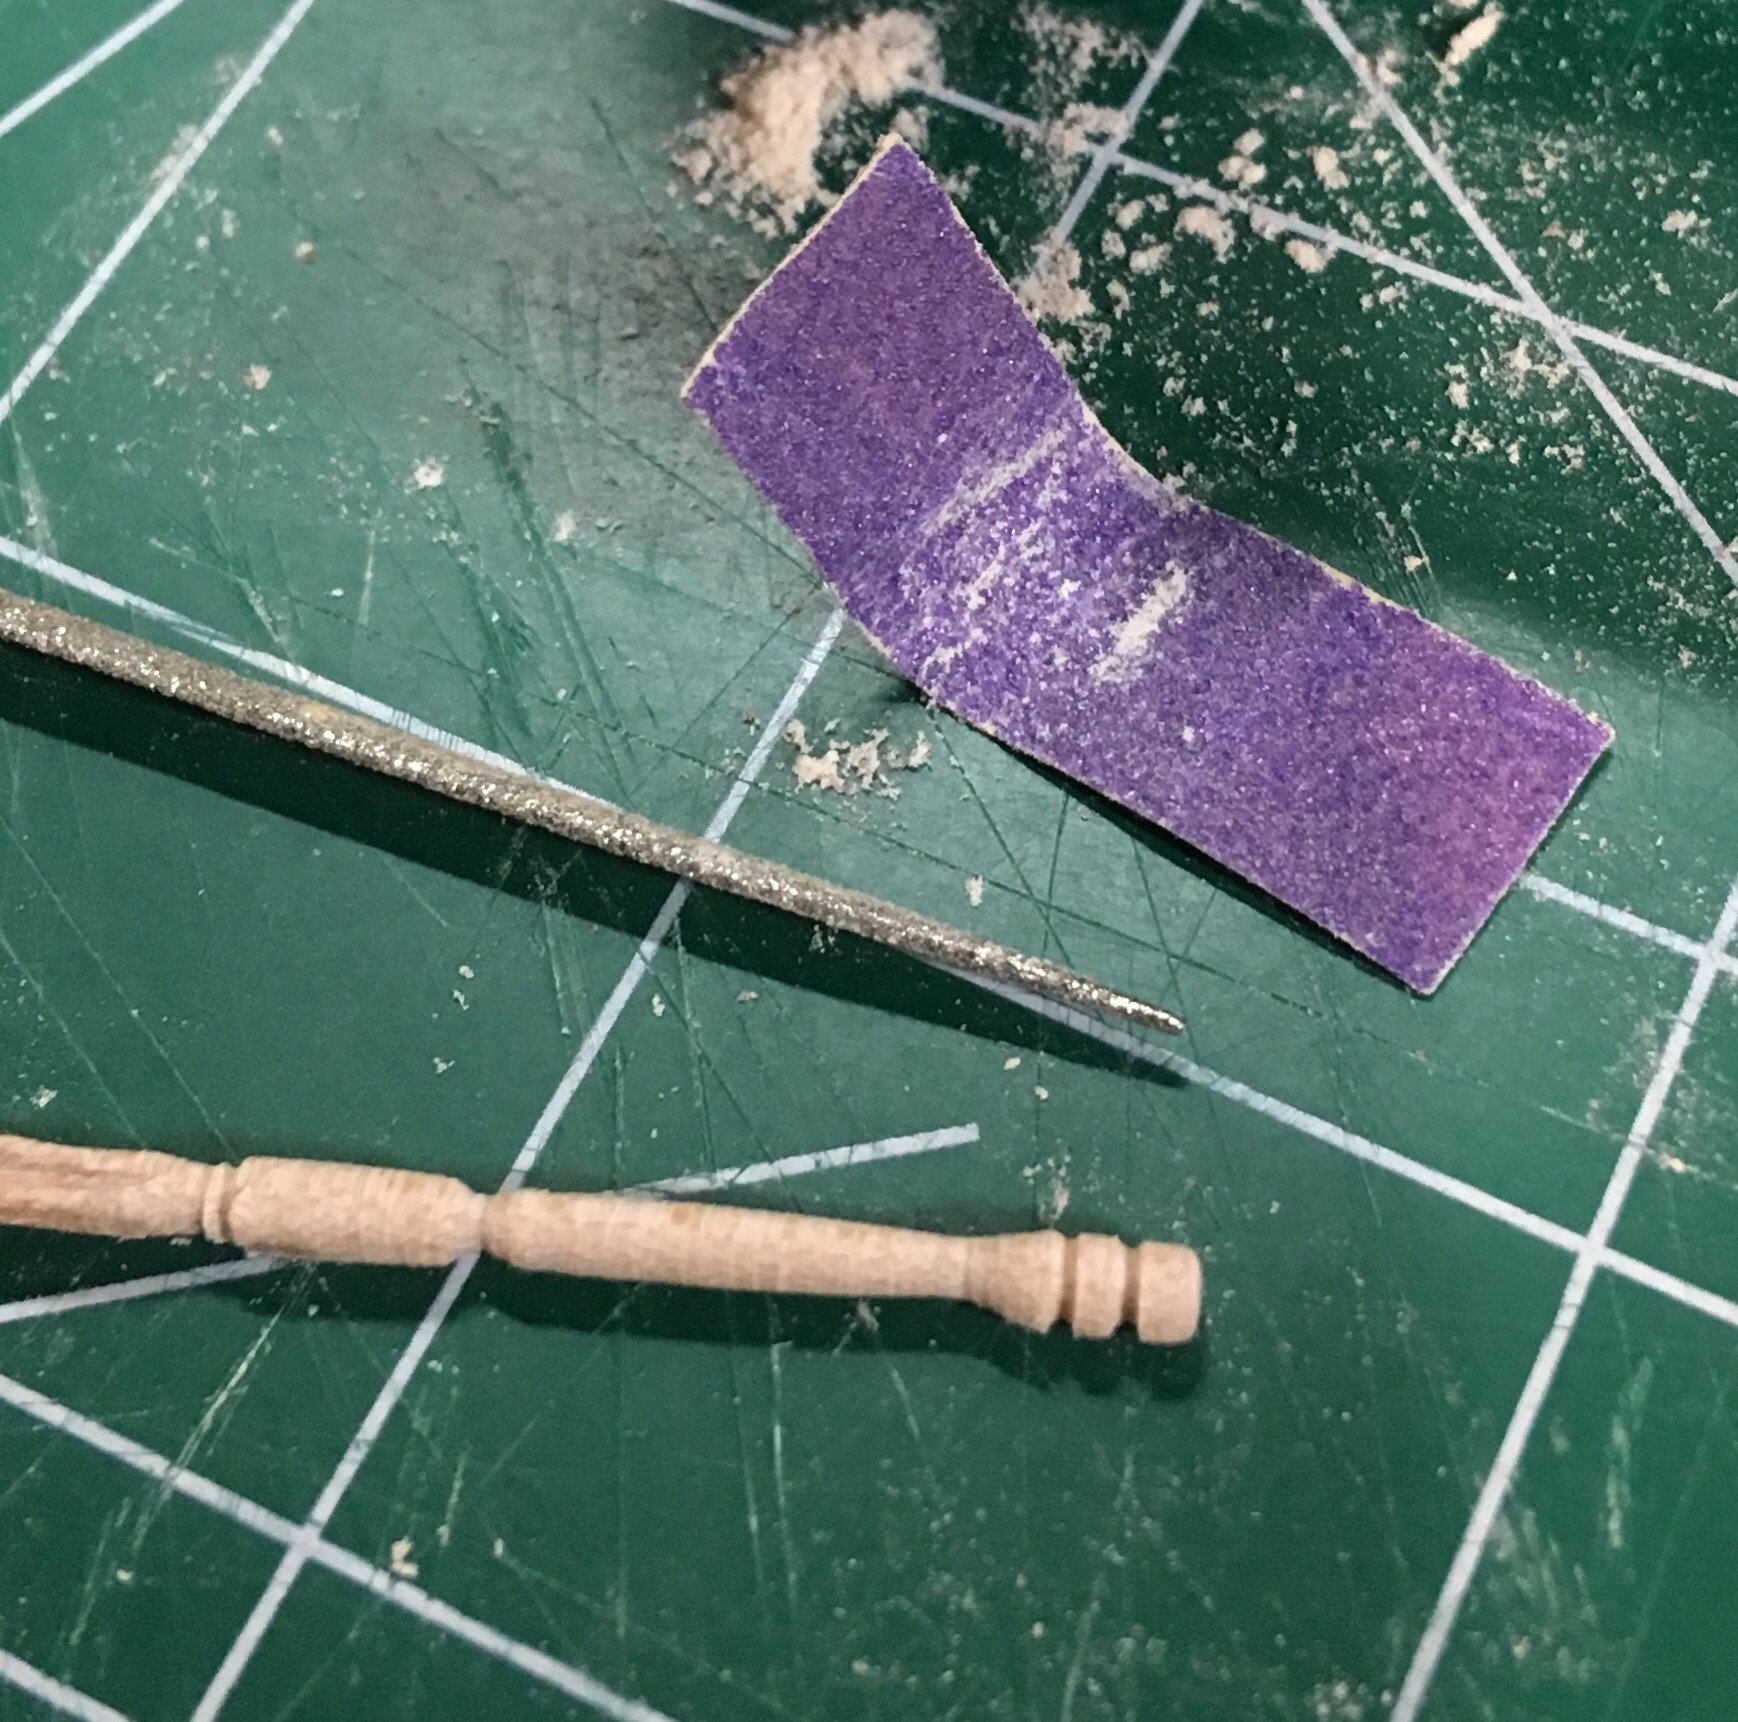
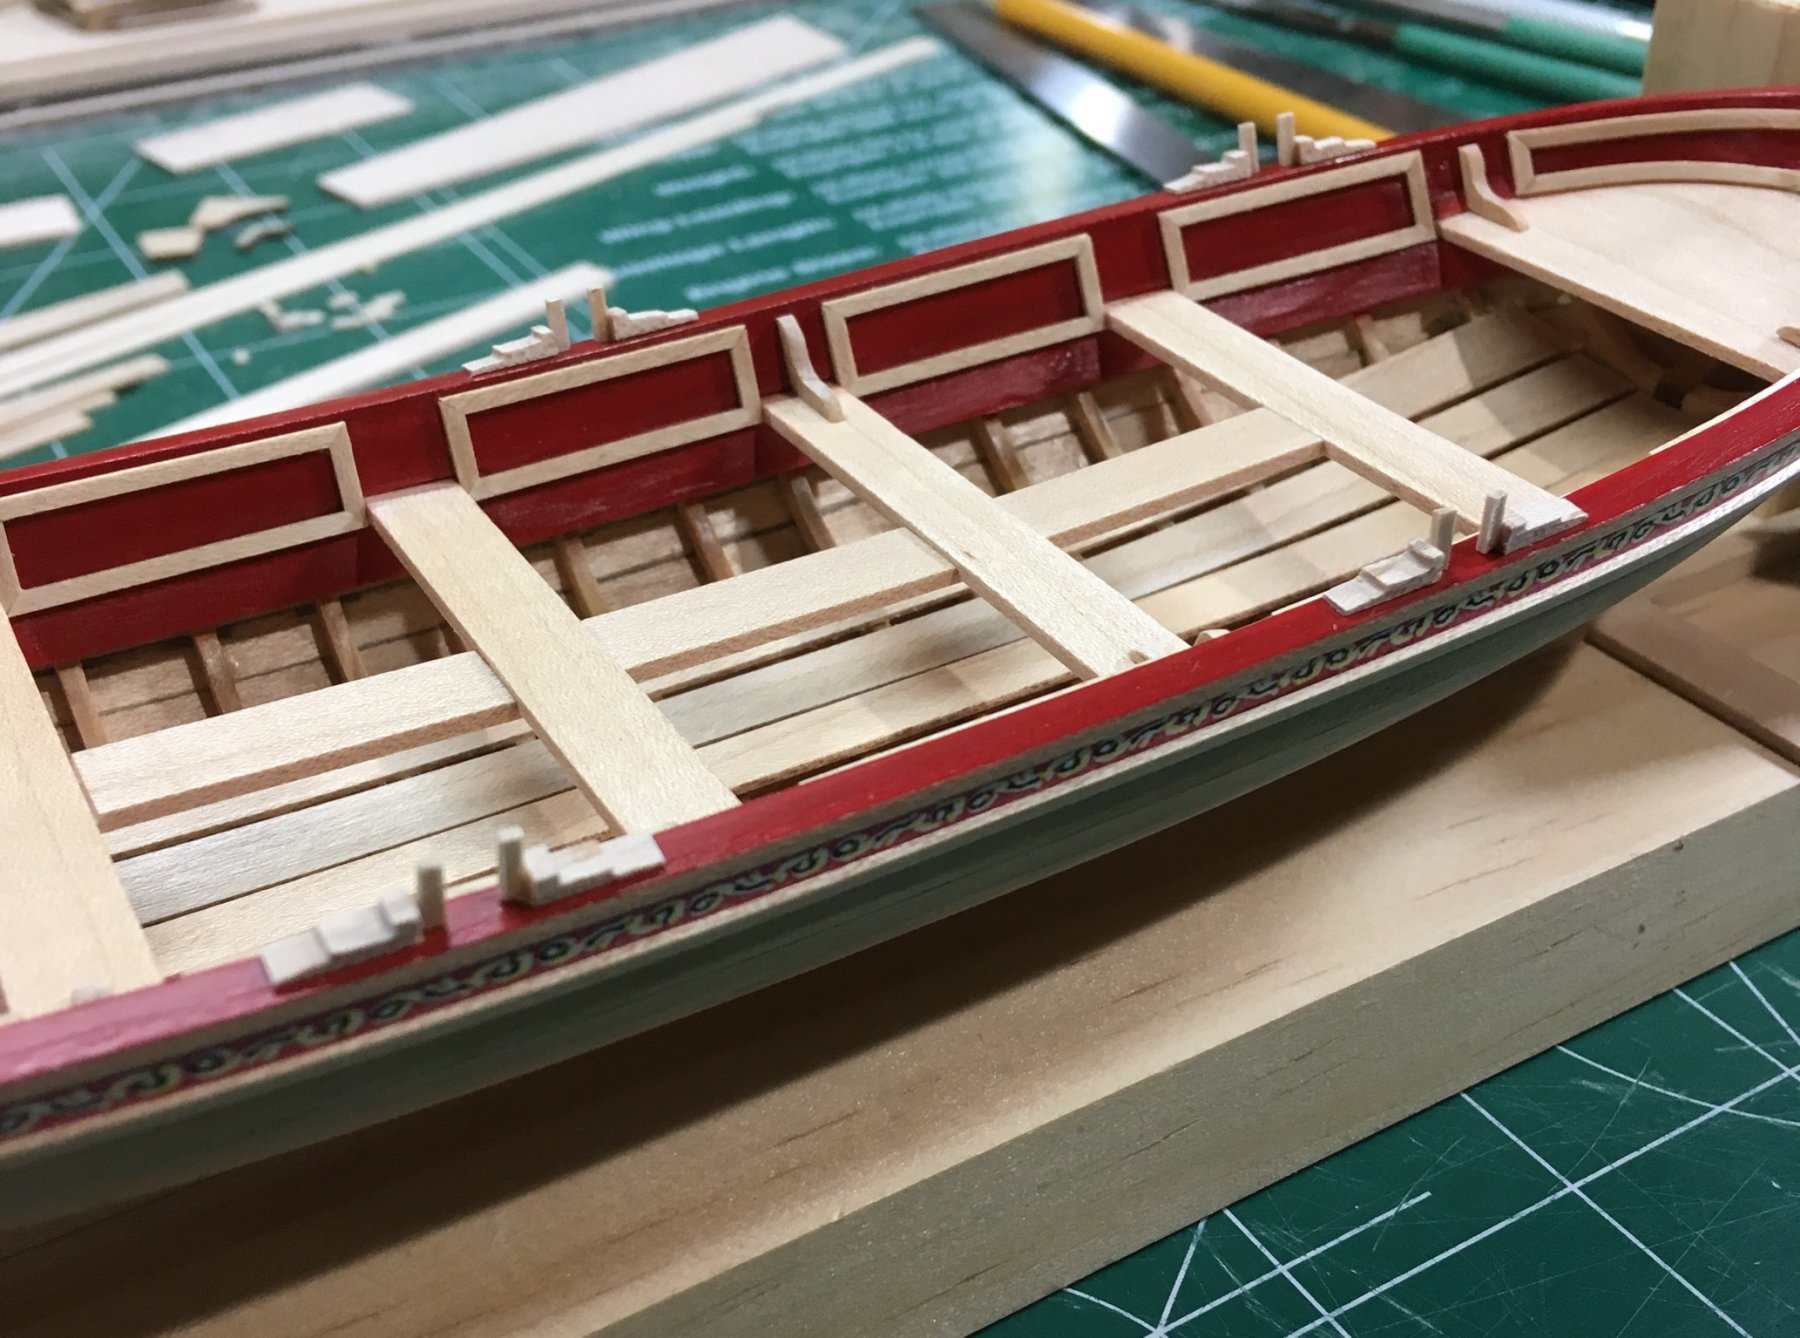
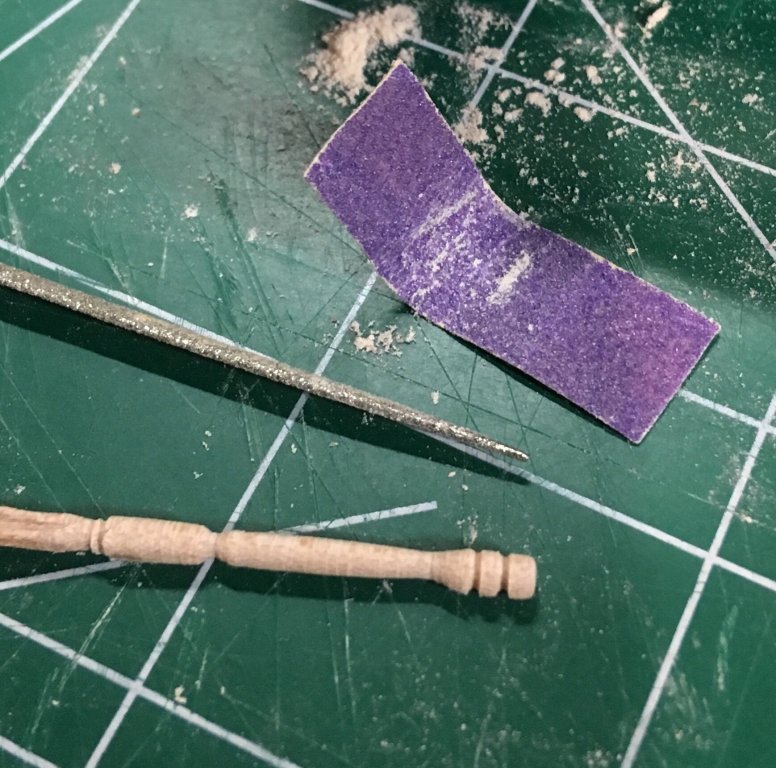
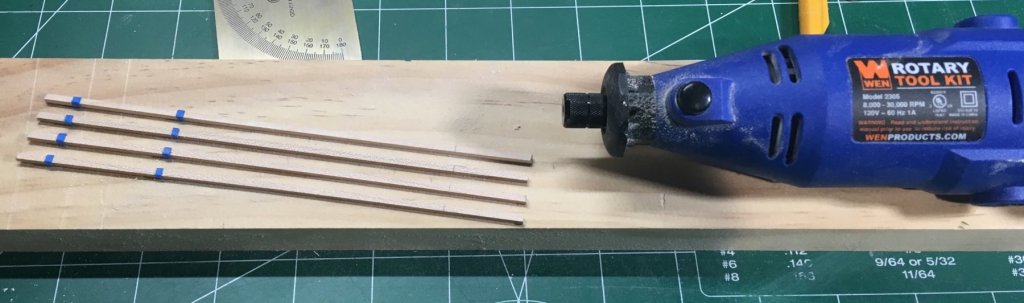
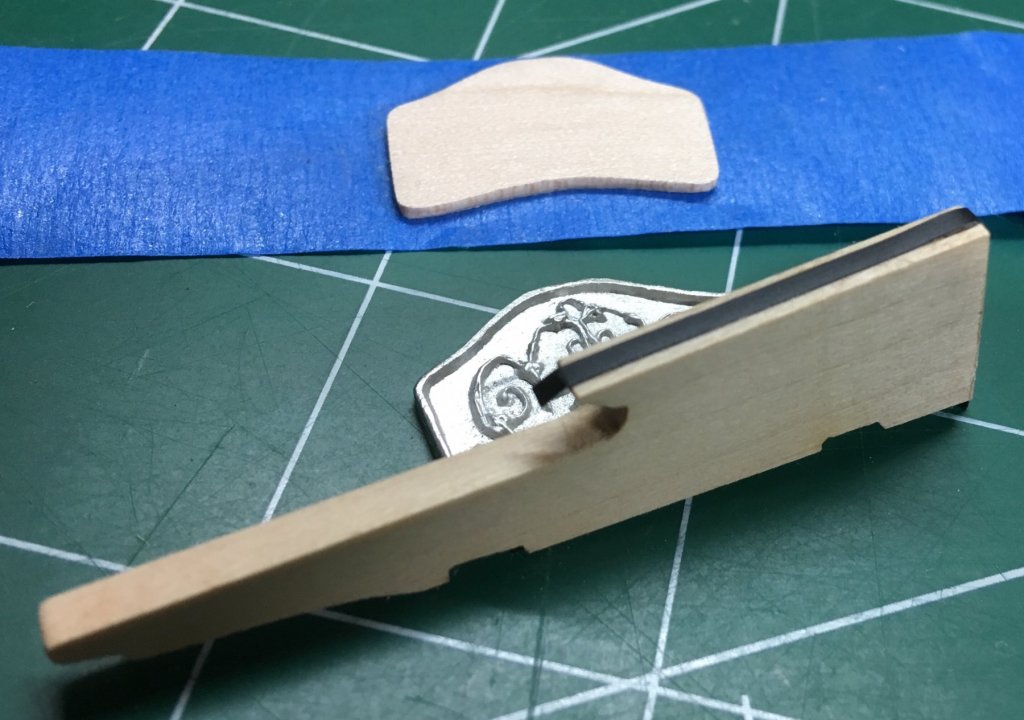
Progress so far on the finishing touches. I turned a tiller with a similar profile to the tiller on Chuck’s Royal Barge. I may leave the color scheme or paint it completely red. The rudder was tapered using pinstripe tape as a guide and the flying transom was crafted out of maple and painted red on both sides, leaving natural wood around the edges. The oar handles were turned using my rotary tool. Again, like turning with a hand drill, a perfect lathe is difficult to achieve. I believe I have a satisfactory set. Oar blades will be shaped out of the 5/16” wide strips shown in the photo below. Oars will be painted completely red. I cut a 1/16” wide strip out of a .010” thick black styrene sheet to simulate the ironwork at the bow and rudder. I will be using iron oxide brown weathering powder to create the metal effects. Finally, I created a display board using scrap basswood and the remains of a 1/16” thick maple sheet. The sheet was glued on top. It needs to be sanded flush and the entire board surrounded with 5/16” wide maple strips to finish it off. Steve

- 190 replies
-
- 12
-
-
- pinnace
- model shipways
- (and 1 more)
-
The plans are correct. I believe Model Expo modified Chuck’s instruction book with an incorrect measurement on the thwarts, which is too small. Go with the plans. Steve
- 50 replies
-
- 1
-
-
- model shipways
- 18th century longboat
- (and 1 more)
-
Looks nice from here! Steve
-
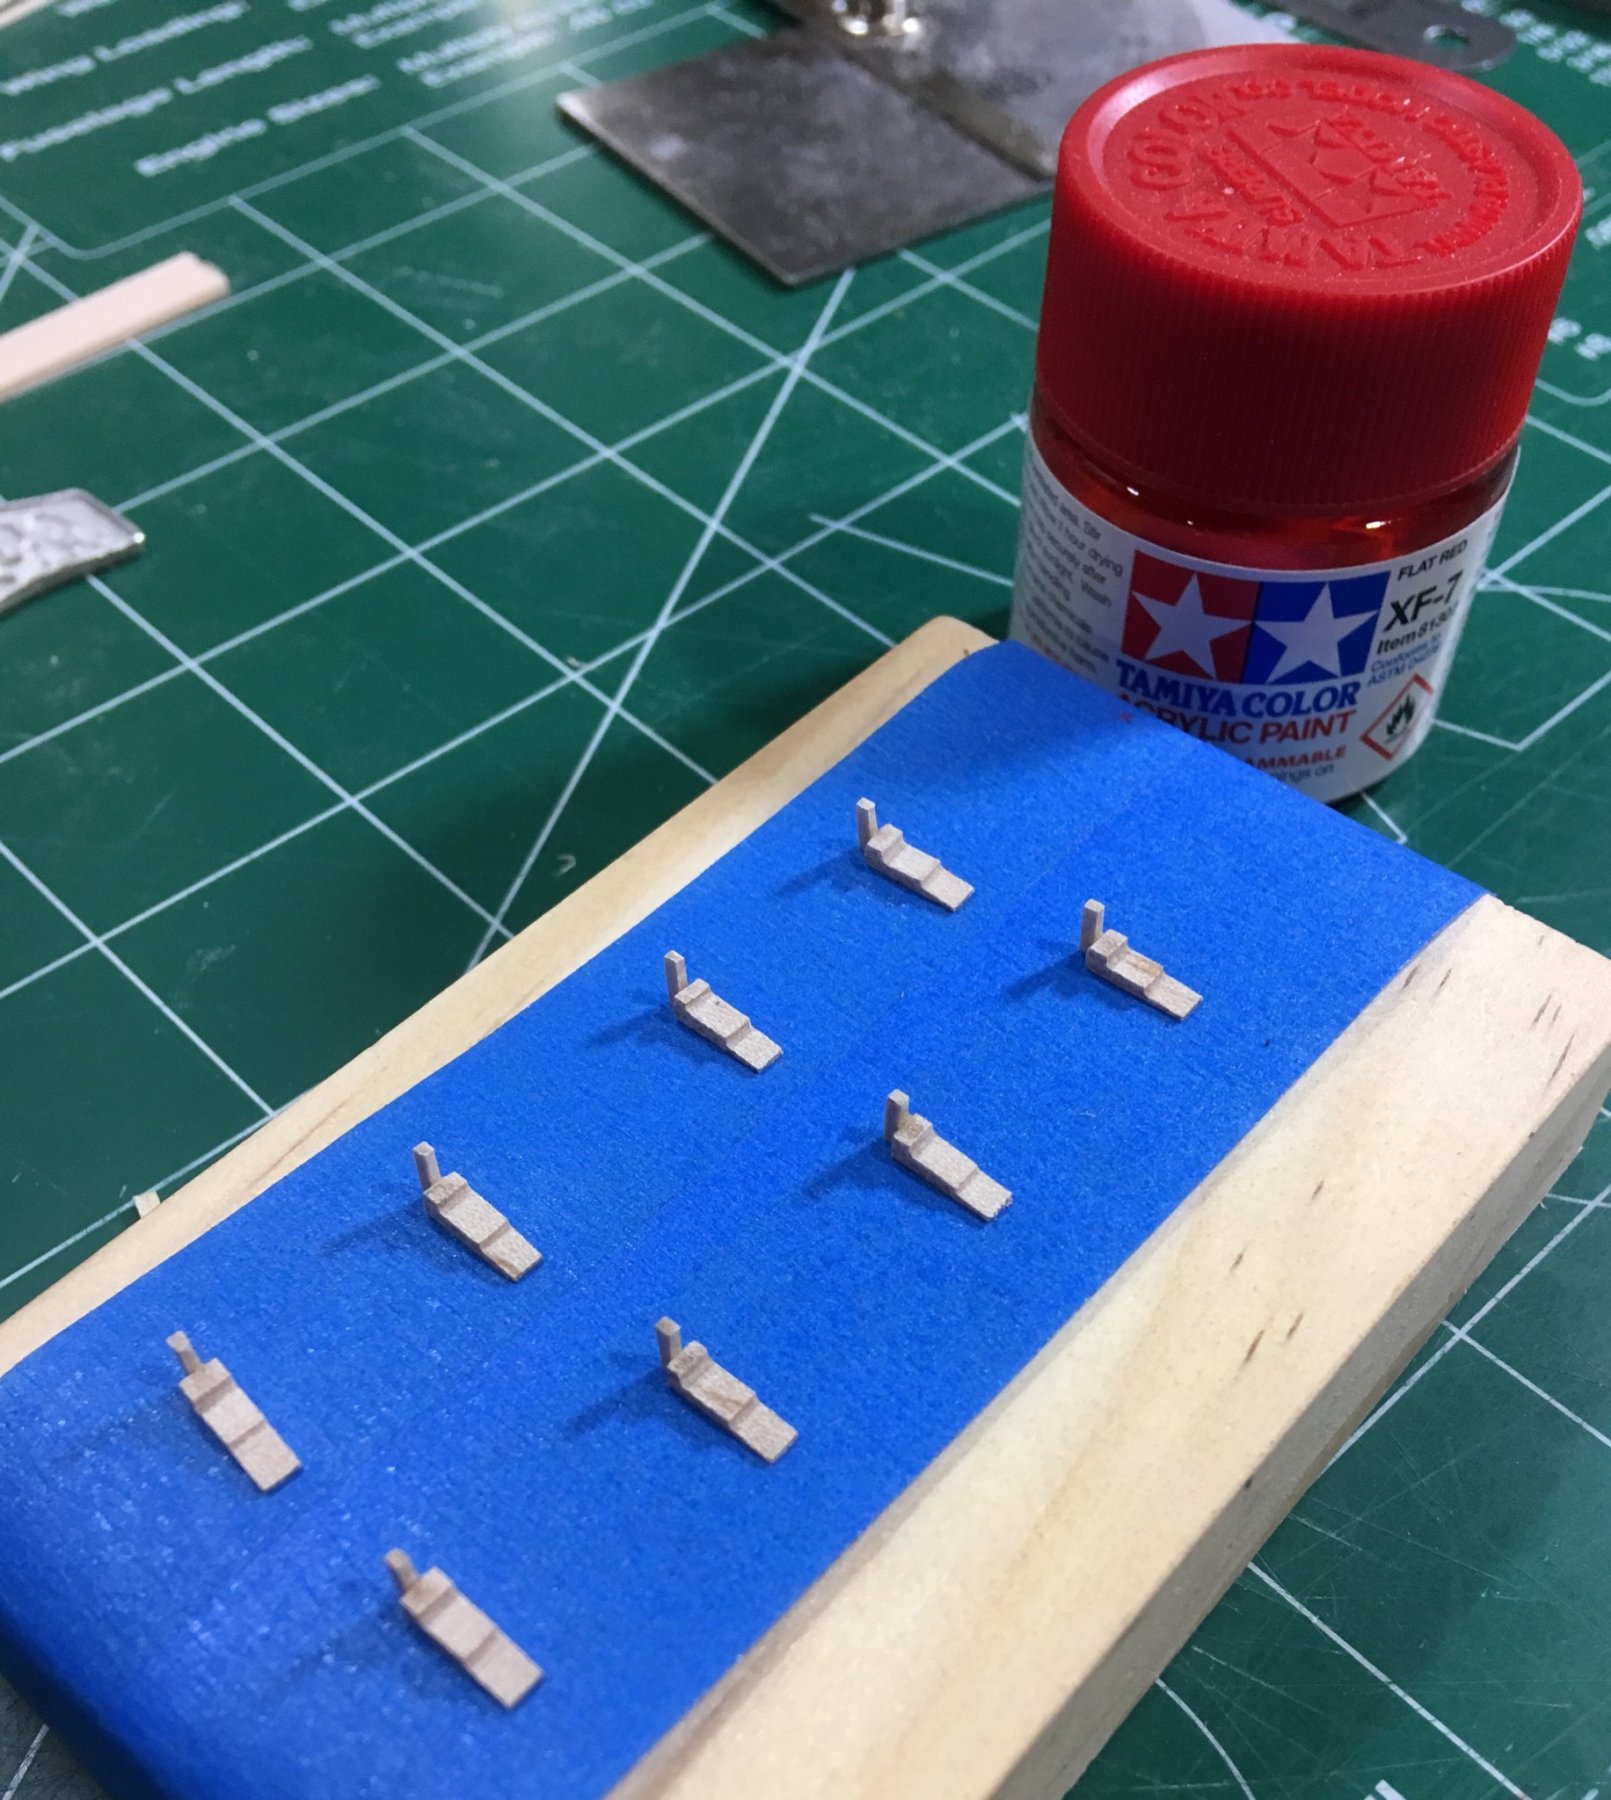
Oarlocks painted and installed. I used strips of tape cut to 3/32” wide to space them evenly. After installation I realize that the vertical posts need to be filed down a bit. Steve


- 190 replies
-
- 15
-
-
- pinnace
- model shipways
- (and 1 more)
-
Nice mock-up. I think those woods will look really nice. Steve
-
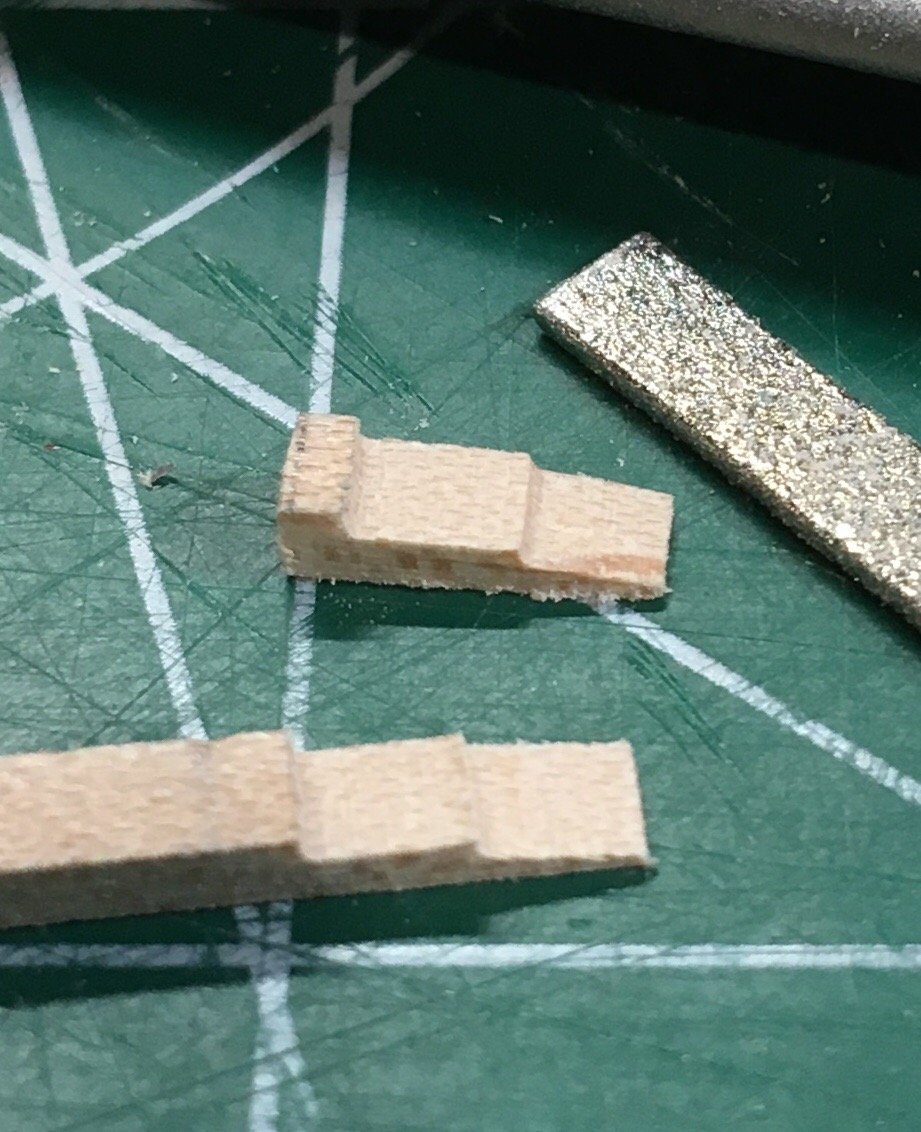
Oarlocks are virtually completed. Very delicate work. I followed Chuck’s method of filing and shaping from a longer 3/32” strip. For the vertical pieces I used a 1/16” x 1/32” strip since I did not have 1/32” x 1/32” in maple. After these were glued I sanded them down to the correct scale. The below photo shows a dry fit. Undecided if these will be painted. Any thoughts? They still need to be cleaned up a bit. Steve


- 190 replies
-
- 14
-
-
- pinnace
- model shipways
- (and 1 more)
-
Wow- was going to say the same thing. It does resemble boxwood! These kits are going to be flying off your shelves. Steve
-
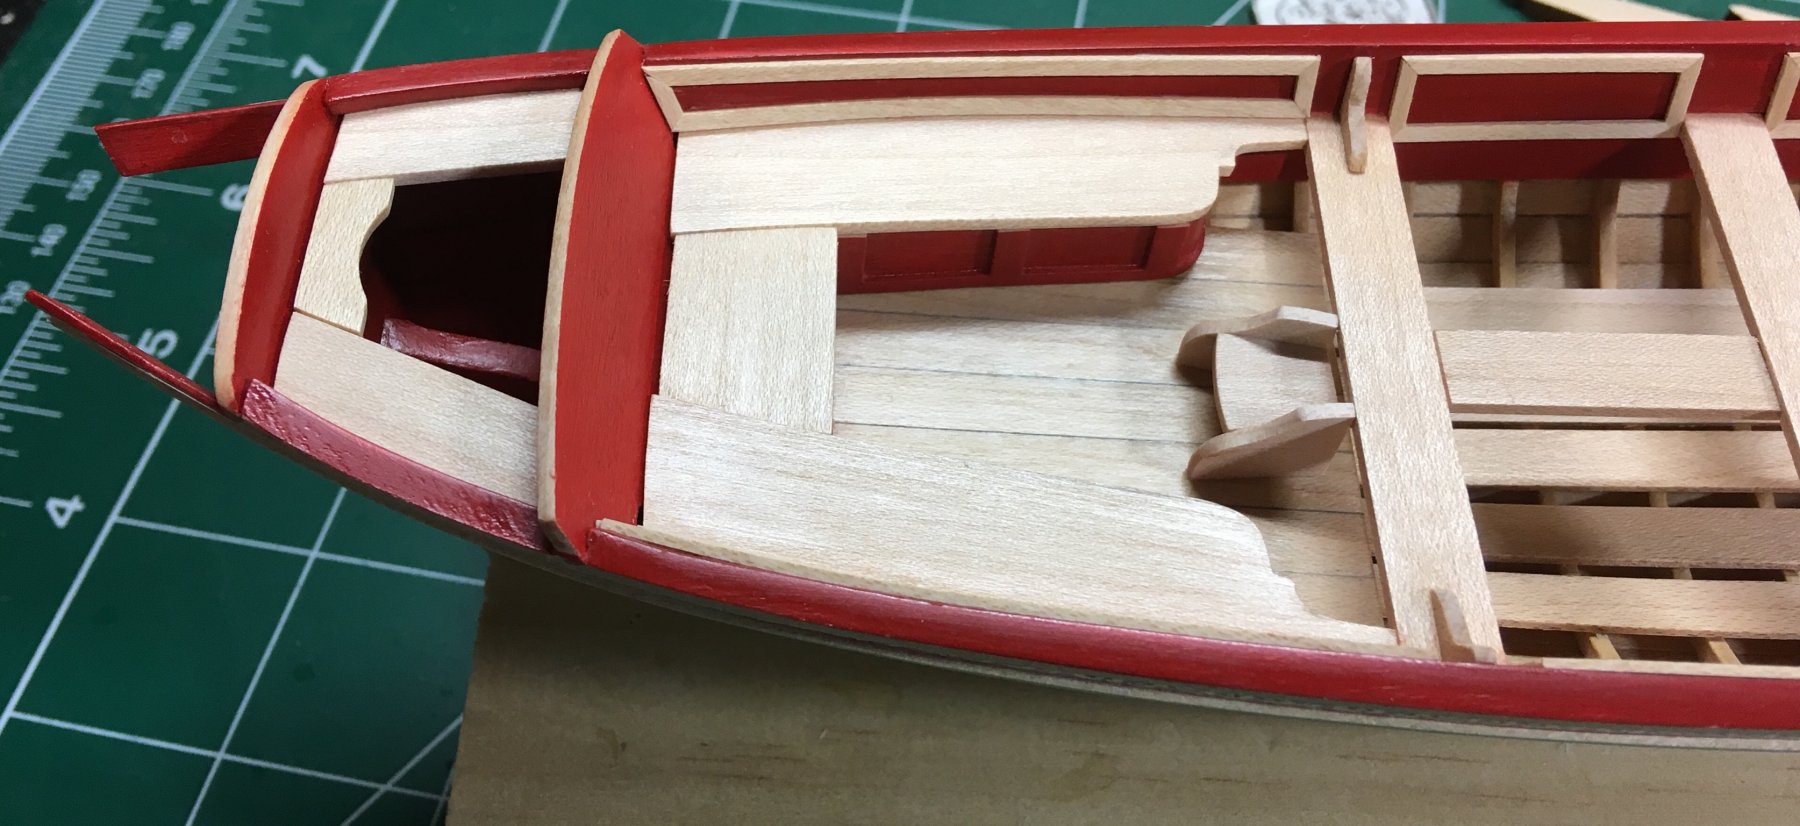
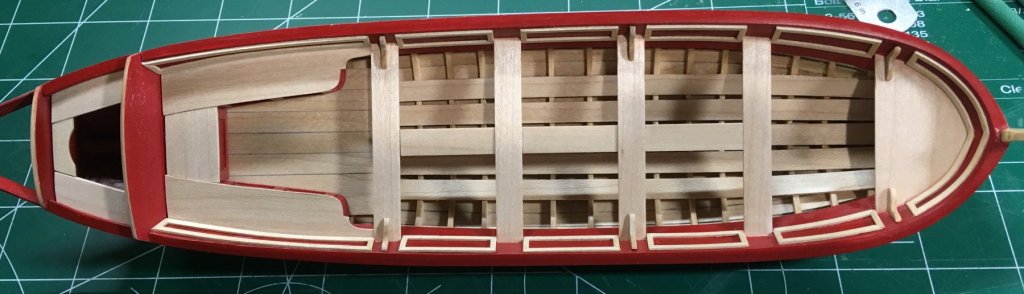
The maple step installed. Still plenty left to do: oarlocks, “iron” protective strap, rudder, flying transom, oars, boat hook, possible barrels, and a display stand. Steve

- 190 replies
-
- 13
-
-
- pinnace
- model shipways
- (and 1 more)
-
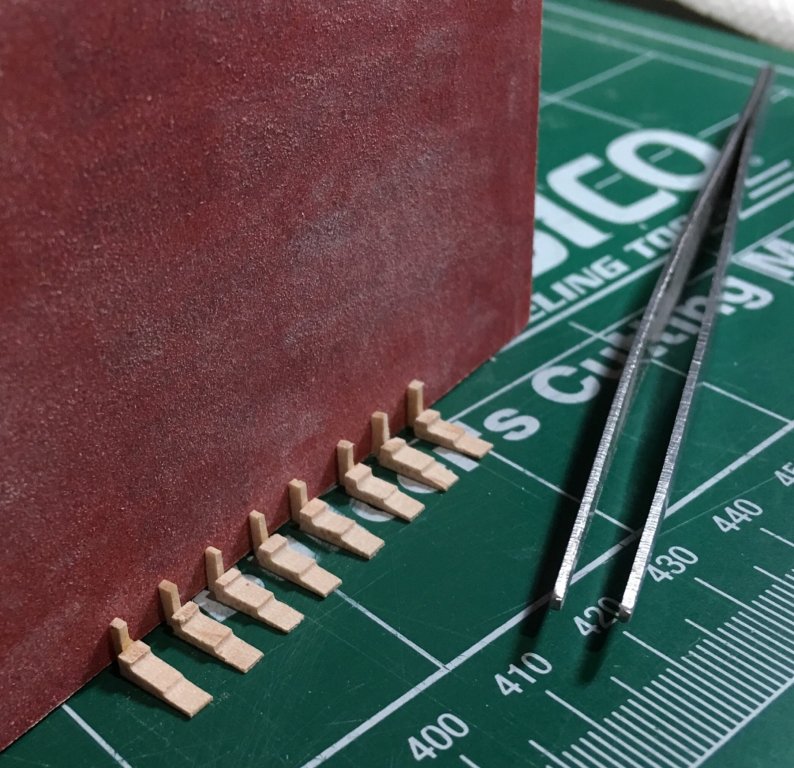
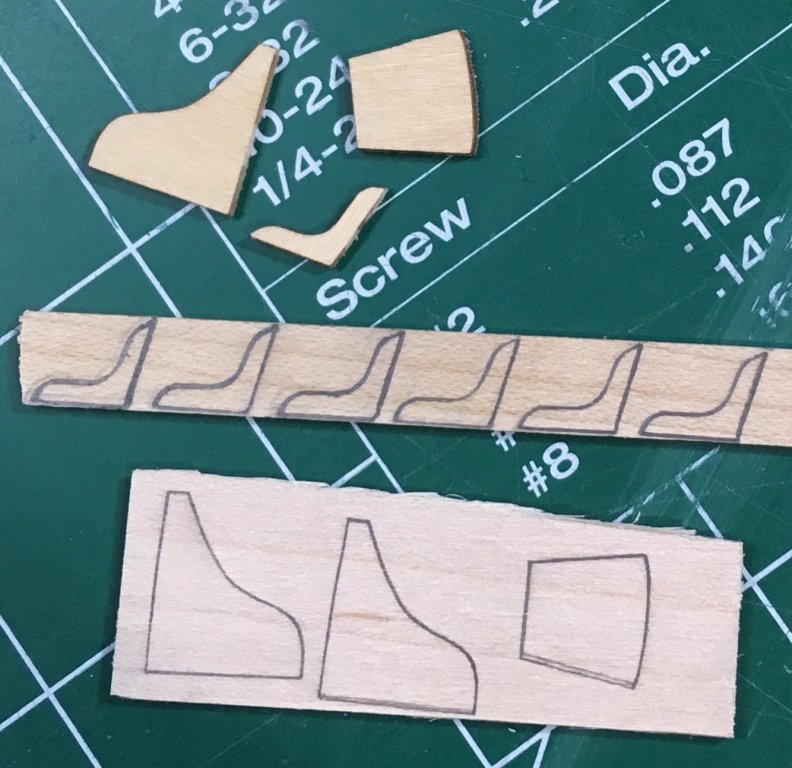
The knees were shaped from a maple strip. Installing the step is next. Steve
- 190 replies
-
- 15
-
-

-
- pinnace
- model shipways
- (and 1 more)
-
I look forward to how you address the specifics of rigging the 1:96 POB version as I intend on building that version some point in the future. Steve
- 3,618 replies
-
- 2
-
-
- young america
- clipper
- (and 1 more)
-
That is some building board! I’ll follow along. Steve
- 294 replies
-
- 1
-
-
- charles w morgan
- model shipways
- (and 1 more)
-
Thank you! Cutting the frieze without cutting into the design is the hardest part. It’s very narrow. Steve
-
Hi Mike. When I first applied the Minwax Polycrylic it appears to wrinkle, but the paper pretty much dries flat. A thin coat was applied. I used an Elmer’s glue stick to glue the frieze. My method is to hold the frieze with my thumb and run the glue stick the entire strip. Make sure it’s coated and there are no lumps before applying. After it’s applied I run my finger over the entire strip. This smooths out any bumps and I can ensure proper adhesion. Steve
- 190 replies
-
- 4
-
-
- pinnace
- model shipways
- (and 1 more)