Tigersteve
-
Posts
1,327 -
Joined
-
Last visited
Content Type
Profiles
Forums
Gallery
Events
Everything posted by Tigersteve
-
 The series of sub-assemblies and the final construction in your last post really illustrates how complex the rigging is on these ships. Beautifully done. Steve
- 3,618 replies
-
- 5
-

-
- young america
- clipper
- (and 1 more)
-
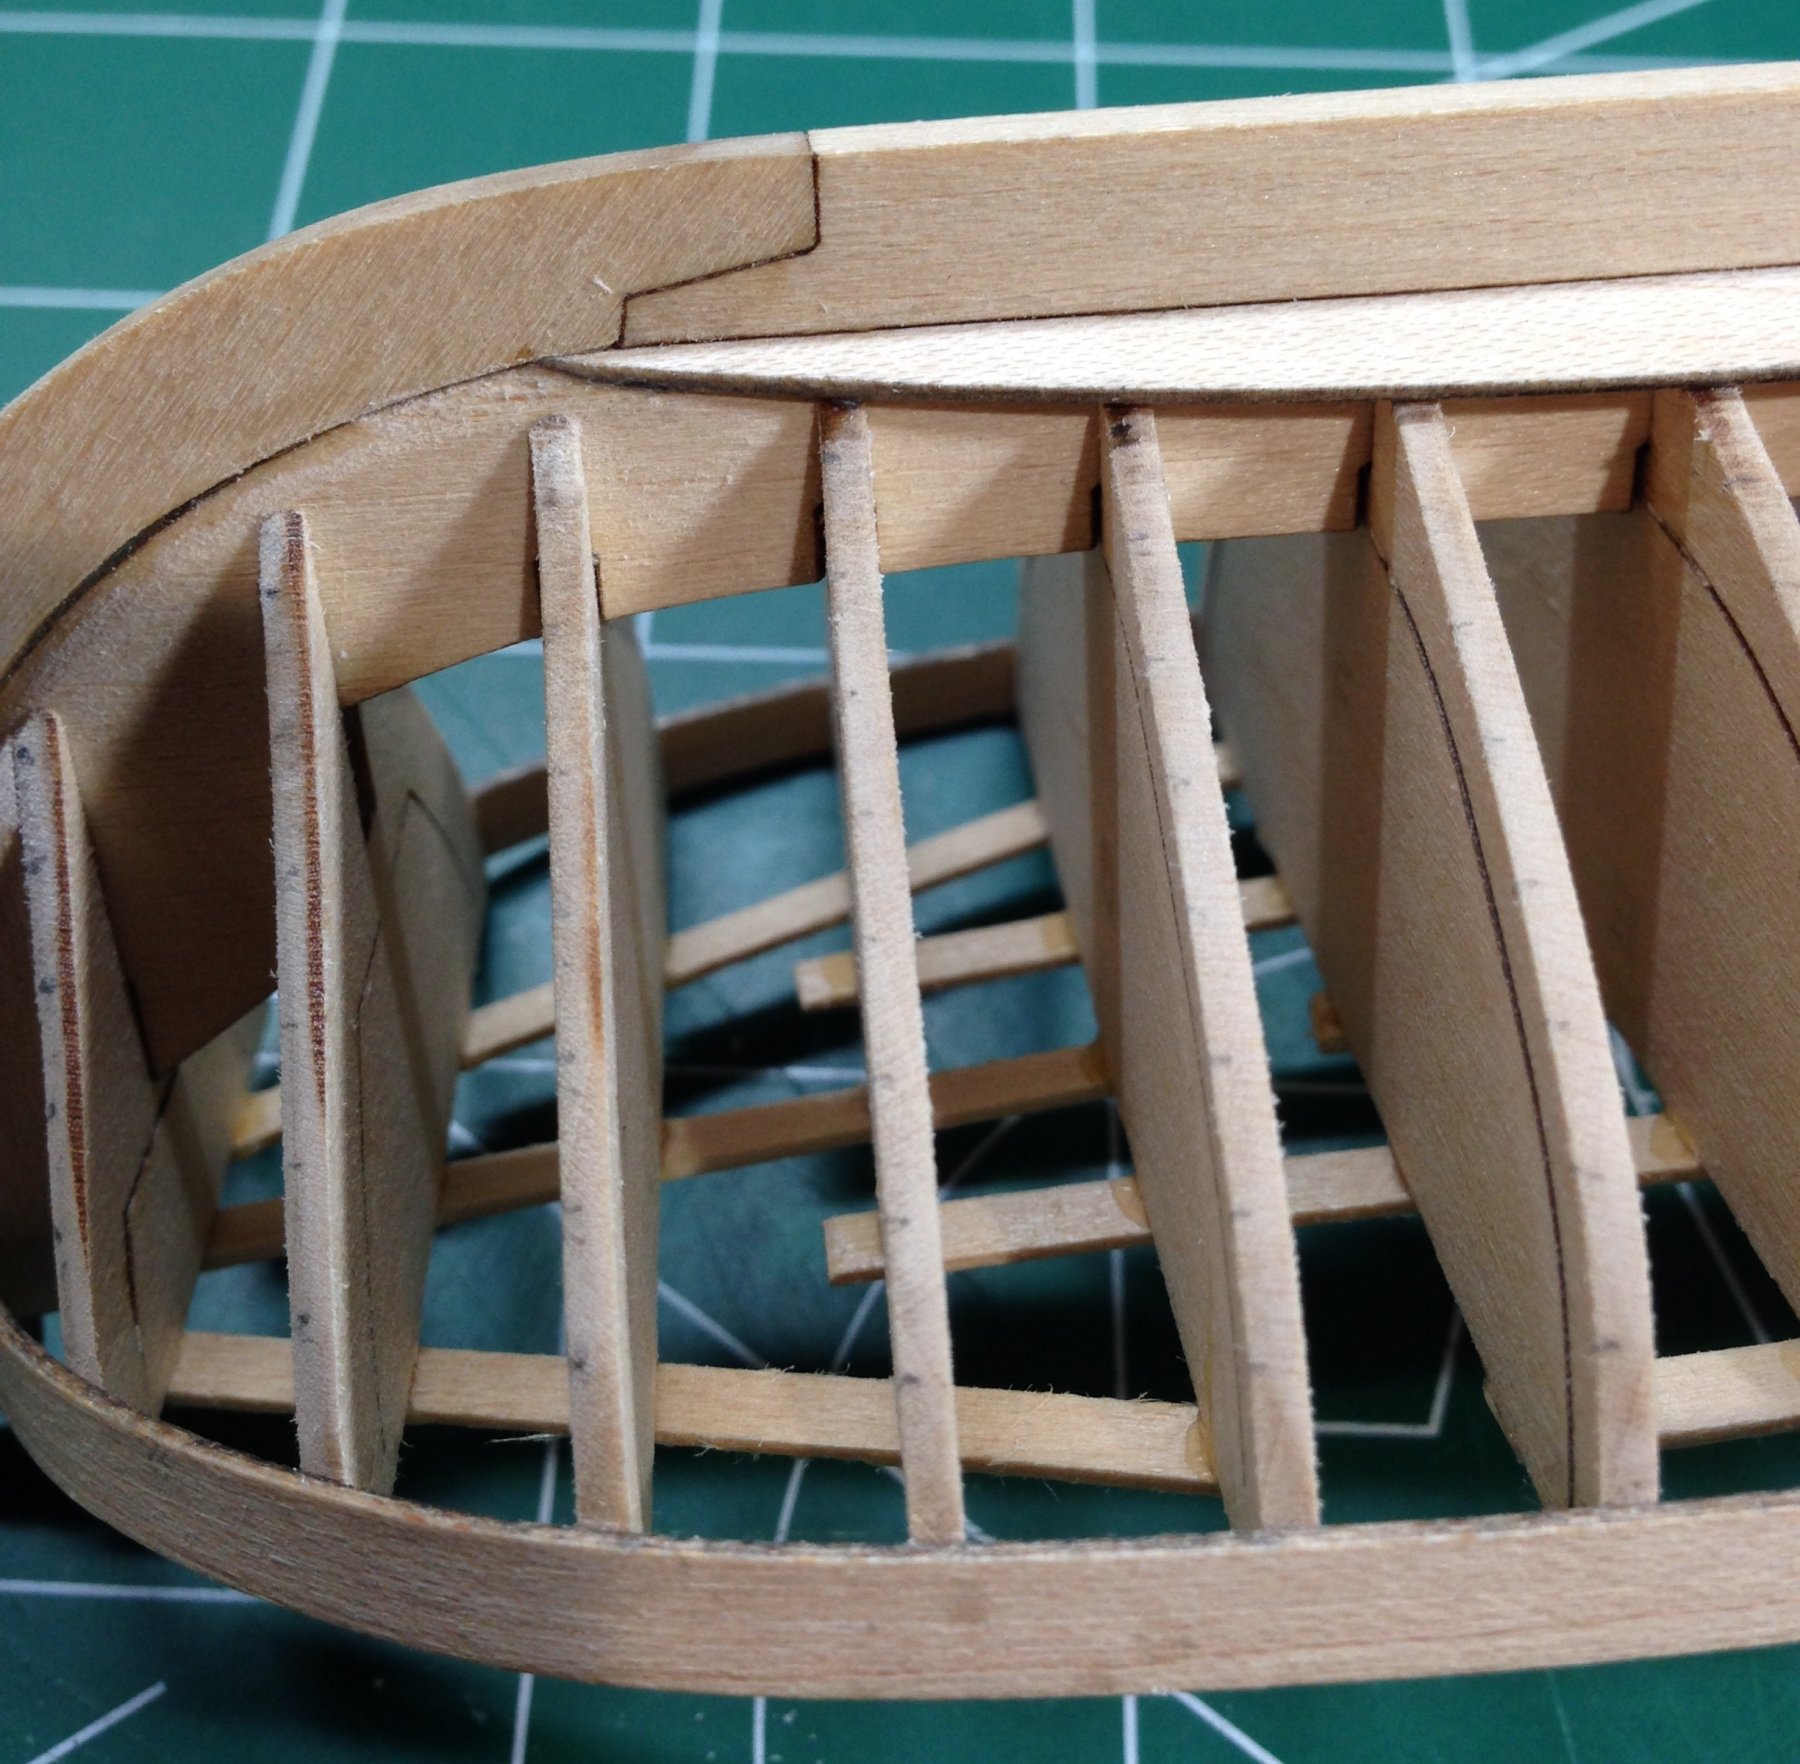
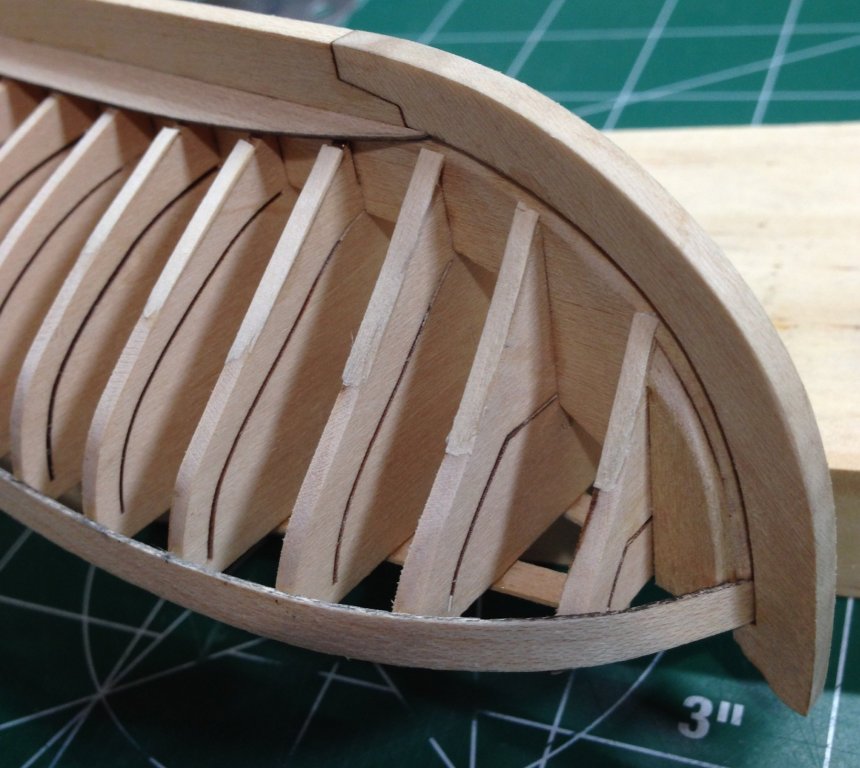
The first six bulkheads were shimmed port and starboard. This allowed the next plank from the garboard a better fit into the rabbet. The port side plank remains to be fitted. After this is complete the hull will be lined off. Each plank fitted is a small victory. Steve

- 190 replies
-
- 21
-
-
- pinnace
- model shipways
- (and 1 more)
-
US Brig Syren by knightyo
Tigersteve replied to knightyo's topic in - Build logs for subjects built 1801 - 1850
Echo Dirk here. Save your energy for the carvings, which are coming along nicely. Steve -
Ed, That is good to hear and do not doubt, your YA series of books is my next book purchase. As you know, I had my eye on the Flying Fish model from Model Shipways, until I came across this project of yours. Steve
- 3,618 replies
-
- 2
-
-
- young america
- clipper
- (and 1 more)
-
So what you're saying, Ed, is I need to acquire a mill! :-) Steve
- 3,618 replies
-
- 1
-
-
- young america
- clipper
- (and 1 more)
-
Congrats on everything and welcome back. Good to see this build resume. Steve
- 648 replies
-
- 2
-
-
- niagara
- model shipways
- (and 1 more)
-
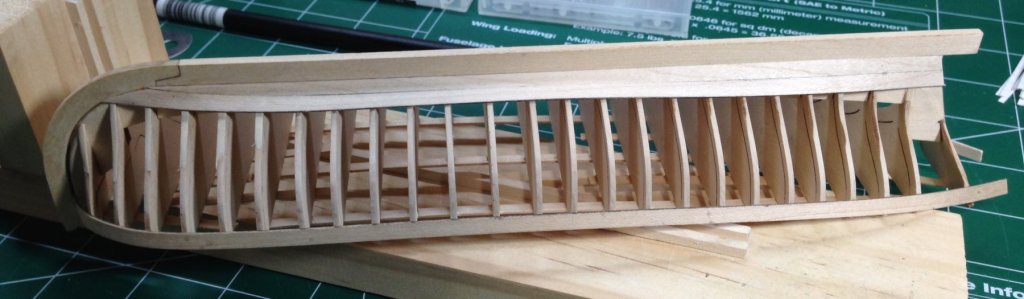
Thank you! The basswood parts are fragile- especially at this thickness. The hard maple strips I'm using for this project are much better for creating the severe curves required for this boat. However, I have broken a couple in discovering the breaking point of the strips. Steve
- 190 replies
-
- 6
-
-
- pinnace
- model shipways
- (and 1 more)
-
I'll follow. This is a nice ship and from seeing your building board, you'll do well. I'm sure! Steve
- 18 replies
-
- 1
-
-
- niagara
- model shipways
- (and 1 more)
-
Glad you're back. Excellent build continued. Steve
-
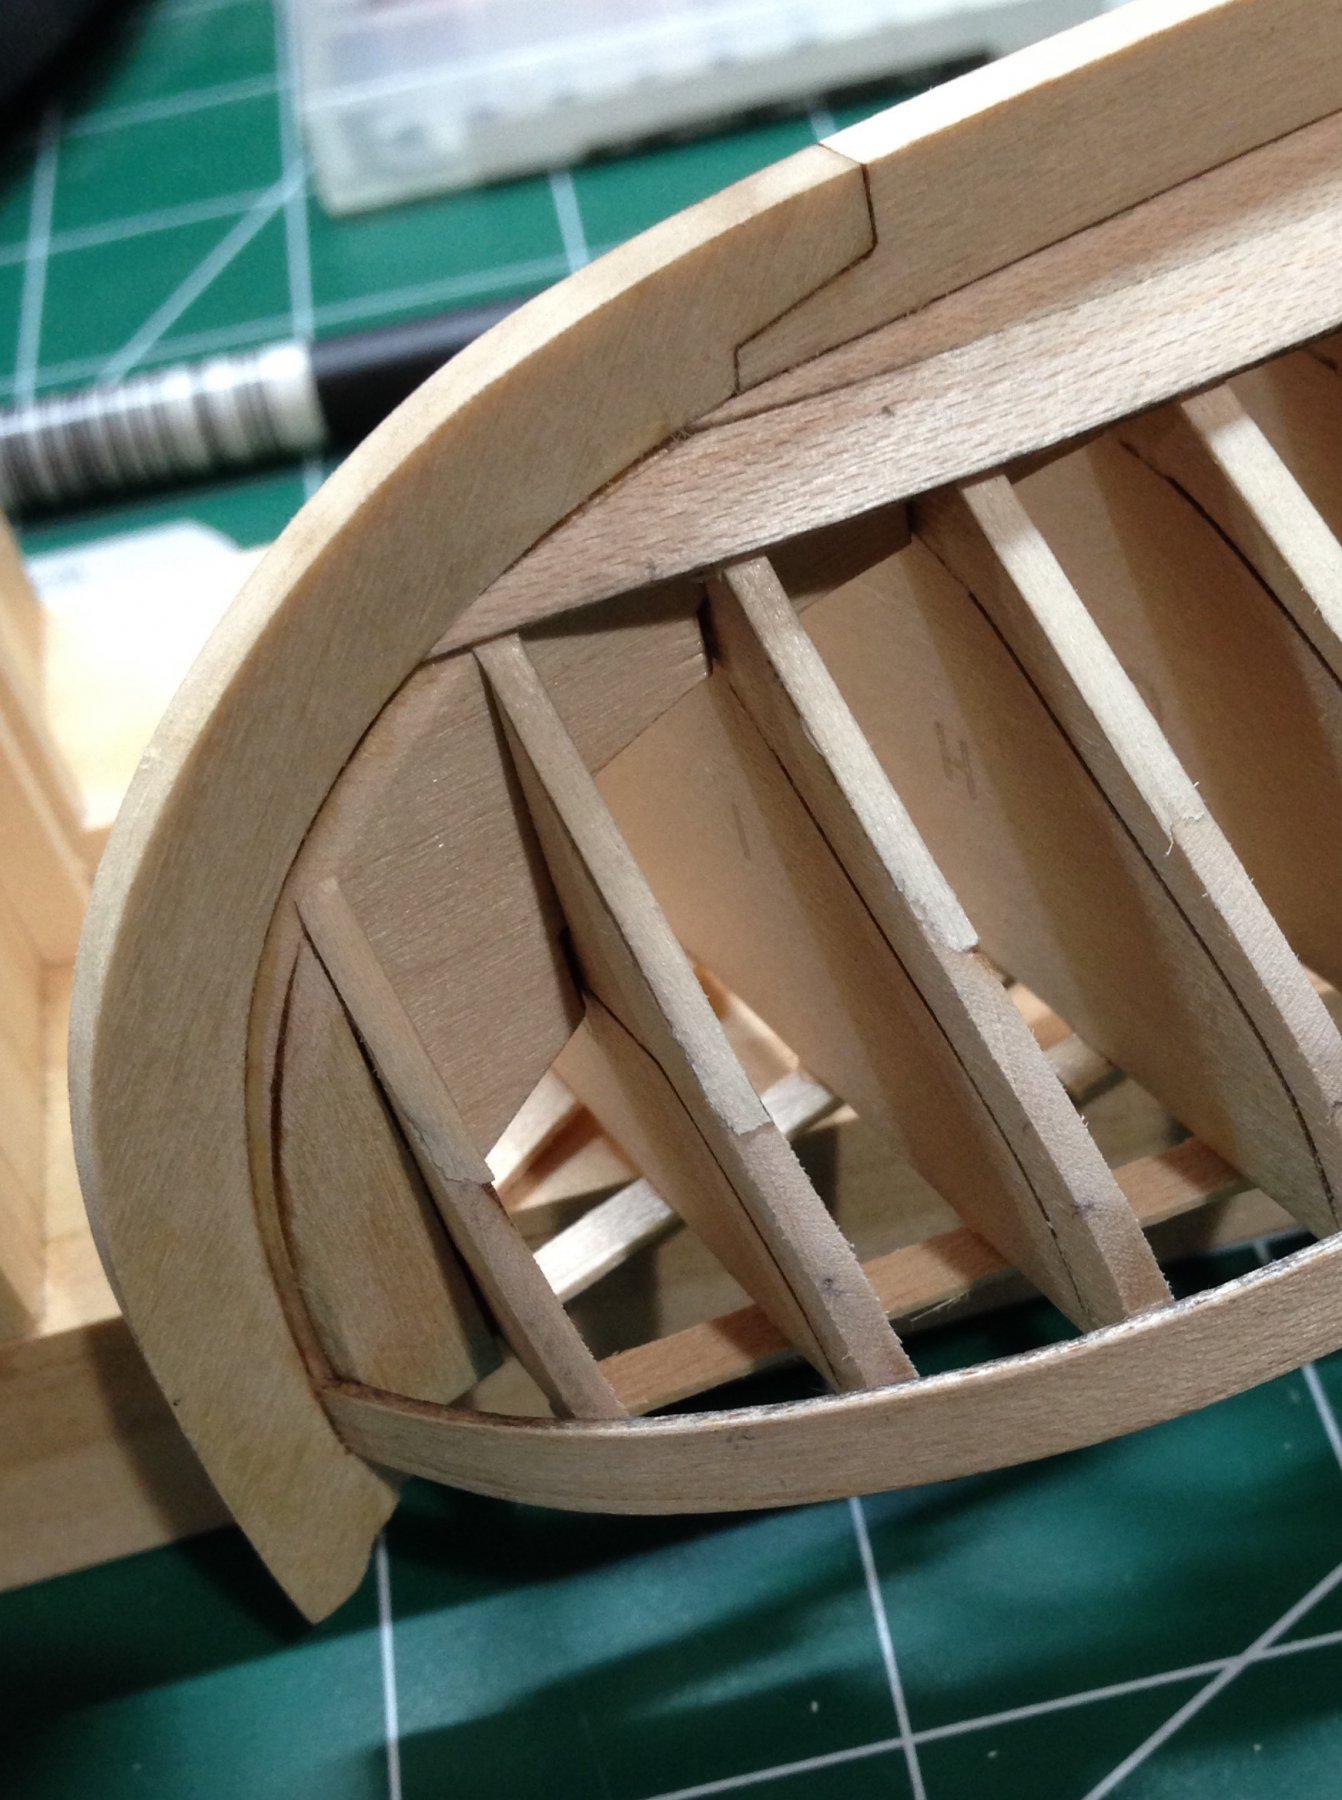
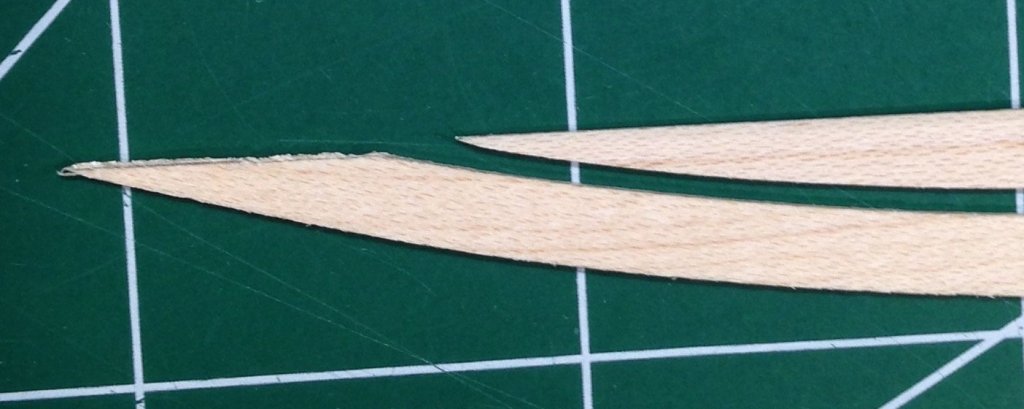
The garboard was formed by edge-bending the neighboring streak. I used this plank to trace the curve onto the garboard, cut, and sand into shape. These streaks were easy to form and glue into place. What has been stunting progress is the installation of the neighboring streak. Having trouble getting a tight, flush fit and getting the proper shape into the rabbet. I believe a couple bulkheads are over-faired and slight shimming needs to take place. You'll notice tick marks placed, but these will be redone after the next streaks are in place. Side note- at this point this project is more difficult than the longboat. ;-) Steve

- 190 replies
-
- 21
-
-
- pinnace
- model shipways
- (and 1 more)
-
US Brig Syren by knightyo
Tigersteve replied to knightyo's topic in - Build logs for subjects built 1801 - 1850
Shaping up nicely. Steve -
Ken, Setting the bar high for this model. Nice! Steve
-
Mike, Same diameter rope. Think about the line coming down from the mast. It would be belayed to the belay pin. I would use the good rope for that. Test out some rope coils and you'll find the amount of loops that looks best for your ship. Steve
- 843 replies
-
- 3
-
-
- niagara
- model shipways
- (and 2 more)
-
I'm in. Steve
-
A beautiful thing when things fall into place like that. Steve
-
A privilege to watch this project come together, Ed. Steve
- 3,618 replies
-
- 4
-
-
- young america
- clipper
- (and 1 more)
-
B.E., Don't get frustrated just yet. Your Pinnace looks better than most at this stage. There is a lot of sanding inside and out ahead for you. What follows will be a much better looking boat. I think the colors of planking v. stem and keel contrast just fine. Enjoy your trip! Steve
- 156 replies
-
- 7
-
-
- pinnace
- model shipways
- (and 1 more)
-
Interesting you say that. I was wondering how a darker blue would look. Chuck, the model is looking sharp. Steve
- 269 replies
-
- 2
-
-
- Queen Anne Barge
- Syren Ship Model Company
- (and 1 more)