GrandpaPhil
-
Posts
6,166 -
Joined
-
Last visited
Content Type
Profiles
Forums
Gallery
Events
Everything posted by GrandpaPhil
-
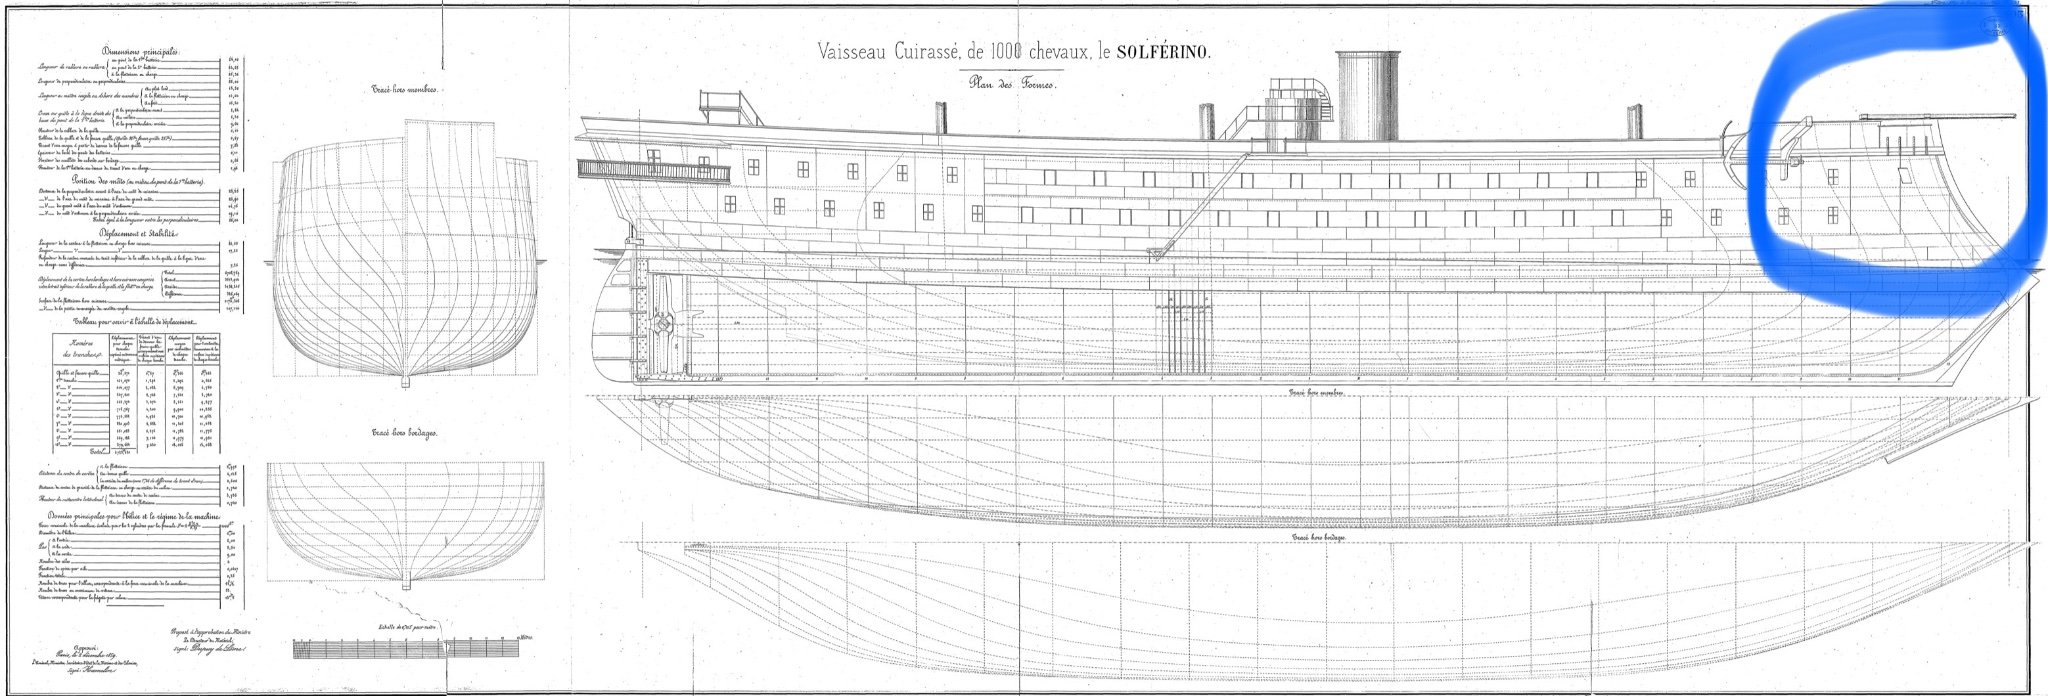
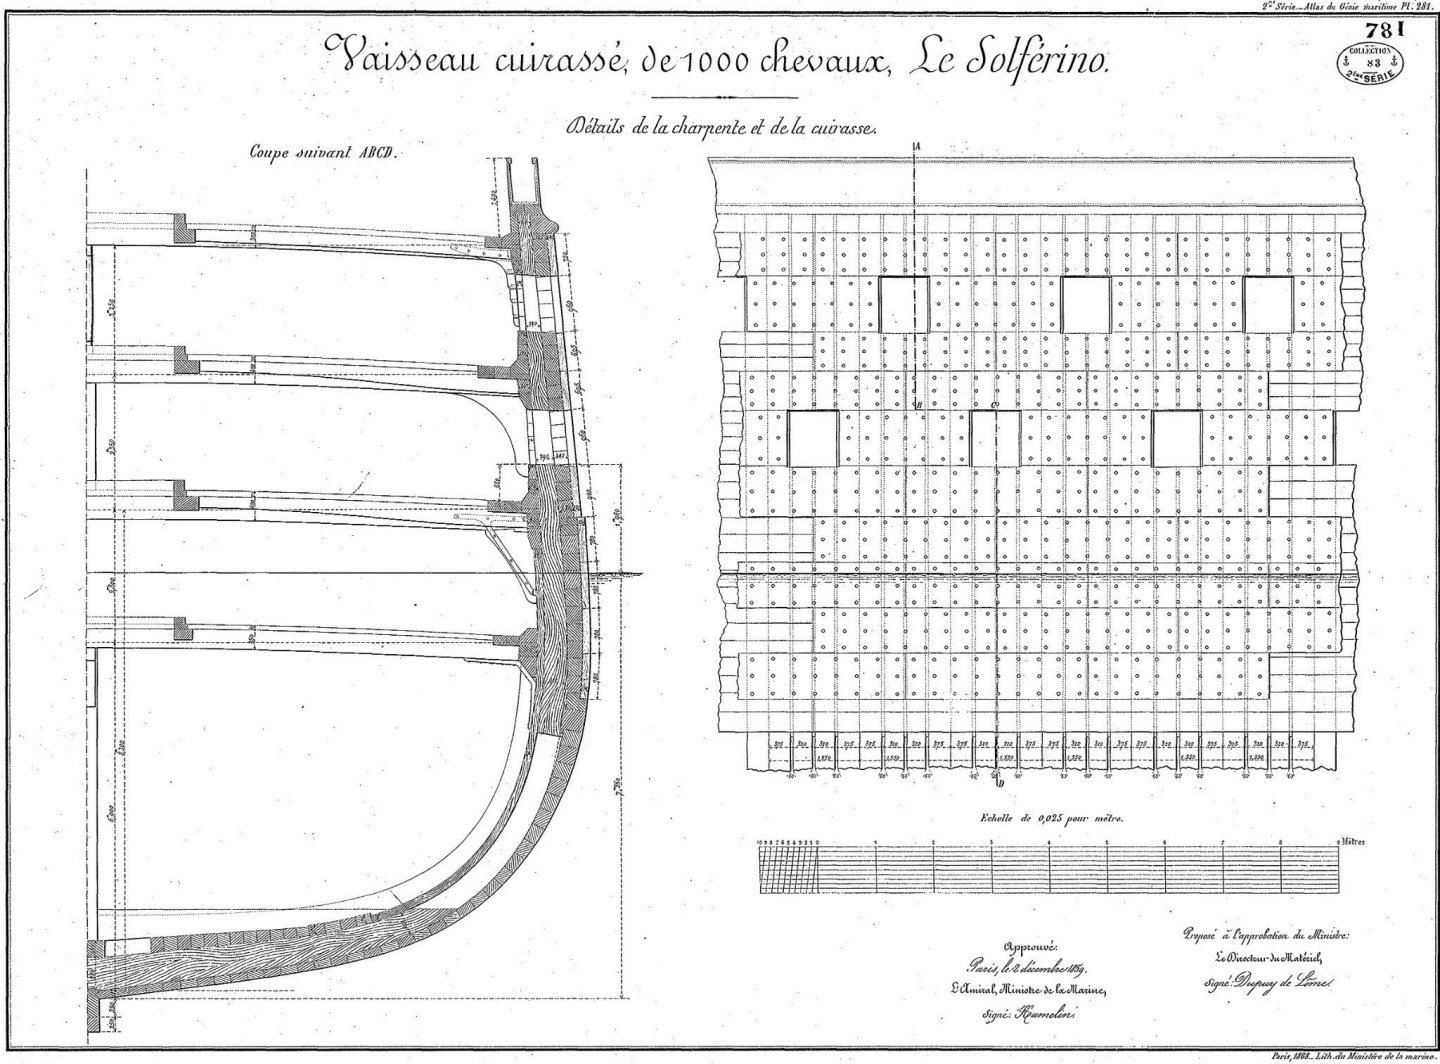
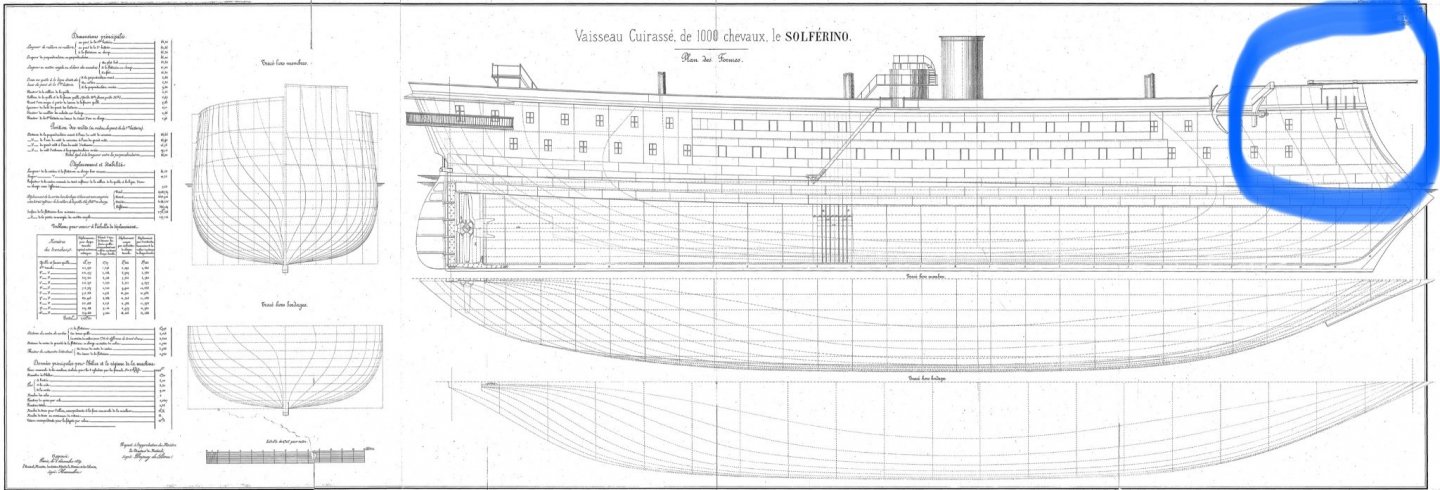
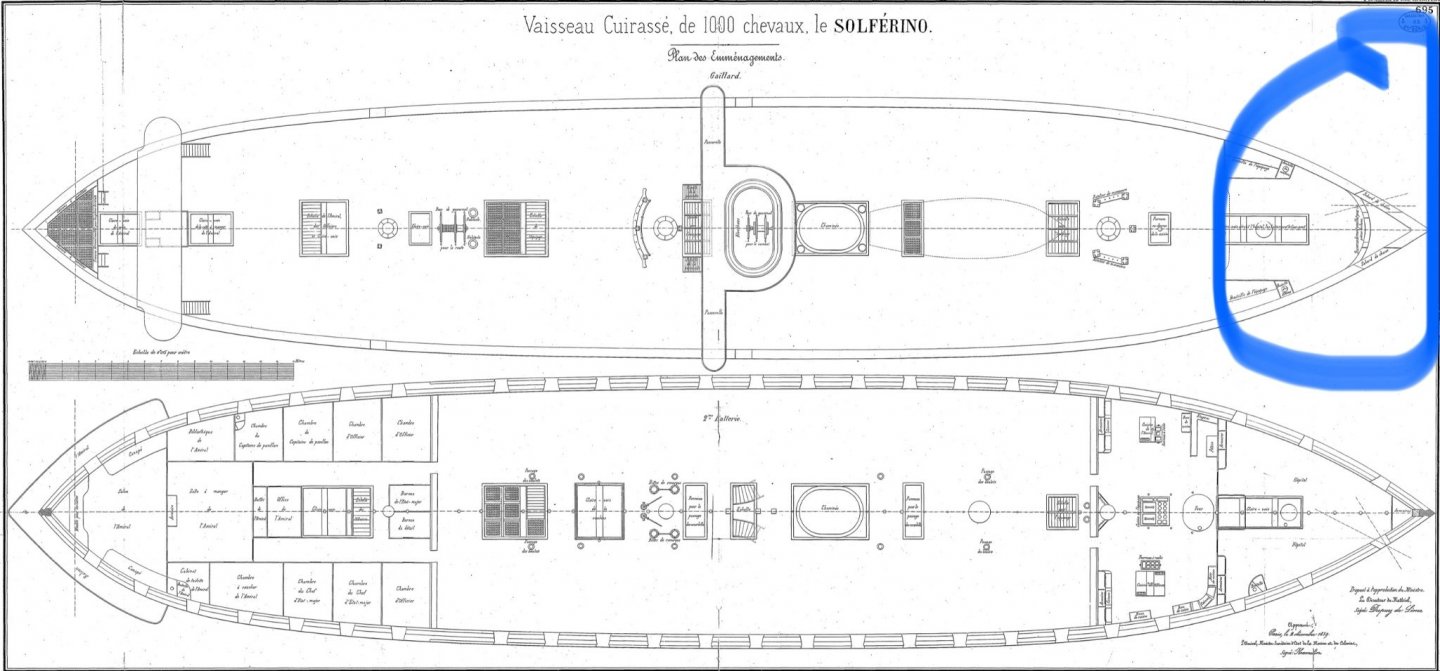
Thank you very much for the information and the scans! I’d like to show the guns run out in the bow. That to me is half the fun of building a warship. I might mod my Solferino model to run out the bow guns too. The Solferino kit looks like it is directly based off the Paris model. I ran into another interesting issue that I am going to have to be careful of during the construction of the hull. The hull itself is very thick, with the interior planking, the frame, the outer planking and the 4.7” of armor in the main armor belt. I will have to plan carefully for that, particularly regarding gunport and window sills. The sills for the Solferino kit are about 5/32” thick which for 1/200 scale, is correct. On the Magenta’s plans they are almost 1/2” thick on the above diagram.
-
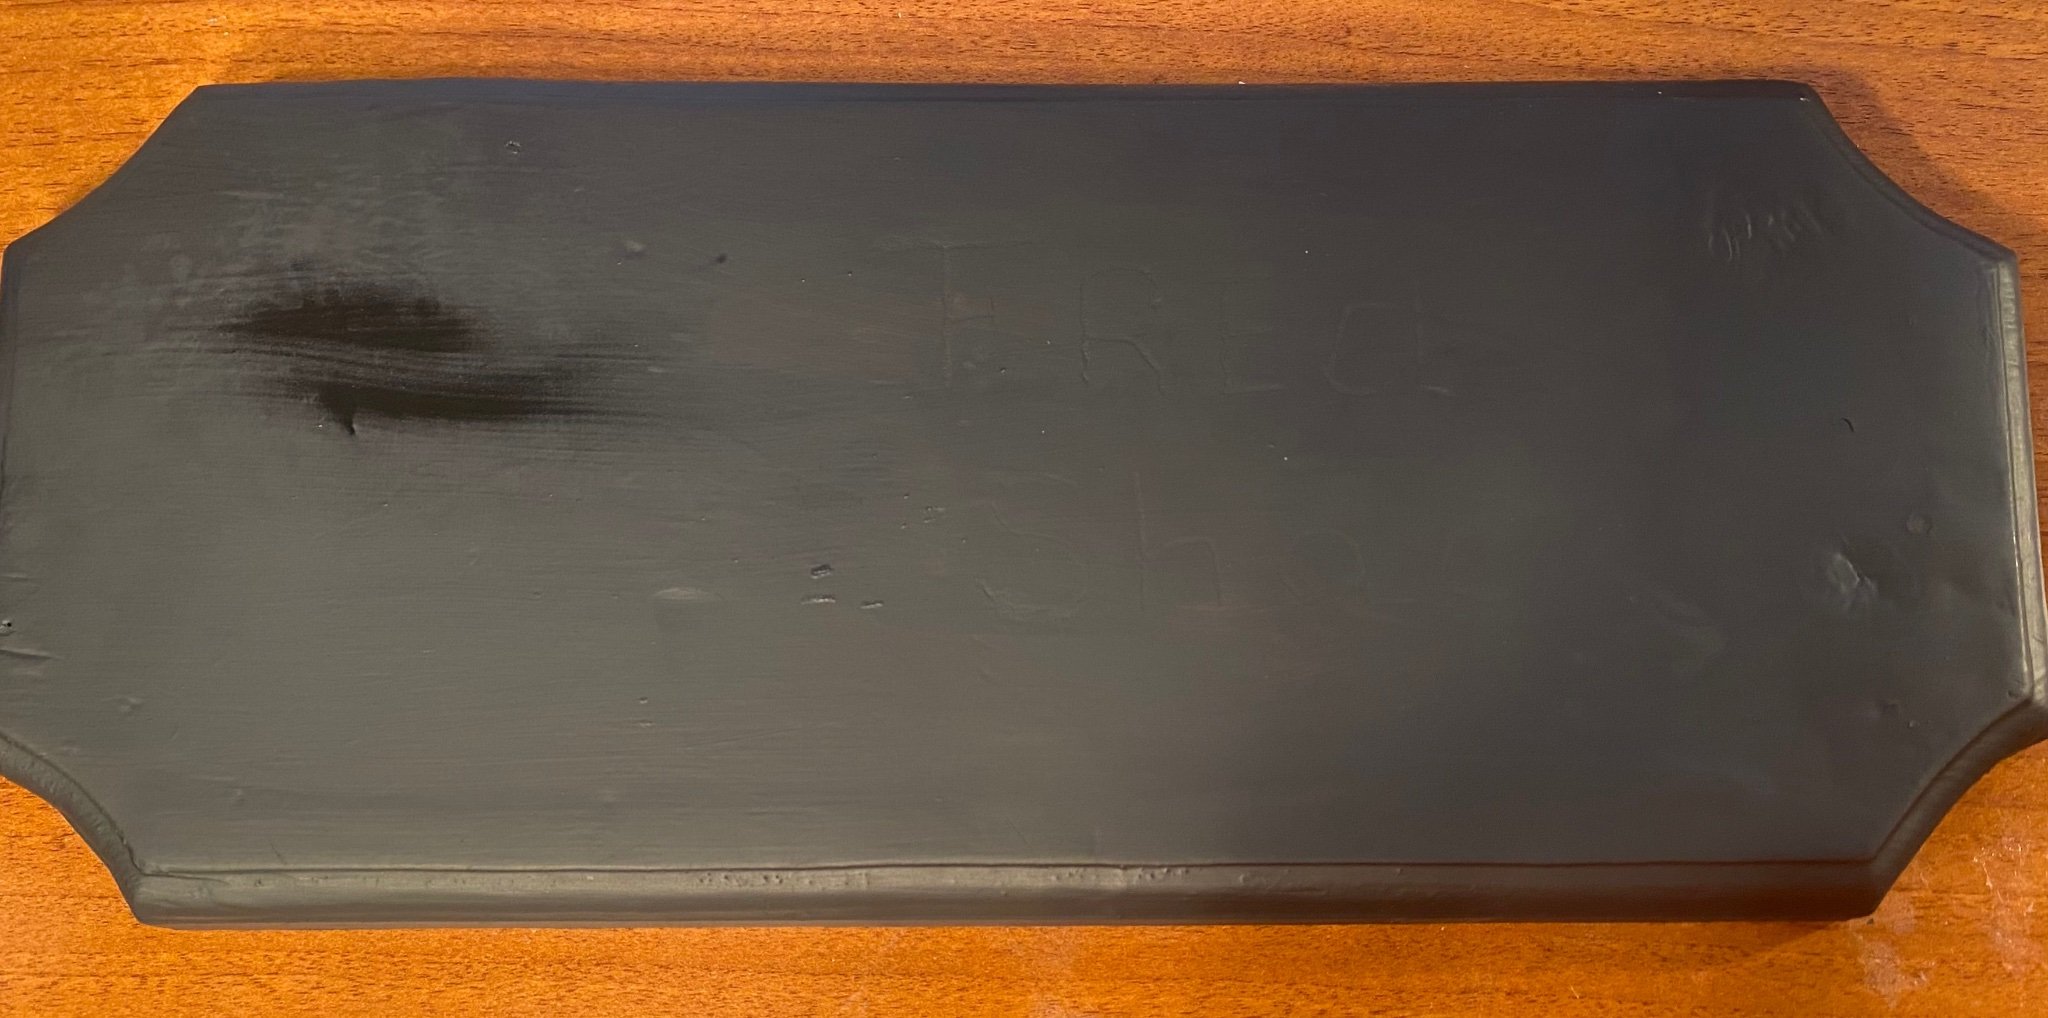
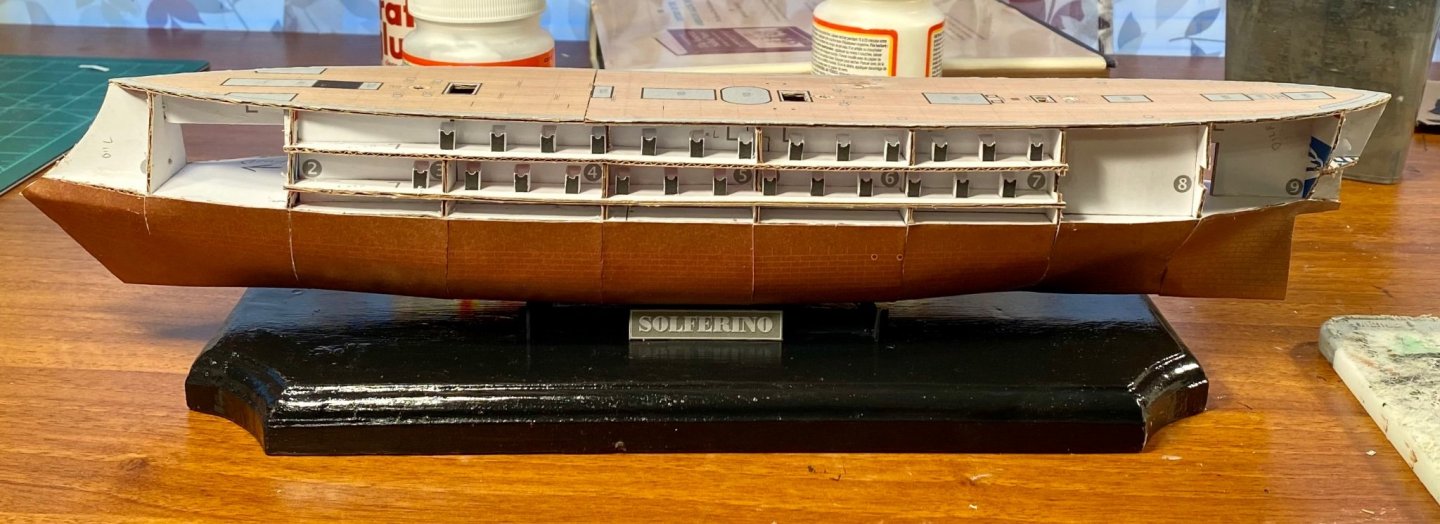
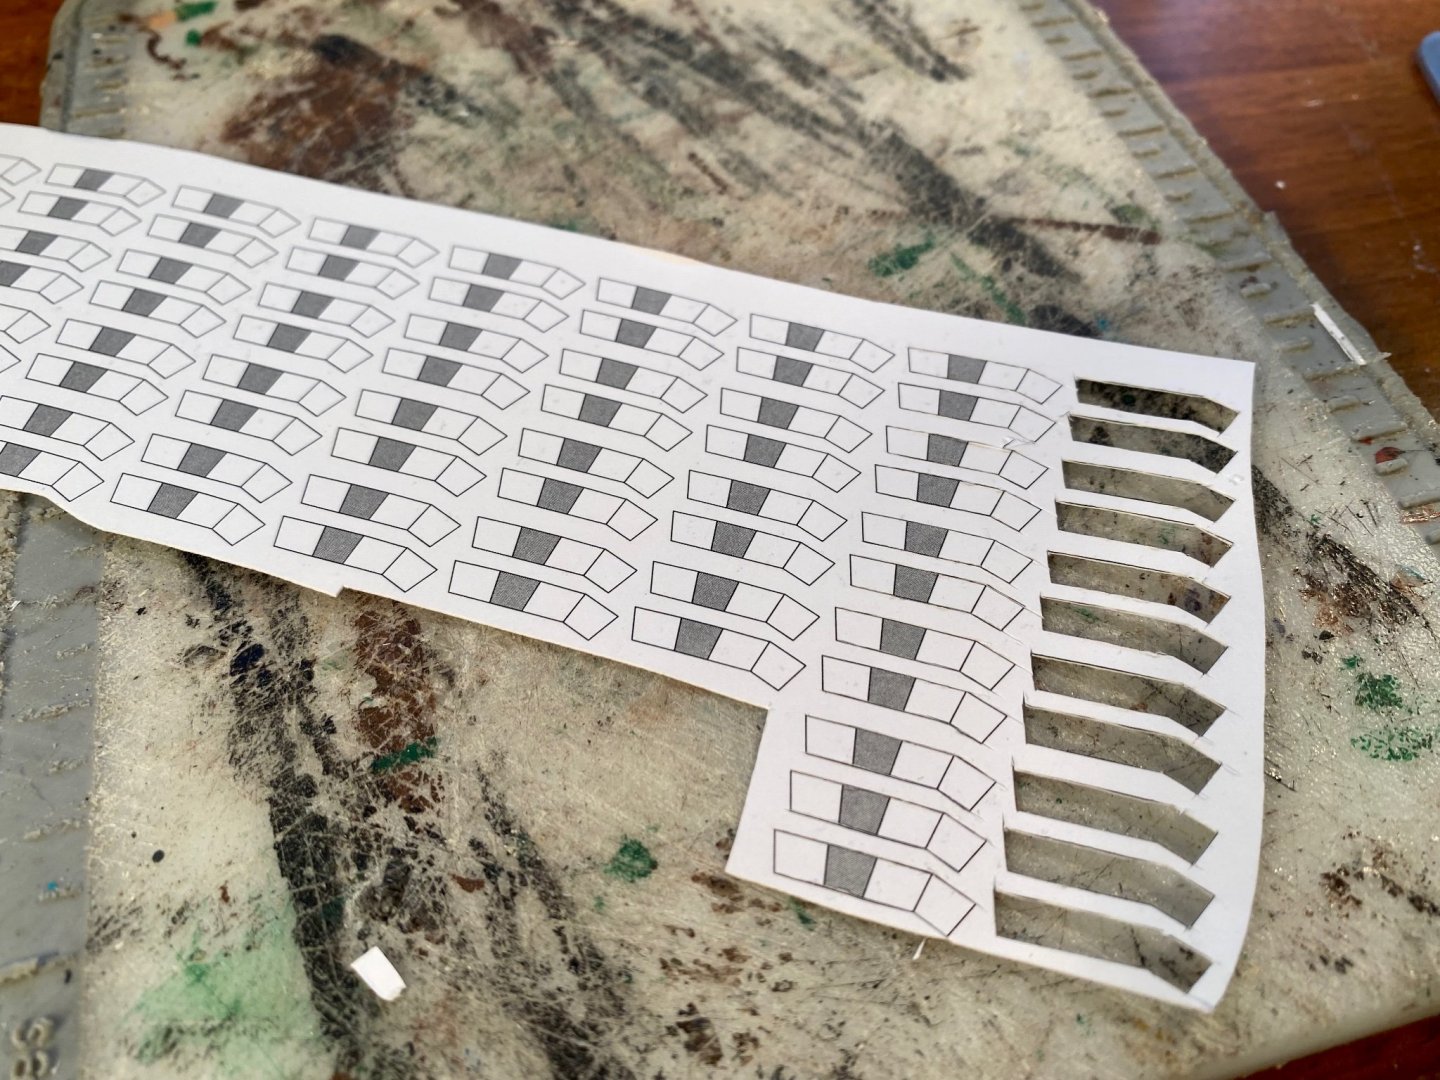
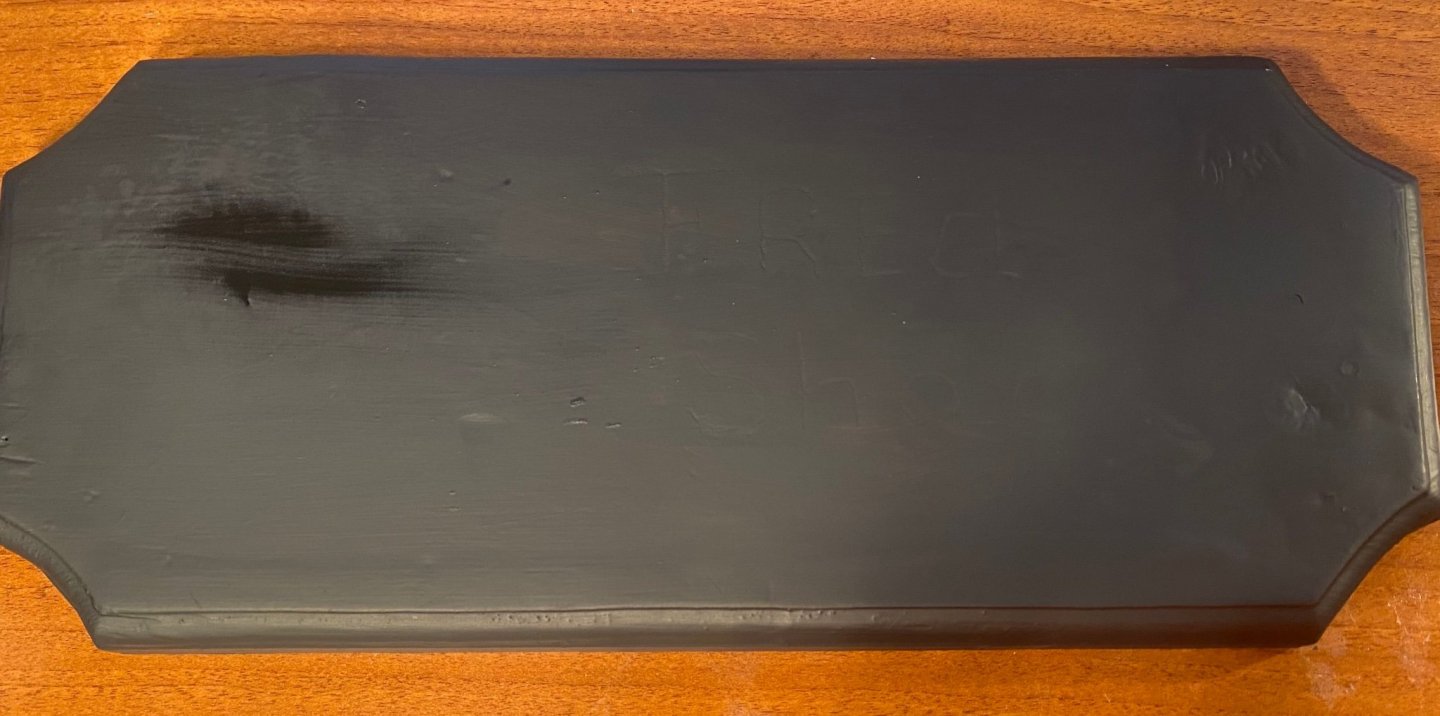
Thank you all very much for the comments, the likes and just for stopping by! Progress has been slow because life is busy. Solferino now has a base made from a repurposed (or I believe the new term is upcycled) plaque bought at a yard sale: Working on the 90 some gunport and window sills: Seriously, this going to be an issue with the Magenta too. The Magentas’ hulls were incredibly thick due to the armor, the planking and the frames which had to be able to hold the weight of everything. They had 4.7” of armor alone. If you zoom in the above plan, that’s the thin outermost sliver on the planking cross-section. That is creating an interesting design issue with the Magenta, because if I cut the bulkheads to the outside of the frames, then the planking will need to be around 1/8” thick, not including the armor.

-
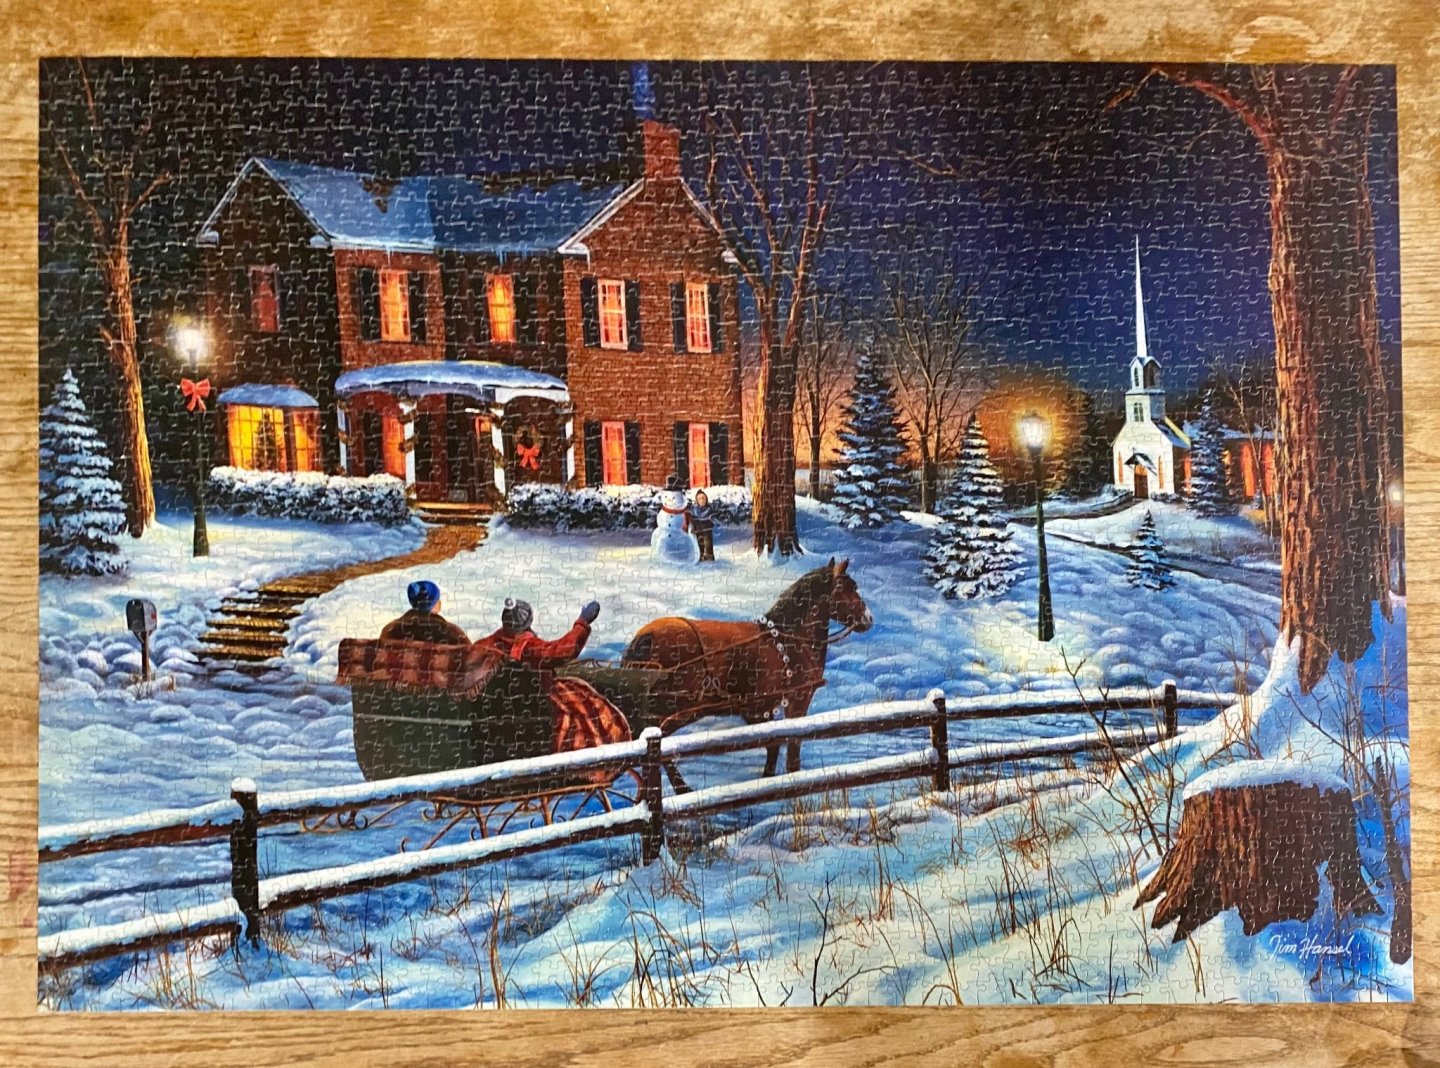
Not ship related, but we’re getting ready for the holiday season: That’s going to be mounted on foam board (which also makes great RC planes according to a buddy of mine). We’ll hang it up for the season once it dries.
-
I tried to float an old pond sailer once, that I bought at a thrift store, just out of curiosity. It started flooding from the stern, immediately and I had to take it out of the pool I put it in. I would never even try to float one that I built (including the one actual pond sailer I built).
-
@wefalck Thank you very much for the information! It is very greatly appreciated! There are two emplacements in the bow: The gun trajectories are marked on the main deck plan. Thank you very much!
-
Nicely done!
-
Welcome!
-
Welcome!
-
Looking good! If in future builds you would like to make your own sails, I have discovered that muslin works really well for sails. It is a little time consuming but has worked well for me in the past.
- 62 replies
-
- 1
-

-
- amati
- greek bireme
- (and 1 more)
-
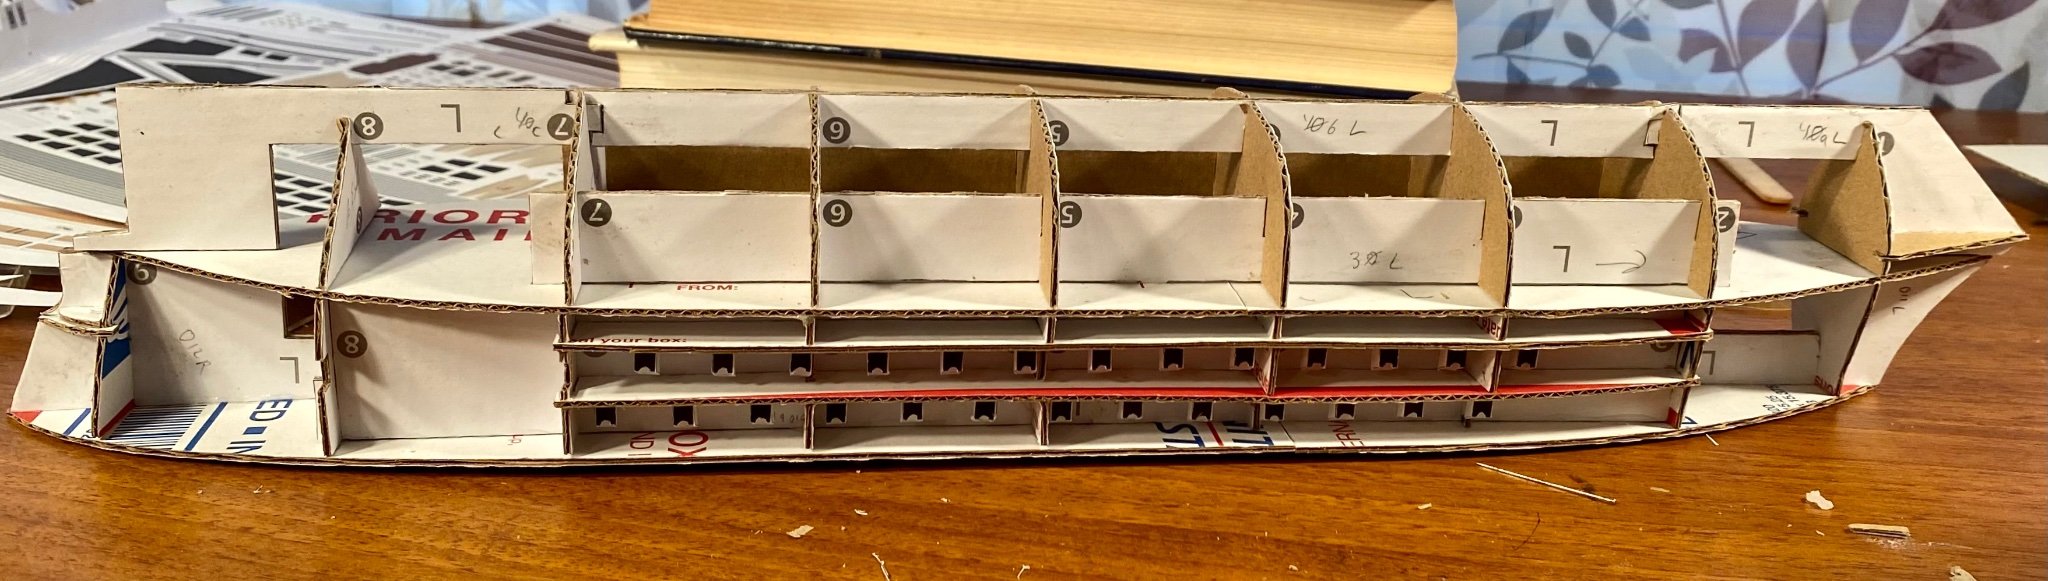
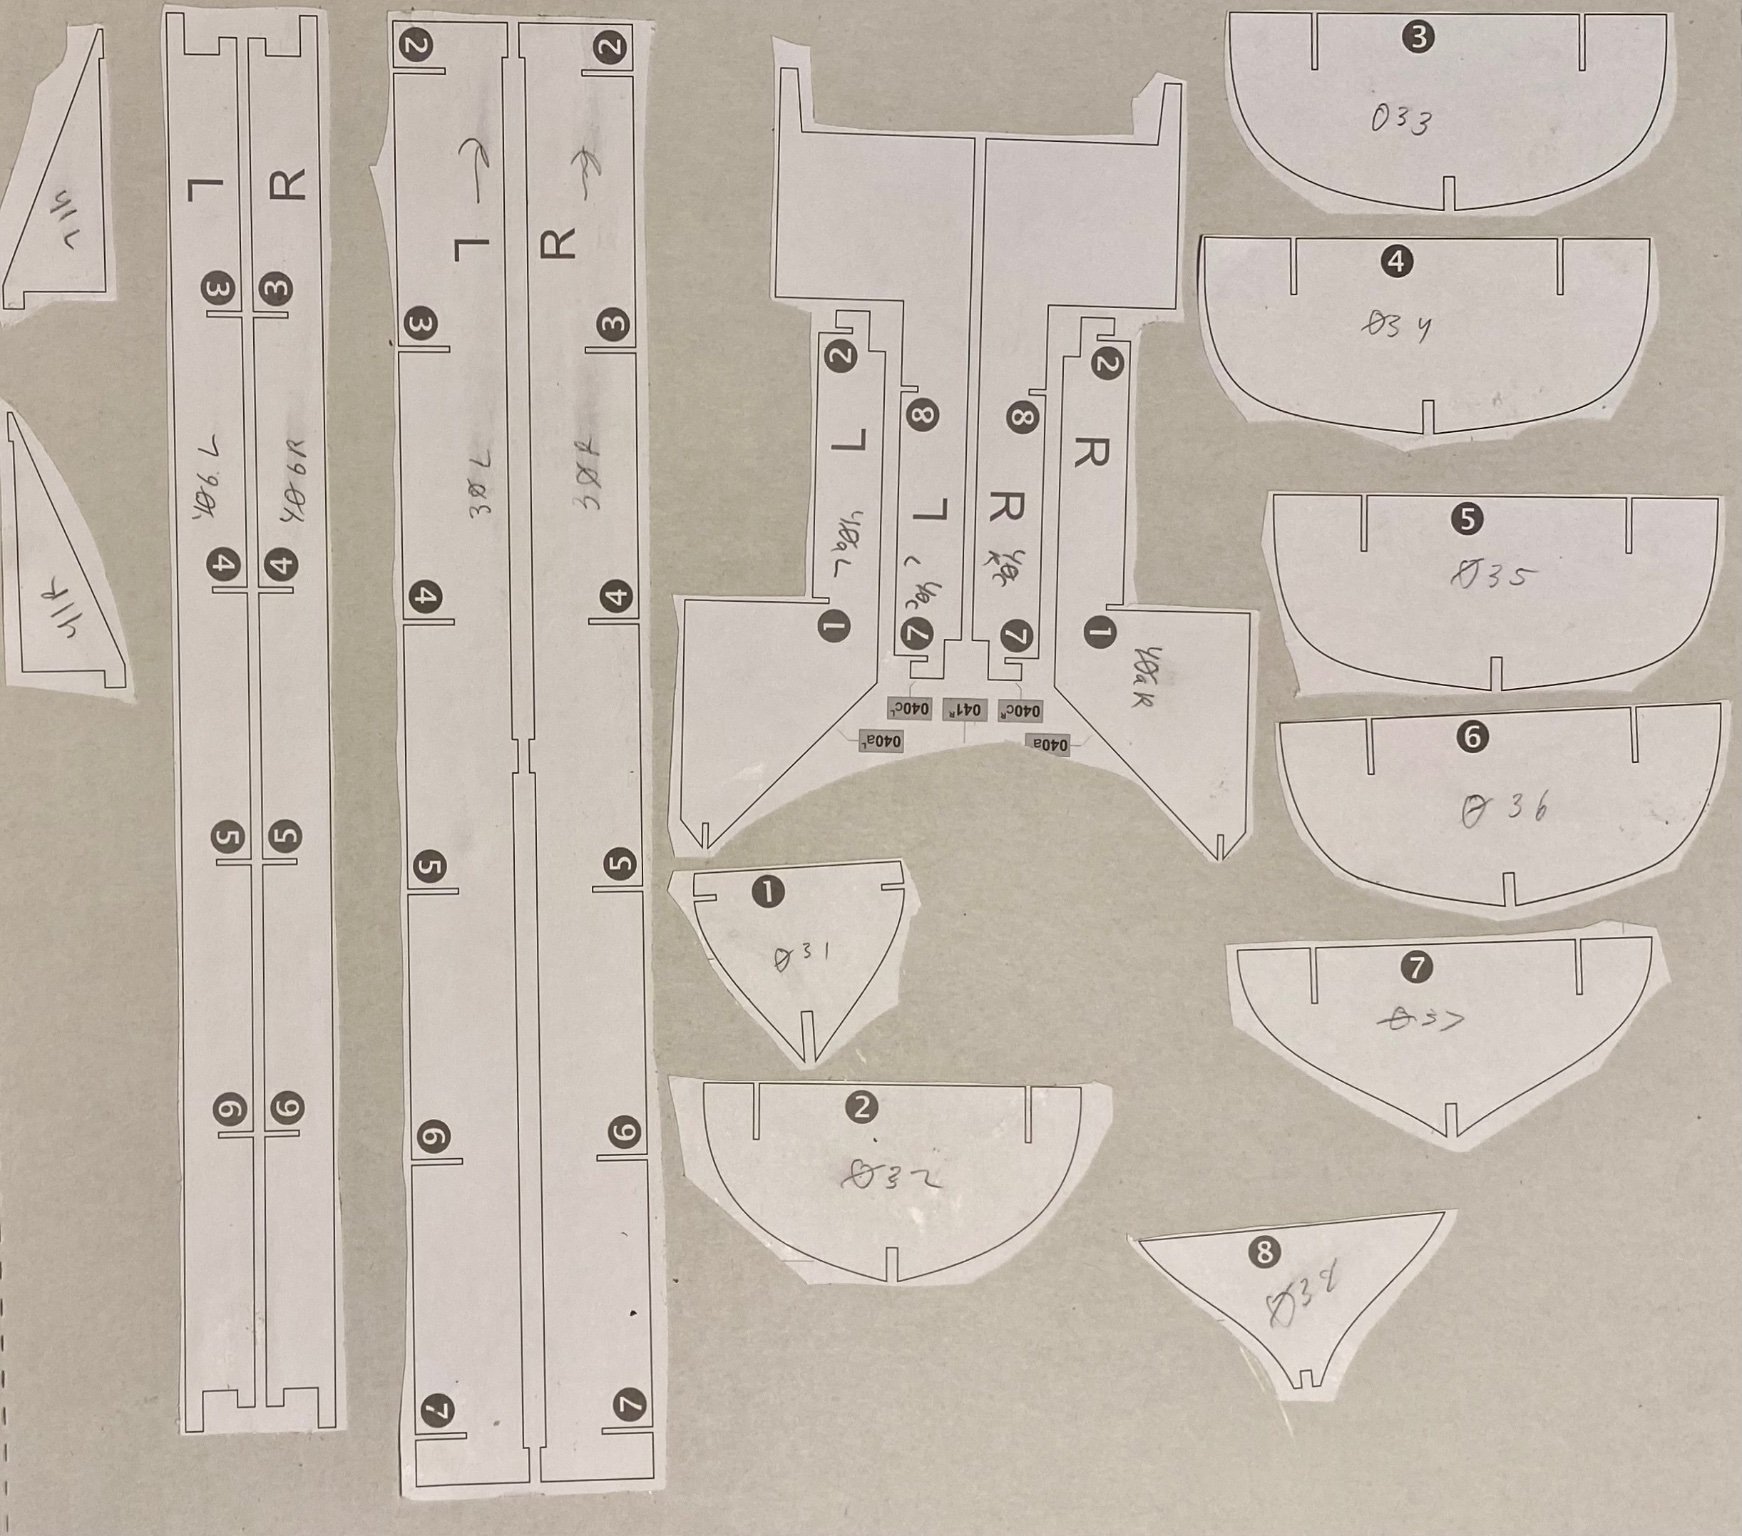
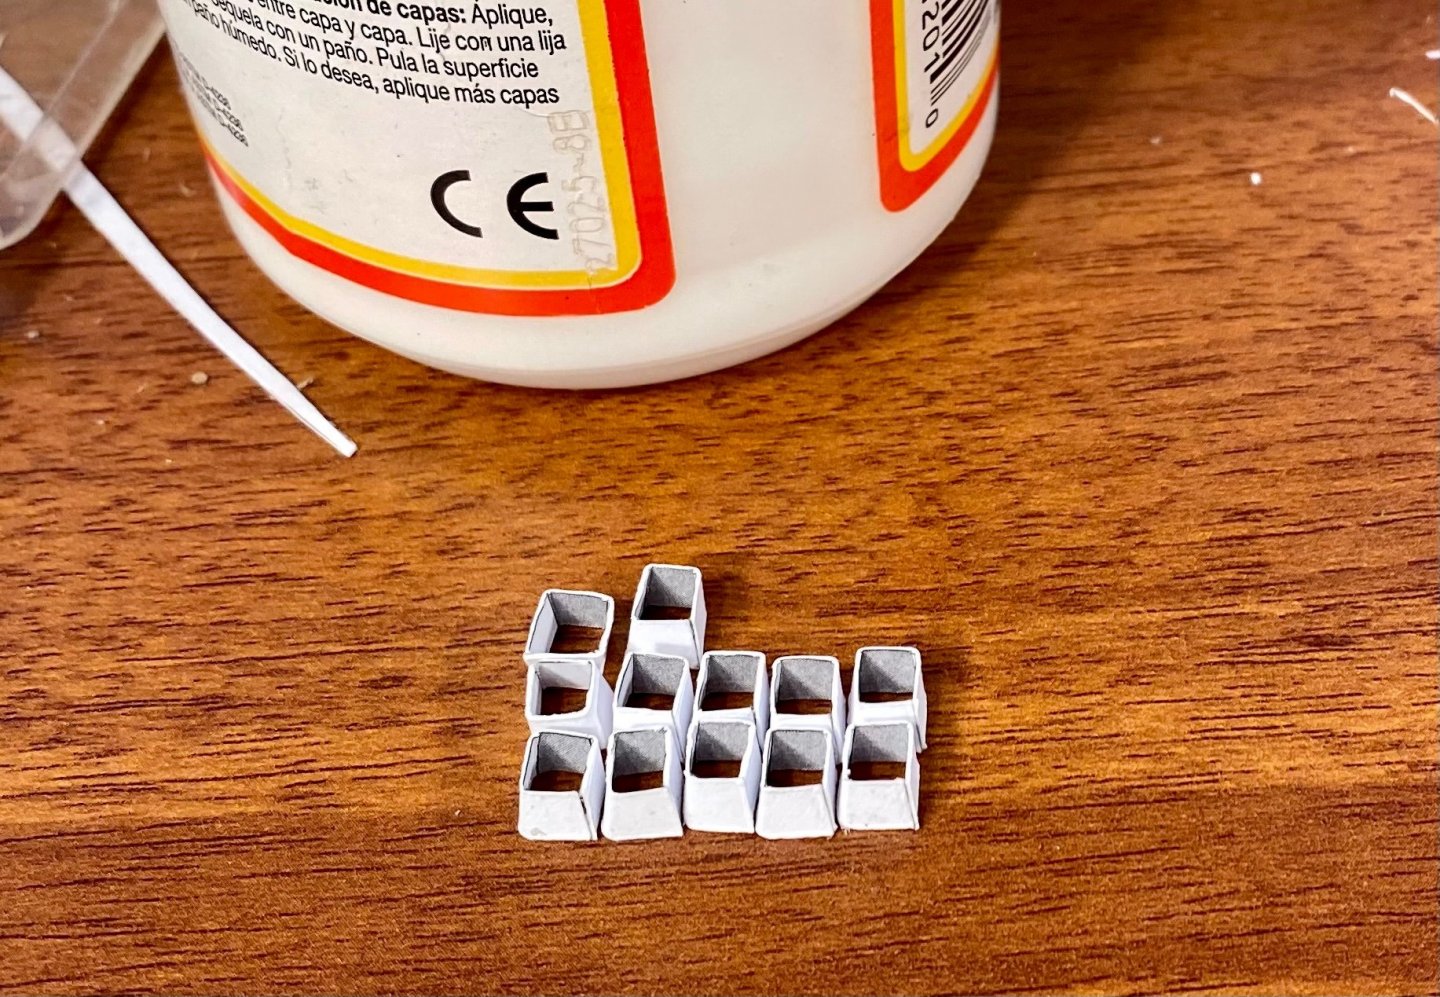
The first part of the upper hull consists of cutting out and assembling all the window/gunport frames. There are around 90 of them. I’m assembly lining them. The Magentas were essentially two-deckers fitted with steam engines and armored plating.
-
John McKay wrote an excellent book called, The 100 Gun Ship Victory in the Anatomy Of The Ship series. It has been a very useful book for me for my Victory build.
-
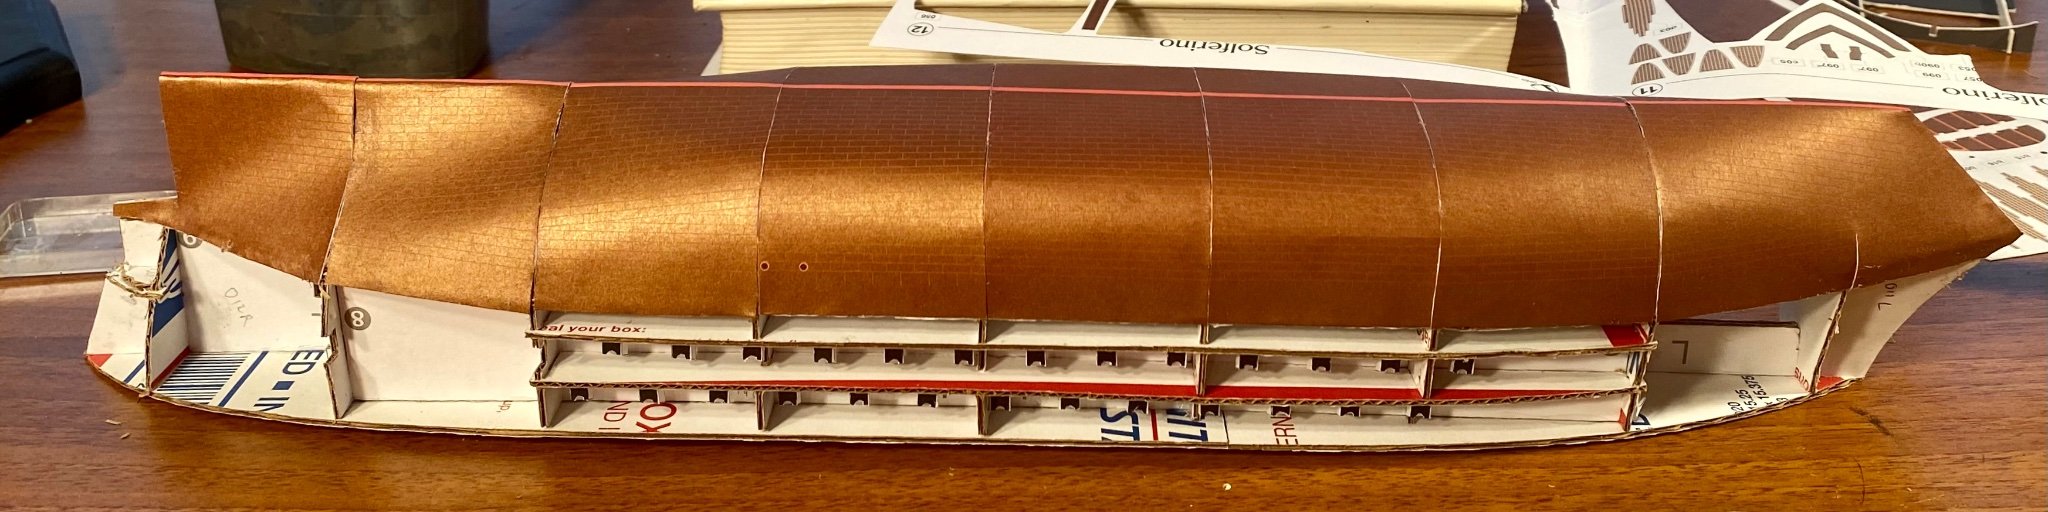
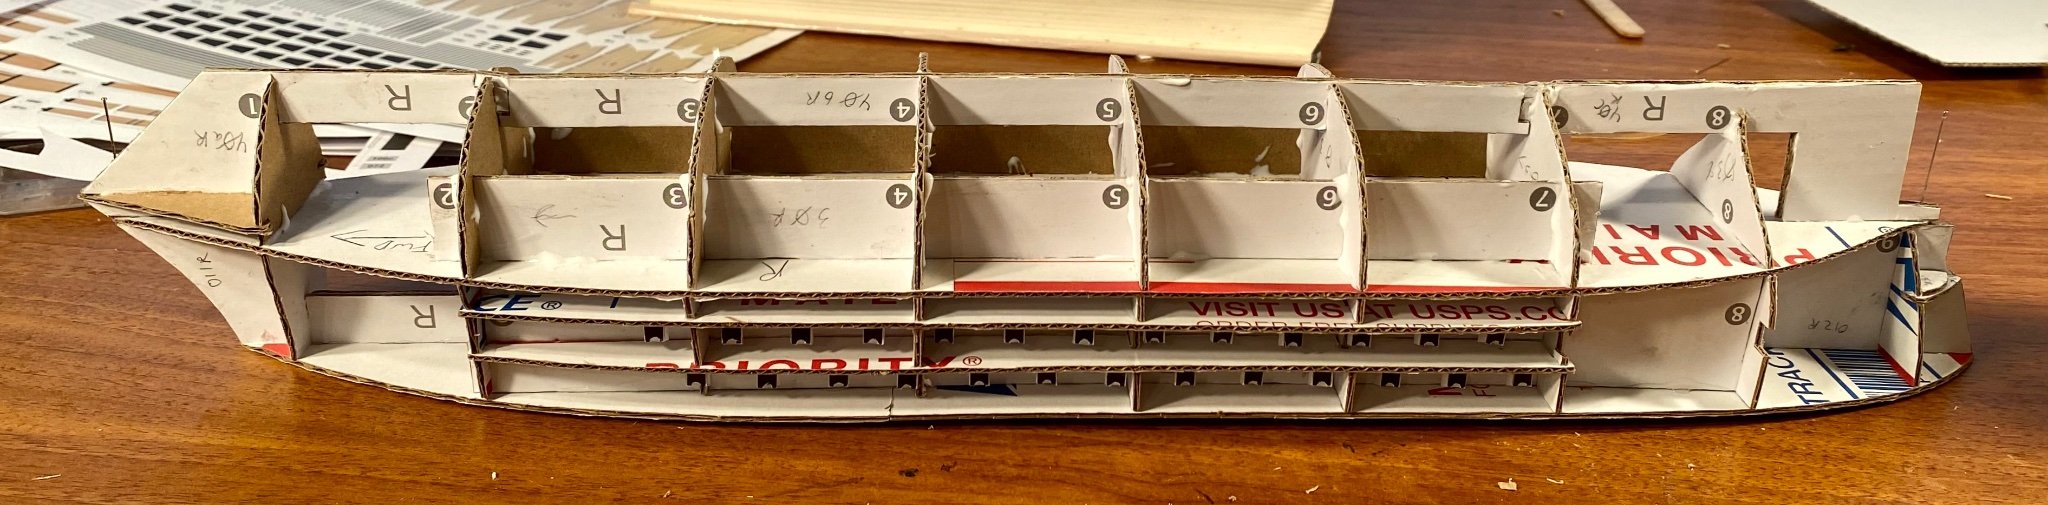
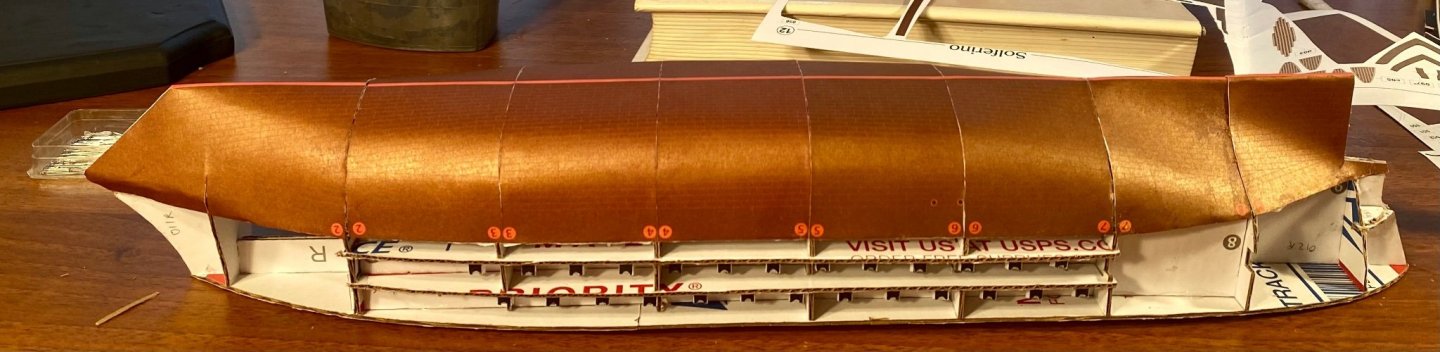
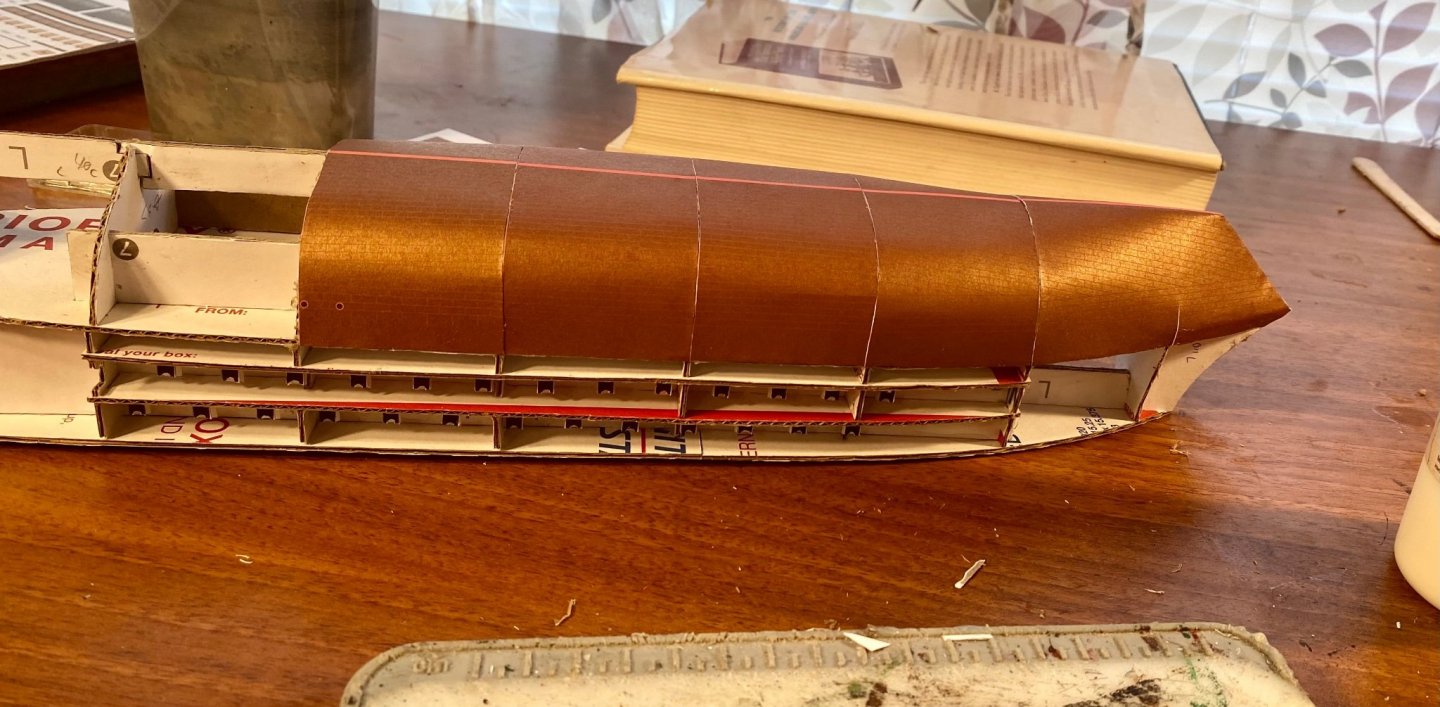
The lower hull is covered: The base is painted: I’m going to start working on the upper hull covering while the lower hull is drying. I don’t want to install the rudder assembly and prop until I decide if I am coppering the hull with actual copper (read most likely). Coppering a hull with copper tape is not overly difficult. It’s just a little time consuming. I still need to make and install the keel prior to coppering, but the lower hull needs to completely drying first. I also have a small amount of starving cow look towards the stern which will need filled and sanded if I copper. However, I need the upper hull in place before I copper so I know where to place the upper bands, especially considering the armor bands Solferino and Magenta carried around the waterline. All of this information will get transferred to the builders plan for use on Magenta.

- 278 replies
-
- 10
-
-
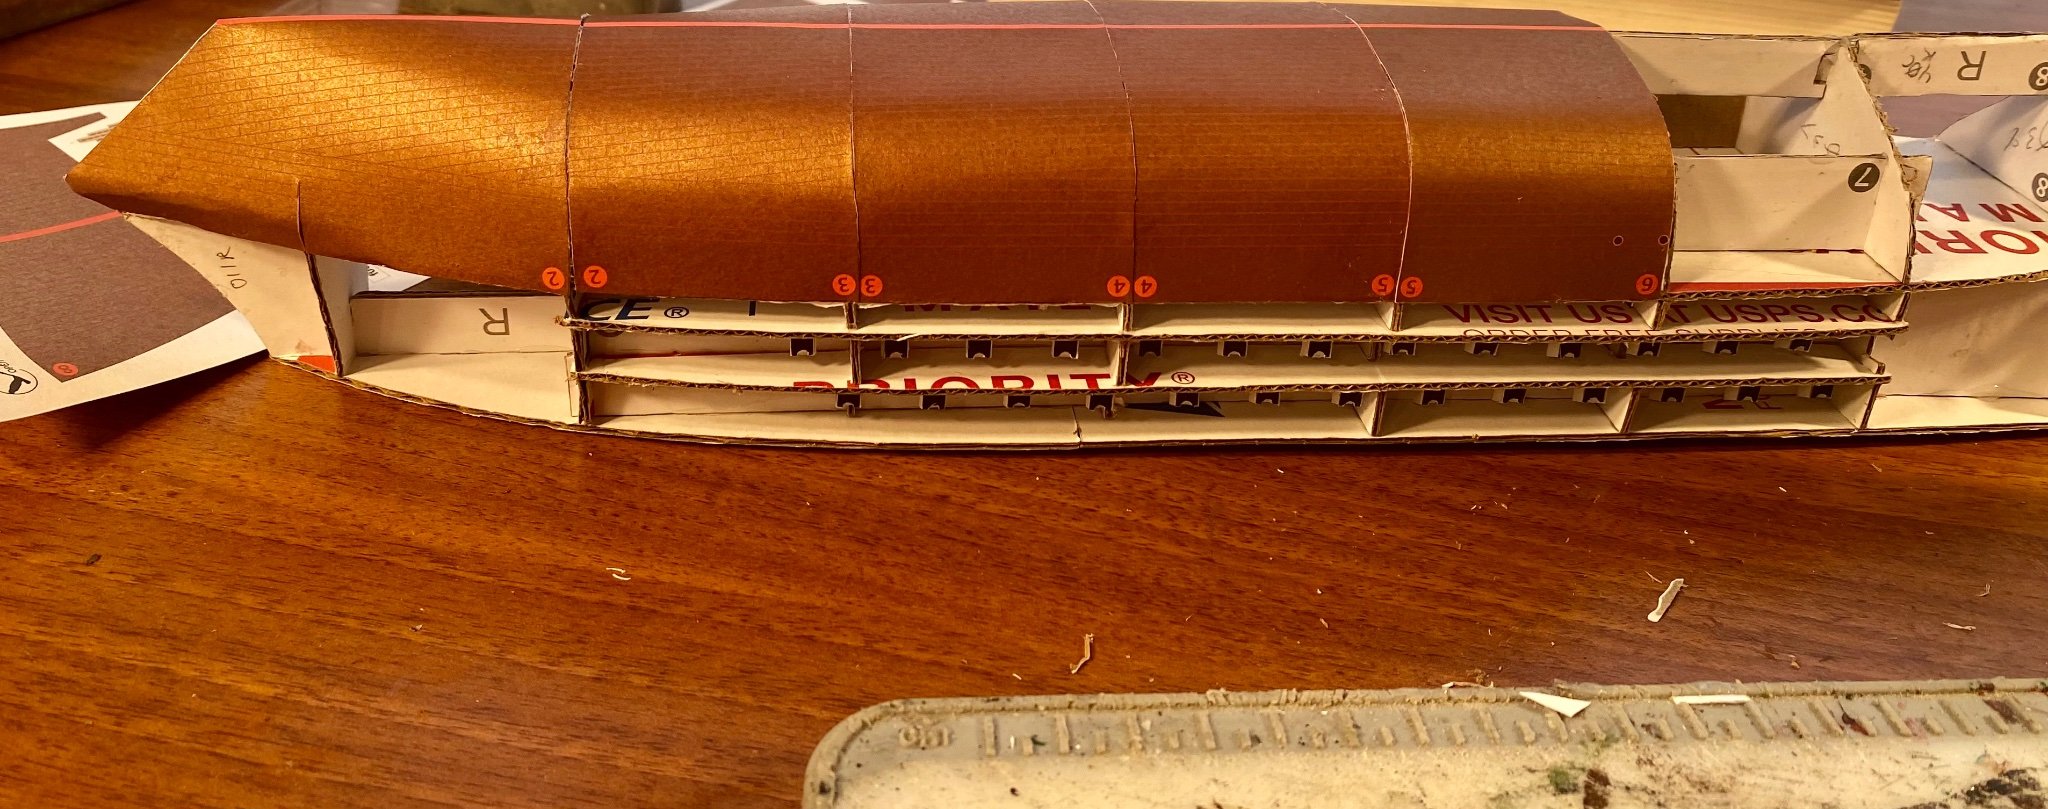
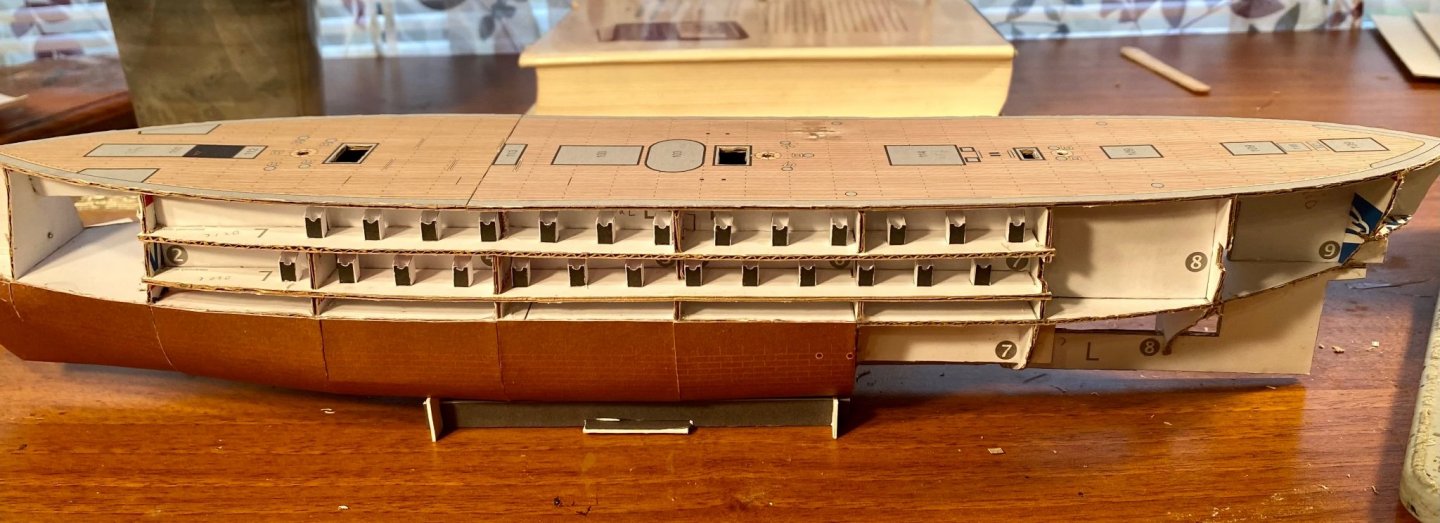
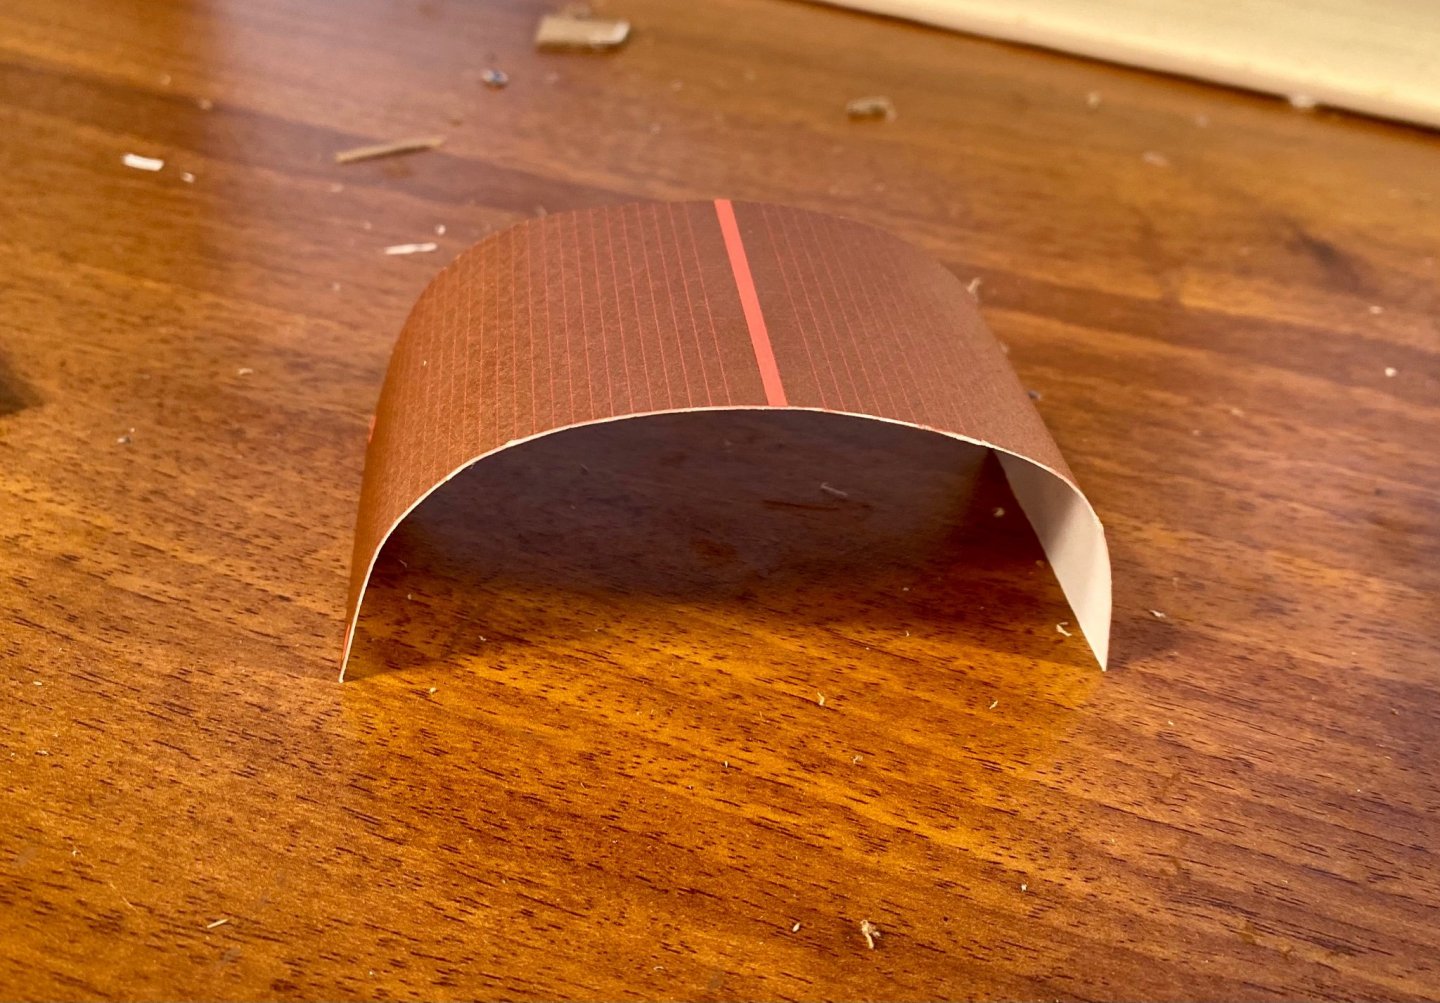
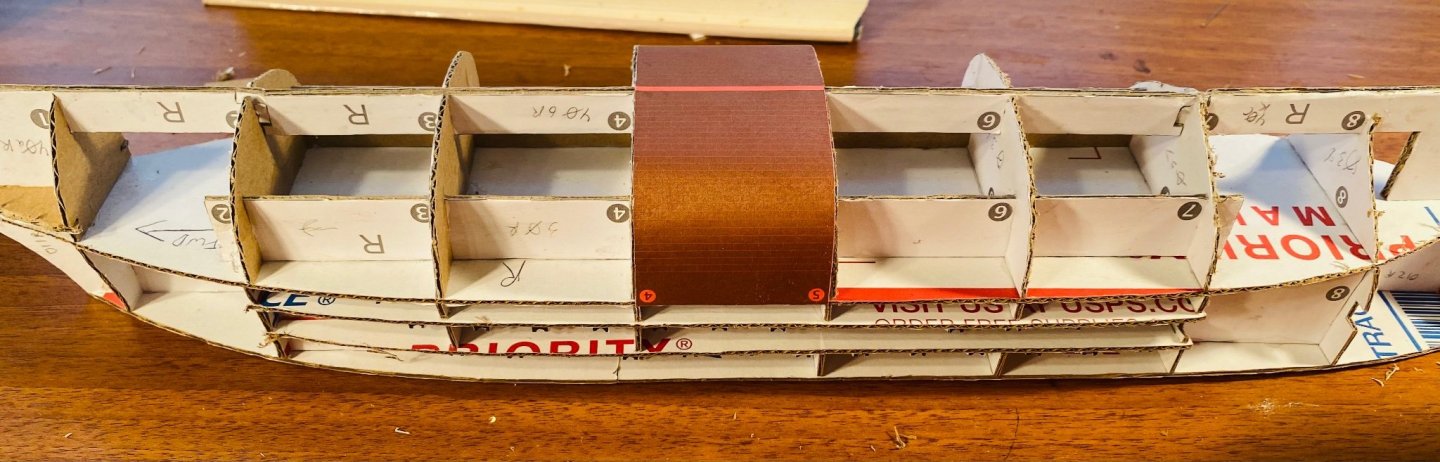
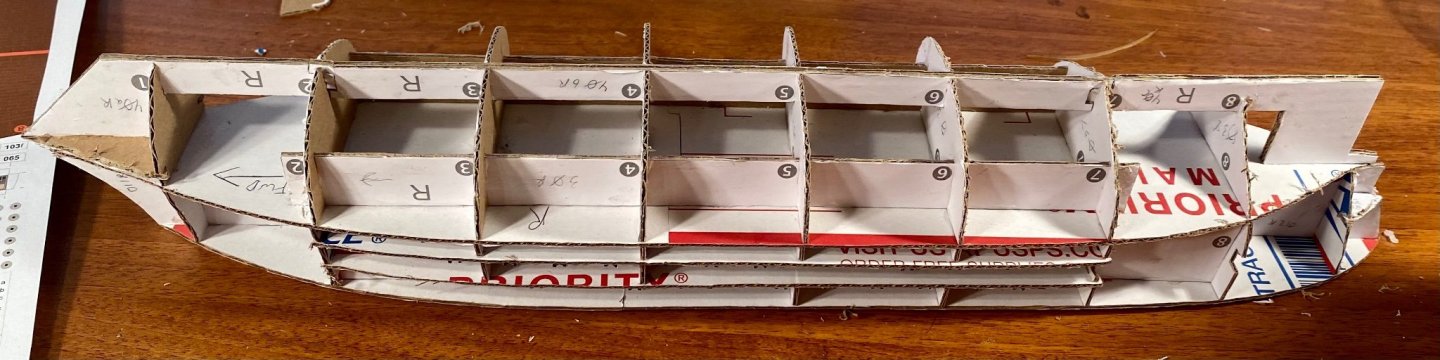
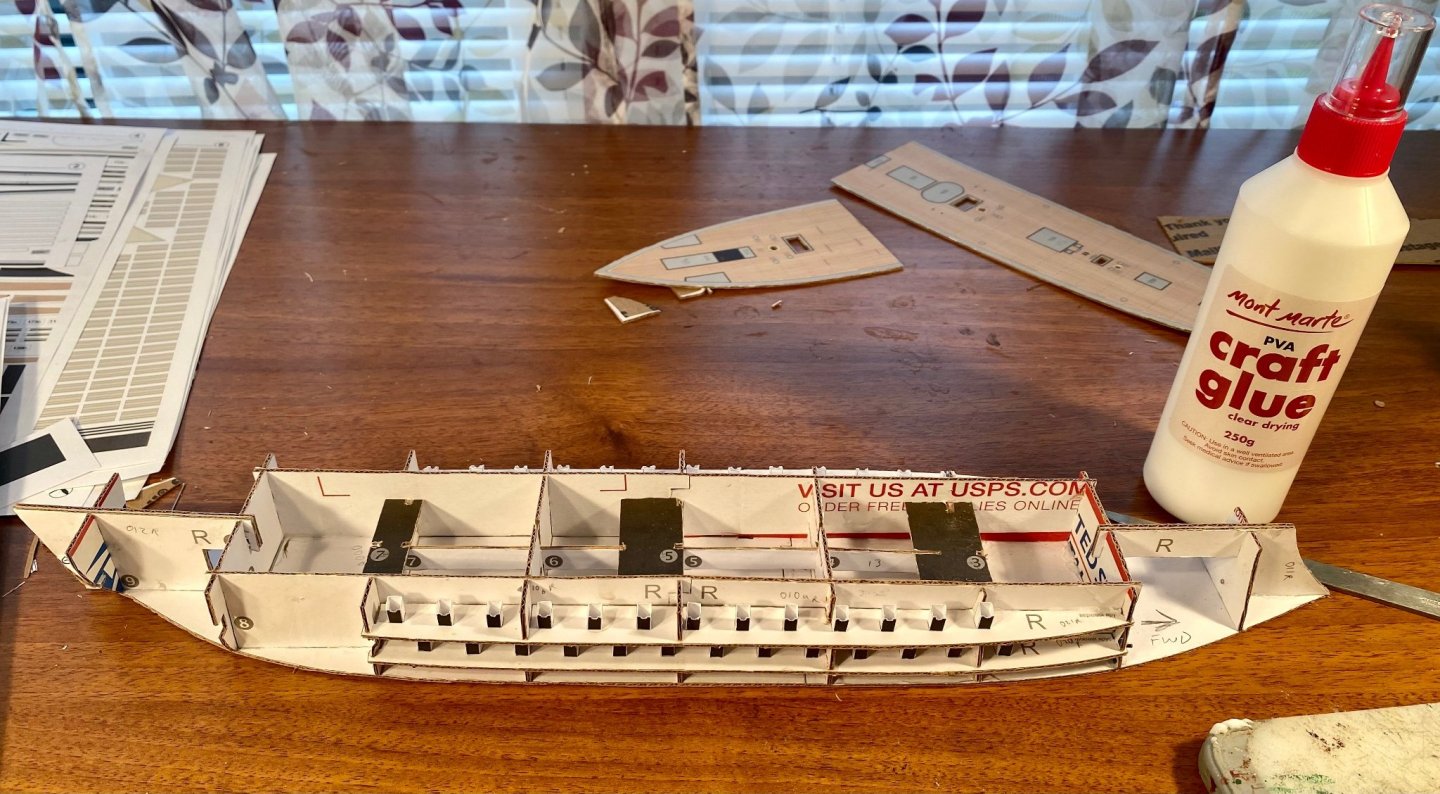
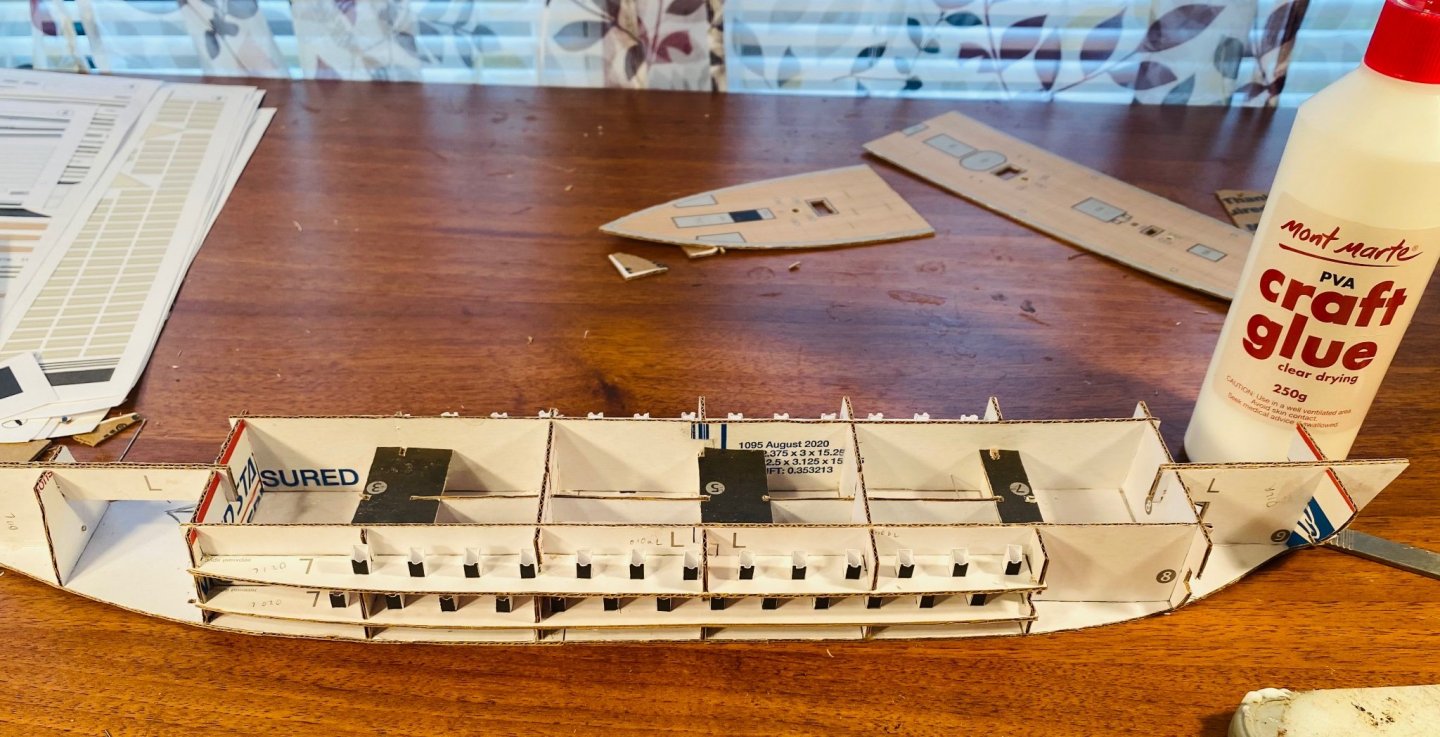
Thank you very much! Thank you to everyone who has hit the “Like” button! I’ve been busy! With card models, just other POB models, one must fair the hull. Card models are a little easier, because there generally isn’t any sanding involved. A member of this forum taught me long ago to preshape pieces before installing them: There’s the test installation of the first hull section: At this point, about 2/3 of the lower hull is covered. The cradle is assembled, using double thickness poster board as the backing: I found a base for the model too. It’s an old plaque that I pulled out of a junk box. I am going to paint it black and gloss coat it. Plus, I have my first major setback. I damaged the deck by accidentally setting it on the stick that I’ve been using to apply glue. I will have to get creative to fix this. Lastly, I bought some more copper tape to copper Magenta’s hull. I may copper this one too after I completely finish covering the hull. I haven’t decided yet. I want to see how this plays out, first.


-
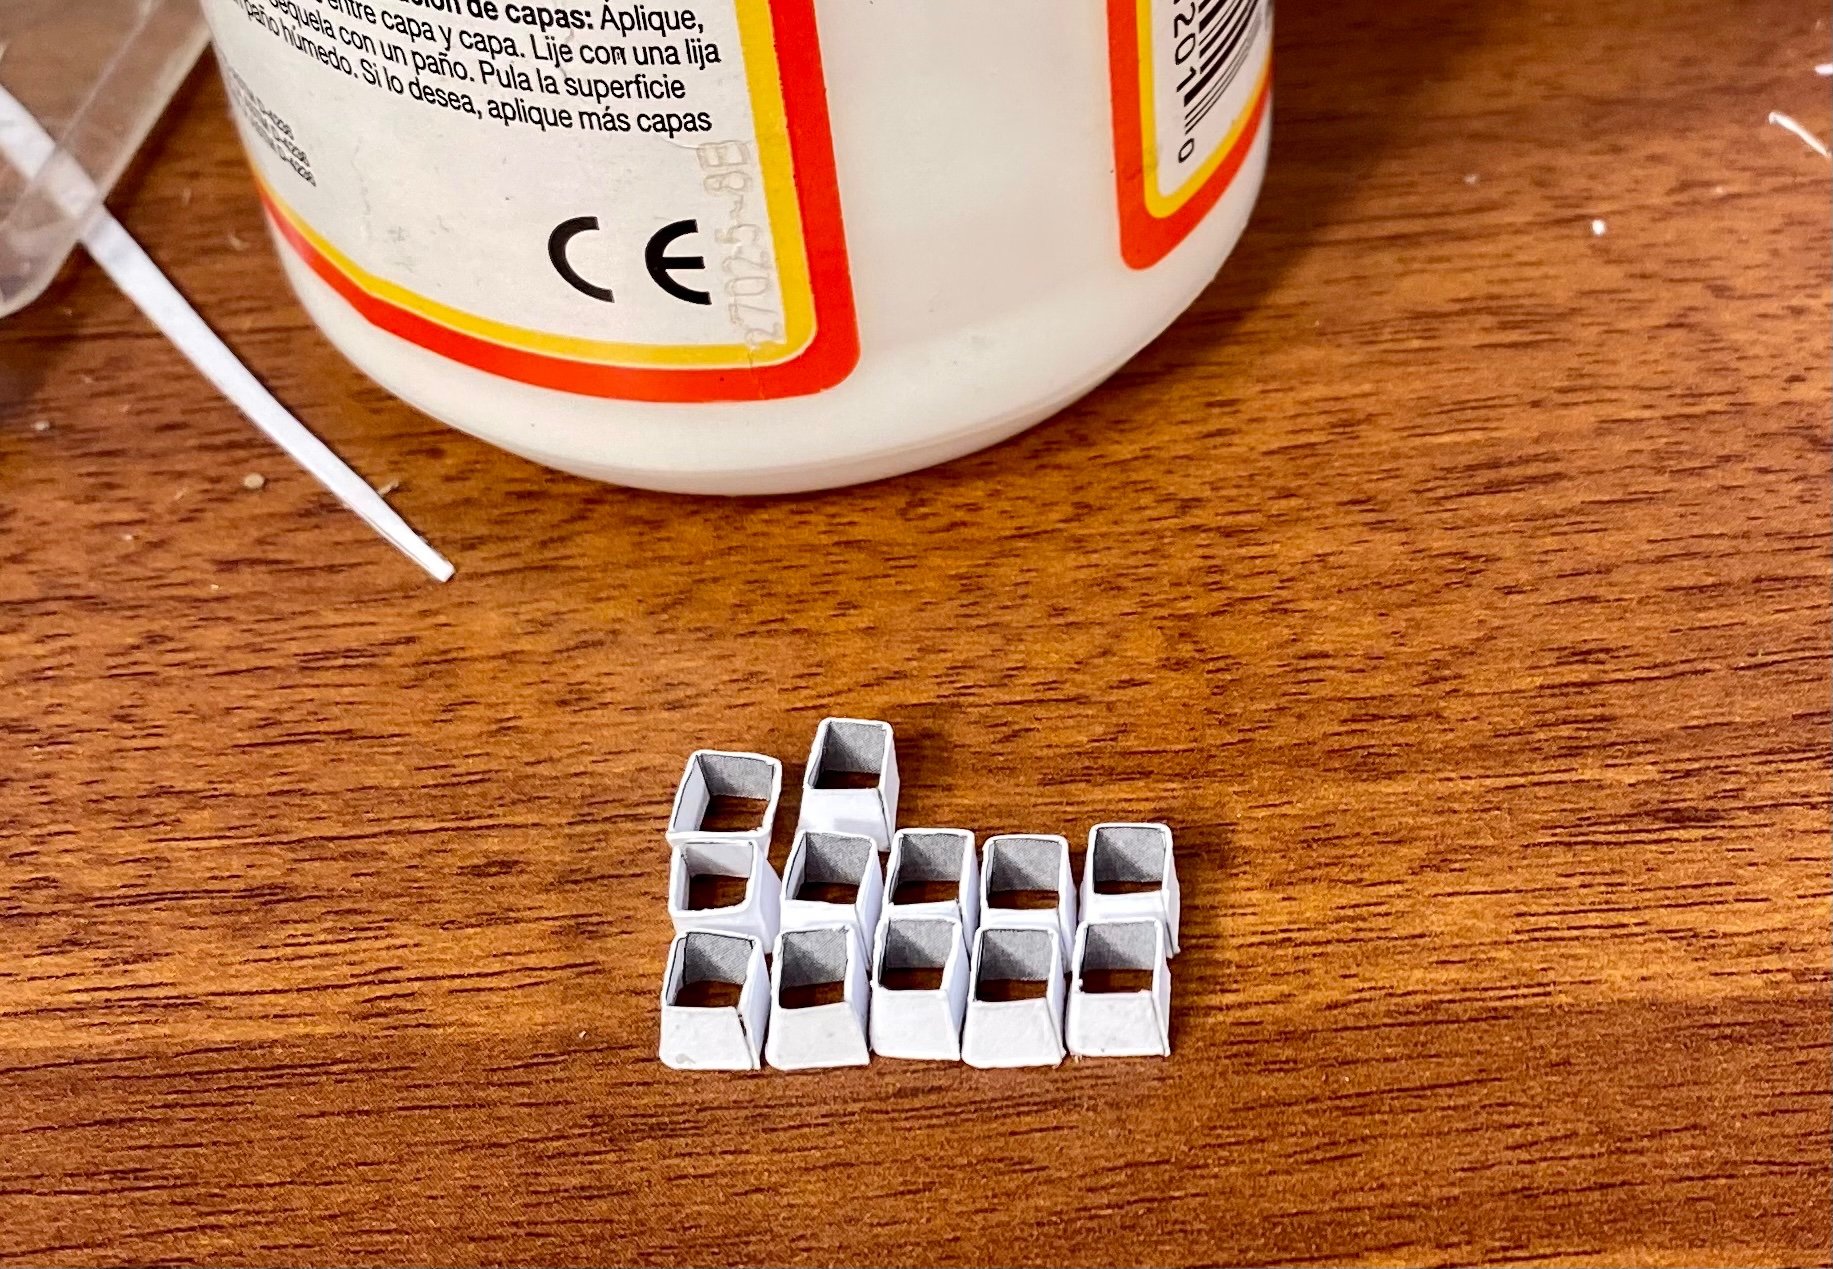
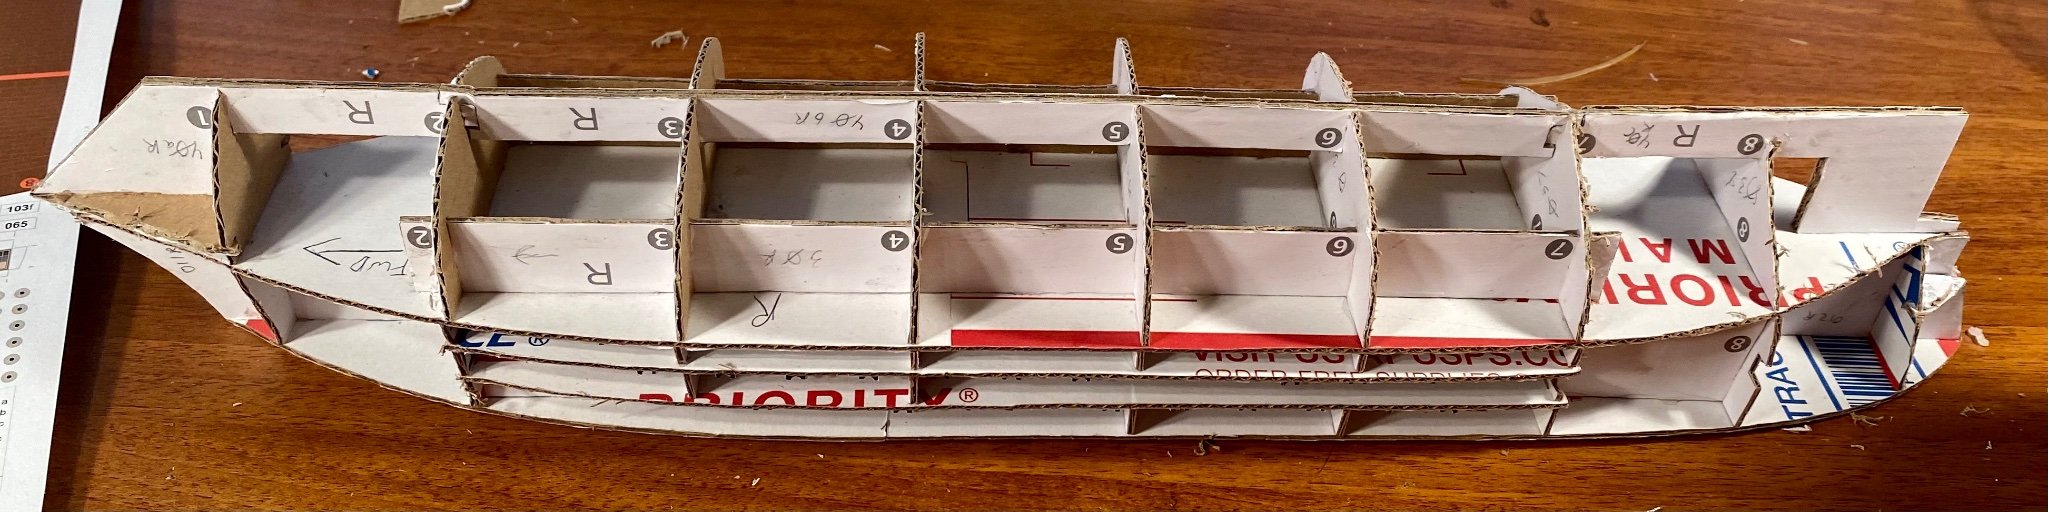
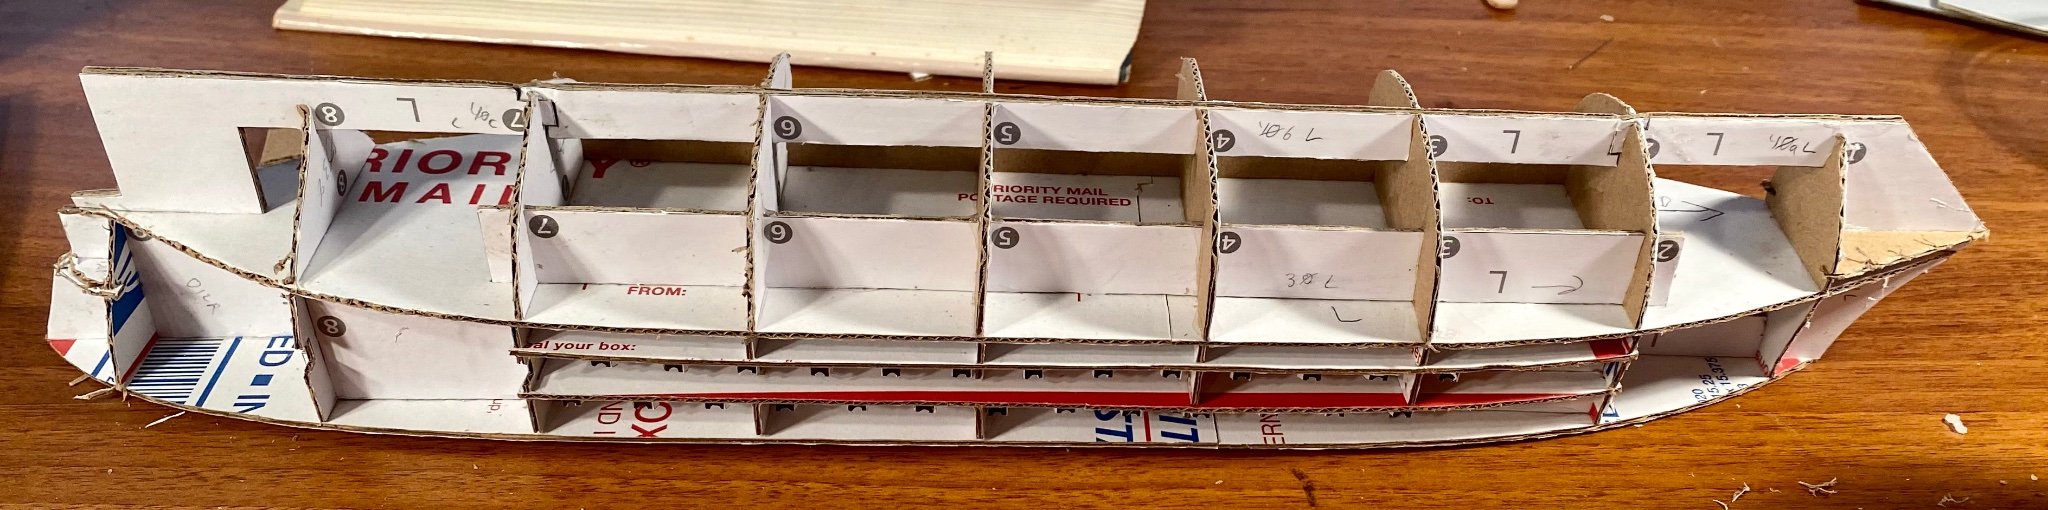
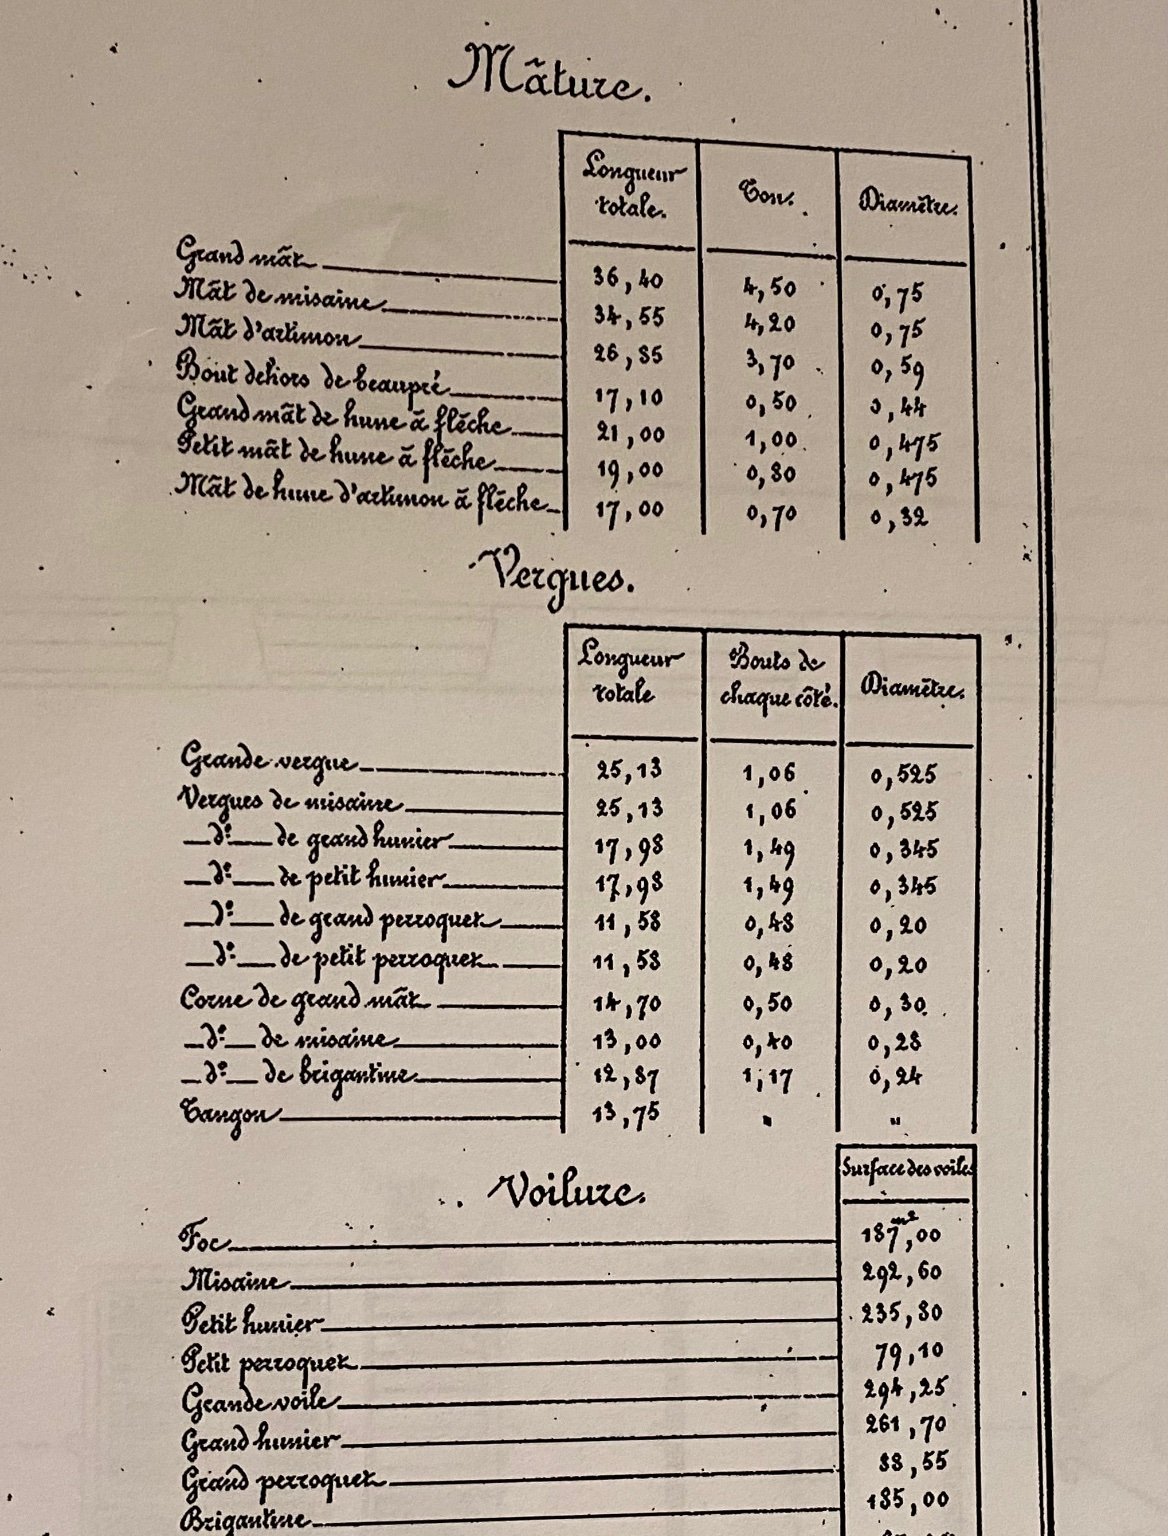
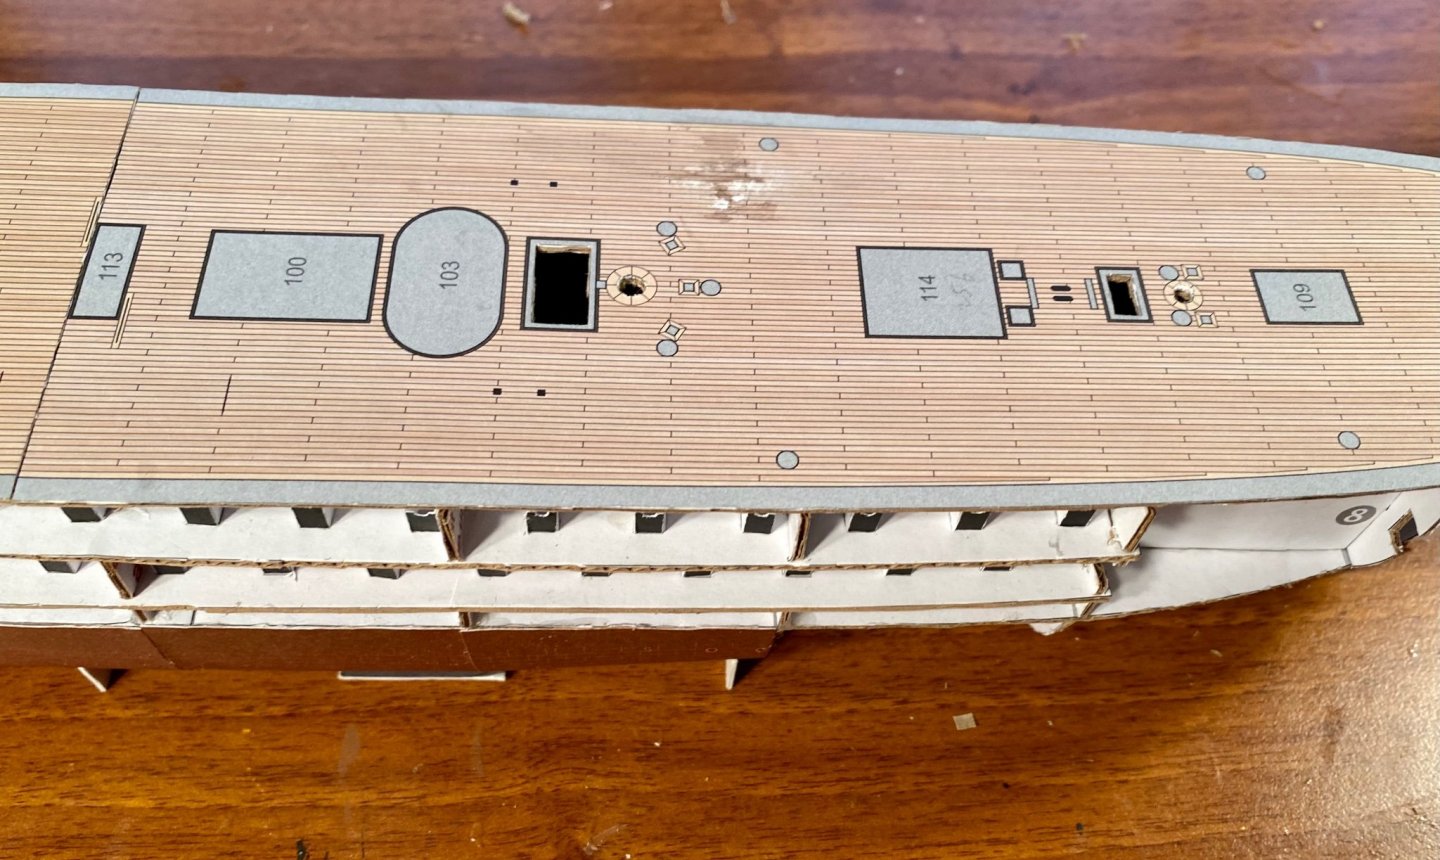
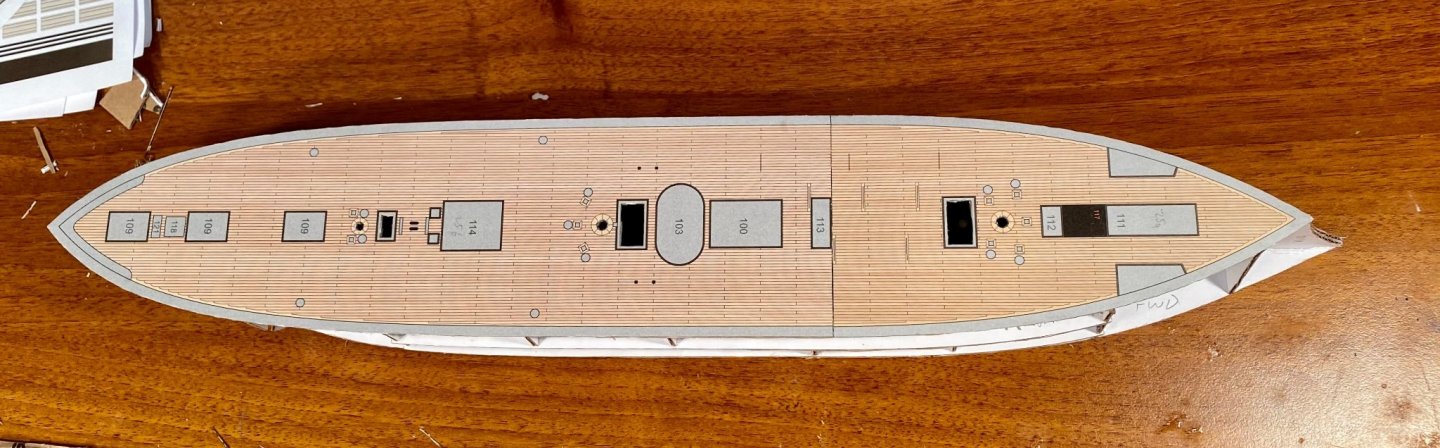
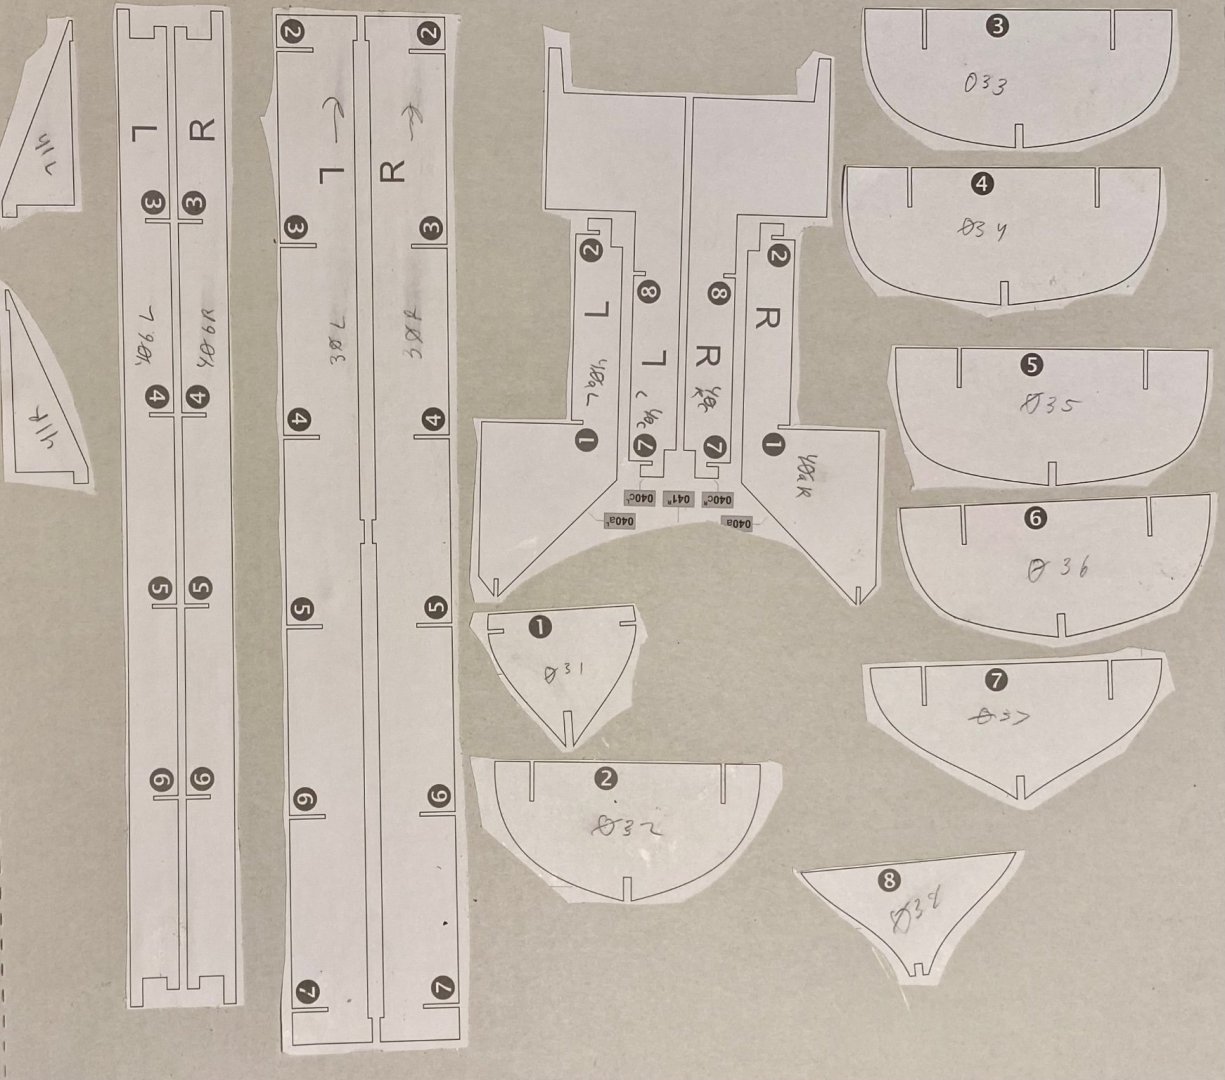
Thank you all for the likes and just for stopping by! The main deck is on: The mast holes aren’t supposed to be cut out, but I am going to use the original masting diagram to mast the ship. That gives the length and diameter of each piece. The dimensions are in meters and go from mast step to the top of the masts. You must account for this or you will have the problem I did on my Prince de Neufchatel in which the lower masts are too long. One side effect here is that I will be using actual deadeyes and making actual ratlines. I also have 600 very small blocks that will work beautifully for the rigging. Currently working on cutting out the lower hull pieces and laminating the double thickness pieces. The framework for the hull is a lot more complicated than the one I made for my Hannah, but so far this has been a very similar process. I use these logs as much for myself, as I do to share. I have been taking notes in each of my build logs to use for later models. That’s part of my learning process.

-
Thank you all for the likes and just for stopping by! Solferino’s lower hull: Now, to put it under glass for the evening!
-
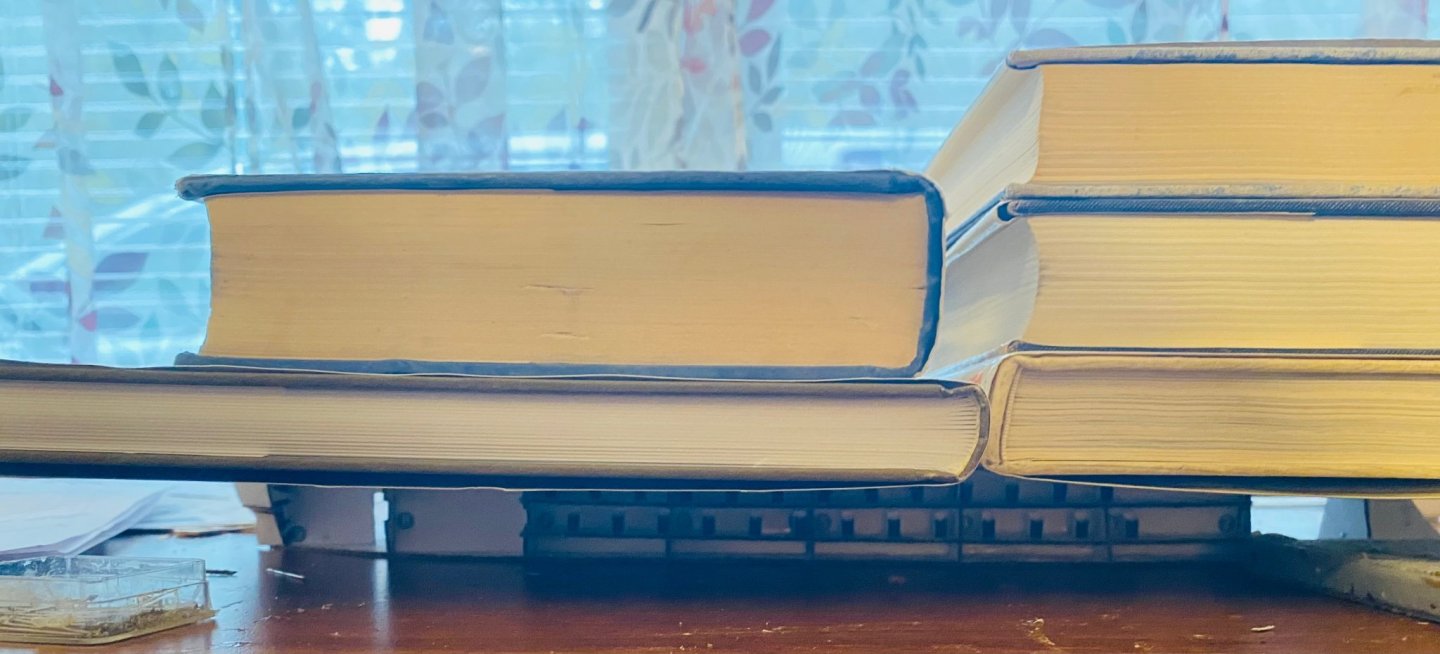
Dummy carriages on on: The main deck is currently drying underneath a small part of my library: Hopefully, I made deck thick enough to avoid the starving cow look, although I should probably have used poster board for the deck itself. That’s what I did for Hannah (corrugated frame with poster board decks) and it worked well. Oh well, too late now, lol. In all seriousness, the corrugated cardboard worked a lot better than the multi layered poster board that I used for the Prince de Neufchatel. Also, the Mont Marte PVA glue is great for card models. It doesn’t make a mess of the printed part of the model like the American equivalent does.
- 278 replies
-
- 10
-