GrandpaPhil
NRG Member-
Posts
6,139 -
Joined
-
Last visited
Content Type
Profiles
Forums
Gallery
Events
Everything posted by GrandpaPhil
-
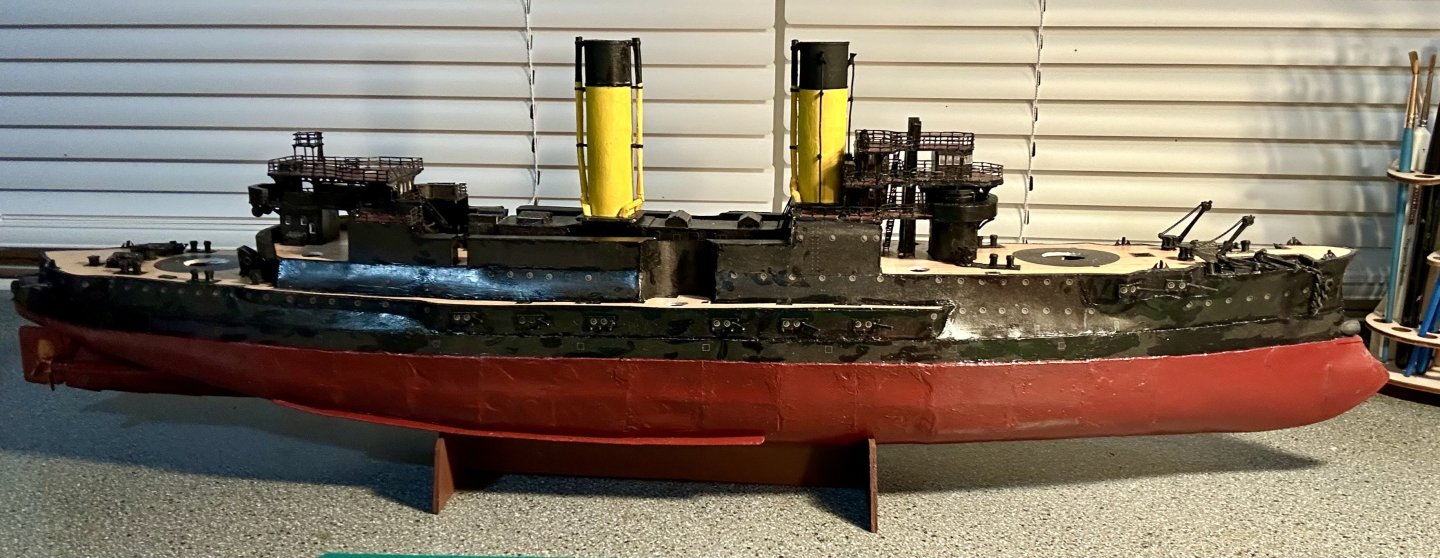
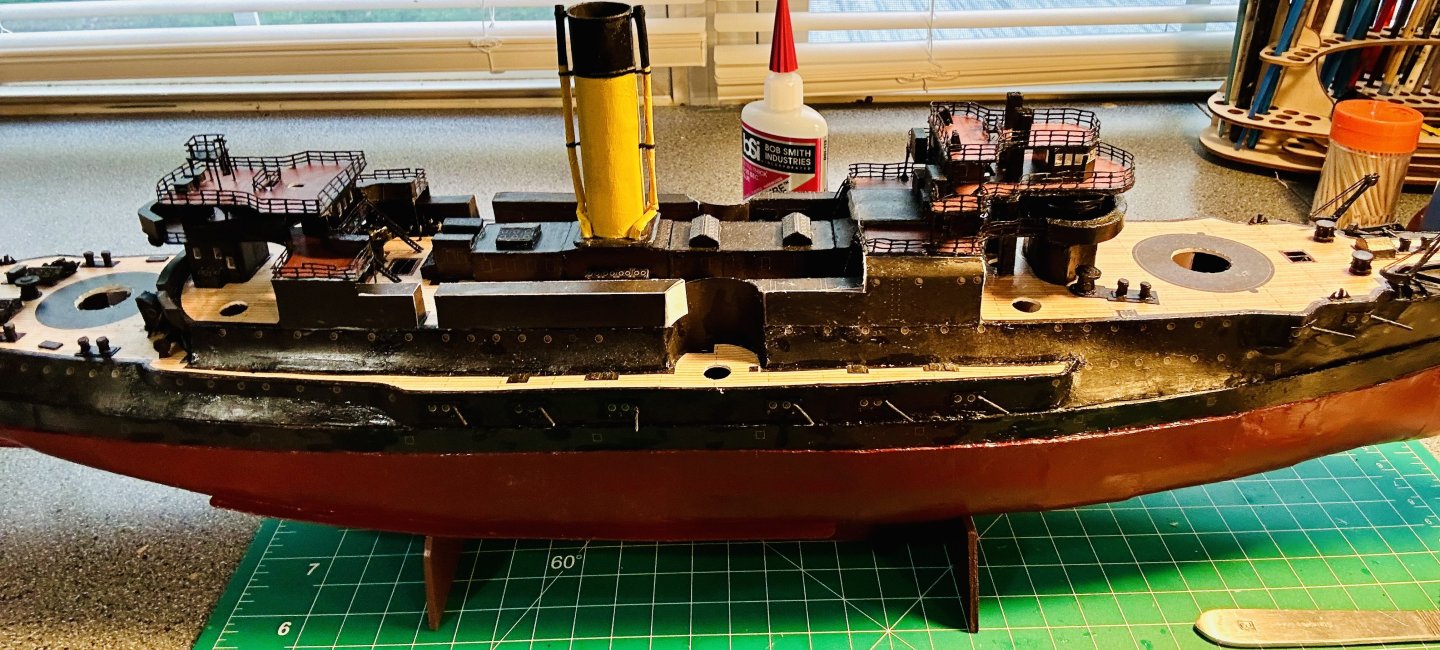
Keith, Thank you very much! Keith, Thank you very much! This one has been a fun learning experience! All bulwarks are now installed, painted and sealed! The forward stack is now on too! Waiting on the amidships platforms to dry so I can finish cutting them out and assemble them!
- 288 replies
-
- Card
- Pre-Dreadnought
-
(and 3 more)
Tagged with:
-
Welcome!
-
I’m looking forward to this one! The Golden Hind is another of Drake’s ships (along with the Revenge) and is one that I have had a strong interest in. I actually used pictures from below decks on the reconstruction of the Golden Hind in London as part of my reference material regarding gun carriages for my Revenge.
- 46 replies
-
- Golden Hind
- airfix
-
(and 2 more)
Tagged with:
-
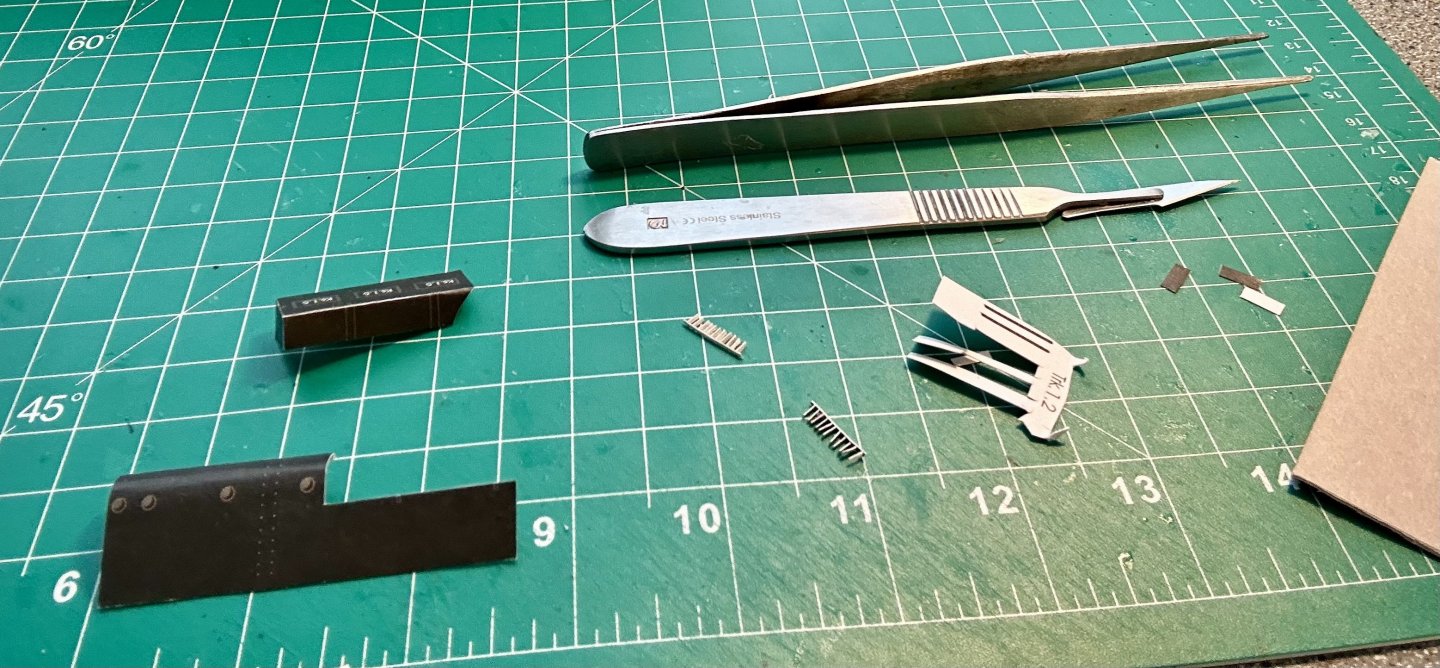
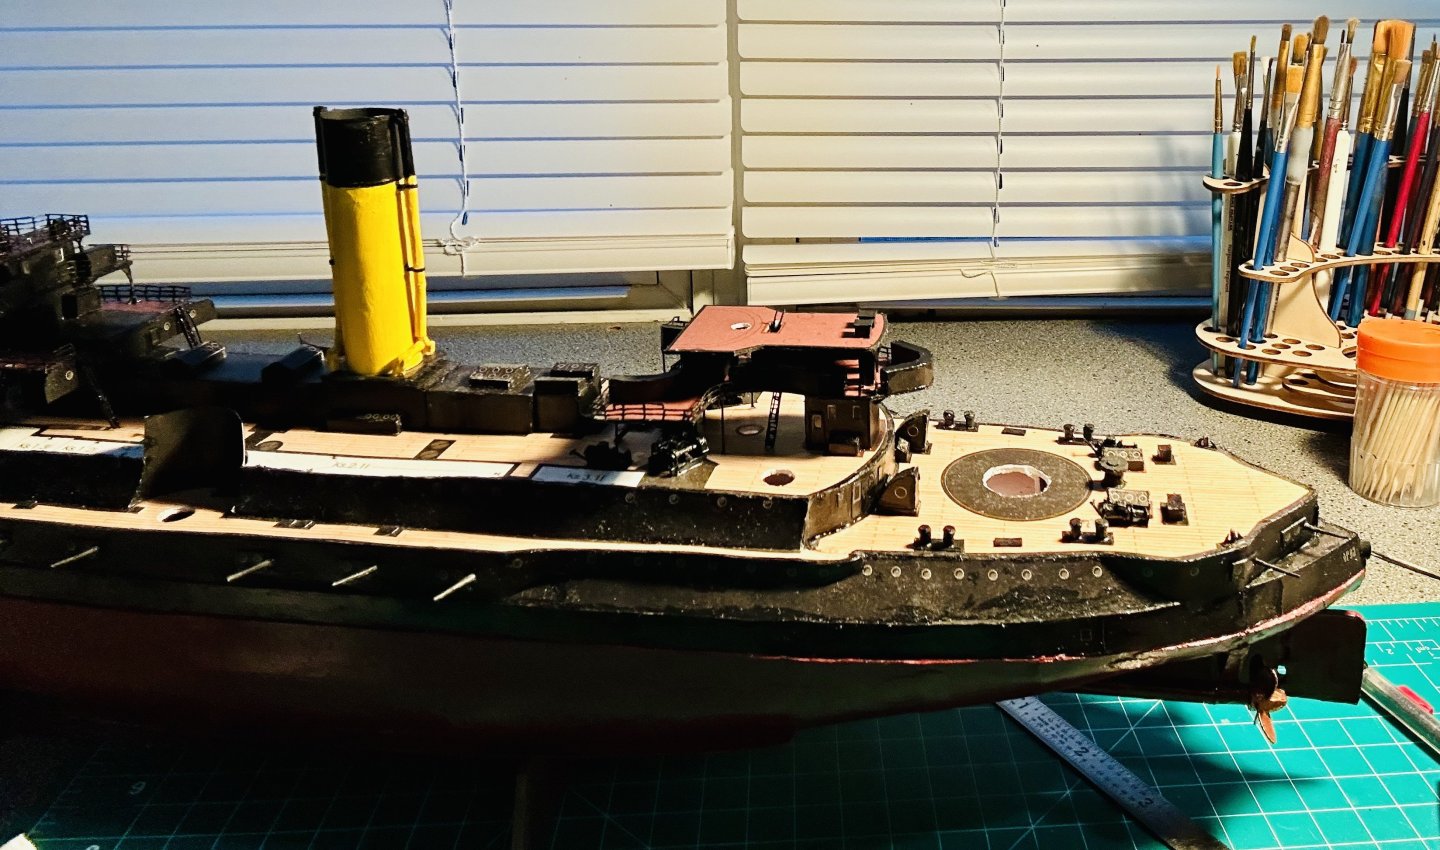
Steve, Thank you very much! Oryol is starting to look mean! This has been a very neat project for me! Alan, Thank you very much! Jeff, Thank you very much! I greatly appreciate the compliment. I used thread with steel pins on my Solferino and they worked well. Your Baltimore looks amazing with all the 3D printed upgrades and the railings! I can only cut these out because I have a special pair of glasses specially ordered for this hobby. Mark, Thank you very much! I am learning and continually improving! OC, Thank you very much! I have finished making the amidships bulwarks: They still need edge painted and some touch up painting to cover repairs on mistakes made early in the build.
- 288 replies
-
- Card
- Pre-Dreadnought
-
(and 3 more)
Tagged with:
-
Welcome!
-
Keith, I hope all goes well. You’re in our thoughts and prayers too! Also, Lula looks fantastic!
- 732 replies
-
- Lula
- sternwheeler
-
(and 1 more)
Tagged with:
-
Incredible work, both on the Royal Caroline and the rest of your collection!
- 883 replies
-
- royal caroline
- ship of the line
-
(and 1 more)
Tagged with:
-
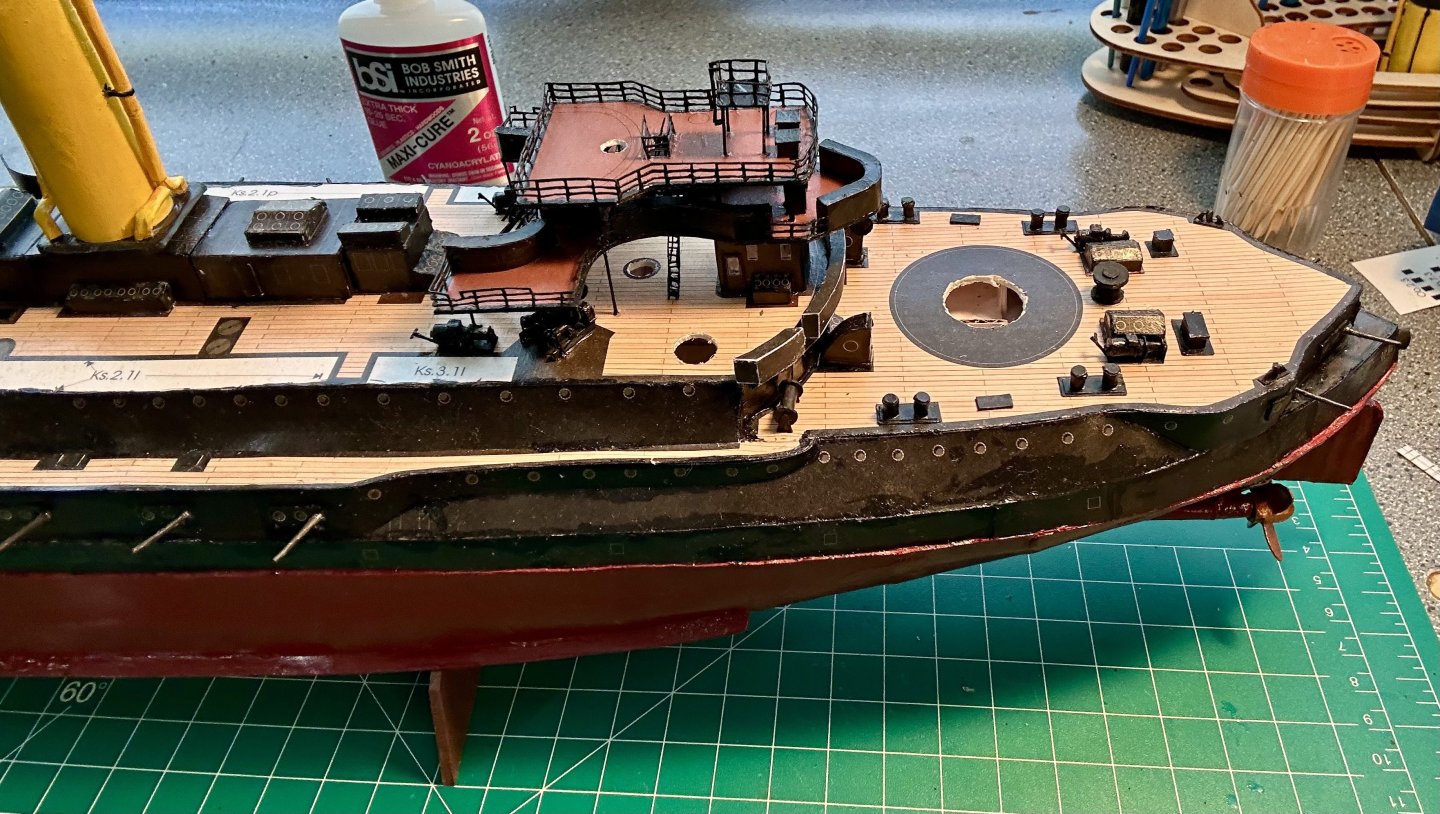
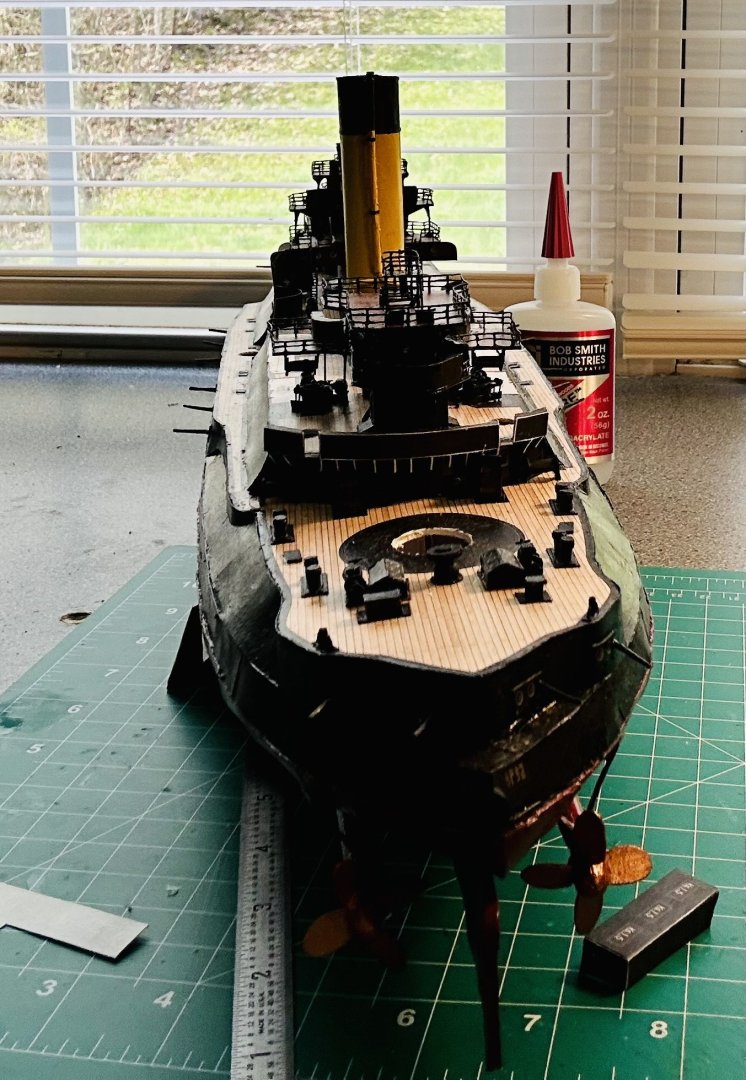
I made some progress! The aft tower is complete except for the 47mm guns and the search lights: I have the aft bulwarks installed: I am working on the port side bulwarks and the aft ladders: The paperwork that came with the model would have you install the middle platforms first, but the middle platforms partially sit on top of the bulwarks so I figured that I’d follow my own experience and install the bulwarks first to save what I see as potential aggravation later.
- 288 replies
-
- Card
- Pre-Dreadnought
-
(and 3 more)
Tagged with:
-
Greeting from Weston-super-Mare
GrandpaPhil replied to JonVonWeston's topic in New member Introductions
Welcome and nicely done! -
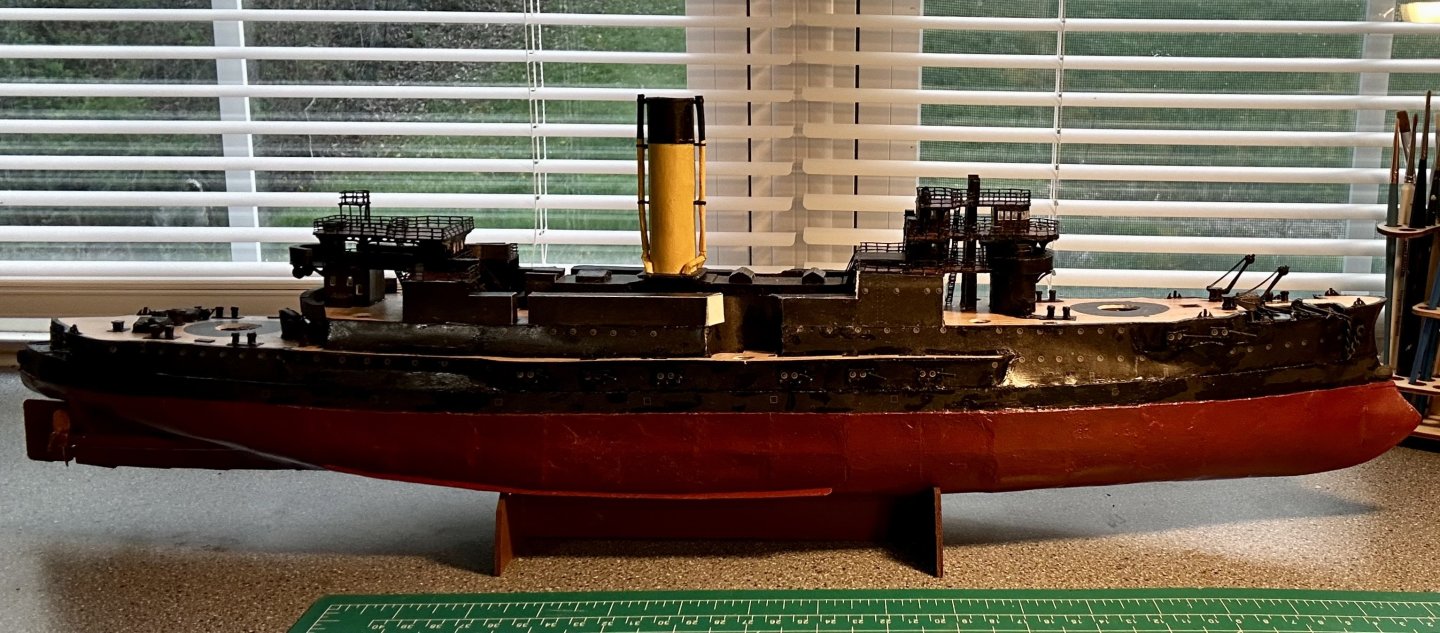
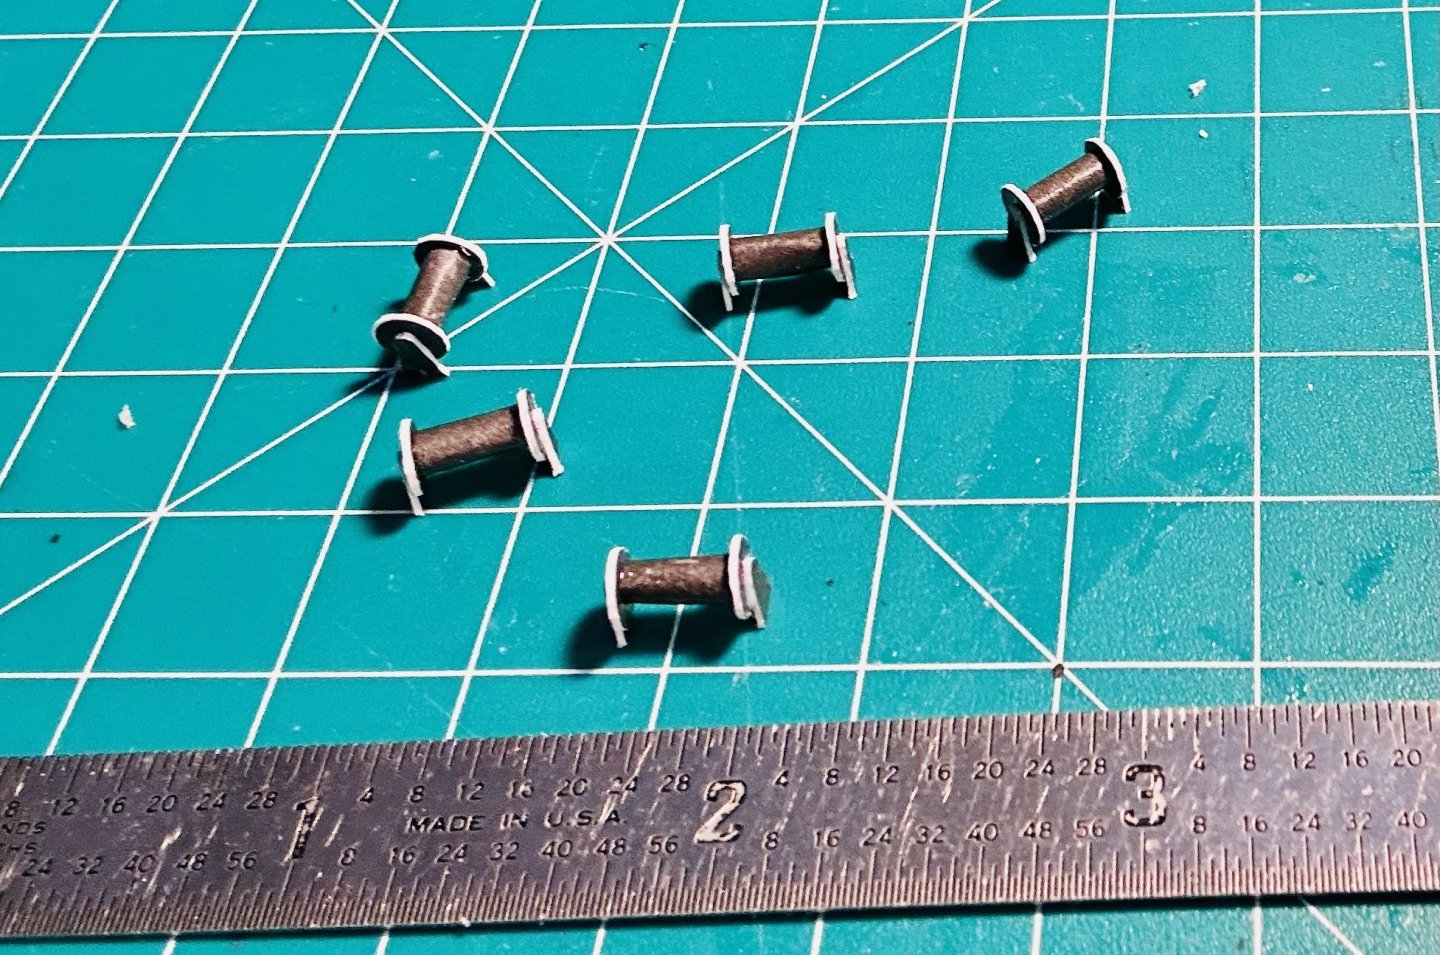
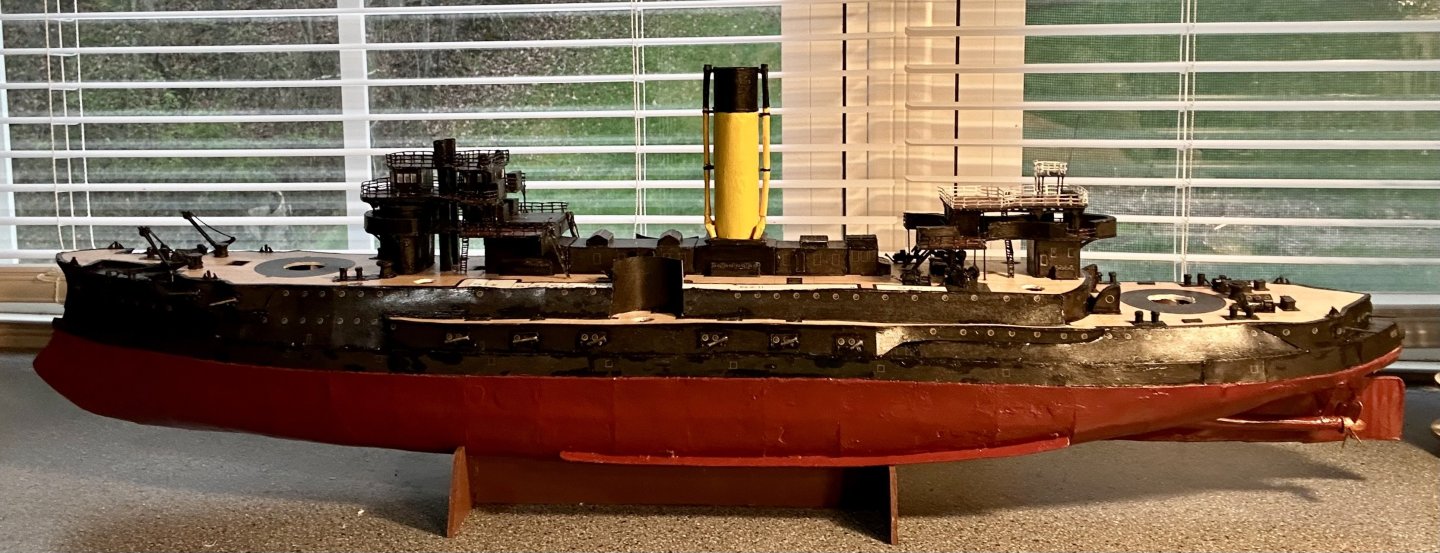
Alan, Thank you very much! They have been a learning curve, but I am getting better at making them! OC, Thank you very much! Mark, Thank you very much! I am very happy with how this model is turning out! The upper deck has railings and an observation platform now! I’ve working on the winches that hang from the bottom deck of the aft tower. I know where three of them go, but haven’t been able to locate the other two on the drawings of the model. Here’s a side shot of the model:
- 288 replies
-
- Card
- Pre-Dreadnought
-
(and 3 more)
Tagged with:
-
Jeff, Very nicely done on the longboat! The sail looks amazing!
- 27 replies
-
- Slavic Longship
- Falkonet
-
(and 2 more)
Tagged with:
-
Did I ruin my brush?
GrandpaPhil replied to MBerg's topic in Painting, finishing and weathering products and techniques
Brushes will stain. Especially with a flat brush, that is just fine. -
Congratulations! Very nicely done!
- 62 replies
-
- prince de neufchatel
- model shipways
-
(and 1 more)
Tagged with:
-
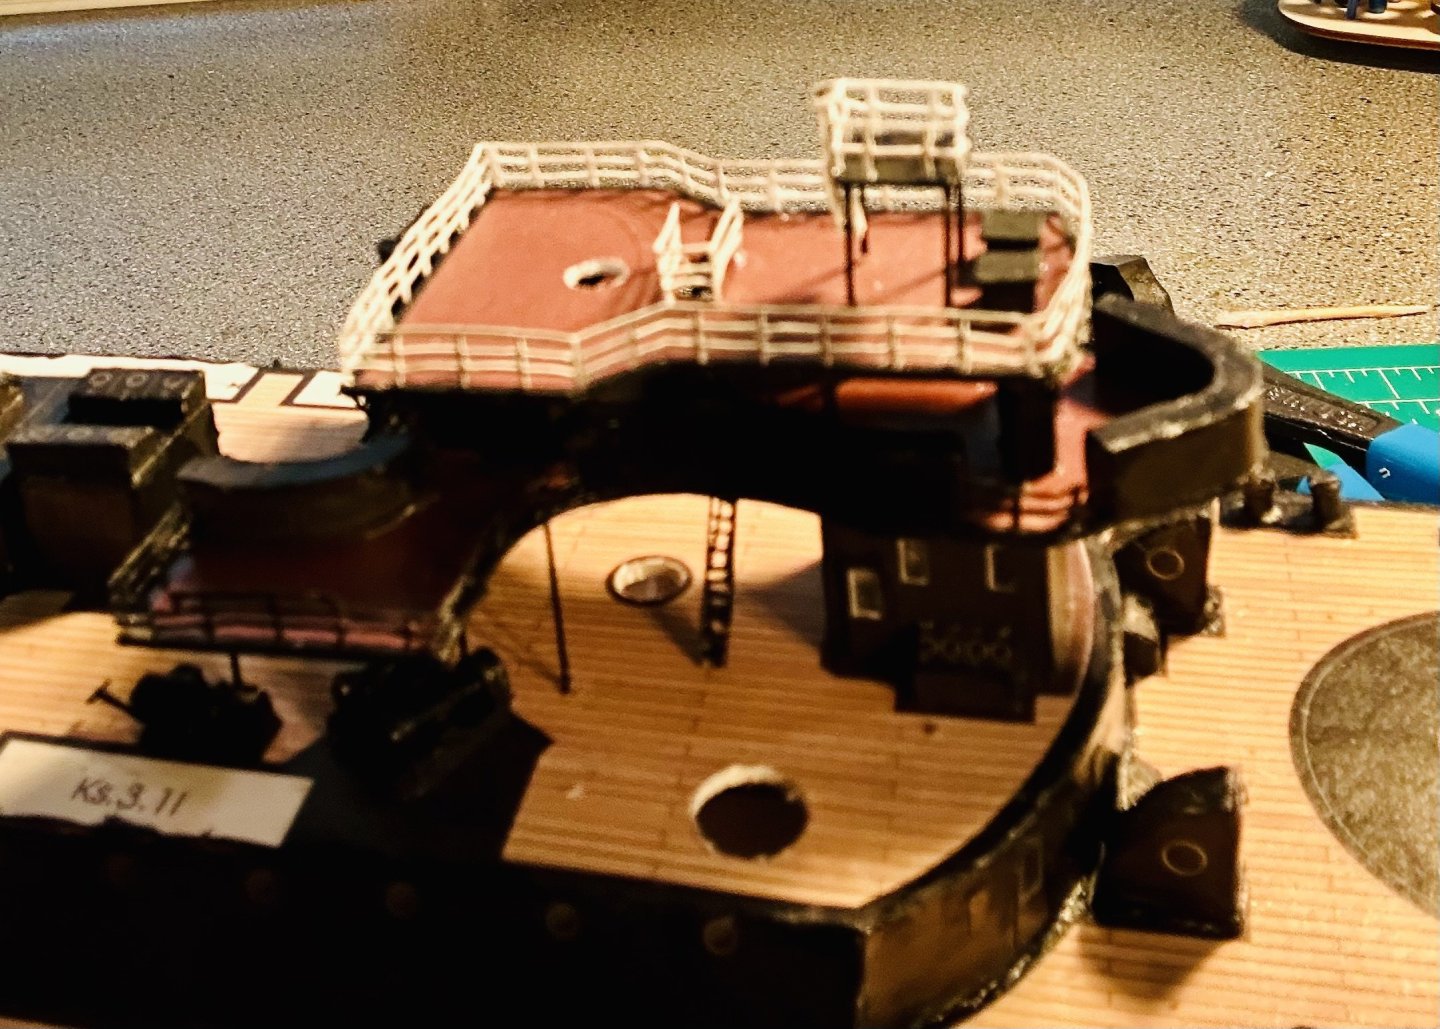
Building up the aft tower: I just need to add the railings and the observation platform and then I can work on making the winches that hang from the lower deck of the tower.
- 288 replies
-
- Card
- Pre-Dreadnought
-
(and 3 more)
Tagged with:
About us
Modelshipworld - Advancing Ship Modeling through Research
SSL Secured
Your security is important for us so this Website is SSL-Secured
NRG Mailing Address
Nautical Research Guild
237 South Lincoln Street
Westmont IL, 60559-1917
Model Ship World ® and the MSW logo are Registered Trademarks, and belong to the Nautical Research Guild (United States Patent and Trademark Office: No. 6,929,264 & No. 6,929,274, registered Dec. 20, 2022)
Helpful Links
About the NRG
If you enjoy building ship models that are historically accurate as well as beautiful, then The Nautical Research Guild (NRG) is just right for you.
The Guild is a non-profit educational organization whose mission is to “Advance Ship Modeling Through Research”. We provide support to our members in their efforts to raise the quality of their model ships.
The Nautical Research Guild has published our world-renowned quarterly magazine, The Nautical Research Journal, since 1955. The pages of the Journal are full of articles by accomplished ship modelers who show you how they create those exquisite details on their models, and by maritime historians who show you the correct details to build. The Journal is available in both print and digital editions. Go to the NRG web site (www.thenrg.org) to download a complimentary digital copy of the Journal. The NRG also publishes plan sets, books and compilations of back issues of the Journal and the former Ships in Scale and Model Ship Builder magazines.


