VTHokiEE
-
Posts
1,528 -
Joined
-
Last visited
Content Type
Profiles
Forums
Gallery
Events
Everything posted by VTHokiEE
-
 I think that it is more of preference for what works for you than best. I used CA glue for my second planking but you want to be very careful in the application to avoid stains and gluing yourself to the hull. I used some pipettes to help apply the glue to the hull. I have read that some people will also use drops of CA along the planks (for a "clamp") with PVA glue in between as well. Have you looked at any other logs to see if you found one that didn't install the counter until later?
- 46 replies
-
- 1
-

-
- caldercraft
- sherbourne
- (and 1 more)
-
Do you have any files? They might be able to do the job there. I have seen some people collect the sawdust from sanding the 2nd layer down and then mix that with glue to create a wood filler. Hopefully someone else has a suggestion there, or a better description of how to best apply it. Edit: looks like I had the same thoughts as BenD 🙂
-
Not exactly certain how to react to it, but since it would probably always bother you it is good to be redoing it. Good luck! It’s going to look awesome!
-
That’s not a bad idea, Thanks Spy! I’ll have to try that out. I was a little concerned a dot I’d hidden glue might not be quite enough to prevent them from getting knocked loose (by me...)
-
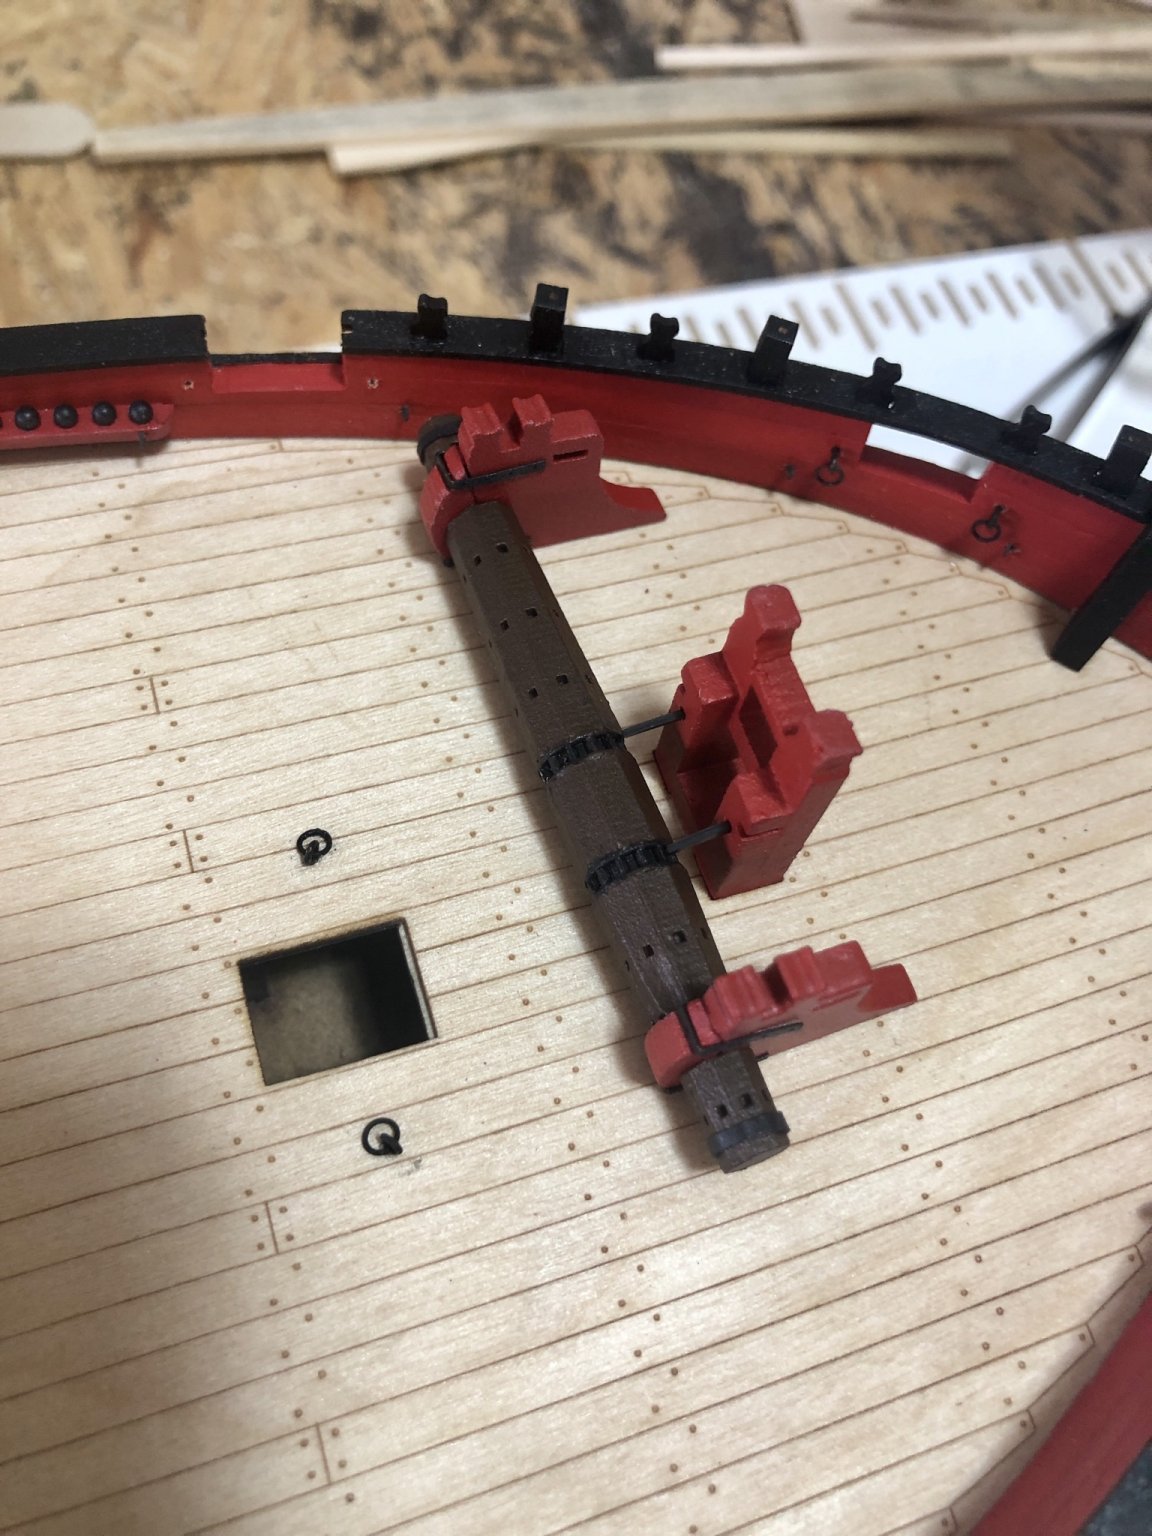
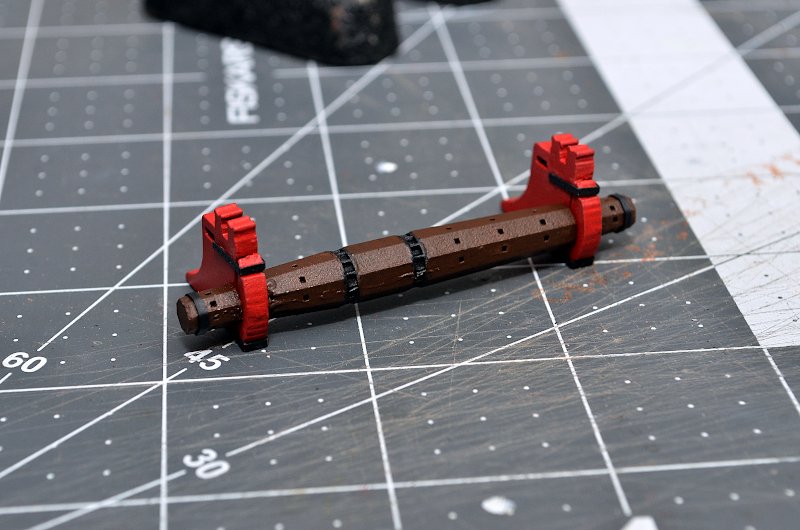
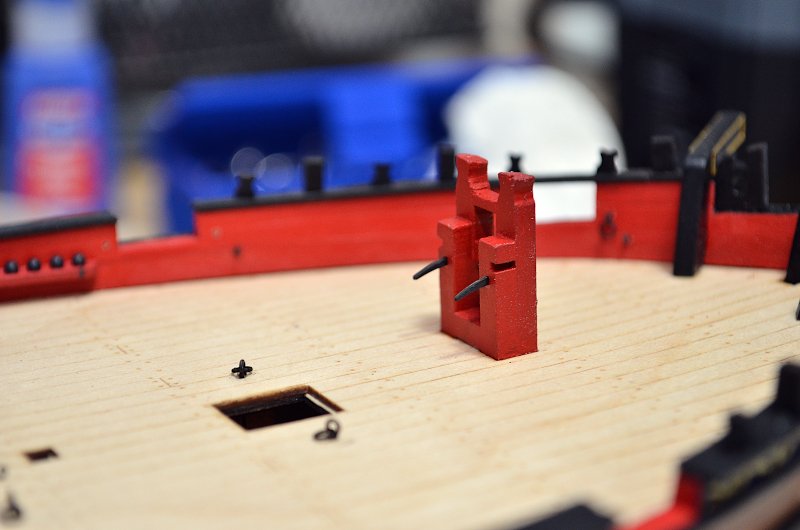
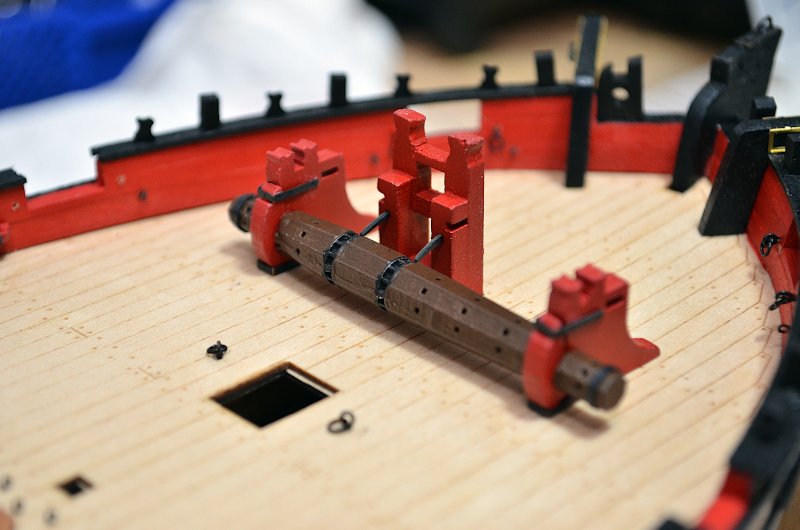
Your gun rigging looks awesome! Now you have me considering if I should add the traversing tackle (if I remember the name right) when I do mine. I was quite impressed before seeing the picture with your finger for scale and after I’m a little blown away! Looking forward a little. How do you secure the gun to the deck? Simply a drop of glue at each wheel?
-
That clears it up a lot, thanks! I’m looking forward to seeing what it looks like with whatever paint choice you go with. Very cool!
-
I apologize for an uninformed question, but can you explain the green copper tiles? I’ve seen copper plates and tape but this is the first time I’ve seen the green tiles. Are they part of the finish? Or do you eventually cover them? Nice work so far! I bet you’ll have quite a sense of satisfaction once these tiles are all done.
-
I’m glad you decided to start a log; I’m looking forward to seeing how you make it your own. There are a handful of tutorials and guides to read that can help out a lot. Also read through the other Terror logs to see what issues in planking they ran into. Finally, really pay attention to your fairing; that will pay dividends when you plank. Above all enjoy yourself!
-
Nice job on that planking! You’re doing really well on so far (and tapering planks isn’t necessarily a bad thing 😉). As far as I know stealers are fine (I have a few in my second planking).
- 38 replies
-
- 1
-
-
- vanguard models
- fifie
- (and 2 more)
-
Very nice! Do you have any pictures of the whole boat? Nice job whittling as well!
-
A search for "9mm ball bearings" on Amazon turned up some options and I also saw some black ceramic versions ("9mm ceramic ball bearing") on eBay, but they seem a little pricey depending on how many you need.
-
It took me installing the rudder on my Alert, but now that I've done that and read your procedure here, it all makes sense to me. It looks great and I think I'll have to adopt your use of this mini kit in the future. I also am really enjoying your modifications.
- 195 replies
-
- 2
-
-
- lady eleanor
- vanguard models
- (and 1 more)
-
Phew, thankfully I was able to correct my mistake and here are a few additions. I added the rudder using the kit supplied parts, but I think I may give the Syren mini-kit a go for my next build. I read in BE's Alert log that he used this mini kit but I didn't really understand the process until after I went through the rudder installation and then watched BE install it on his Lady Eleanor here. After attaching the tiller I moved onto the winch and once I got to the Bowsprit Step I realized my mistake in building the winch so I broke it down and rebuilt it. Whew, disaster averted 🙂. I started looking at the bowsprit which the instructions indicate as a 6x6mm square but as BE noted in his log the space in the step really fits a 5x5mm square. There was a kit supplied 5mm dowel that I used to check alignment which looks good but I still haven't glued the winch in. I need to get the belaying pin racks ready so I can install it all at once. The back of my mind is now consumed with how to turn an 8mm dowel into a 5x5mm square. I think my best bet is to simply purchase some square stock, but I'm not entirely certain what wood would match the rest of the build (when I was in the hardware store the small stock had more grain than I though acceptable). Well plenty of things to do before having to attack that problem.
- 436 replies
-
- 11
-
-
- vanguard models
- alert
- (and 1 more)
-
I’m probably missing something, but all the posts seem fine to me. The pictures have white space between them (and between the text as well). On a different note, great work! She looks wonderful. The figure is a great touch! Edit: Okay I switched browsers (to safari) and I see it. It didn’t happen on Chrome.
-
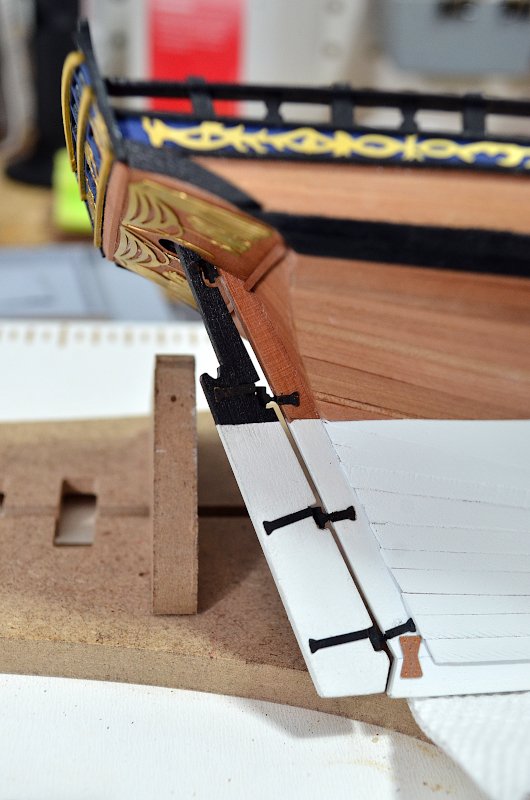
Good luck planking the hull! Make certain to really take your time fairing the bulkheads that can make all the difference in the world.
-
Great advice! Looking ahead it appears as if I need to shape the Bowspirt from an 8mm dowel... oh boy, it can’t hurt to try but I feel like I may have more success rounding a square 6x6mm length than squaring a round dowel. I’ll go take a look at your log to see about that bowsprit. Very true! Of course if I could find a way to stop that immediate feeling of dread when I notice my errors I’d probably be better for it 😁. Thanks! I think I have a path forward 🤞
- 436 replies
-
- 3
-
-
- vanguard models
- alert
- (and 1 more)
-
Slight update, I was able to use a knife to slice off the PE and then a little bit of acetone to soften the epoxy and get all the parts separated. I’m currently cleaning them up and repainting and hopefully this will all work out... 🤞
- 436 replies
-
- 4
-
-
- vanguard models
- alert
- (and 1 more)
-
I have this problem where I get super focused on trying to do “A” and then accidentally make a mess of “B.” It’s definitely something I need to be careful of in the future. My current issue (and pardon the poor quality photo) is that I put the winch on backwards ☹️. I know I have to rip apart the winch and redo it but I used epoxy to glue the winch in and CA on the photo etch. Is there anyway to take this apart without destroying all the parts? Boy am I frustrated with myself at the moment. I wanted to make certain the side which had to have some resin cleaned up was pointed inward where I thought it would be least visible... How do I undo epoxy and CA?

- 436 replies
-
- 6
-
-
- vanguard models
- alert
- (and 1 more)
-
This is all so interesting, I’m very impressed. Are there any issues to be aware of for painting the vinyl?
-
Looks awesome! Great job!
-
This won’t work for stern frames at this point in a build and I’m not certain if this method is frowned upon but I primed my wooden bits for the winch. I was staring at the wooden pieces for the winch on my Alert and there was no way to get the laser char off. I painted a layer and I simply wasn’t happy with it (the paint pools around the char). So I decided to lightly prime it with a rattle can. The laser char disappeared and the paint went on beautifully. Maybe I could skip the primer if I used an air brush?
- 778 replies
-
- 5
-
-
- cheerful
- Syren Ship Model Company
- (and 1 more)
-
Welcome Nicolas! That’s is quite the ambitious project, I wish you the best of luck! Don’t hesitate to ask questions (and making a build log can really help get through a build like that).
-
Glad to hear that you’re doing well now! I can’t wait to see your updates.
-
I'm curious as well; hopefully things have improved. One of the monoreme, bireme, or triremes model is definitely on my radar for the future.
-
Byrnes machinery dust collection
VTHokiEE replied to Bill Hill's topic in Modeling tools and Workshop Equipment
Are all from fein shop vacs quiet or is there a specific model? I’d love to set up a “quiet” dust collection system