


stuglo
-
Posts
707 -
Joined
-
Last visited
Content Type
Profiles
Forums
Gallery
Events
Everything posted by stuglo
-
Further thought- how to display. Not sure which is the best view , so why not a square base that can rotate ?
-
There is a special place in the model builder's heaven for such as you. I bought this as a "quicky" before starting scratch Rattlesnake. But, on reading the instructions several times I found them WORSE than those of a generation ago and only after seeing your blog, are they understandable .( The Coral Victory was my second built.) Also, the build can be improved immensely by your attention to detail and skill. Thank you.
-
built the Pocher Alfa Romeo over 25 years ago. Bought at half price, but the current new prices are truly at the RR level
-
Bench Top 5" Disk Sander
stuglo replied to DocBlake's topic in Modeling tools and Workshop Equipment
Another example of my not thinking of the obvious. Is there a SIMPLE way of compensating for this when sanding a wide part - without eyeballing? -
Beautiful work. I built this without masts and rigging an look forward to seeing your continuing build
-
A continuing masterclass. Thanks for taking the trouble in explaining the "how" so that I can understand . Please continue.
-
Just seen this and listening to episode 1 (also first time any podcast) Its very good and a worthwhile background while building.
-
Straightening aftermarket rigging line
stuglo replied to DonInAZ's topic in Masting, rigging and sails
sincere thanks -
Straightening aftermarket rigging line
stuglo replied to DonInAZ's topic in Masting, rigging and sails
All very interesting but MY main problem is how to replace the irish linen thread I found in a haberdashery shop over 25 years ago( large spools manufactured pre-war). I substituted this for all the ropes supplied in kits, but have now run out. The modern stuff I received, natural or synthetic, is a poor second. Anyone out there with a secret source? -
I purchased vol.1 a few months ago. Am I correct in understanding that a full set of plans are still required? Will lofting frames likewise still be necessary?
-
Parkinson's law is the adage that "work expands so as to fill the time available for its completion"- my number of "tools" expand to the available space. My worktops, in a spare bedroom , have reached 11 metres, as well as shelves, cupboards and many draws. I only misplace things when I tidy up between models !!
-
"*******NOTE******* A small number of nails are in included in the pack and there is an amendment sheet to indicate their use. These can be driven through the back end of the various clamps to strengthen them. Remember that these parts will bend as you tighten them, but for me, I would prefer to mostly use thin strips of packing if the keel and bulkheads are significantly thinner than the clamps, as this will remove most of the stress " Just finished assembly. well thought out and solid. The blog definitely helped quick assembly -about 2.5 hours. Do I understand correctly that you did NOT use the nails? (delivery from Poland was 1 month from order and cost 46$- not bad considering I often pay 20$ just for delivery of book - by standard post!) Strongly recommend this device.
-
really good work. Thanks for taking the trouble to share with us the process as well as the result
- 335 replies
-
- 1
-

-
- alert
- vanguard models
- (and 1 more)
-
When I first started building I compared my work to my tutor/mentor, and didn't feel so bad. Over the years ,due to seeing sometimes such beautiful work as on this site, it could be discouraged from continuing my poor efforts. Nevertheless, not all are perfect and the learning "curve" is is more a stairway form. Seeing these less than perfect builds, is also encouraging. The feeling of satisfaction in aiming and achieving a higher or more difficult task is tangible. In any case the building is essentially for ourselves, our non-building friends and relatives usually are amazed by our efforts and don't see the mistakes. Also, the older museum models are usually inferior even to the newbie efforts of today. As junior docs we were told "See one, Do one, Teach one". You're only newbies once- soon you will be teaching us!
-
Thank you all contributors of this thread. I feel less stupid for failing with my airbrush and non-specialized acrylic. I've used marker pens(for best result use pre assembly)to show wood grain which I like (black and red in particular). Also failed with oil paints but will try again using the advice given. Obviously, choice of brush is essential. Writing this, I am still chocking from the fumes of a water based aerosol paint I've just used for my picket boat hull. Truthfully, I prefer the natural wood ,oiled, whenever possible, but sometimes the nature of the part or poor quality of wood or finish, makes painting unavoidable. My wife was an art teacher, but although she sows my sails, I haven't the courage to ask her to paint my models!
-
? Perfection of the model builder's art . Truly beautiful combination of research and execution.
-
Thinking ahead , the engine pipes bother me. I doubt if they were steel or aluminium. Cast iron? if so would they be painted routinely or for camouflage. Or maybe copper / brass. Anyone out there with some thoughts?
-
Really not happy with the stain (admiralty) on plywood. Used some old veneer cut to planks. Also not happy with pen- used Plaid acrylic, with some improvement . I had a fantastic teacher as a school kid. He used to say that while firsthand experience is good, second hand can be less painful. So lets continue informing others- at least it may save time and frayed nerves
- 54 replies
-
- 6
-
-
- picket boat
- model shipways
- (and 1 more)
-
For your hard work and product you deserve the thanks of all the ship modelling community -
-
Could I suggest a sanding sealer - I have occasionally used this and it seems to be a diluted glue which also seeps into the joints. By the way, the plywood (especially)is so light and absorbent that applying a water-based dye or acrylic paint causes warping. (previously built the Charles Morgan by Model Shipways, and though I think they are good value, I prefer the wood quality of the italian kits-the manufacture precision is excellent however)For the grey areas I used a Snowman permanent marker (oil based) good colour, no distortion, but not 100% sure of "finish". Unfortunately no grey Floquil left.
-
Clever lad. Thank you.
-
Thank you but how does the card stock with notch showing relate to this? You know that ships and boats are referred to as SHE. This is not surprising. Being married for 45 years and building ships for 30, I often take a while ,and the telling and the explanation needs to be simple and repeated, until I understand what to do. (Apologies to those wonderful lady builders).
-
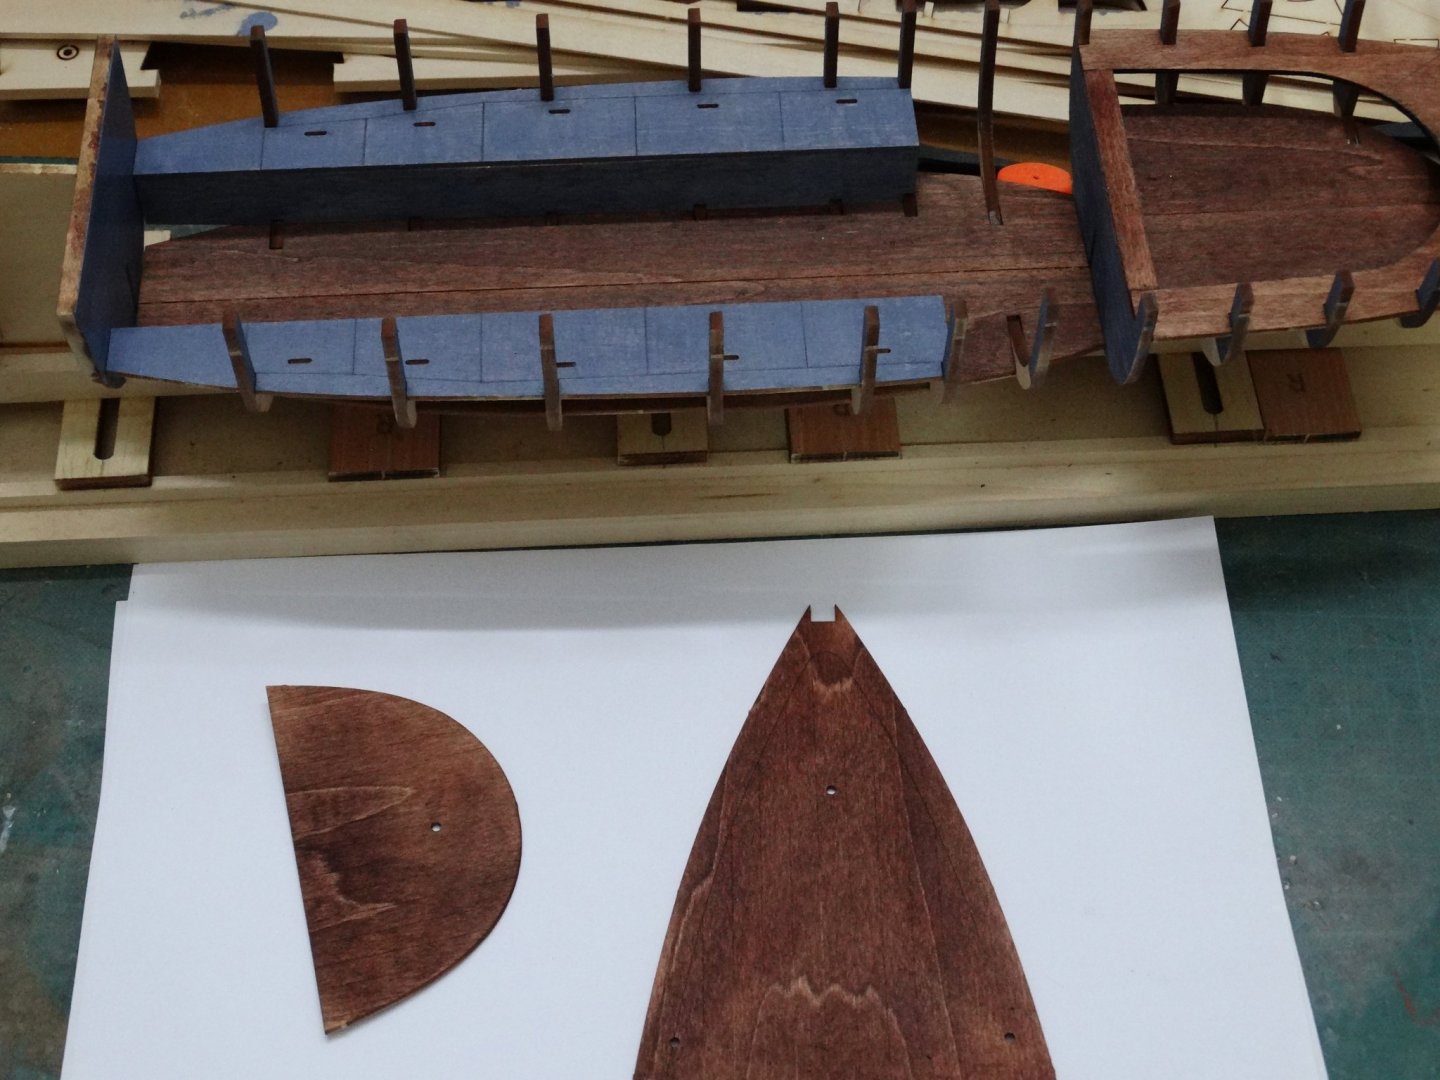
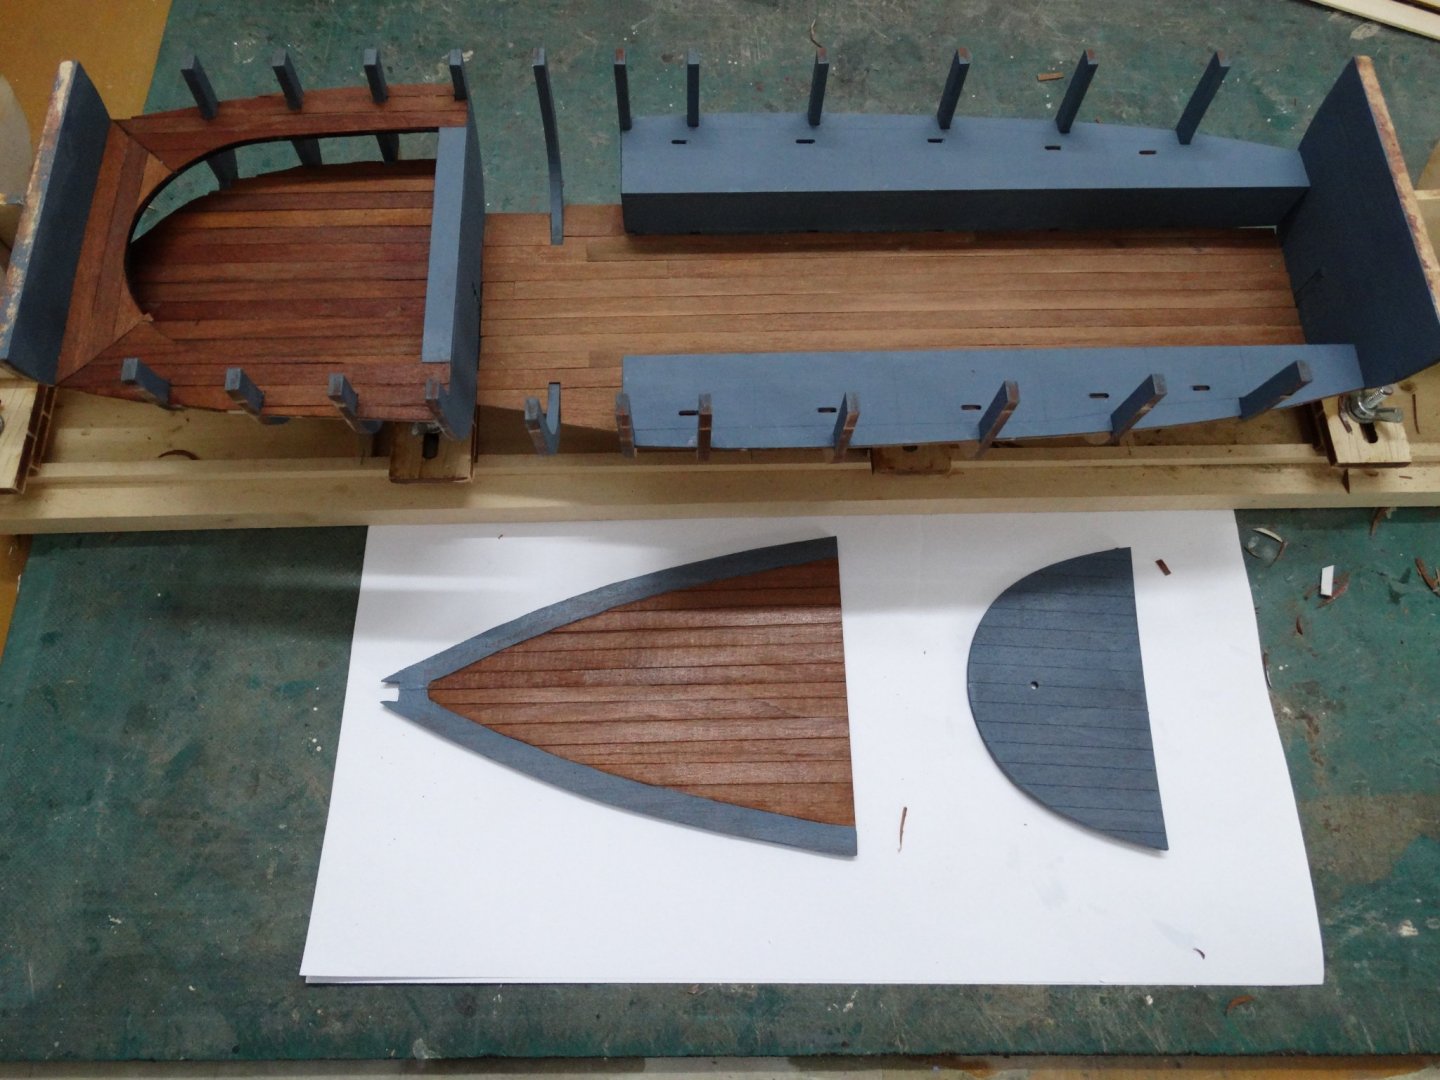
I'm following your blog with interest as I started this kit a few days ago. Not exactly overburdened with "step by step" instructions but hopefully enough. Current puzzle- how to use the cutwater at bow pattern with its notch at lower bow ? can't see this notch on later or finished pictures. What does this pattern ad after beveling of 19A? Thanks in anticipation.

