captainbob
-
Posts
3,498 -
Joined
-
Last visited
Content Type
Profiles
Forums
Gallery
Events
Everything posted by captainbob
-
Reading Boat Drawings
captainbob replied to Julie Mo's topic in CAD and 3D Modelling/Drafting Plans with Software
Basically what you said and what you have drawn is true. If you add all the section drawings at the correct place you will have a 3D drawing of the boat hull. Once you get skin on the hull you can cut across it at any location and get a new section. If the frames on the boat are at every 9 inches then a cut at every 9 inches will give you all the frame shapes. I build POB and usually use only every third or fourth section lines that are drawn for my bulkheads. That is plenty to support the planking. Just remember as you are drawing, the lines are usually to the outside of the hull, so you need to remove the thickness of the wood you plan to plank with. Bob -
The wire brush is good on large files but on my fine tooth needle files, the brush is too course to do any good. Bob
-
Hi Ben, Being a designer you would enjoy the Pequot website. There are lots of drawings and tons of photos of the Pequot and here sister ships. http://indicatorloops.com/usn_pequot_plans.htm Bob
- 348 replies
-
- 4
-

-
- pequot
- cable ship
- (and 1 more)
-
That's a great motto. We can see your success in the beauty you build. Bob
- 172 replies
-
- 4
-
-
- druid
- sloop of war
- (and 2 more)
-
Let's hit the starter and hear it run. What? It's just Balsa? Oh come on now. Hit the starter I'm sure it will run. Bob
-
Thank you all. The only reason I can think of for the bollards on the bulwarks is to clear deck space. Bob
- 348 replies
-
- 4
-
-
- pequot
- cable ship
- (and 1 more)
-
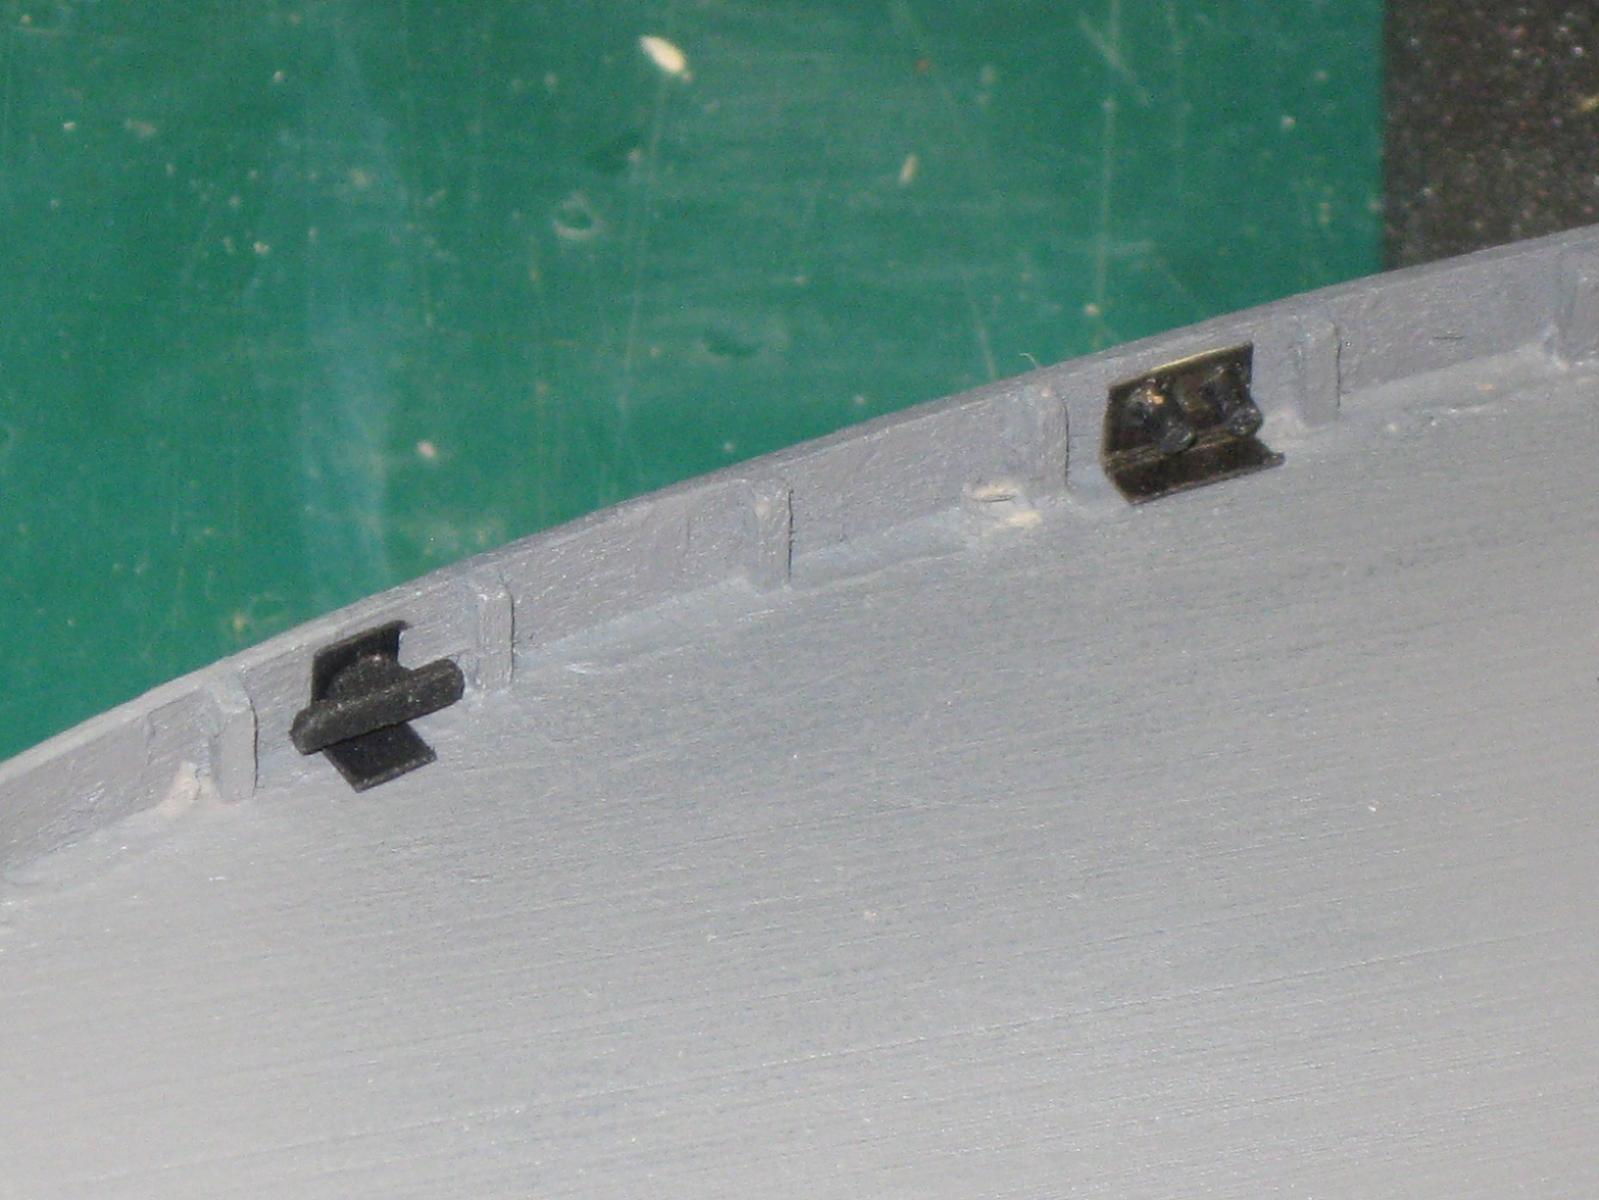
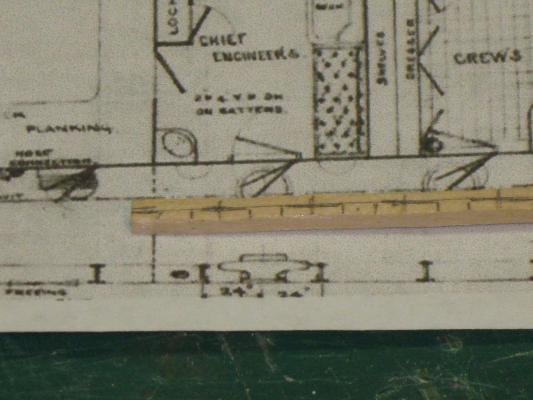
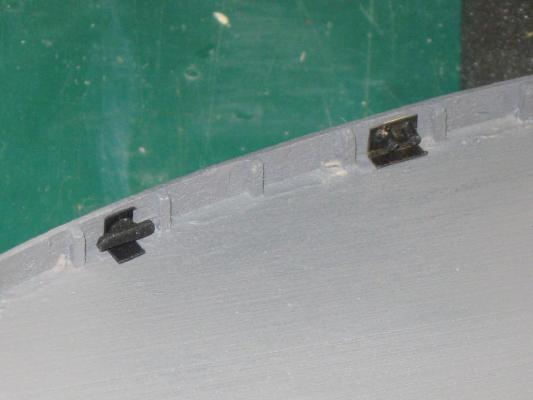
Hi All, Usually I build my models from hull lines and photographs. So there’s a lot of guesswork that goes on. But I’m sure glad I have good drawings this time because I’ve never seen the bollards and cleats mounted on the bulwarks instead of the deck. And I wouldn’t have believed 36” cleats. But here it is. There is an ‘L’ shaped steel plate riveted to the bulwark and deck and then the cleats and bollards are mounted to the plates. Bob Laying out the cleats. Bollard and cleat mounted.
- 348 replies
-
- 13
-
-
- pequot
- cable ship
- (and 1 more)
-
Dust collection and extraction
captainbob replied to Trussben's topic in Modeling tools and Workshop Equipment
I had a small shopvac the kind that hangs on the wall. The filter would clog with the least amount of clean-up. I bought the Oneida Dust Deputy separator and mounted it on a five gallon paint bucket. I took the shopvac apart and mounted the motor on top where the shopvac hose would go. Is it loud? Of course it’s loud but so is the floor vacuum used in the house. It’s not pretty either but on the other hand it works like a champ. Bob -
Very nice, I especially like the way you did the rail. Bob
-
Wow a seven and a half foot model! Looks like you made a table just to hold it. Nice start. Bob
-
Such accurate details, even down to the curved top of the companion way. Fine job. Bob
- 745 replies
-
- 3
-
-
- francis pritt
- mission ship
- (and 1 more)
-
You've watched so many of my builds that I thought I'd watch you for awhile. Bob
- 129 replies
-
- 4
-
-
- armed launch
- panart
- (and 1 more)
-
Two cams. That explains how the poppets on one side were lifted opposite from the other. I too believe this was a stationary engine adapted to drive the boat. Bob
-
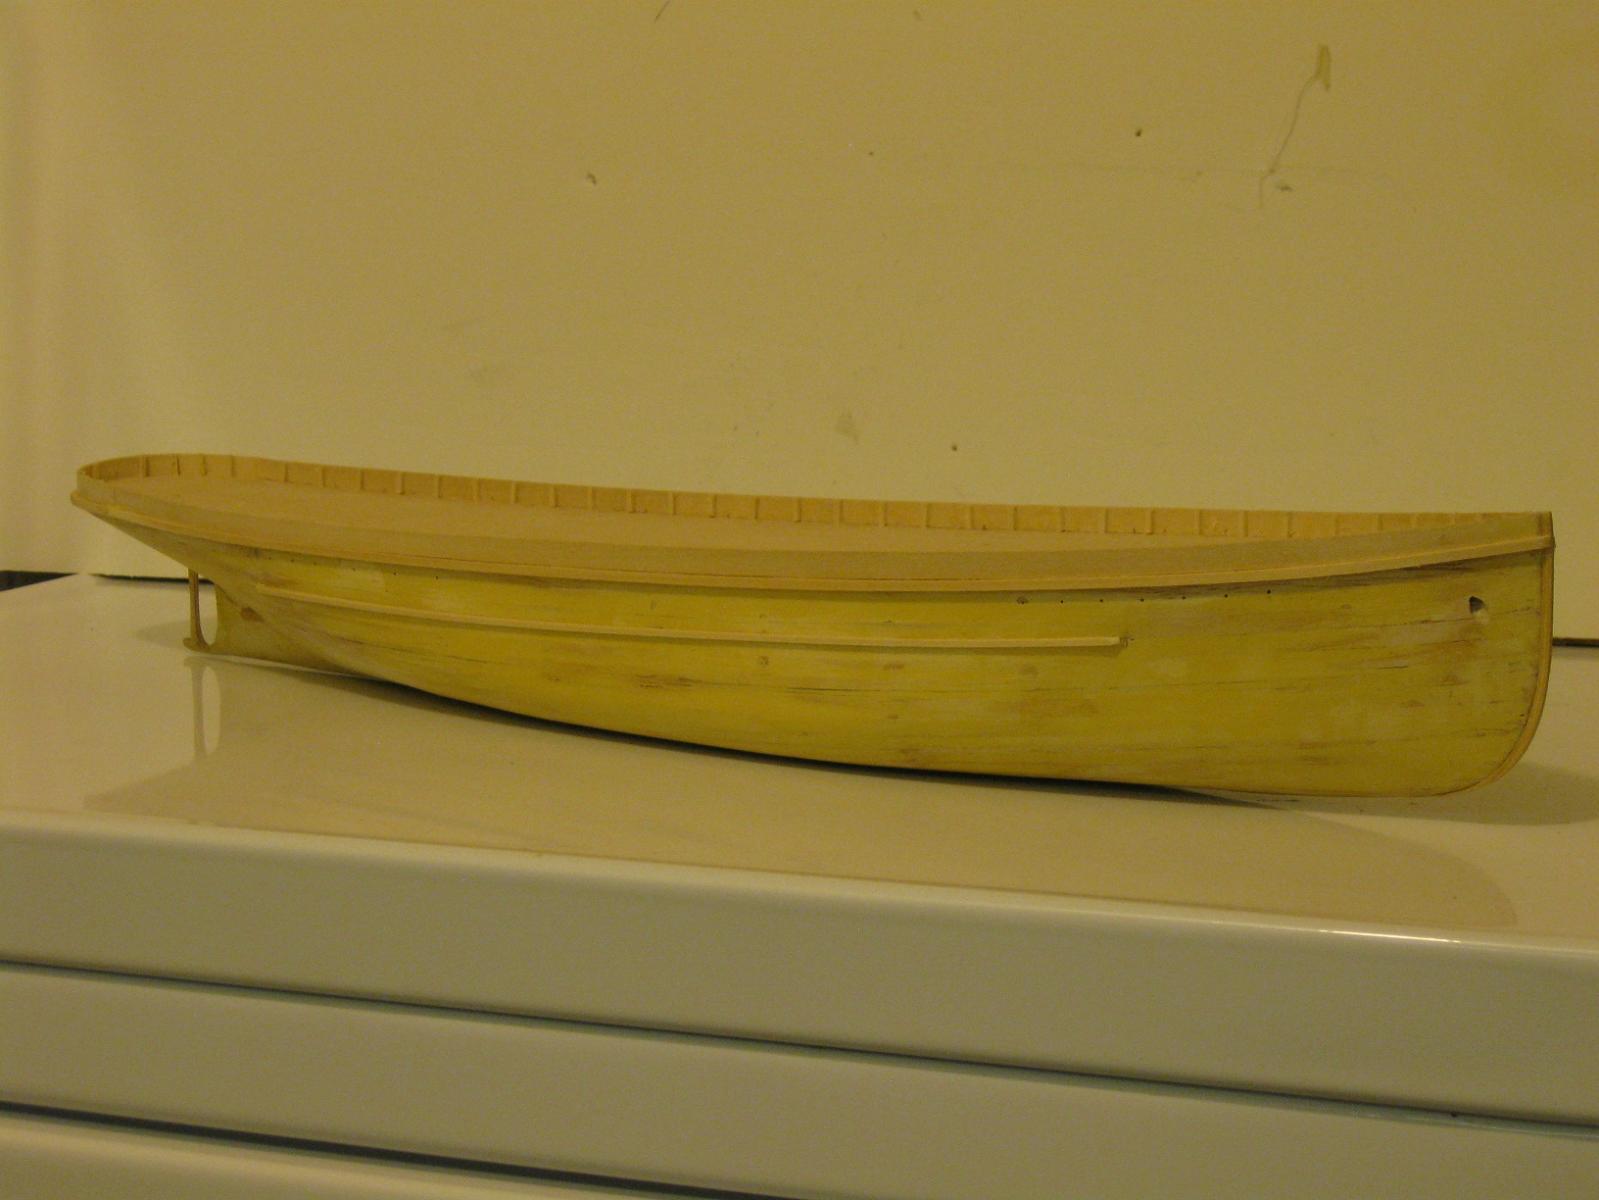
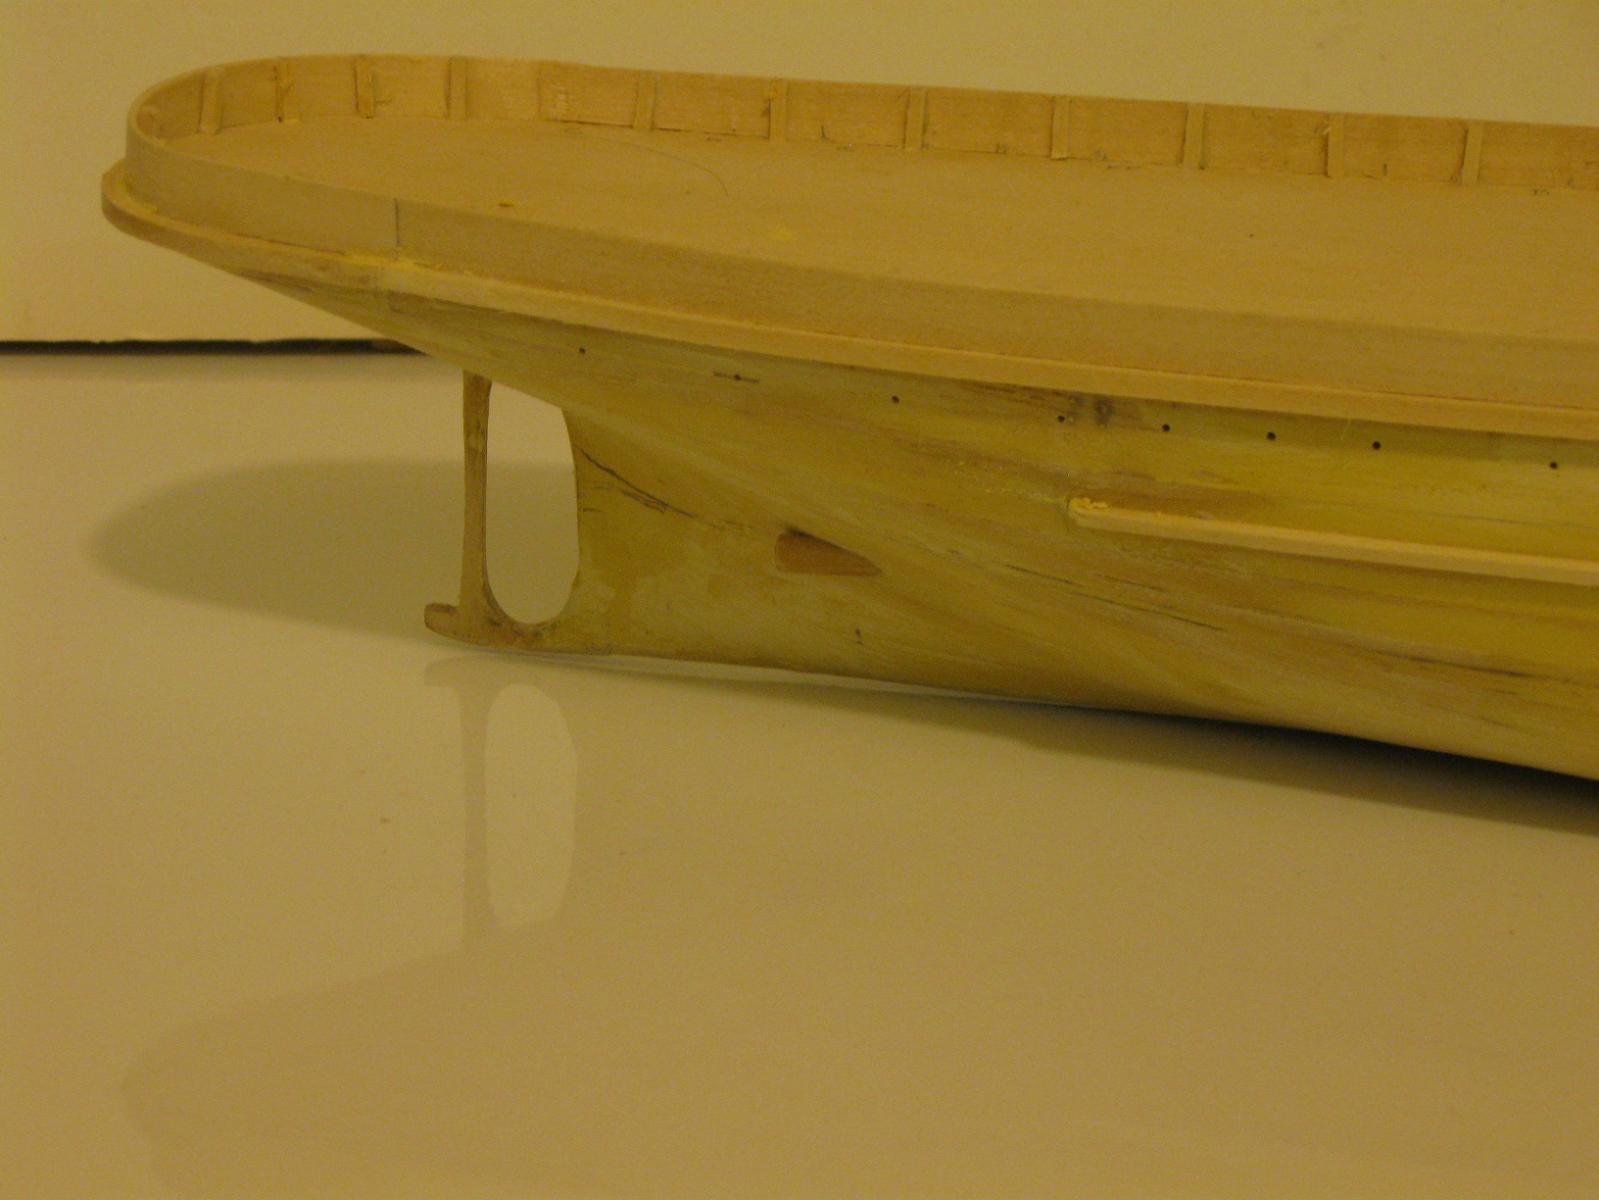
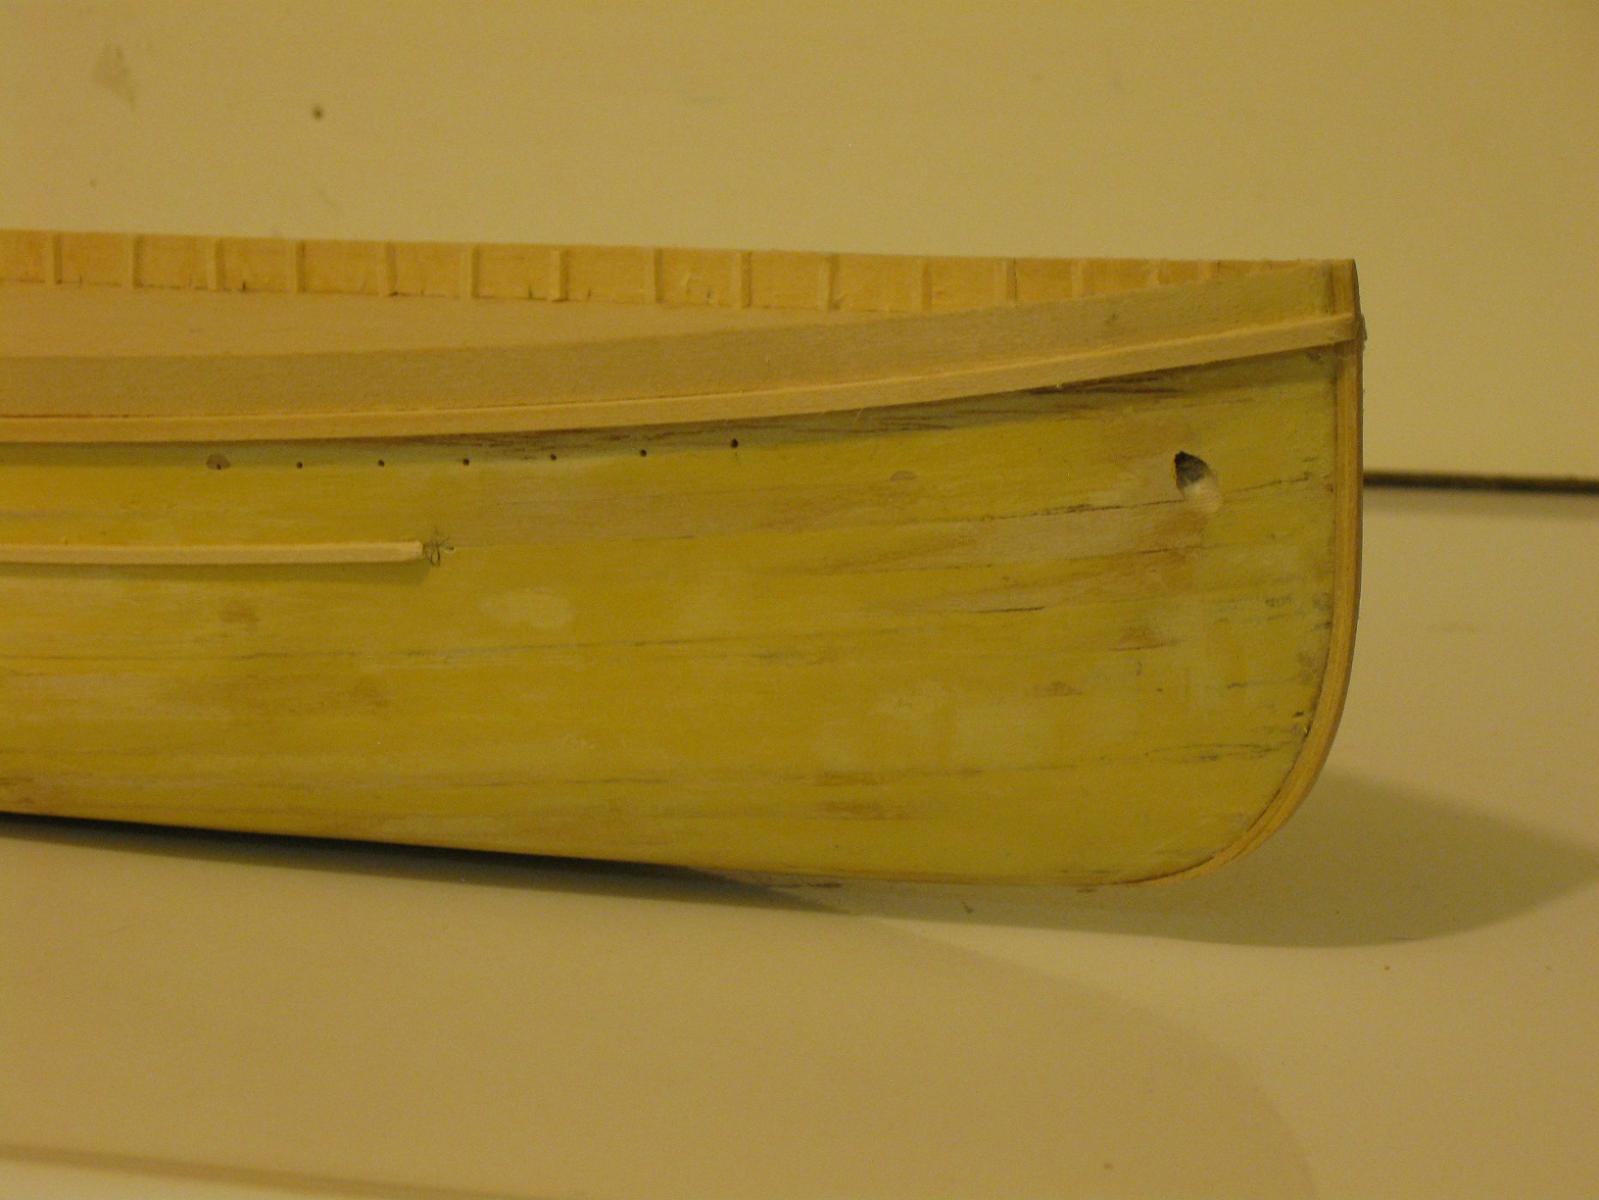
I add the deck, stem, bulwarks and rub rails. The pin holes below the bulwarks are the locations of the port hole or lights. Bob


- 348 replies
-
- 20
-
-
- pequot
- cable ship
- (and 1 more)
-
Your preparations for the mold look good, I'm sure you'll do fine and have a mold you can use many times. Bob
- 434 replies
-
- 4
-
-
- pelikaan
- beamtrawler
- (and 2 more)
-
I was at your other build. Now I have to find my chair back here. Oh there it is. Now I'm ready to watch. That little ships boat is lovely. Bob