augie
-
Posts
4,669 -
Joined
-
Last visited
Content Type
Profiles
Forums
Gallery
Events
Everything posted by augie
-
 Thanks to all. Your interest keeps me plugging away (not a pun for the treenails). The method is not hard but is really not a great substitute for drawing wooden nails and pounding them in. Now THAT takes time. Now, my friend Sjors ------ I provide photos and what do you ask for? MORE PHOTOS!!!!!!! Well, I'm way ahead of you. If you go back to page 6 you'll see a close up of treenails in the keel. Same exact thing except those are with a #70 drill.
- 2,191 replies
-
- 2
-

-
- confederacy
- Model Shipways
- (and 1 more)
-
Avast mates. She's too close to shore!
-
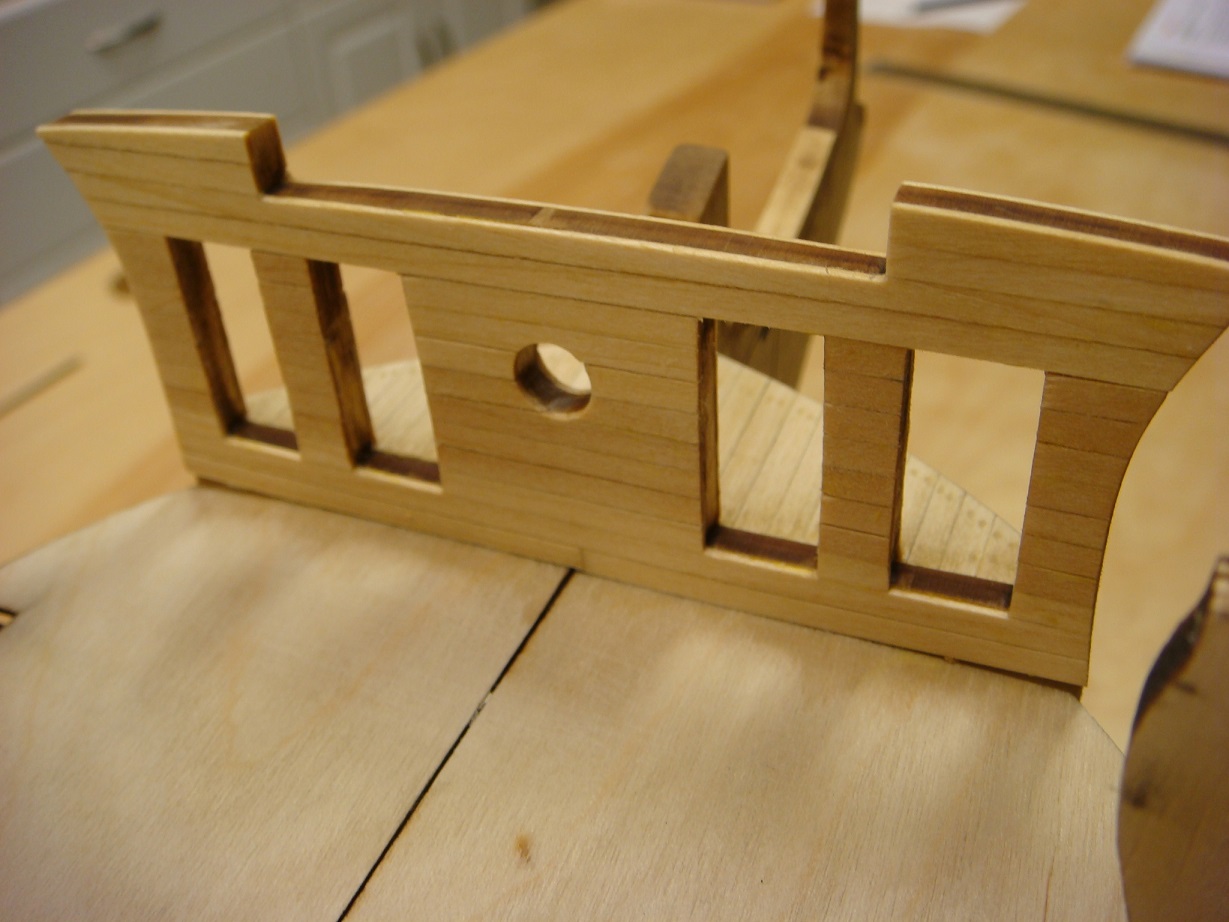
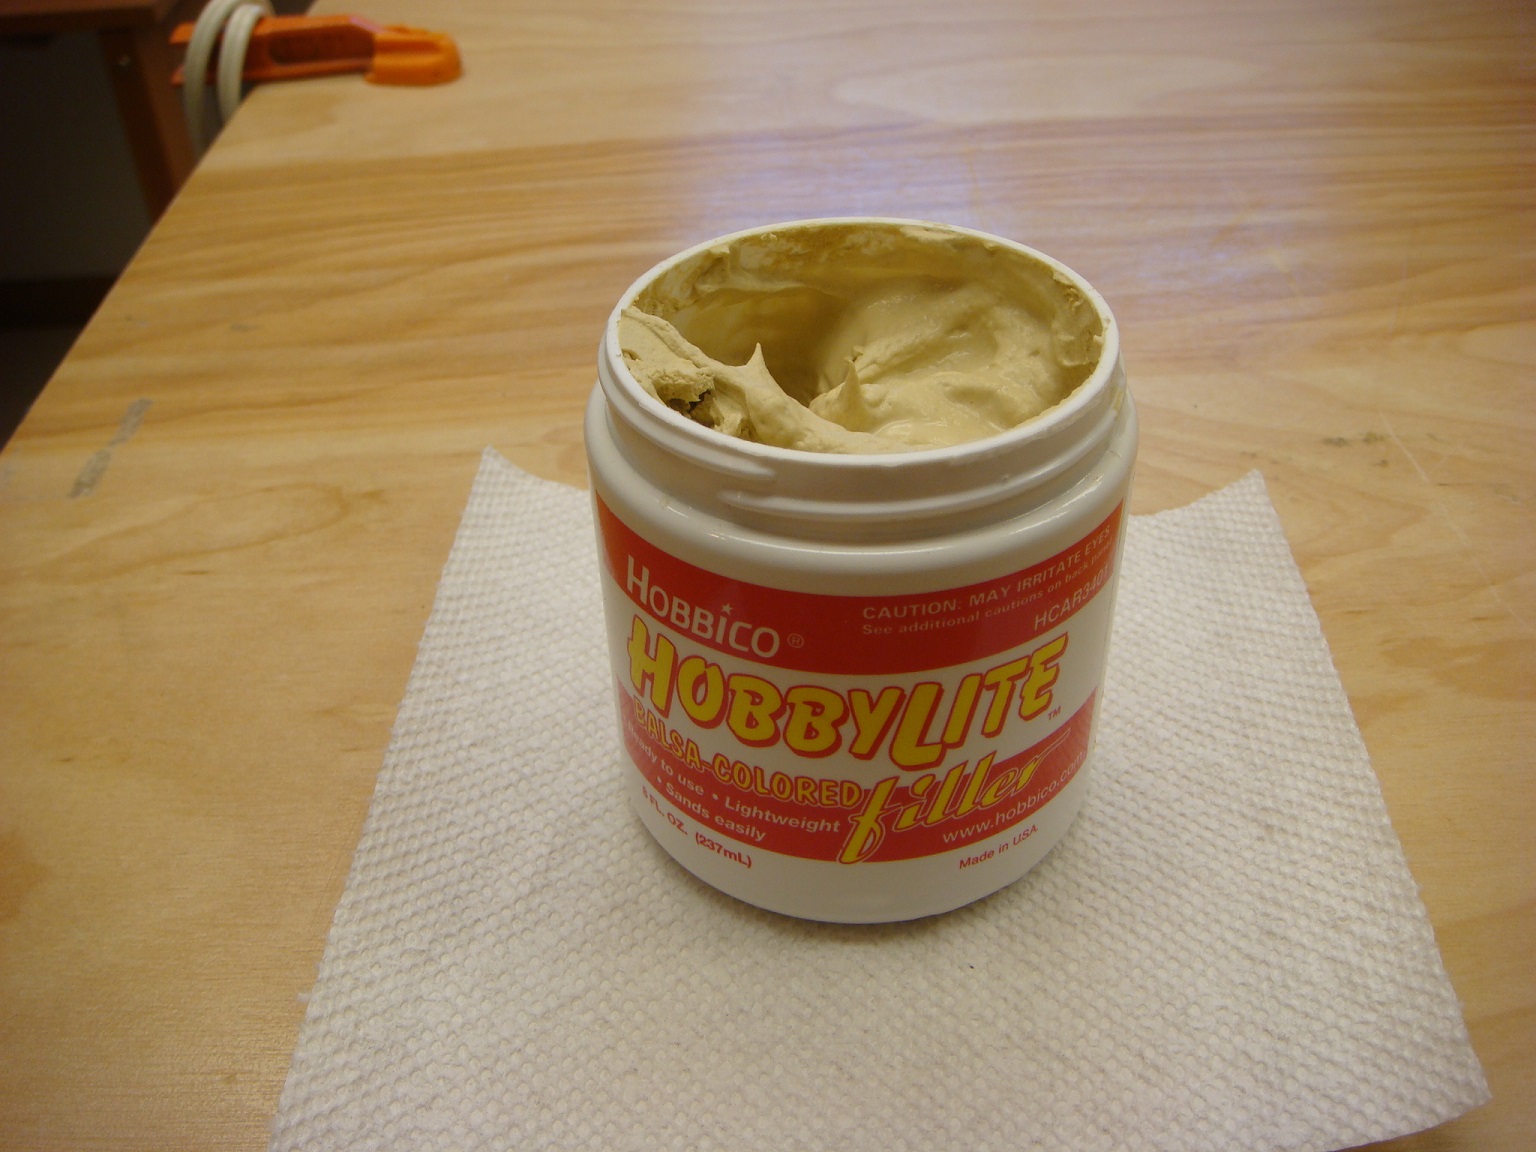
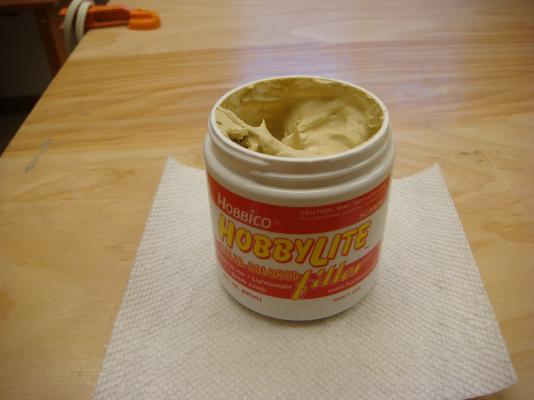
The beakhead and foredeck have been completed. The planking is 1/8 x 1/16 basswood. The finish applied was Minwax Pre-stain followed by Minwax 'Natural' stain. Rather then go with the usual WOP, I chose this time to go with a coat of flat acrylic brush on (Testors). Here is the inboard side of the beakhead. It will most likely be ultimately painted red to match the bulwarks: Here is the forward view of the beakhead and deck: You may notice that the deck has been treenailed. I use Chuck's method of simulated treenails. Holes are drilled with a #72 drill, lightly sanded, cleaned with the sharp point of an awl (gently) and then filled with this wood colored filler: After the filler dries it is lightly sanded and then undergoes the finishing process. The simulated caulking on the deck is made with a #2B pencil applied to only one side of the plank. I prefer the caulking to appear light. The finished treenails are barely visible impacting more on 'texture' then standing out in color. Overall, I like the appearance of these elements and they shall contrast slightly with the hull and deck planking Will now be moving on to setting the gun port sills and lintels. First I want to make up a mock cannon so there are no surprises down the road. Chuck suggested this on Syren ---- it worked. So I'll use it here. Have a few days of 'winterizing' to do so no updates for a bit. Everyone in the Northern Hemisphere stay warm


- 2,191 replies
-
- 21
-
-
- confederacy
- Model Shipways
- (and 1 more)
-
And back to you Larry. You can't go wrong with some custom cut wood. It makes the kit stuff look like it was cut with a hand grenade.
- 2,191 replies
-
- 1
-
-
- confederacy
- Model Shipways
- (and 1 more)
-
Geez John. You look like a brand new Brunswick bowling ball
- 2,250 replies
-
- 1
-
-
- model shipways
- Charles W Morgan
- (and 1 more)
-
Wow. Looking VERY nice. You really have those plates glistening. And every time I see it, I fall in love with the blue on the beakhead and roundhouses. SPECTACULAR!
- 1,319 replies
-
- 1
-
-
- caldercraft
- Victory
- (and 1 more)
-
She looks spectacular Sjors. Both of your ladies are coming together nicely. Don't sweat the angle on the chains just because they pass in front of a gun port. That problem usually disappears after the initial salvo
- 1,873 replies
-
- 2
-
-
- occre
- san ildefonso
- (and 1 more)
-
Maybe you can give Texx a hand. He needs 7 whaleboats for his Morgan. And we thought ratlines were tough
- 1,279 replies
-
- 3
-
-
- agamemnon
- caldercraft
- (and 1 more)
-
Hey Robbyn....I use the same tool. Useless for CA (I prefer a toothpick) but great on rigging. You can hold off on the wood festival ---- 60's and 70's coming for you for a week.
-
I'm with Grant on the sewing needle. And with you on the avatar!
-
Sorry Mark. I get my 'pleasure' vicariously watching you and the other 'darksiders' making each frame out of 12 individual pieces then placing 126 frames upside down into some unknown contraption for months. Others chopping down trees. Insanity, say I. Update tomorrow.
- 2,191 replies
-
- 4
-
-
- confederacy
- Model Shipways
- (and 1 more)
-
Fabulous. You're working faster than Popeye. That's a lotta planks
-
Looking good Adriaan. I heard somewhere that Sjors was simply going to buy a compressor and blast the dust off his models with 110 psi air. Might wreak havoc on the cotton cannon balls
-
Popeye, you're amazing. Love your 'to do' list. Would take me 3 lifetimes. Oh, glad you caught the port side door. Would have looked like something off of one of my builds . It's amazing how we can focus so intently on an area and then pull something like that. But I think we all appreciate laughing at ourselves.
-
Very nice, Mobbsie. I used a similar red on the inside of my Syren's ship's boat. I like the effect.
- 1,279 replies
-
- 1
-
-
- agamemnon
- caldercraft
- (and 1 more)
-
I think you're right on the mark Aldo. The almost imperceptible difference in tone should work for you anyway. Glad I could help.
-
Whew- happy to hear that. You can't go wrong with the bendable beech. I know Dirk used that and it came out beautifully. I just went with the basswood and used the old soaking/brute force technique and it came out well ....... after 3 tries
-
Ah, the old ratlines. Days of mindless repetition. That's why I like it ...... lost my mind years ago. Sjors is certainly 'King Rat'. Glad he mentioned the template. Get some nice heavy card stock and get it behind the shrouds to give you a good background. I don't actually use it as a spacing template. For that I just use a stick cut to the proper width to serve as the spacer. And although Mick cautions against using glue on the knots, I do use a pinprick of flat clear acrylic lacquer on the knots on the end shrouds. It doesn't make the lines stiff but it does hold the knots fast. You'll develop your own comfort zone. Just don't make them too tight so that the shrouds pull together halfway up the mast. We'll be here to supply encouragement
-
I'm a little stuck on this, Meridith. You should probably hold off a bit until you hear from another Syren builder. As I recall, my transom was just slightly wider than the filler pieces once they were fit in the notches that are cut to let them sit properly. It took only very little sanding to get everything in line. The cap rail which is bent over the transom will sit on top of those filler pieces and additional (a second layer) of fashion pieces will go on the bottom to complete everything. If your transom is thick due to the planking, the piece supplied for the cap rail (1/4 x 1/16) may not be wide enough to give you the required overhang inboard and outboard.
-
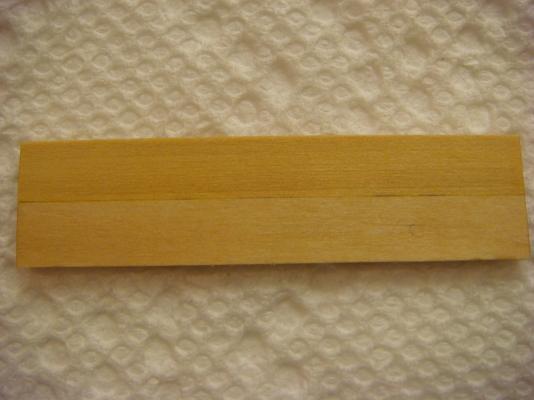
OK, here's what we have. I edge glued 1/4" strips of boxwood and basswood together. In the photos, the boxwood is on TOP. This first photo is the bare woods, just sanded: The lighting is a mixture of incandescent and fluorescent...... no flash. The boxwood has a 'richer' look but they are quite similar. The second photo is after a coat of Minwax Pre-stain and then a coat of Minwax Natural stain: Still very close, colorwise. The boxwood is, of course, harder and holds an edge better. Hope this helps and best of luck

-
I'll put something together for you. Should have it on here by my morning.
-
Aldo- are you going to stain either or both woods? I have some of each in the shop and could make a mock up for you.
-
Fabulous work. Enjoy your break!
-
HMS Victory by JPett - Corel - 1:98
augie replied to JPett's topic in - Kit build logs for subjects built from 1751 - 1800
She looks very straight and true at this point JP. Who knows, at this rate you may not need any glue