


popeye the sailor
-
Posts
16,007 -
Joined
-
Last visited
Content Type
Profiles
Forums
Gallery
Events
Everything posted by popeye the sailor
-
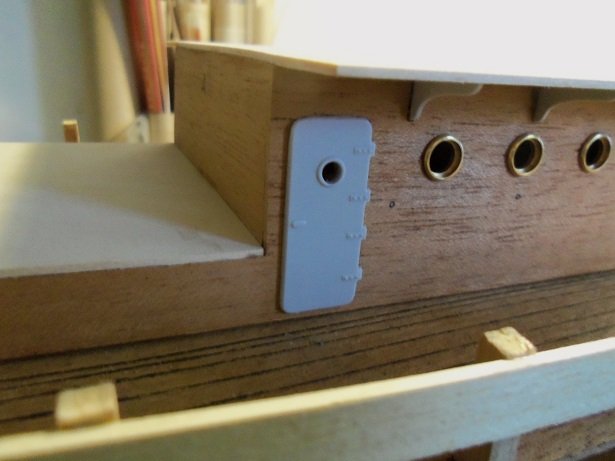
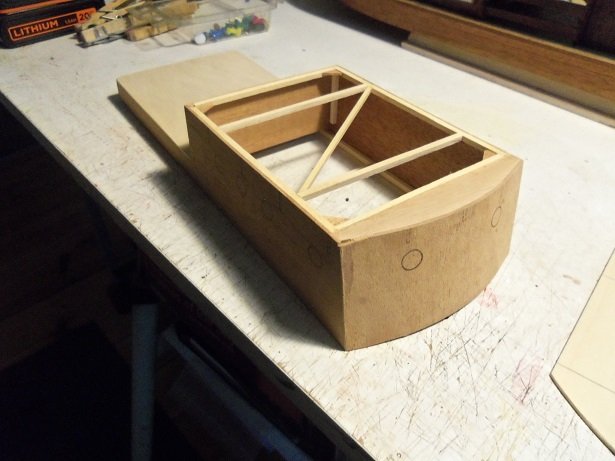
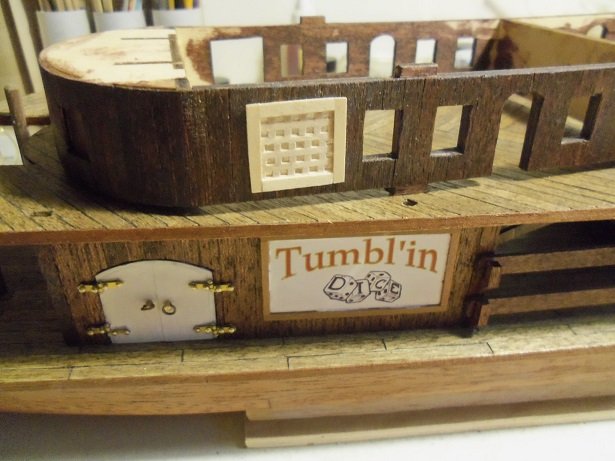
 the day has come........booked the appointment with the dentist to have the rest of my teeth taken care of. I go at noon, but I thought I'd get some stuff done this morning....I took the day off from work. I had done some organization of the fittings last week, but this morning I ran across the organizer case I had bought a few weeks ago. this caused me to reconsider what I had done. I even cut out all the plastic part on sprues and separated them. this will work out much better, I think. going a bit further with the cabin structure, I added the two doors along the sides, and the support knees for the second level decking. these will get painted the same color, so I can do it all at once. the porthole in the doors were drilled out, using a 5/32 bit. time draws near........hope to get more done when I get back {Custer's last words}
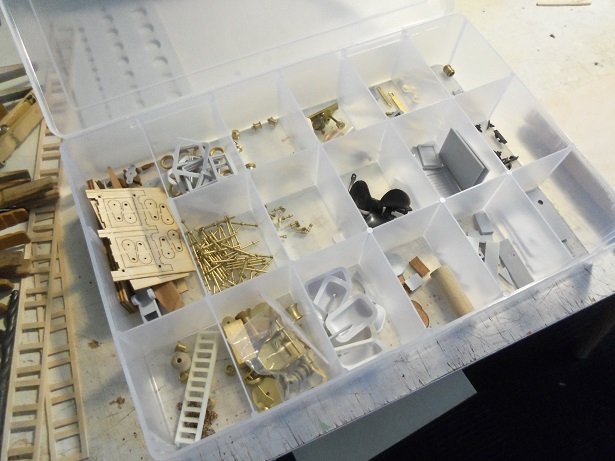

-
that method you showed to make ratlines looks really neat. it looks like it would be just the ticket for smaller scale ratlines, since clove hitches would look out of scale. very nice progress......she's looking super too bad about the flag.
- 258 replies
-
- 1
-

-
- harriet lane
- model shipways
- (and 1 more)
-
just caught your build on the radar Jack........looks to be a very interesting project. quite impressed with your portfolio......quite a background I look forward watching this project.
- 140 replies
-
- 6
-
-
- the sullivans
- trumpeter
- (and 2 more)
-
good to see your able to continue........you did a my-t fine job there
- 359 replies
-
- 3
-
-
- prince de neufchatel
- model shipways
- (and 1 more)
-
wonderful job on the rigging Jesse very well done!
- 1,306 replies
-
- 5
-
-
- syren
- model shipways
- (and 1 more)
-
thanks Zappto....it would look better if I had more planking done, but I'll get to it soon enough. I'm thinking for a change with the helm room structure, and if I start doing that, this will drag on too long. thanks for look'in in thanks Tom......I've lost track too glad to have you look'in in! thanks Nils.......I love this scale too I can better handle most of the parts and keep better mind to the scale. detail perks are not as pronounce anymore, since kits put out lately can produce a lot of detail, or can be easily dressed up with accessories. besides, if I want to do a model of this size, if it were up to the admiral, it would be of wood thanks for the good word thanks all for the likes
-
glad you got it sorted out. the usual termination for it though would be to come up from the stem {or down from the bow spirit} and wrap it around at the center of the loop, effectively tying the loop together {like a figure eight}. not sure if this is the common practice, but I have seen it done.
-
short of cementing it as you make each winding, it's hard to say. perhaps if you were to pin it with an alligator clip when you lap over the bow spirit, keeping it taught, you might fair better.
-
congratz on hr finish Jack.........this has been a very neat subject to build on the sails look great and you did a great job with the rigging and the fittings. really nice bit of modeling!
-
the stern arrangement looks sweet! she's a beautiful model.......very well done
- 467 replies
-
- 5
-
-
- mikasa
- wave models
- (and 1 more)
-
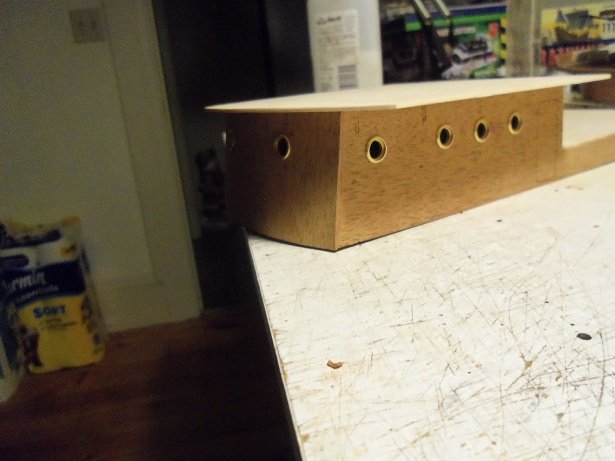
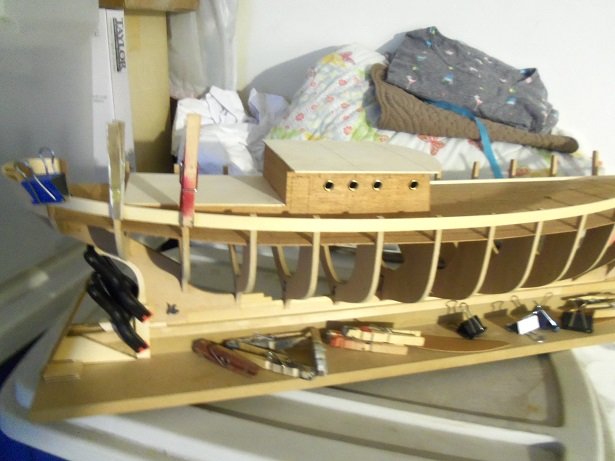
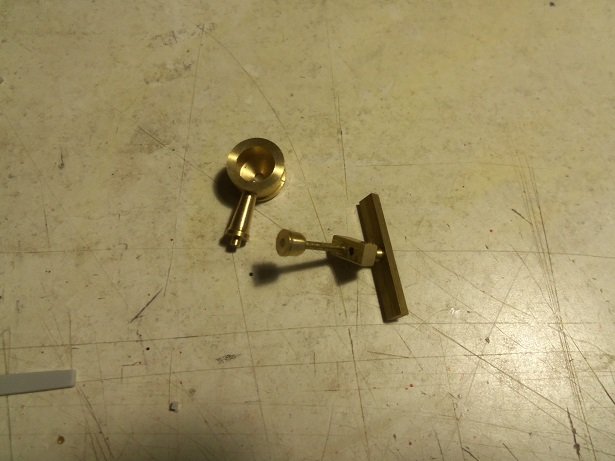
thanks for the likes all......the cabin structure was a really fun part of the model to assemble. but it does seem to steer me off the direction I was going......this part wasn't done till a lot later. this is where the bulk of the modifications are...I couldn't wait to get into it I got back to it last night and fitted the rest of the portholes. the drill and the sandpaper dowel didn't work out.........during the procedure, it broke a couple of times, so I ended up doing it by hand the rest of the way. they still came out alright. I really should get back to planking the bulwarks and get that done. then I can fit the margins and do a few things around the deck. I've also been beginning to sort through the fittings.......earlier I showed the differences between the old and new fittings kit, and what was added to the new fittings kit from the kit part sheets. there will be more of these comparisons peppered in here, for those who have the Nordkap kit and need reference in building it. the similarities between these two kit should be helpful enough, but a little more couldn't hurt from the brass parts, I assembled the radar and the searchlight, waiting for paint before they can be seen as finished. I will have more soon
-
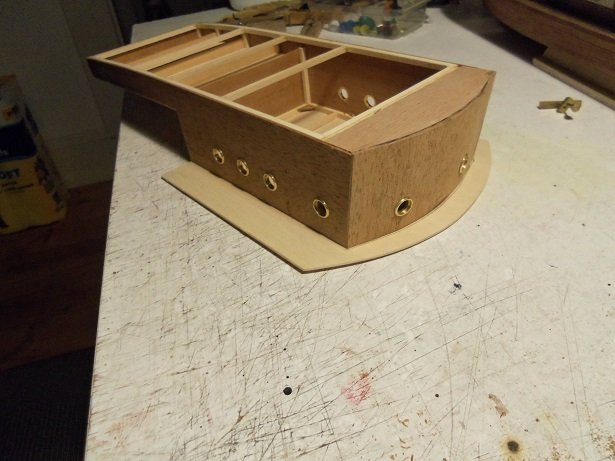
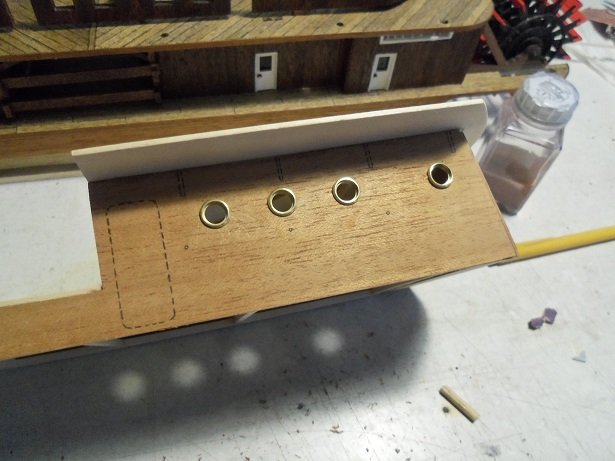
I have a bit more to update.........I finished cementing that first bulwark plank in place, for one thing. secondly, I removed and sanded the cabin structure.........bottom and top. ....and with that done, the second level deck platform was cemented in place. I centered it and marked where it was to locate........here is what it looks like now. the centers for all the portholes were marked and drilled with a smaller bit. good thing too........the dry wood really didn't like that very much. so I drilled them out with a larger bit, enough to run a sandpaper dowel through them, and I enlarged them this way. as I did this, I was keen to remove all the splintered wood that the bits kicked up. I used the hand drill to enlarge the holes.......does a very nice job while I was doing this, I broke up the manotany by sorting out the brass parts, and put them in medicine bottles. some assembly was required for a few of the different fittings. these are a lot nicer than the plastic portholes I got for the Nordkap model.....this is from the updated Nordkap fittings kit I got. as I showed in the earlier thread about the Nordkap, the materials used in this fittings kit, are very different than what was supplied in the earlier ones {I had two of them}. the winch, with the exception of the anchor winch, sports the frame being made of wood......the boat crane is plastic, but I also have the wooden one from the kit.......I will make them both. for the Nordkap model, I changed this crane.......I motorized it.......it was supposed to be a hand operated crane. there is an irony though.......I'll have to look again, but off the top of my head, I don't think I even need it. ahhhh.....but one never knows
-
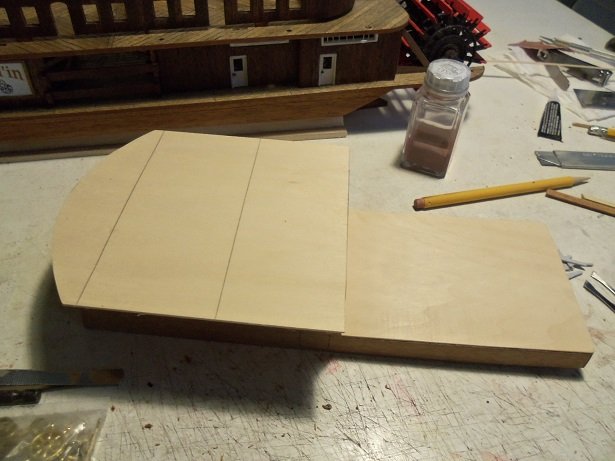
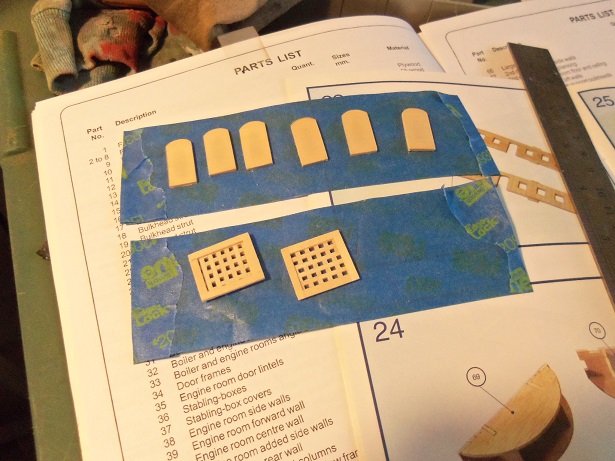
I made further progress with the doors, windows, and vents. the doors were shaped and sanded..........then set on the sticky side of a piece of tape, marked with the position as to where they were fitted on the structure. the vents were done the same way.....shaped, sanded, and marked where they will go. all of the window frames have been jigged up as well.......now to set and dry. I don't think I'll need this many for the second level, but if I need 'em, I got 'em. there are a couple of odd windows that I will need to make...they should be fun. I will have more soon
-
superb looking ship Tom!
-
not hitting the like button........sorry to hear of your dilemma. hopefully you'll get things sorted out and can continue. your doing a super job there
-
I think anyone can watch something for a second time and pick up on a bit of detail they missed. silly naive and confused......hmmmmm.......only if they wanna be but that's a whole 'nuther debate.
-
thanks Pat they have no say in the matter strange about the door......I hardly ever lose parts no matter......I wasn't too keen on the metal bits anyway, though I know I'll have to use some of them. I forgot to mention that I also gave the three decks a coat of clear lacquer....they need a light sand now and the finish coat. once I get the windows and doors in place, then I can put all this together. gotta start uping the bling factor too. thanks for the good word........and thanks for all the likes too
-
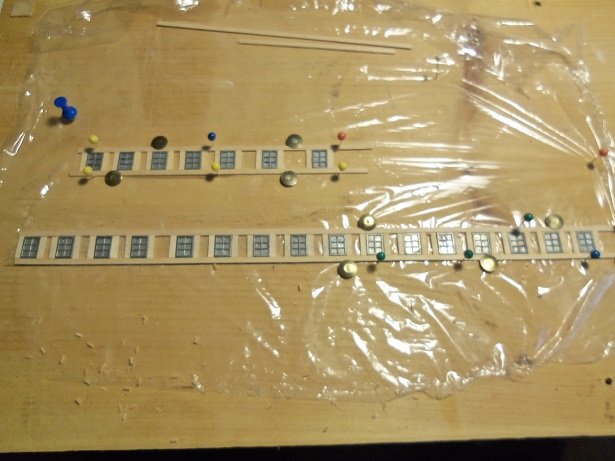
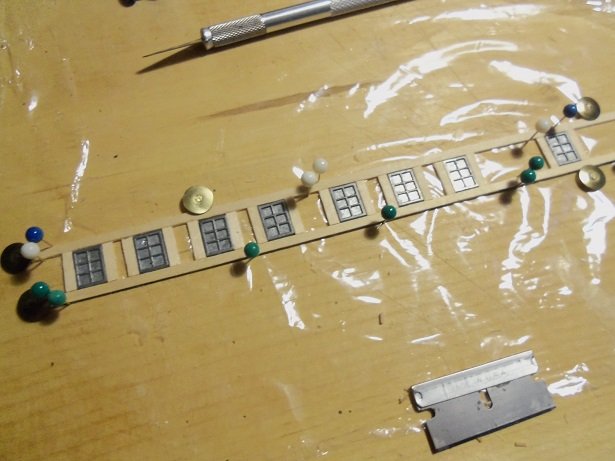
hey there.........got a bit of progress here to show you. since I have about twenty or so windows to make {and this is just one type....there are two}, I figured I'd better gt busy on them. using the metal window billets as a jig, I set up two 1 x 3 mm strips in order to mass make the frames. then the tedium of cementing them together. I had made one of the engine room vents....there are two in all. I made the other one today. I used the grating that I made for the United States build. then, I was going to chicken out on making the doors for the second level, and use the metal ones. they fit OK.......I was just going to paint them. but come the moment of truth, I find that I'm missing one of them. they've never left the box they came in..........I looked all around the table, because I did try to drill the squares out of one of them......figured I'd try and make them with windows. that stuff is tougher than a marine drill Sargent! when I finally came to grips that it was nowhere to be found, I decided to make them. turned out to be the easiest thing I've done all day a little clean up and they'll work out just fine. I'll likely do more on her tonight........I'll post again real soon

-
splendid progress Doug........she's look'in really good! nice choice of fixtures
-
so the hull is to be painted? if that's the case, and the poly dries to the touch, then it will seal the wood so the paint won't get sucked in. you'll get a much better job of it really nice looking deck. looks like you'll have to allow for the king plank {if it's raised}, when you add the cabins and such. the kit didn't supply a deck platform? most kits do, and you plank on top of that.........no need to do second plankings to decks. I found that very interesting.... she's coming along really swell !