MORE HANDBOOKS ARE ON THEIR WAY! We will let you know when they get here.
×


mtaylor
-
Posts
26,273 -
Joined
-
Last visited
Content Type
Profiles
Forums
Gallery
Events
Everything posted by mtaylor
-
Tool for Shaping Brass Strip
mtaylor replied to mikiek's topic in Metal Work, Soldering and Metal Fittings
Mike, Anneal the brass first. Heat to red hot and let cool. It'll soften it and make it easier to bend. As for forms.. check around places like Amazon for small anvils. For a cheaper method, check around Home Depot and Lowe's in the hardware department. They sell steel stock that might be usable.- 44 replies
-
- 13
-

-
By perchance is it an iPhone? Seems that the iPhone and iPad both have this problem. I'm not sure why either.
-
Siggi, I think that "flemished" for the lanyards the key. If we assumed the lanyards are the handles, then the ends are flemished through the eye. Have a look at the picture of the buckets and how the rope is attached. I suspect that is the "flemished". I did some Googling and the term generally is for when a rope passes through an "eye" such as that on the bucket and is how the rope is tied off.
-
Oh.... bummer... that's a show stopper for sure. I'm going to assume that Heller will be getting an email with attached photo? On the other hand... you could do a half hull model with all the internal decks, etc.
-
Coming along nicely Mike. Yep... spiling is time-consuming but worth the effort.
-
I think Bob is onto something there, Denis. Those clear sheets are mylar and won't distort. Plus you can "color" them.
-
Mike, Try asking here if you don't get an answer...http://modelshipworld.com/index.php/forum/14-building-framing-planking-and-plating-a-ships-hull-and-deck/ I'm not sure which way is correct except that the keelson was the opposite way.
- 962 replies
-
- 2
-
-
- hahn
- oliver cromwell
- (and 1 more)
-
Thanks for the "likes" and the comments. Zoltan, The idea for this is EdT's. I think it's in his Naiad log. Basically, paint pigment (about a teaspoon per 8 oz. of PVA). Make a slurry with a bit of water and PVA and then mix well with the rest of the glue. That's not an upgrade Sam. That's a whole new cutter and pricey... champagne (Dom Perignon) on a cheap beer budget. :D Well.. the cutter upgrade is done, I'm happy with it. Now I'm mocking up the quarter galleries and the stern trims since they're tied together and need to flow together. The pictures of the Hahn model look like what's on the plans (a bit grainy in black and white but no details on the "how"). The Le Venus and Belle Poule galleries are slightly different in that they don't sweep up towards the stern in a gentle curve. The NMM plans show the curve but again no details. Same for between the stern windows.. no details on the NMM plans. Hahn just did plain wood where as the monographs show a fillister type of decoration between the windows. Decisions, decisions..
-
I think the problem is the white glue and the window maker are both water soluble. I'm not sure what you could paint on it. You could... and it sounds pretty iffy even to me, is white glue and food coloring. Make up as many colors as you need. The problem will then be bleed over to the next piece of glass. If that could be stopped, then it might work. I like the effect you were trying to attain, though. Or.. do a little on each glass piece. Let it dry and then do it again. Maybe you were doing to much at once on each little piece?
-
Bill, As far as tools, have a look here: http://modelshipworldforum.com/ship-model-materials-and-tools.php There's several articles on tools and also one on what tools NOT to buy. The best advice is "don't buy a tool until you need it". As for clubs, do a search here: http://modelshipworld.com/index.php/forum/43-nautical-research-guild-news-model-ship-clubs-and-exhibitions-and-events-museums-and-museum-ships/
-
I quite agree with Alan... WOW!!! Thanks for posting the pictures and the videos. If you can, Mike, post all these and any others you have done here: http://modelshipworld.com/index.php/forum/43-nautical-research-guild-news-model-ship-clubs-and-exhibitions-and-events-museums-and-museum-ships/ It'll be an easier reference for others and more people will see them.
- 962 replies
-
- 3
-
-
- hahn
- oliver cromwell
- (and 1 more)
-
That sums it all up nicely.
-
Solid hull centerline
mtaylor replied to halbaby7's topic in Building, Framing, Planking and plating a ships hull and deck
Hal, Open a build log. That will be the best way to get help and encouragement. And you'll be helping anyone else who builds her. -
I know you and John are right and we are our own worst critics. I was showing the admiral the model today. After looking it over carefully, She said she liked the caulking. What????????????????? :D So no more beating myself up.
-
Hartmut, What did you make the bricks out of for the fireplace. Those are amazing.
-
Thanks for the "likes" and the comments. Paul, I have the MM LaserKnife. It's basically a Chinese K40 with some upgrades they insisted on. I've already upgraded the lens to get a finer cut.. and now the tube. Seems I can't leave anything "stock"... John, I know you're right.. but.. we all do it. I've flipped her over and the filled areas will pretty much disappear.
-
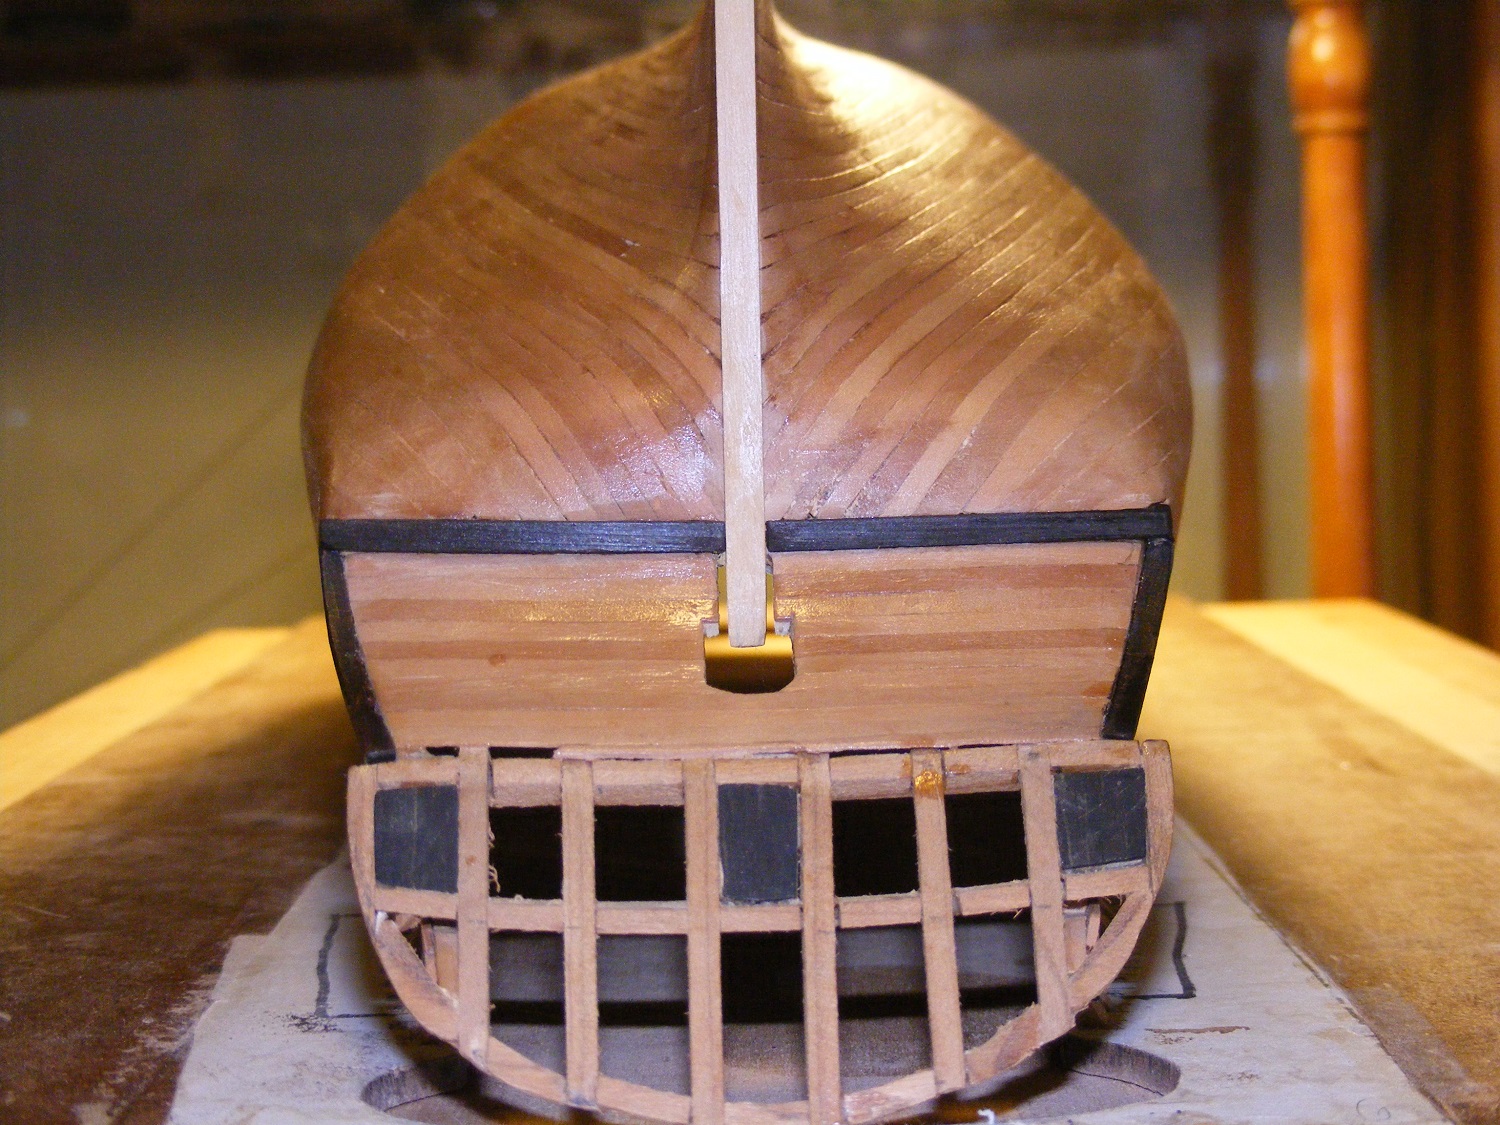
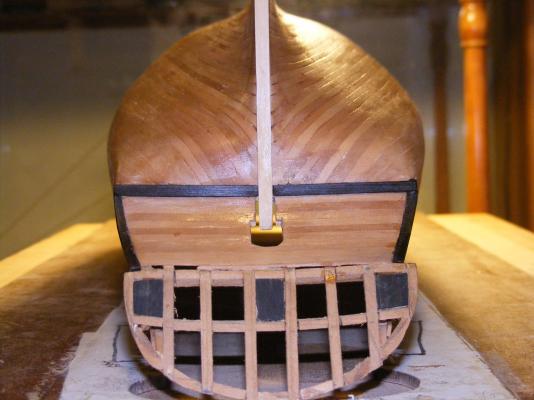
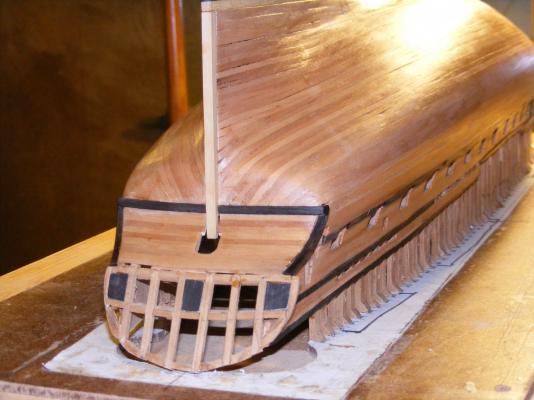
Thank you for the "likes", the Christmas wishes, and the comments. Minor update, as such. Added the sternpost (boxwood), and the fashion pieces and the covering board (both are ebony) for the seam between the counter and the hull planking. I've put on one coat of wipe-on-poly. I'm still perturbed by the black from the gap filling, but will live with it. A bit more care the next time (and hopefully less stress since I have bigger clue) should work out. Taking a break from the ship for a day or two to upgrade the laser cutter...
-
Have a good second Christmas, Sjors. Nice work on the figurehead.
- 1,616 replies
-
- 5
-
-
- caldercraft
- agamemnon
- (and 1 more)
-
I've seen it done both ways. If you apply the finish first, you'll need to sand or scrape off the finish where the furniture goes.
- 1 reply
-
- 1
-
-
Actually many of us have. Chuck (owner of Syren Ship Model) is an admin here. Everything he sell is quality.
-
Sweet Erik.. A beautiful build. it really is hard to believe this is your first build.
- 222 replies
-
- 3
-
-
- 18th century longboat
- model shipways
- (and 2 more)
-
Looks great, Pat and that is a big milestone...
- 517 replies
-
- 1
-
-
- Endeavour
- Artesania Latina
- (and 1 more)