


James H
-
Posts
5,613 -
Joined
-
Last visited
Content Type
Profiles
Forums
Gallery
Events
Posts posted by James H
-
-
38 minutes ago, Suzdal said:
One main question. How long will I have to "dream" before I can get my hands on it.
Another question has to deal with Brexit, do I get it with out the UK charging me taxes since they're no longer in the EU.
Oh well, I'll just have to wait and see.
Richard
About 2 months, give or take.
you shouldn’t have tax problems with Brexit as the UK’s transition period is until the end of year. All current arrangements stay in place until at least then.
-
7 minutes ago, Suzdal said:
As a beginner, I'm just building D'Agostini's' cross section of the Victory, as my first build, I'm carefully following your build of Lady Isabelle. It is a bit daunting for a beginner !
I'm going to try it as soon as its available, with sails, but your build log will be invaluable: the methods of painting, sanding, varnishing (?), futur rigging, ... Please continue, your information will be invaluable as far as I'm concerned.
Richard
Hi Richard,
You'll find this one a dream, and there will be plenty of help for you here with it. Any questions, then I'll do my best to answer them for you.
-
5 hours ago, popeye the sailor said:
catching up with your progress James........she's look'in awesome! it's such an 'exact fit' kit........I wonder if a beginner could do well with it. a very nice kit
")
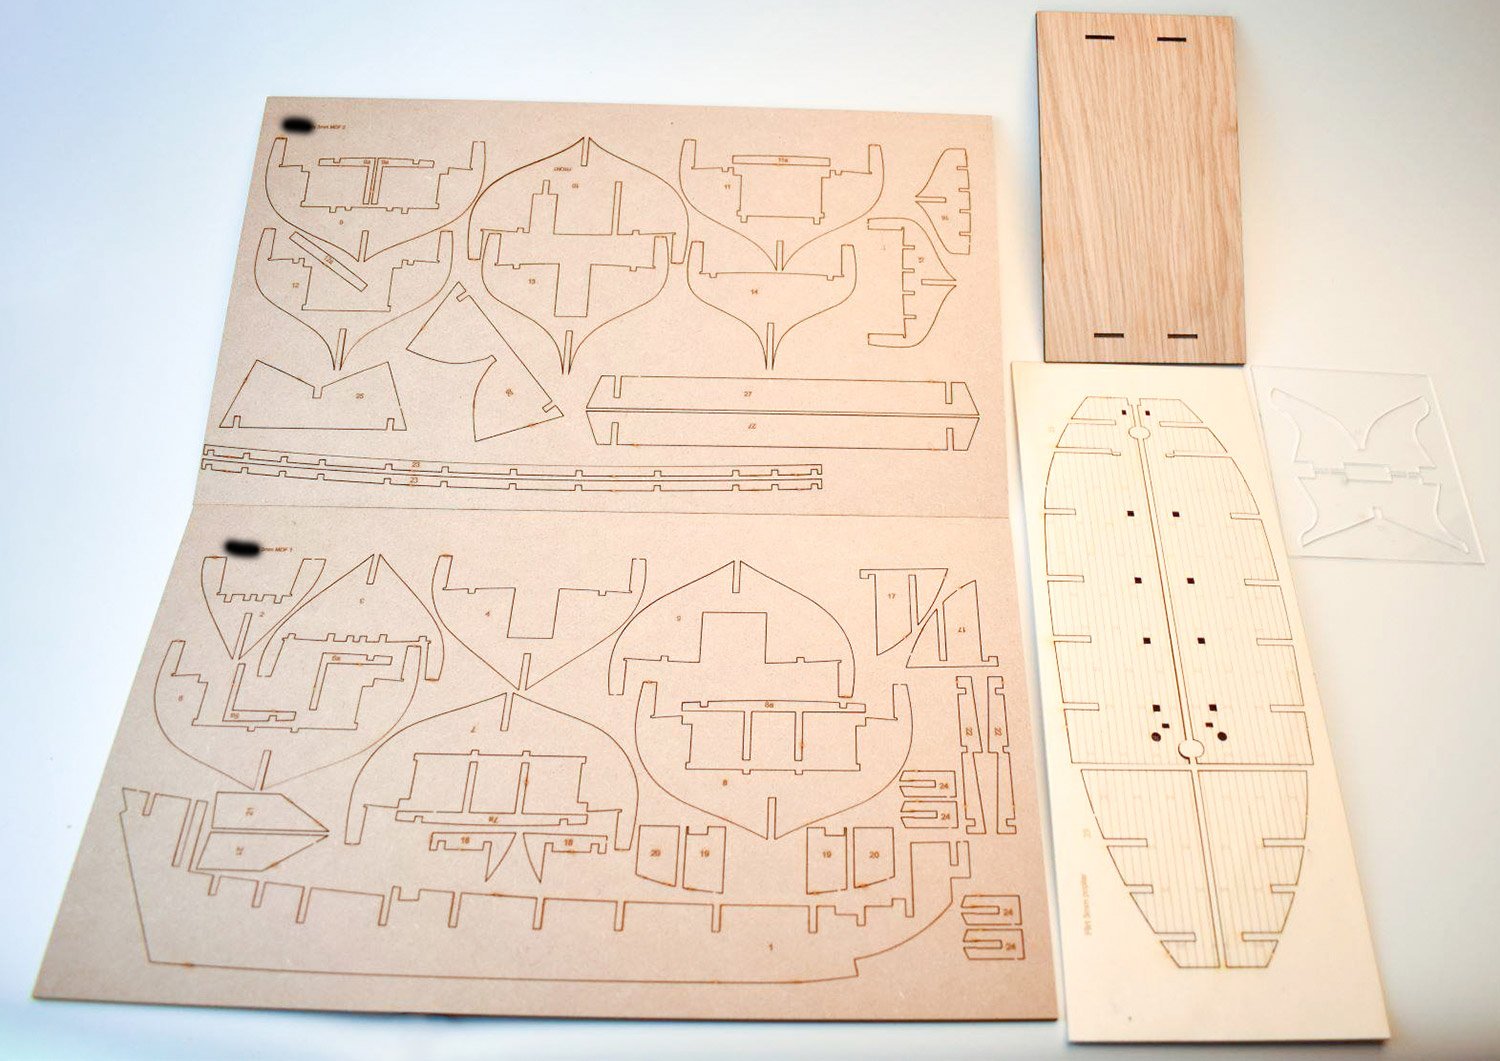
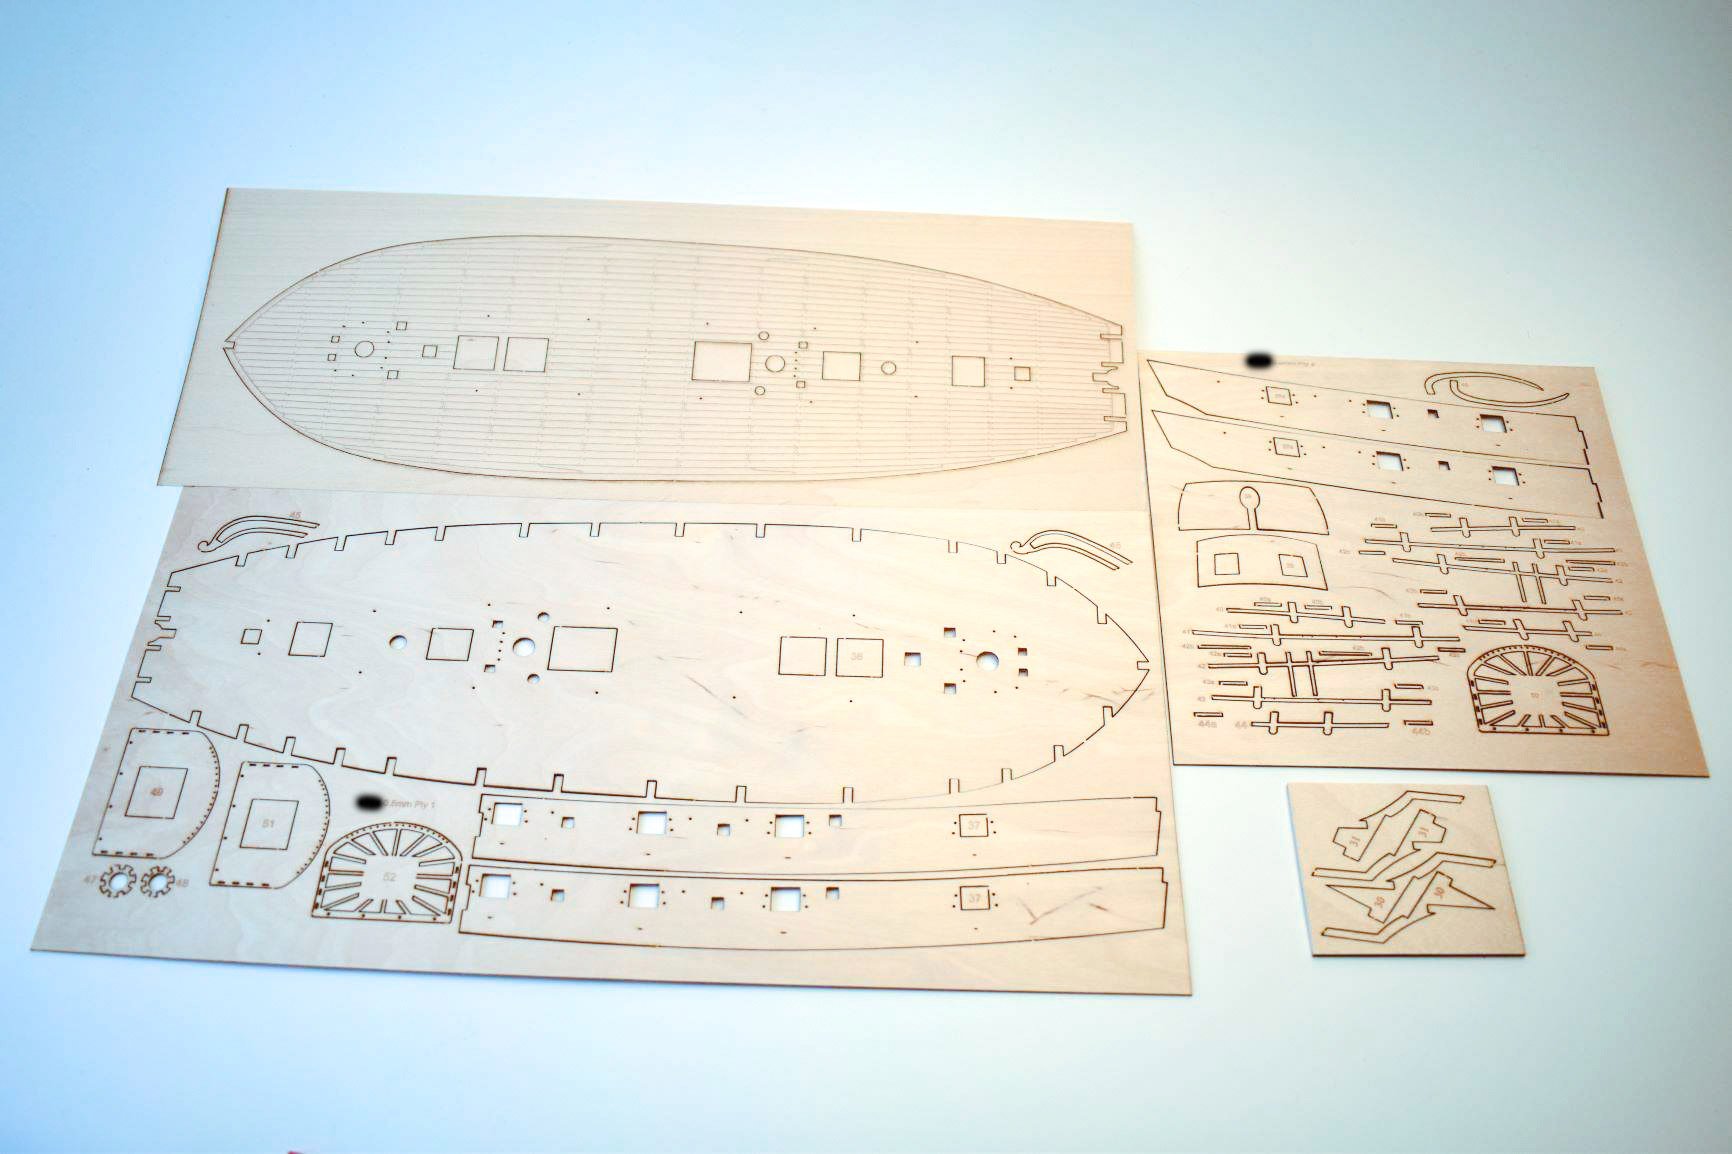
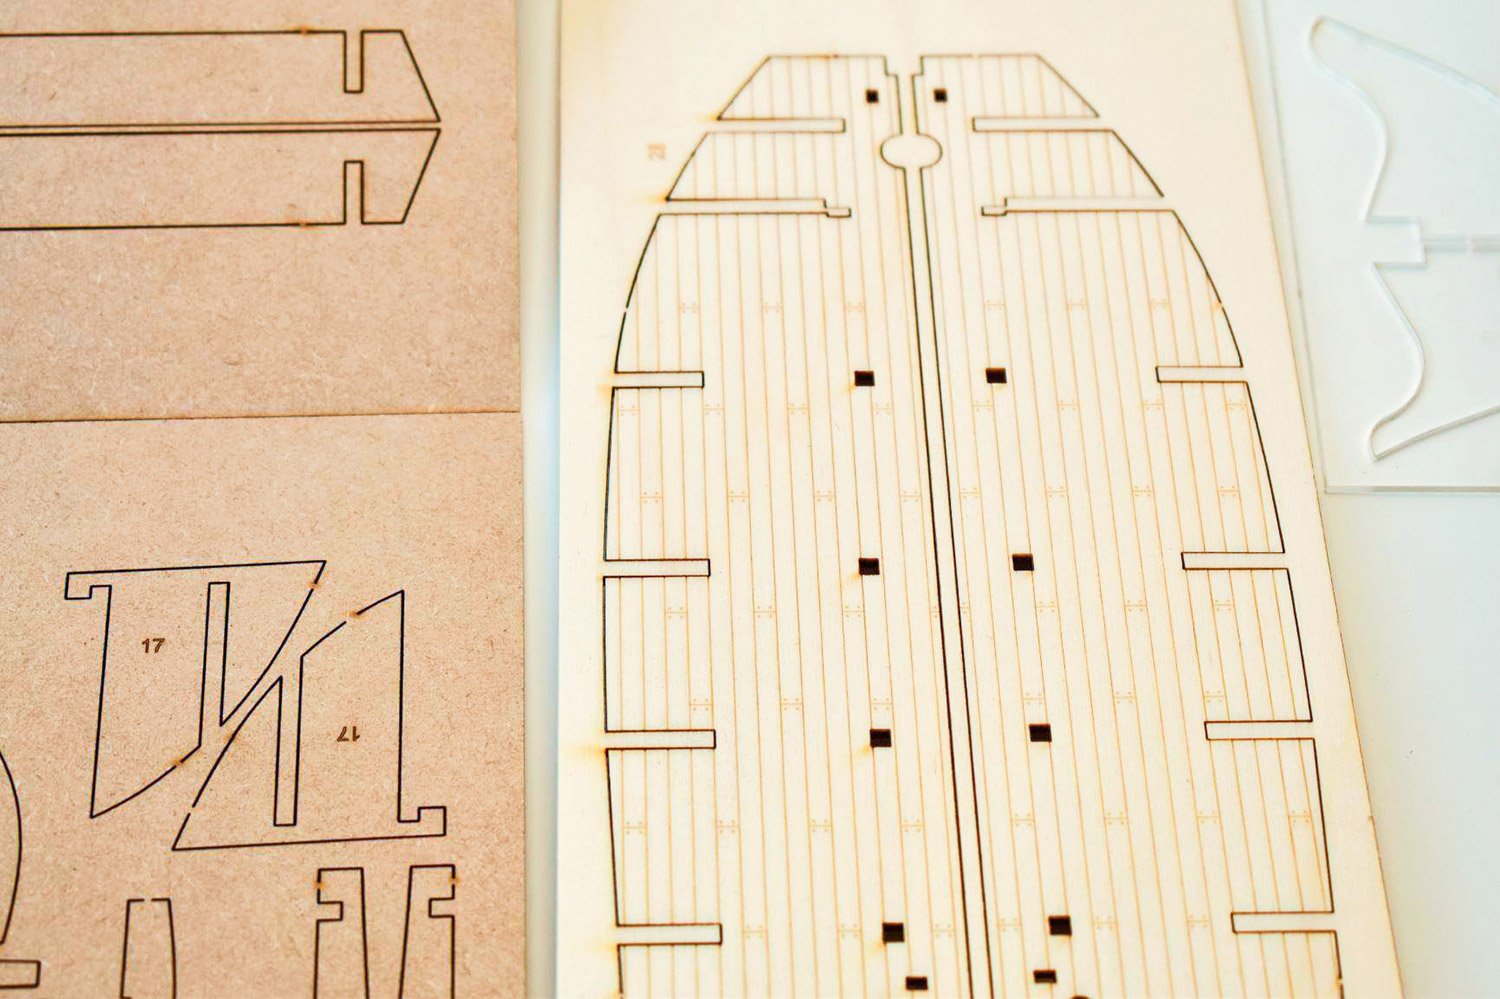
That's pretty much where this is pitched, but interesting enough a subject to appeal across the board. Nice to see such a kit with pearwood as standard too. The maple deck will be an option, and lime is standard.
- mtaylor, popeye the sailor, BobG and 2 others
-
 5
5
-
11 minutes ago, ccoyle said:
Do you use a voice-activated shutter when both of your hands are in the shot?
No, that's just the 10s timer mode.
1 minute ago, NewbyMark said:Stunning
Cheers. It's a lovely kit. Very intuitive.
- mtaylor, mugje, popeye the sailor and 4 others
-
7
-
A busy couple of days in the workshop, but taking full advantage of the government's new isolation rules.
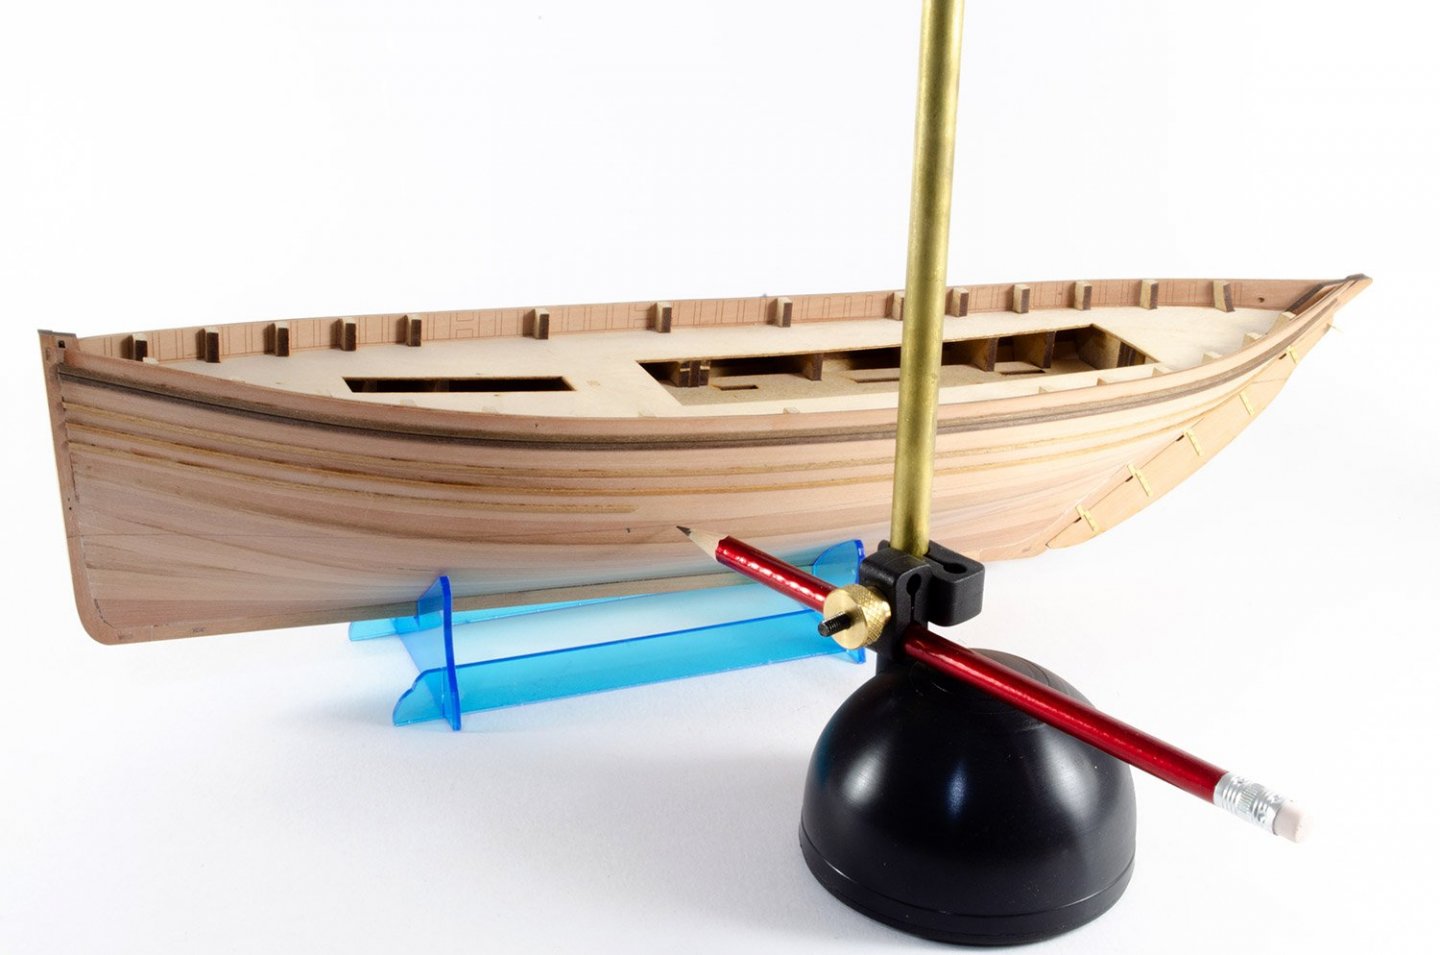
First up, I slotted the stand together but left the protective film on it so I didn't scratch it. I really don't recommend you do this as it was extremely tight and I don't know how breakable this is.

The reason for slotting this was because I wanted a cradle that would hold the hull evenly whilst I added the waterline. The waterline also doesn't run parallel to the bottom of the keel either. My Amati waterline tool was now given its baptism of fire.
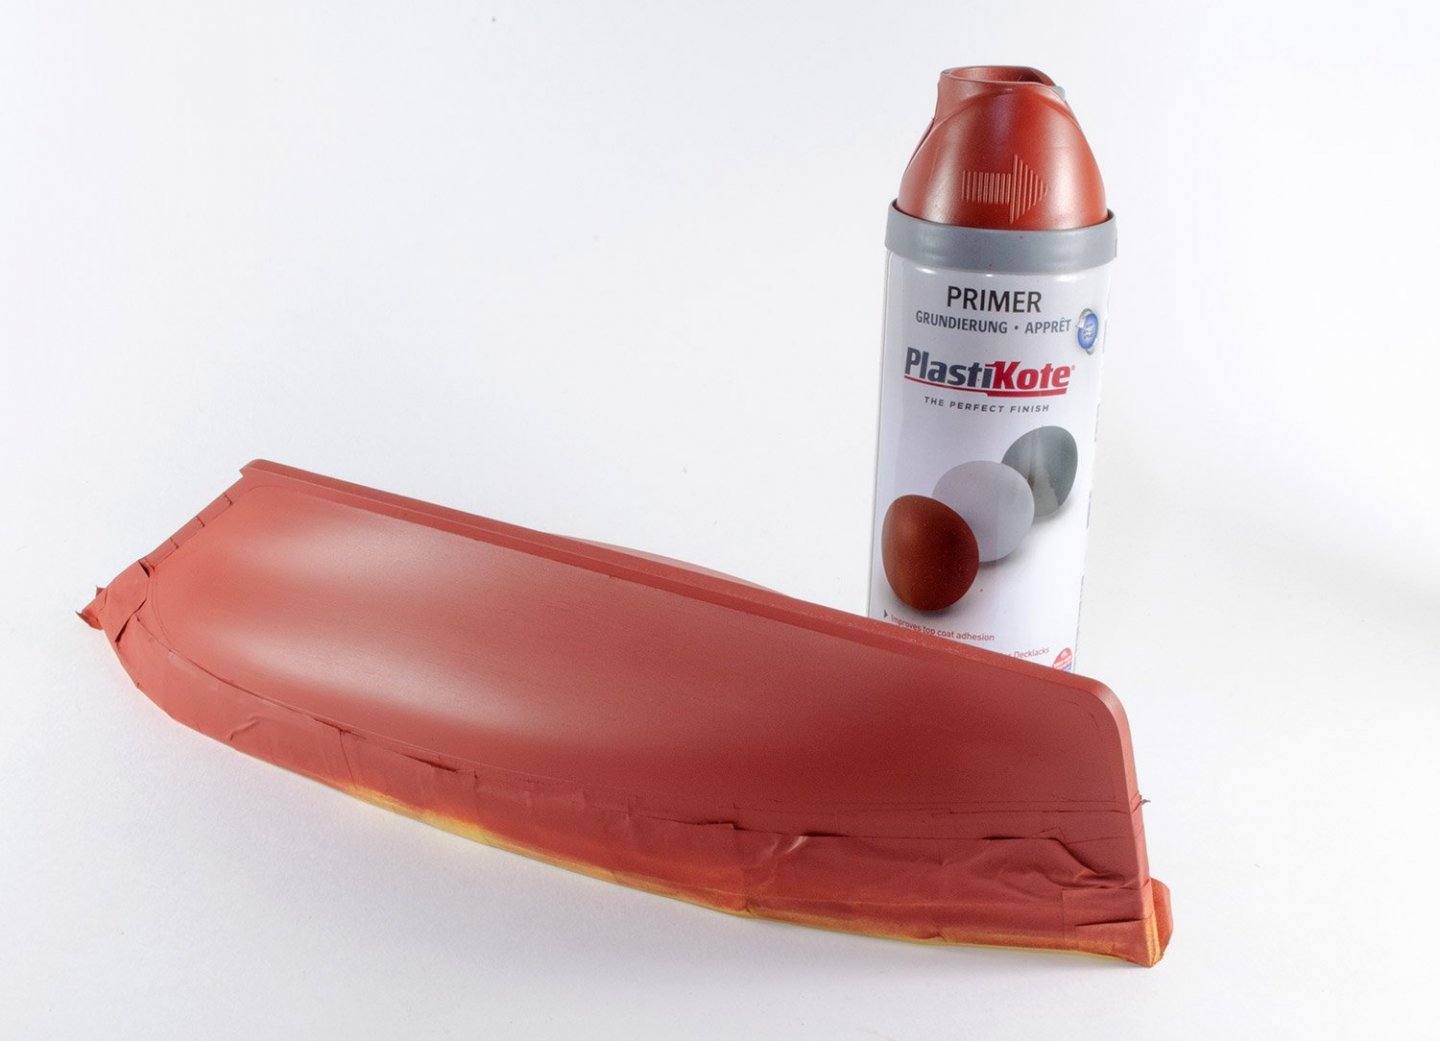
Masking tape was cut into thin strips and laid along the outside of the waterline. The rest of the model was then totally covered so no overspray could happen. Plastikote's Red Oxide primer was not applied to the underside of the model, in several light coats, building it up gradually. It's pretty important that you make sure that the planks aren't popping out with their gaps with this on, so I used some wood filler first and sanded back, checking the hull against the light to make sure as few lines as possible could be seen.
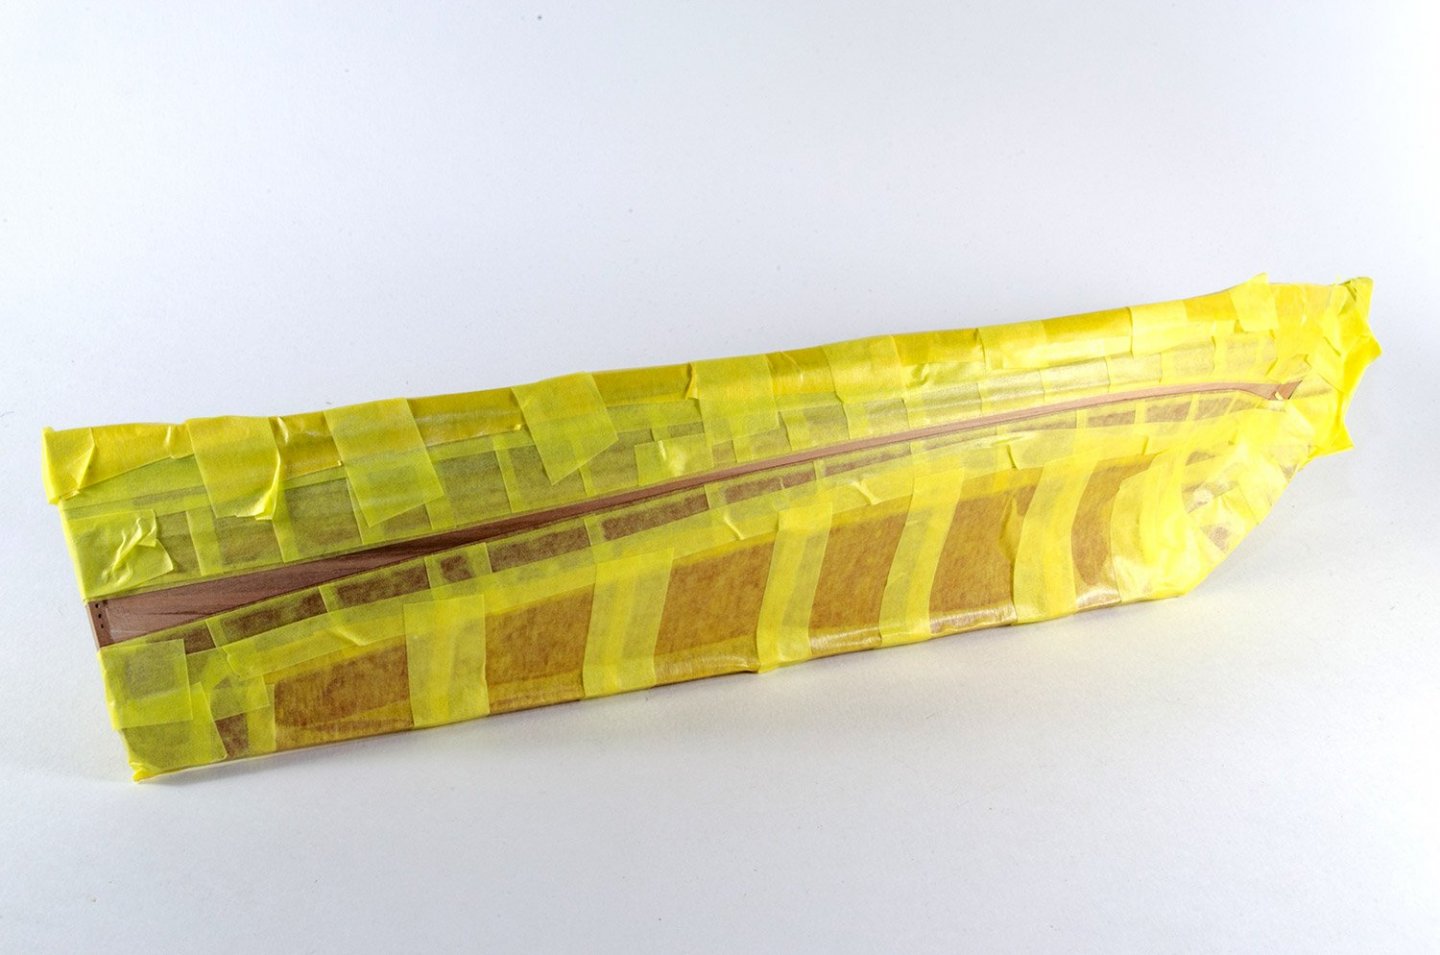
I left the primer to cure overnight and then carefully masked off the whole area. From there, more thin strips were used to create the bootstrap. This took a few attempts to get it even on both sides. A couple of whisky were definitely needed after that! Again, the remainder of the hull was masked to protect it before matt white spray was applied to the bootstrap and in thin coats.

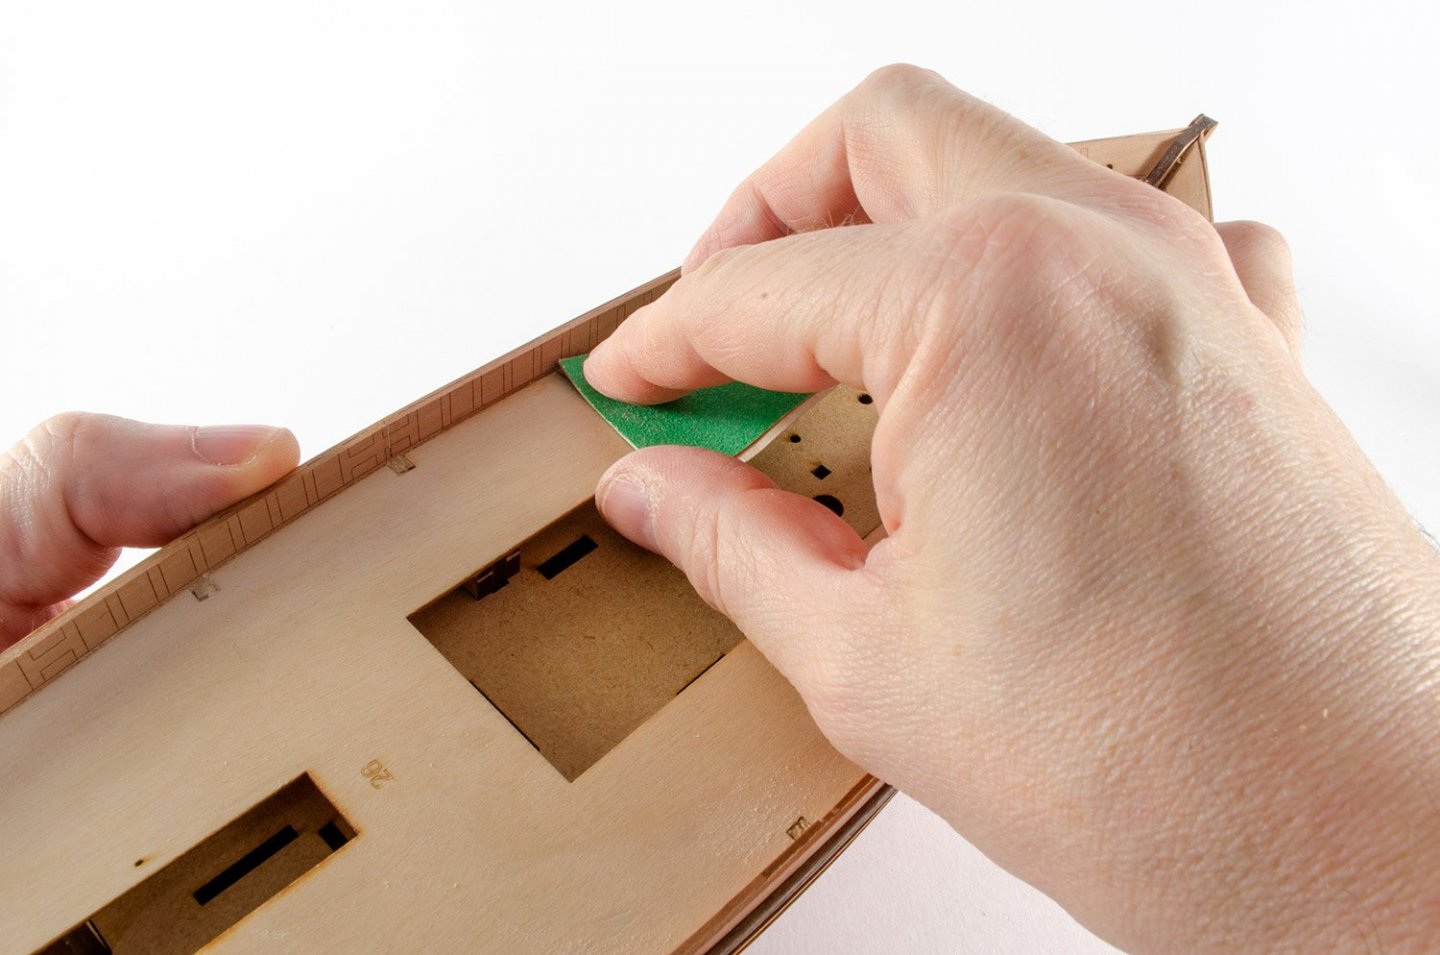
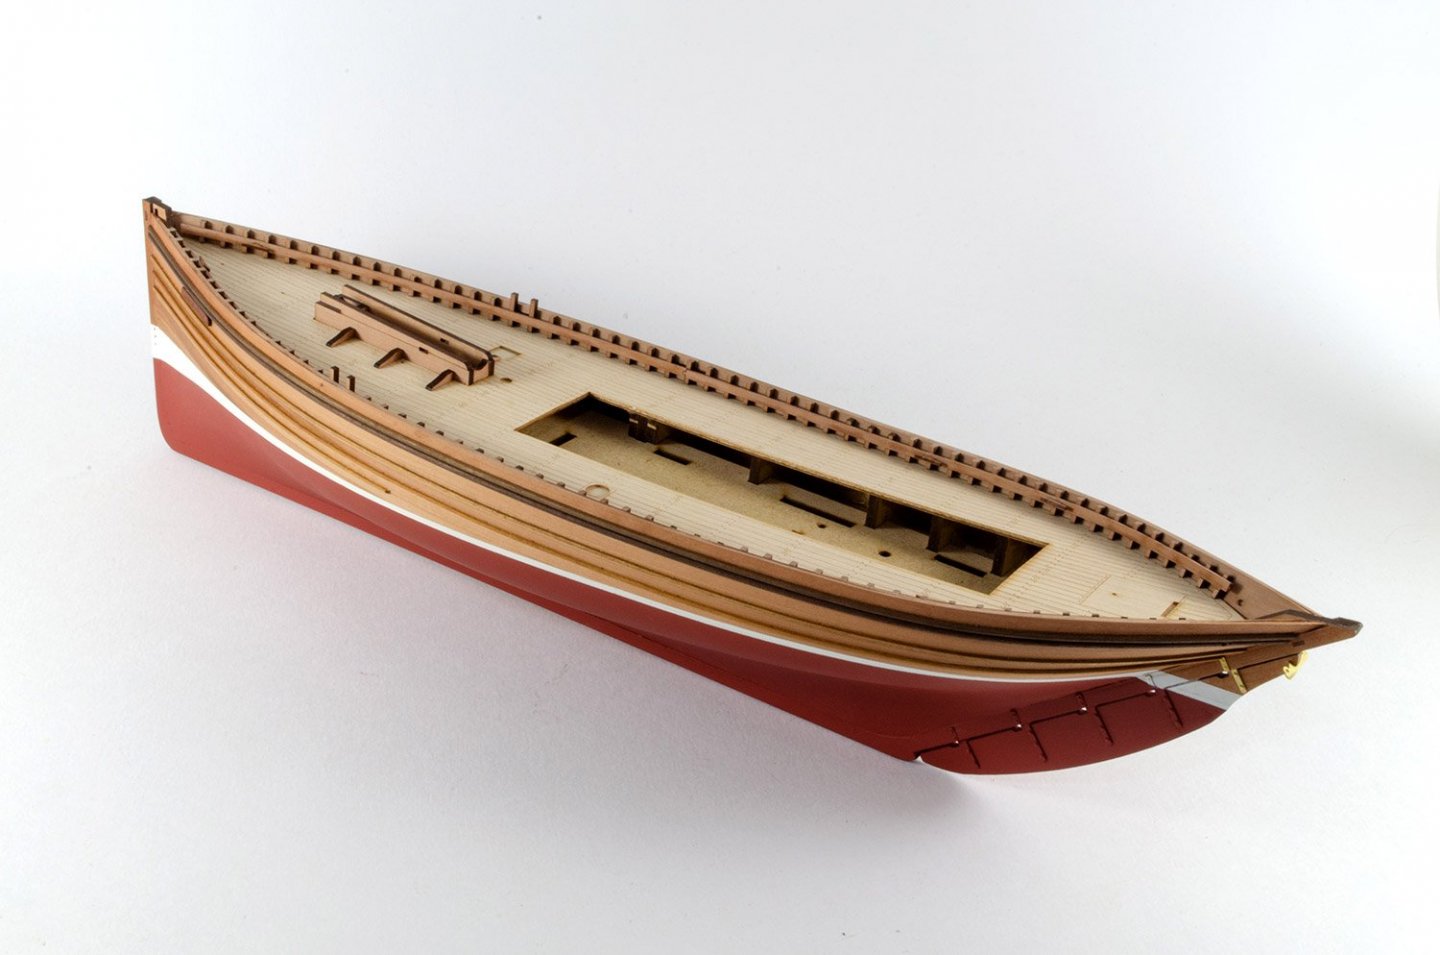
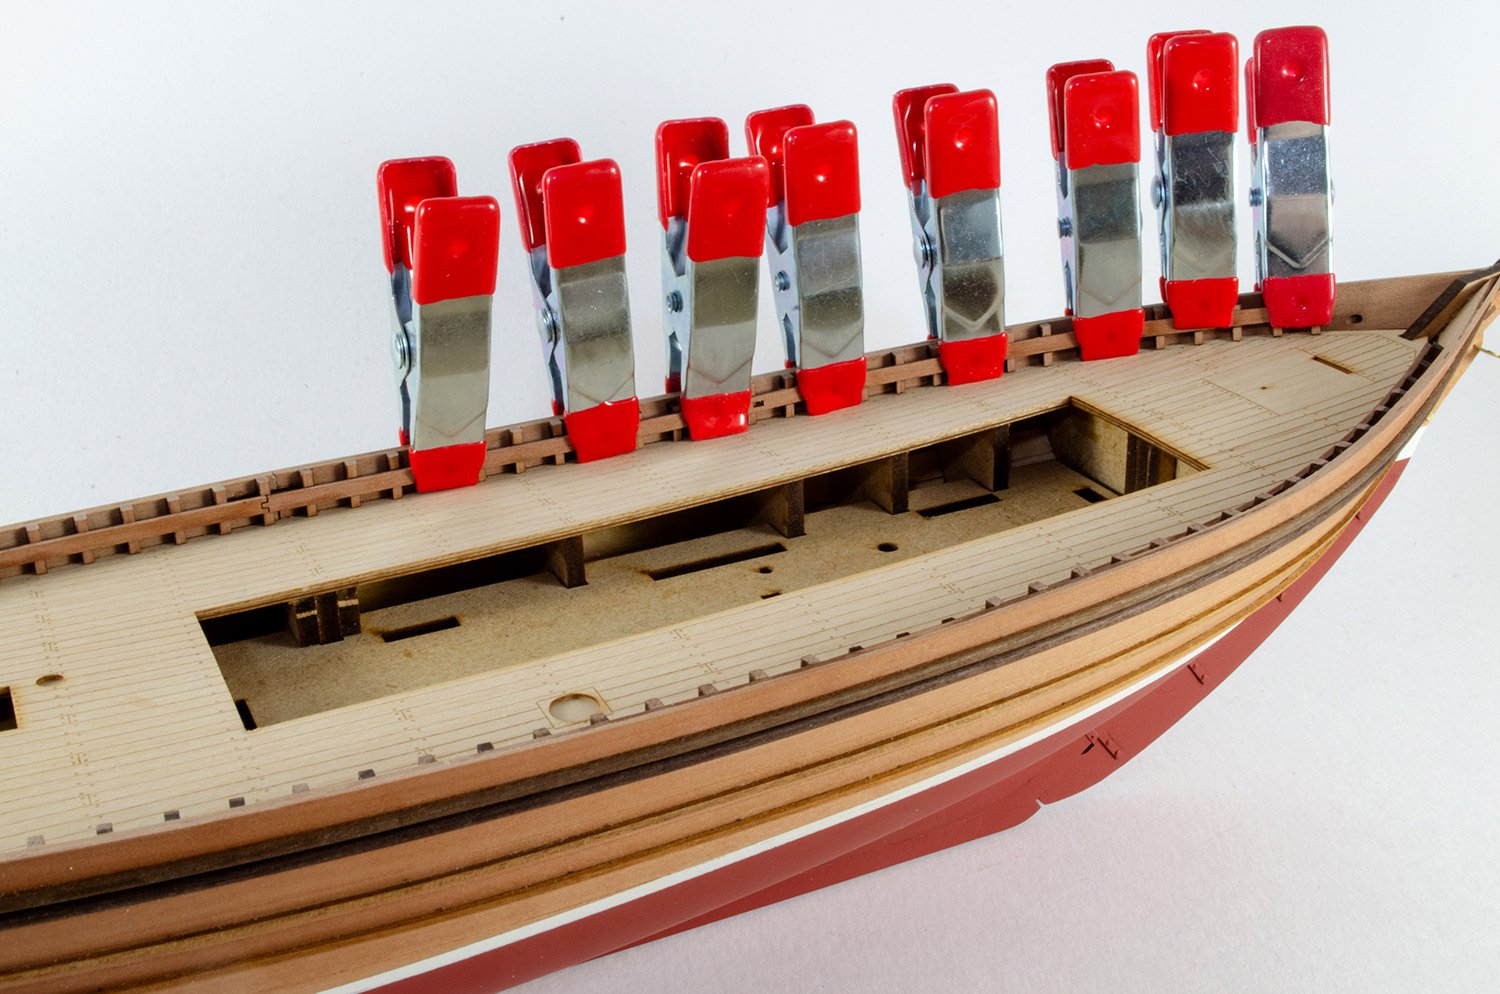
The whole hull exterior was given several coats of interior matt polyurethane varnish which is pretty tough (Ronseal). That was left overnight and when the hull could be handled, I snapped off the tags on the top of the bulkheads, and sanded their remnants flush with the ply deck.
This kit will come with an option for a laser-engraved maple ply deck and this is gorgeous! This was now fitted using CA gel. Very little fettling needed to be done for this.

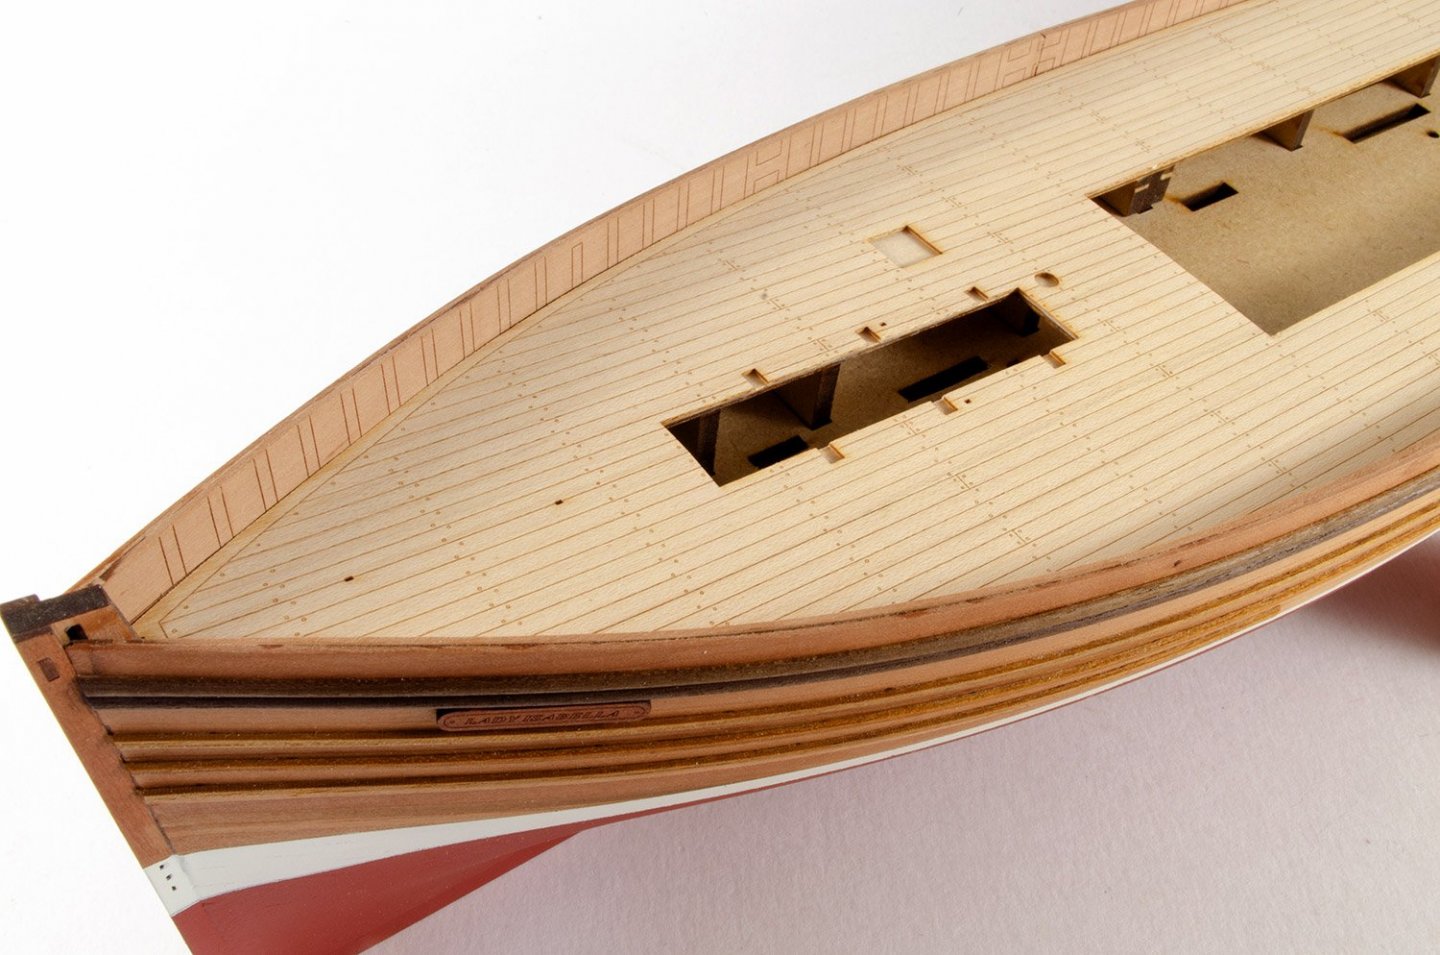
I could now move onto adding some detail, and this starts with the timberheads. These are all laser cut, and there are almost 100 of them, added with around 300 spots of CA gel. All these needed doing was a small bevel added to the deck edge to conform to the curve. These are just glued in over the laser engraved bulwark positions. You'll note a few that are shorter. These are to accommodate some platforms which I'll added later. With the timberheads fitted, a sanding stick is used to level them to bulwark height. The laser marks on the timberheads themselves are for the rail which will be fitted in a moment.
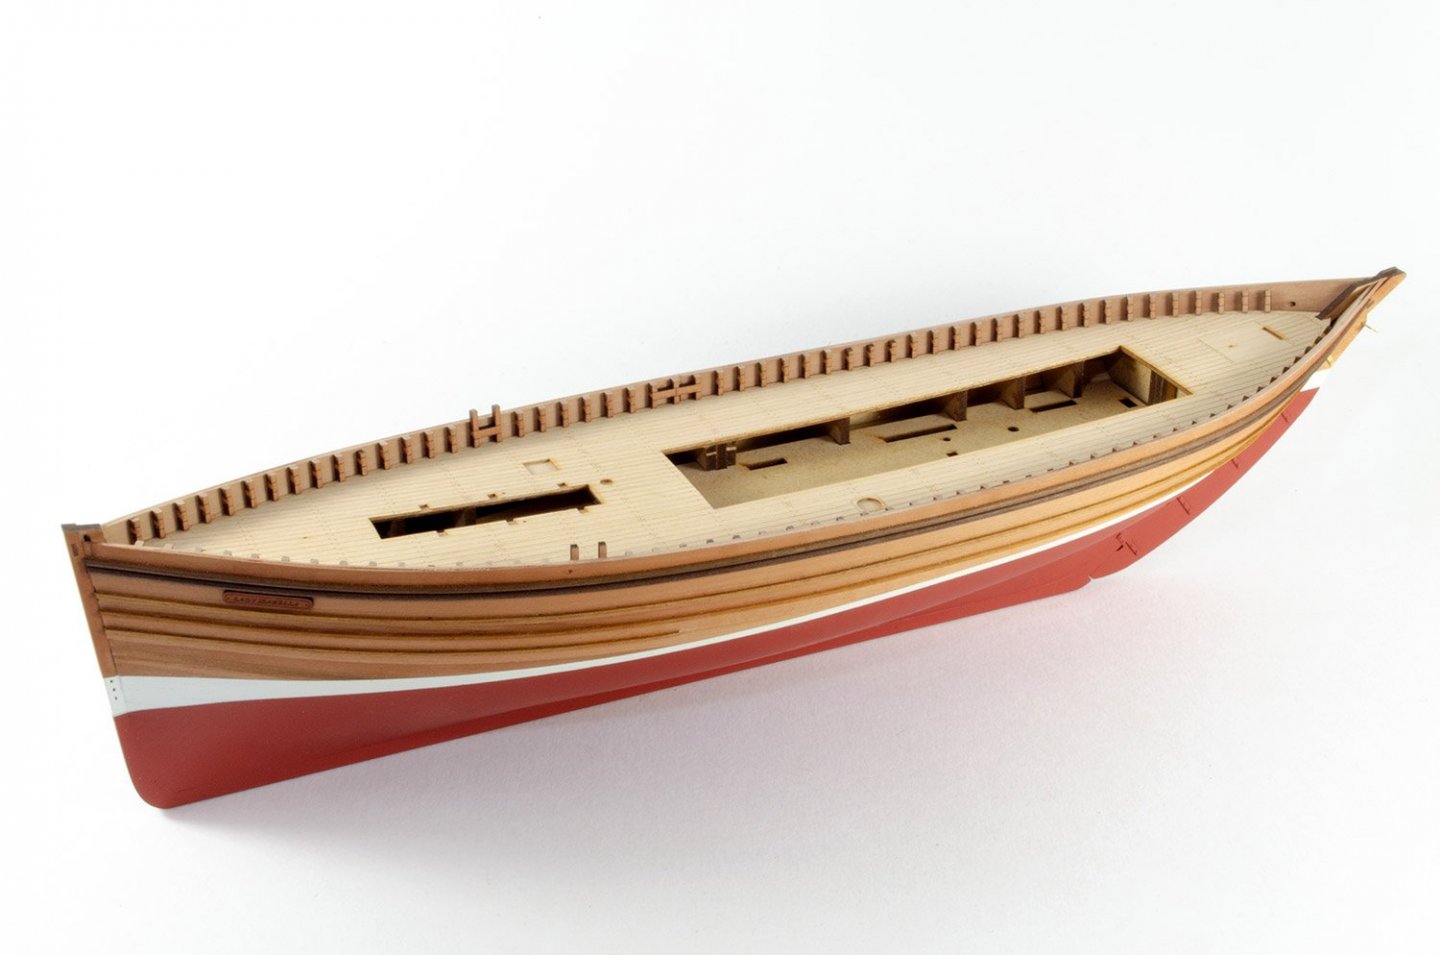

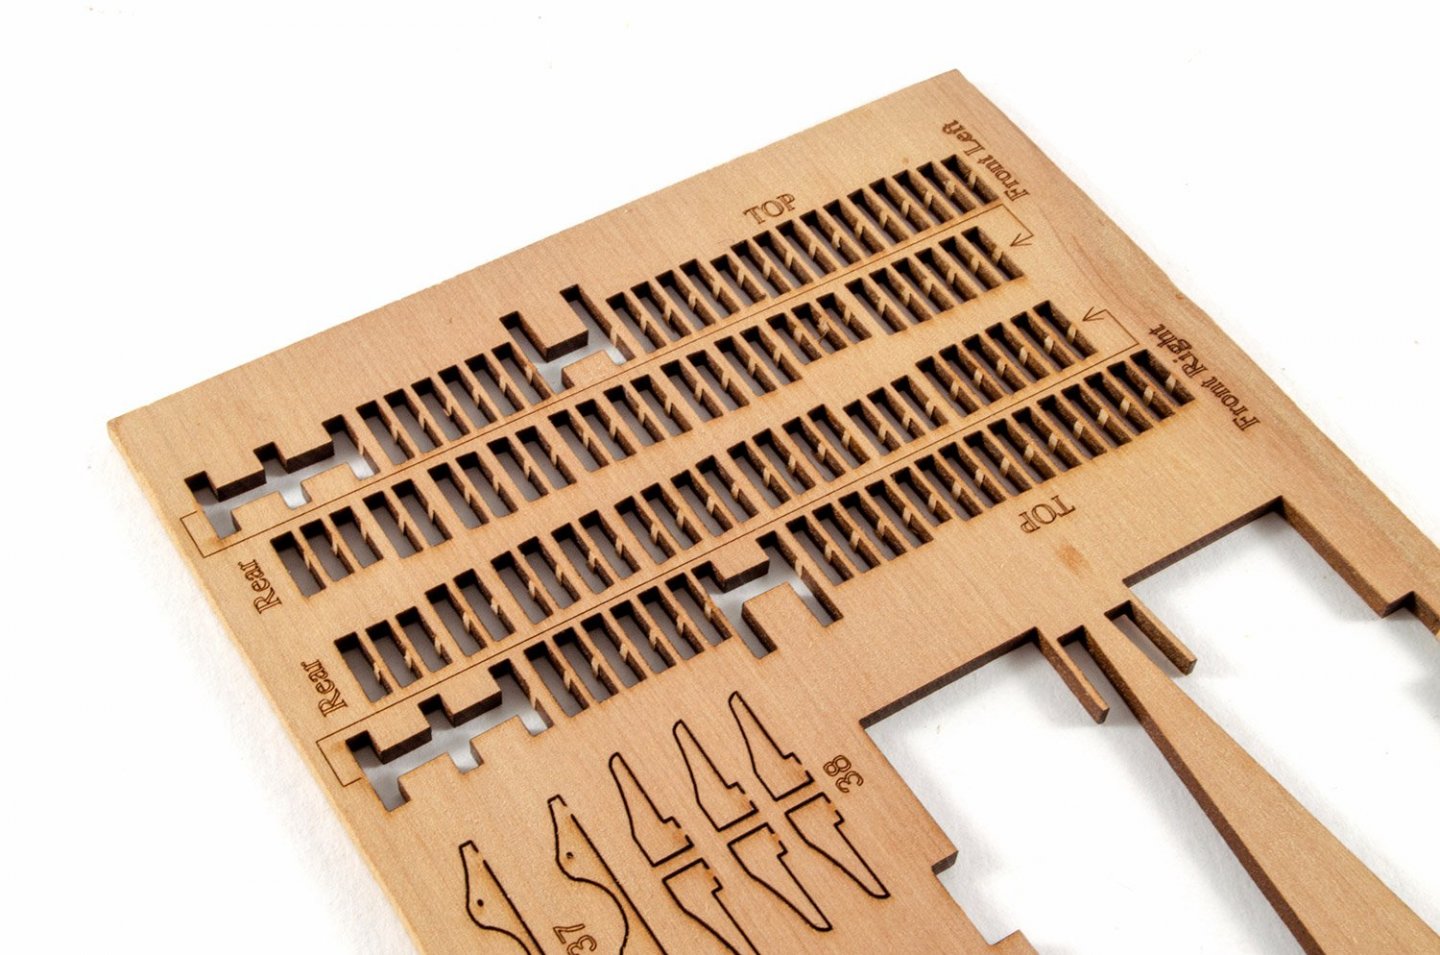
The timberhead rails are fitted in halves and these perfectly match the engraved marks. It's a real no-brainer! A few clamps are used to hold them whilst the white glue dries.

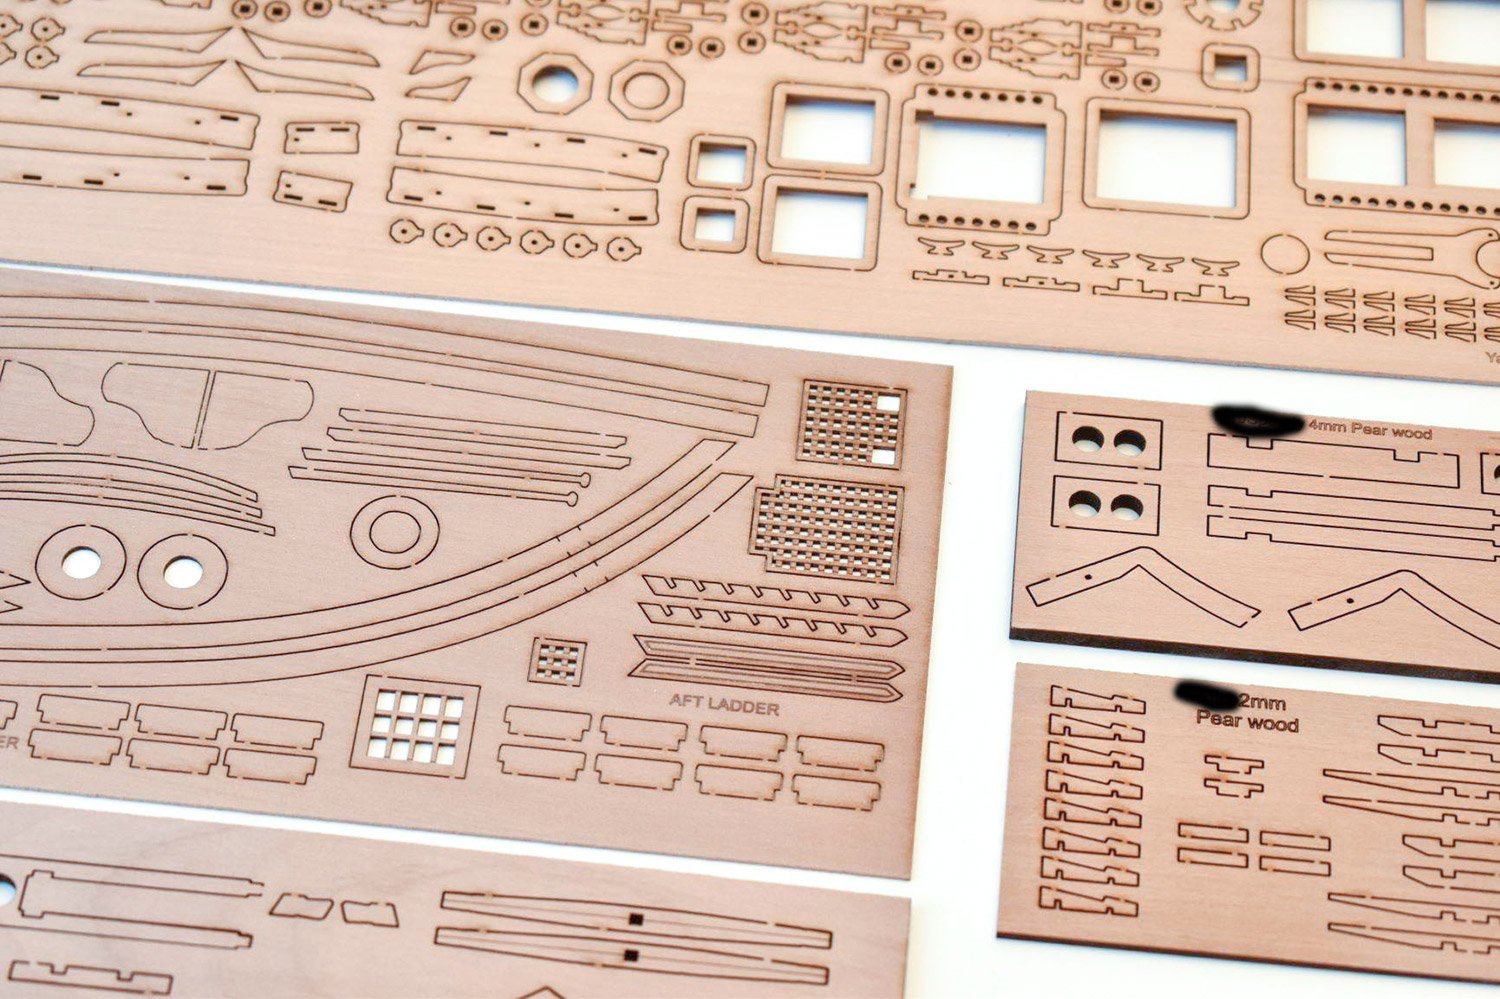
Now the construction of the foremast step/well is built, all in pear wood. I've left the dark laser edge on many parts as I think it really lends itself to the colours of the timber, and breaks things up nicely.

That's it for today. More soon!
- BobG, paulsutcliffe, bruce d and 22 others
-
25
-
That looks incredible

Can't wait to see this one.
- greenstone, Canute and mtaylor
-
3
-
That is impressive! If you haven't uploaded any gallery images, you should definitely add some of your finished images of her.
-
6 hours ago, jagdmirage said:
Any advice on this kit?
I seem to remember that I took it to work to use a pillar drill for the main axle of the catapult part.
The netted bags with stones are a little tricky and I used quite a bit of PVA on them and repainted the stones in grey.
-
This is a great kit! Built one myself, many years ago.
-
You are a brave man taking this on for a first build, but your work looks simply amazing!
I am definitely following this one.
- VTHokiEE and Old Collingwood
-
2
-
-
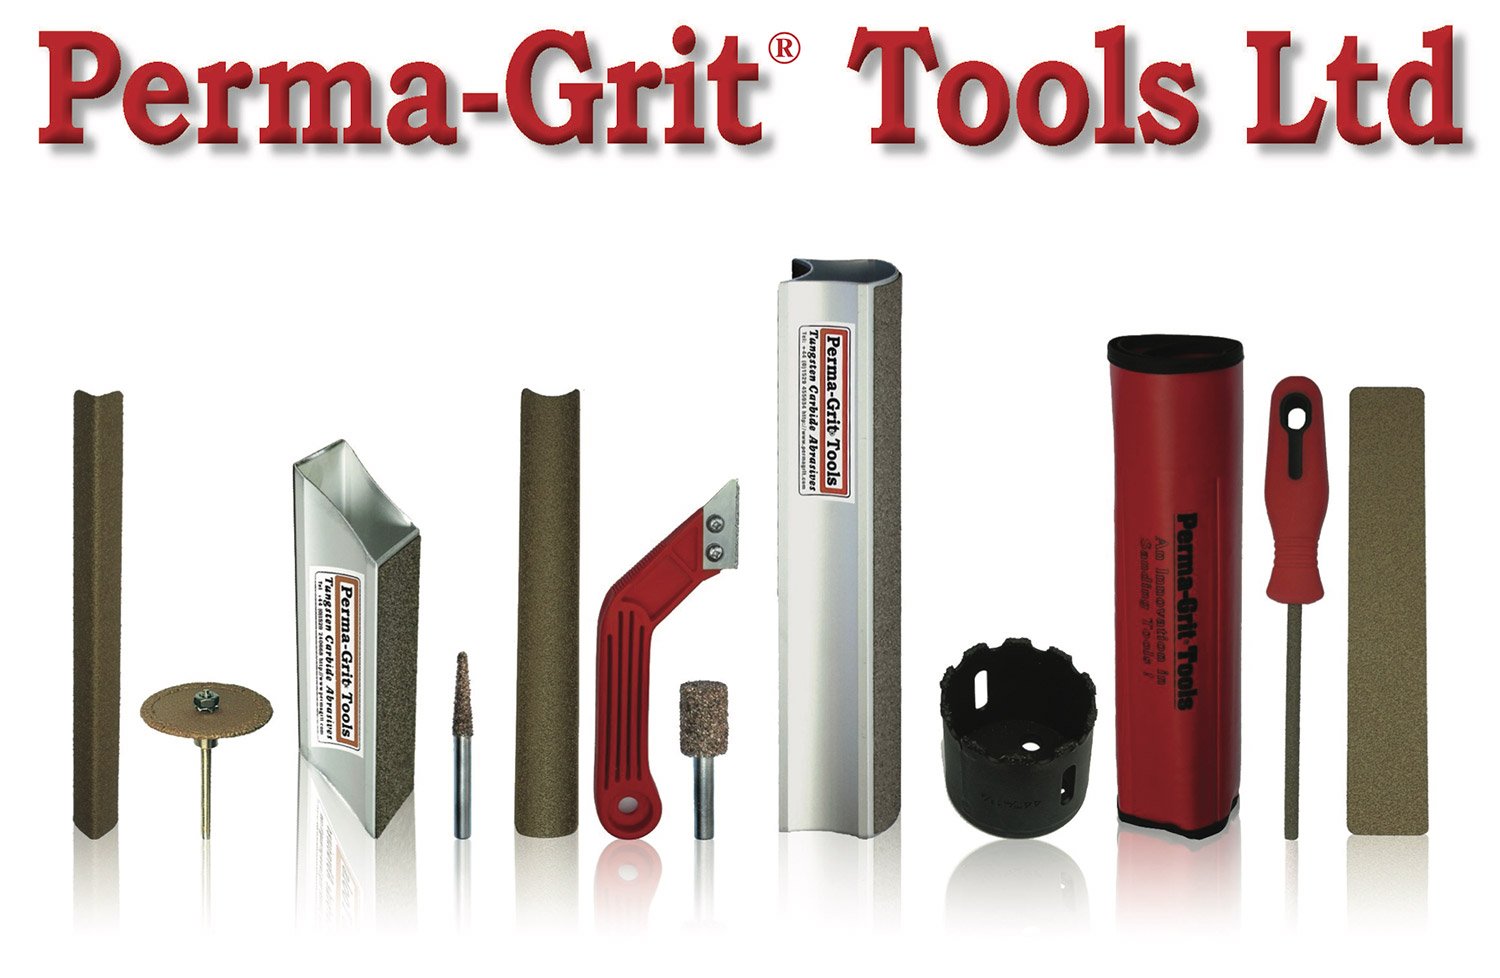
Perma-Grit Tools
Perma-Grit Ltd.
For purchase and enquiries, visit www.permagrit.com
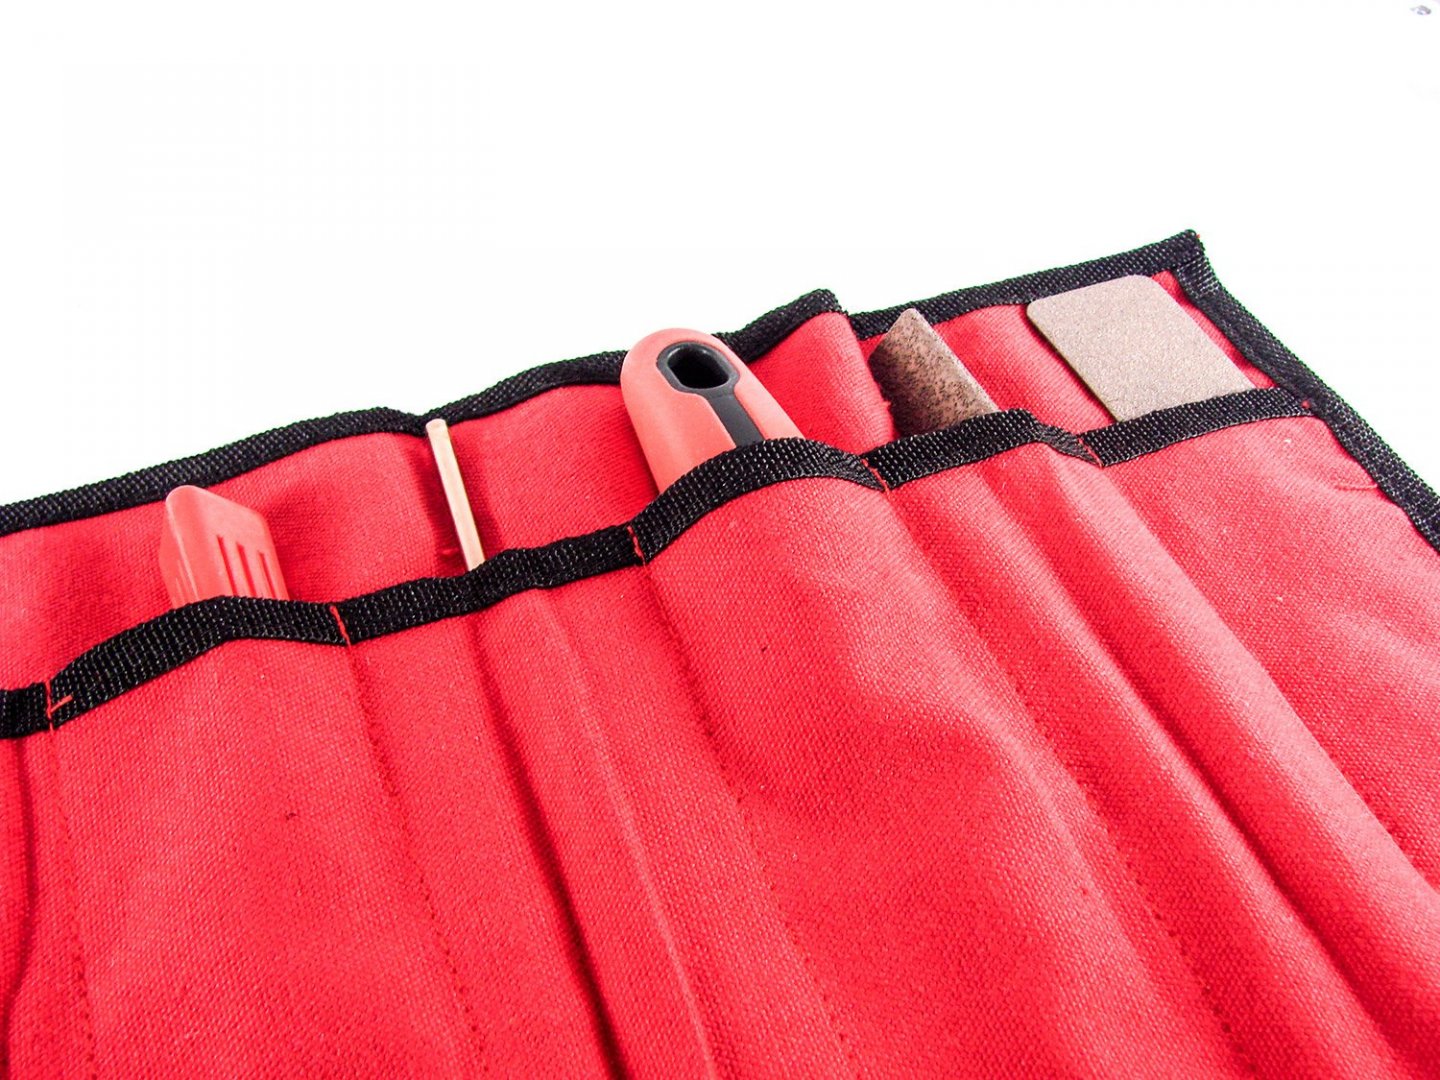
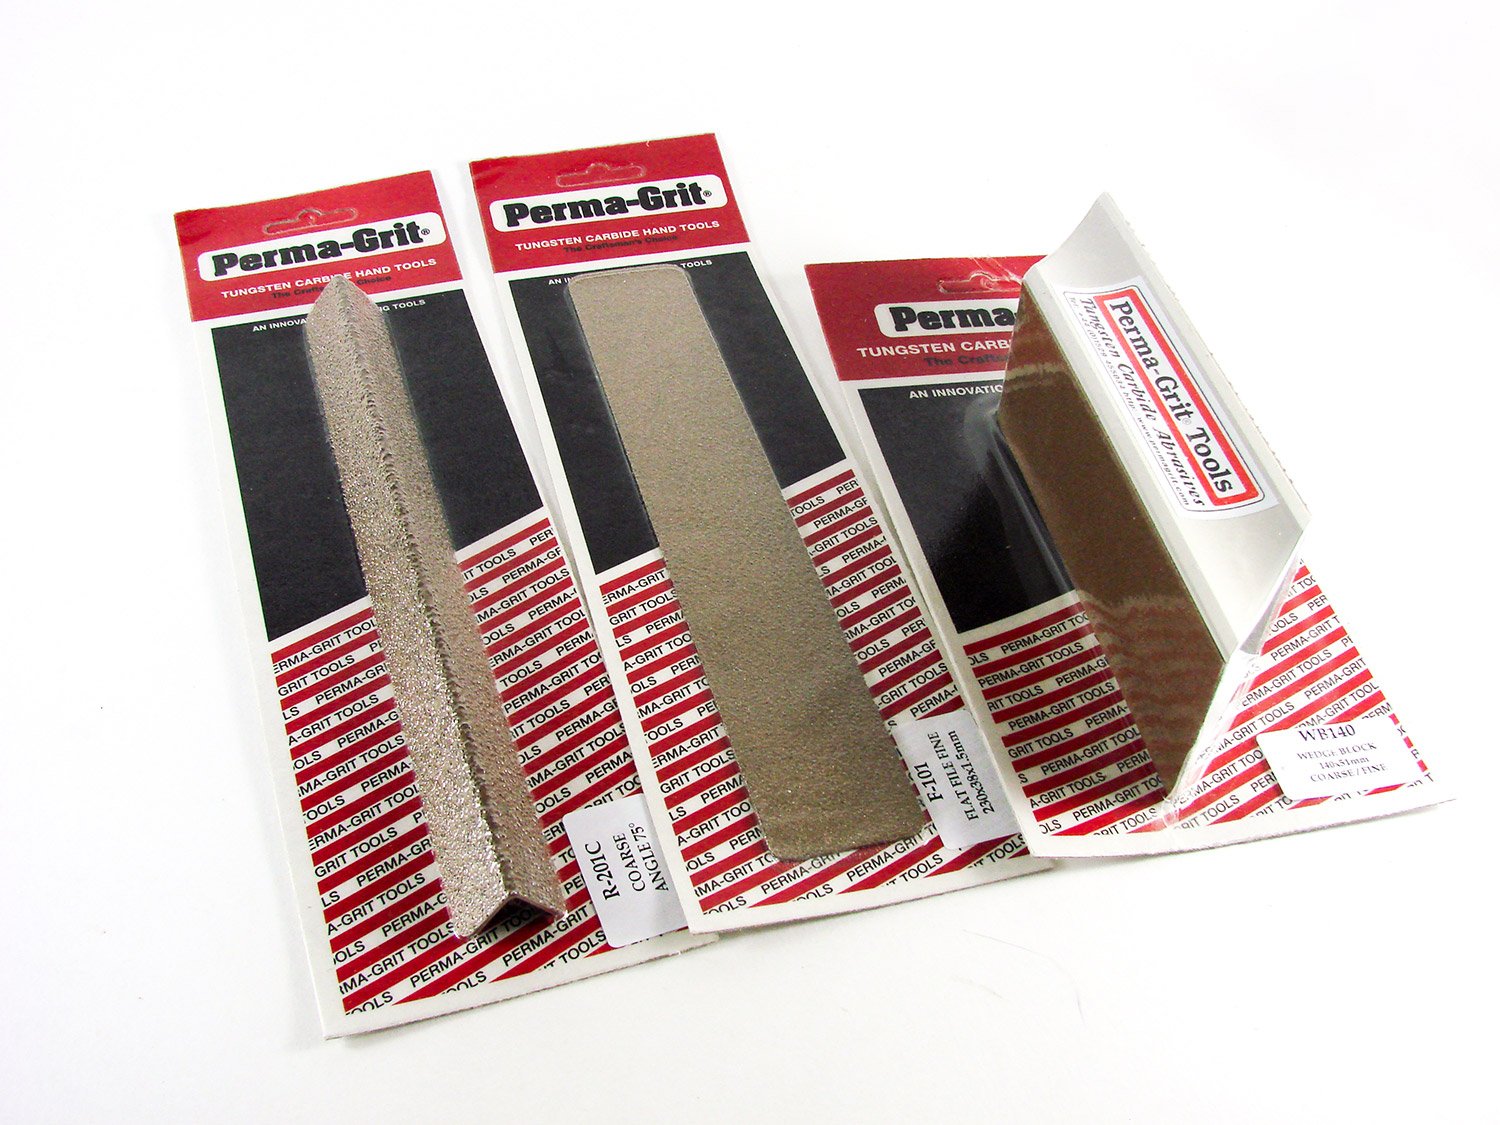
We all know the old adage when it comes to making purchases, ‘Buy well, or buy twice’. That is especially true with regard to buying tools. We’ve all bought things for our hobby which looked great at the time or looked like a bargain. I know that in my case, very few of those purchases were actually money well spent. One area, working with wood, that we all need to buy for, is the sometimes-onerous task of sanding our models. Over the years, I’ve learned that buying good quality aluminium oxide paper is probably a better deal than cheap silicon carbide paper. However, when it comes to specific tools to do the job, one of the best names on the market, and one of the most respected, is English firm, Perma-Grit. This company has built its reputation up over a period of almost 30yrs now, manufacturing Tungsten Carbide grit tools of different grades, by bonding it to steel under extremely high heat, in a furnace. Perma-Grit have sent us a sample of their tools which a modeller could find very useful on the workbench, and I have taken the opportunity to use a small number on my current Zulu fishing boat.
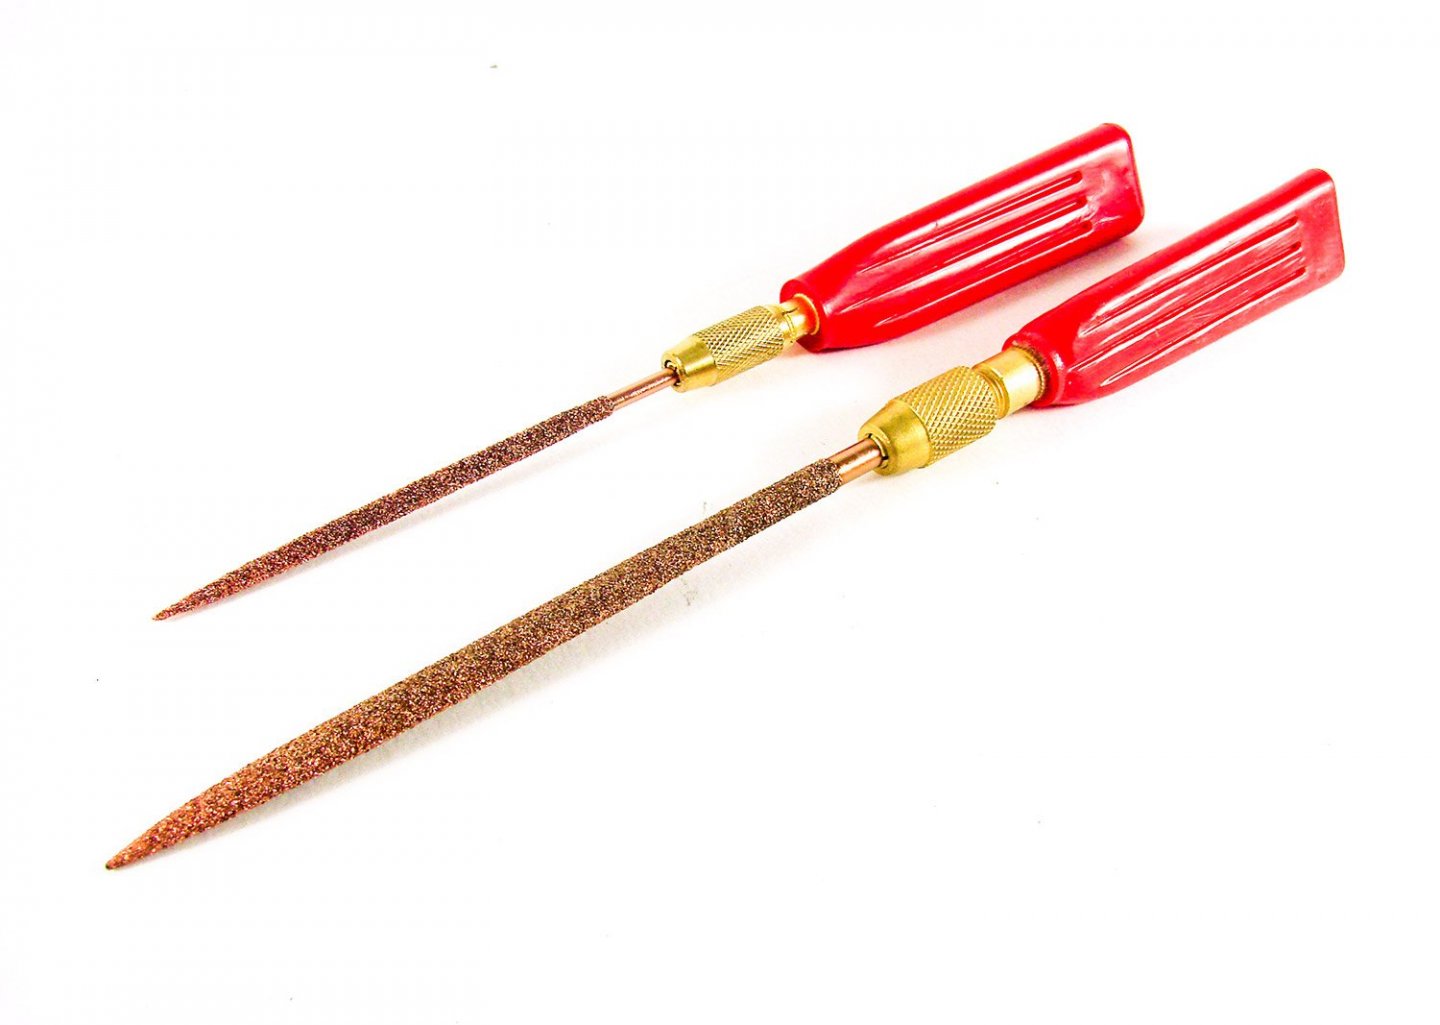
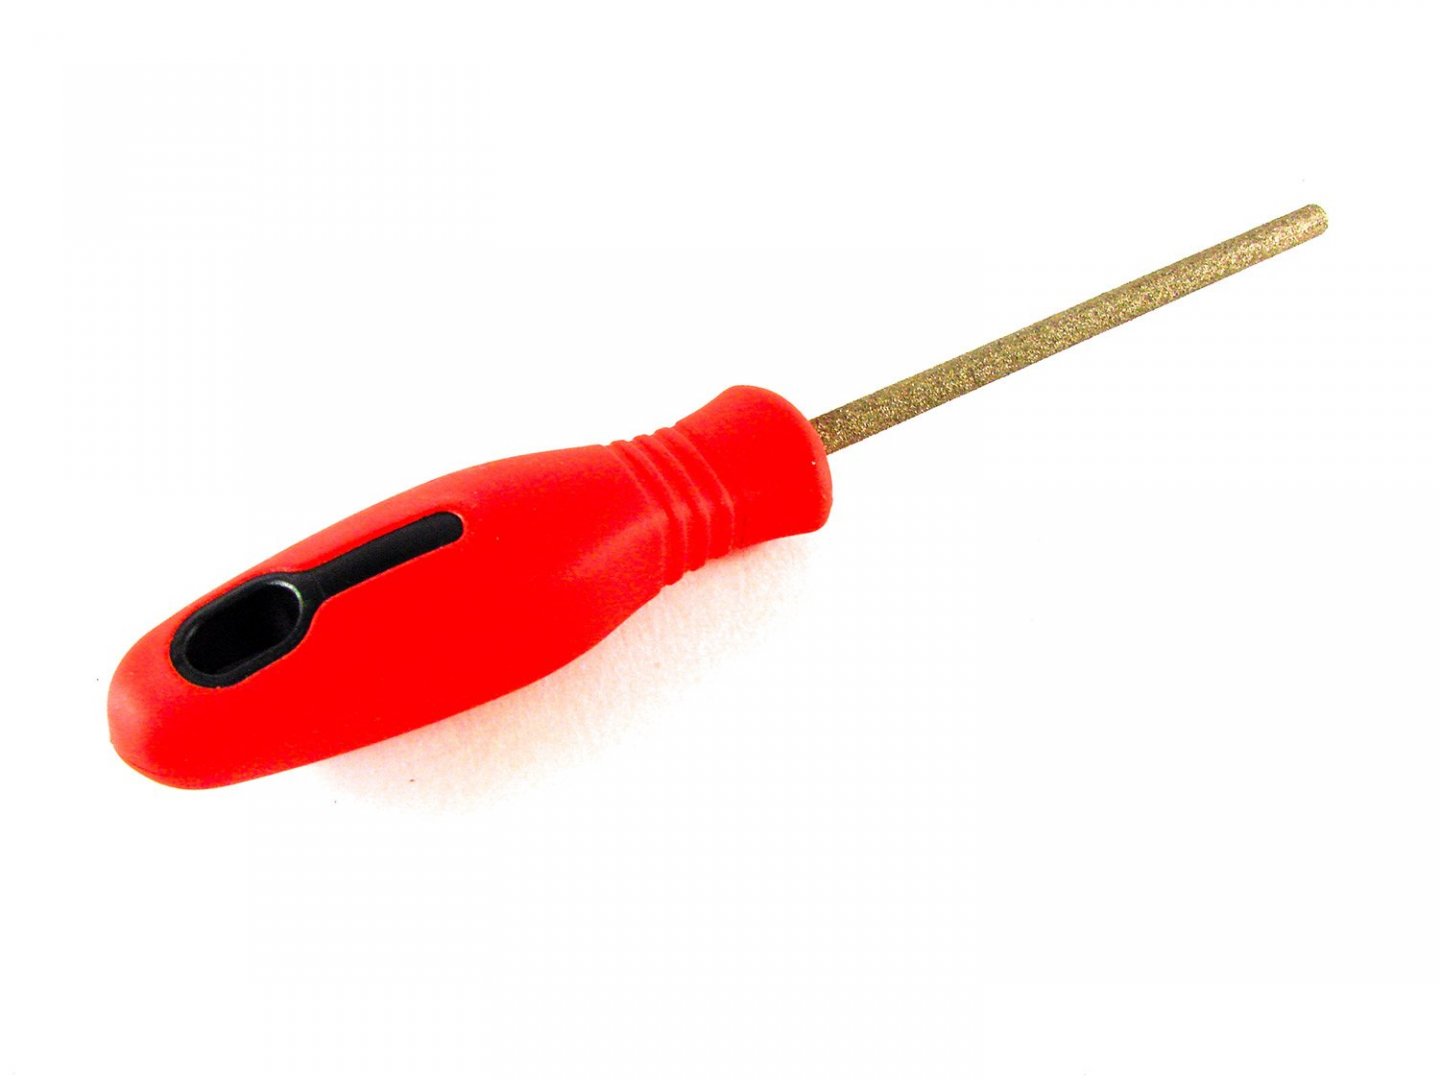
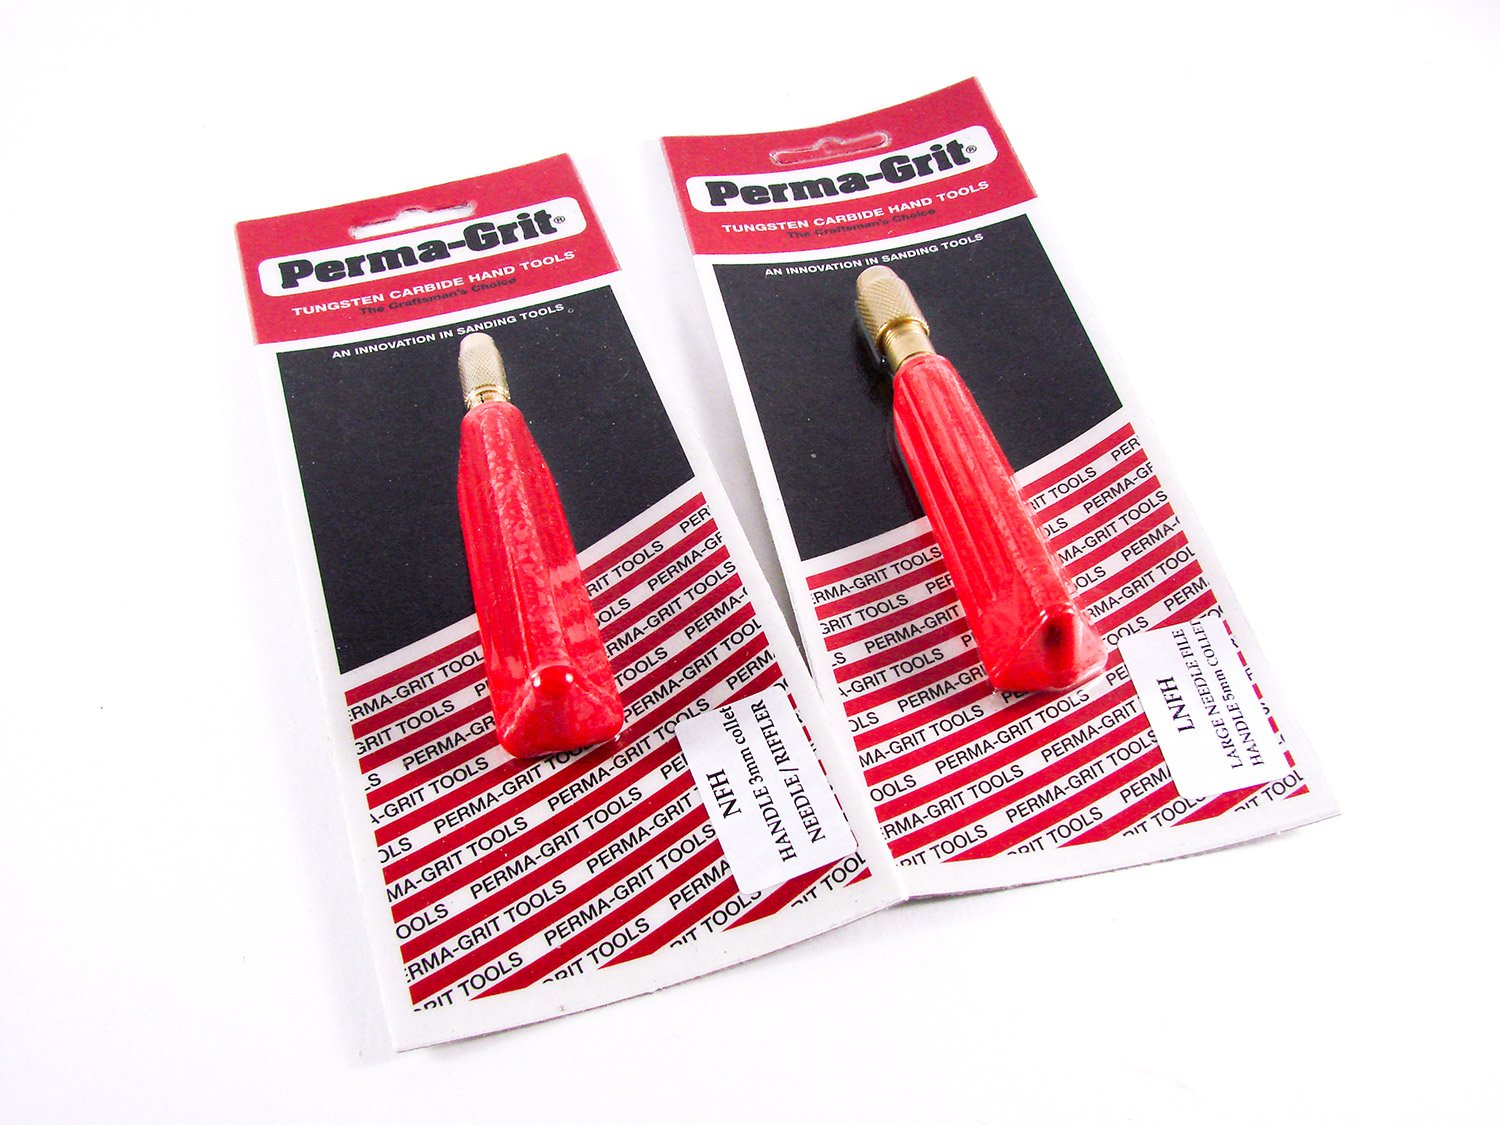
Needle Files (different size shafts)
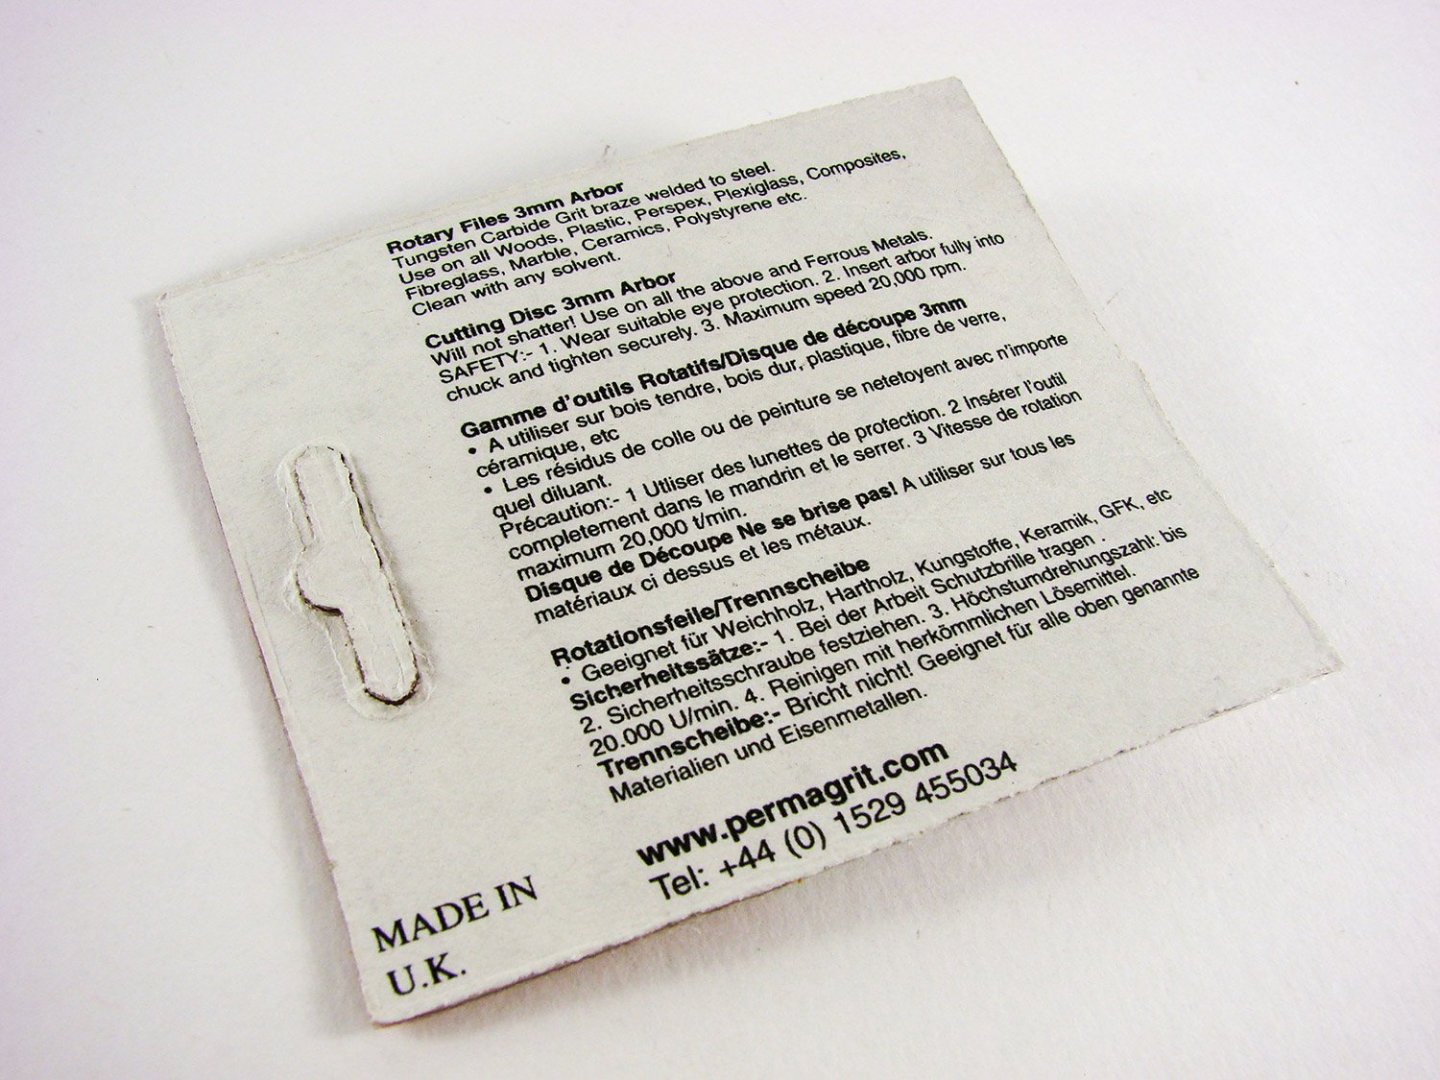
In my sample pack were these four needle files. These are the 18cm/5mm shaft, and 14cm/3mm shaft. All Perma-Grit tools are packaged against a card backing and shrink sealed in clear plastic. The rear of the packet also has information relating to the specific product range.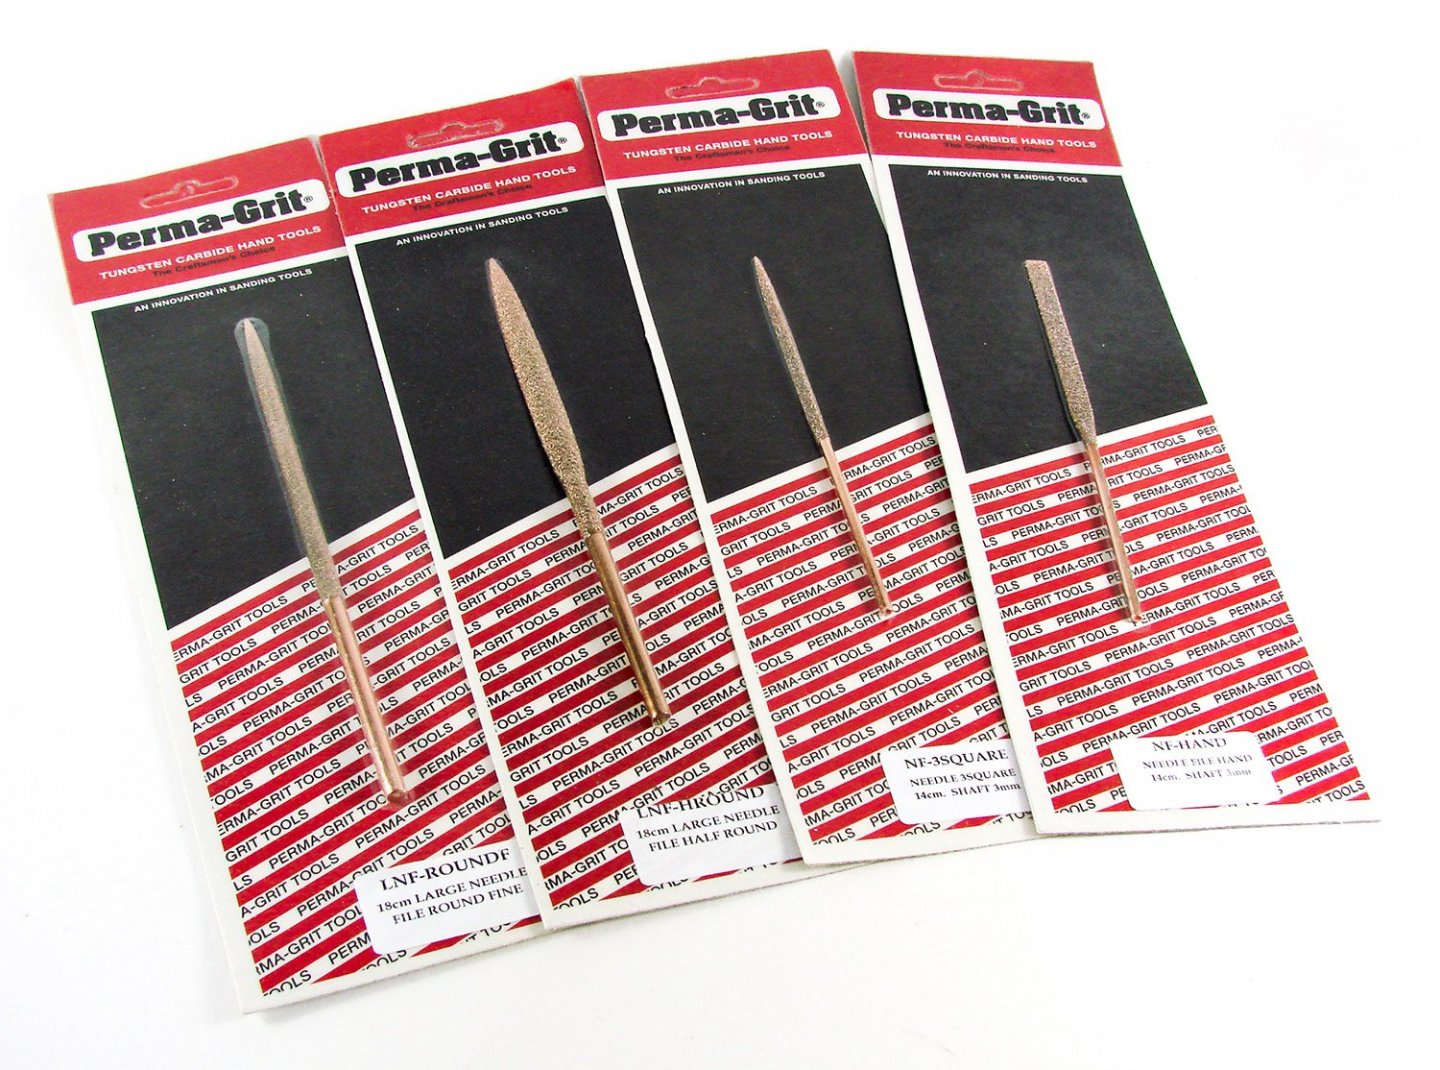
The tools you can see here are:
- 18cm Large Needle File (Round, fine), # LNF-ROUNDF
- 18cm Large Needle File (Half round, fine), # LNF-HROUND
- 14cm Needle 3 Square, (medium), # NF-3SQUARE
- 14cm Needle File, Hand (medium), #NF-HAND
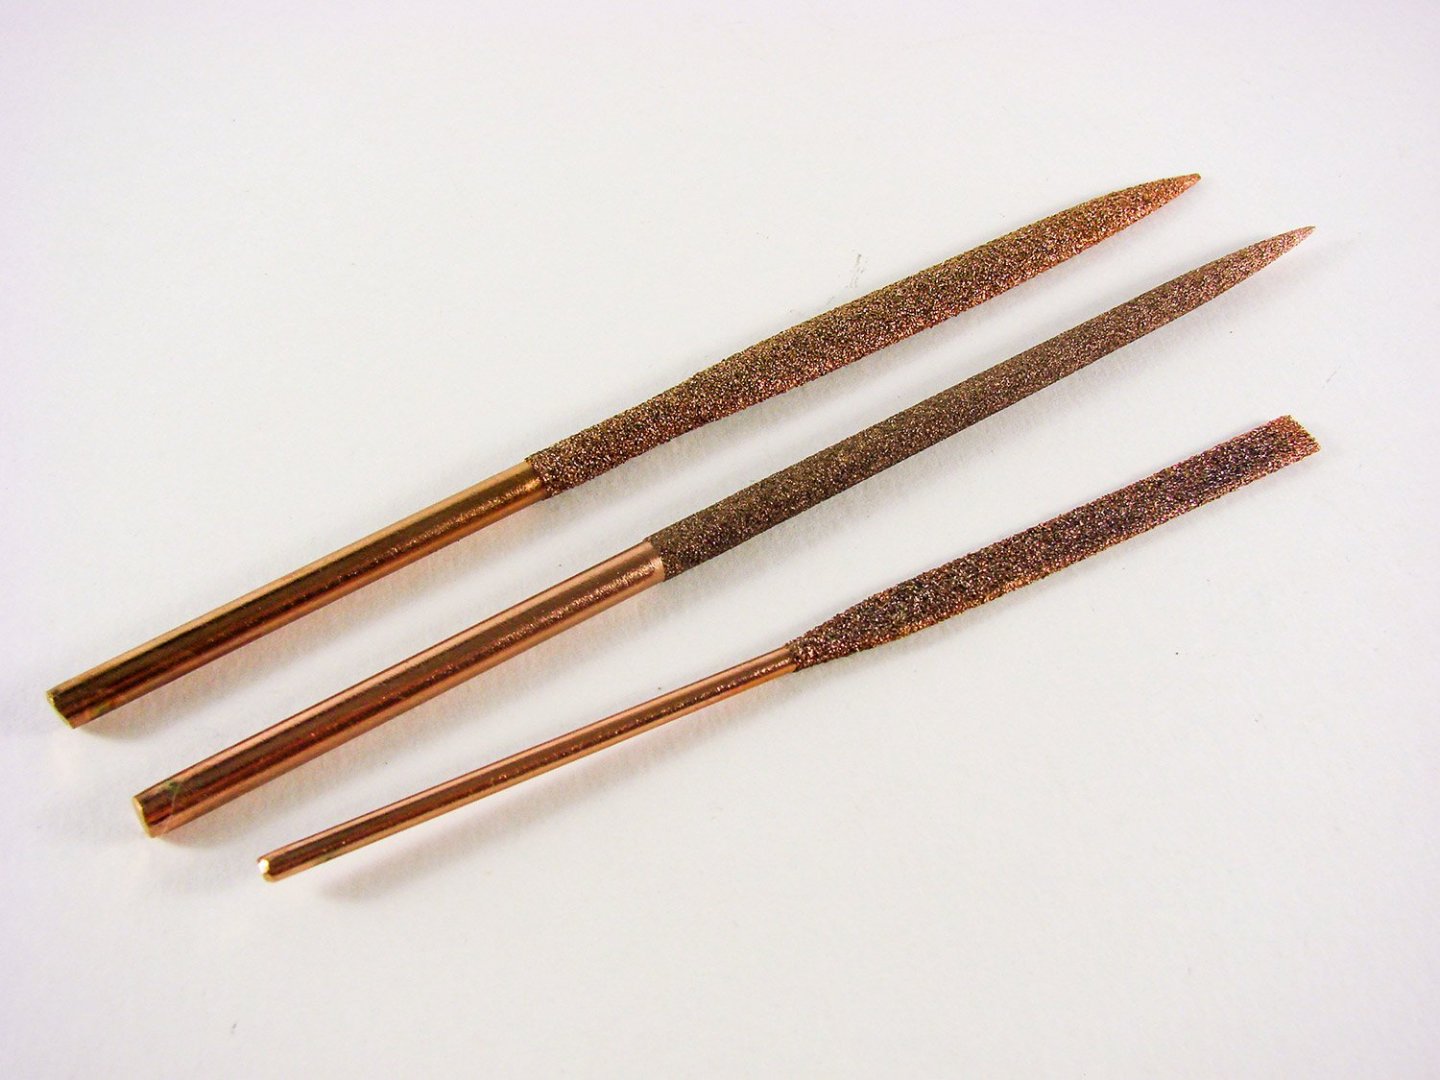

Firstly, a little about the grade of grit with these needle files. Files with ‘fine’ grit are classed as an equivalent of UK 320 grit sandpaper. Those with ‘medium’ grit as classed as UK 220 grit sandpaper. The surface of these files is densely packed with grit, and I can’t see any of this coming away readily. Whilst Perma-Grit don’t supply a lifetime’s guarantee, if you feel that any tool from them hasn’t met your expectations, then you are always welcome to let them know of this. Cleaning the surface of these has also been thought of. These files are pretty impervious to most chemicals, so you can use acetone to remove any CA, and Nitromors/paint stripper to remove general debris.
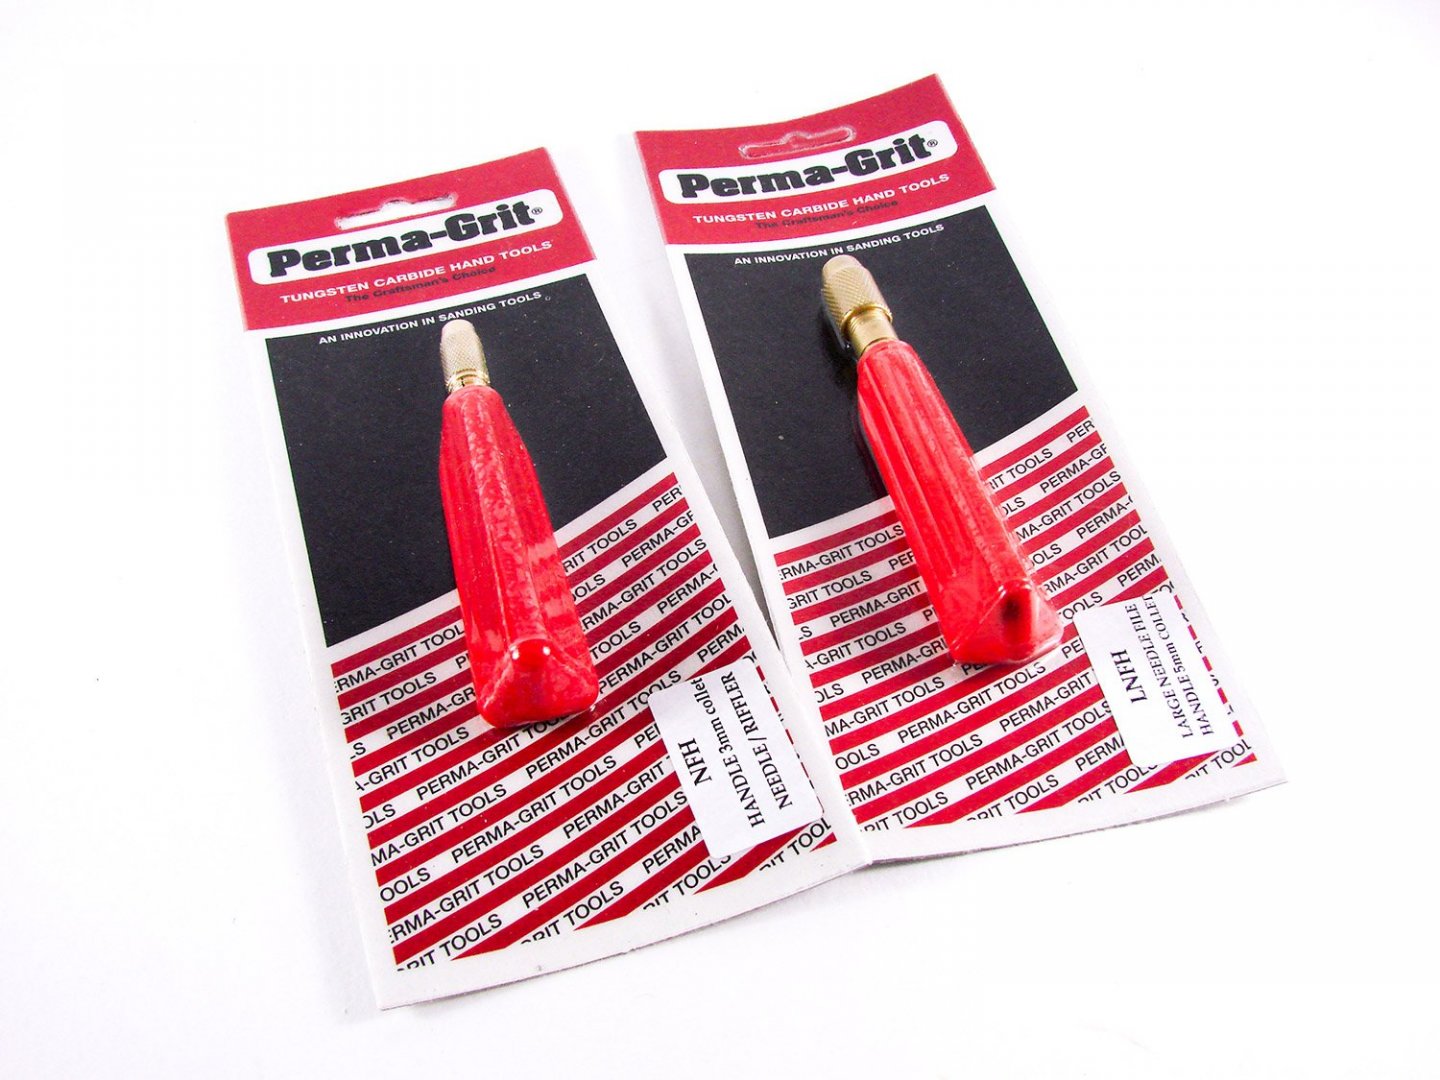
Whilst these tools can be used ‘as is’, some modellers will feel more comfortable using a handle, and I’m also one who would feel that I can exercise more control with a handle fitted. To cater to shaft size, Perma-Grit offer these two handles:
- Handle 3mm collet, # NFH
- Handle 5mm collet, # LNFH
These are simple to use. You just twist the knurled ring to loosen the collet and then slot the file in before retightening. Of note here is that the red handle is hollow and can accommodate quite a lot of the file shaft so you can adjust the file to what suits you best.
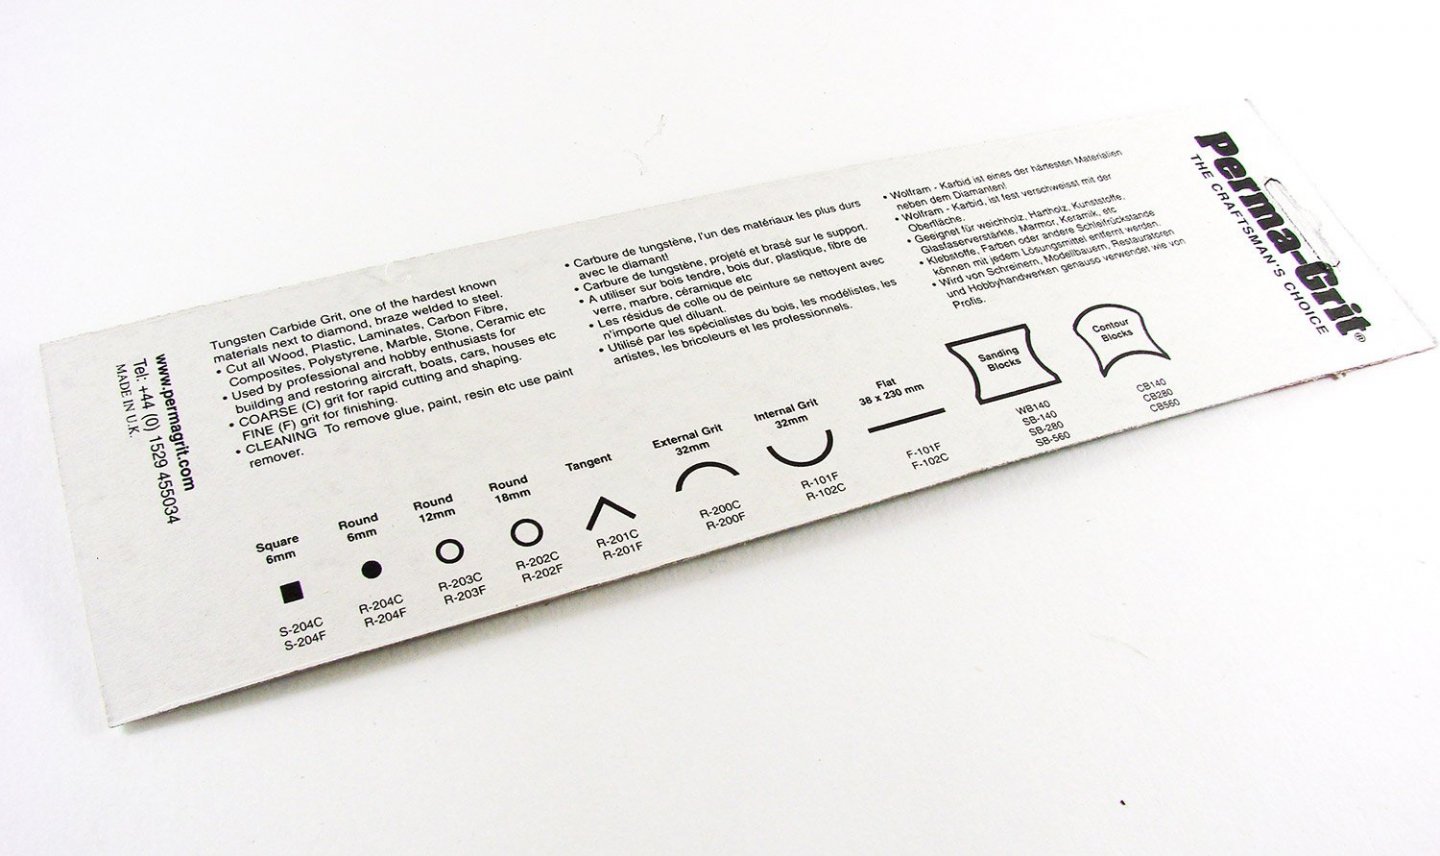
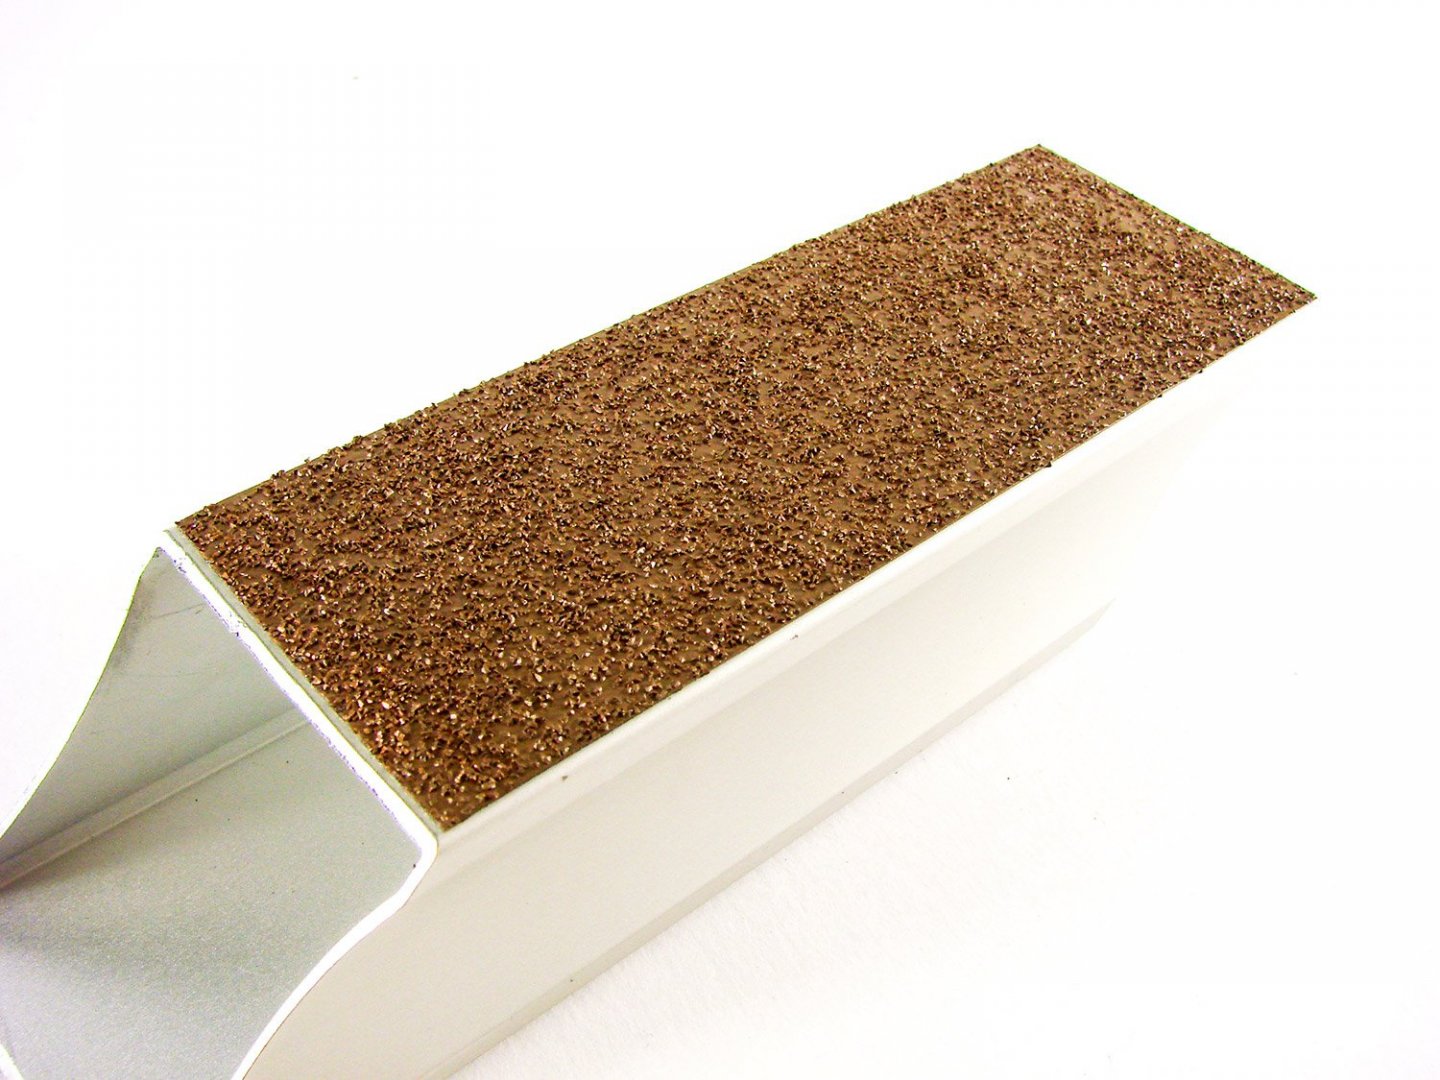
Sanding blocks, angles, and flat files
Sanders come in all shapes and sizes, and so they do from Perma-Grit too. We have three types here, all very different and with a wide range of roles in our hobby. For your info, tools classed as ‘coarse’ have an equivalent UK sandpaper grit of 180.
- Angle 75 Degrees (coarse), # R-201C
- Flat File (fine), # F-101
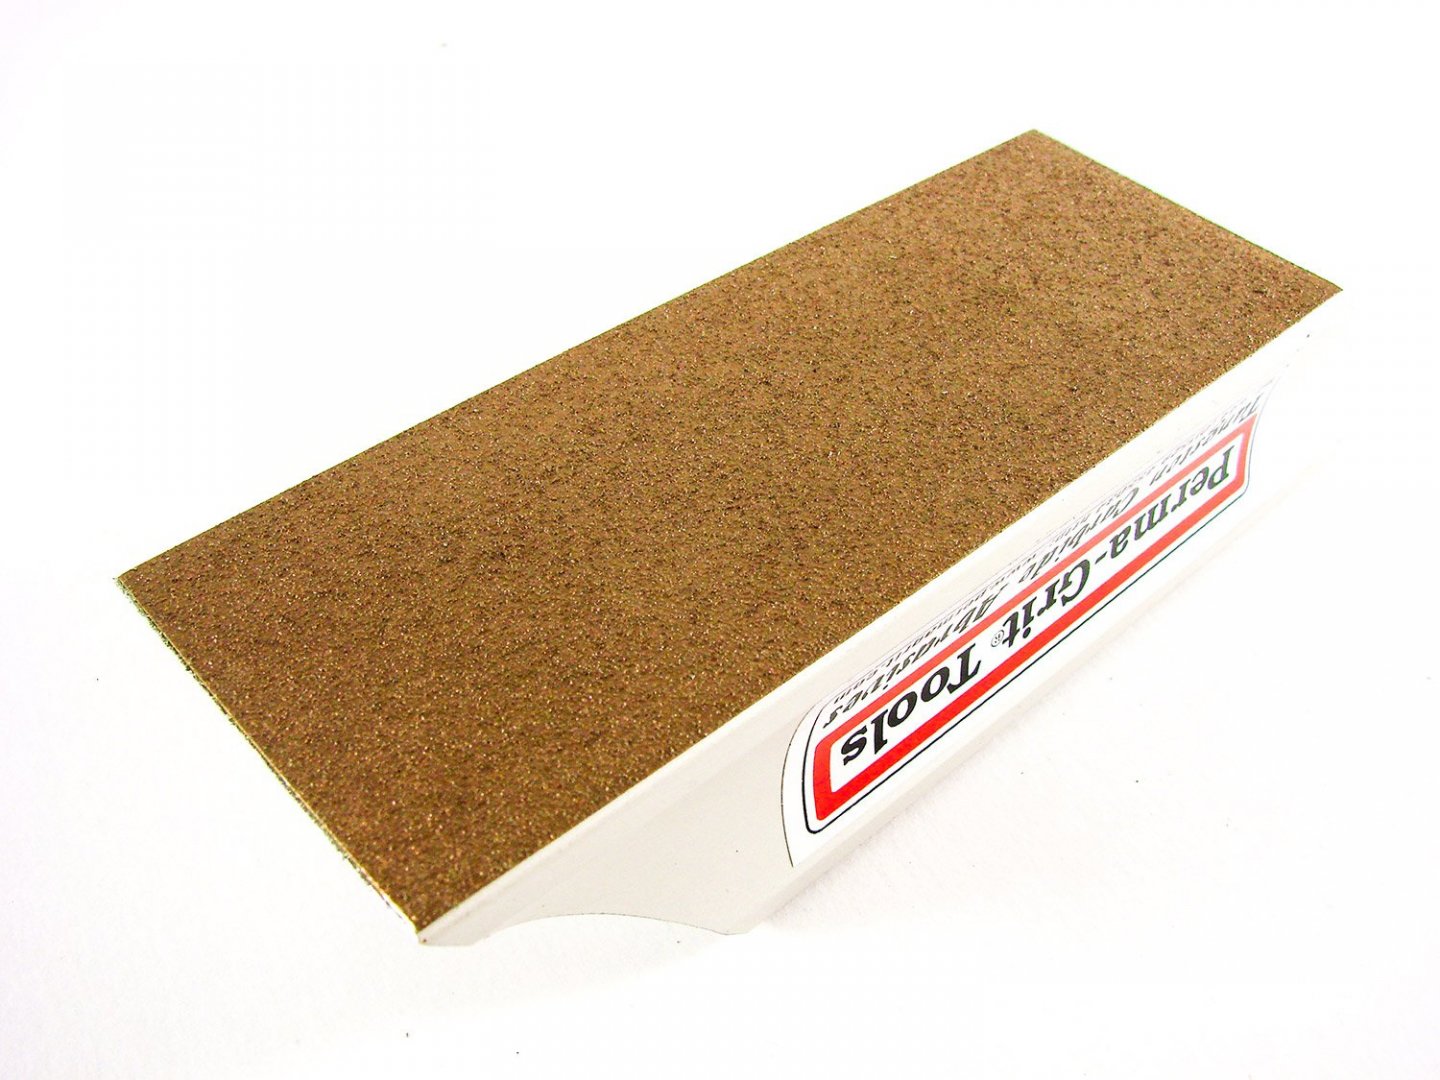
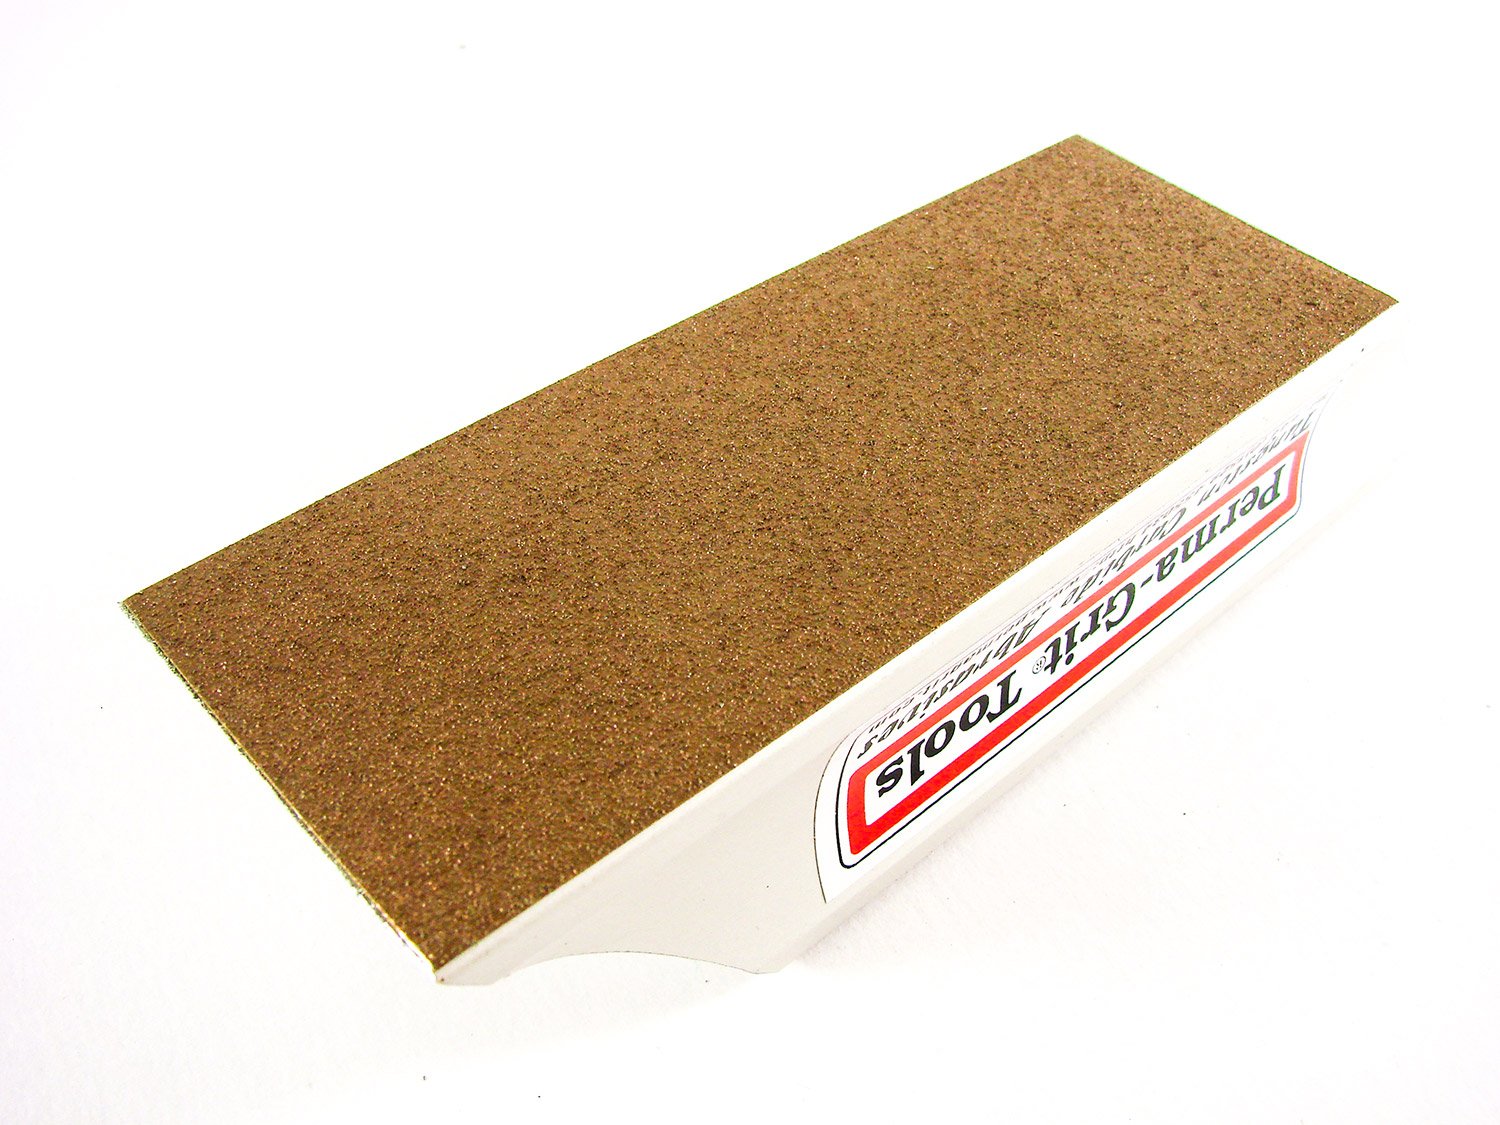
- Wedge Block (coarse, fine), # WB140
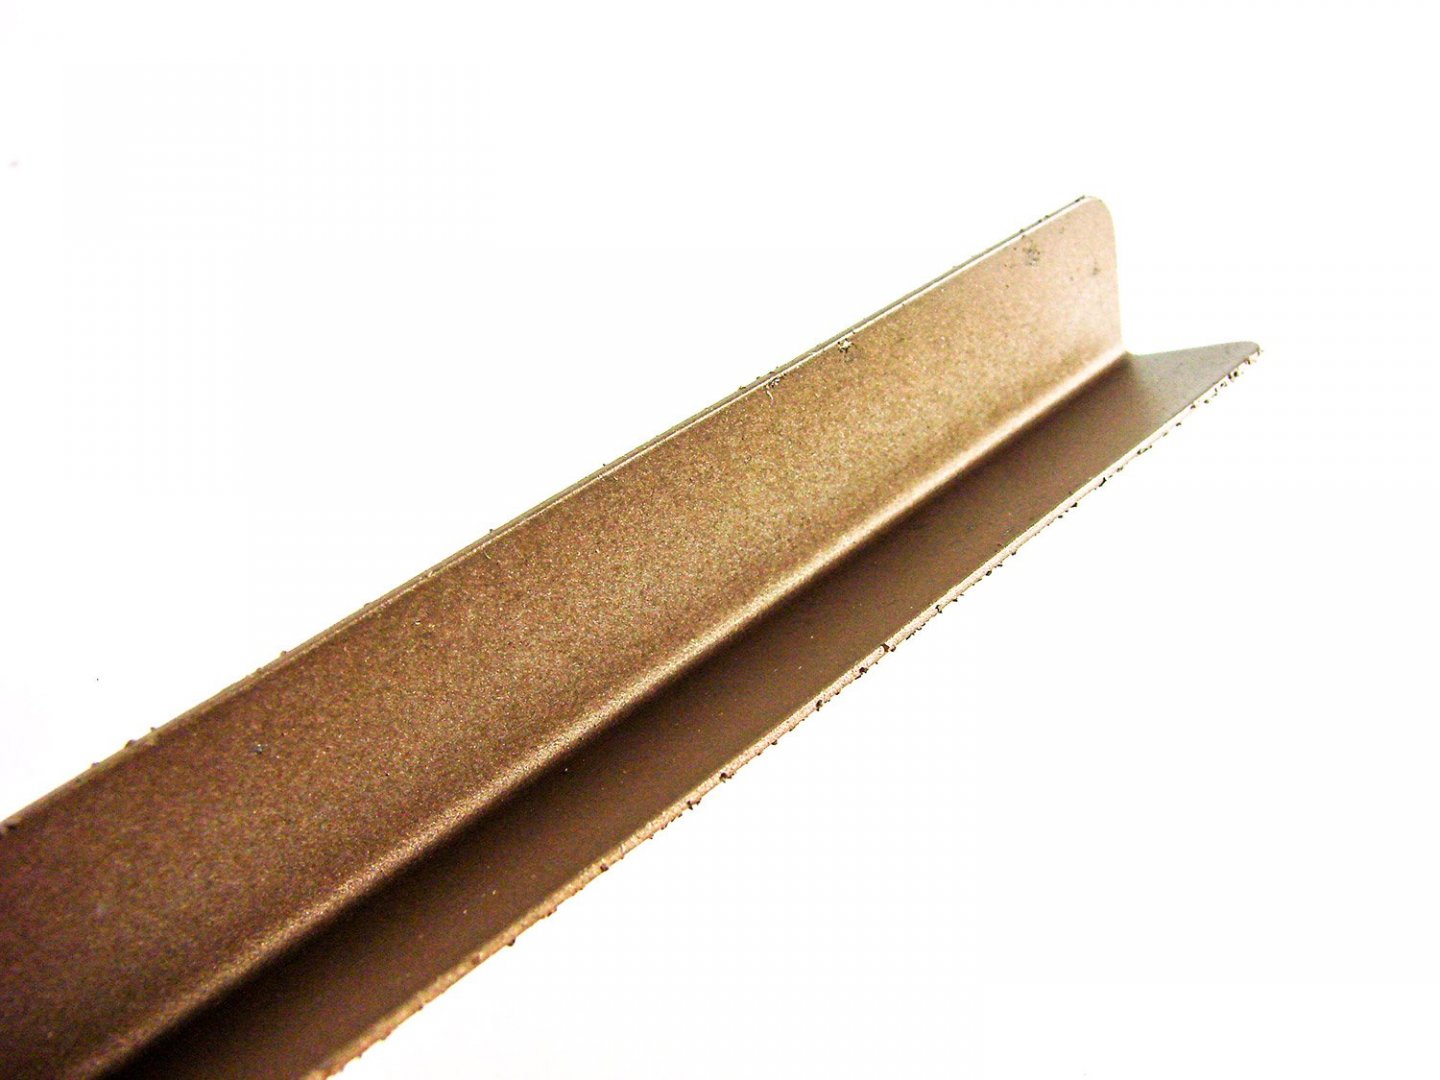
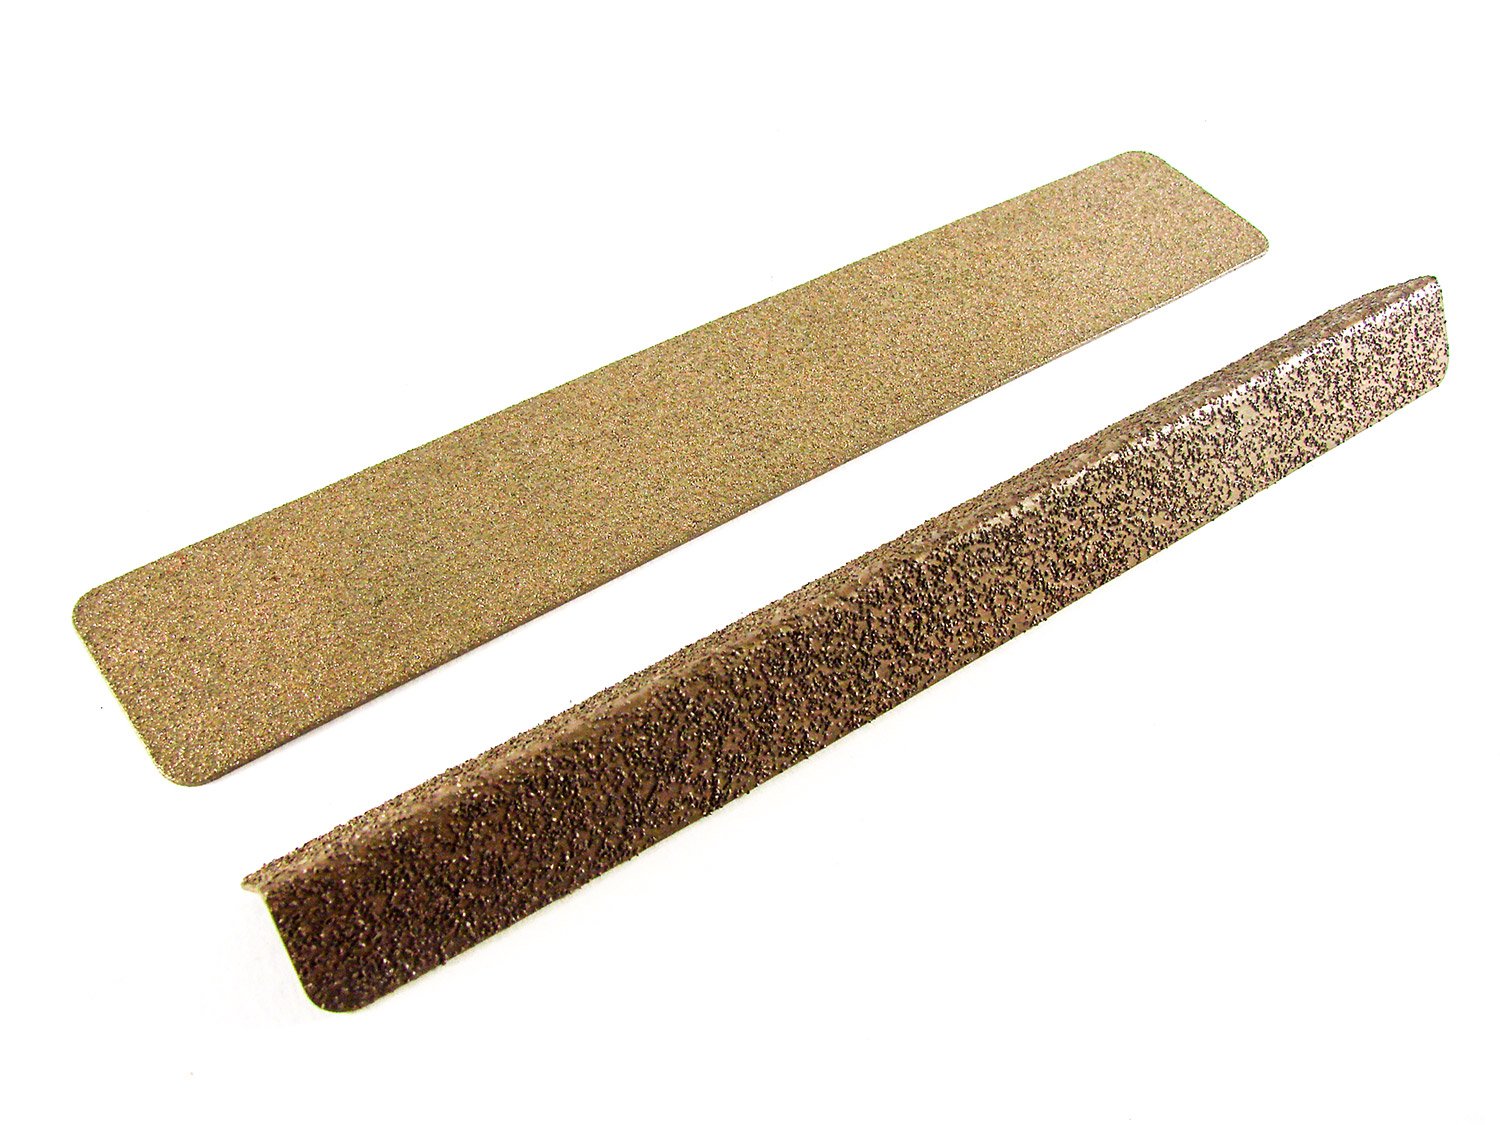
The Angle sander is an unusual thing. It’s very easy to hold and manipulate, with two sanding faces. This one has a coarse grit, but can also be bought with a fine grade, which, given the shape and possible modelling uses, would perhaps be a safer bet. The Flat File is simple in approach. This is long length of steel with a fine abrasive coating on one side. This could be used for getting the squareness of a freshly planked hull, removing a lot of that waste until you switch to a sanding block or just manual sanding paper.
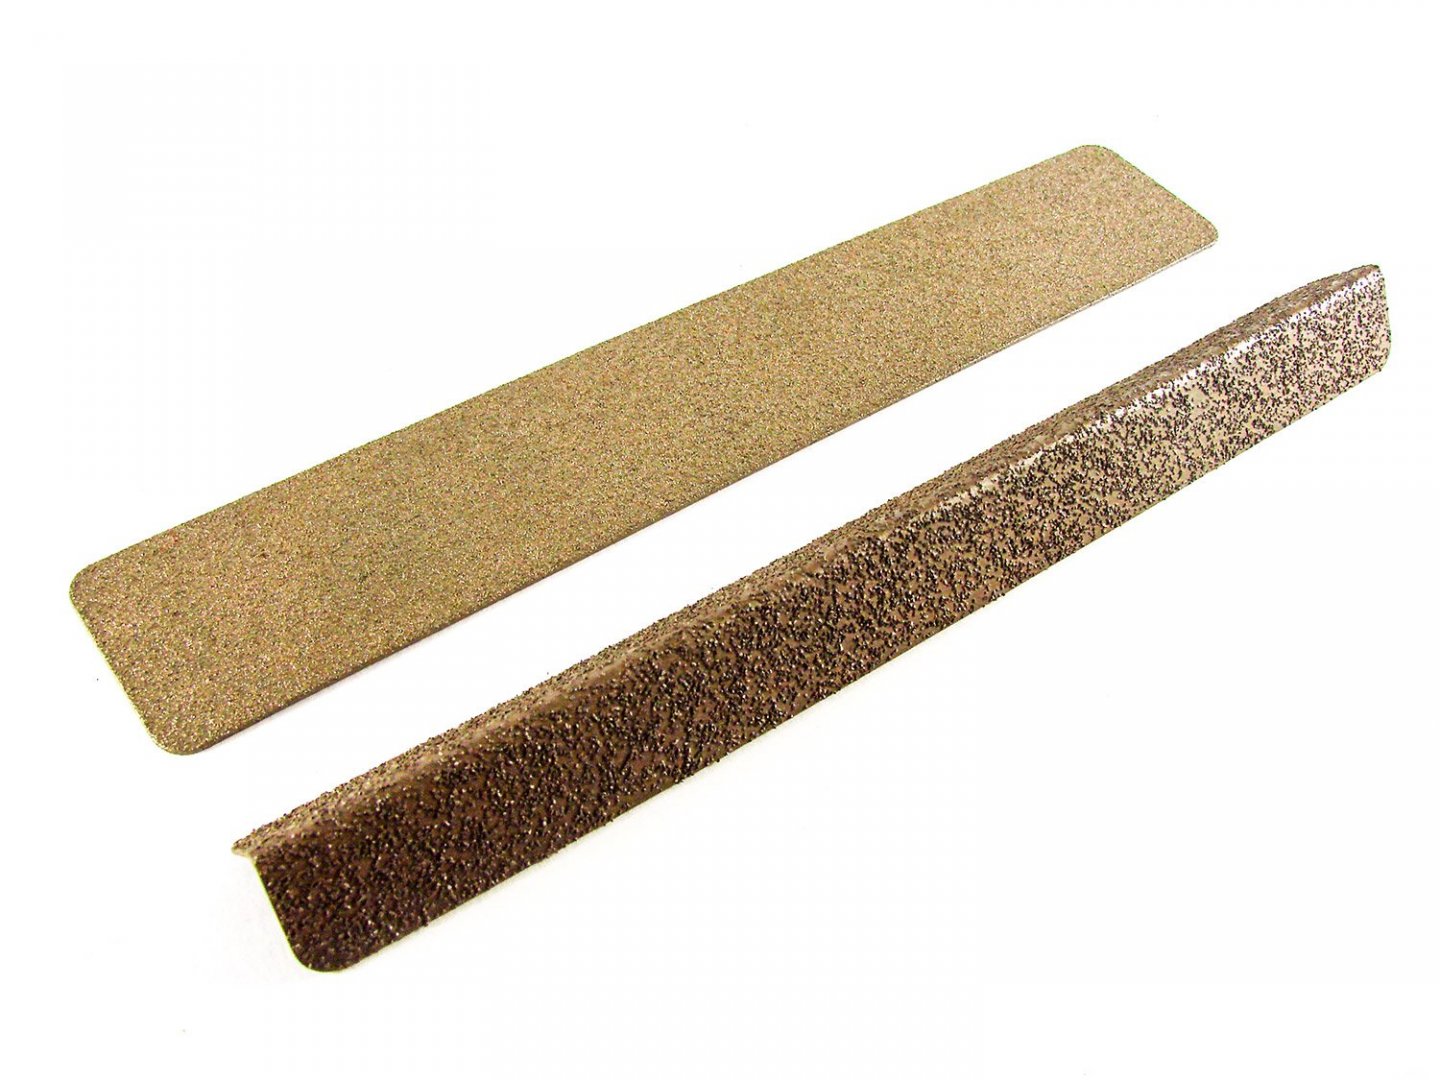
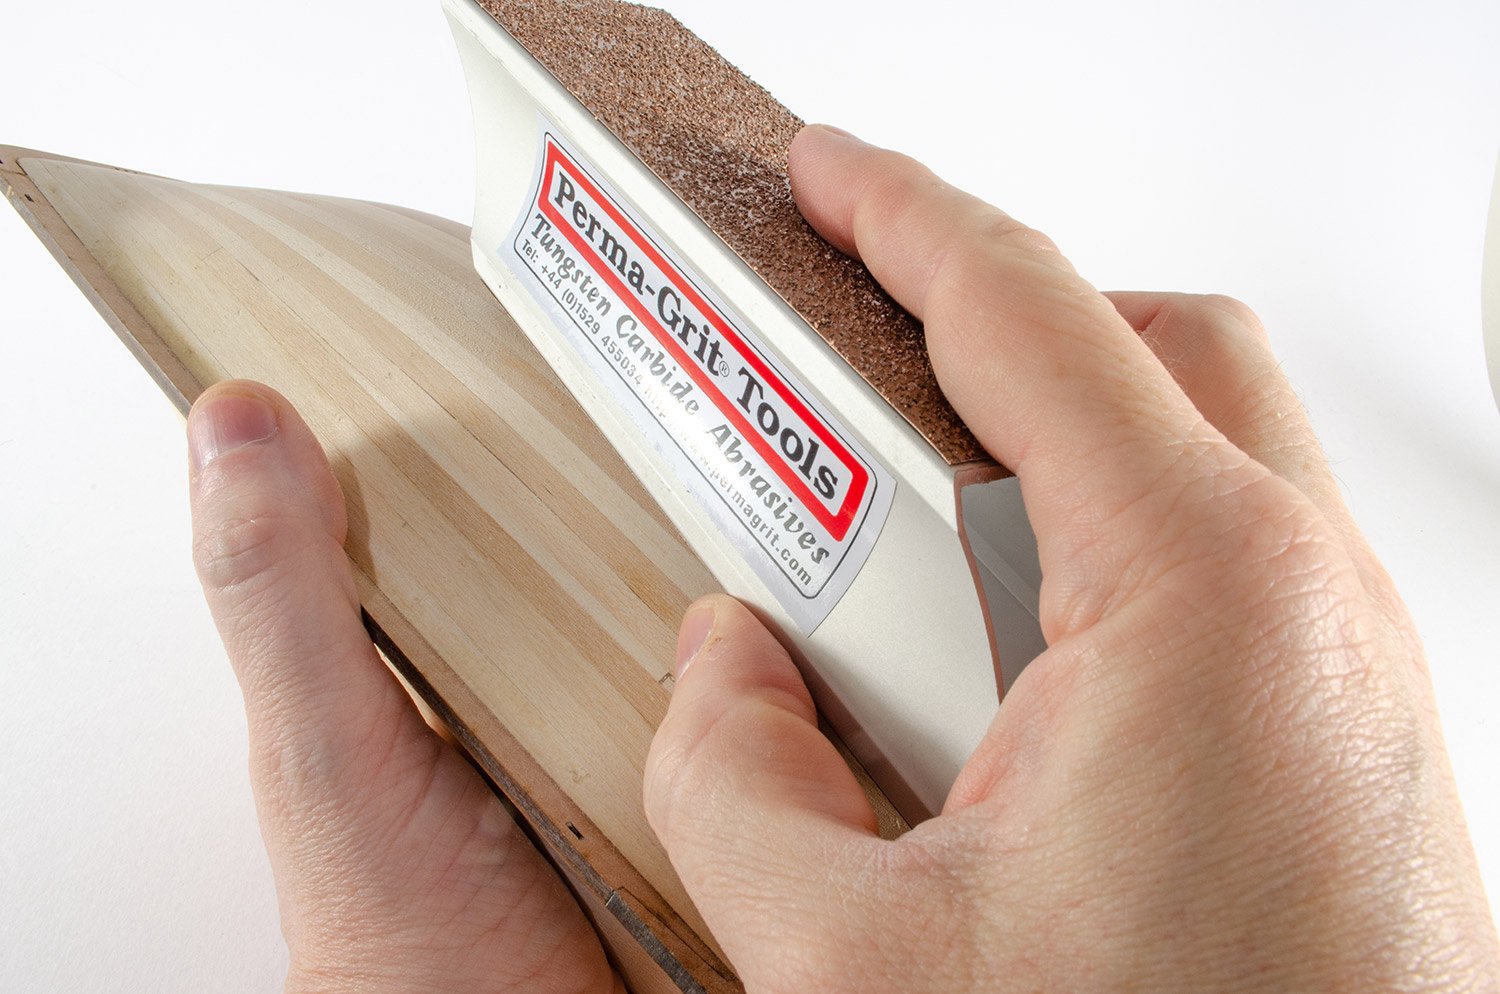
With the Wedge Block, you get something more akin to a traditional sanding block, except in metal of course. Where this differs is that one side of this is fine grit for some nice finishing work, and the other side is coarse. As I’d already done the rough work on my model hull, I took the opportunity to do some fine sanding. The grit on these sure takes off material superbly, and I went very gentle with this.

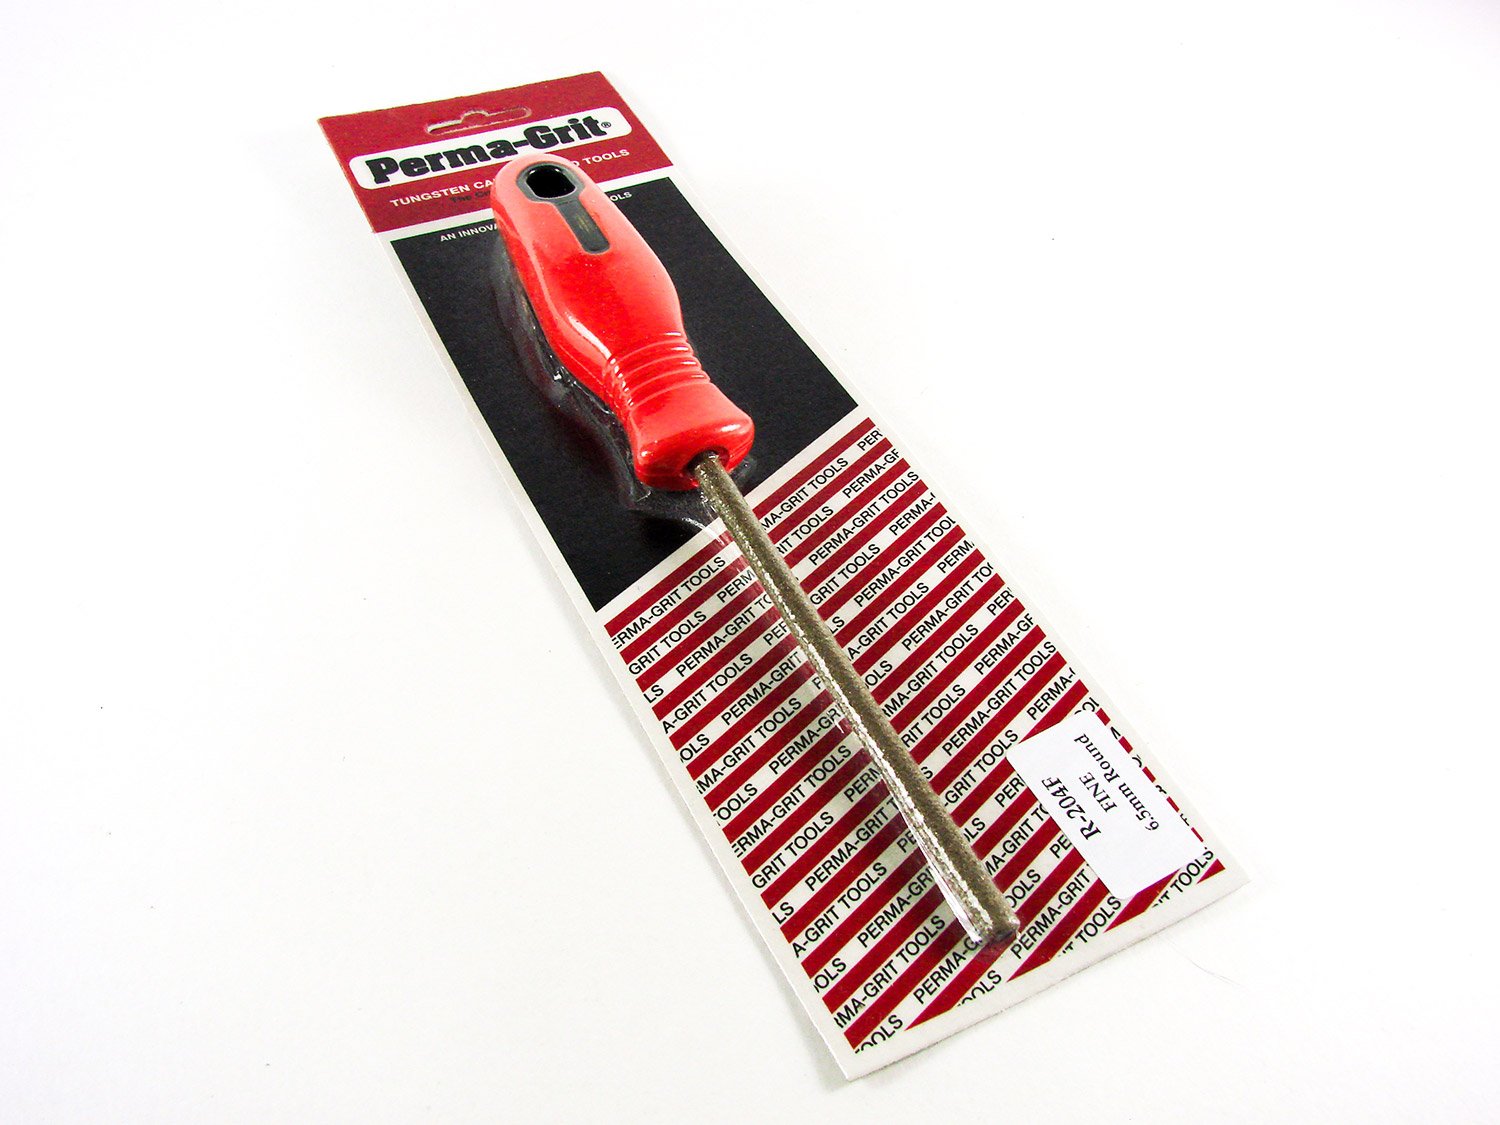
6.5m Round File (fine), # R-204F
If traditional style files feature in your workshop, then this one is very similar to that, being a regular looking round file with an integrally moulded handle. The whole shaft on this is coated in Tungsten Carbide and the handle is very comfortable in the hand as well as being nicely weighted.
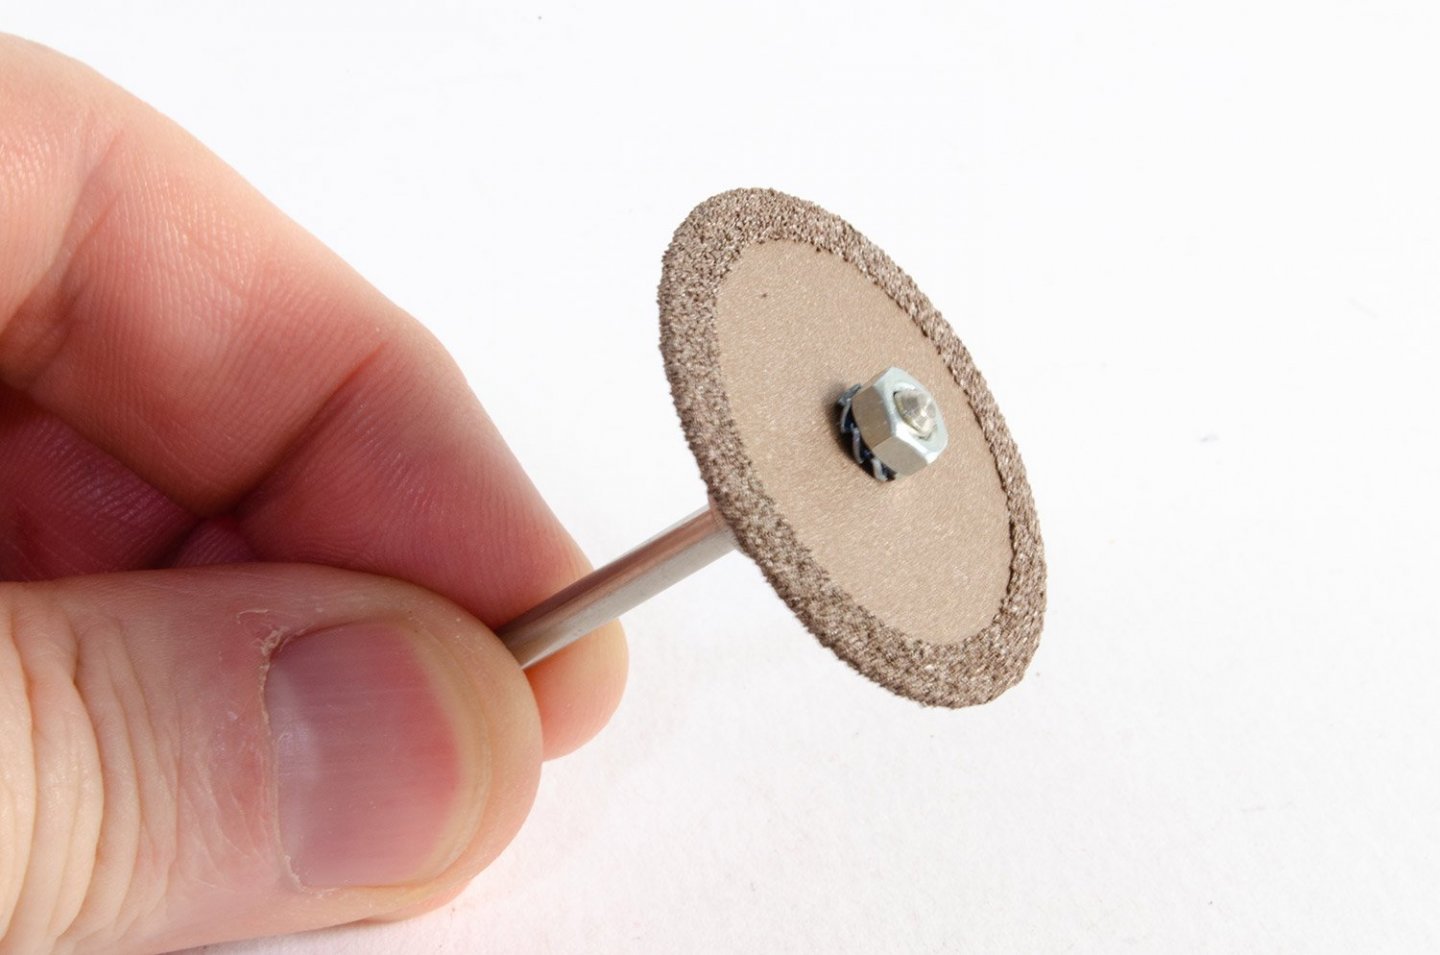
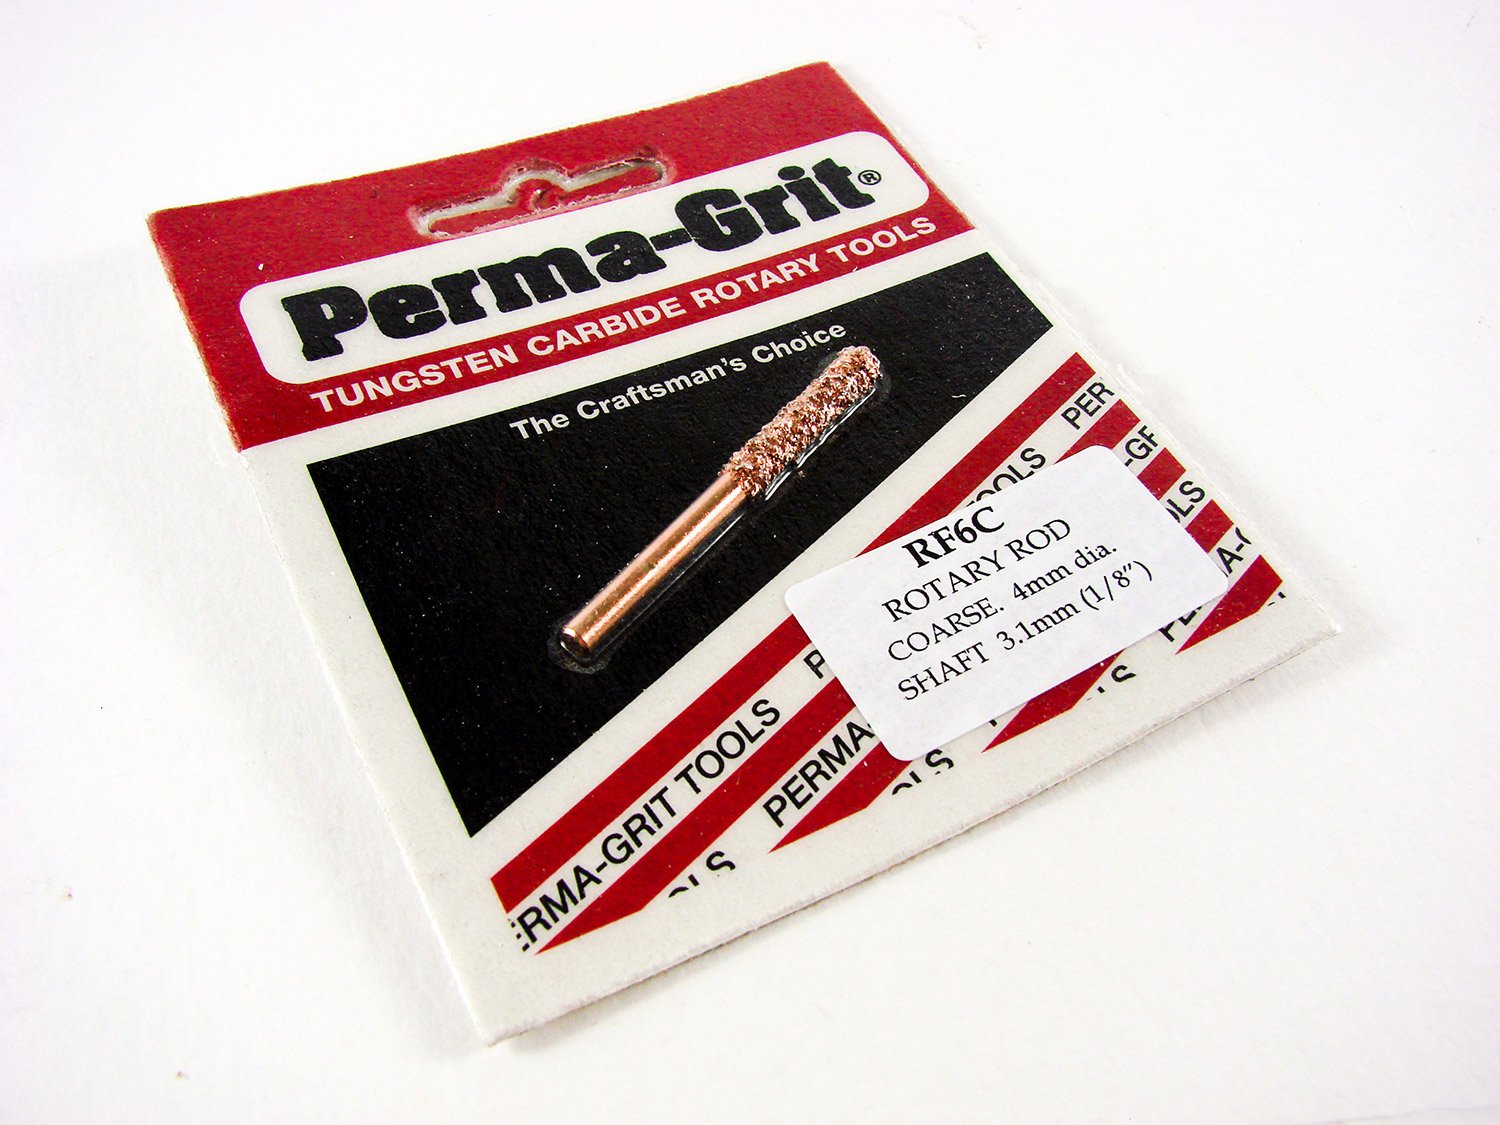
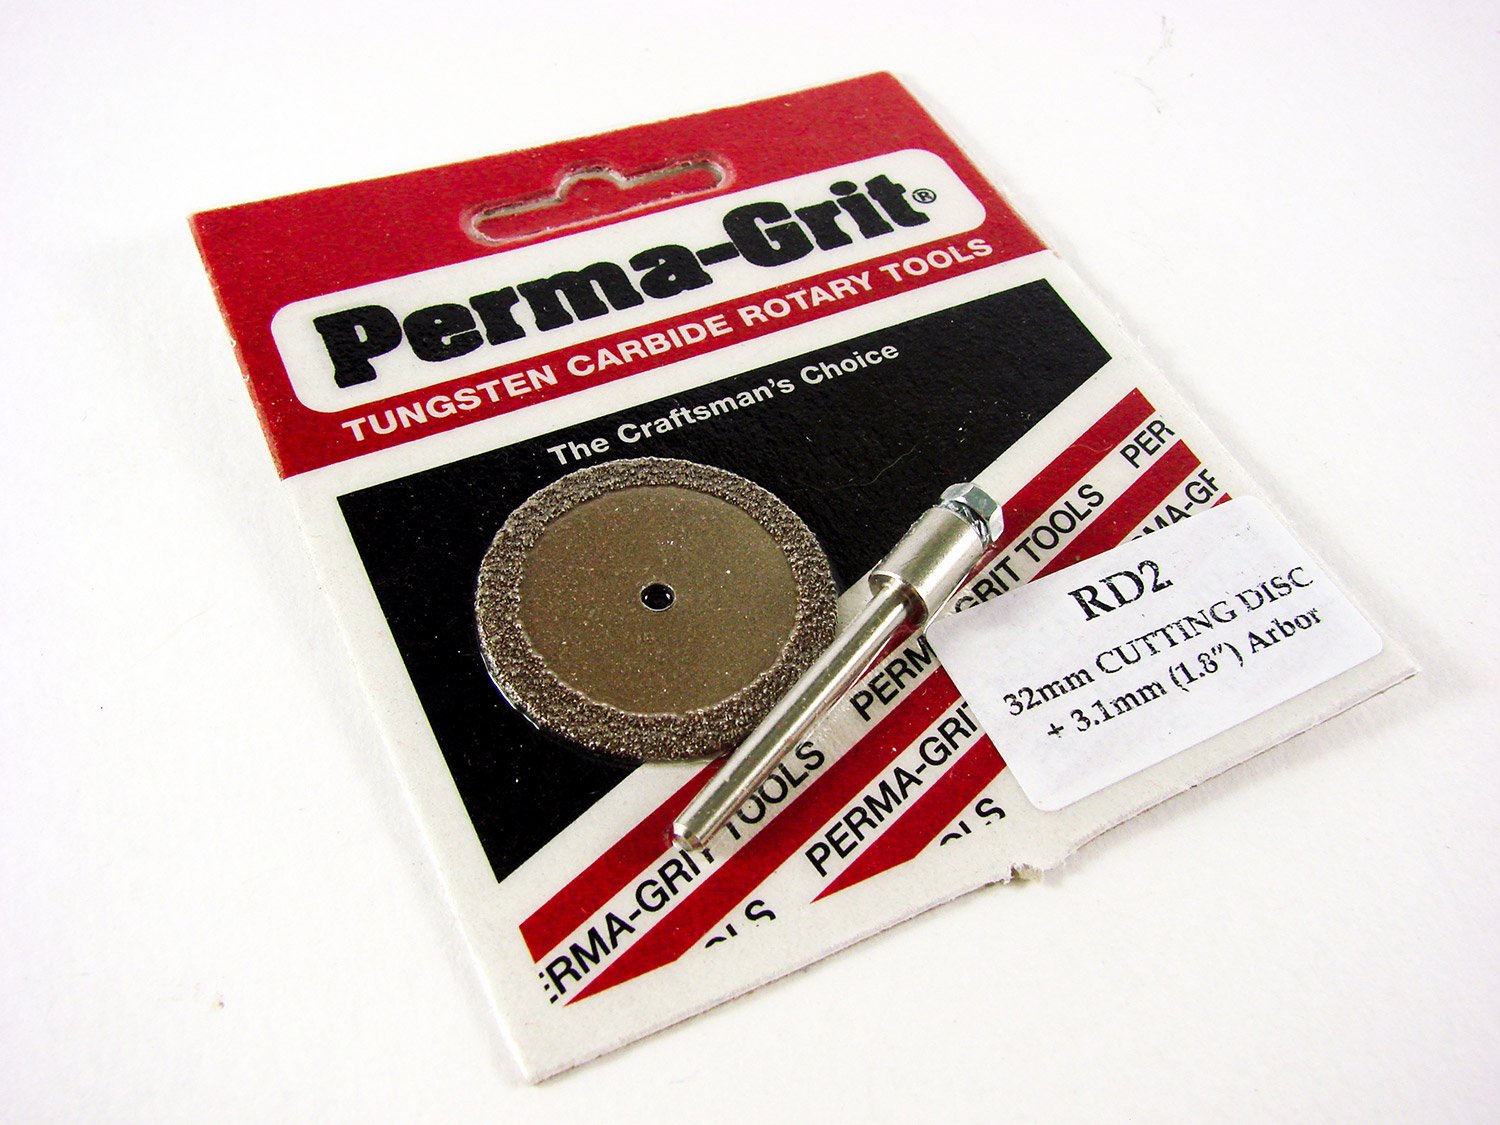
Rotary tool bits
Perma-Grit sent me a small number of their most commonly used rotary tools. All of these have 3.1mm shafts and are compatible with Dremel rotary tool products.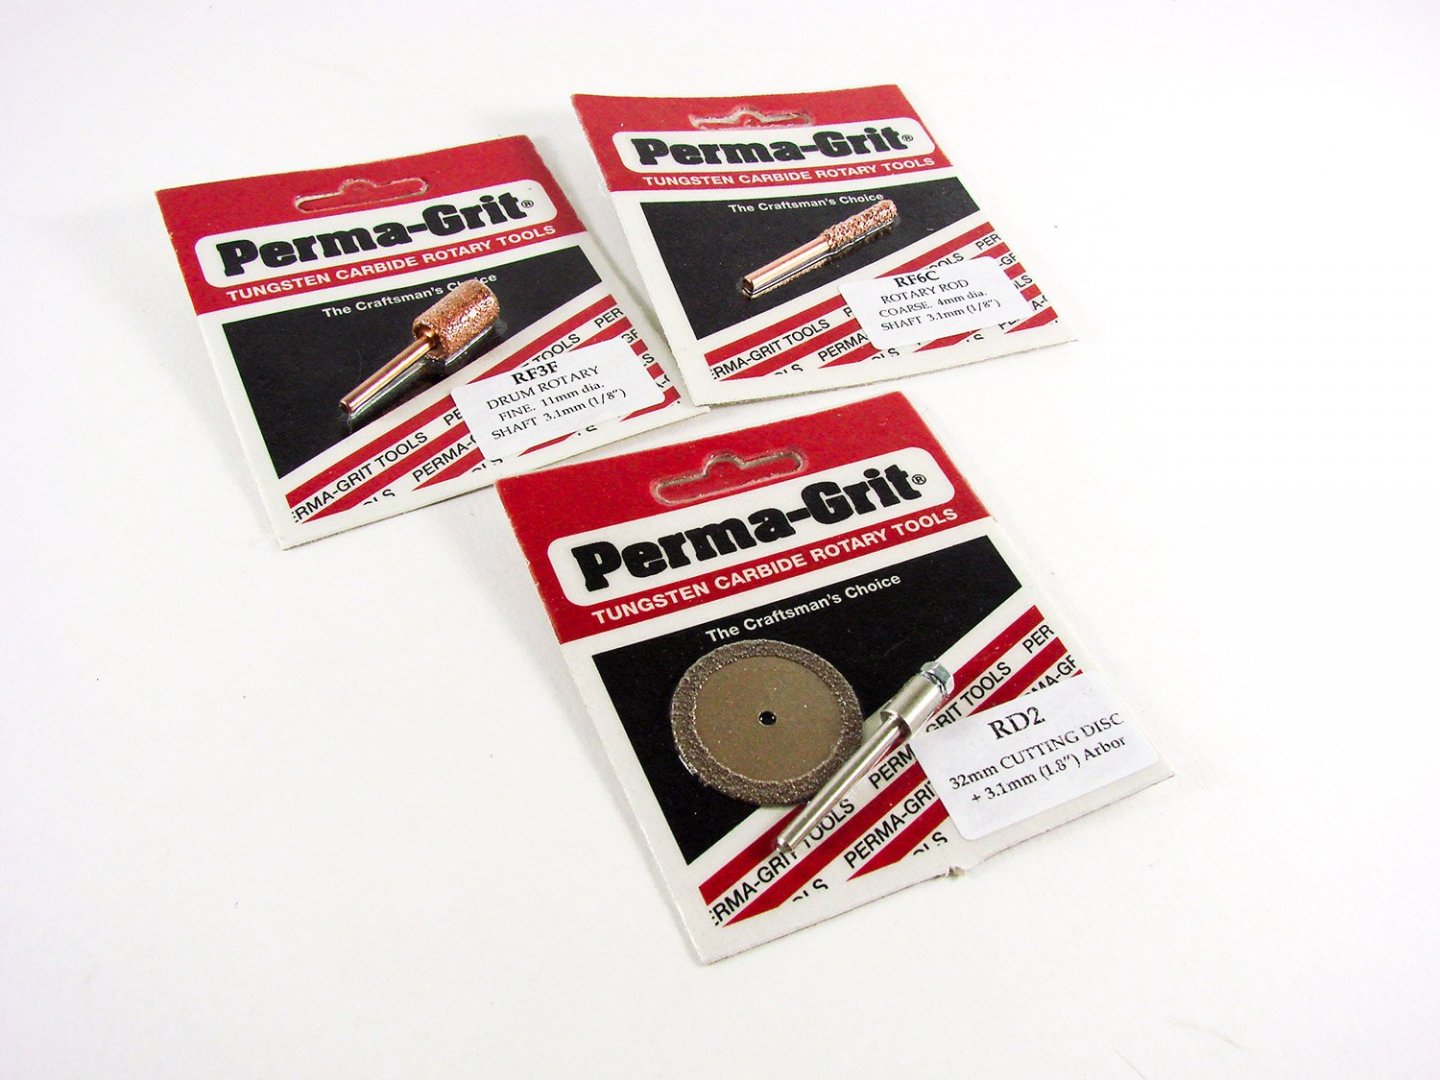
The ones I have here are:
- Rotary Drum (fine, 11mm diameter), # RF3F
- Rotary Rod (coarse, 4mm diameter), # RF6C
- Cutting Disc (32mm diameter), # RD2


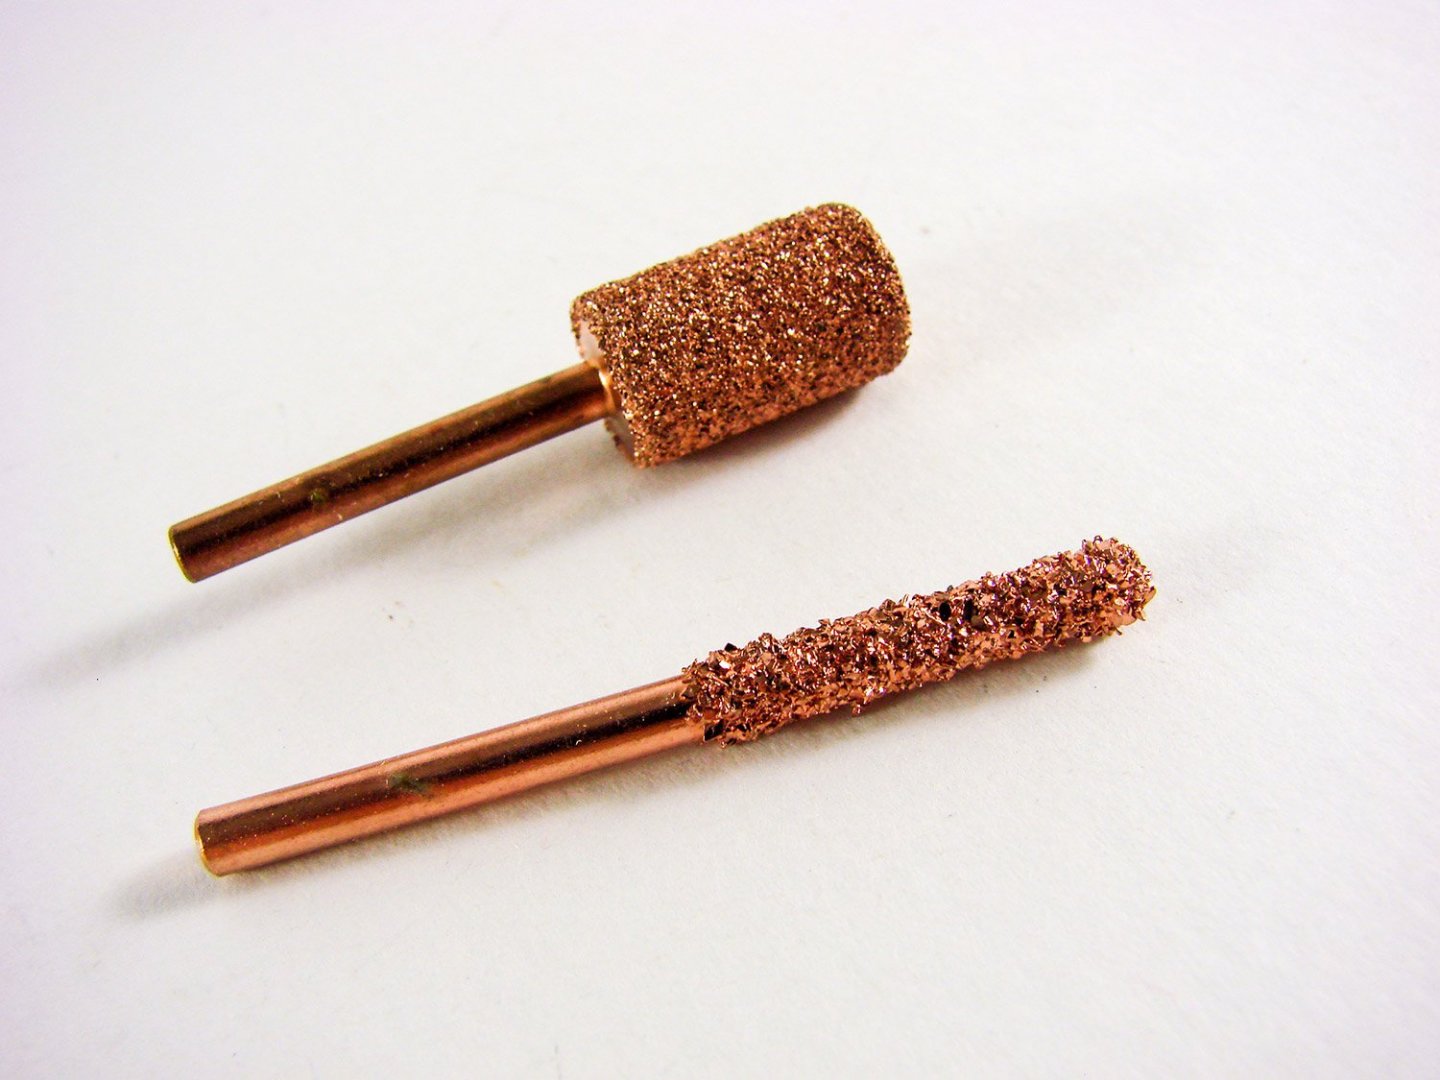
The Drum tool is as you would expect and very similar in appearance to Dremel except that this doesn’t need to be assembled, nor will it wear out as quickly. Being fine grade, this will be perfect for the hobby, when bevelling bulkheads etc. The Rod tool is exactly that. Tungsten Carbide has been fused to the shaft, enlarging its diameter to 4mm. The one I have here is coarse but can also be purchased in a finer grade. Of course, the Cutting Disc does need a little assembly. All that’s involved is slipping the disc underneath the nut and spring washer, tightening with a small spanner. It MUST be noted the rotary tools running speeds are anywhere from 5000rpm to 20,000rpm, and they are NOT recommended for metal
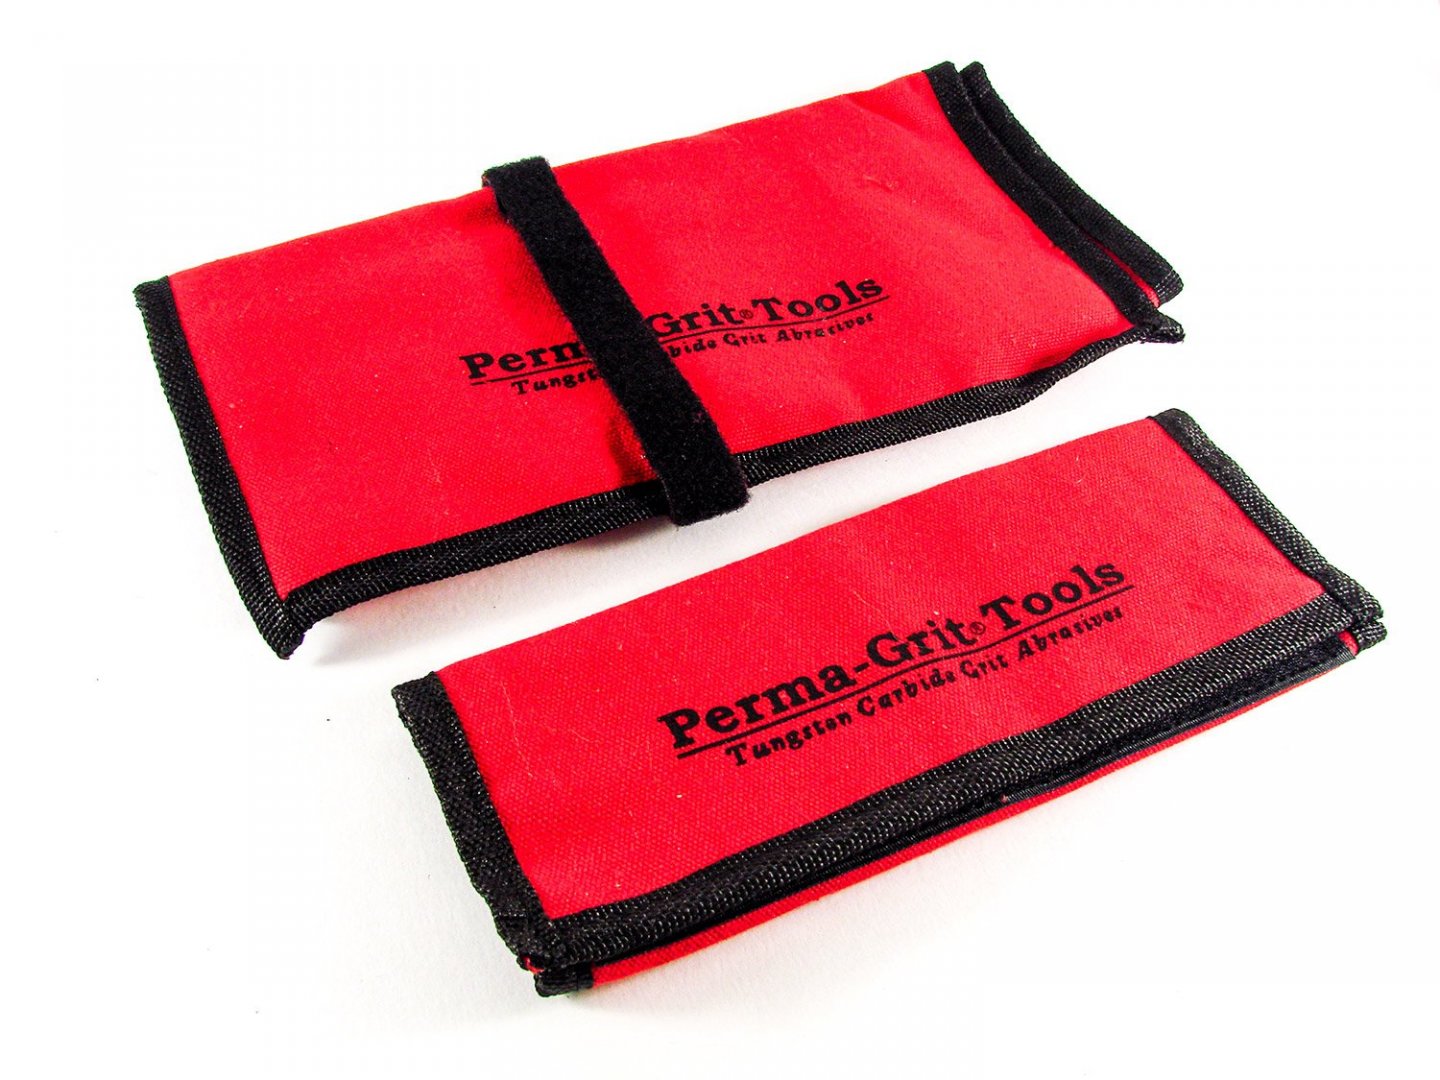
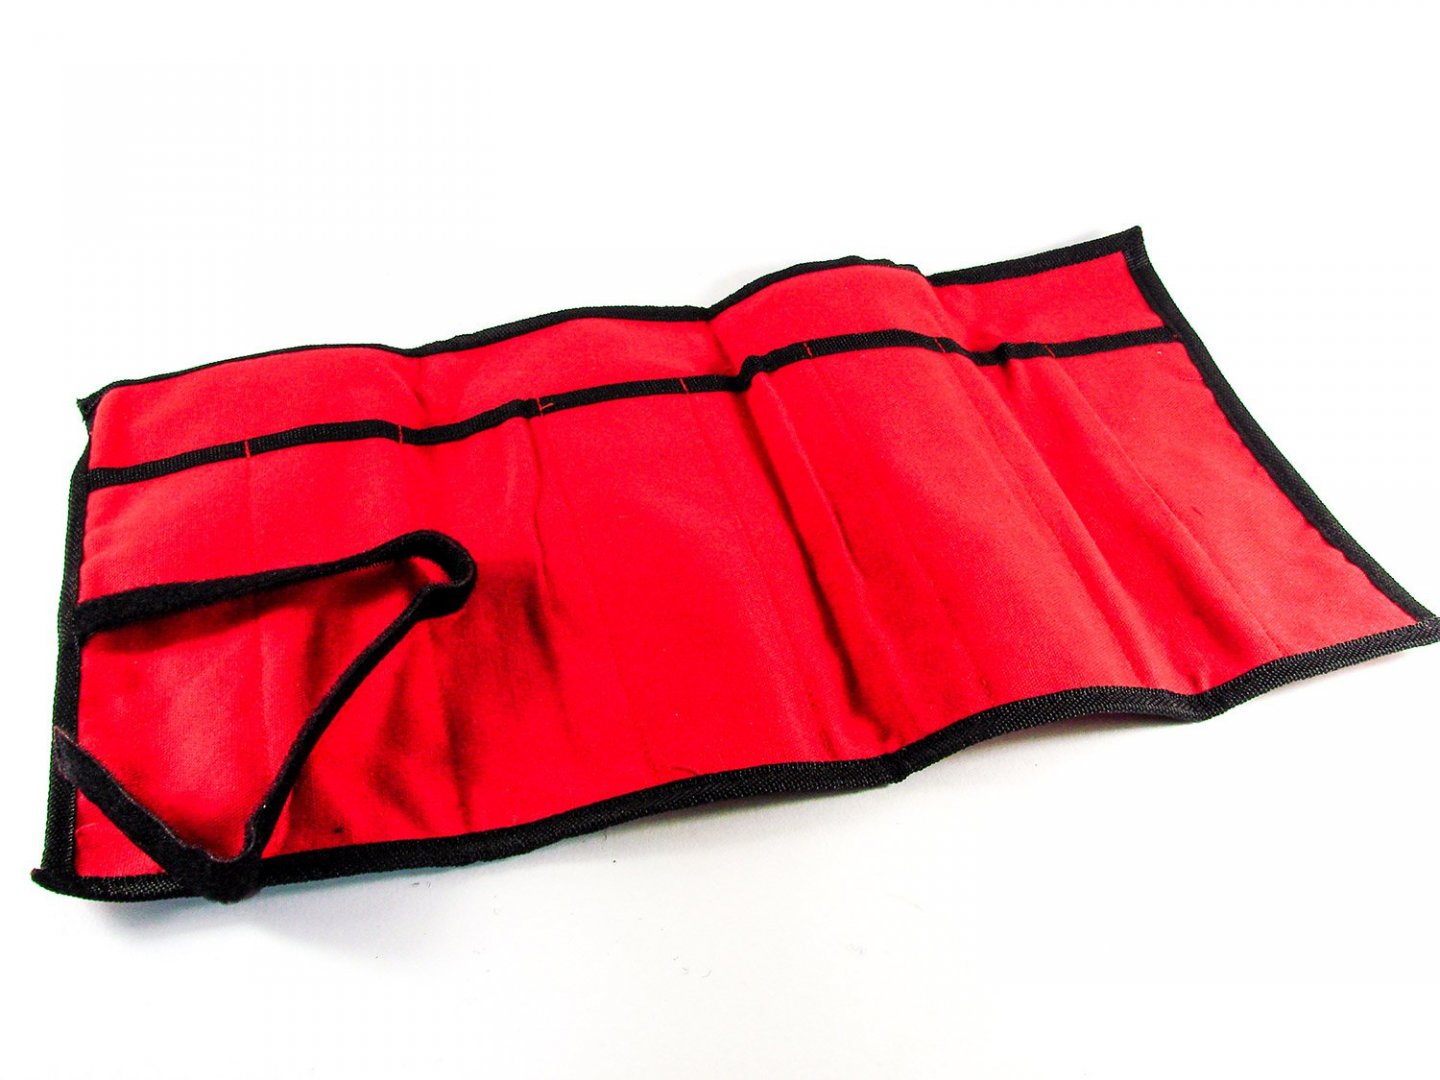
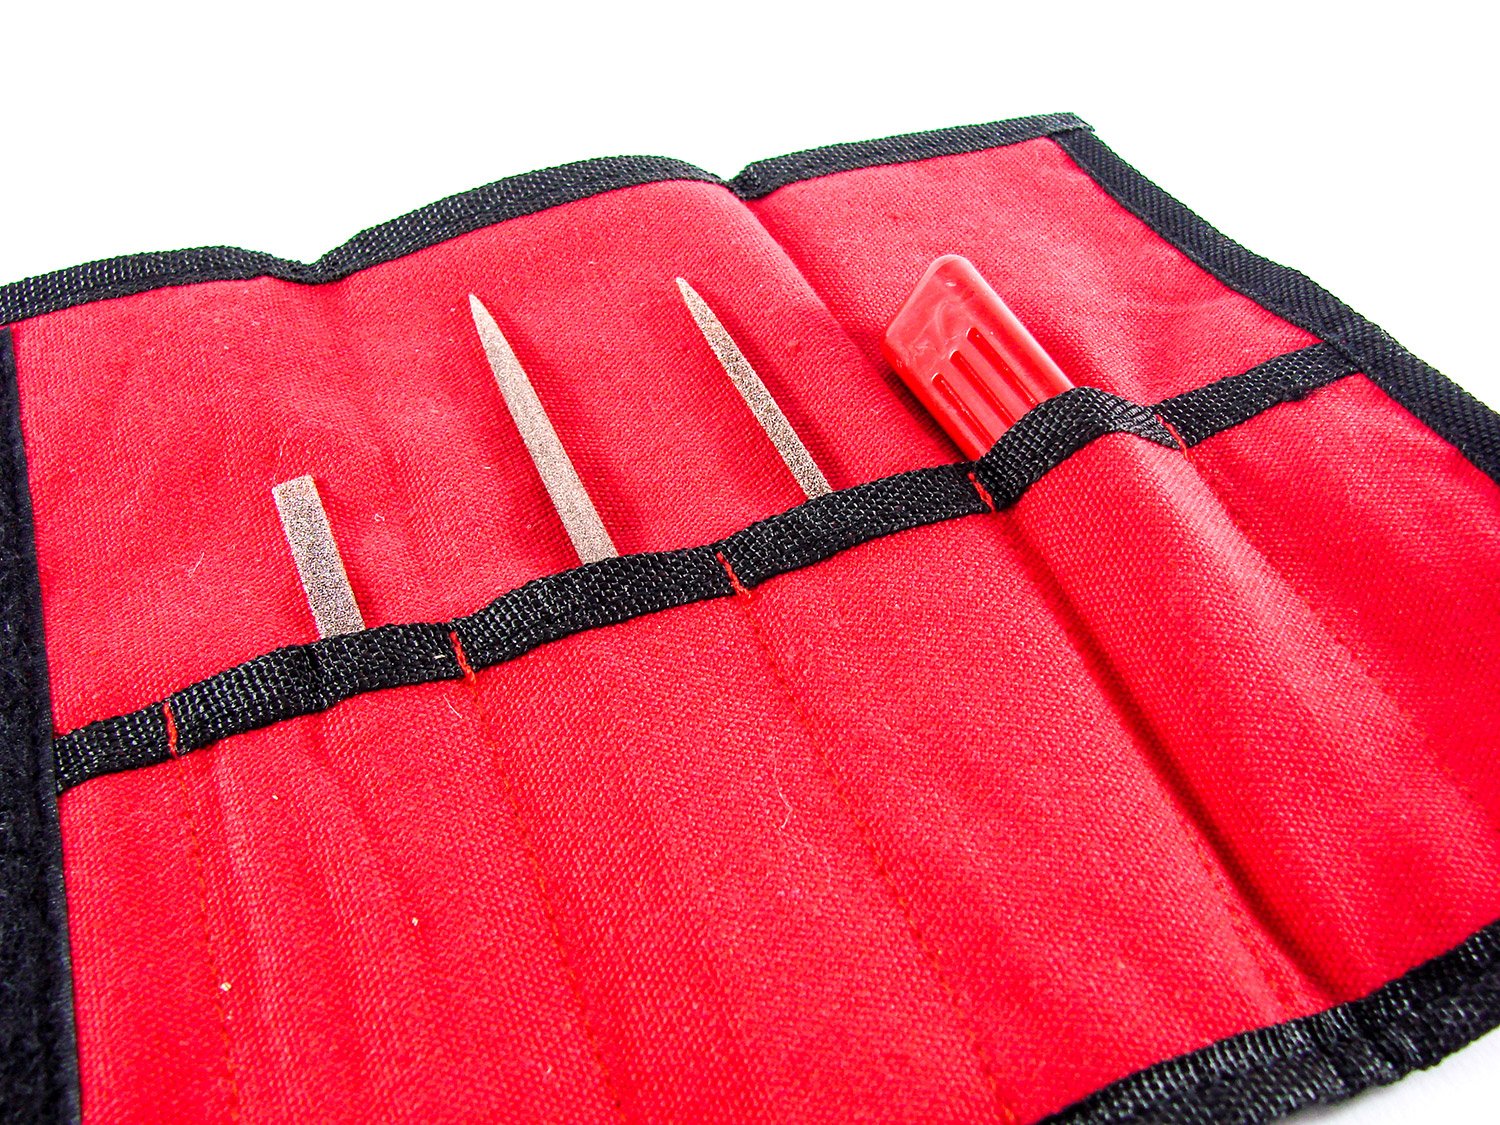
Whilst these tools have been supplied as separates, they can also be bought as sets. If you already have several of these tools, then the sleeves (tool rolls) can be purchased separately. I have two such sleeves here. One is designed for the larger tools, and the other for smaller tools. These are made from red canvas so are rugged, and they are secured with a Velcro fastener.


My sincere thanks to Perma-Grit for sending these tools out for me to take a look at for Model Ship World. To buy these and check out the rest of their extensive range, visit www.permagrit.com

-
2 minutes ago, glbarlow said:
May I ask your source for these drills?
I've had these years and bought off a guy via email. I don't even remember the name now.
Shame really as they've been great drills.
-
-
1 minute ago, NewbyMark said:
I have only been on this site a short while and I am simultaneously amazed by some of the work I’ve seen and also feeling like I may as well just give up 😂 What a great site this is. Love this build - thanks for sharing.
Glad you're enjoying this one. It's great fun! I actually primed the hull in red oxide and noticed more plank showing than I wanted, so I've just used some thin filler paste and cut it back, ready for more primer, possibly tomorrow.
I'd love to see your Speedy as a build log.
- chris watton, NewbyMark, ccoyle and 2 others
-
5
-
9 minutes ago, glbarlow said:
So caved to the demand and moved from MDF to ply...? My Speedy will have white stuff anyway, historical issues aside no copper for me. Sure wish I had boxwood though
It's only the stern frames in birch ply and not a wholesale replacement of the MDF core.
- hollowneck, glbarlow, Canute and 1 other
-
4
-
24 minutes ago, BobG said:
Do you ever find that you only need to bevel a portion of the plank instead of the whole length of the plank from end to end? For example, when a plank has a gap that extends only for a small portion of the whole plank.
I love this boat, James. It's going to be a beauty!
I've not bevelled a plank's whole length. On average, no more than 2/3 of it. Some of the initial planks (after the non-tapered) are probably only around 50% of the length.
- chris watton, BobG, mtaylor and 1 other
-
4
-
Another new release on the horizon 🤫


- Ryland Craze, BobG, Edwardkenway and 11 others
-
14
-
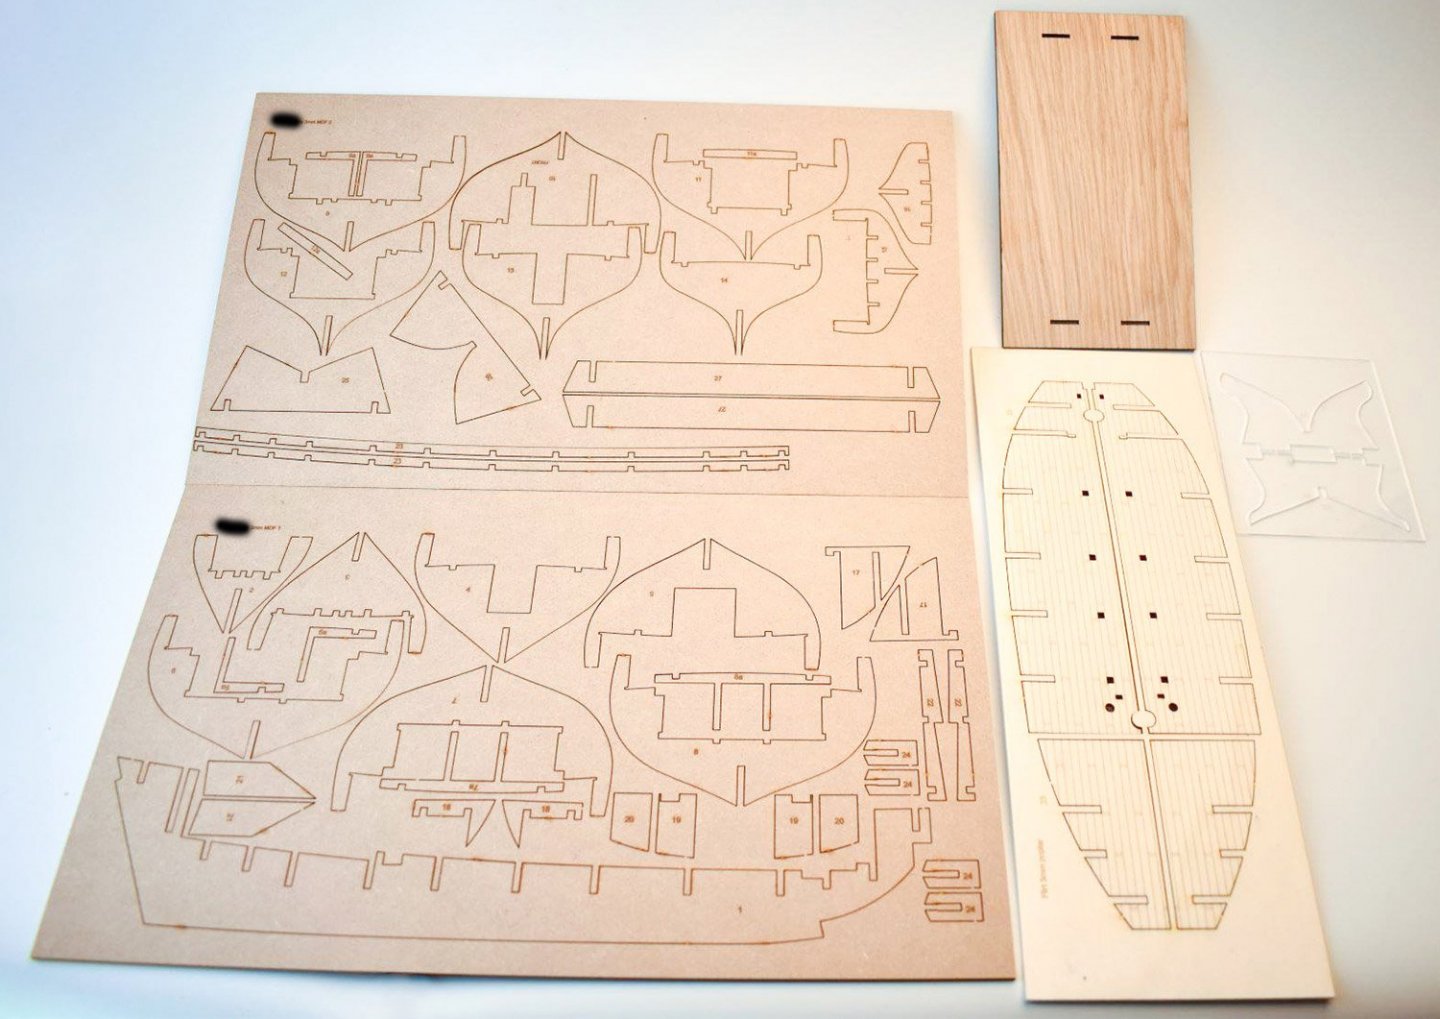
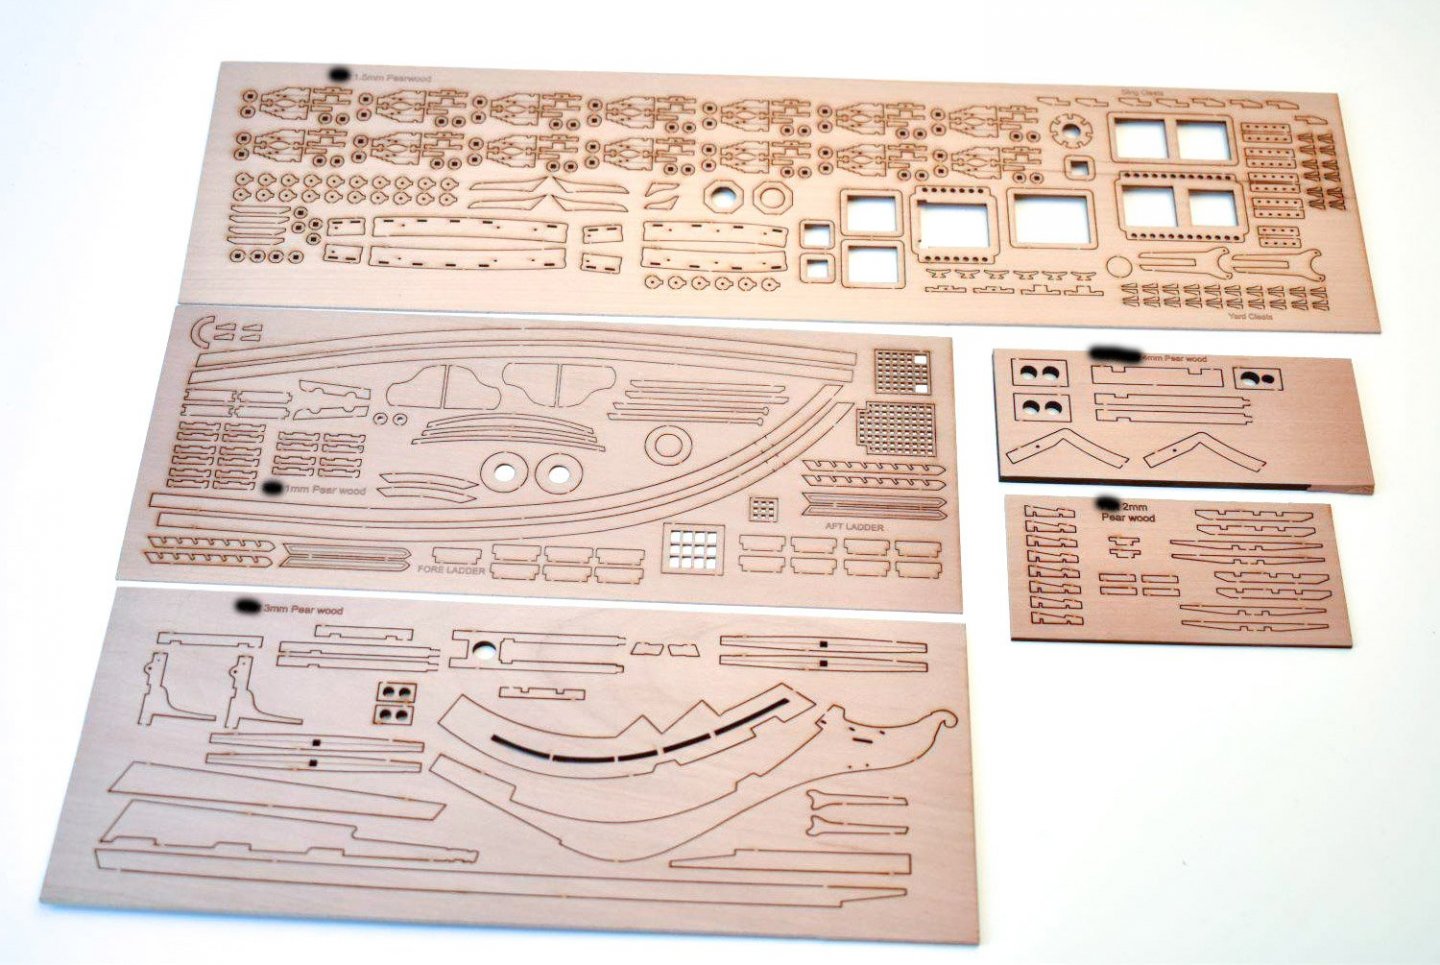
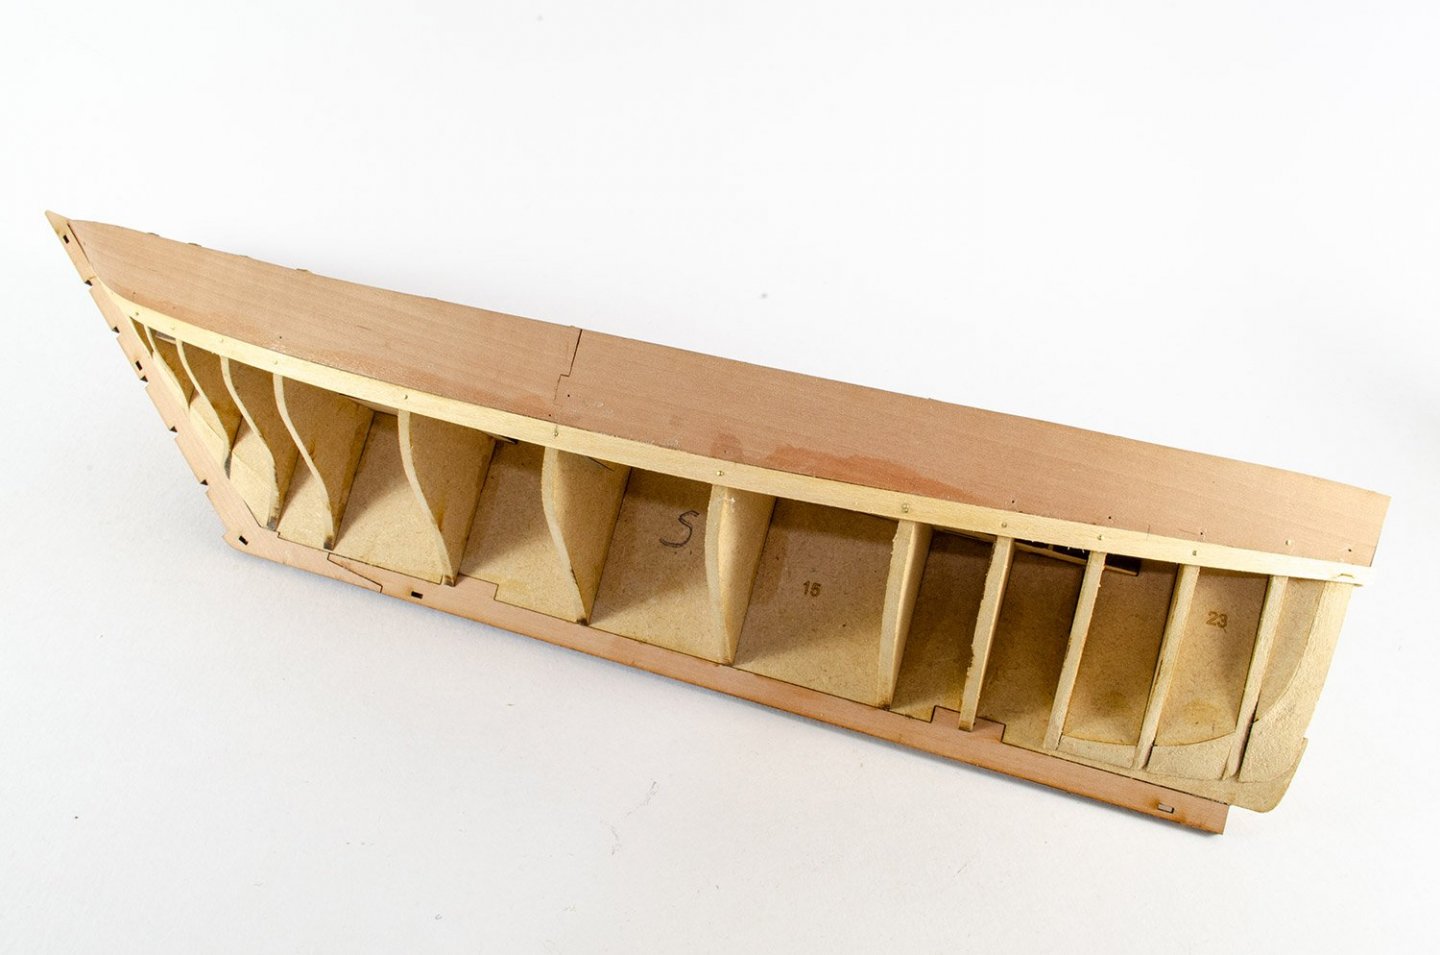
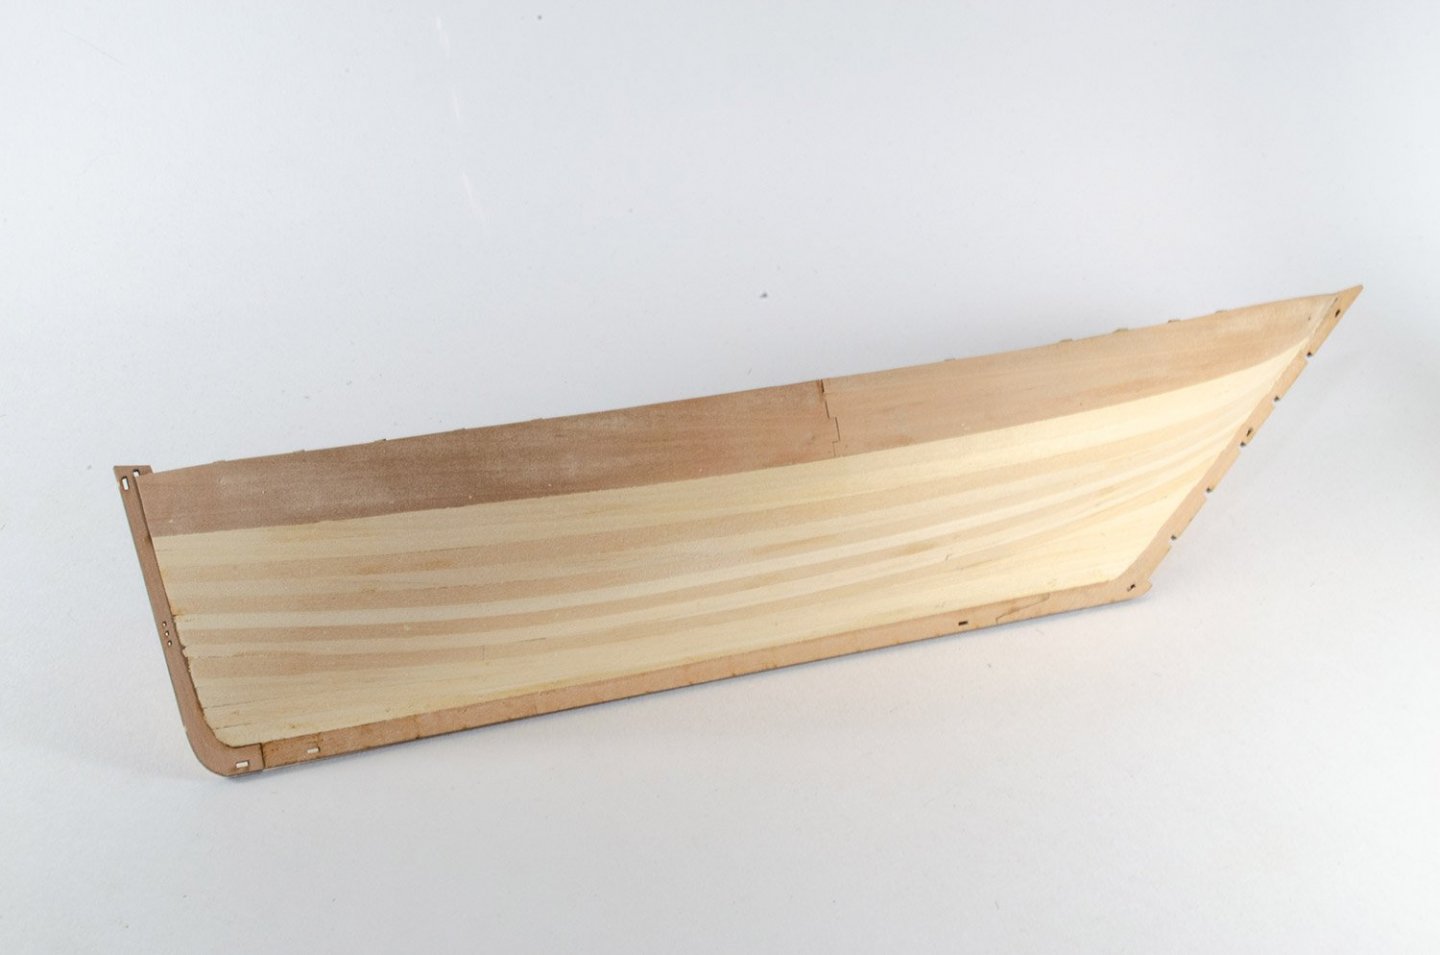
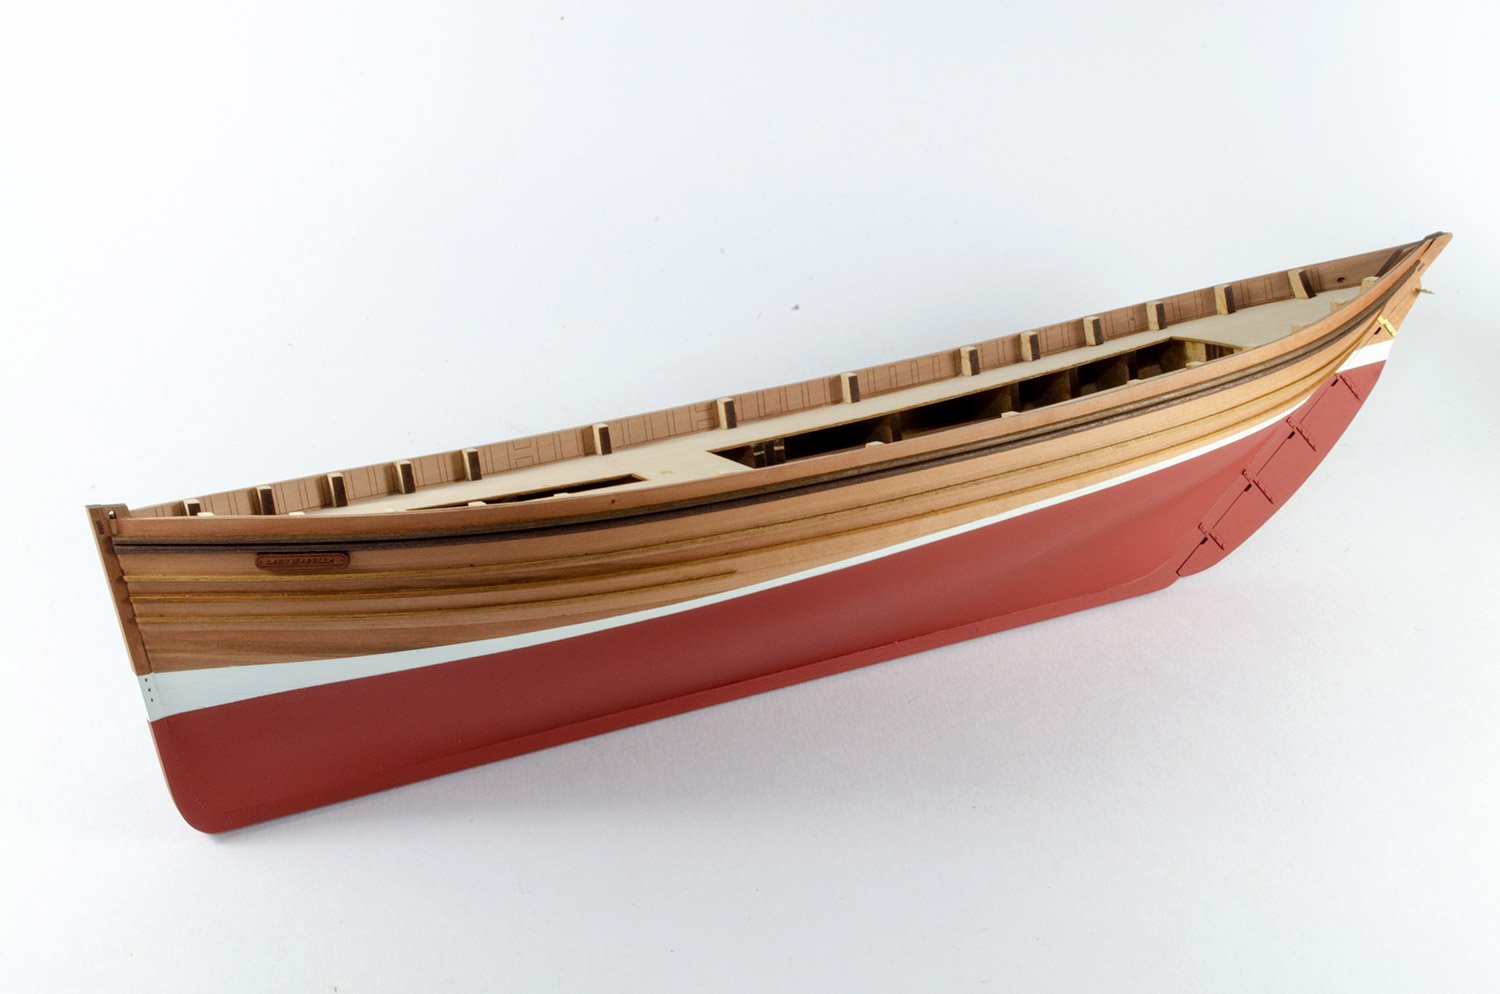
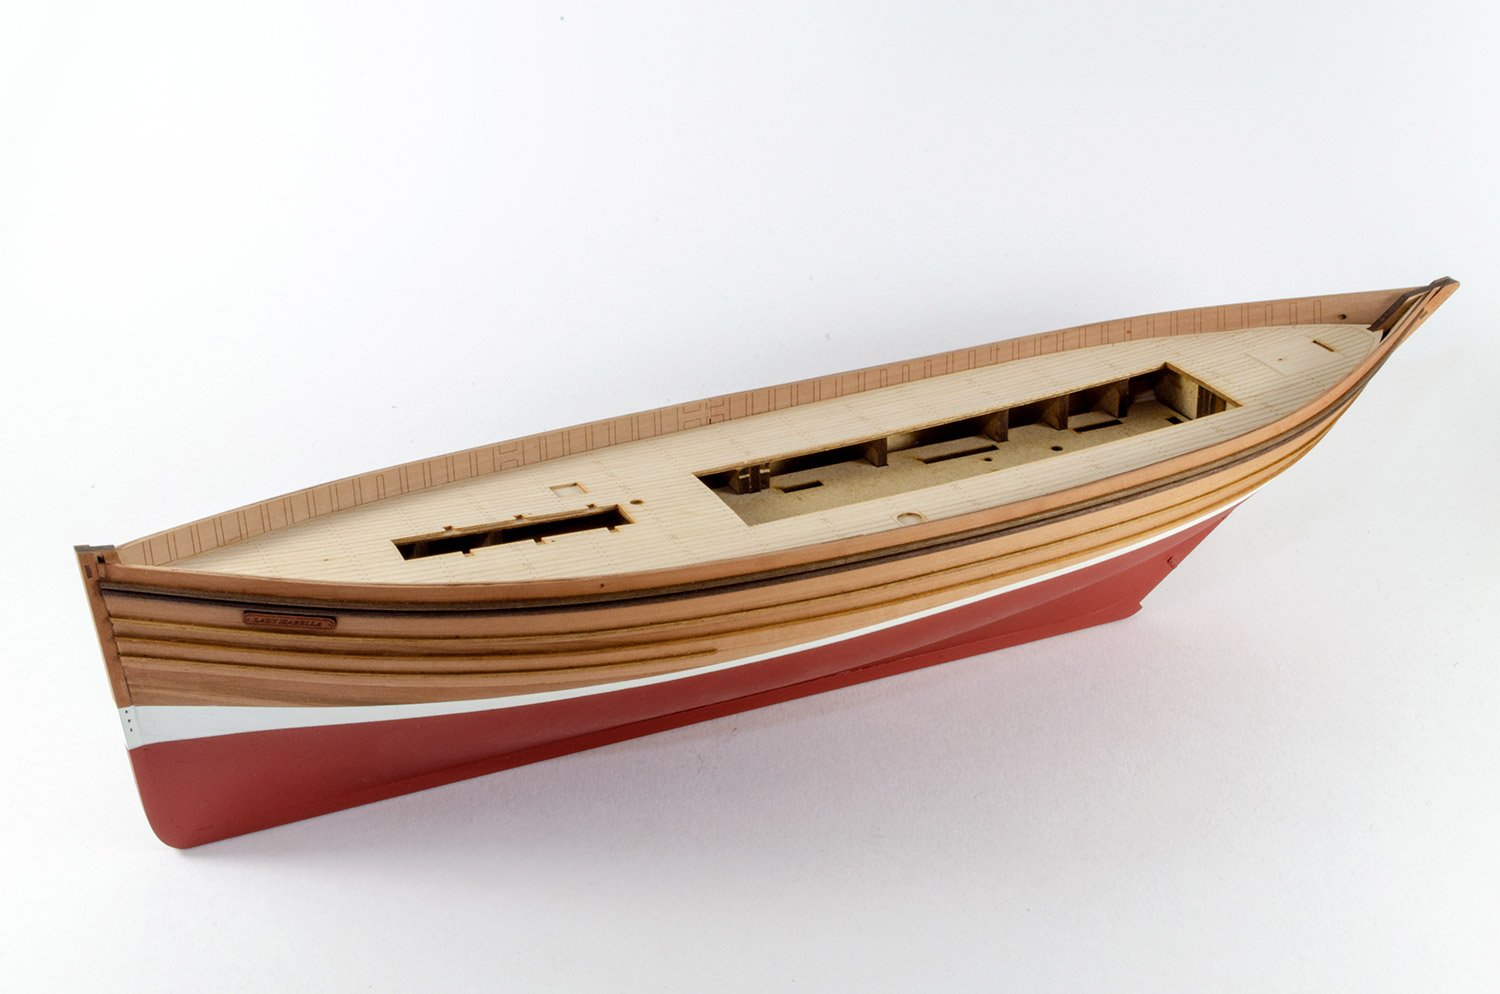
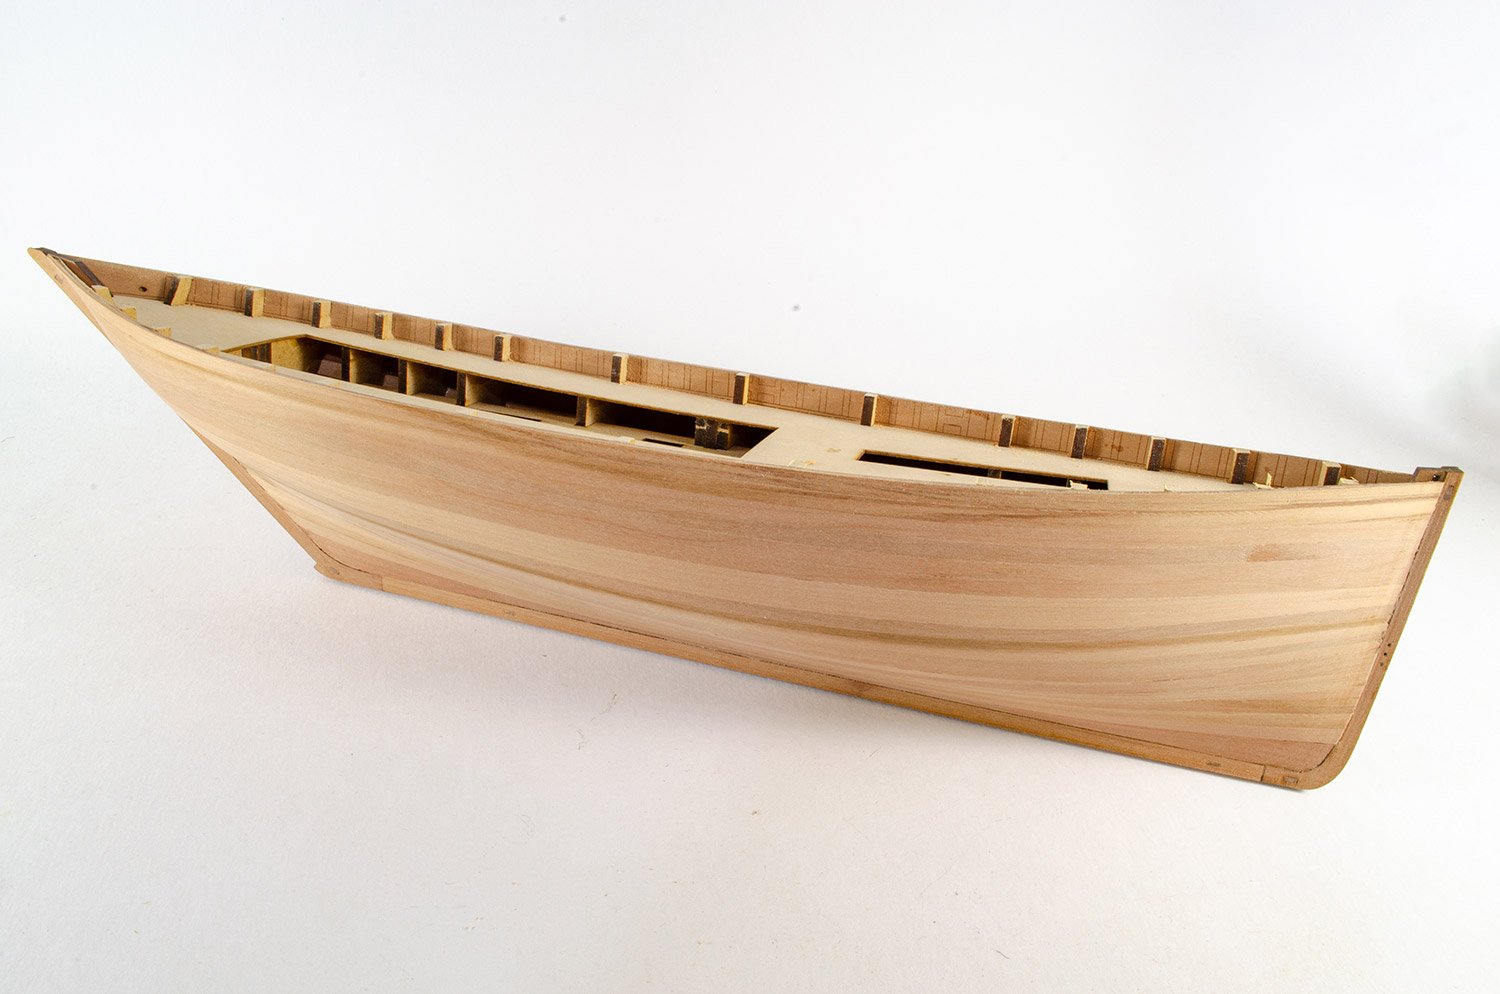
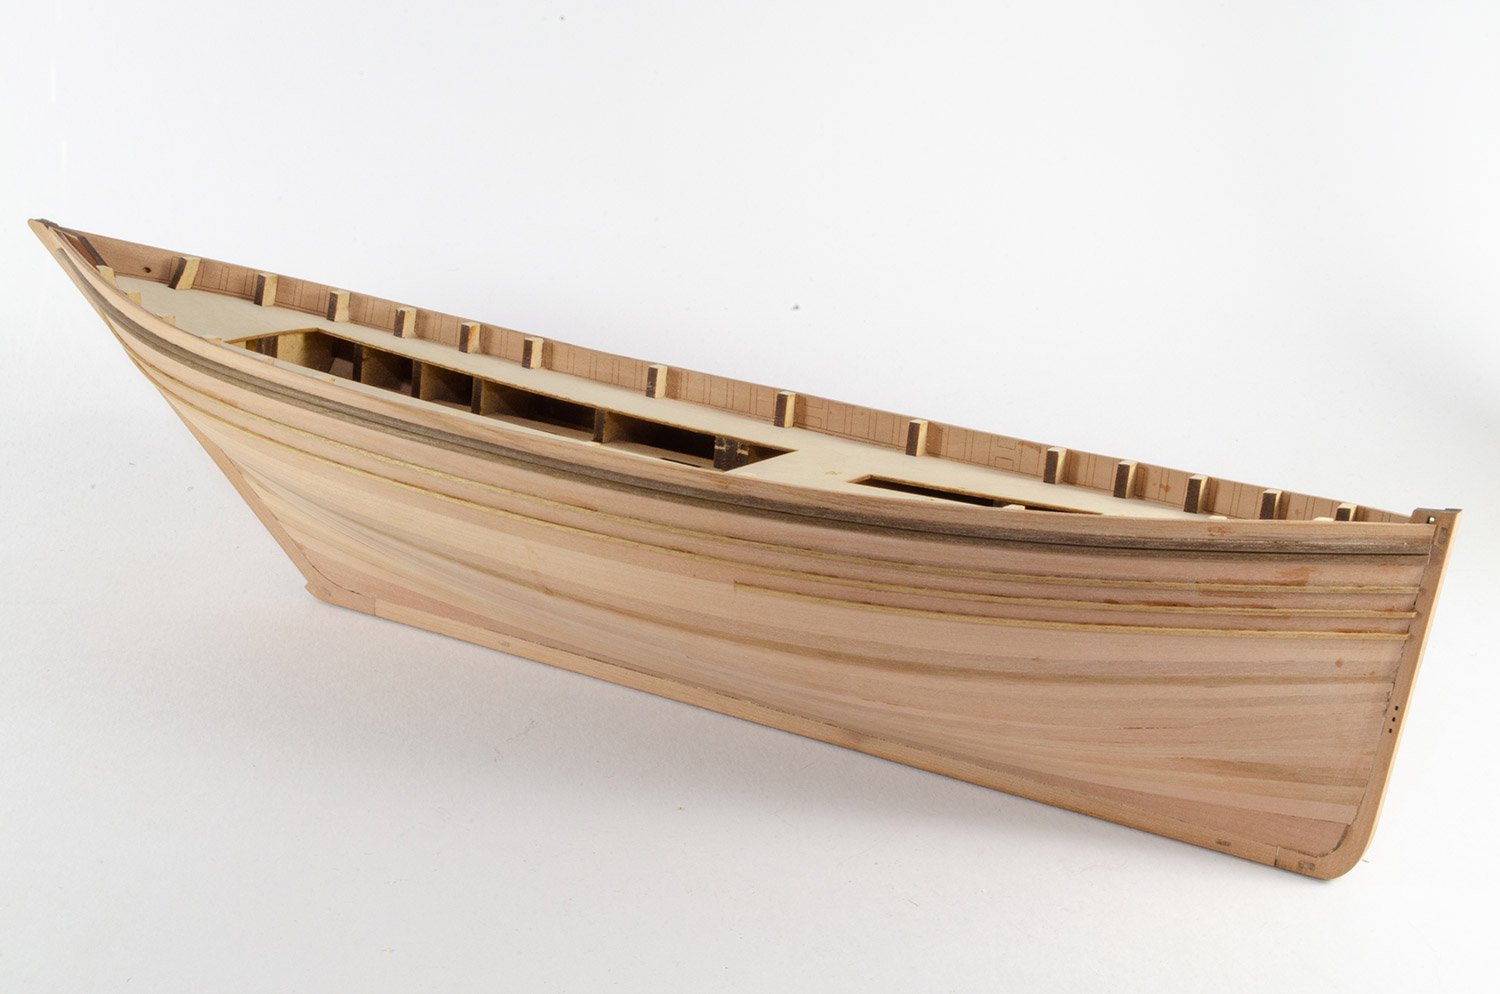
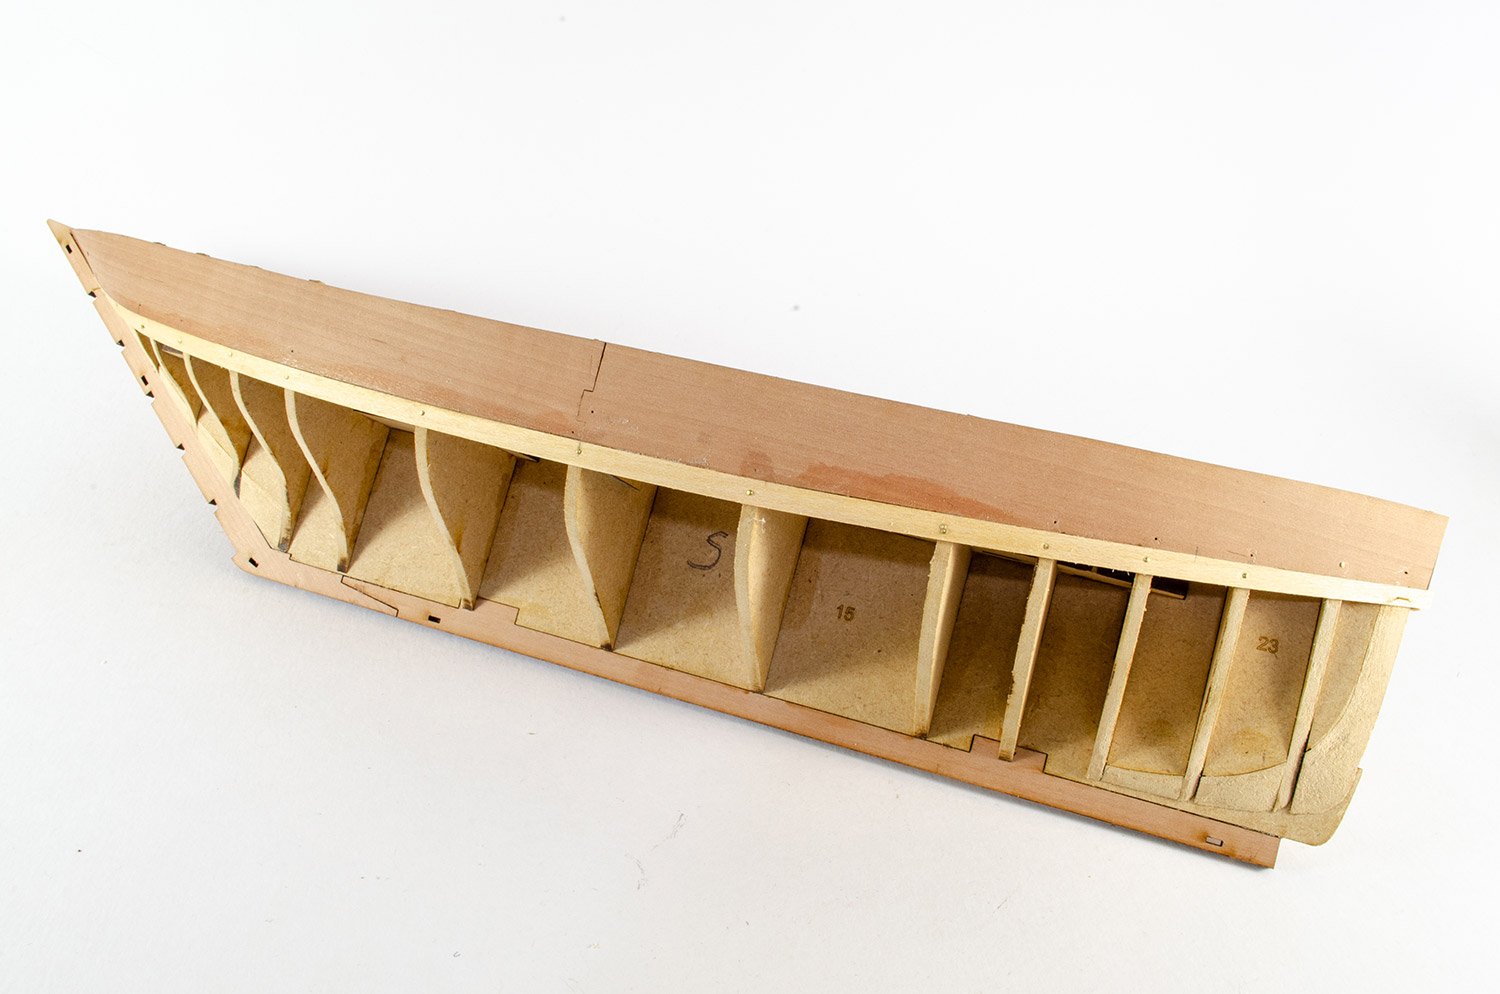
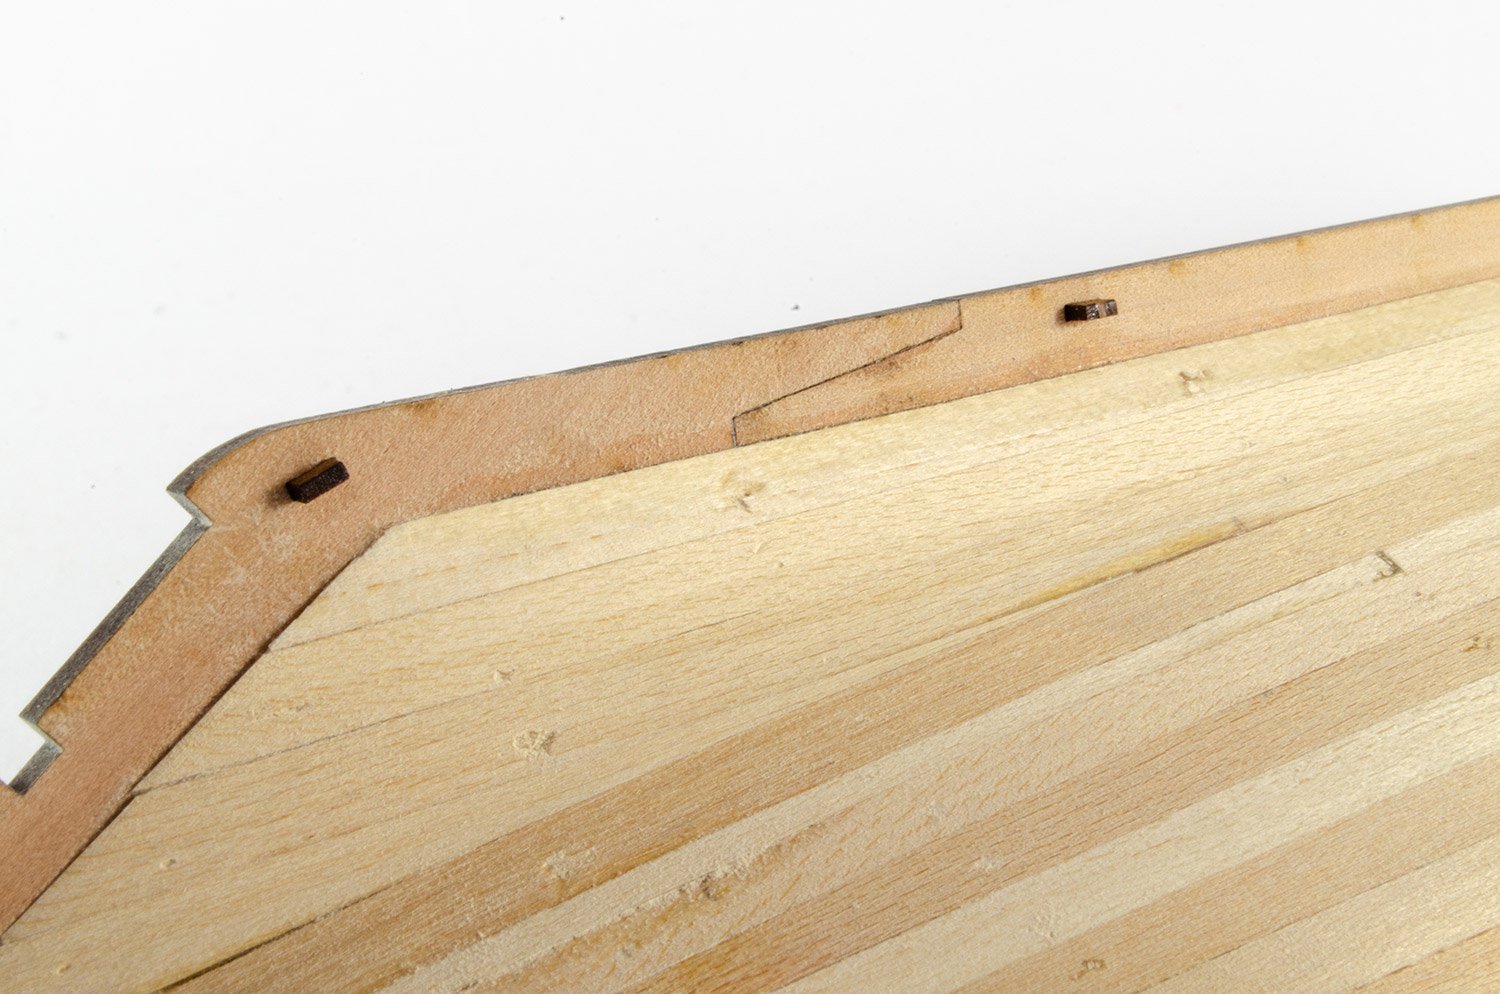
A quick update on the Zulu.
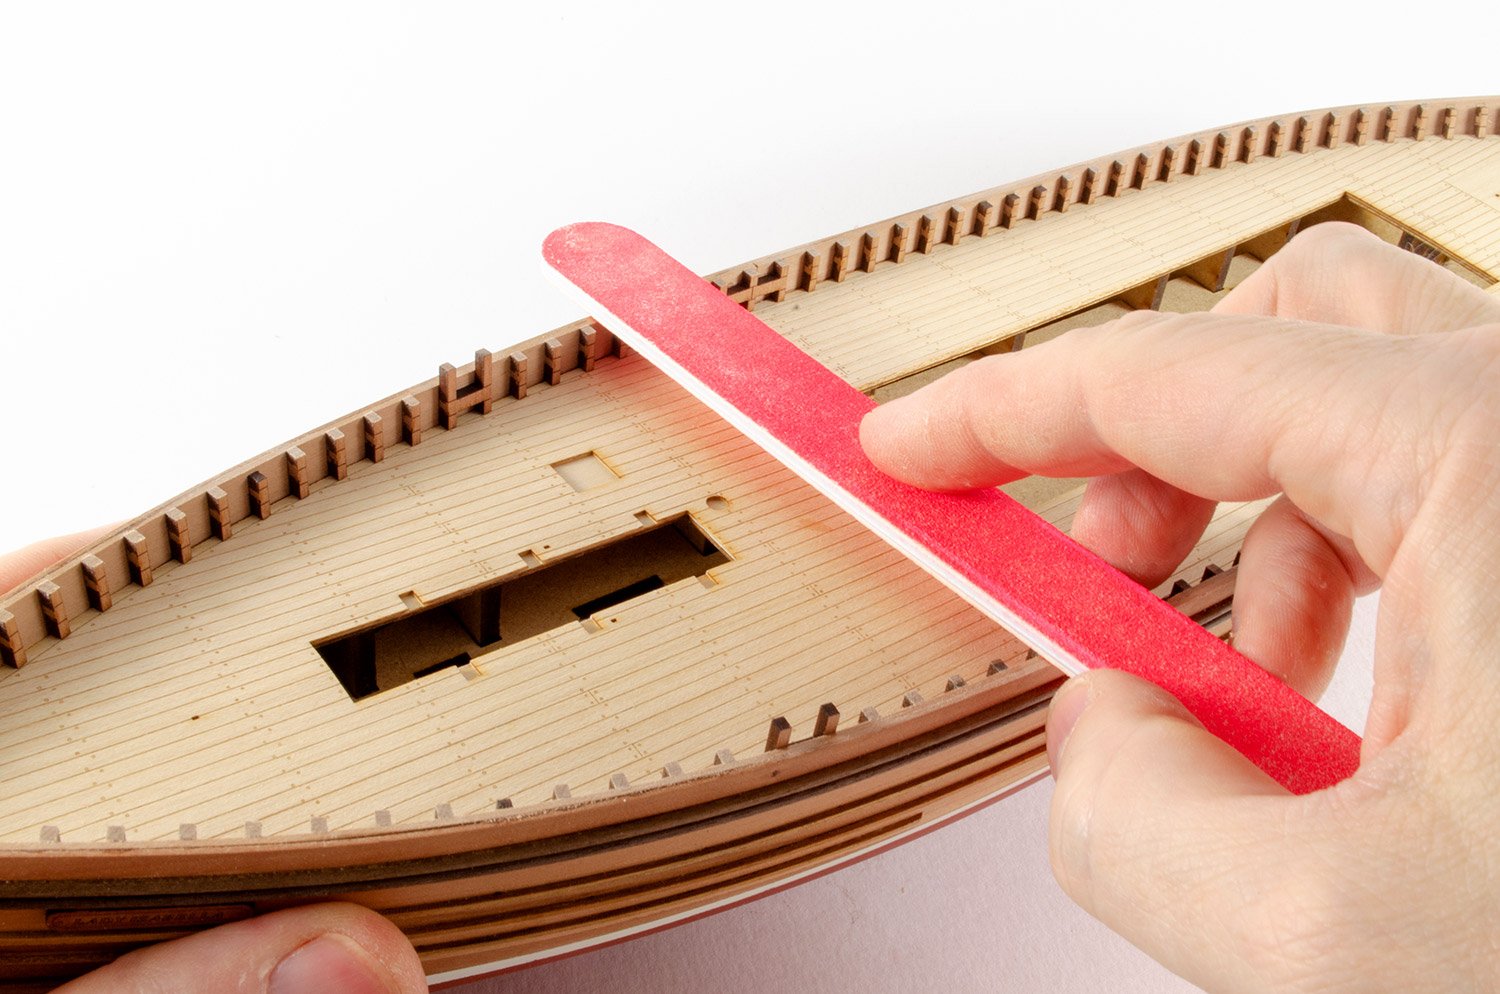
The second layer of pear wood planking is now fitted. This was done with CA gel (Gorilla Glue) which is very different to how I usually work with PVA etc. Plank edges were bevelled as I went, and tapered where necessary. Once installed, the hull was sanded down with 120, 180, 240 and 320 grade papers. A small amount of Ronseal natural wood filler was also added, but that was tiny. A testament to how well this kit is designed.

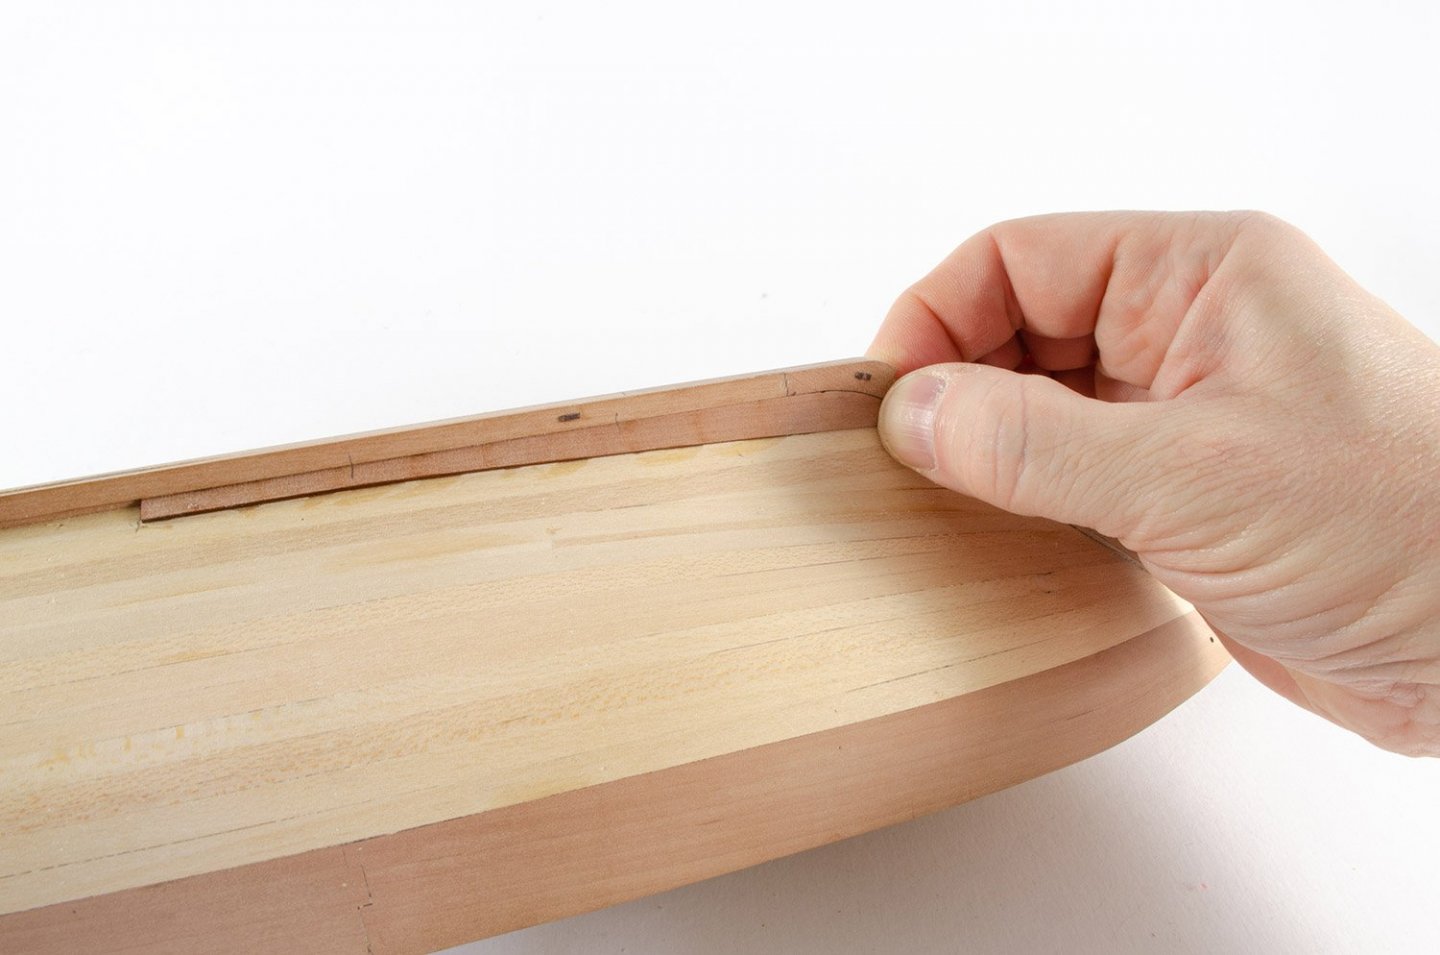
It was now the turn of the rubbing strakes to be fitted. The upper two, which butt right up next to each other, are walnut and semi-circular in section. A nice contrast to the pear of the hull. Three other 1mm square strakes are also added. The lower one only extends part way back down the hull. Any glue marks you see will disappear when I add the polyurethane varnish later.

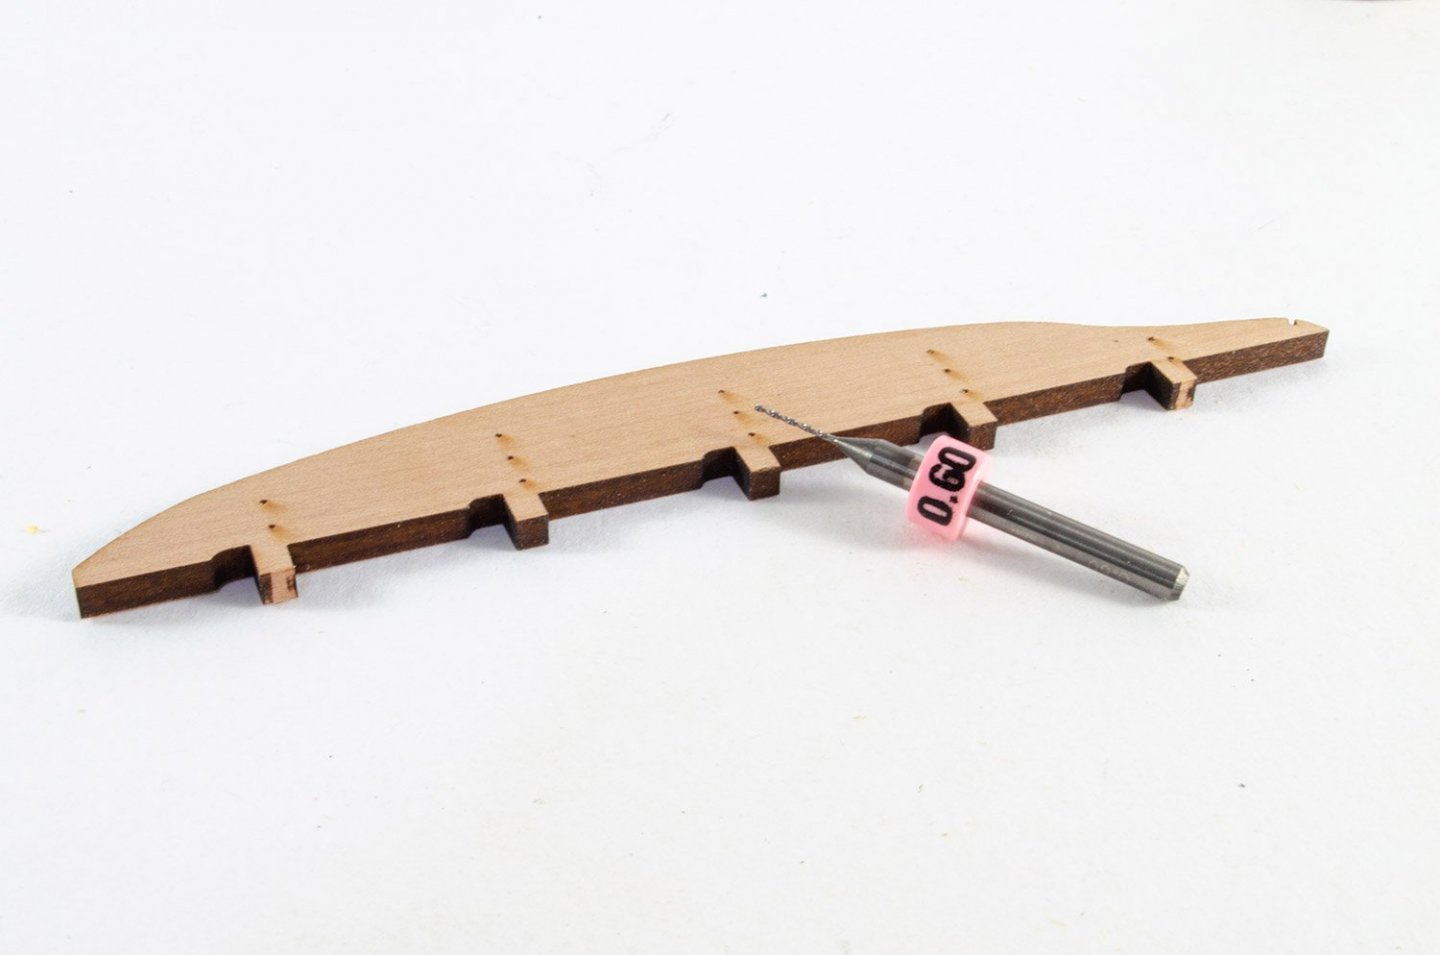
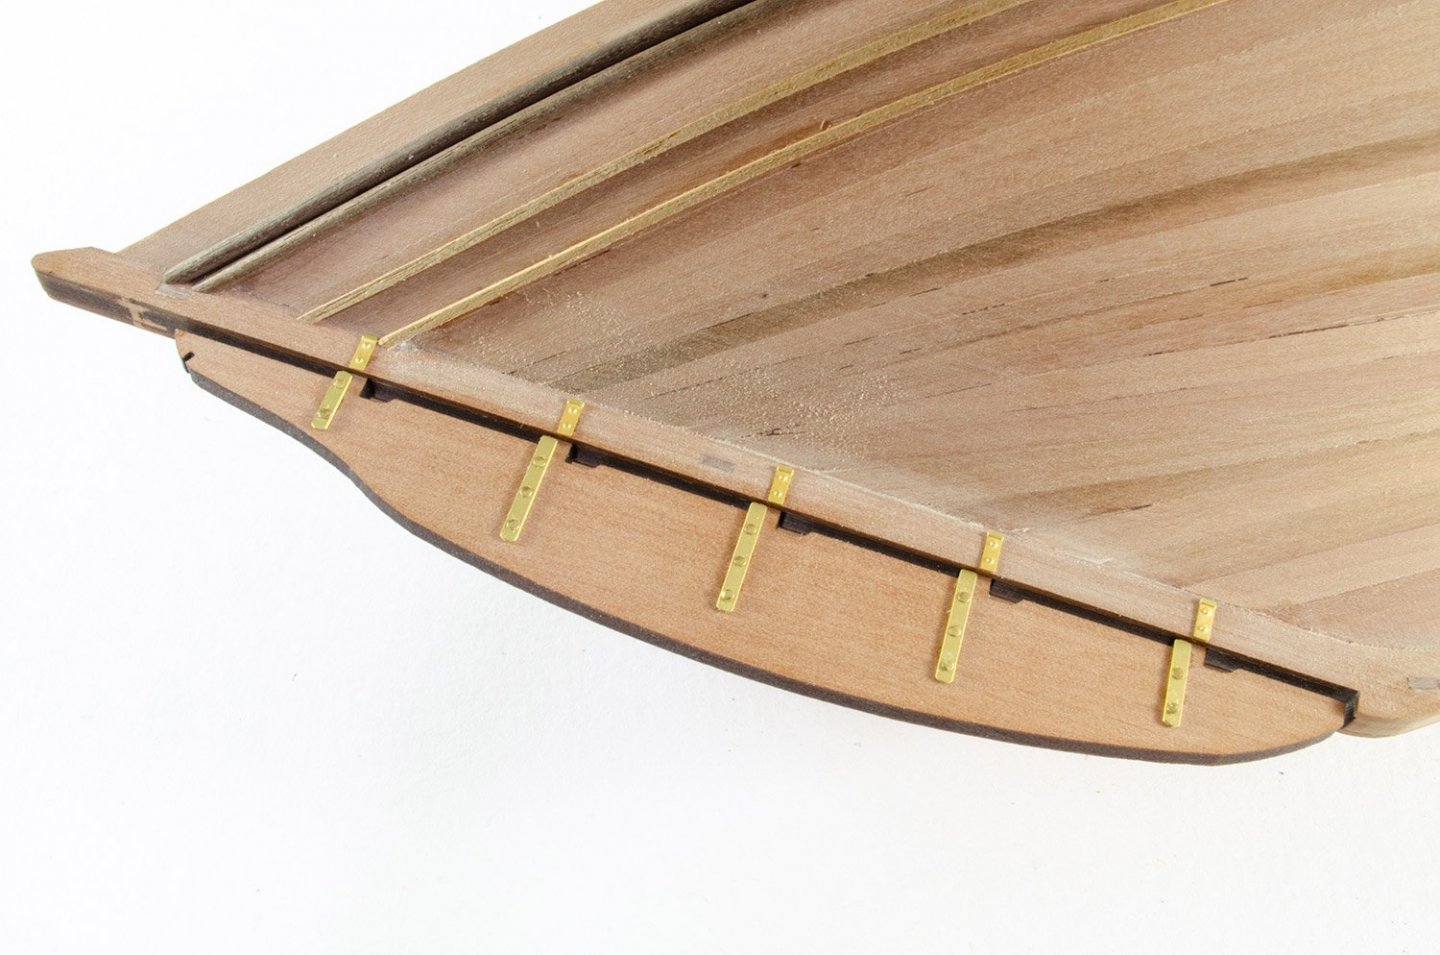
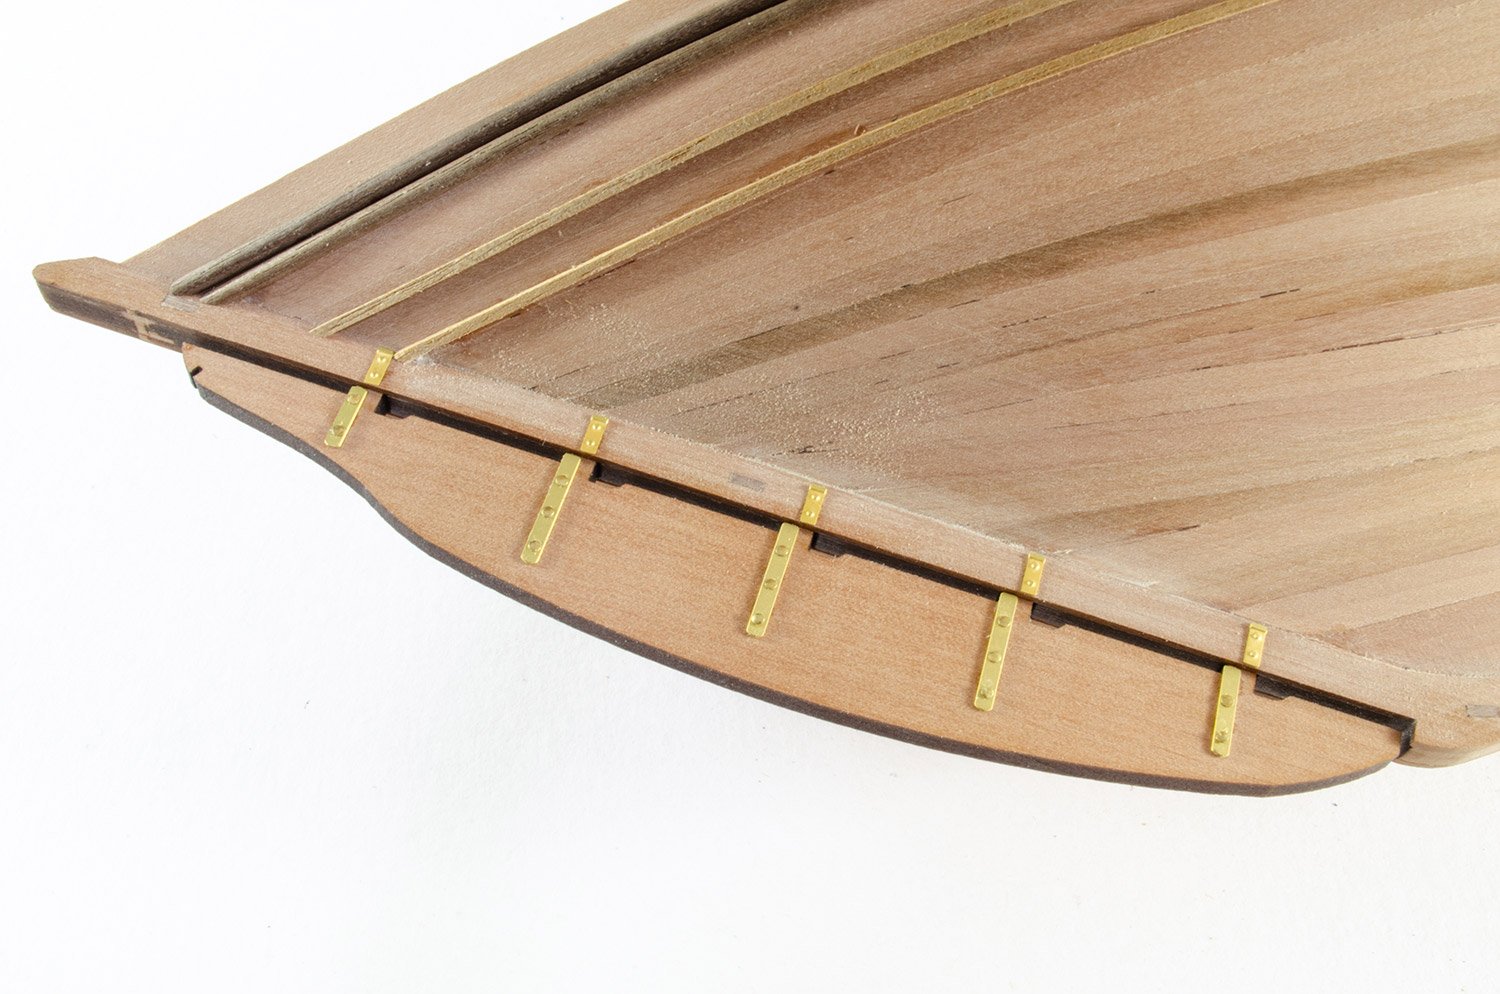
The rudder simply plugs into the stern post and the sockets more or less hidden by the pintles. A 0.6mm drill was used to cleanly open out the laser cut holes so I could easily fit a pin through. The pintles and gudgeons are photo-etch and glued with CA gel. I used the kit's Amati brass nails on the pintles and applied a part nail from either side so I could have the domed heads on both faces. The gudgeons have their nails etched onto the parts.
More soon!
- GrandpaPhil, BenD, mtaylor and 20 others
-
23
-
That looks great! I love that rich, warm tone its got.
-
-
On 3/22/2020 at 11:11 PM, BobG said:
Great build log, James. This is a wonderful model and I can't wait for it to become available. What is the overall length of the Zulu?
I'm reliably informed that its finished size is 608mm long and about 340mm tall
-
Maybe I should do a small update.
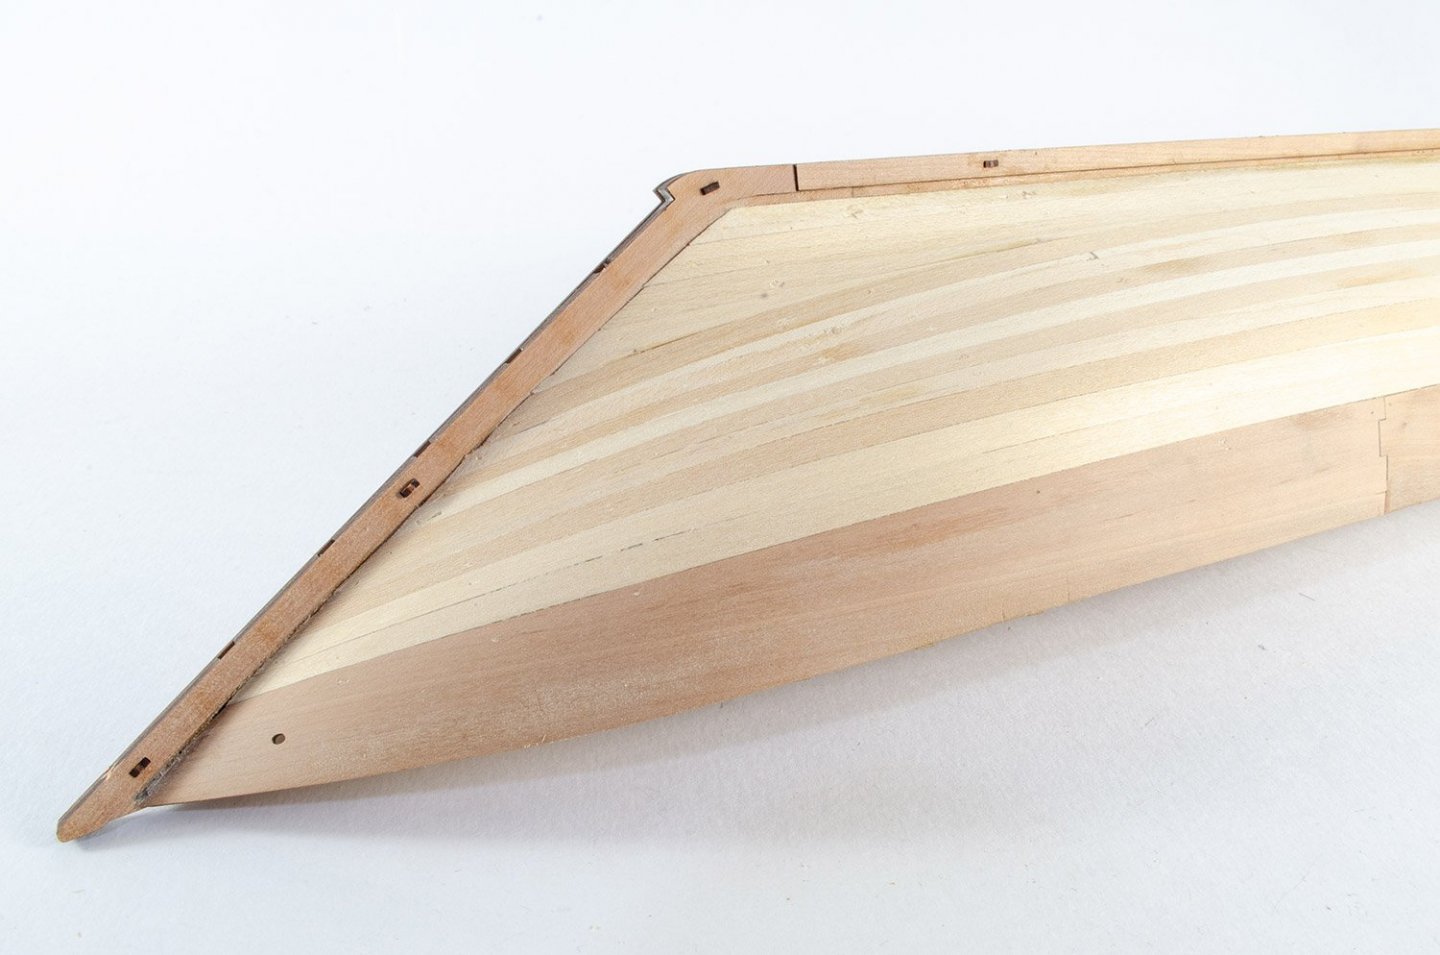
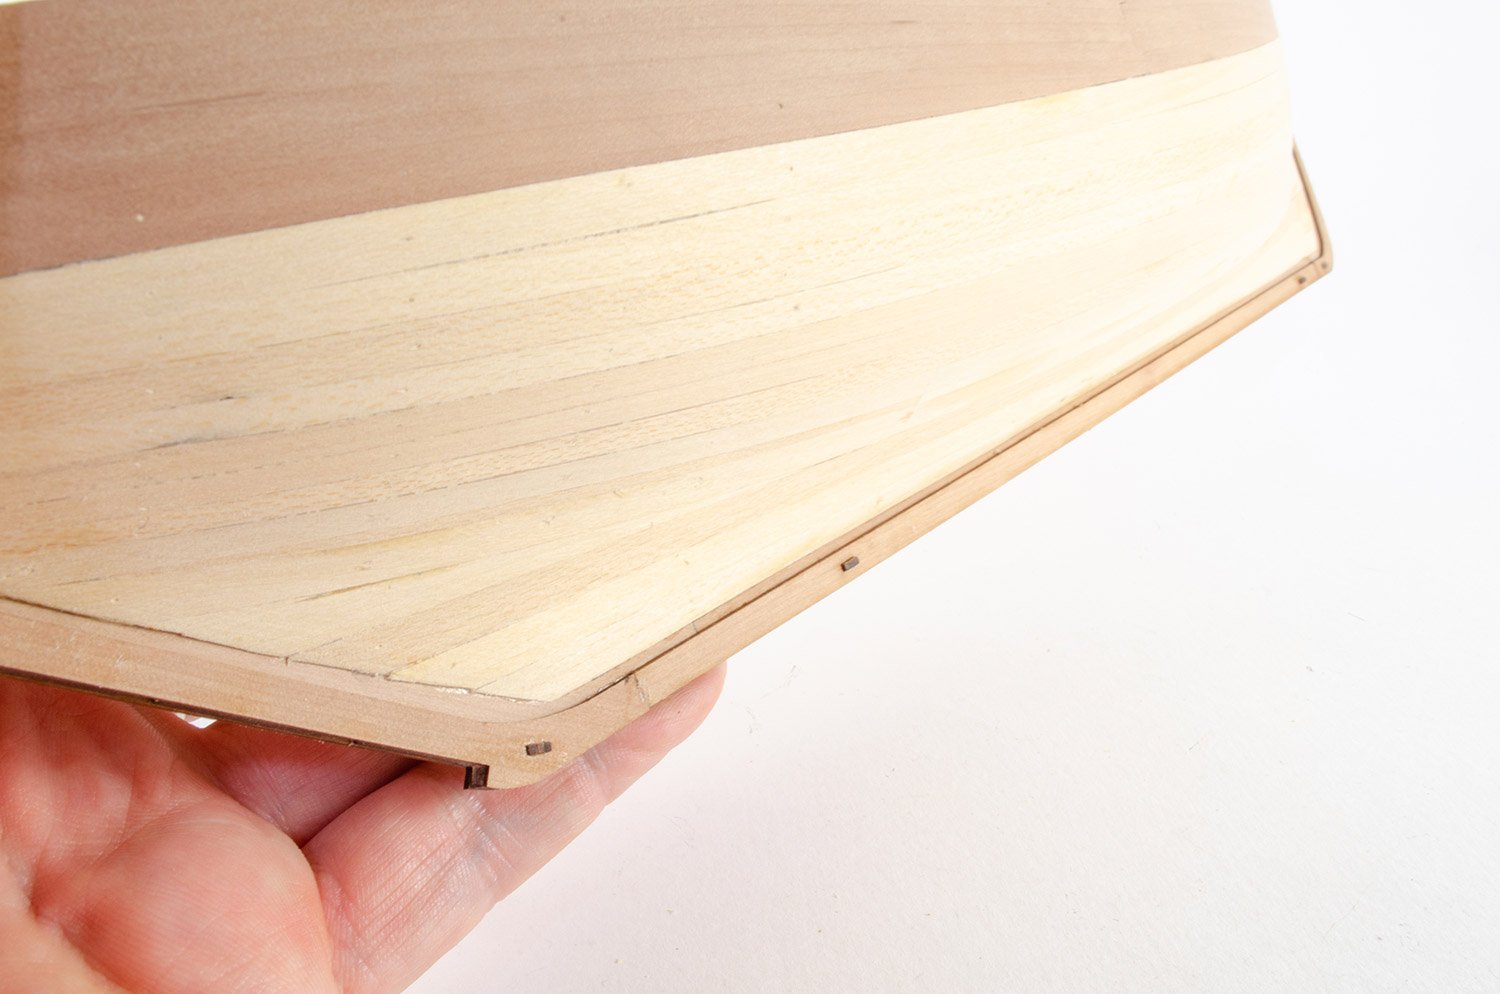
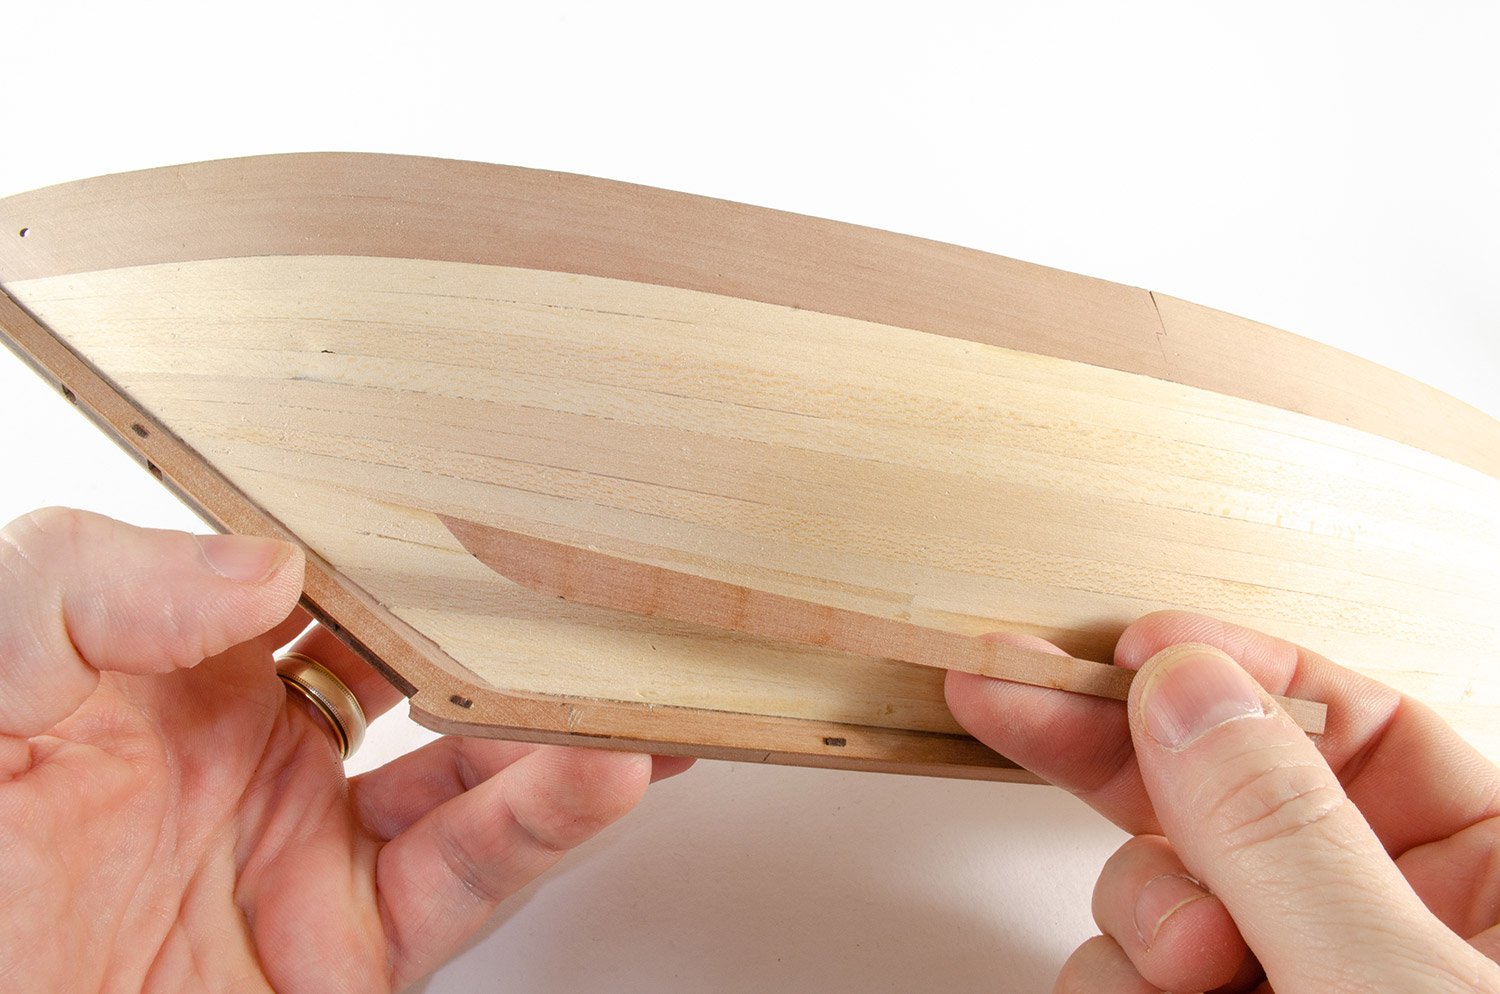
I've had time to do some planking during my enforced isolation. Here you see the hull with the pear bulwarks installed. Underneath that is a lime wood plank with a naturally guessed taper. PVA is used for these, and my trusty Amati nail pusher.
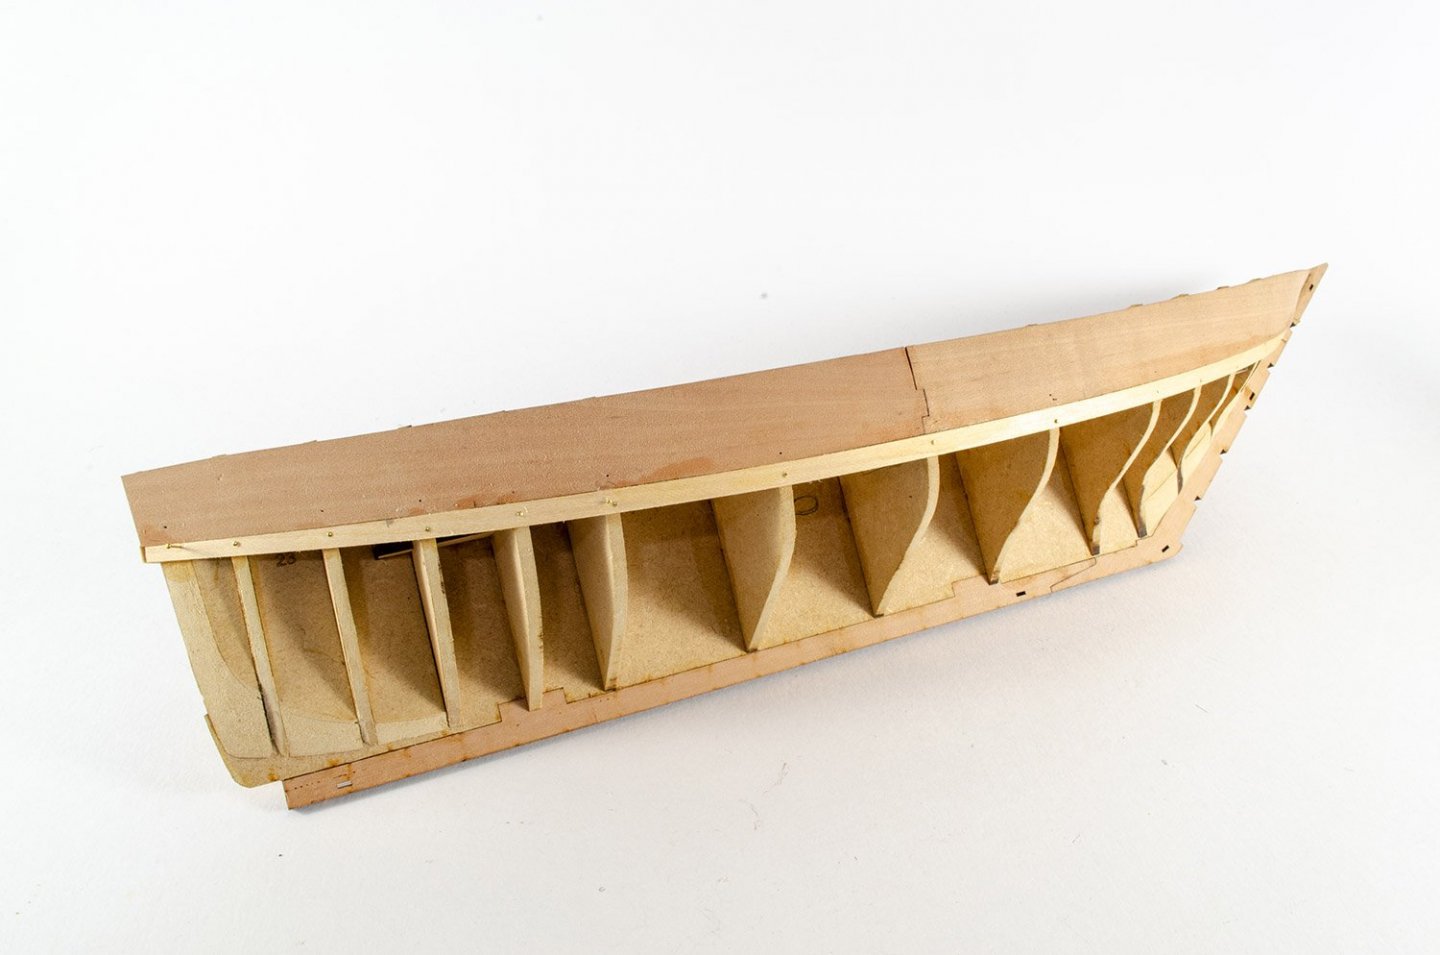
Limewood planks are now fitted and tapered where the natural lie of the planks overlaps the previous. That bow sure looks ugly with those over length planks. That will now be cut back and tidied up.
With the bow tidied up, the stem keel section is finally glue into place. This fits like a dream with no ambiguity.
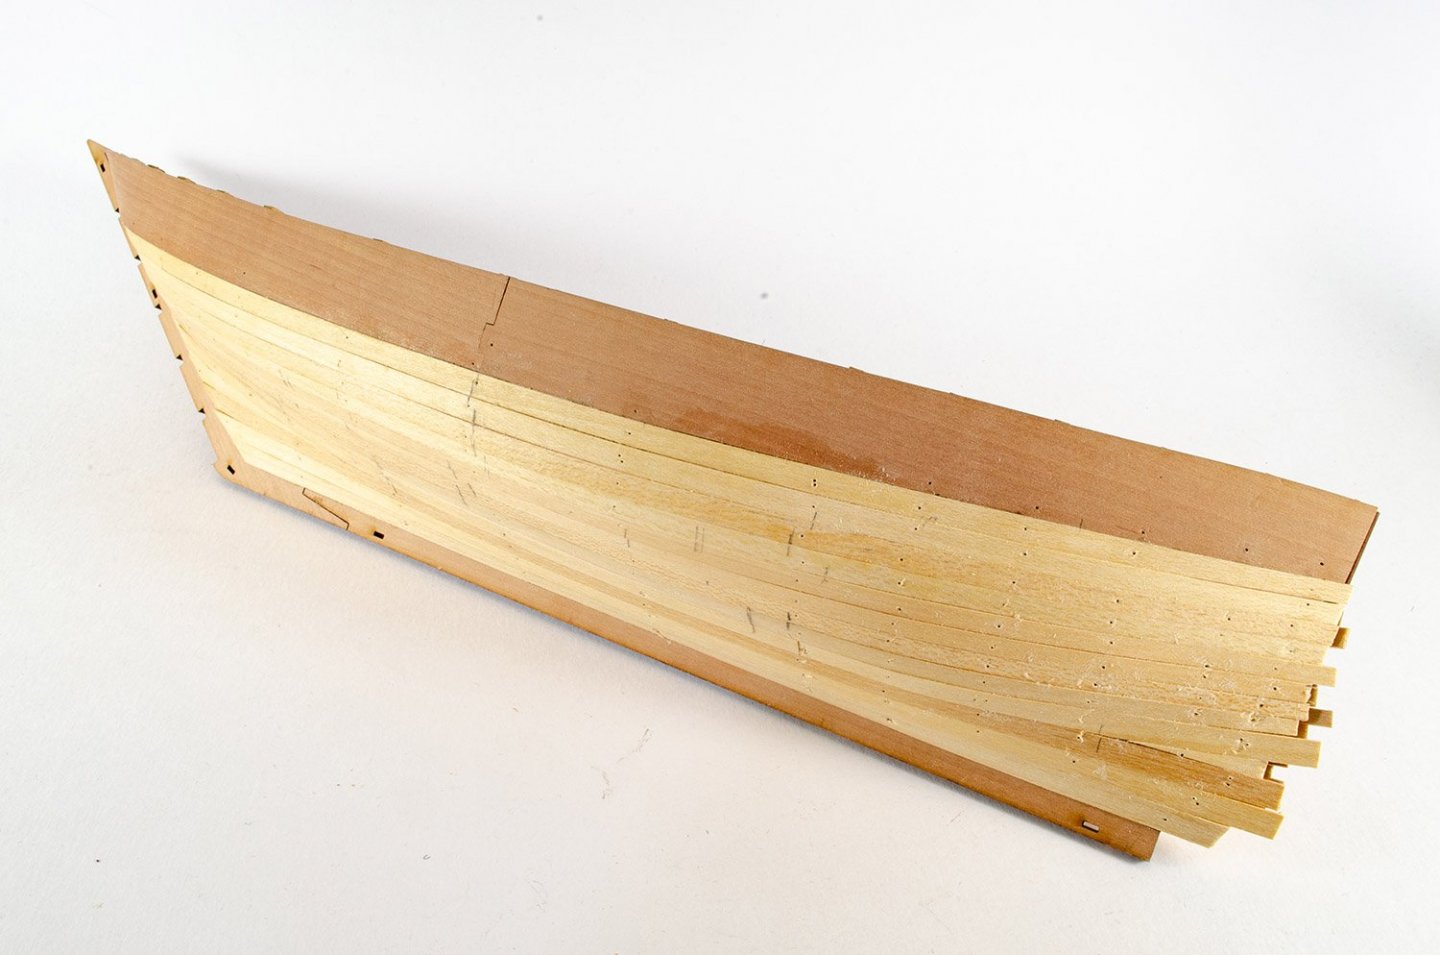
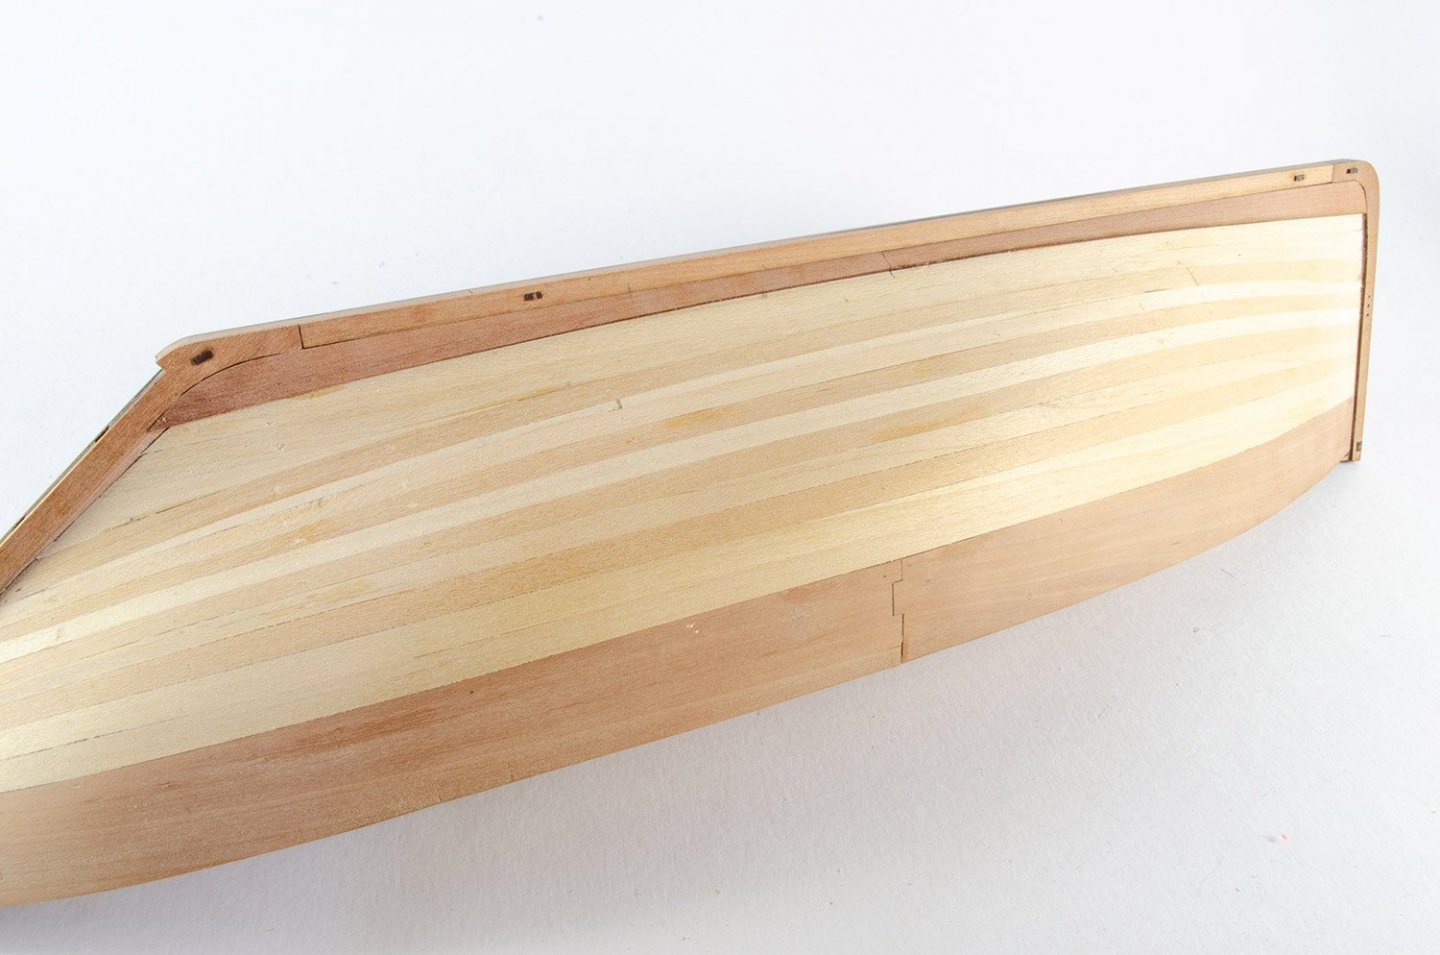
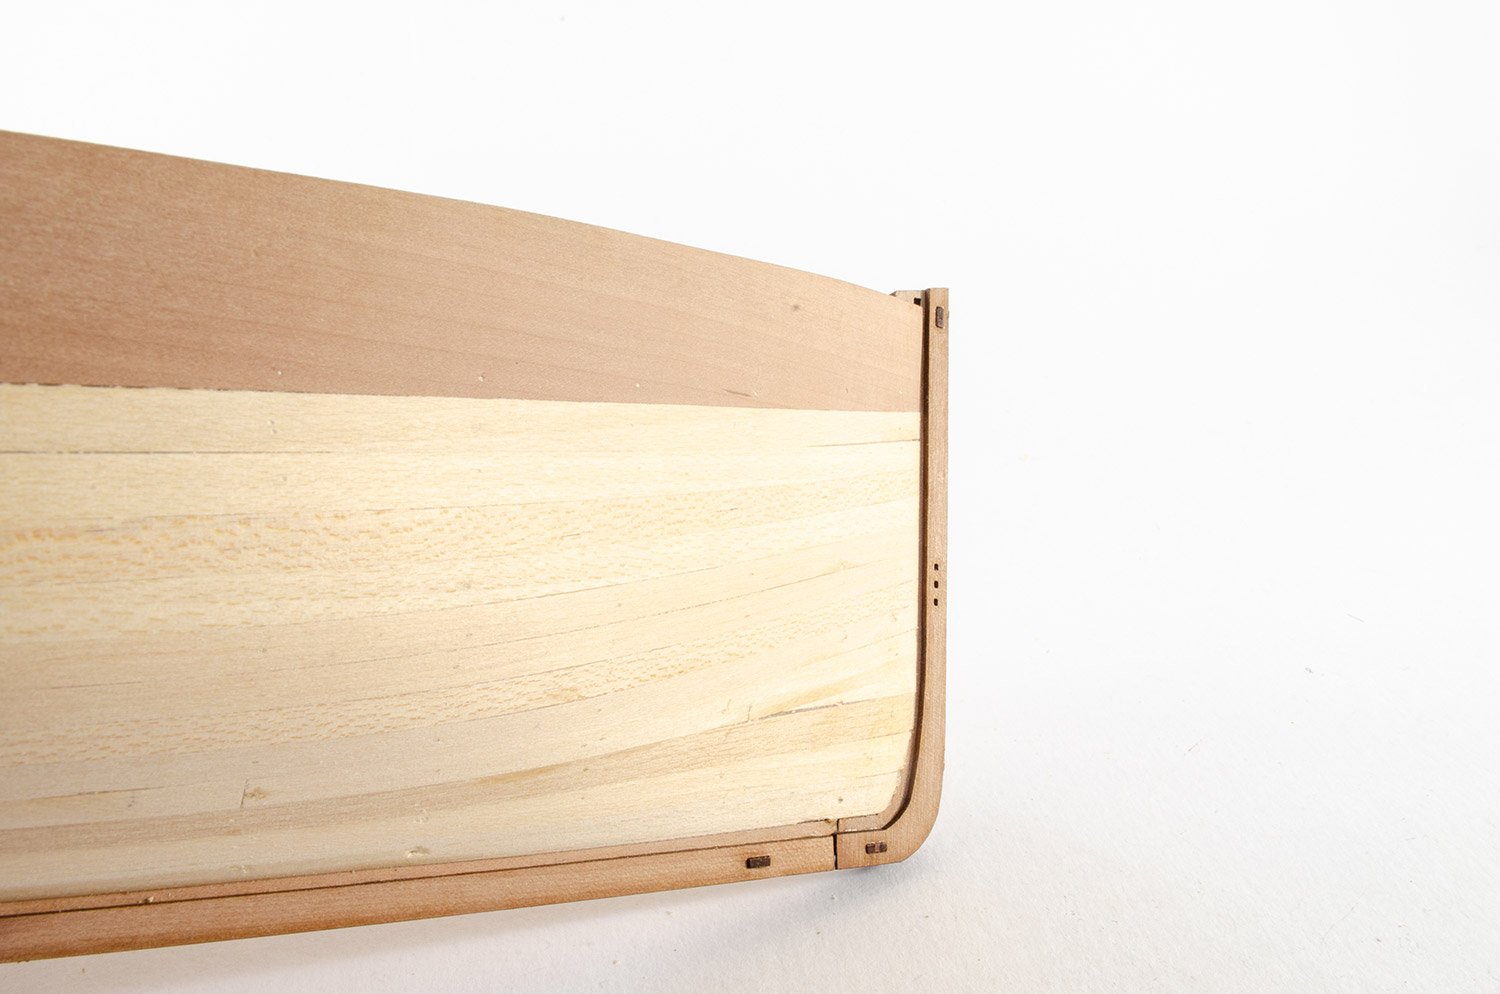
The pear wood keel is to be lined with an external layer, creating the rabbet that the second layer planks will fit into. Before this though, the key parts are fitted.

Those keel facing parts are now added...


Here you see how the rudder sockets are created with the keel face parts.

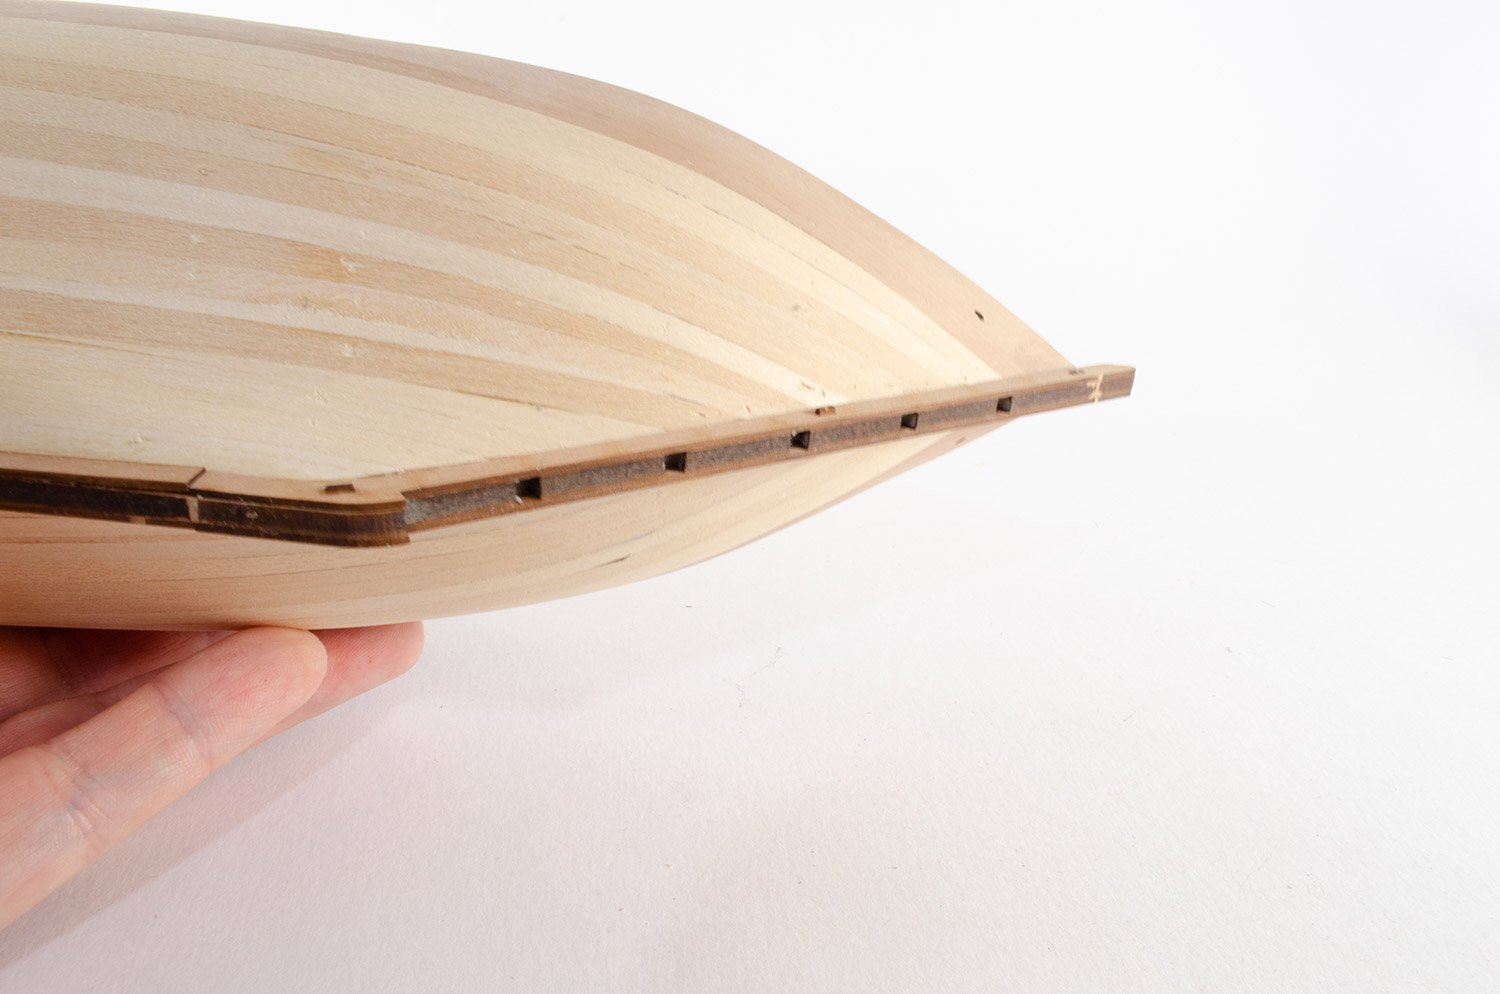
Now, the garboard planks are pre-cut. This is to help the modeller with the curvature at both bow and stern. These are an excellent fit. To start, I dry fit the stern side garboard plank. When I have achieved a good fit, I make a couple of pencil marks to absolutely determine its position. The plank is then removed and Gorilla Glue CA Gel is applied to it and the plank slipped into the keel rebate before being shaped into the stern curve.

There same now applies to the stem garboard plank. This is the result.
More soon!
-
6 minutes ago, ccoyle said:
Folks, as a reminder, please recall that we have two ways to quote text built into our software.
- If you want to quote a previous post in its entirety, then use the "quote" button at the lower left corner of that post. Only use this button to quote short posts -- DO NOT use it to quote long posts that have lots of photos in them! Those redundant posts unnecessarily hog bandwidth and are a pain to have to scroll past.
- If you wish to quote a shorter section of a long post, then click and highlight (left click-and-hold + drag) that portion of text; when you let off the mouse button, a small box will open that says "quote selection". When you click that box, a reply window will open with the quoted text in it. You can repeat this step to quote multiple portions in a single reply.
Thanks!
#1
3 minutes ago, ccoyle said:I created this post using the lower-left quote button.
#2
And if you want to quote multiple posts at the same time, click the little + symbol as shown
And then, click the button that appears in the bottom right side. This will say how many posts you are quoting:

- mtaylor, Ryland Craze, Obormotov and 2 others
-
5


MASTER-KORABEL NEWS
in Traders, Dealers, Buying or Selling anything? - Discuss New Products and Ship Model Goodies here as well!!
Posted
What a great looking vessel.
I like that system of deploying the gun.