-
Posts
5,613 -
Joined
-
Last visited
Content Type
Profiles
Forums
Gallery
Events
Posts posted by James H
-
-
8 minutes ago, Torrens said:
Do you know what the dimensions of the full size vessel was in feet and inches?
Is this a kit you plan on buying? I'd love to see a build here. I'm too busy to do it at the moment.
- VTHokiEE, BobG, chris watton and 1 other
-
 4
4
-
-
This is coming along nicely (and quickly too).
What is your development time on this, so far?
-
-
Hi all,
Whilst in the last stages of building my Zulu from Vanguard Models, I took the opportunity to start the Fifie and get this finishing in good time so Chris can use my photos and text for the instruction book. I took a look at this kit last week, here. This will be another abridged build as I need to get the model done as quickly as I can, but you'll certainly get the gist from my photos. Whilst the Zulu was a nice simple model, this one is actually slightly simply, with a more regular hull with no sheer at the stern. The stern rake is quite shallow.
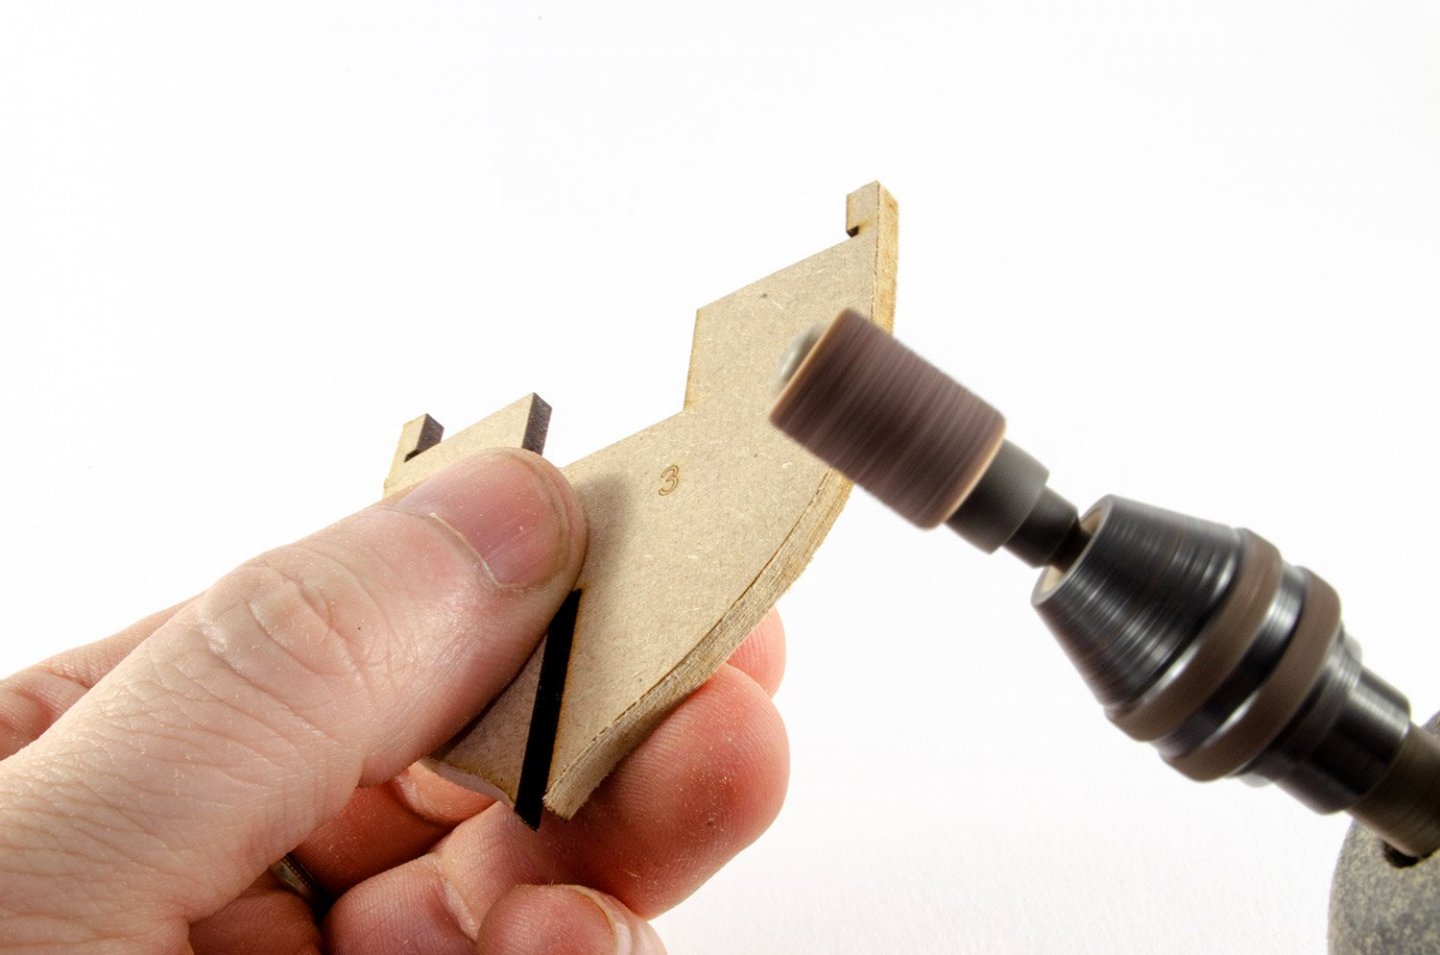
Like Zulu, the Fifie comes with engraved bevel lines. These are only a rough guide, but definitely saves time later by getting rid of some waste material now. I used my Dremel on 9000rpm for this.
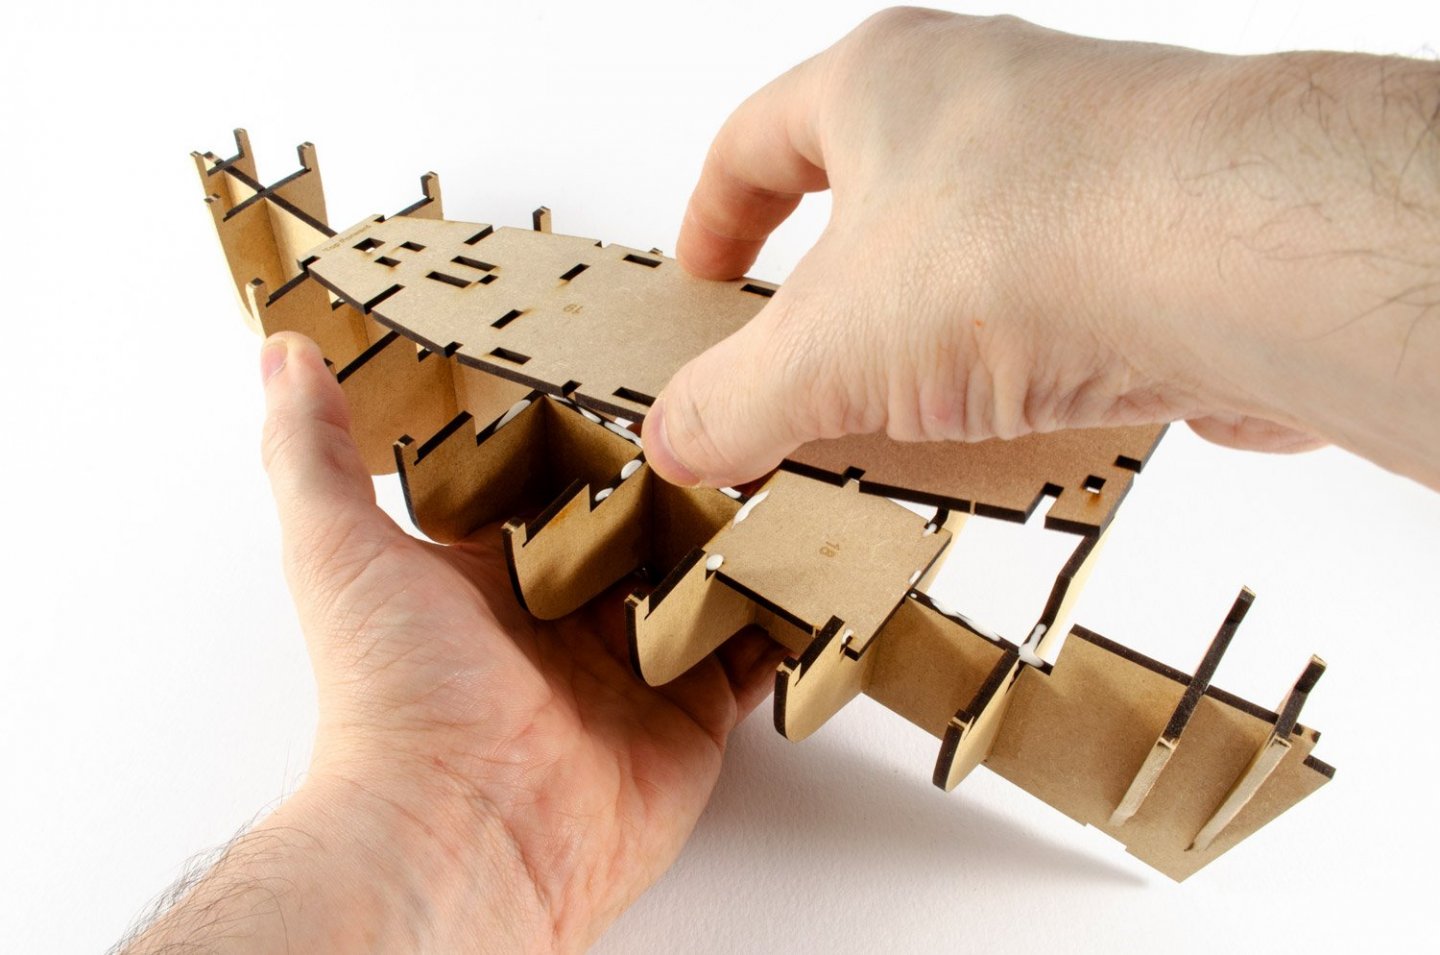
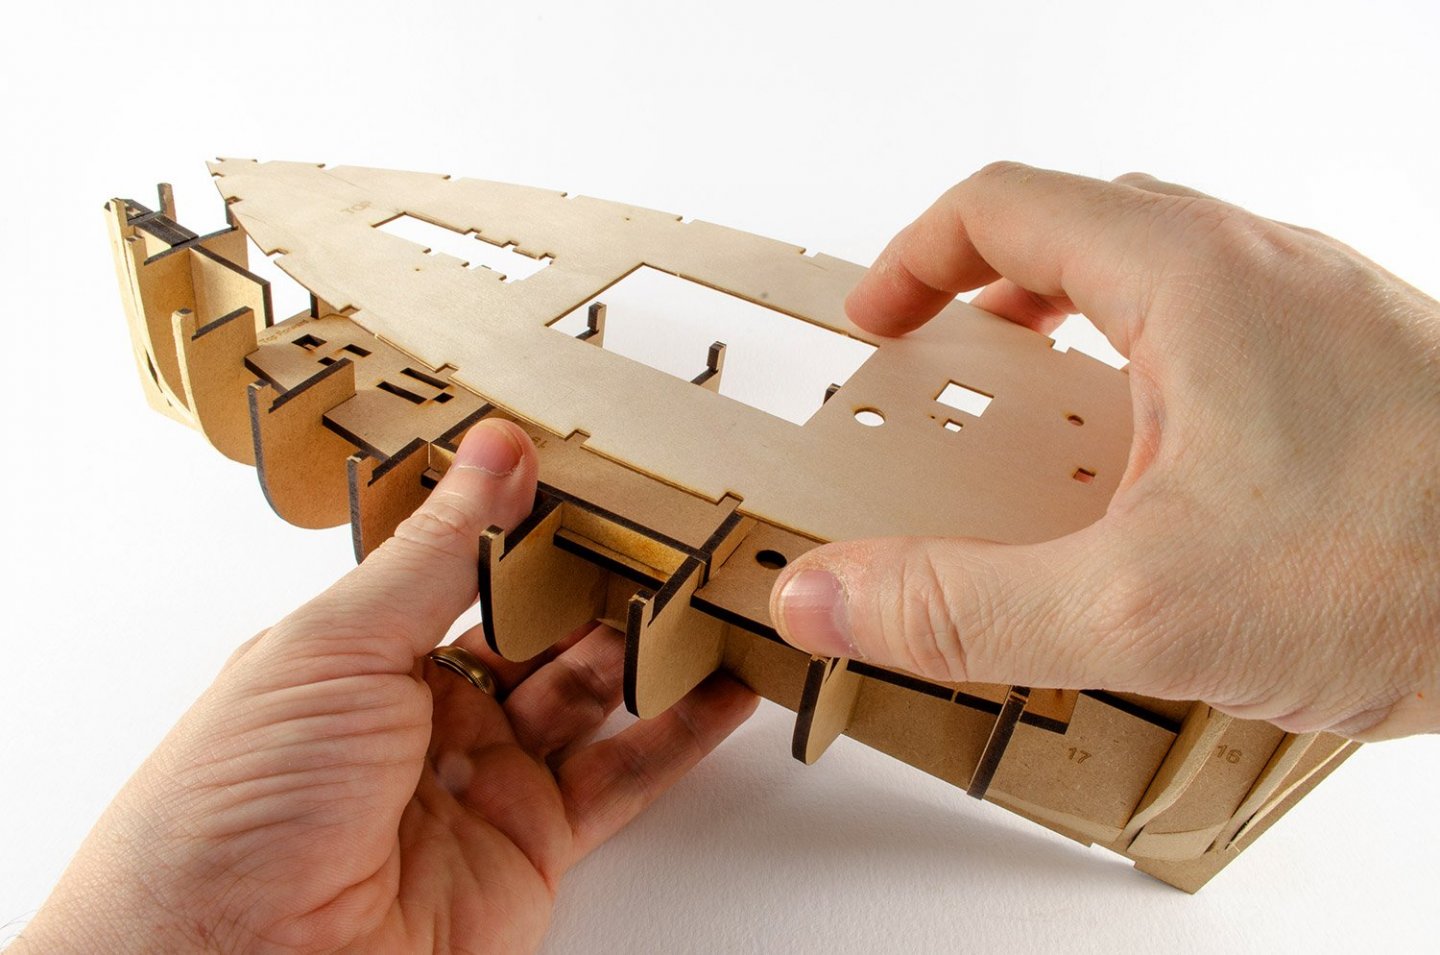
The bulkheads are now slotted to the false keel and once the glue is set, the square insert that supports the end of the aft mast, is fitted, followed by the inner frame platform. The platform must be fitted with the 'TOP FORWARD' engraving at the top....and you guessed it, forward also!
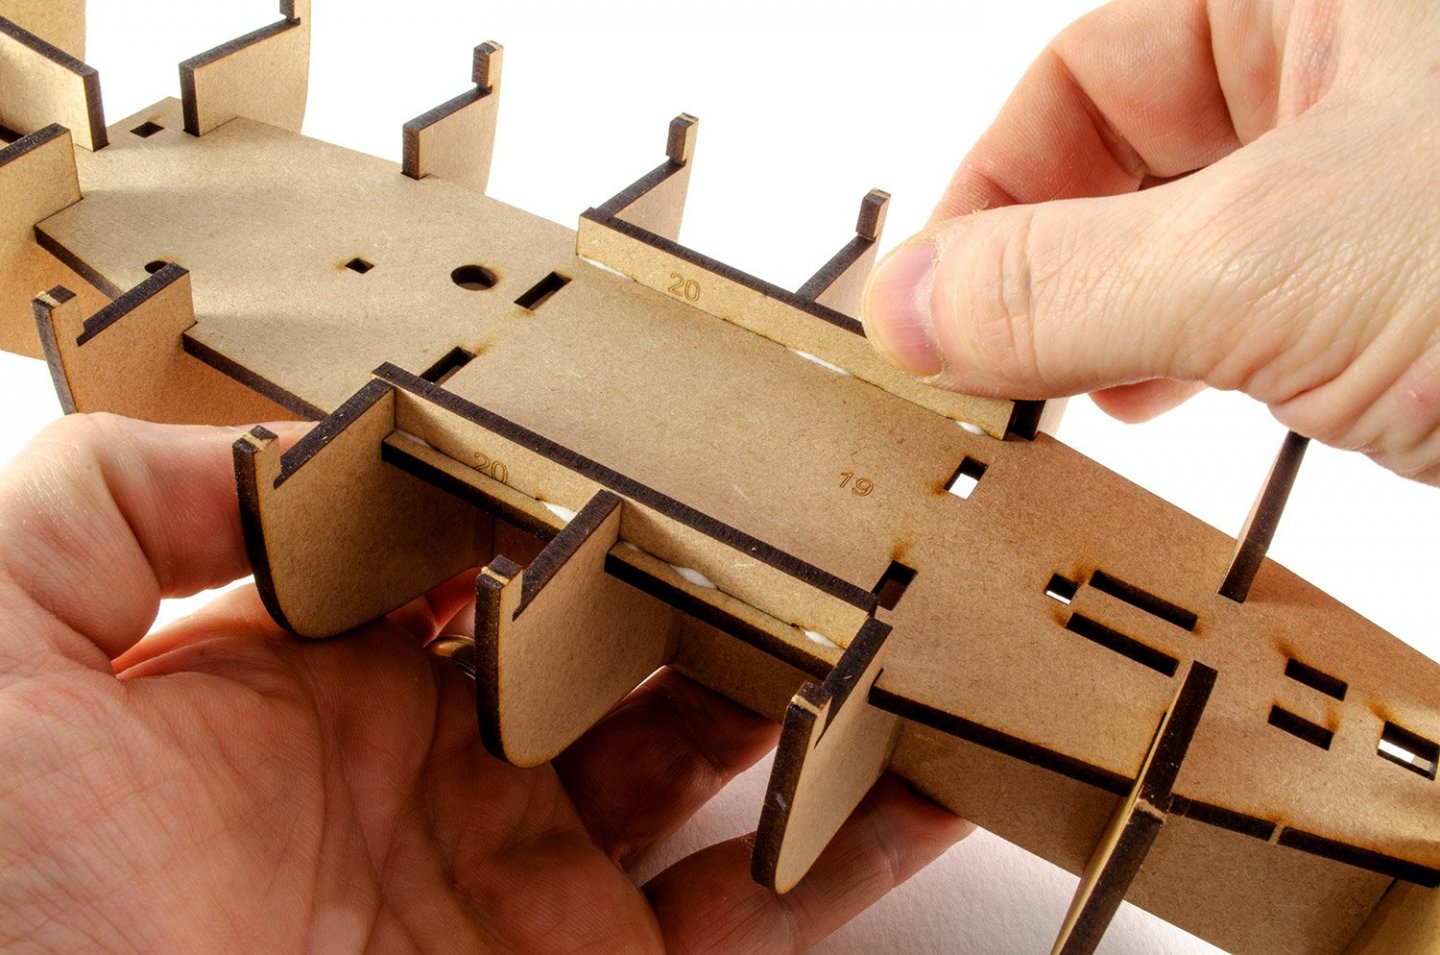
The fish hatch side walls are now installed. These have different length tabs and can only fit one way. Zero way to get this wrong!
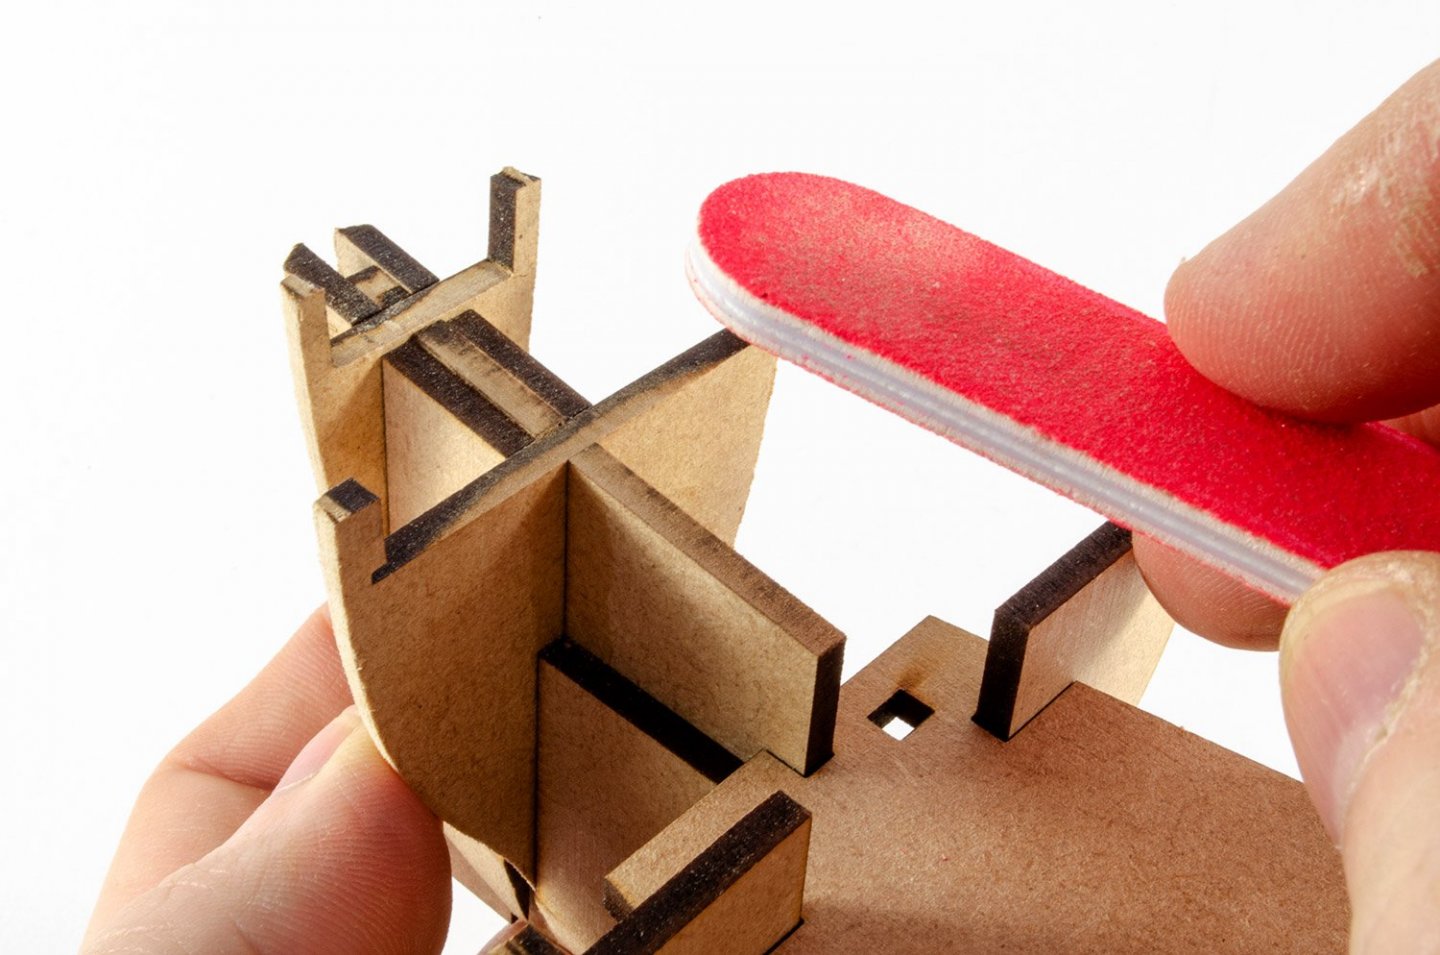
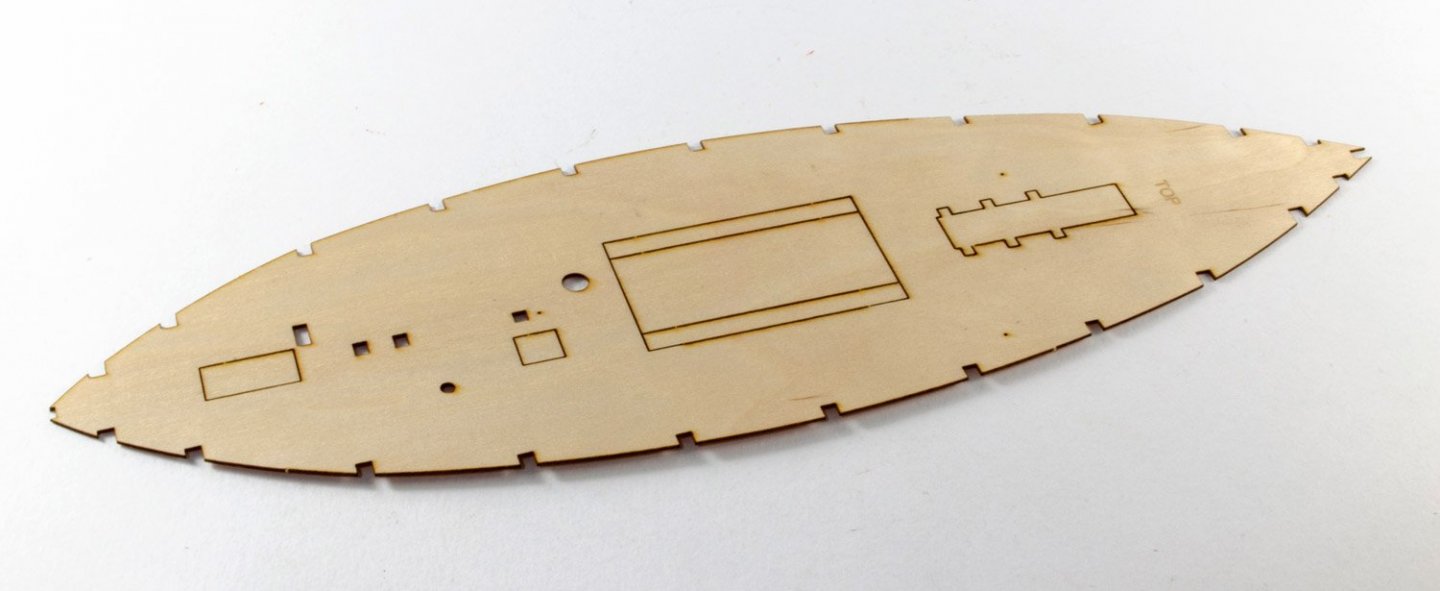
Before fitting the deck, I use a sanding stick to level the top of the bulkheads at bow and stern, so they are in line with the sheer. The deck is now popped into place without glue. The outer edges lock underneath the upper bulkhead tabs. I now use glue to brush into the joints from underneath.
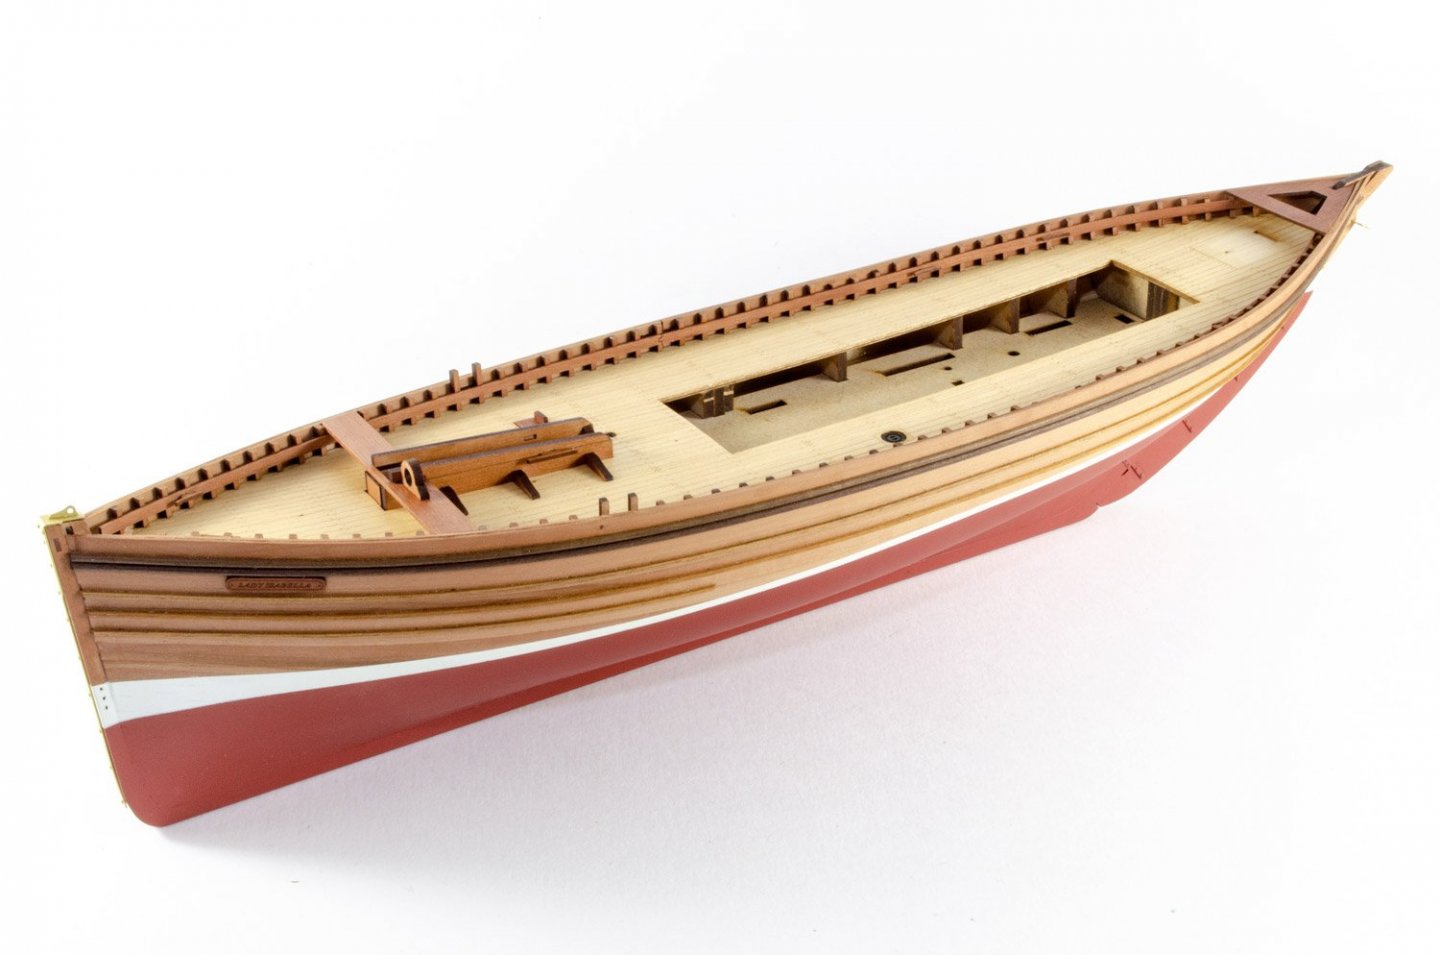
The hull on this is very easy and quick to fair, with the infilled blocks taking the brunt of the sanding rework.
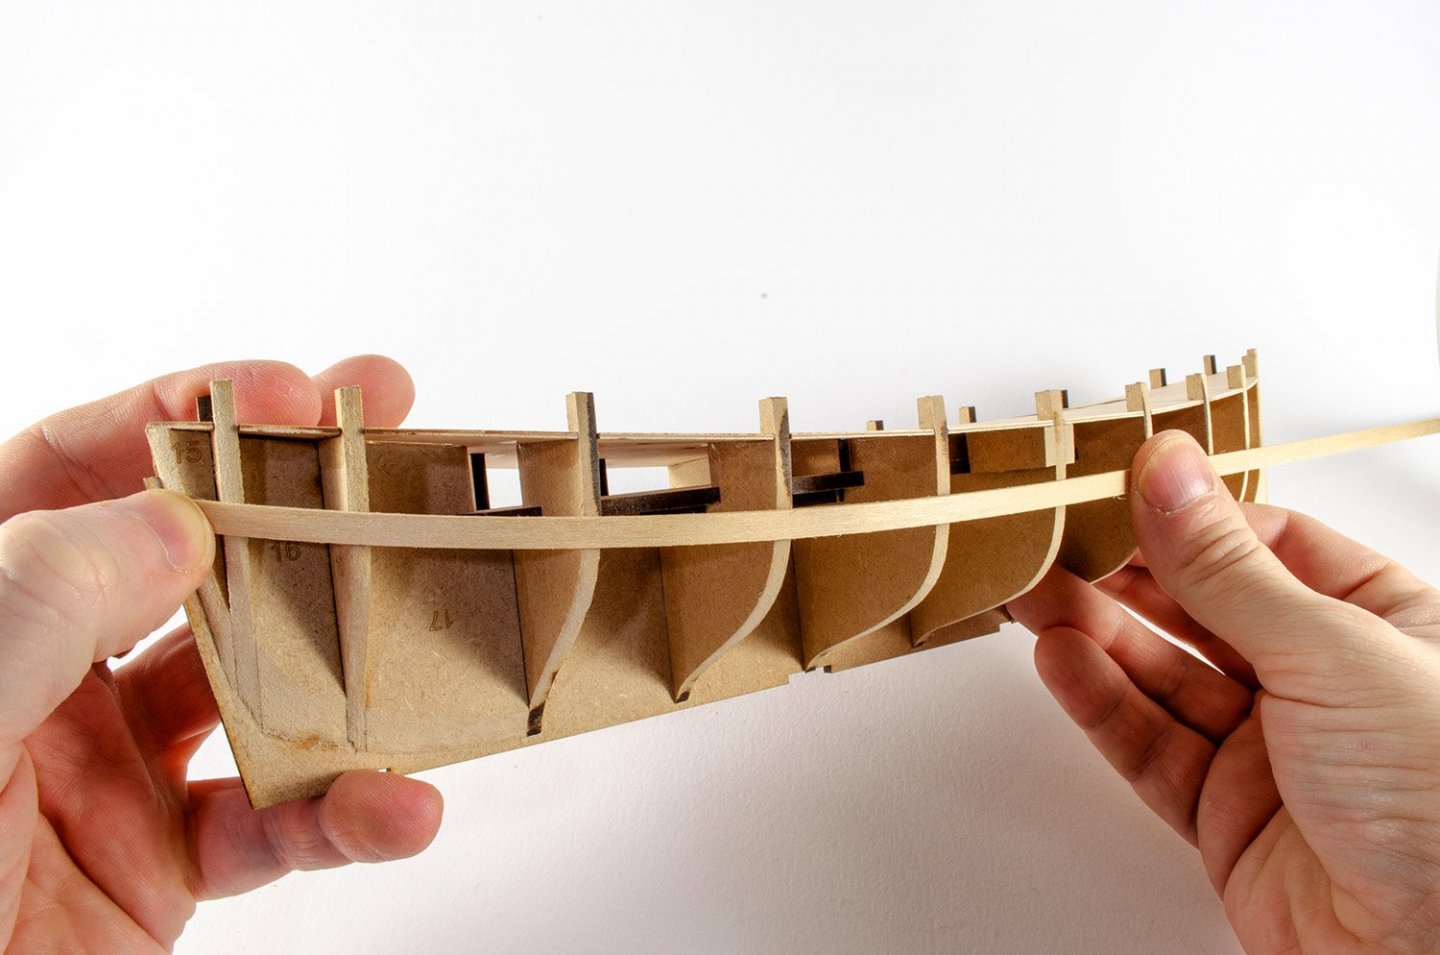
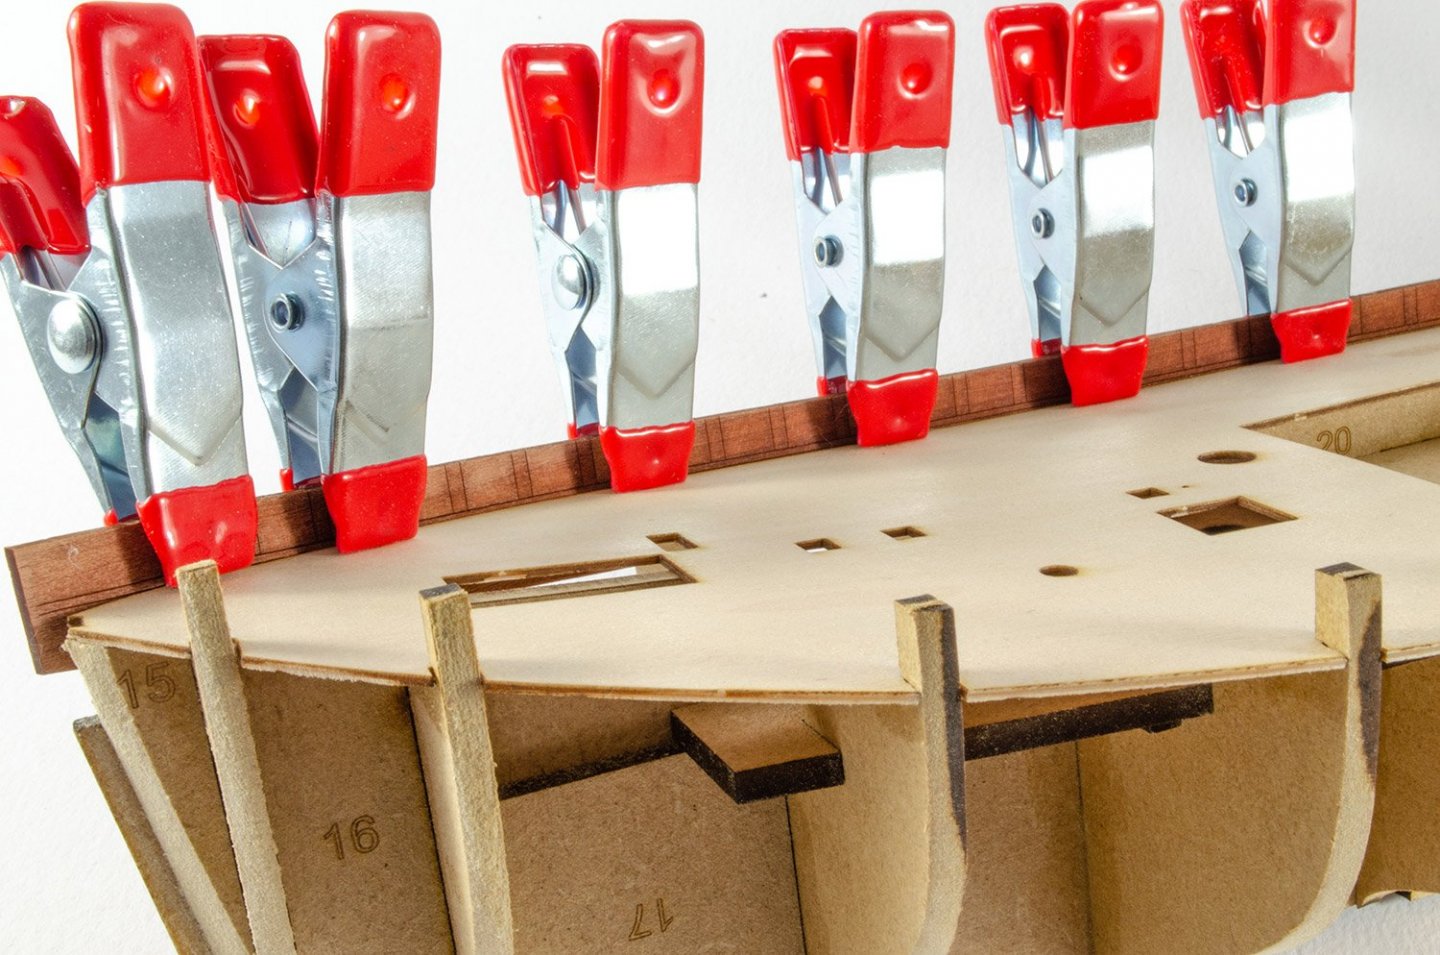
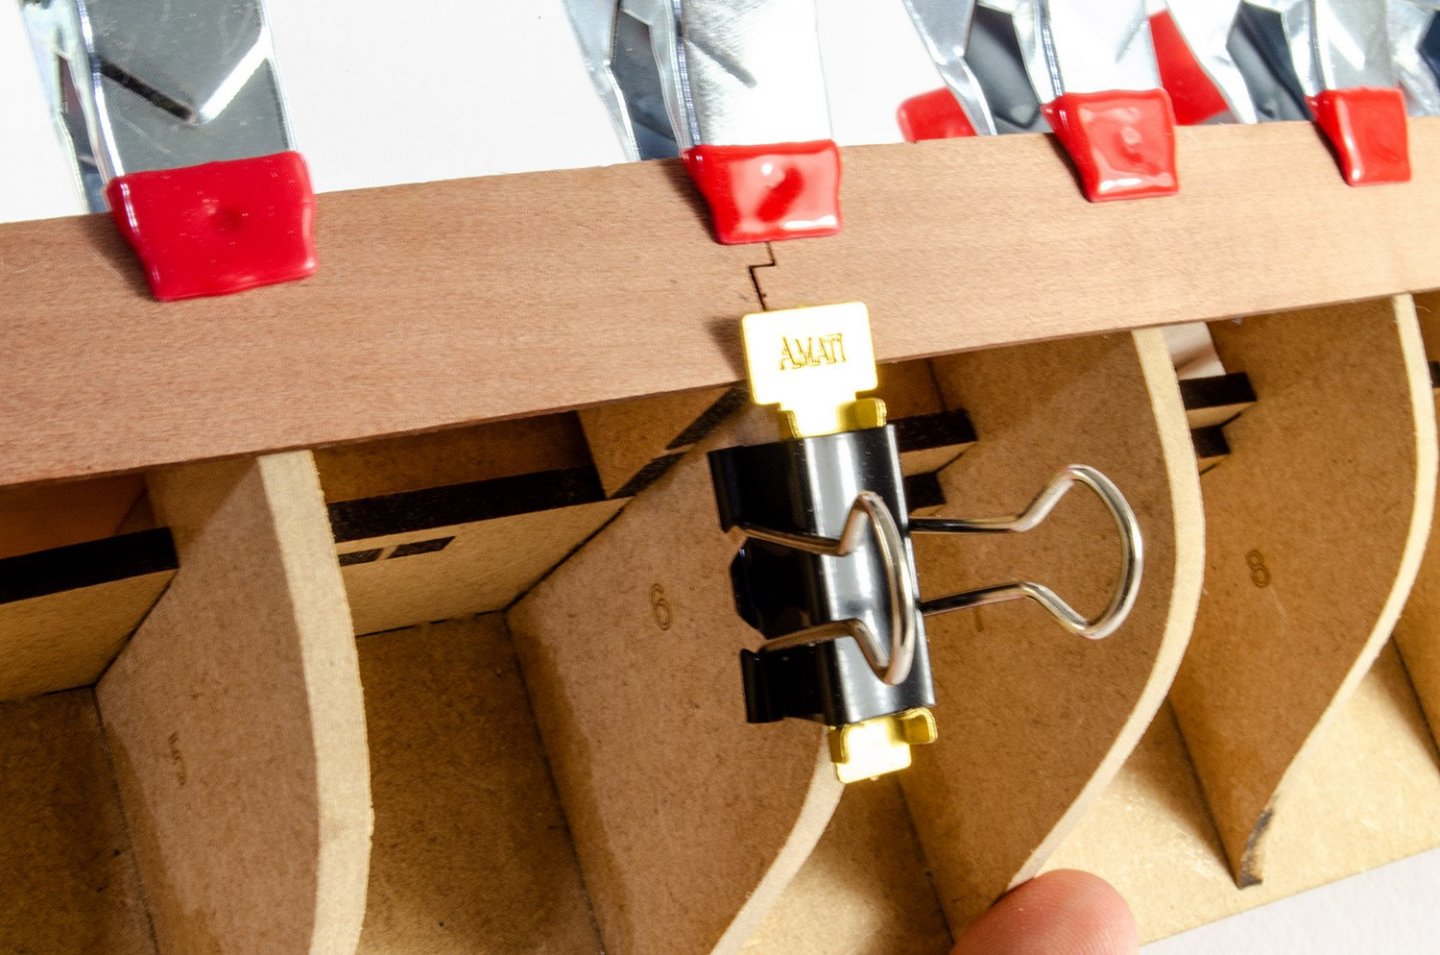
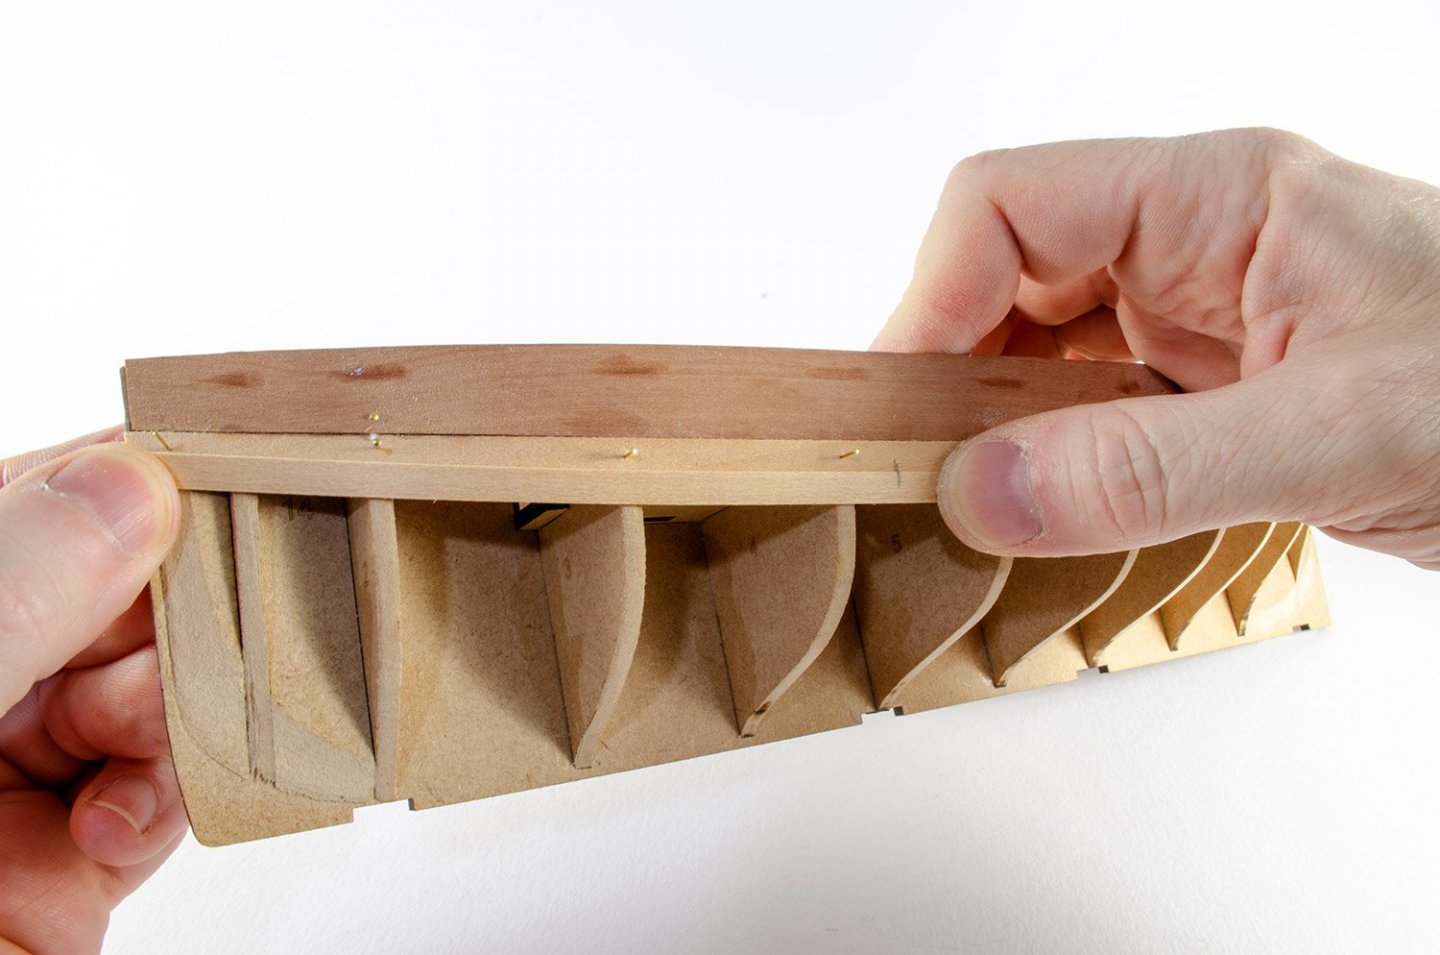
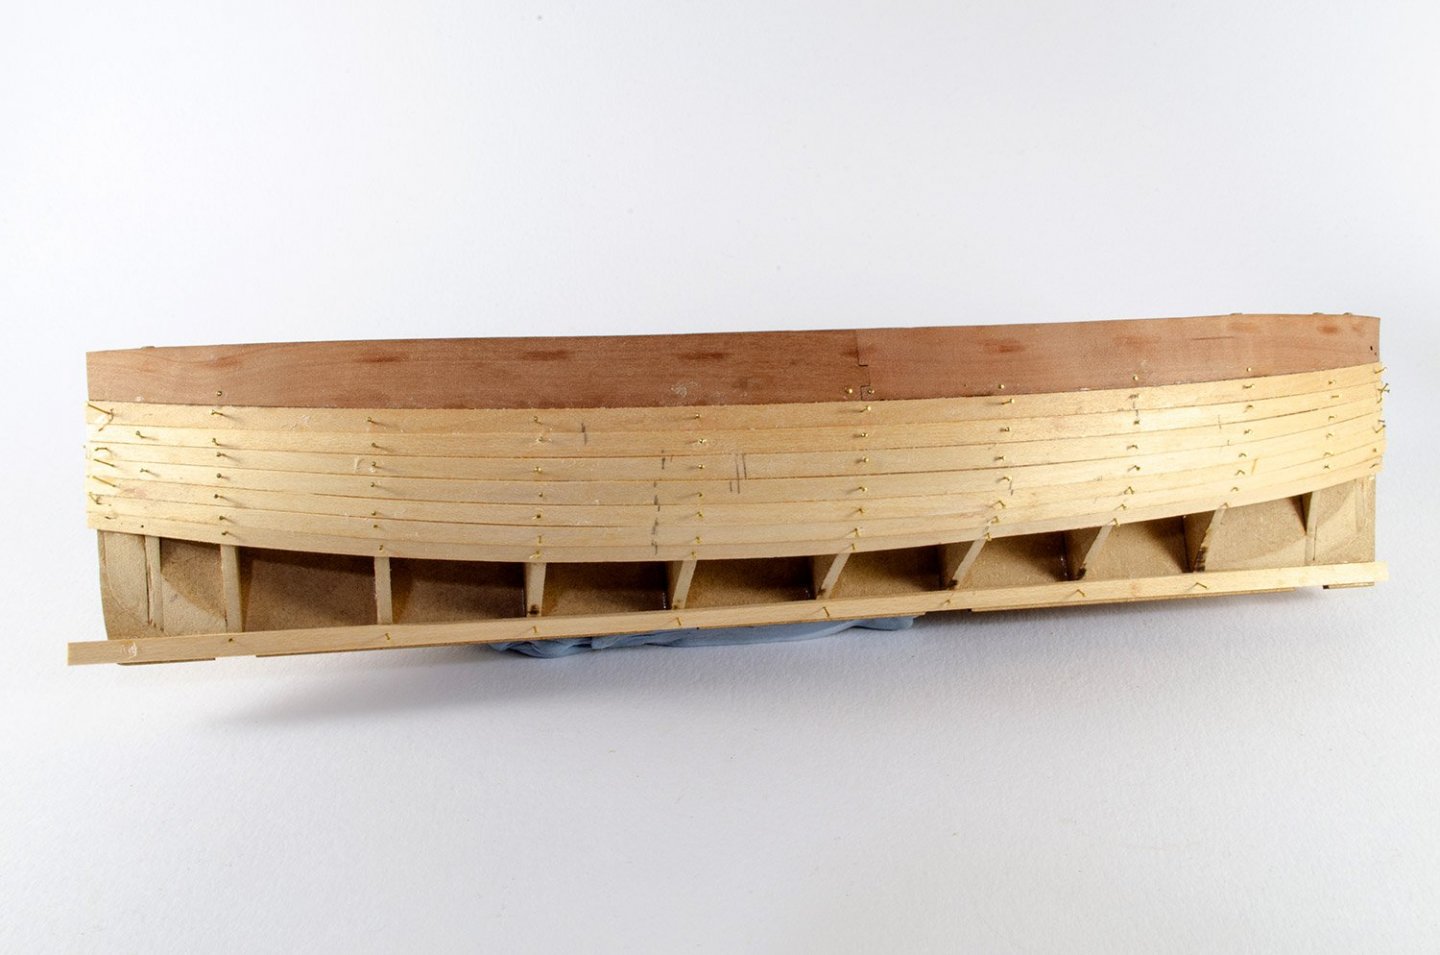
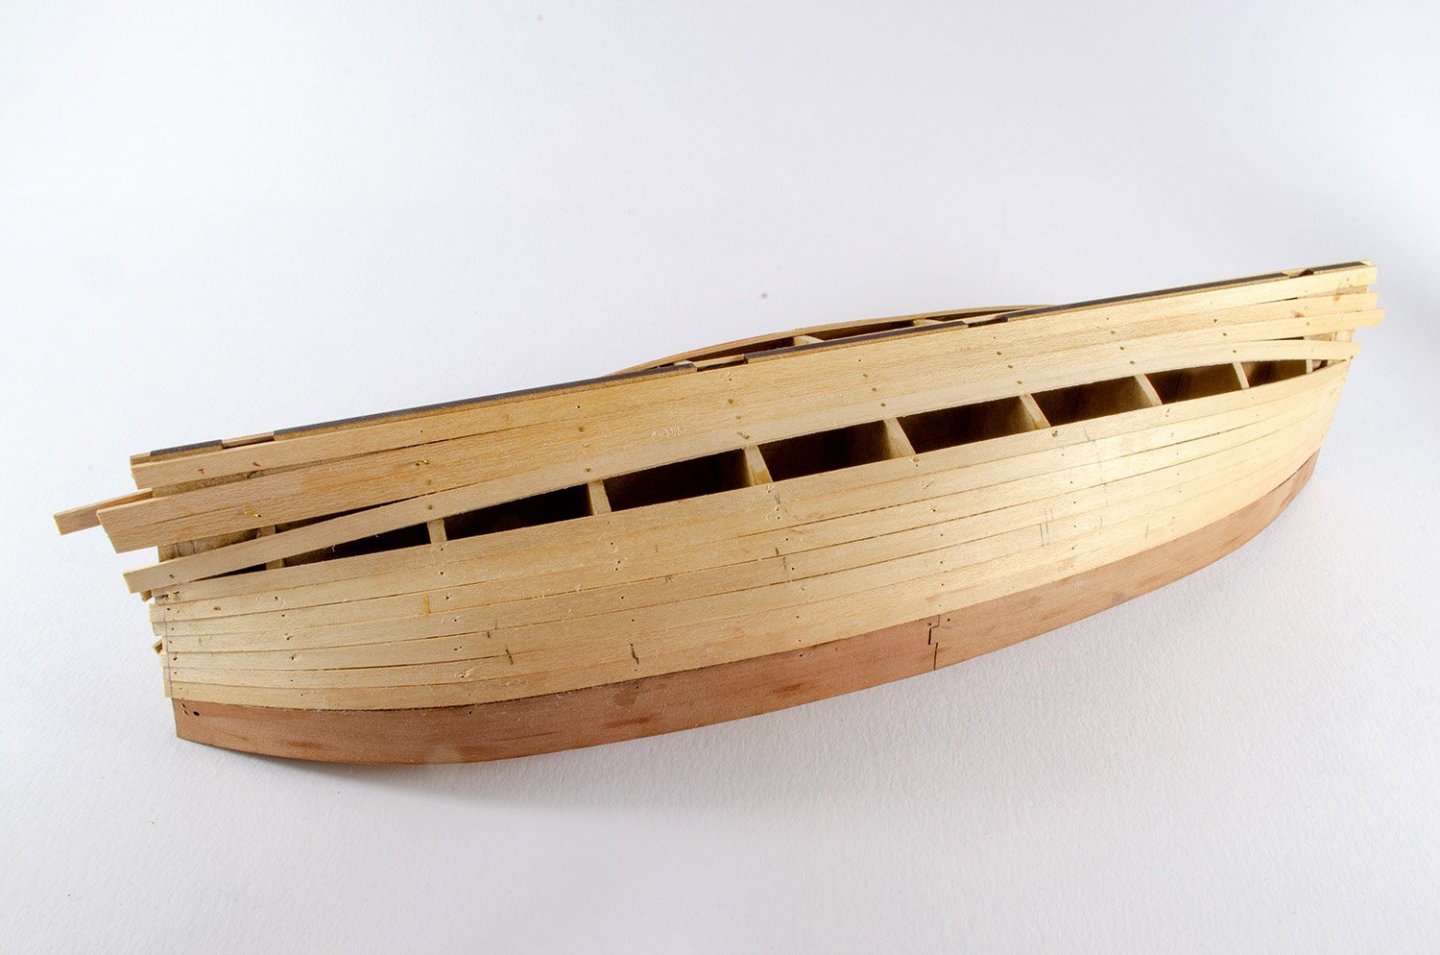
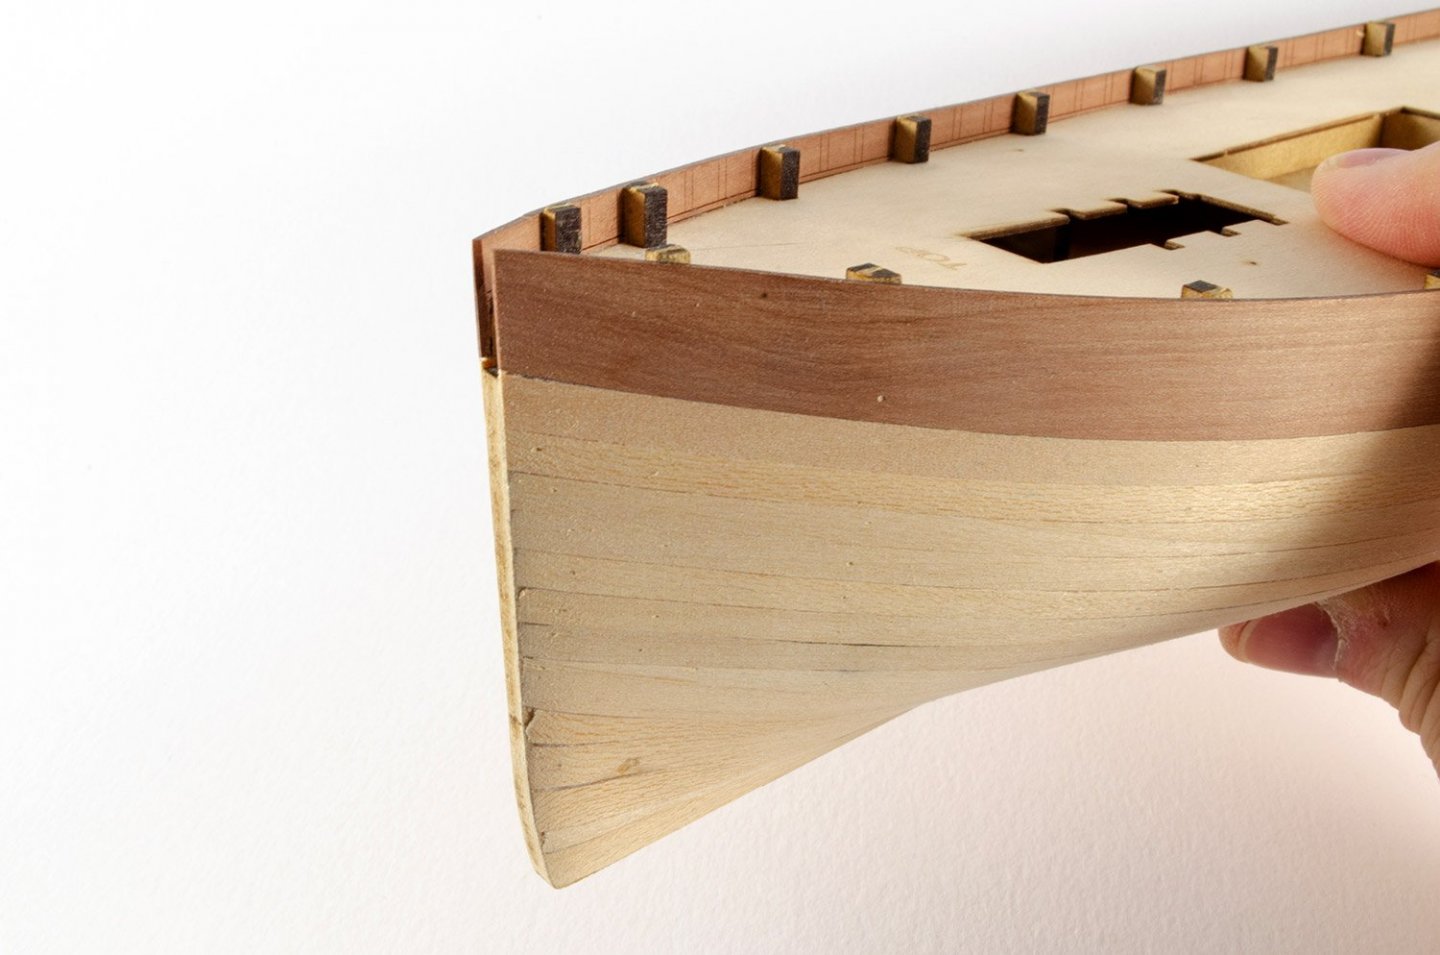
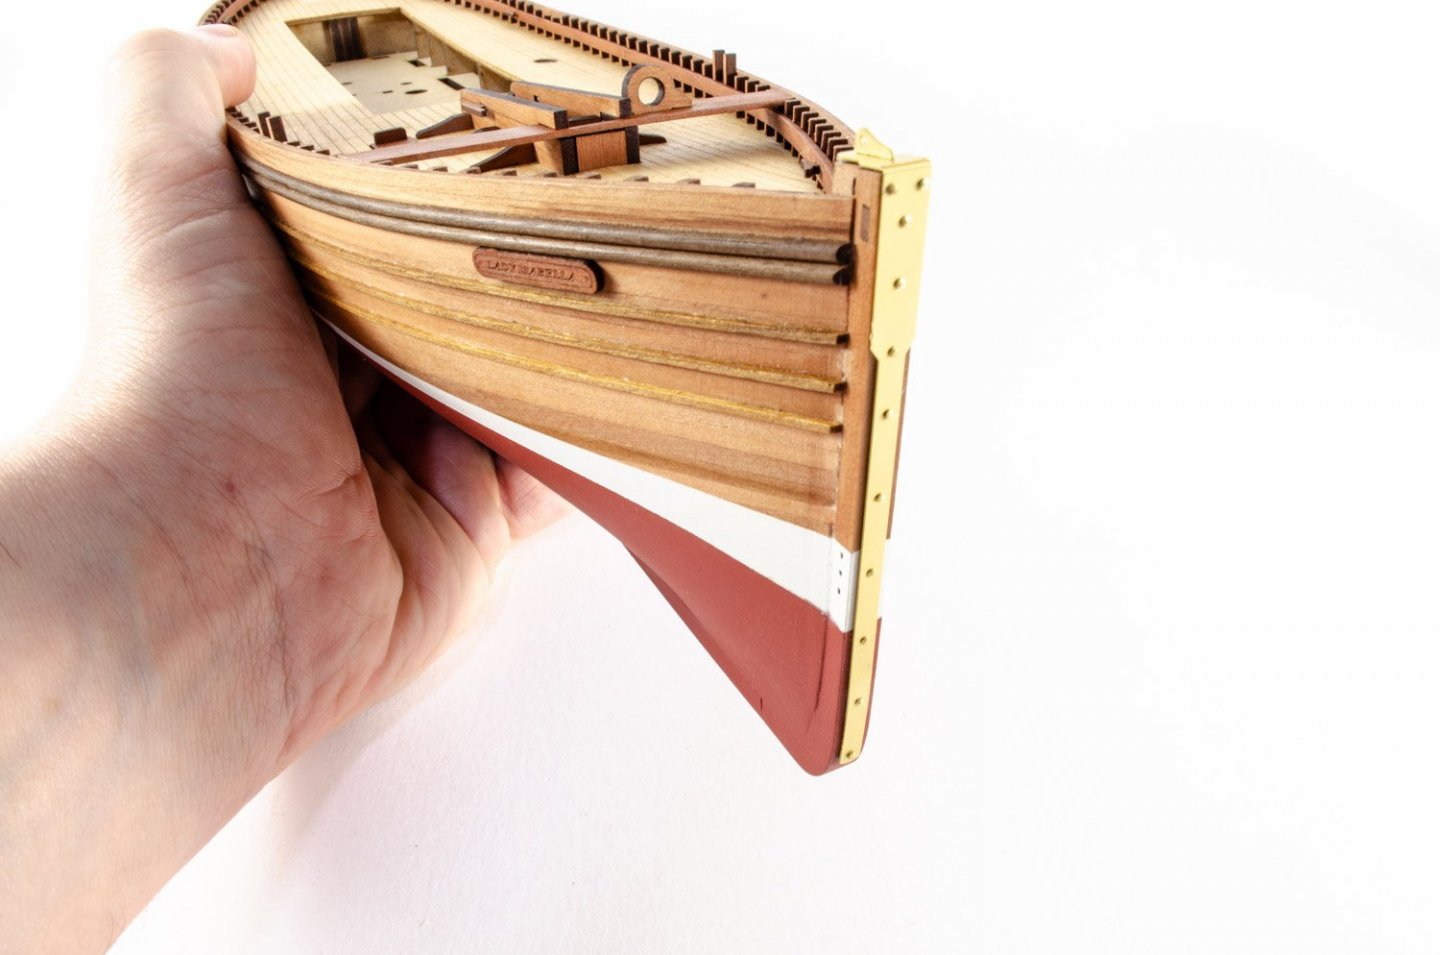
The pear bulwarks are 1mm thick with engravings to identify where they belong. No way you'll easily bend these around the bow without some assistance. Both front and rear of the bulwarks are soaked in hot water for about 15 to 20 mins and the excess moisture towelled off. These are then fitted to the hull with no glue, and clamps to secure them until they are completely dry.
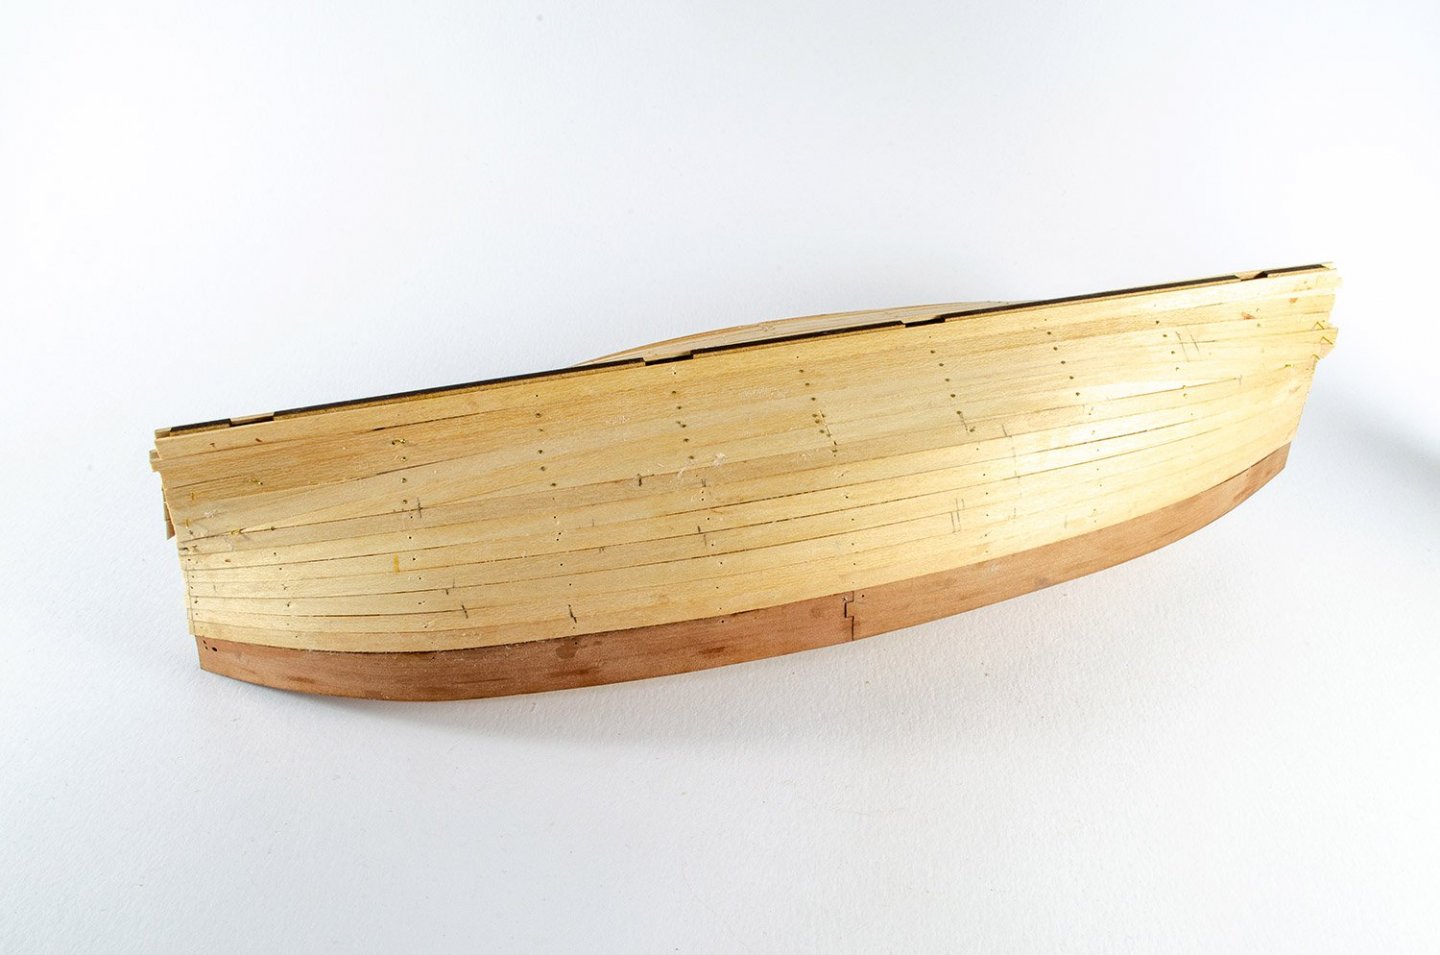
I could get away with a couple of lime planks that didn't need tapering, but after that, all planks working down from the bulwarks, were tapered.
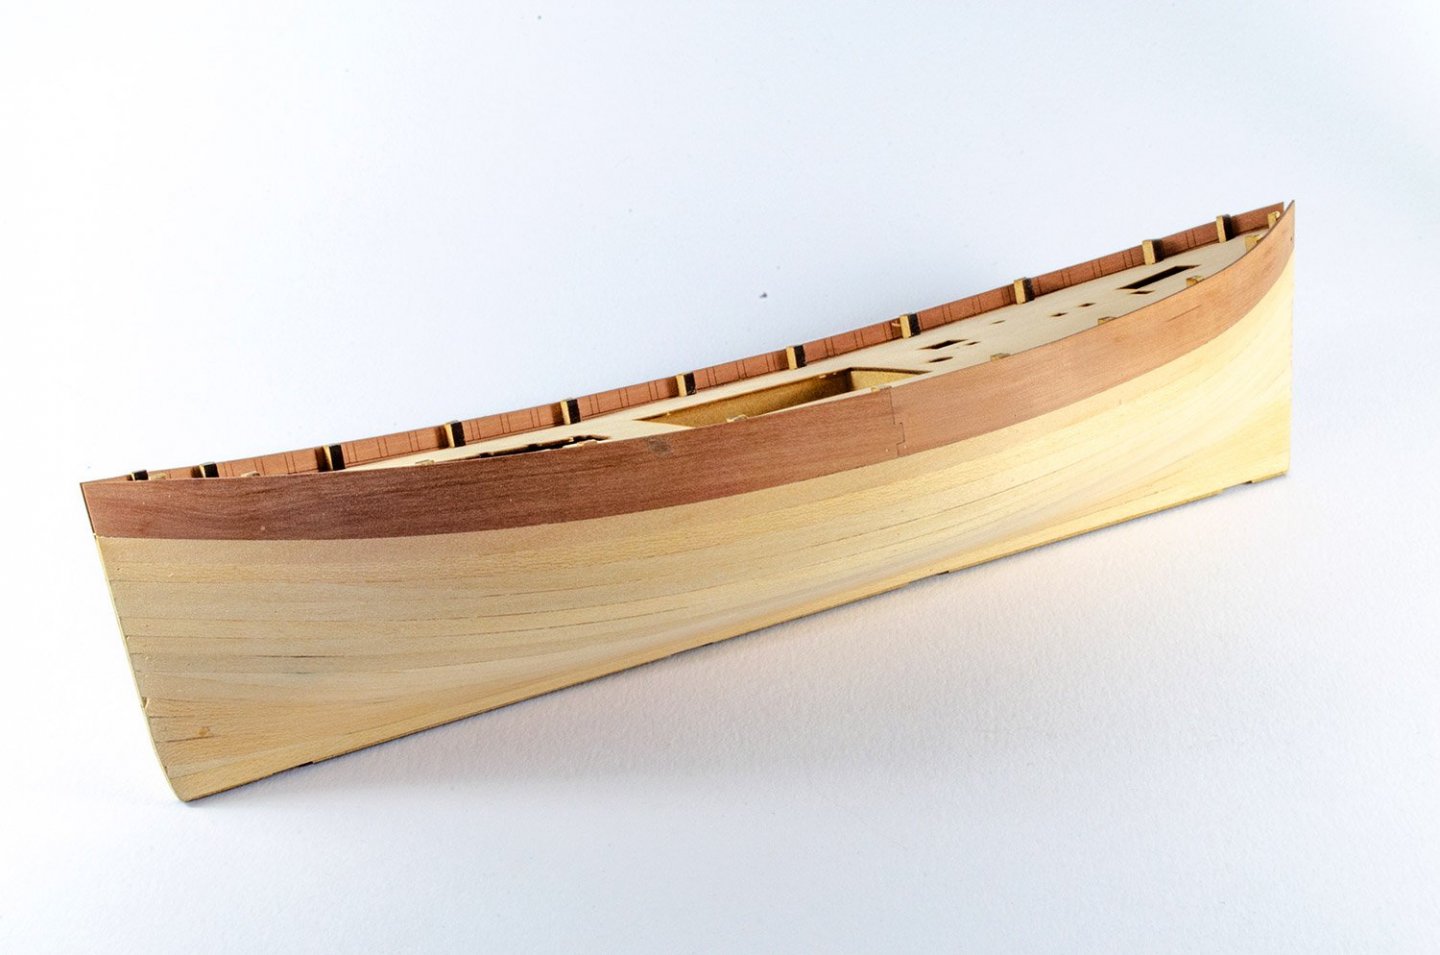
Working up from the garboard plank, I allowed the planks to more or less follow their natural flow, and then infilled with stealers.
I always take my time with first sanding so I know the second layer will flow nicely.
Back to the cave for more work!
- realworkingsailor, Papa, MEDDO and 14 others
-
 17
17
-
That's coming along nicely.
Remember that this kit has very tight tolerances when it comes to closing up those frames in the wing and also the fuselage shell sections. Triple check that underside of the fuselage so that it cleanly closes up along the panel line. I checked the various subassemblies inside the fuse/wing, as often as I could.
- Canute, Edwardkenway, mtaylor and 4 others
-
 7
7
-
29 minutes ago, mugje said:
Lovely boat, and great build log! The thread looks a bit furry tho...maybe something to replace in the kit to further enhance it

Bit of watered PVA should sort that.
- BobG, mtaylor, popeye the sailor and 3 others
-
 6
6
-
-
Hi Romique,
I would've perhaps faired that bulked from below providing the rest of the bulkhead was in alignment with rest of hull.
Looking real nice so far. Beautiful, clean work.
- chris watton and Romique
-
 2
2
-
2 minutes ago, VTHokiEE said:
She sure is a beauty! I really like what you did with the dyed sails.
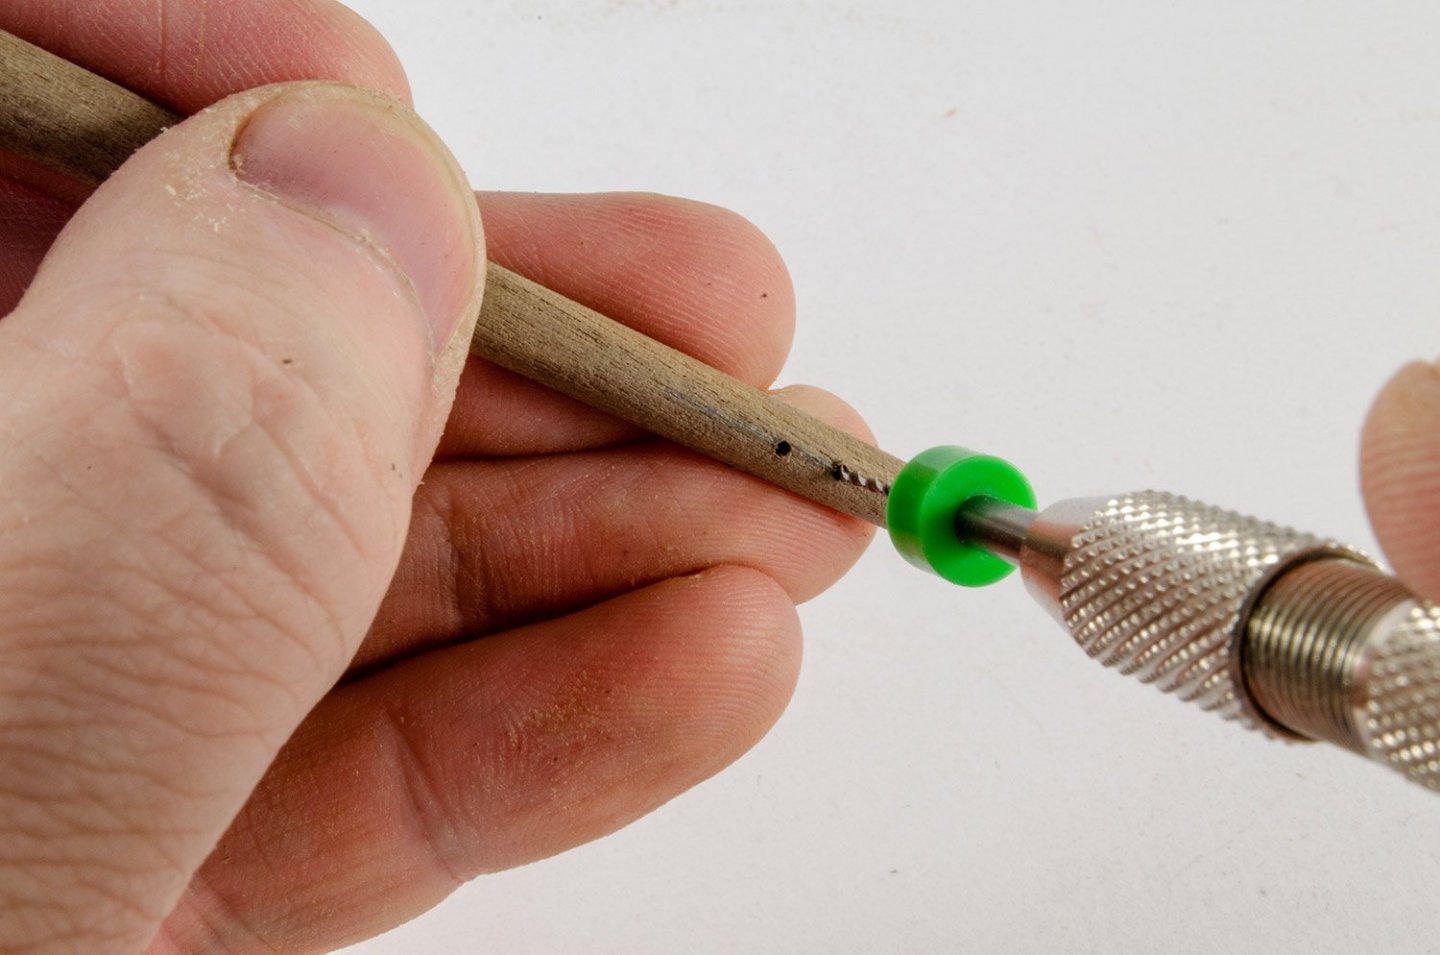
Do I spy (sorry for American dimensions) a 1/8” (or maybe 3.175mm) hand drill here?
I have been on the lookout for one to fit some bits I have with those colored rings so I’m hoping it’s the same size collet. If so where did you find it?
Thanks!
That's just a regular pin-vice/vise. I have a couple from different manufacturers and they have interchangeable collet sizes. I've had them years so I can't remember where I got them 🤔
-
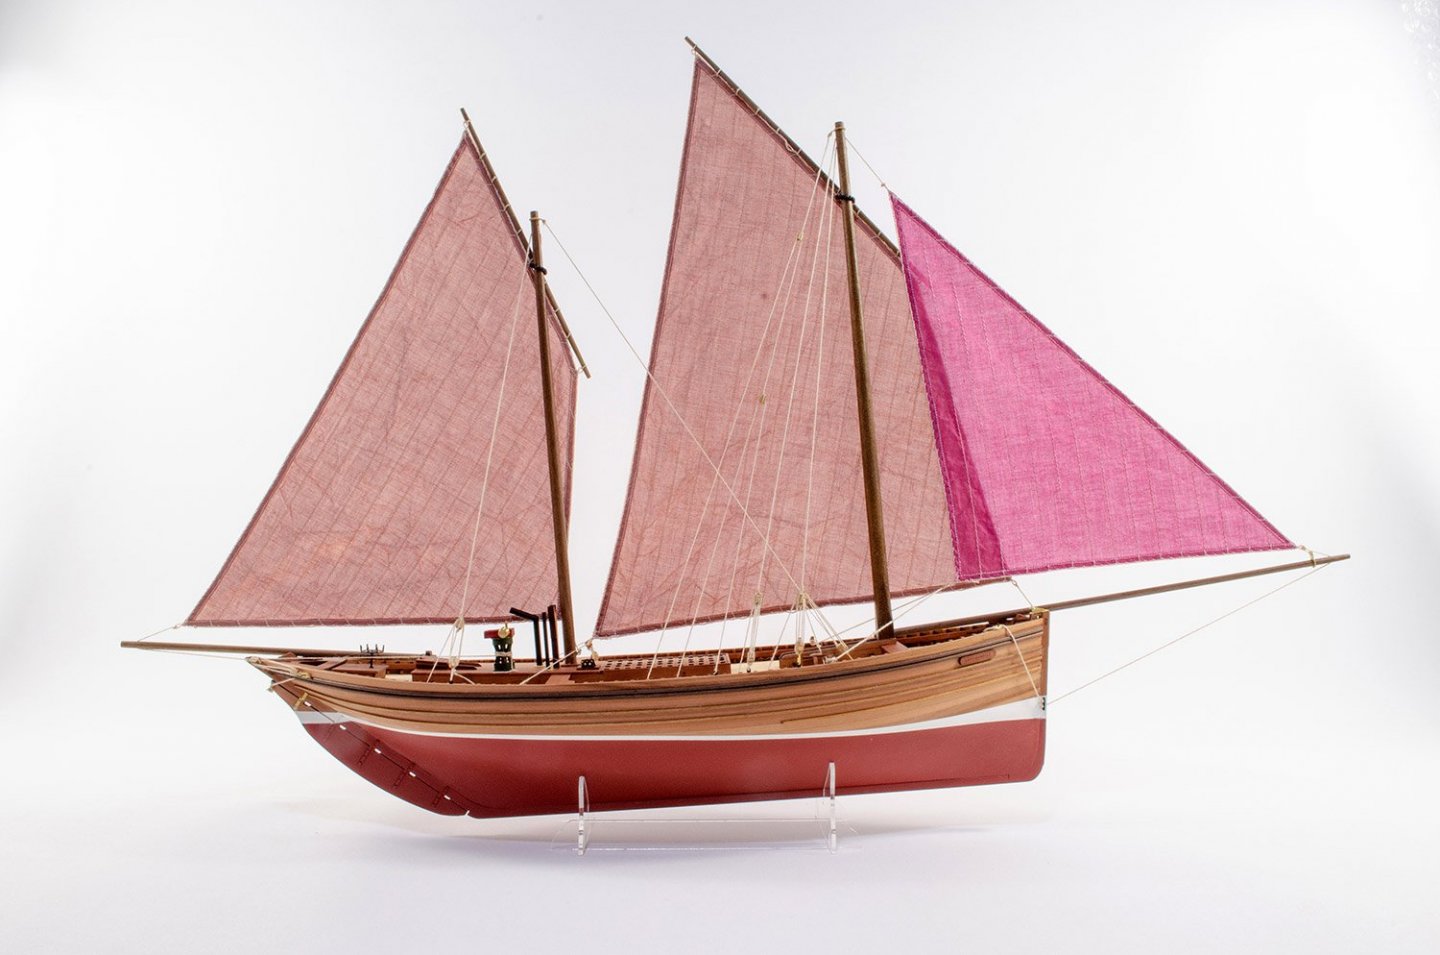
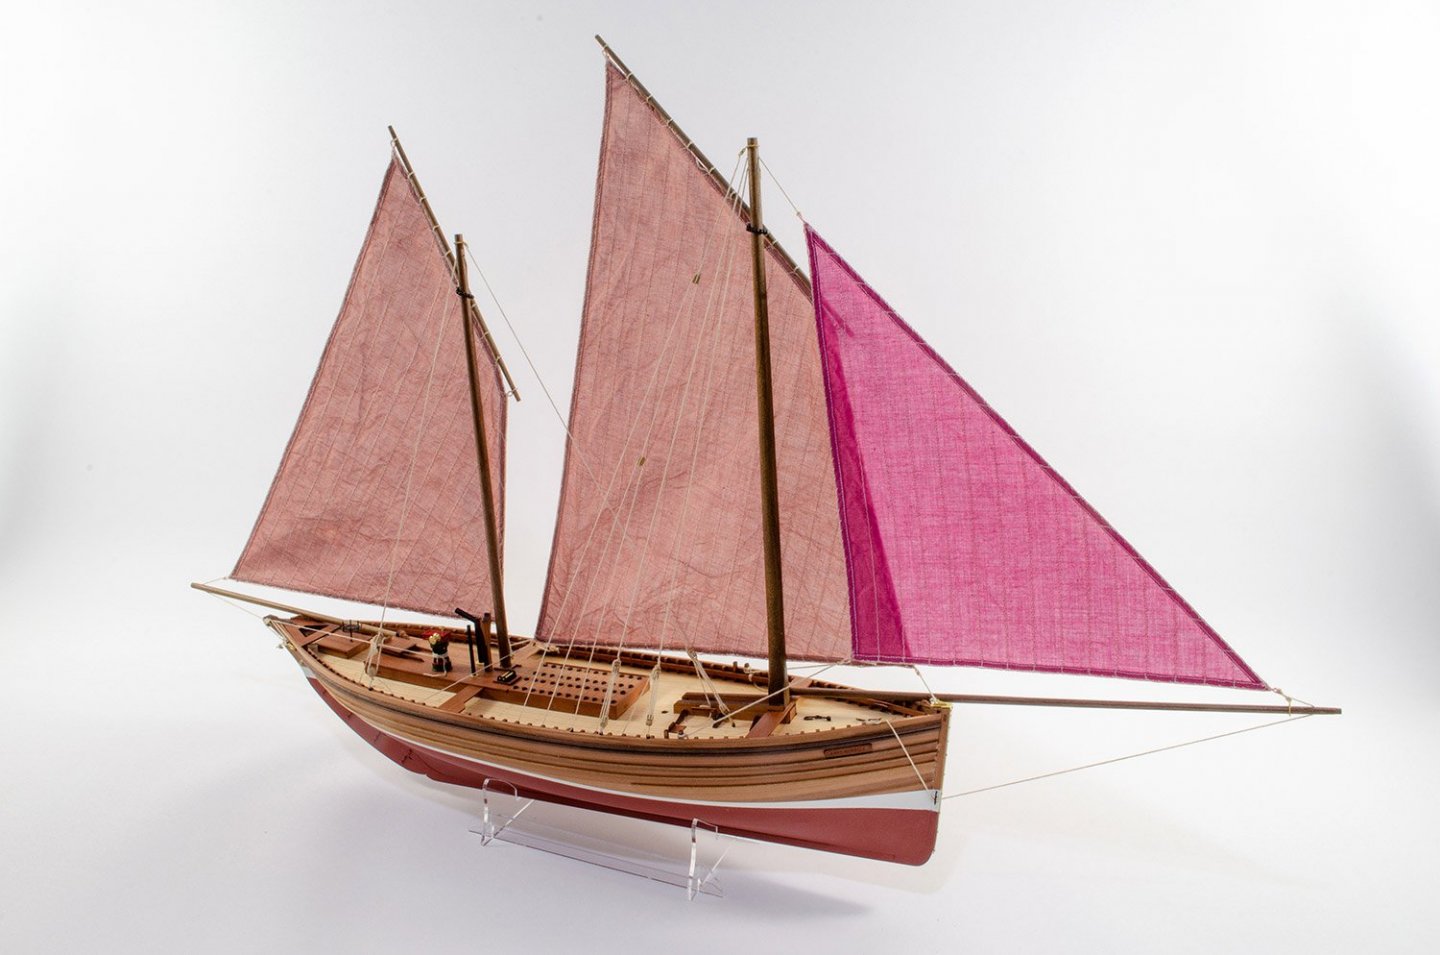
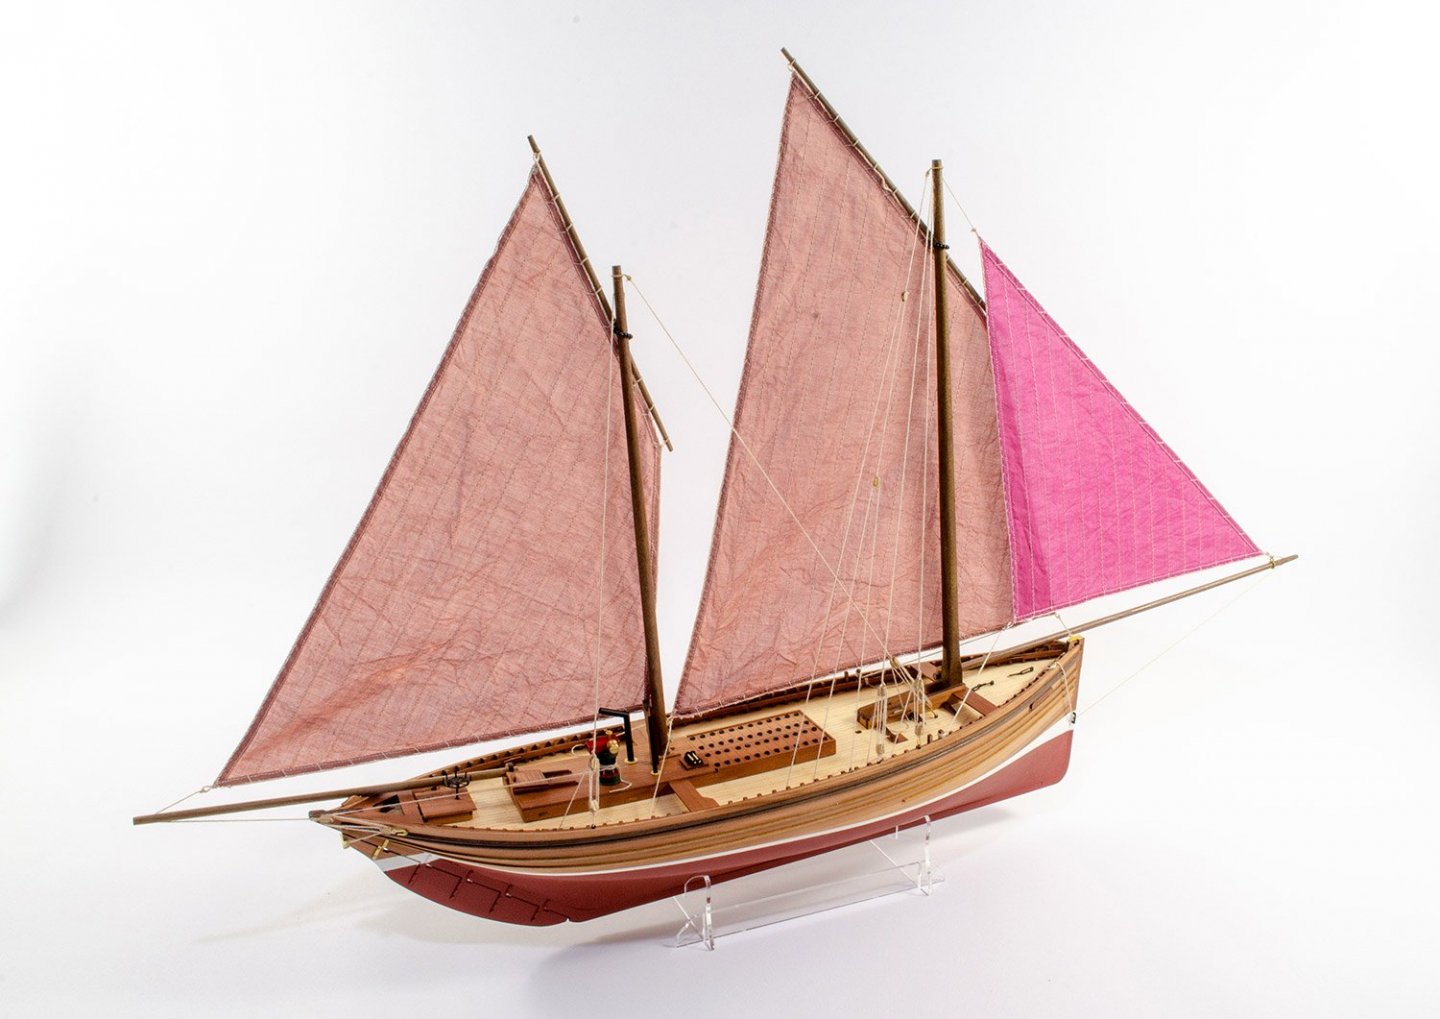
Please forgive me for how I jumped through the rig on this, but I needed to complete quickly, and finished she is!
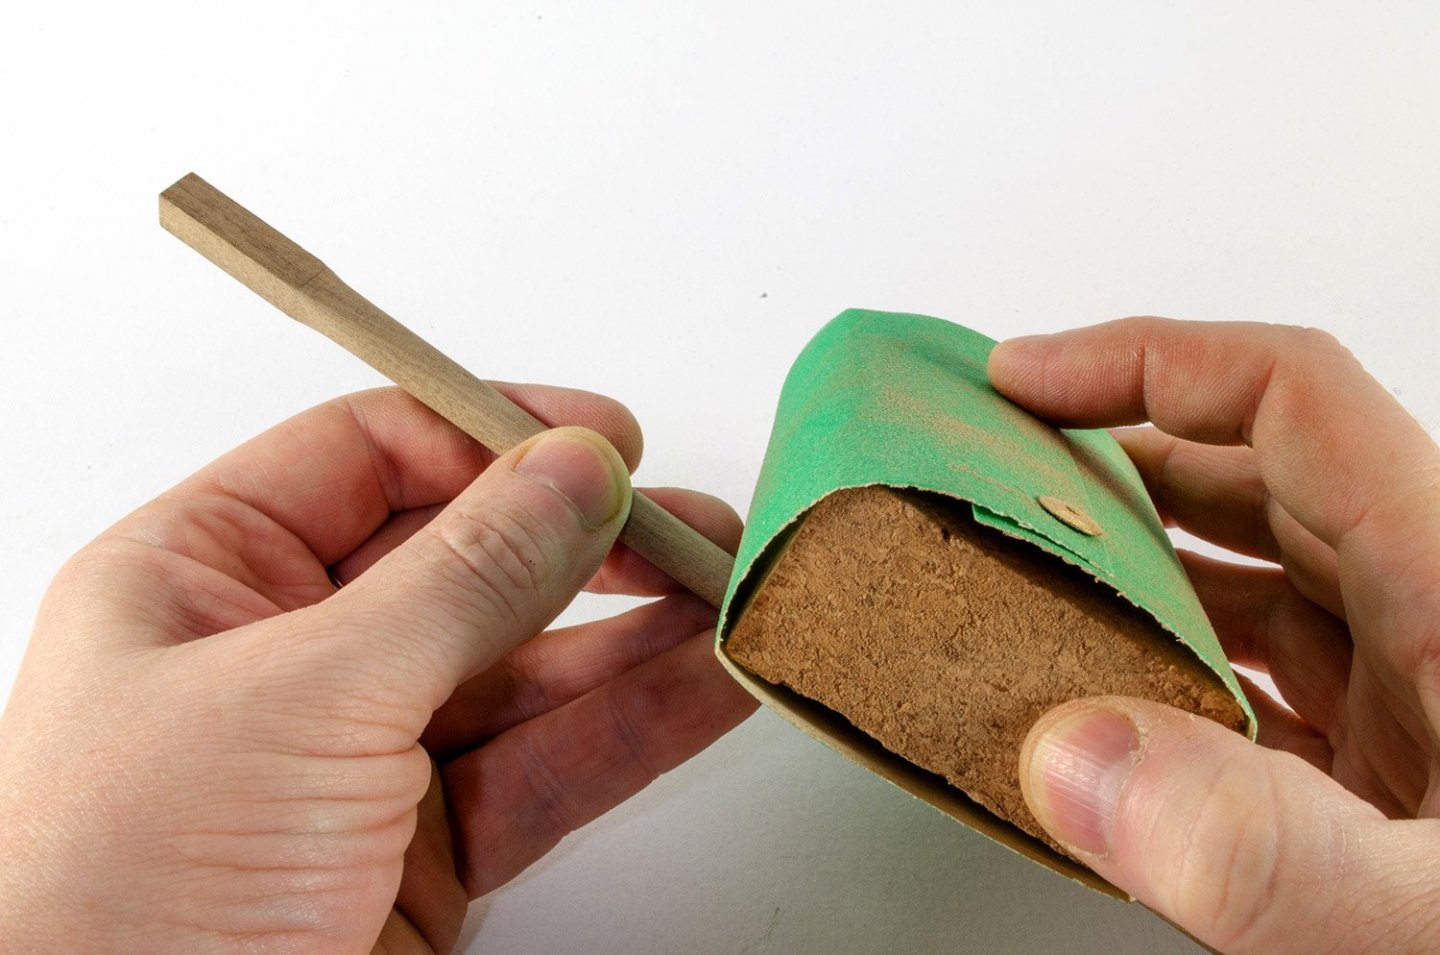
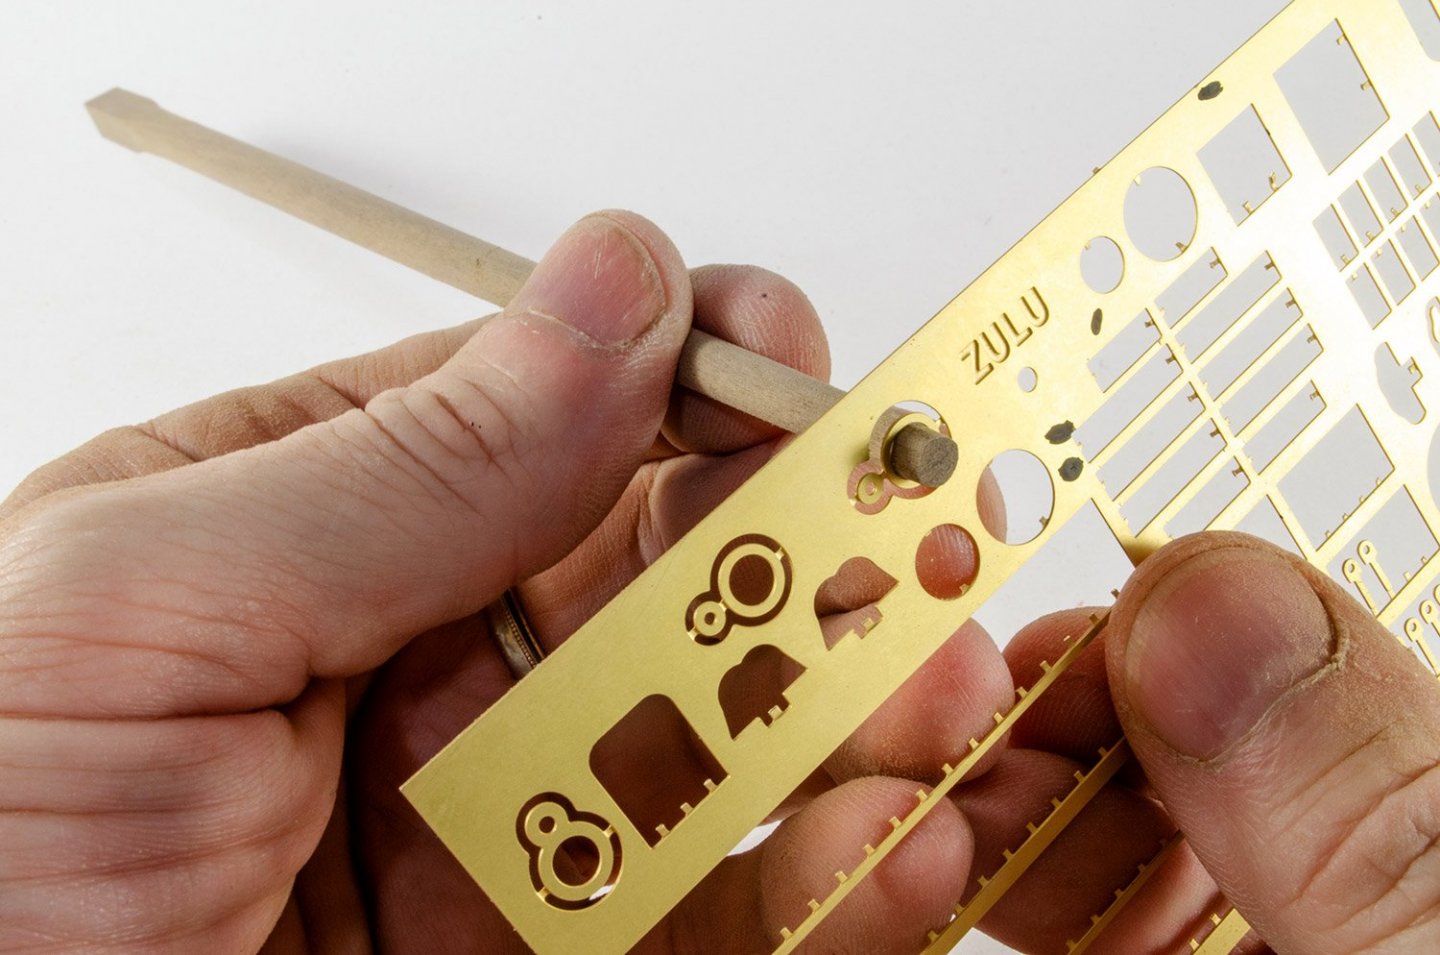
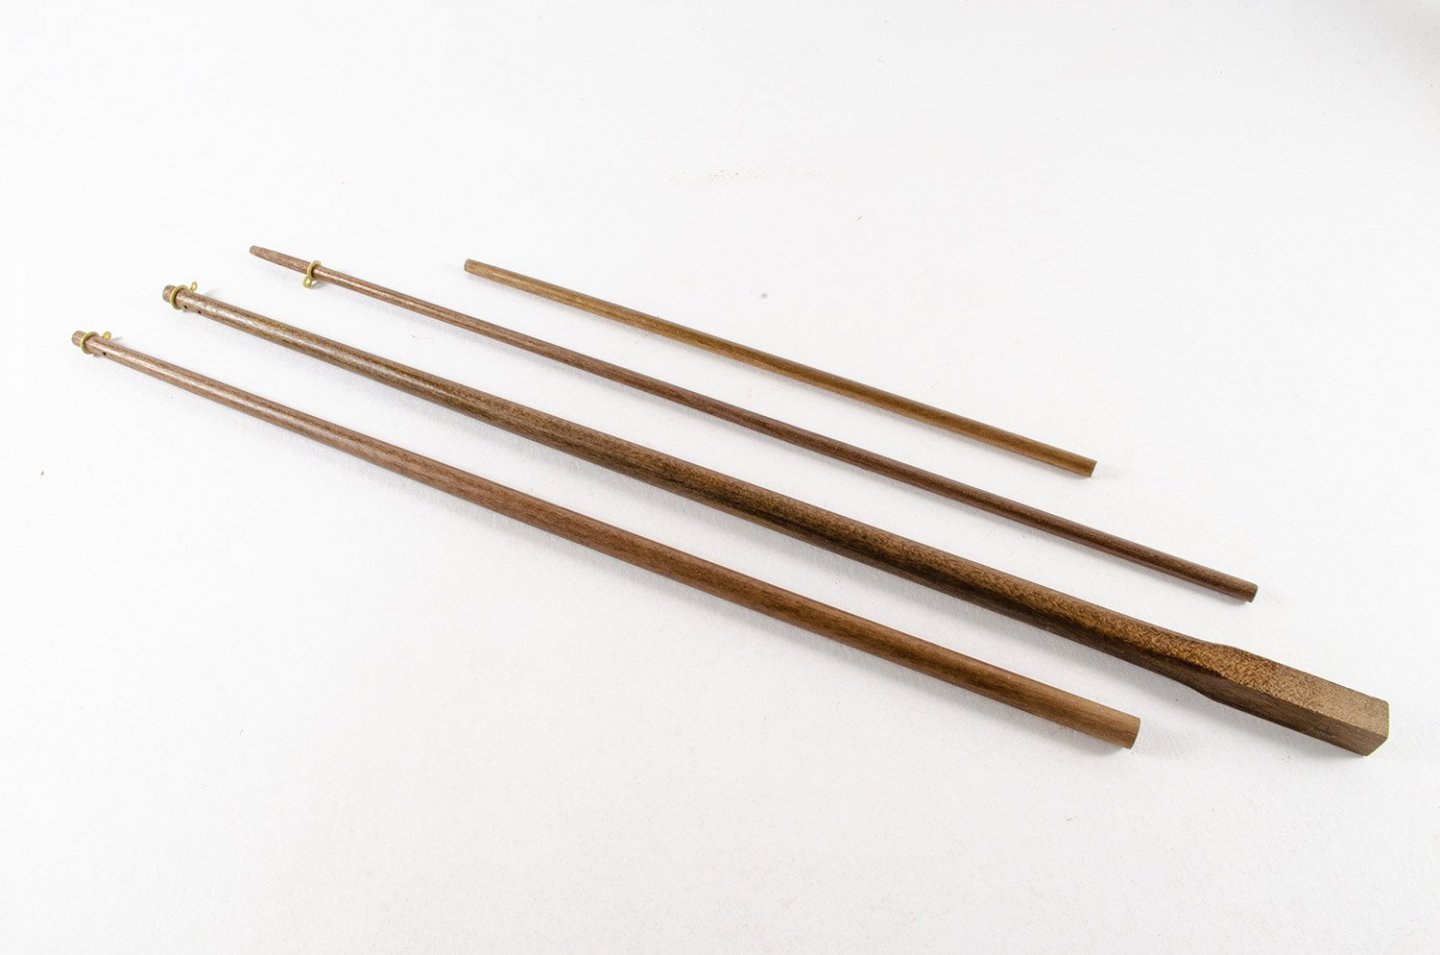
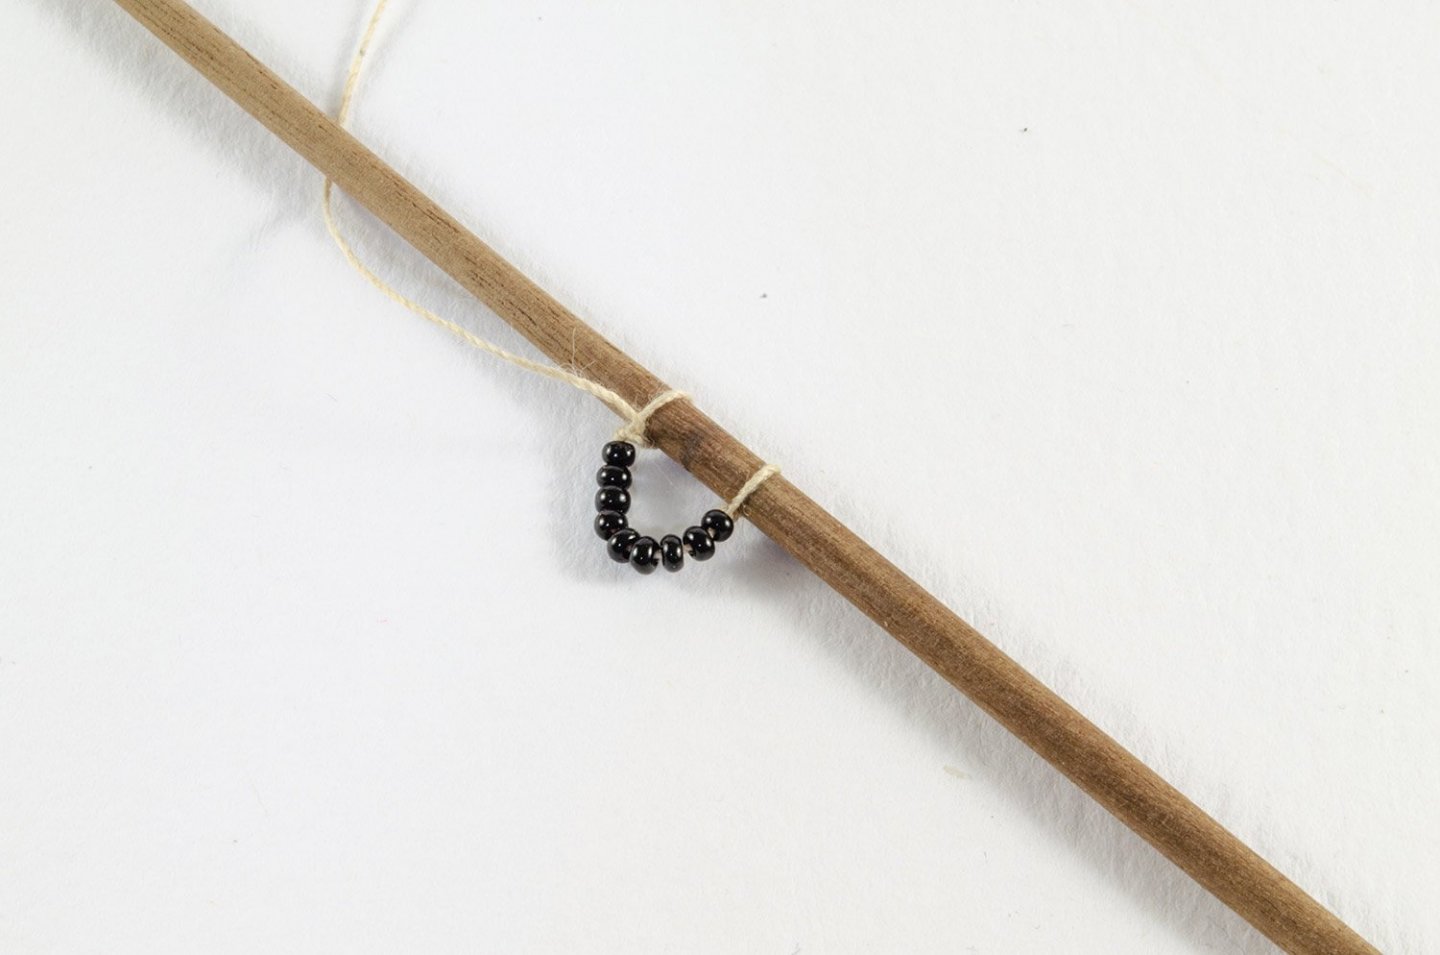
The Zulu is a two-masted vessel, and the forward mast is supplied in square section walnut. This needs to be rounded off a little above deck height and then tapered to the required dimensions. I just use a simple sanding block for this purpose, and good quality 120 grit paper. I also make sure the end dimension is correct by checking against the mast top ring. These aren't glued on until the yards are in place as I just knew I'd struggle getting the parrels over them! Yard lift and Burton stay tackle. All tapered masts and yards etc. are given a couple of coats of polyurethane varnish, lightly sanding between coats.
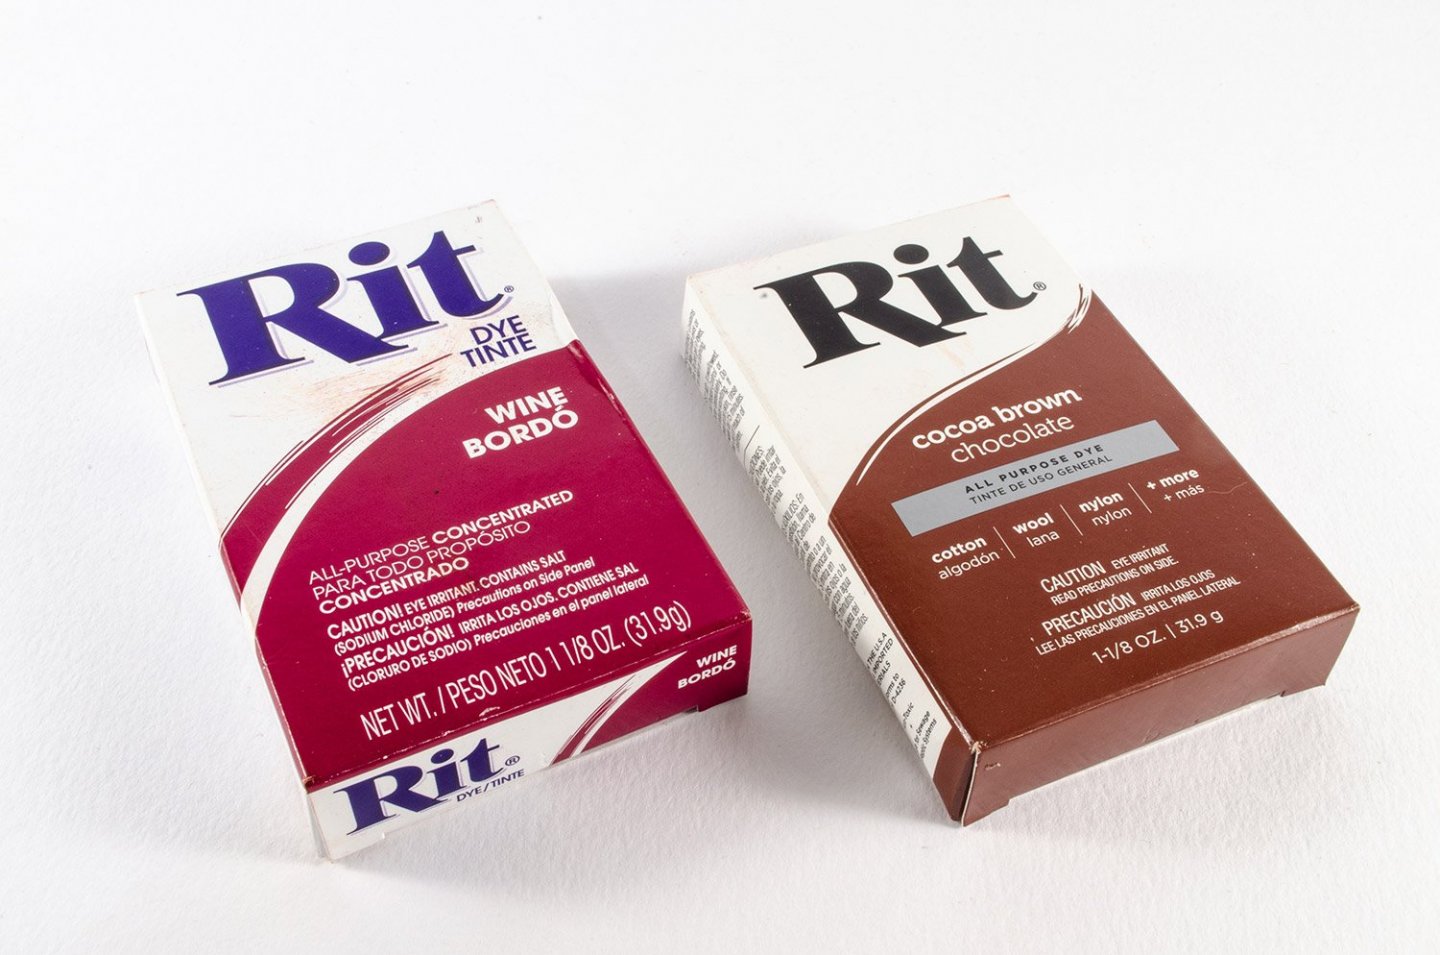
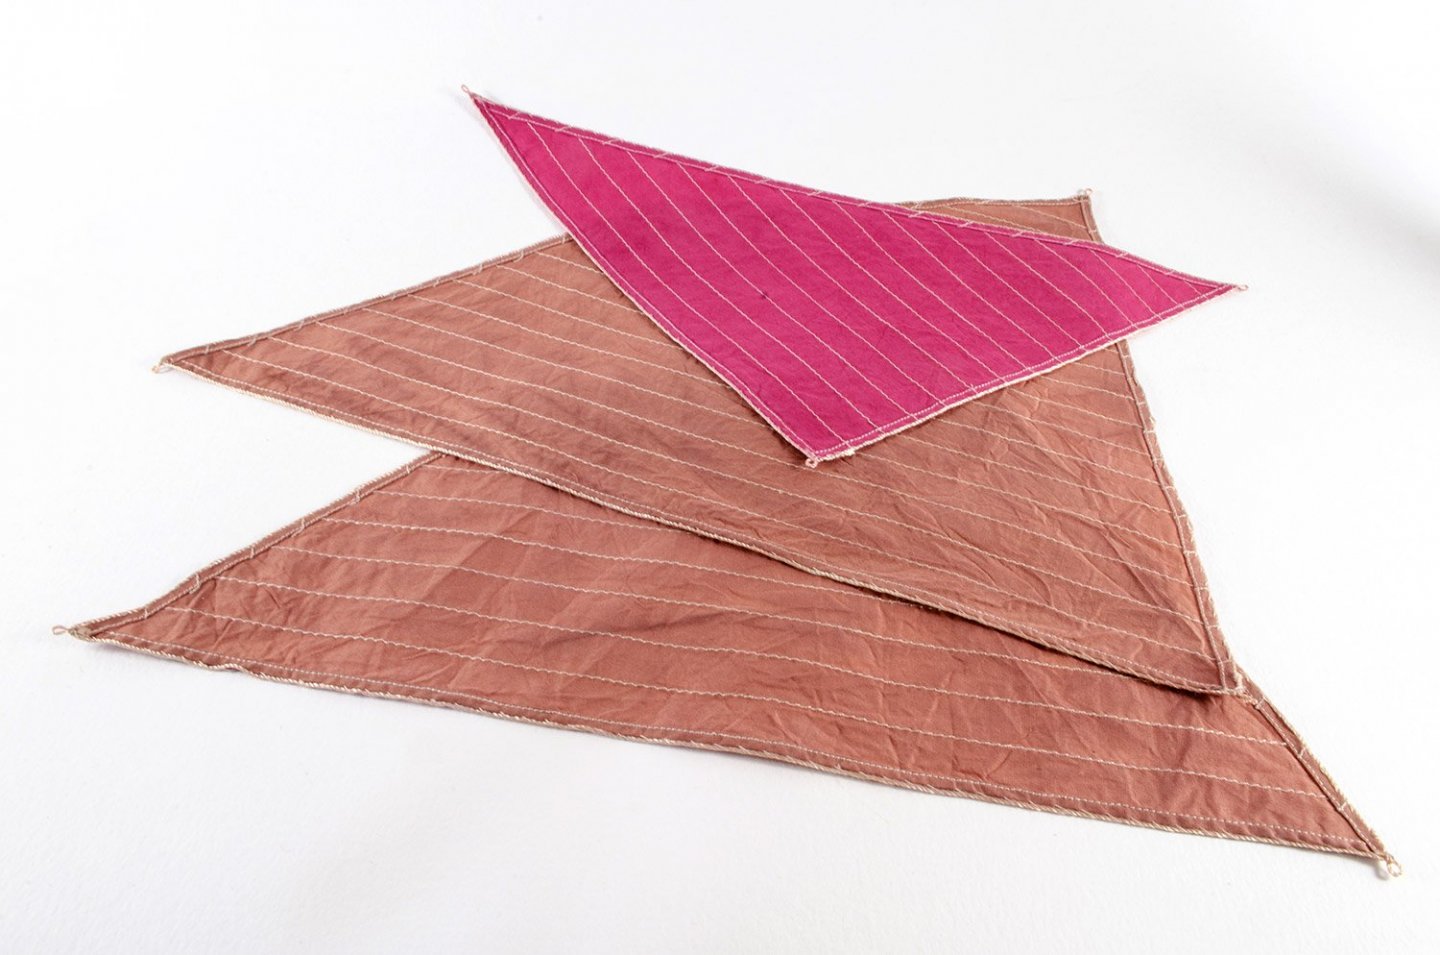
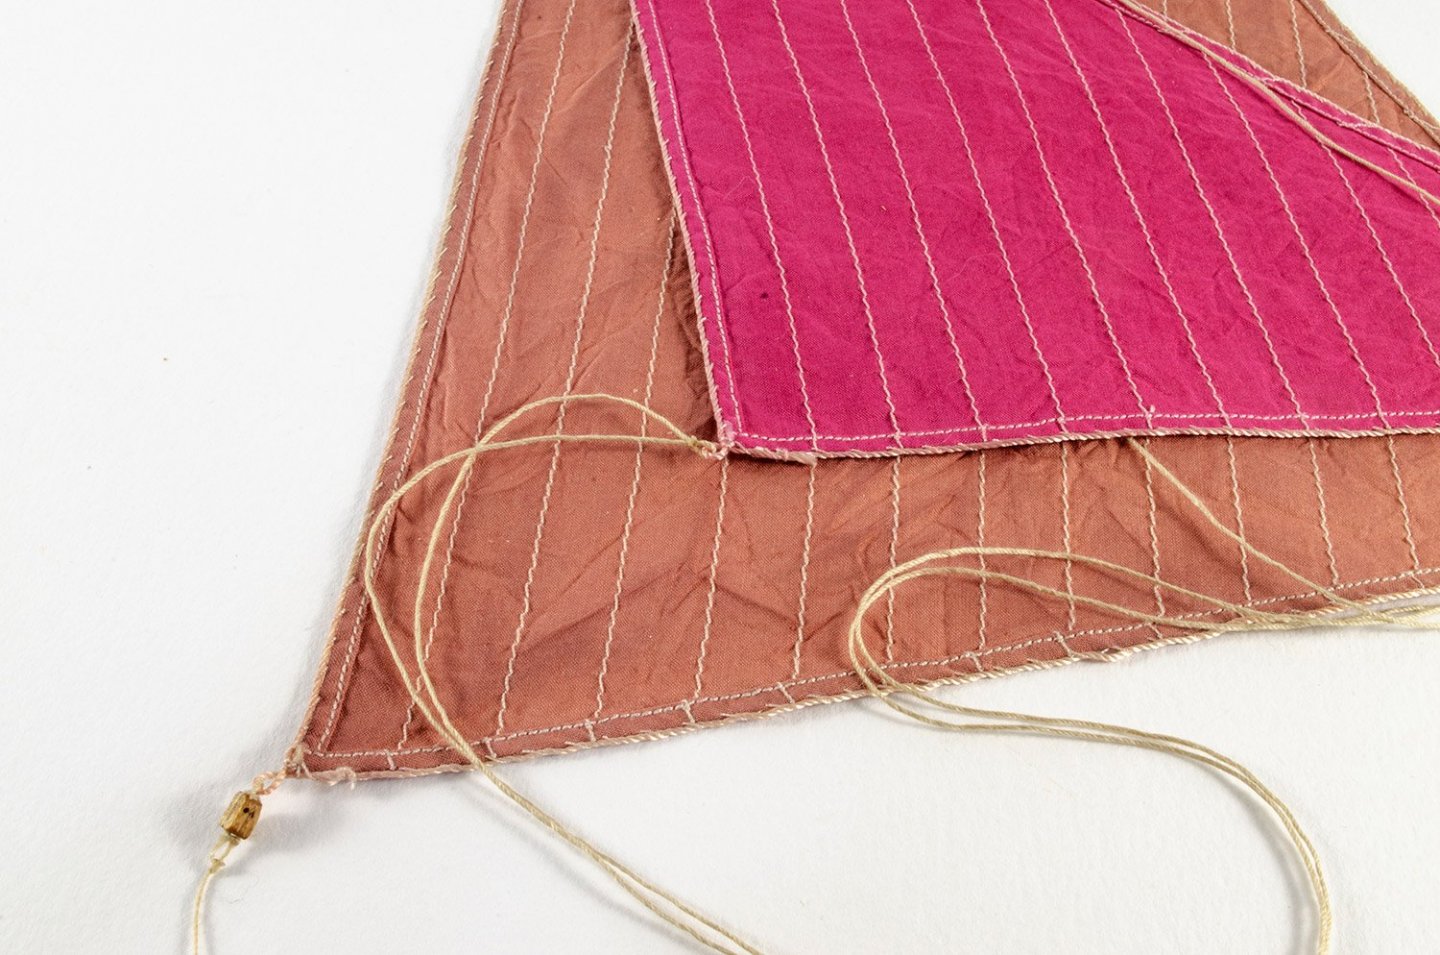
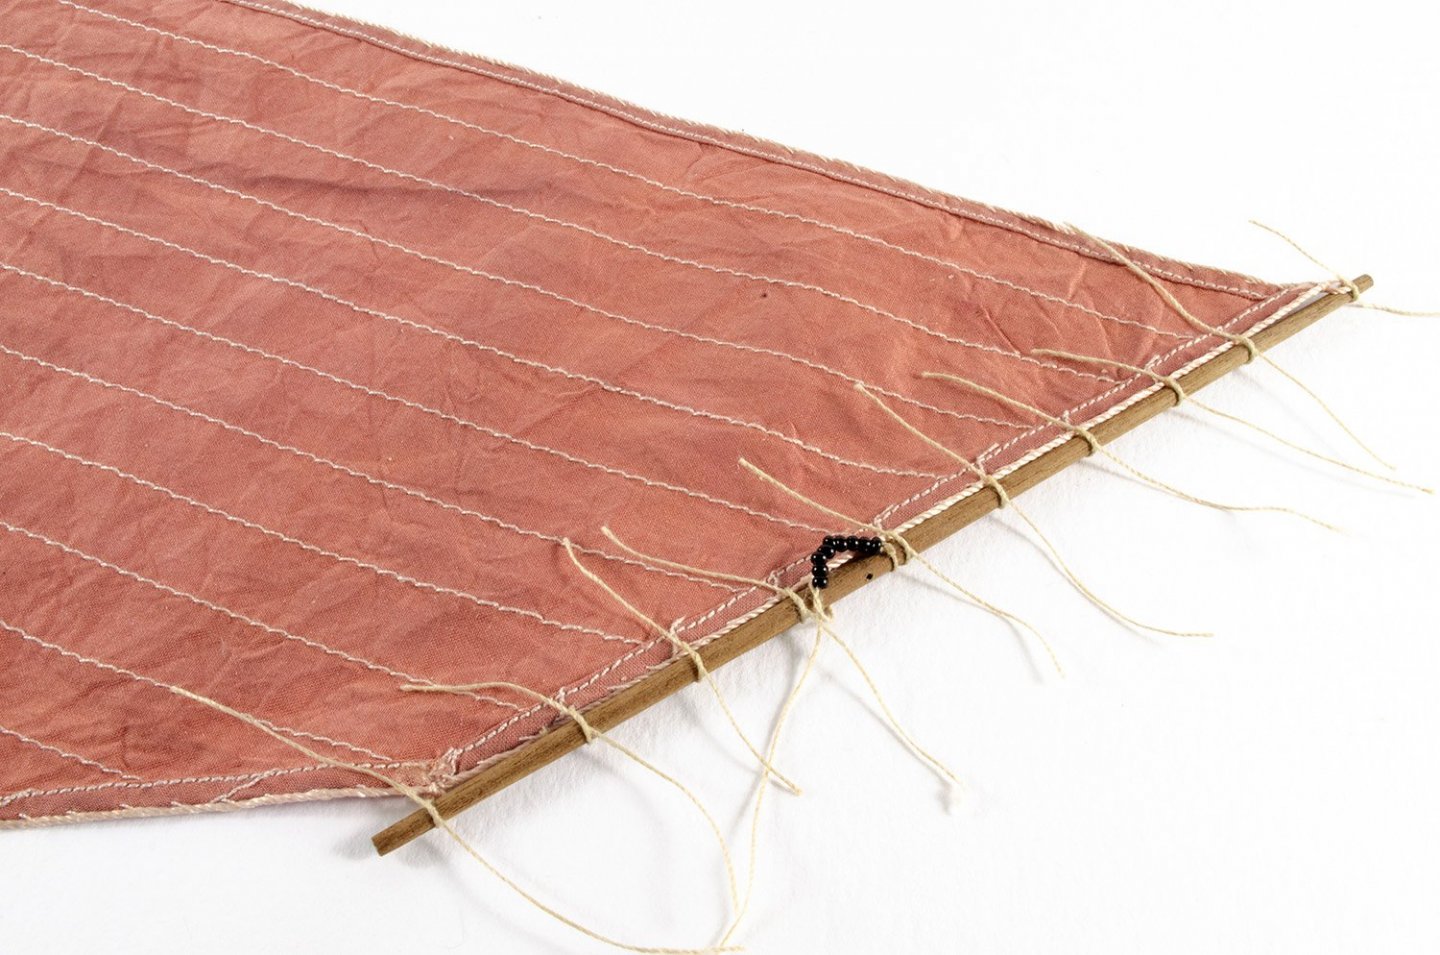
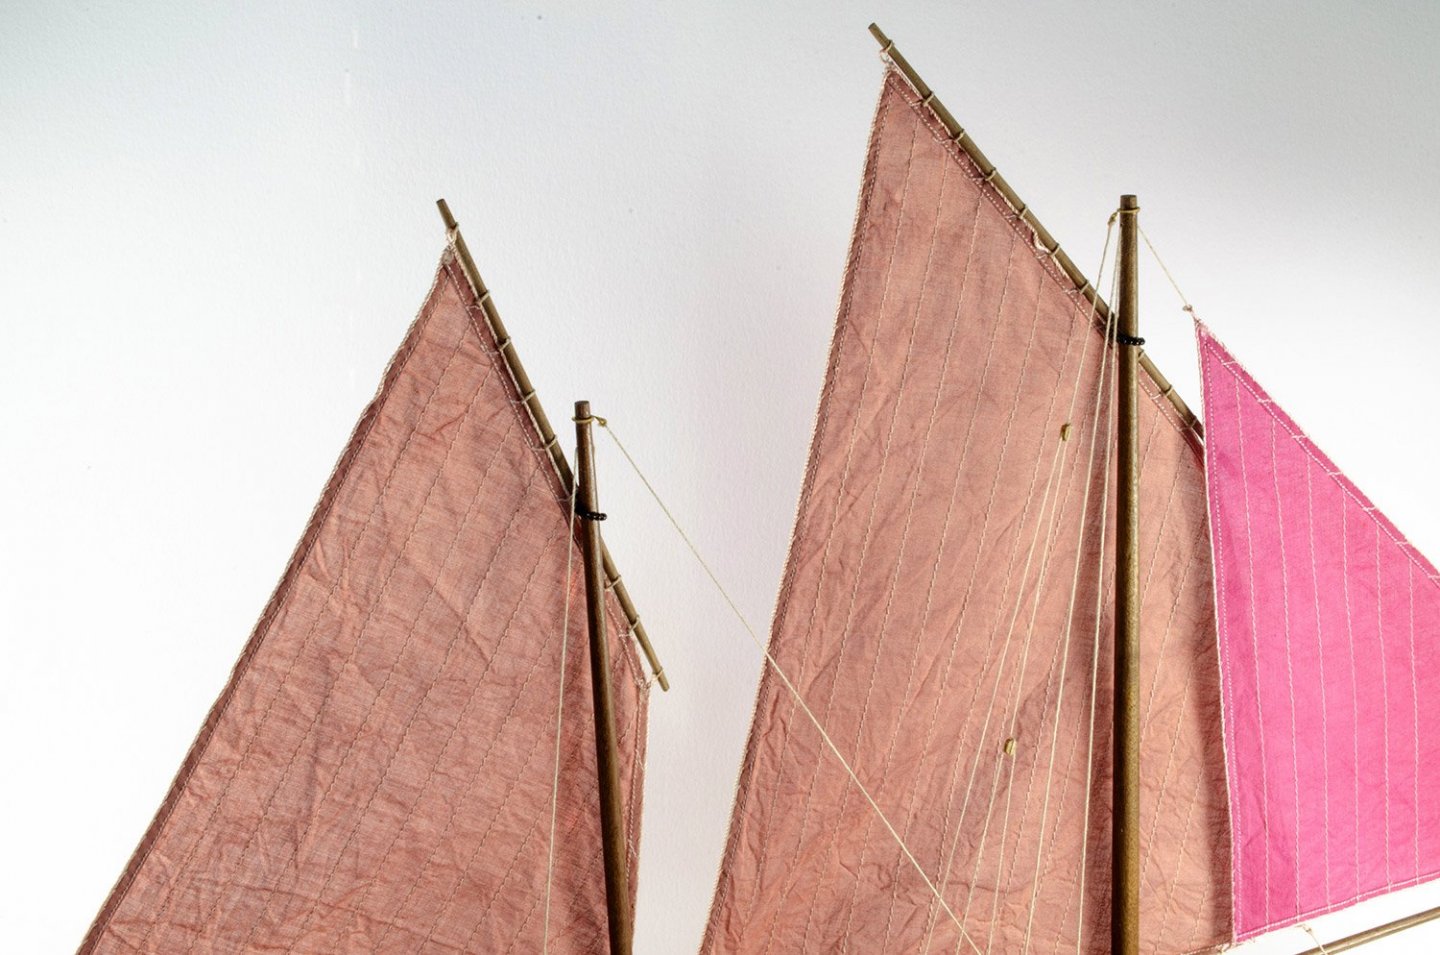
I needed to dye the sails so opted for RIT dye. Several photos of such vessels showed different colour sails, so I opted for the closest I could. Dyeing was straightforward, and they were then rinsed until the water ran clear, and left to dry. The various rig lines were added, and the yards also secured to the mainsail and aft sail.
No photos of rig for this, but from fitting the sails, it only took a few hours to fully rig. No standing rig at all, so all was done with natural coloured thread. Watch out for this kit being released soon!
- BobG, BLACK VIKING, yvesvidal and 24 others
-
 27
27
-
Nowt wrong with that! 👍
-
5 minutes ago, yvesvidal said:
Any new development on that lovely boat?
Yves
Very soon

I'm just adding sails and finishing her now.
- VTHokiEE, Edwardkenway, yvesvidal and 3 others
-
 6
6
-
-
-
That really is looking beautiful. Every single aspect....
-
3 hours ago, BobG said:
That's interesting to hear, James. I always though that all metal needed to have a primer on it before top coating it with the final paint.
Are you using the Tamiya Acrylic Paints in your airbrush? Since they have alcohol in them maybe that is why they do well on metal without primer....? I would think that completely water based acrylics, like Vallejo Acrylics, would not adhere as well on metal parts without a primer base but I'm just speculating....??
When I worked with plastic models for magazine work, I rarely primed.....whether I used lacquer, acrylic or enamel.
My only reason for primer was because I was using MDF for some parts, so I just blanket airbrushed all parts in that assembly.
- mtaylor, BobG, popeye the sailor and 1 other
-
 4
4
-
1:64 Fifie Fishing Boat, 'Lady Eleanor' - KIT PREVIEW
Vanguard Models
**Coming soon**To be released at the same time as the Vanguard Models' 1:64 Zulu fishing boat, reviewed HERE, will be the traditional sail version of the Fifie. Again, this kit is aimed at the beginner, but with materials and detail that will appeal to the more experienced modeller too. Having more or less built the Zulu, I can tell you that I had great fun doing so! The kit will be supplied with lime planking for the first layer, and pear planking for the second, as standard, plus pear for the keep and numerous other elements such as inner bulwark facings and superstructure parts. Timber quality is excellent throughout, as are the fittings etc. As with Zulu, this Fifie was shipped to me without the plan sets which are currently being worked on, and without the box or instructions. This kit I have here will be built for the instruction manual you will be provided with.
The Fifie contains:
- 2 x 3mm MDF sheets
- 2 x 1mm pear sheets
- 1 x 2mm pear sheet
- 1 x 3mm pear sheet
- 1 x 2mm acetate sheet
- 1 x 0.8mm ply (single part)
- 1 x 0.7mm maple or lime wood laser cut/engraved deck (lime is standard)
- 1 x 0.4mm PE sheet
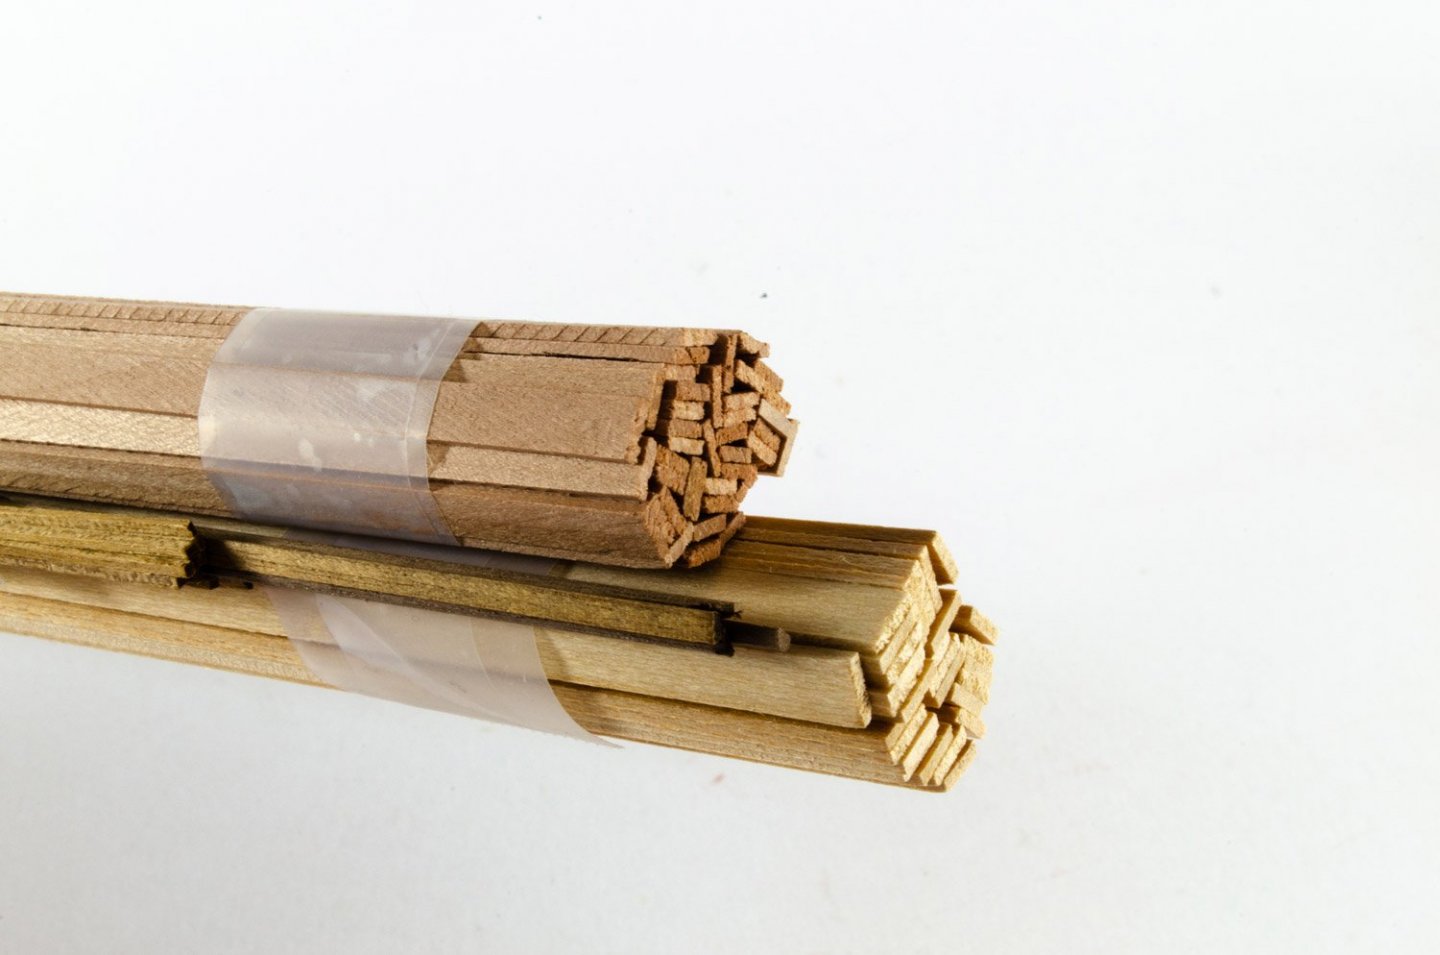
- Timber strip
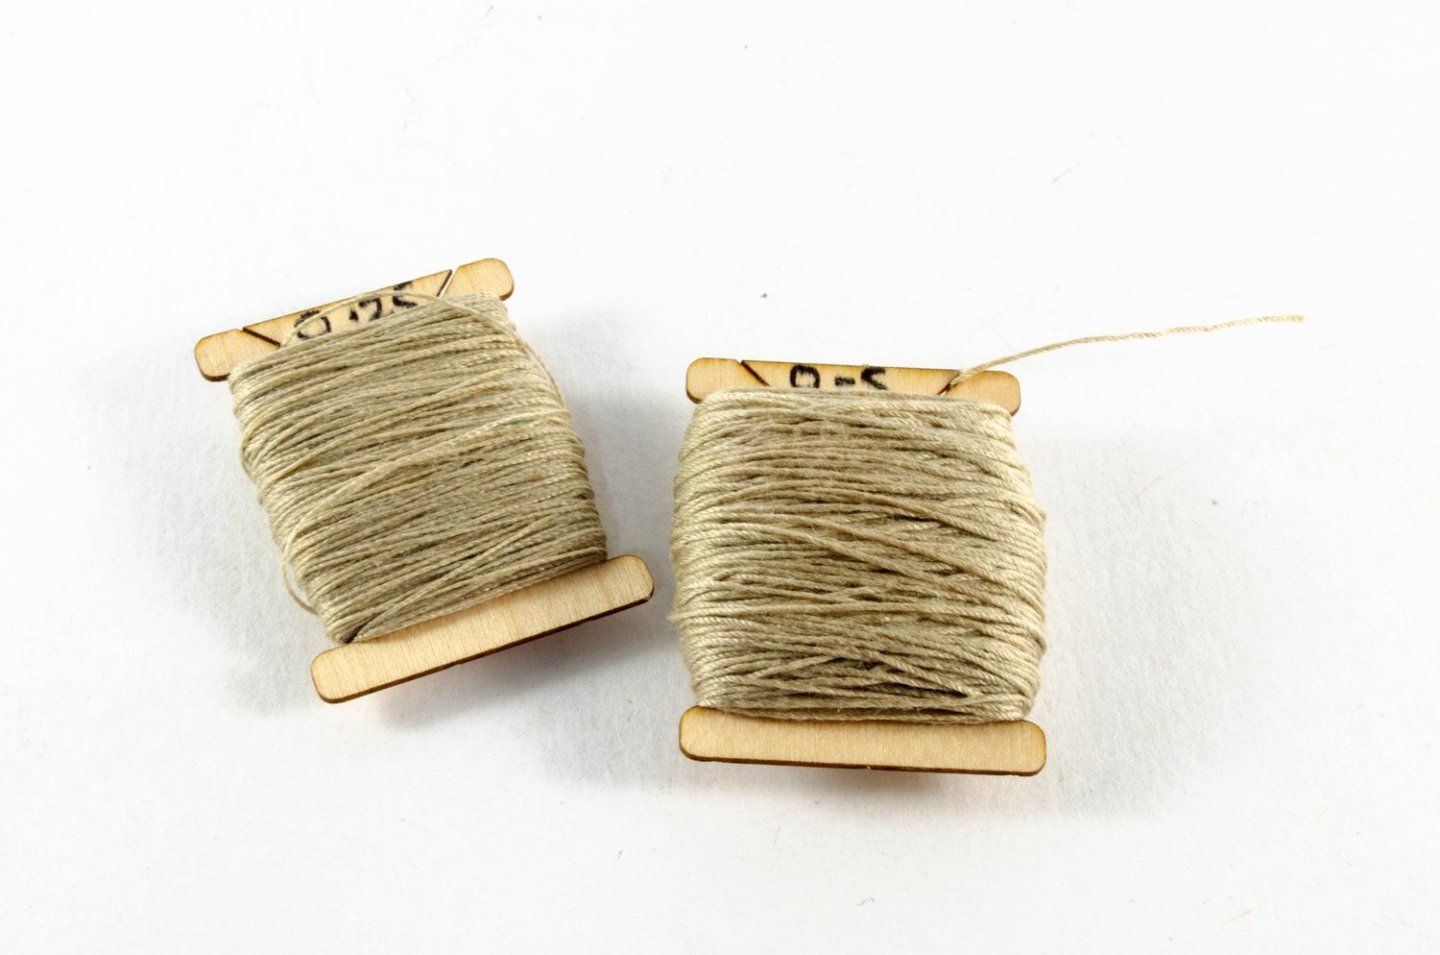
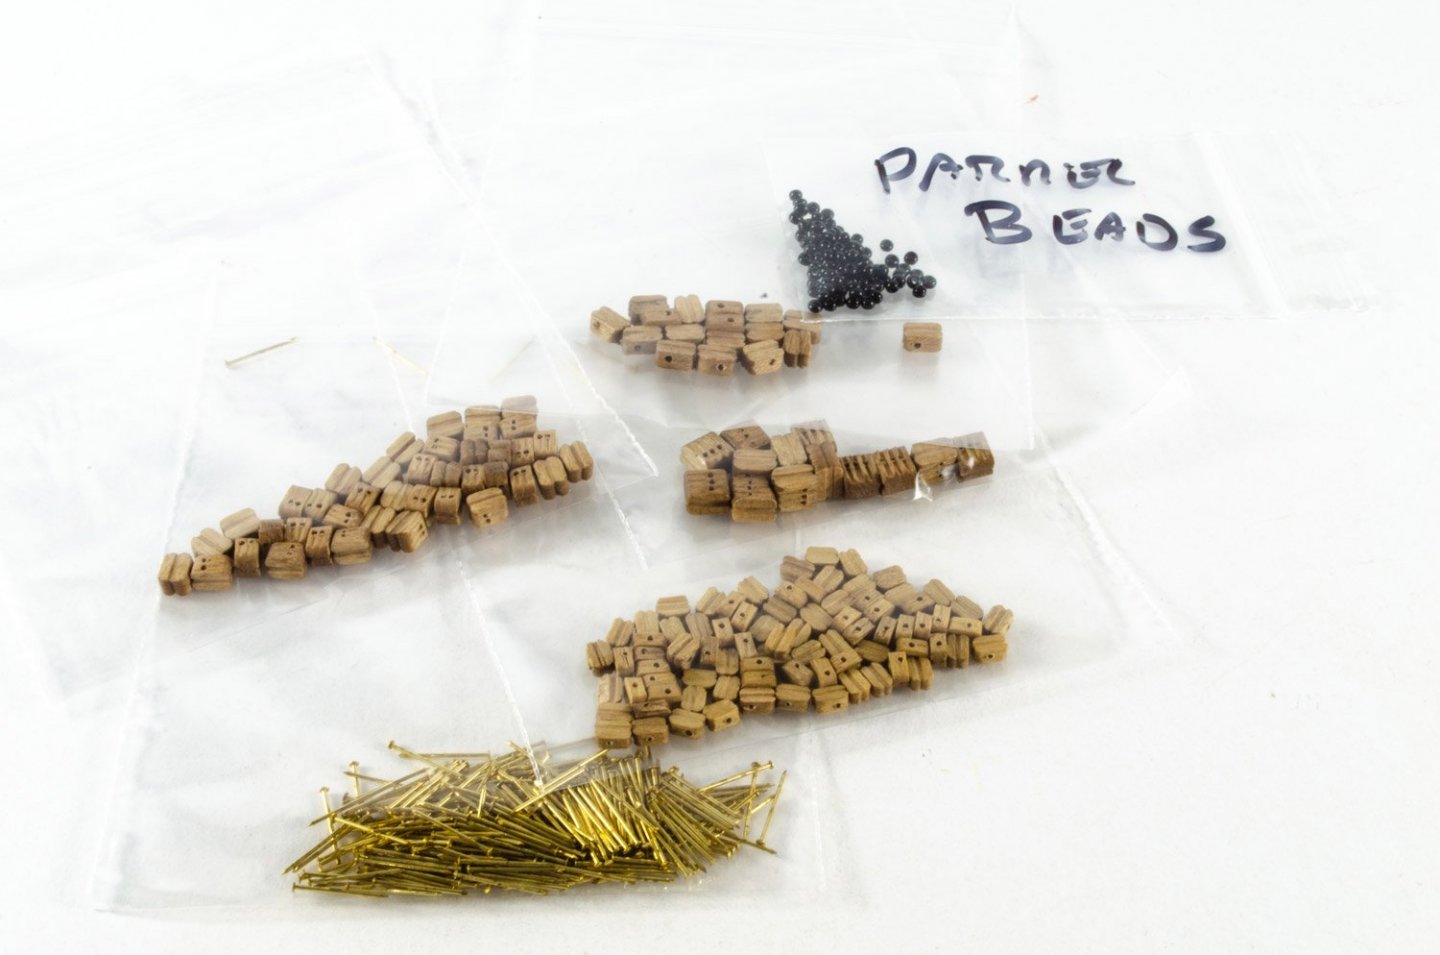
- Rigging cord, parrel beads, rigging blocks
MDF sheets
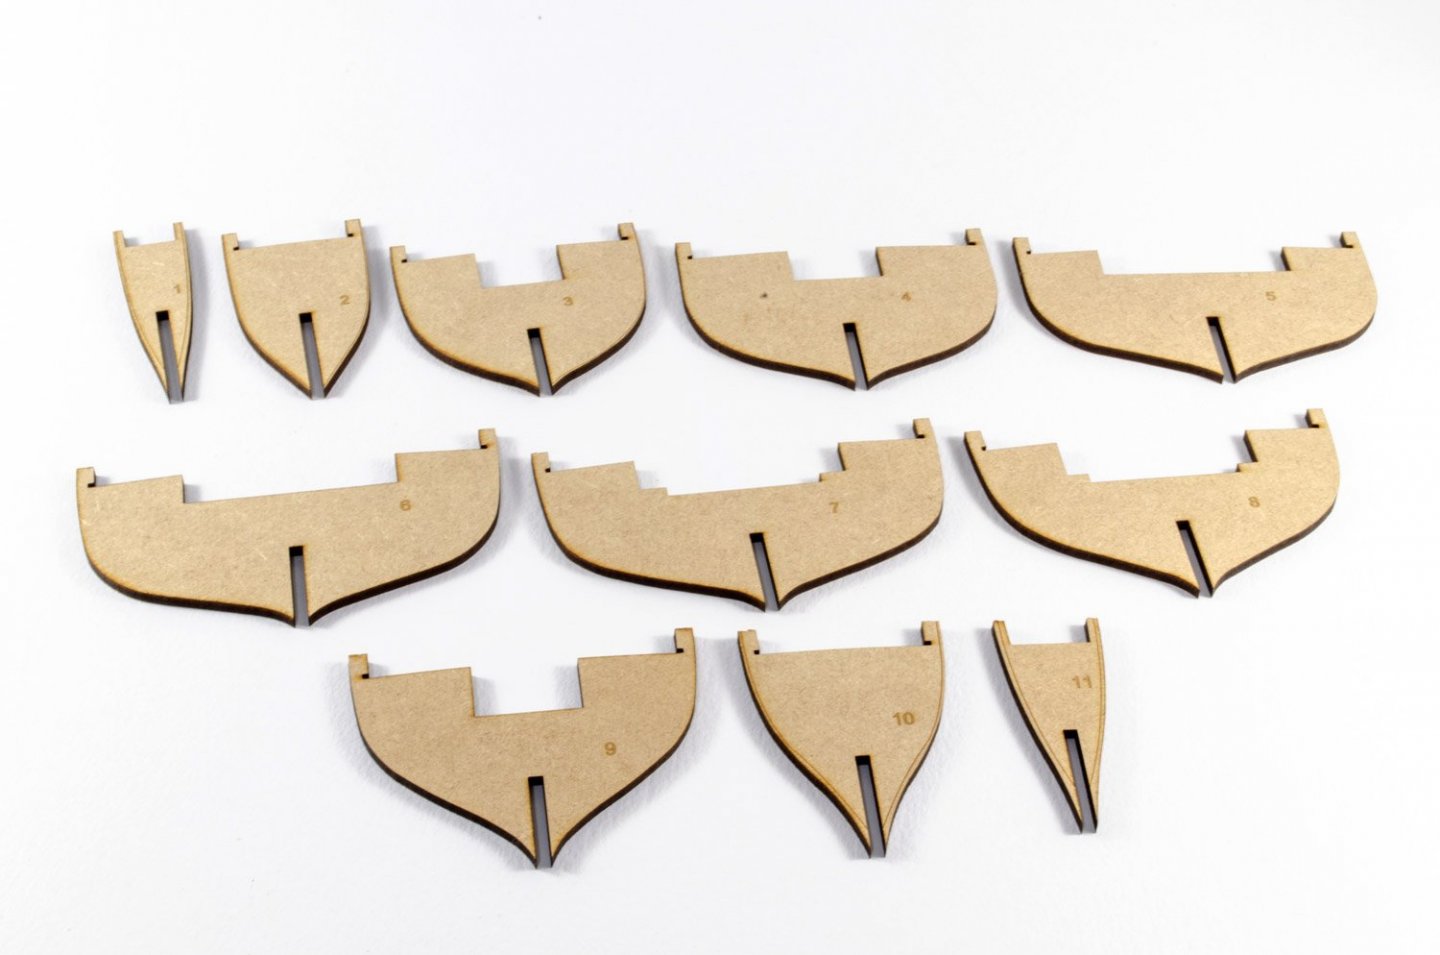
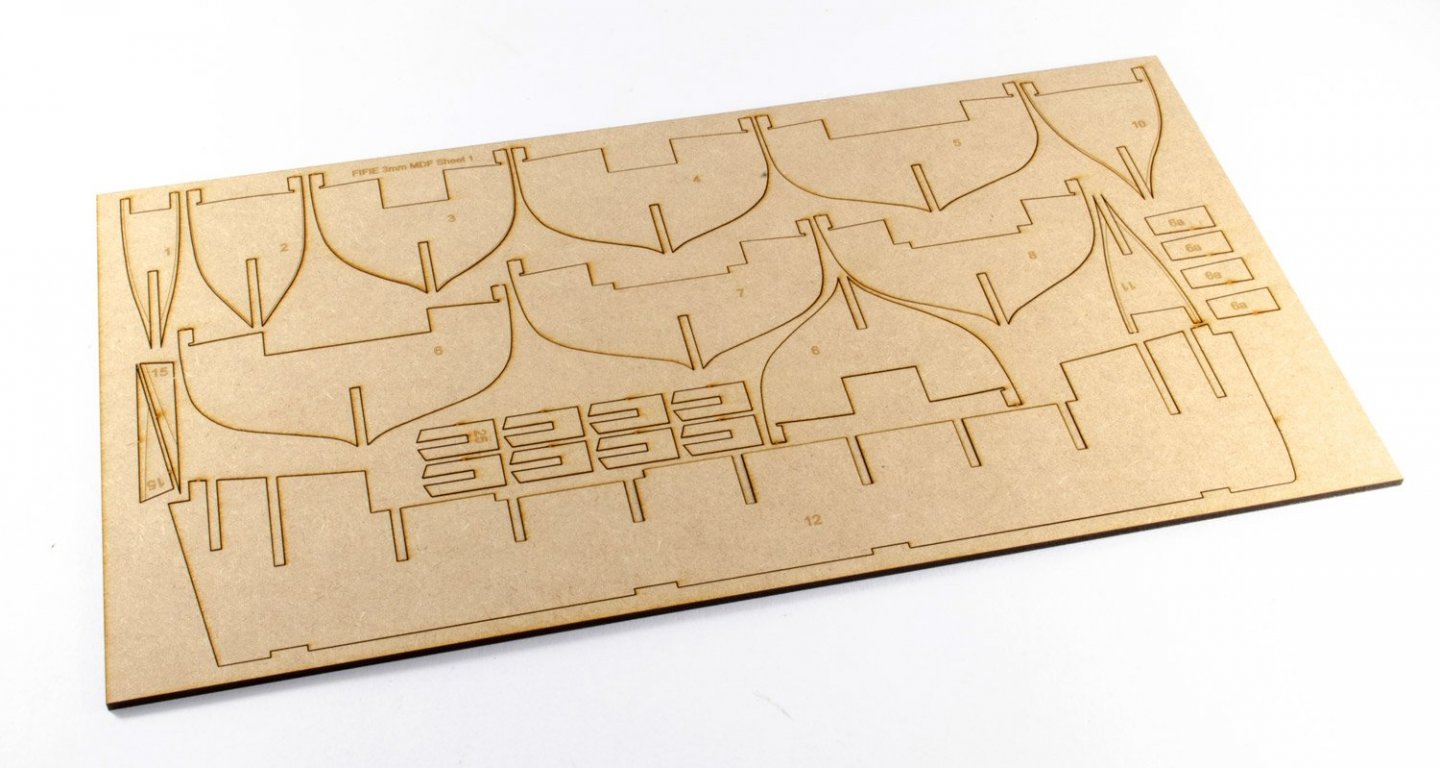
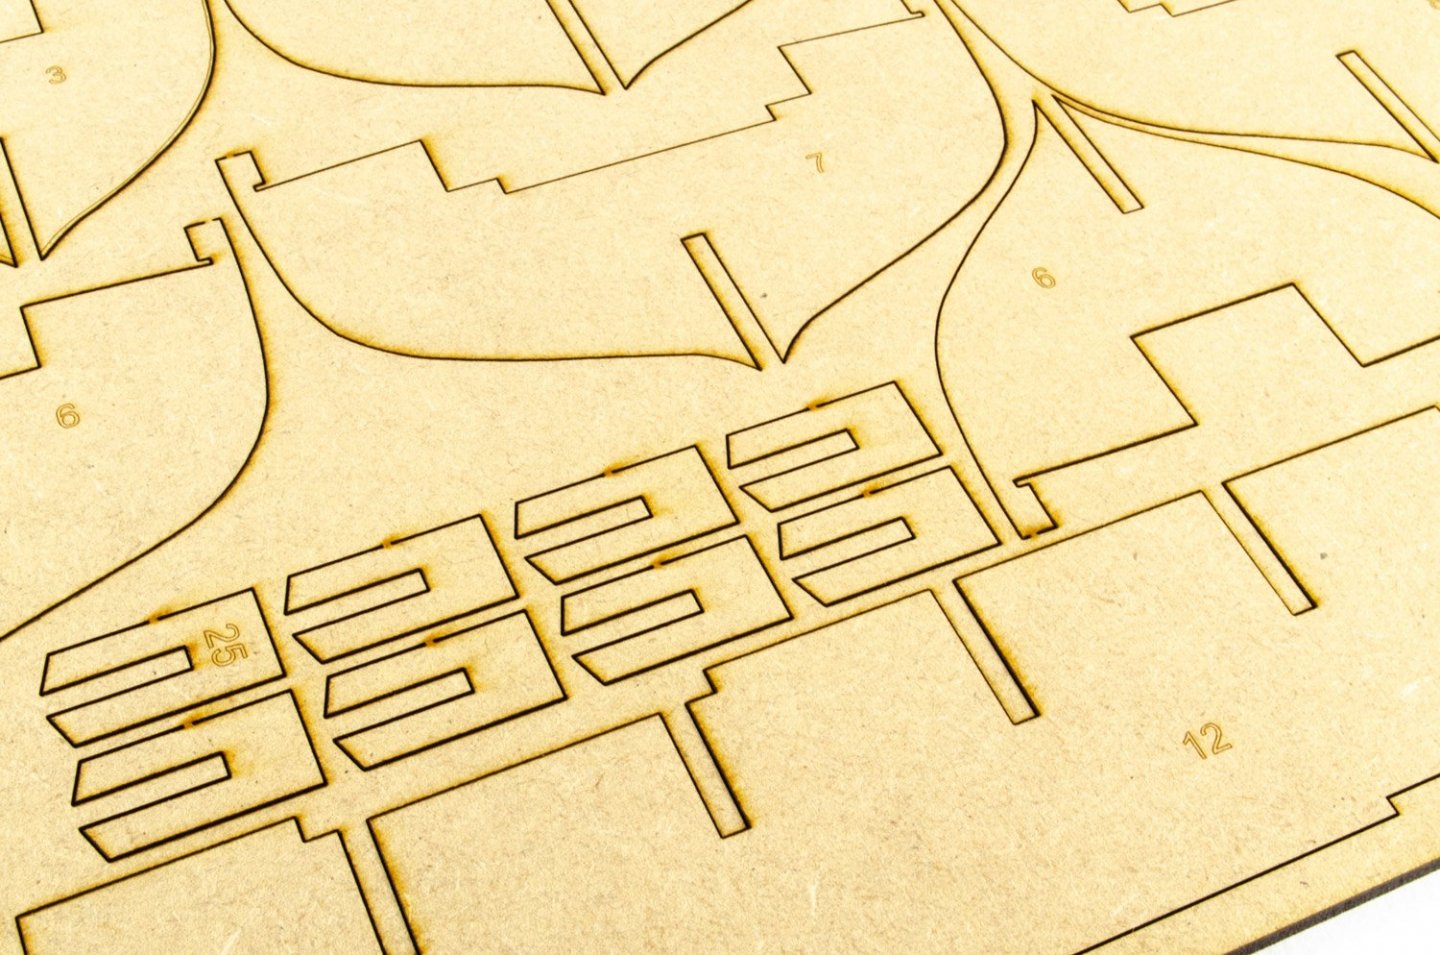
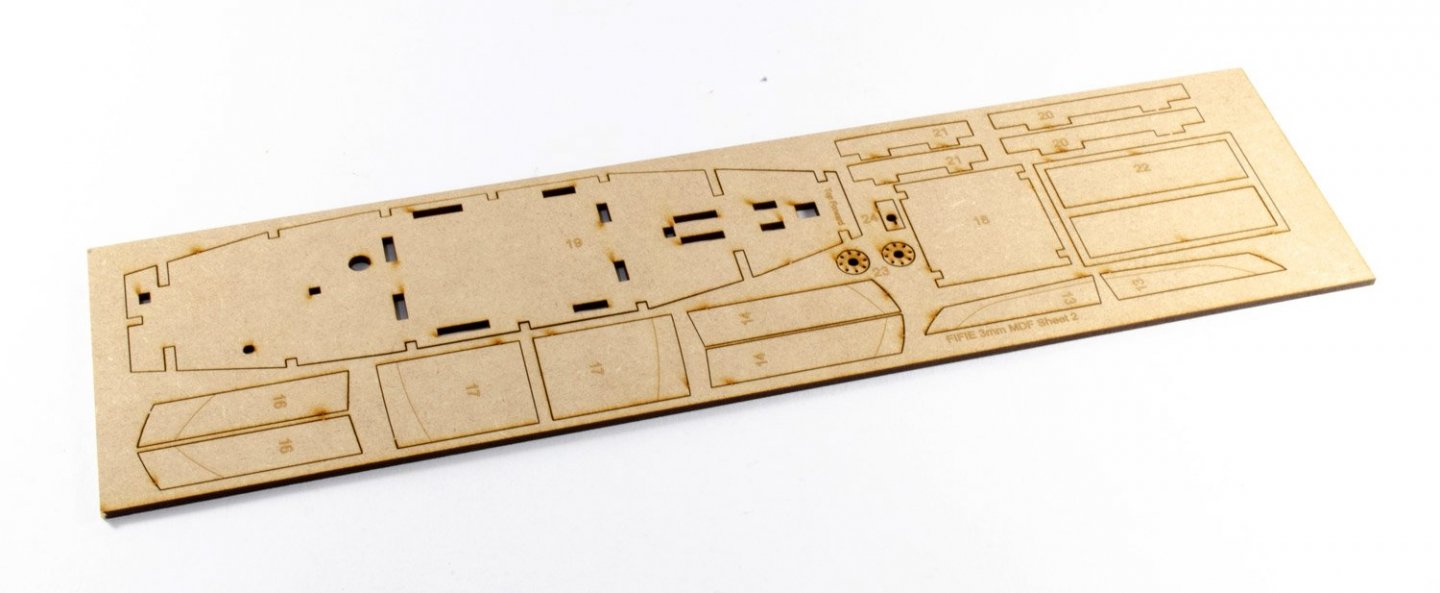
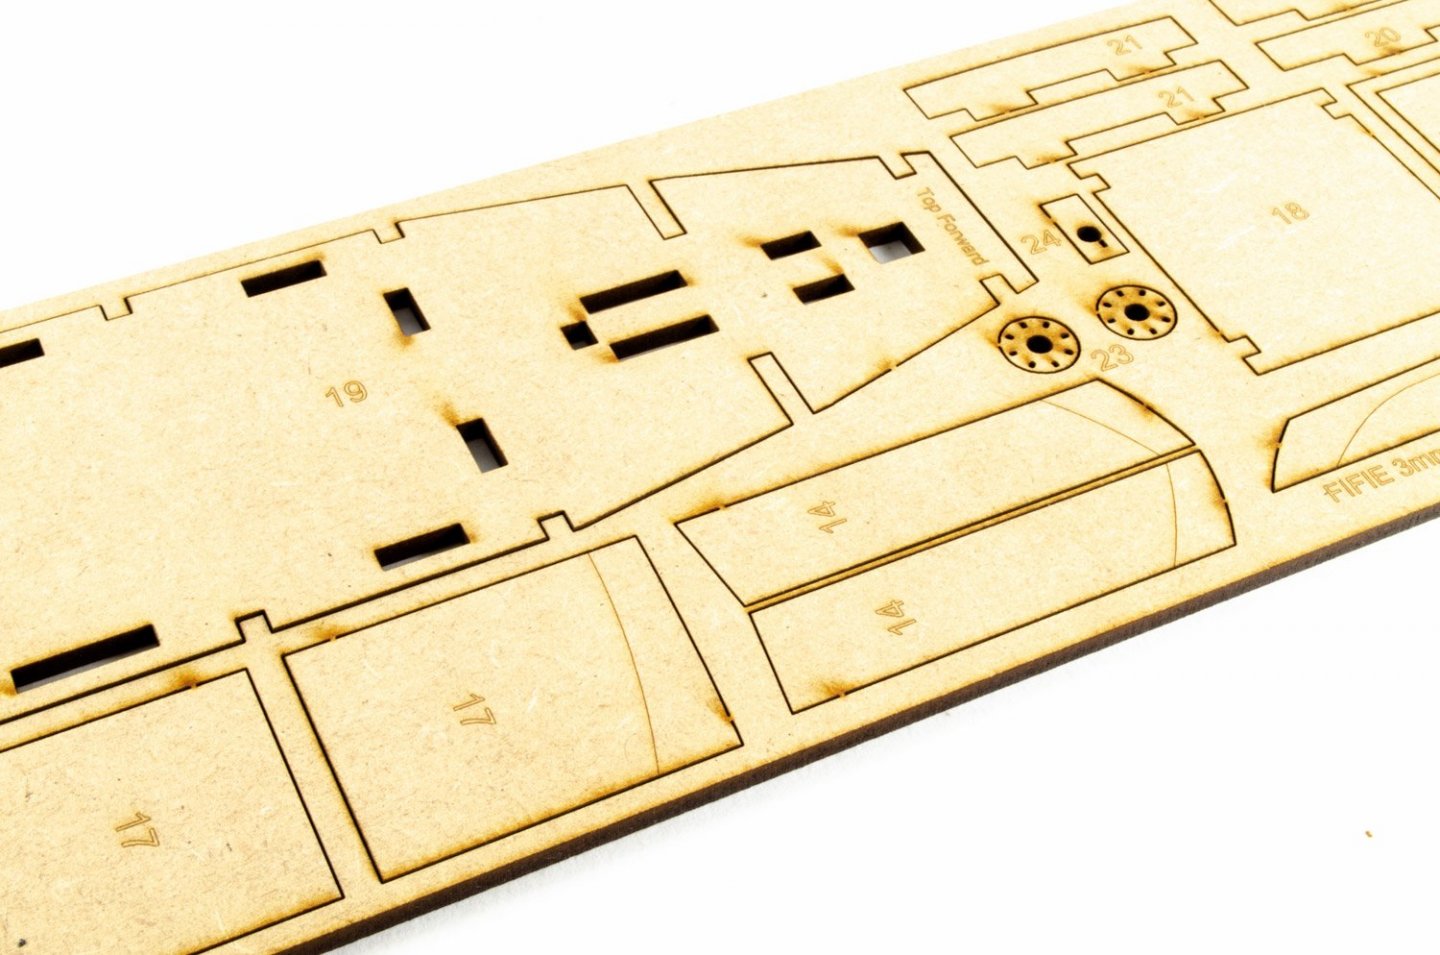
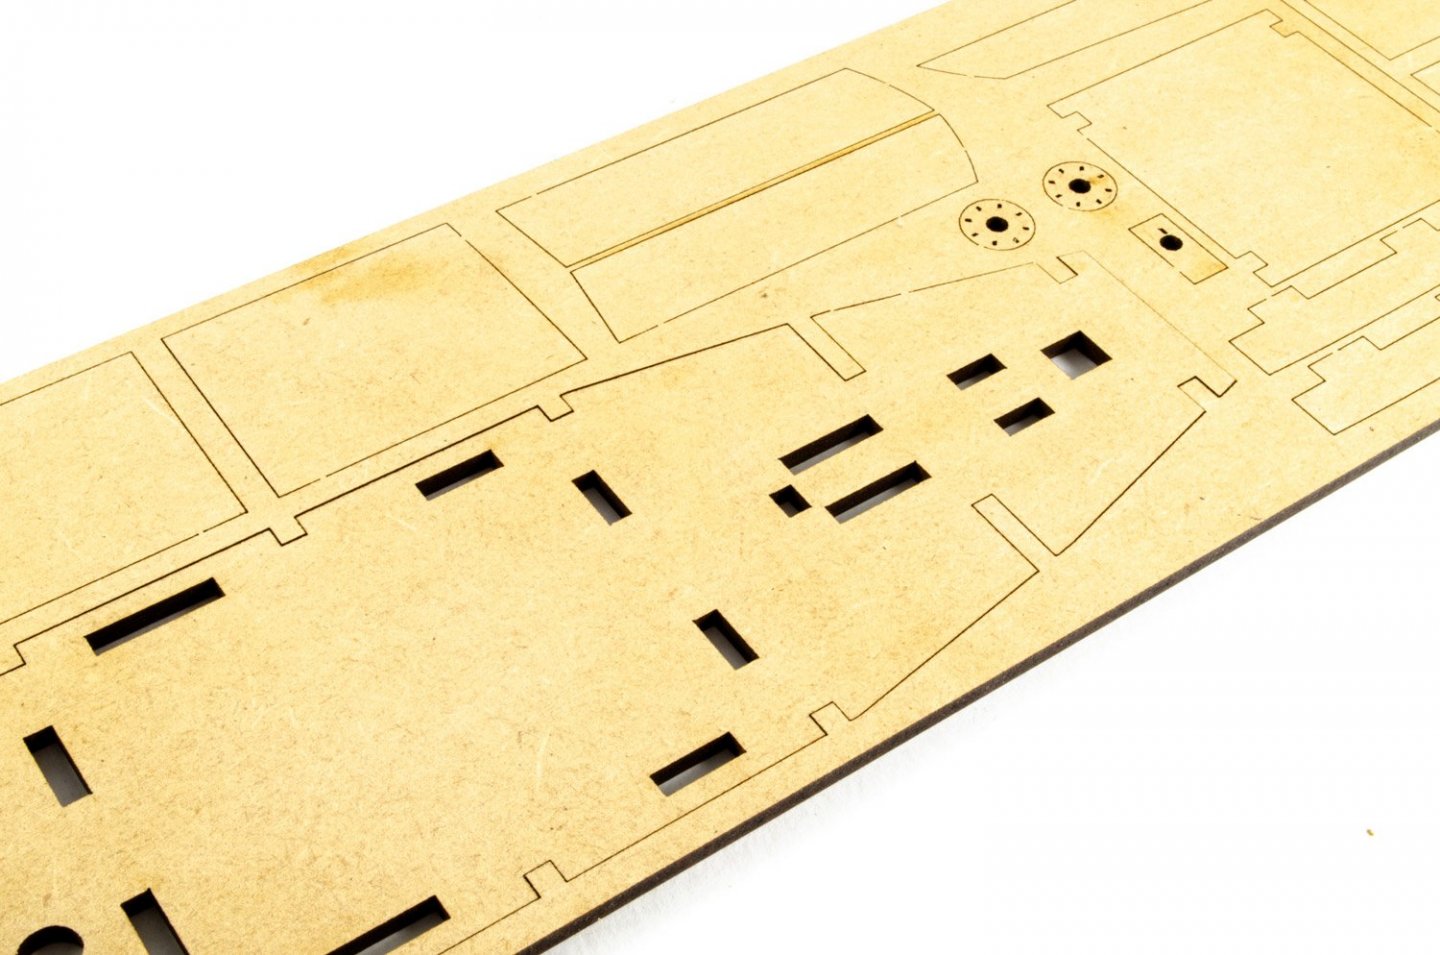
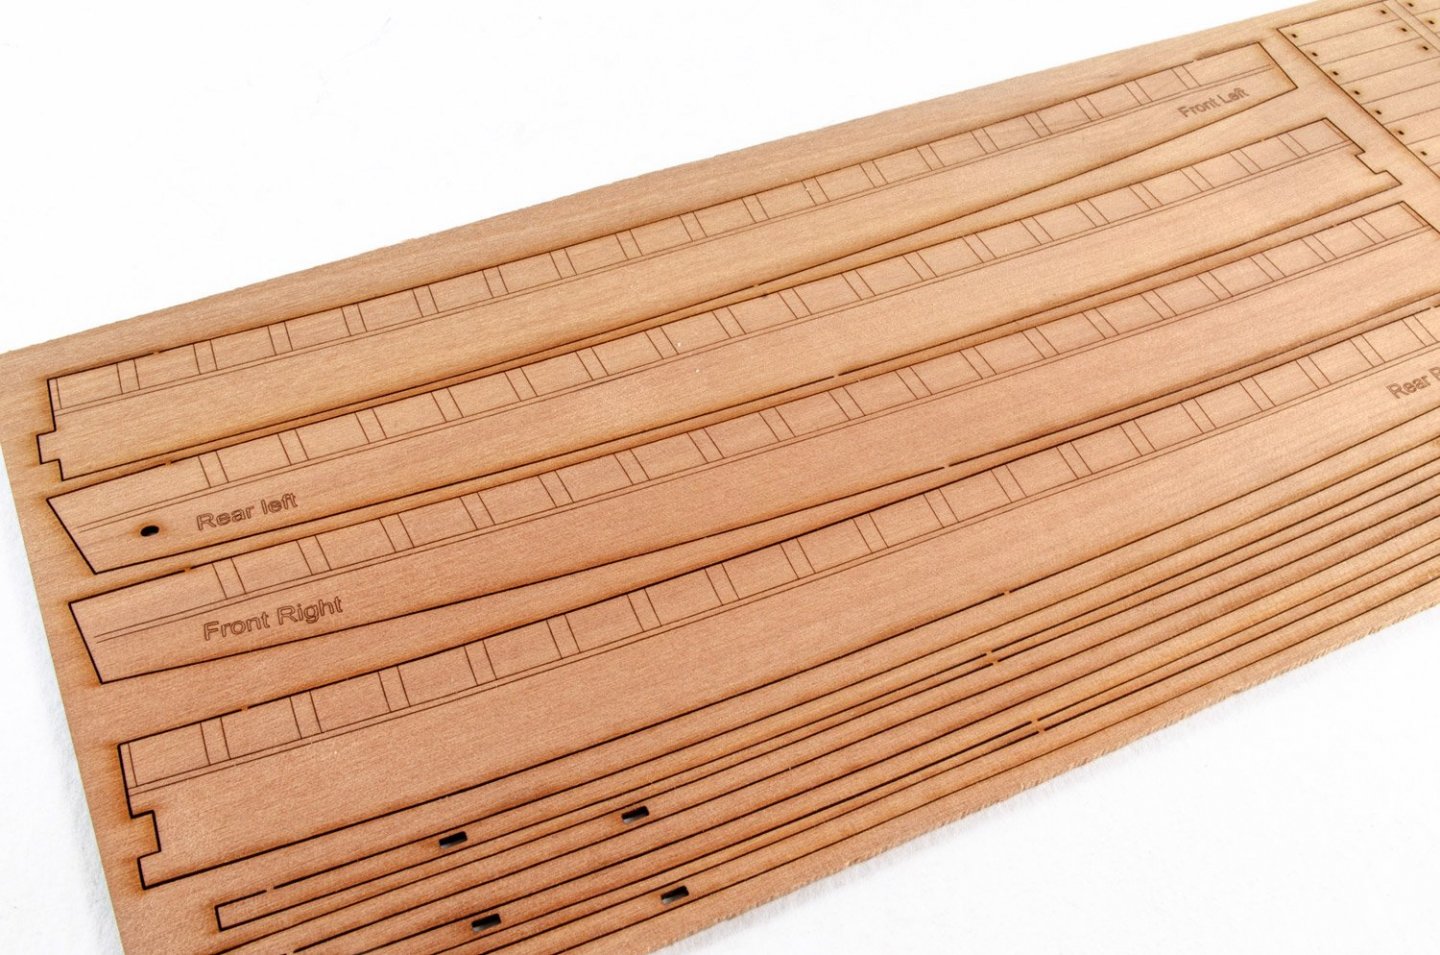
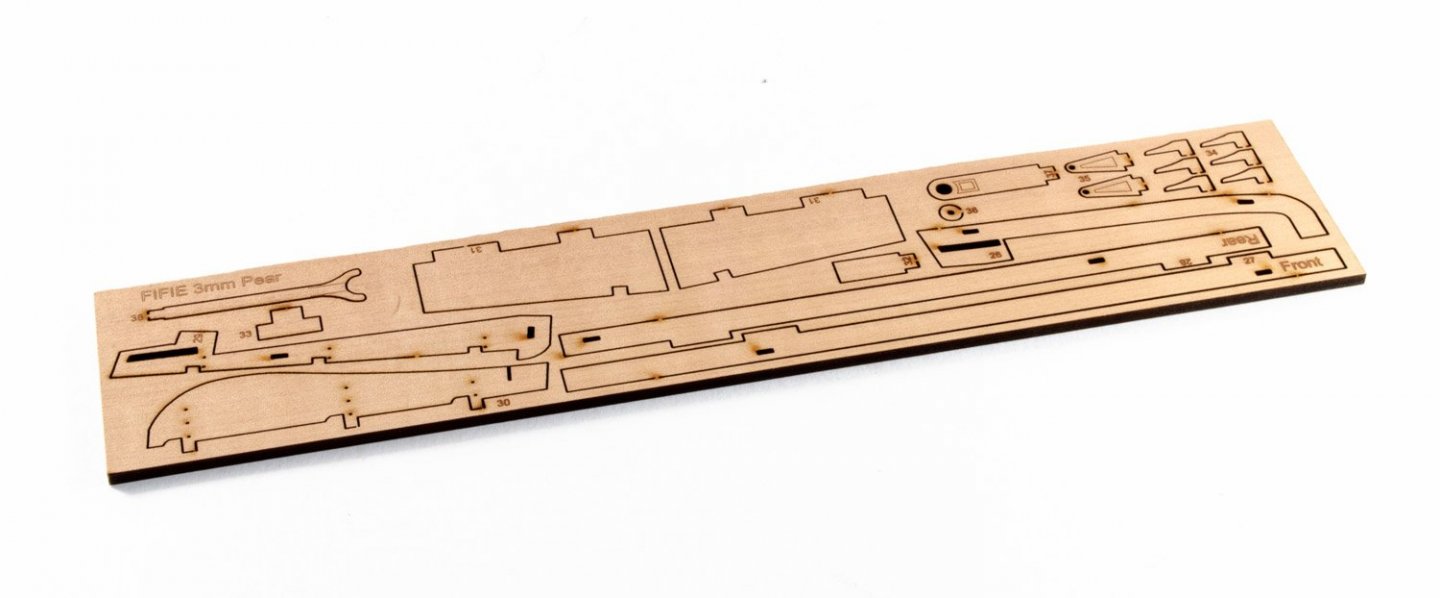
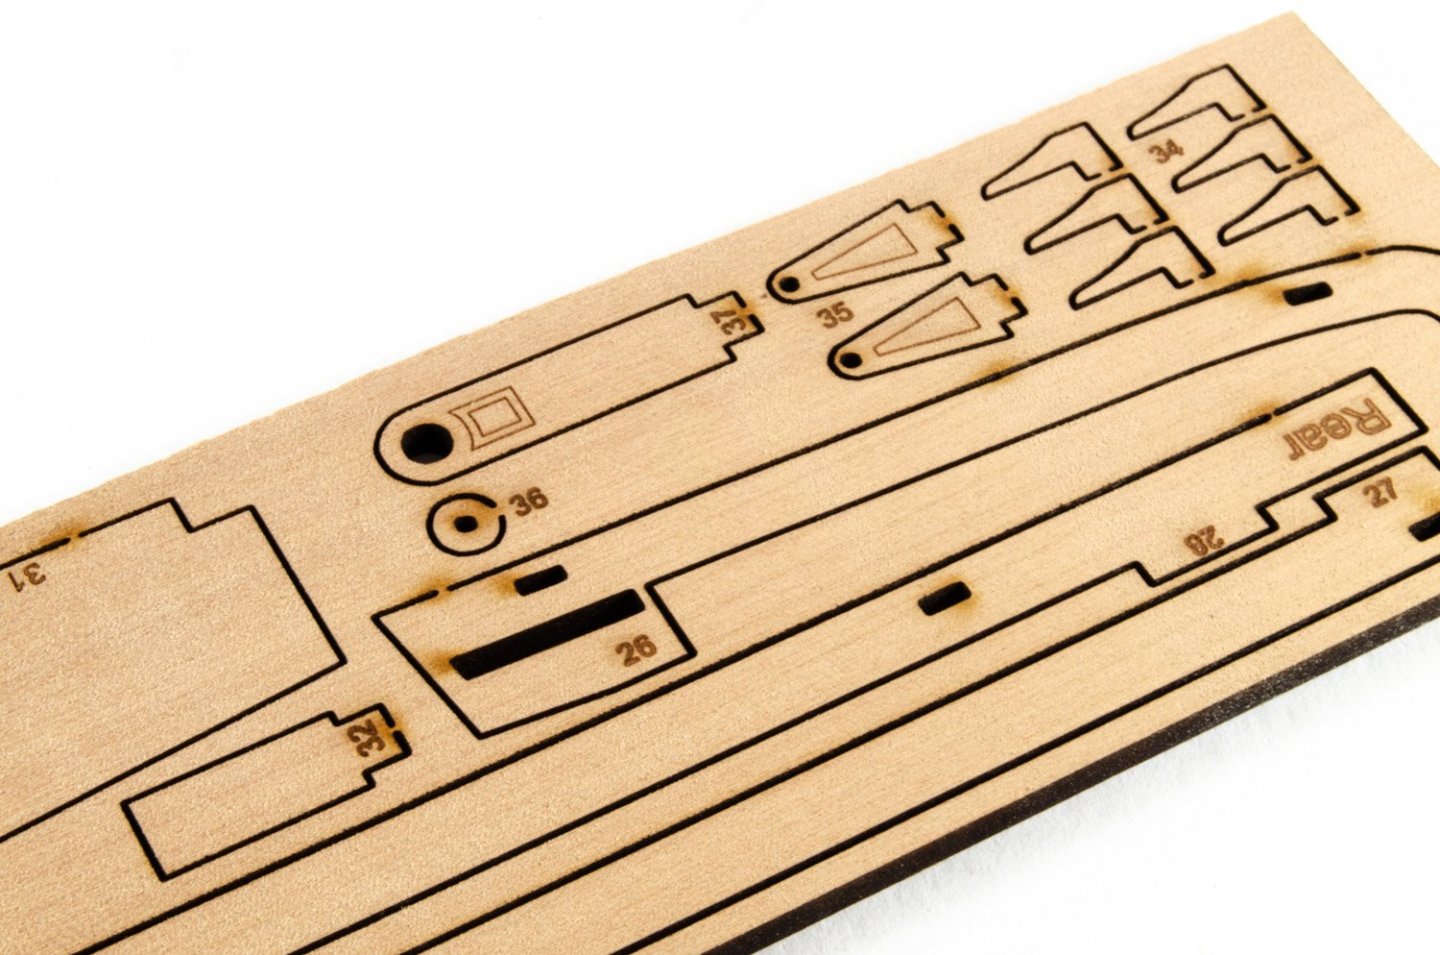
Two 3mm sheets are supplied, and as you can see, these also include engraved bearding lines etc. All parts are laser engraved with numbers too. Cutting is clean and it won't take more than quick knife cut to release the various elements. You will also see parts for the winch, temporary clamps for the keel, and superstructure core parts. Note that the bulkheads have a recess into which the deck will click, meaning no pesky nailing down at the edges.2 x 1mm Pear sheets
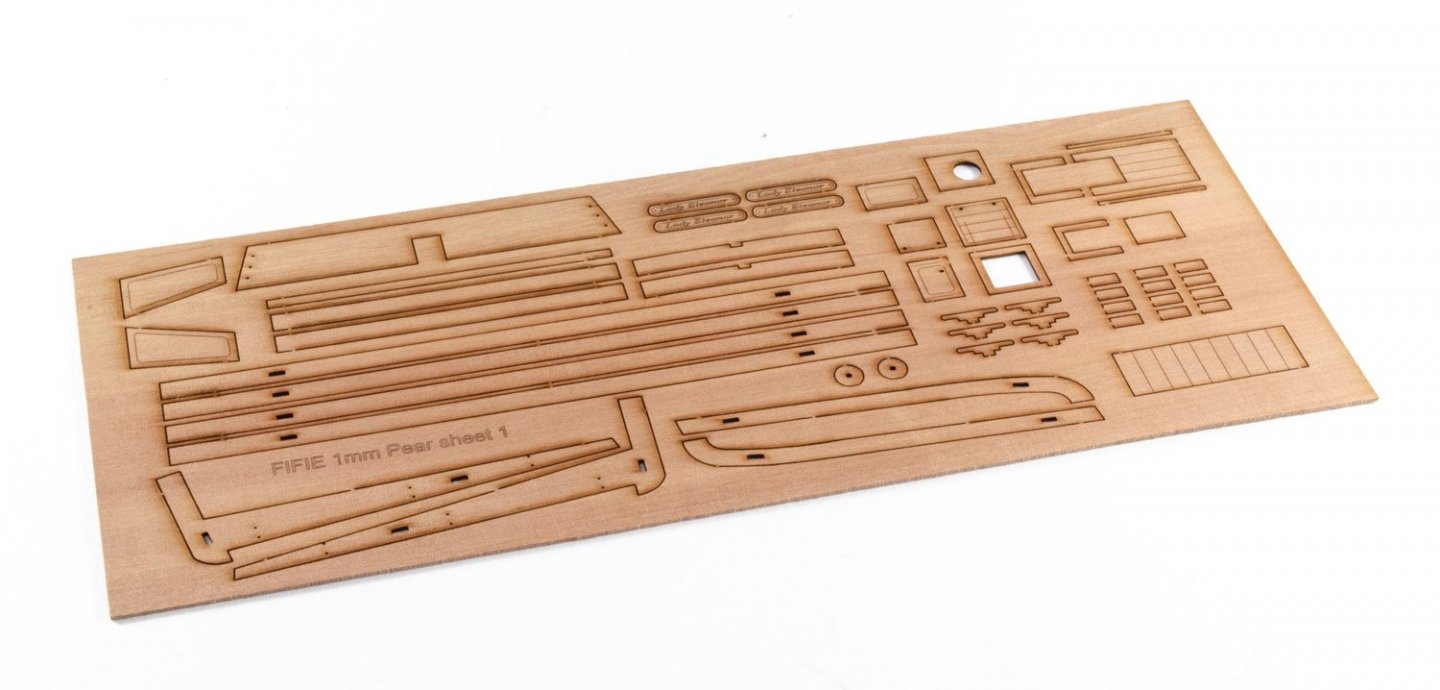
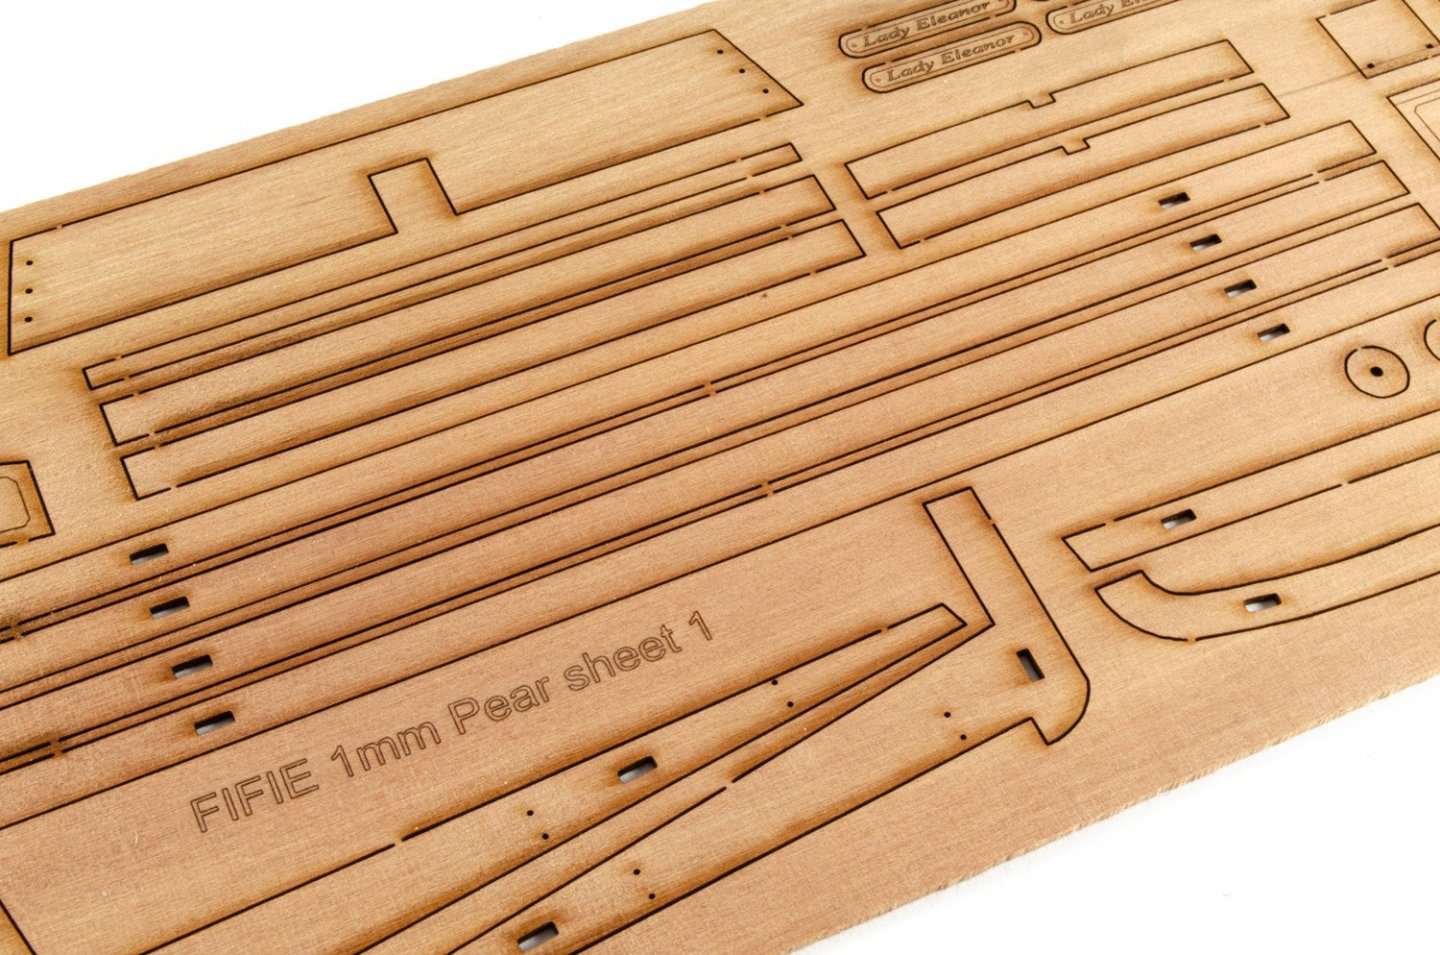
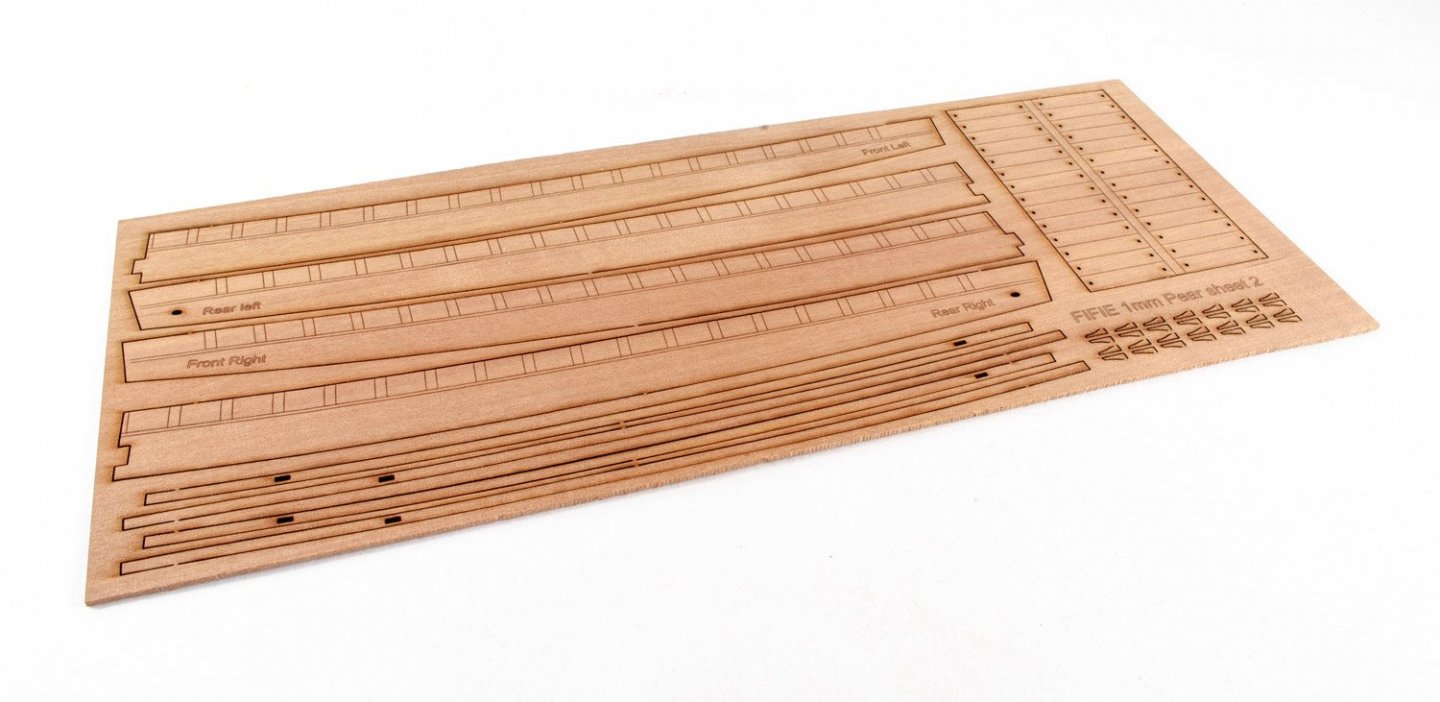
These sheets contain superstructure external facings, inner bulwarks in two parts each, and also keel facing parts. After the main keel is fitted, these sit on top, with tabs to locate them. This creates a rebate into which the second layer of pear planking will set. It's a neat idea and worked great on my Zulu. Note the 'Lady Eleanor' plates that fit on the boat's bow.
1 x 1.5mm pear sheet
This small sheet just contains the timberheads for the inner bulwarks.
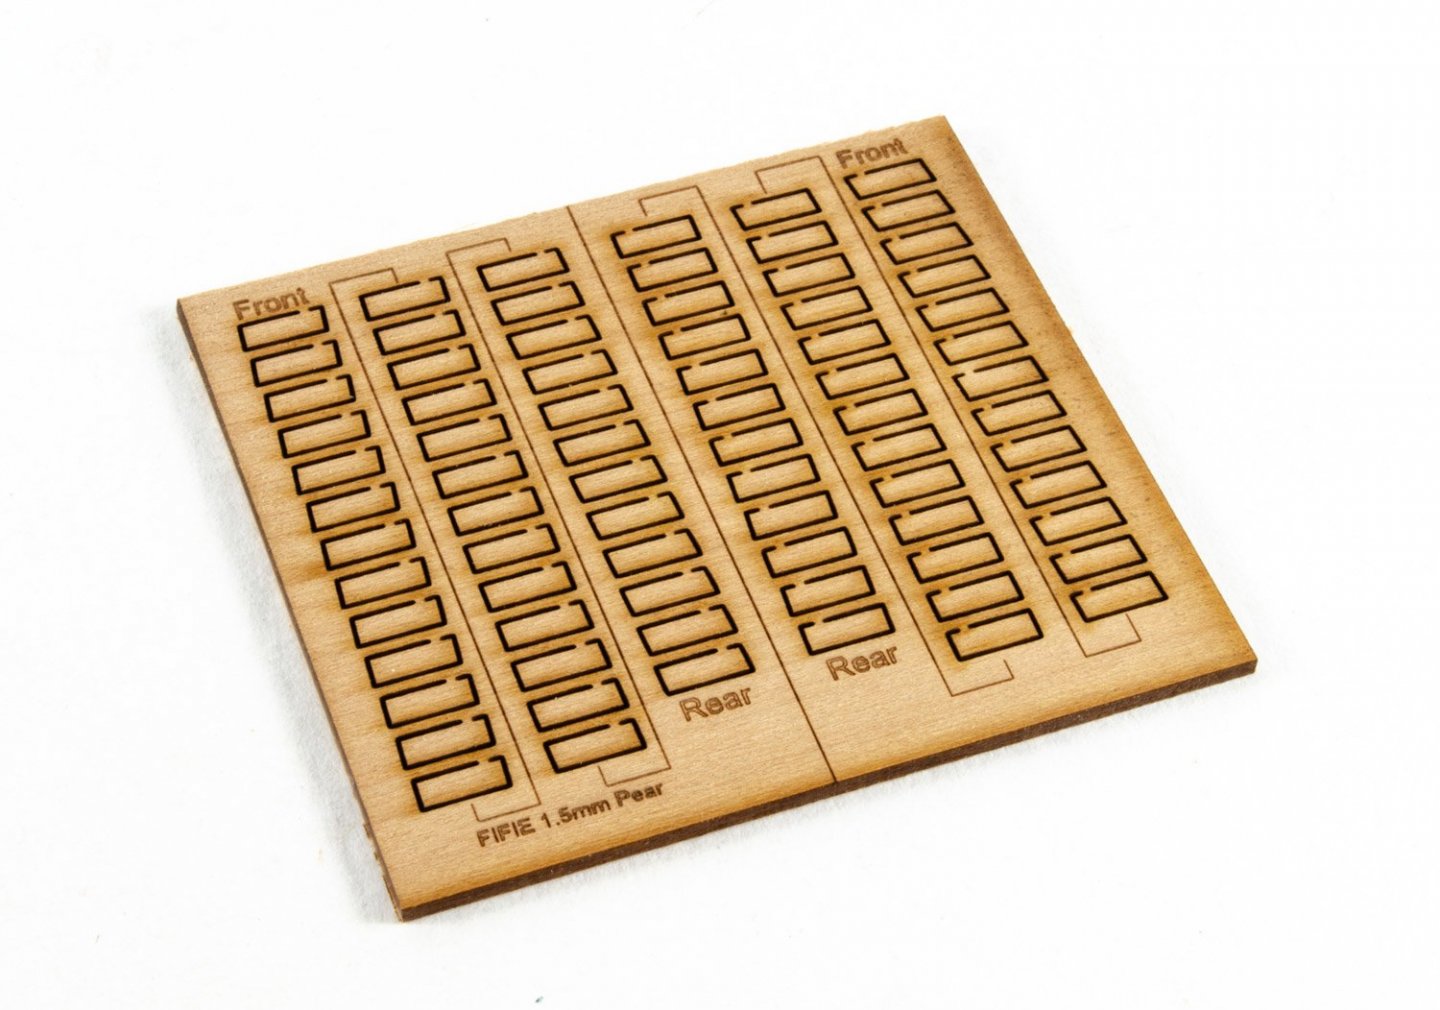
1 x 3mm pear sheet
Like Zulu, the Fifie has a single sheet of 3mm pear. Here you will find the keel parts, foremast step and crutch, rudder, and elements for mounting the boat's wheel etc.1 x 2mm acetate sheet
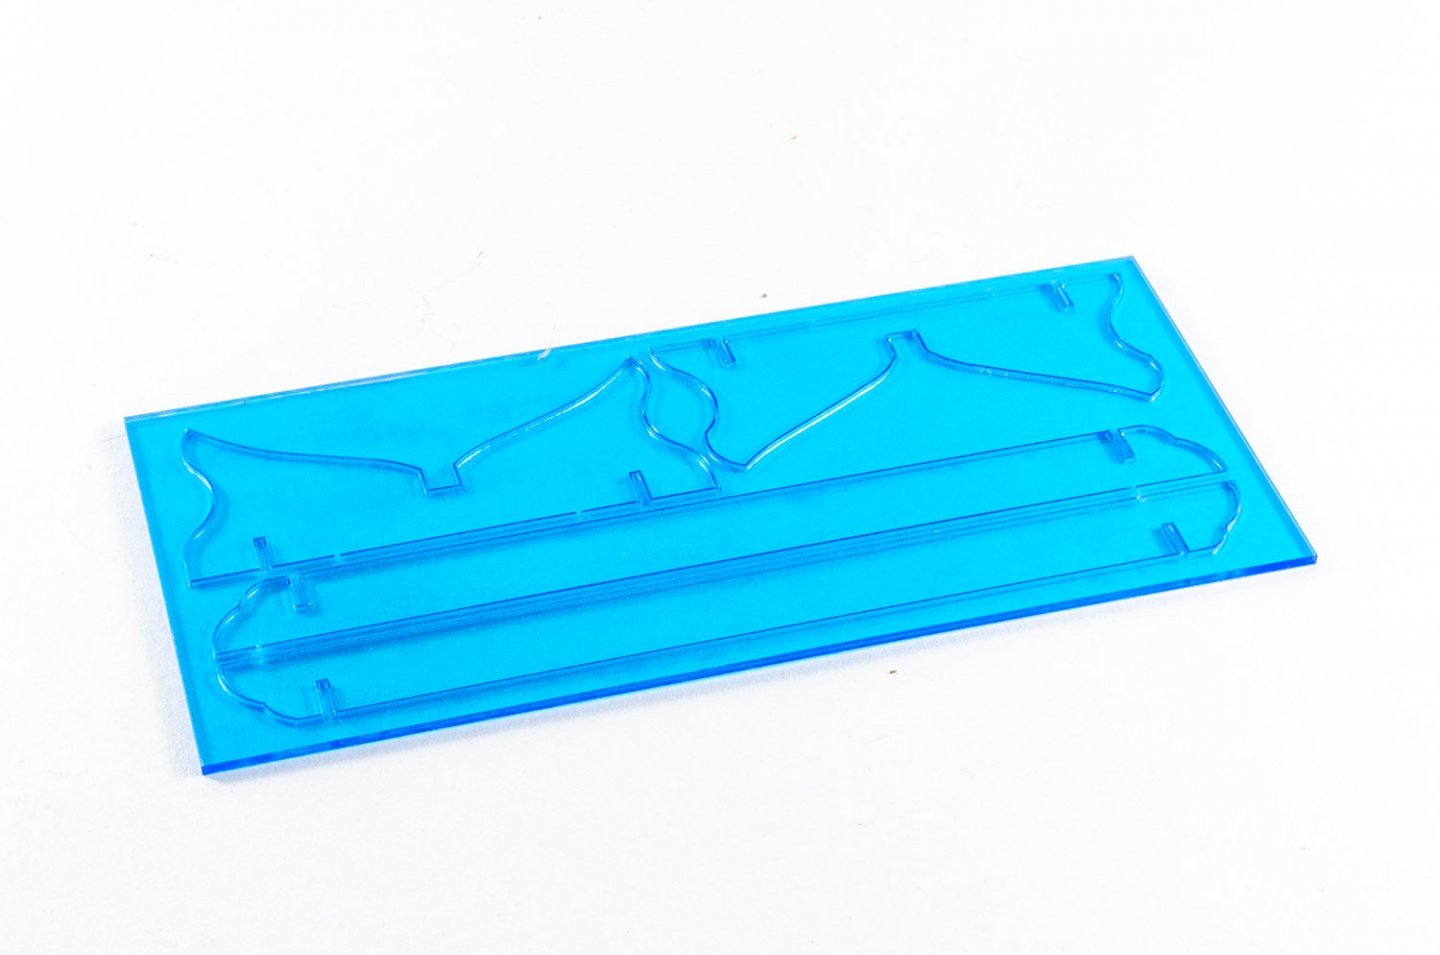
This model also comes with a clear acetate display stand. Just peel off the protective blue film and slot together!1 x 0.8mm ply (single part)
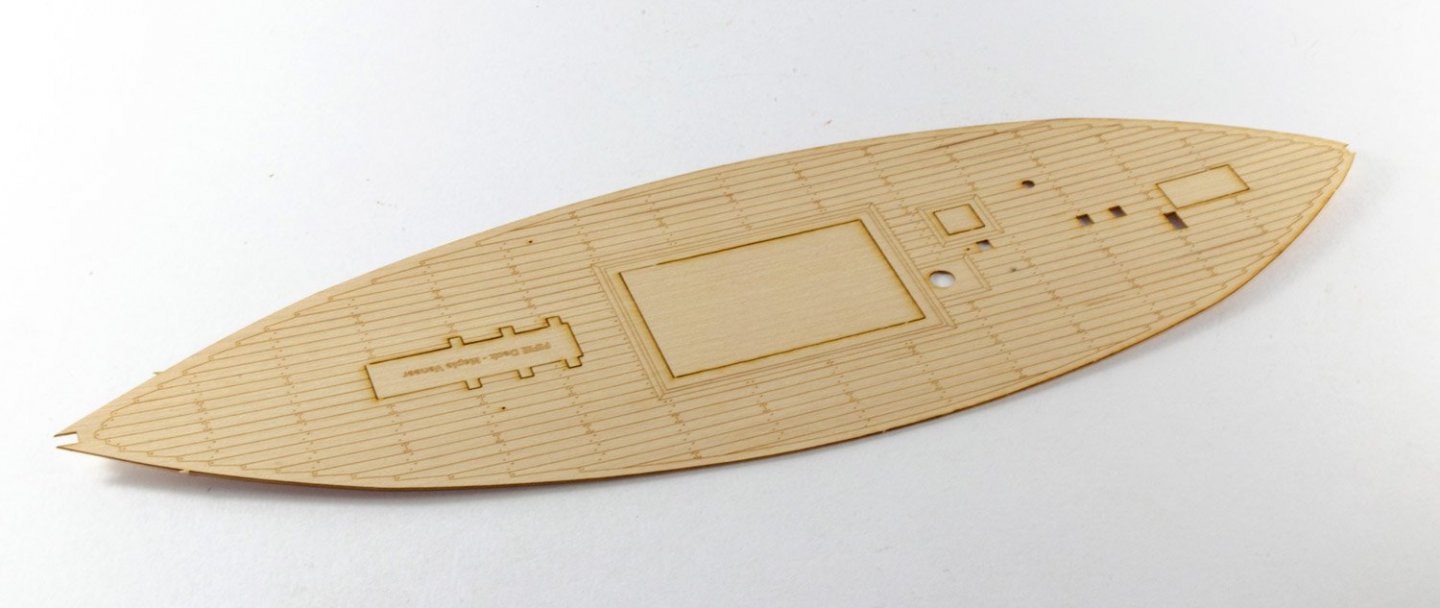
The deck is supplied in two layers with this ply deck being what you glue to the hull carcass. Like my Zulu, this will just click into place nicely. I even added glue after this was fitted!1 x 0.7mm maple or lime wood laser cut/engraved deck
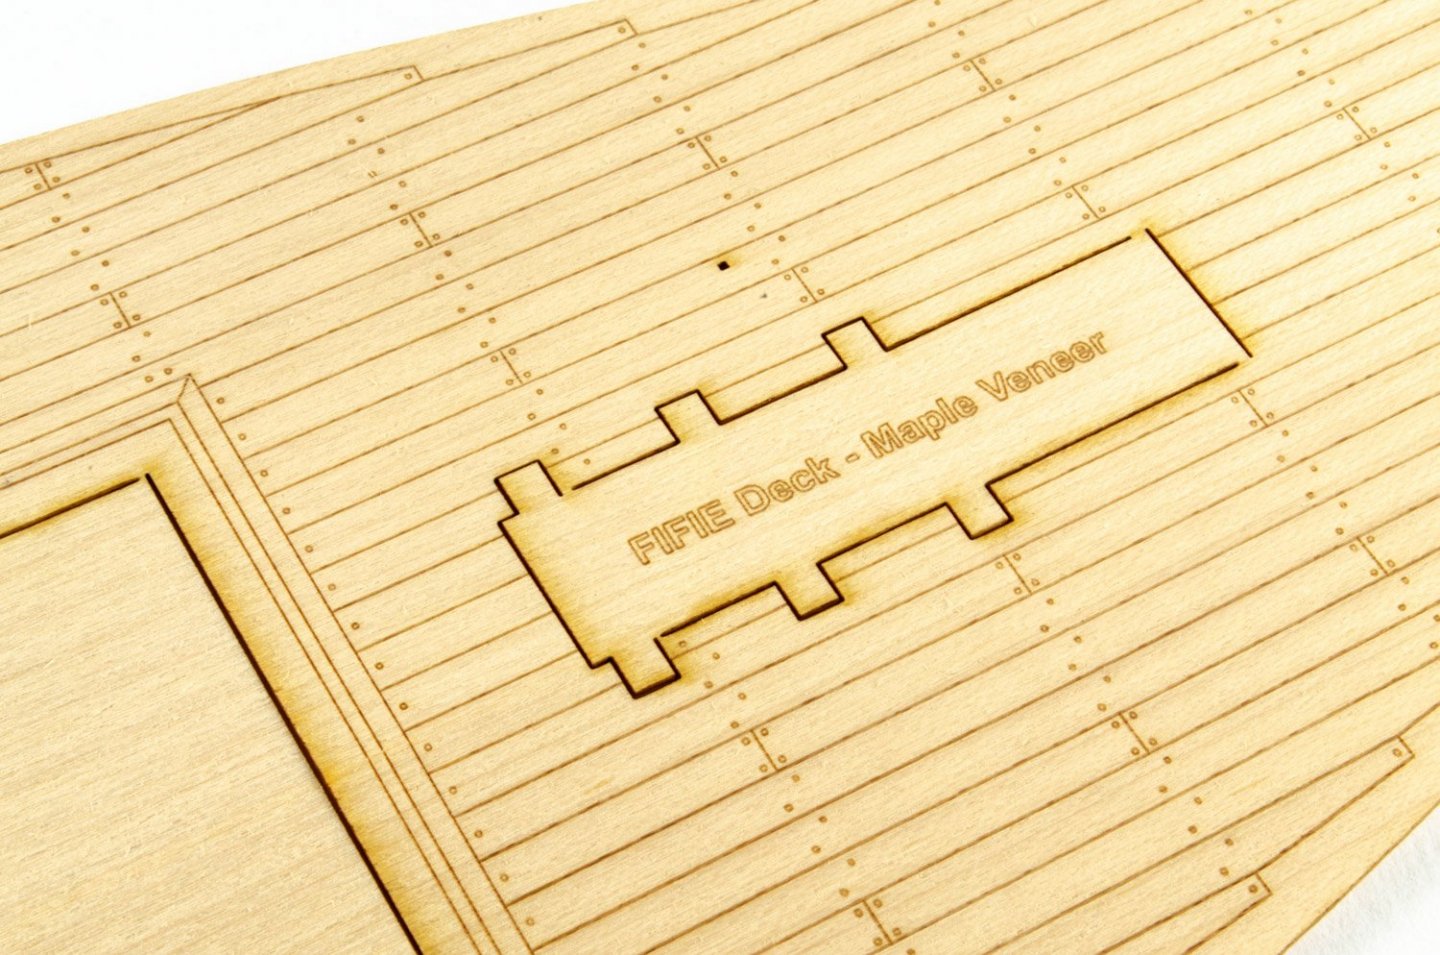
My kit was supplied with a maple deck which is at a slight extra cost to the standard kit. A laser-engraved limewood deck is standard.1 x 0.4mm PE sheet
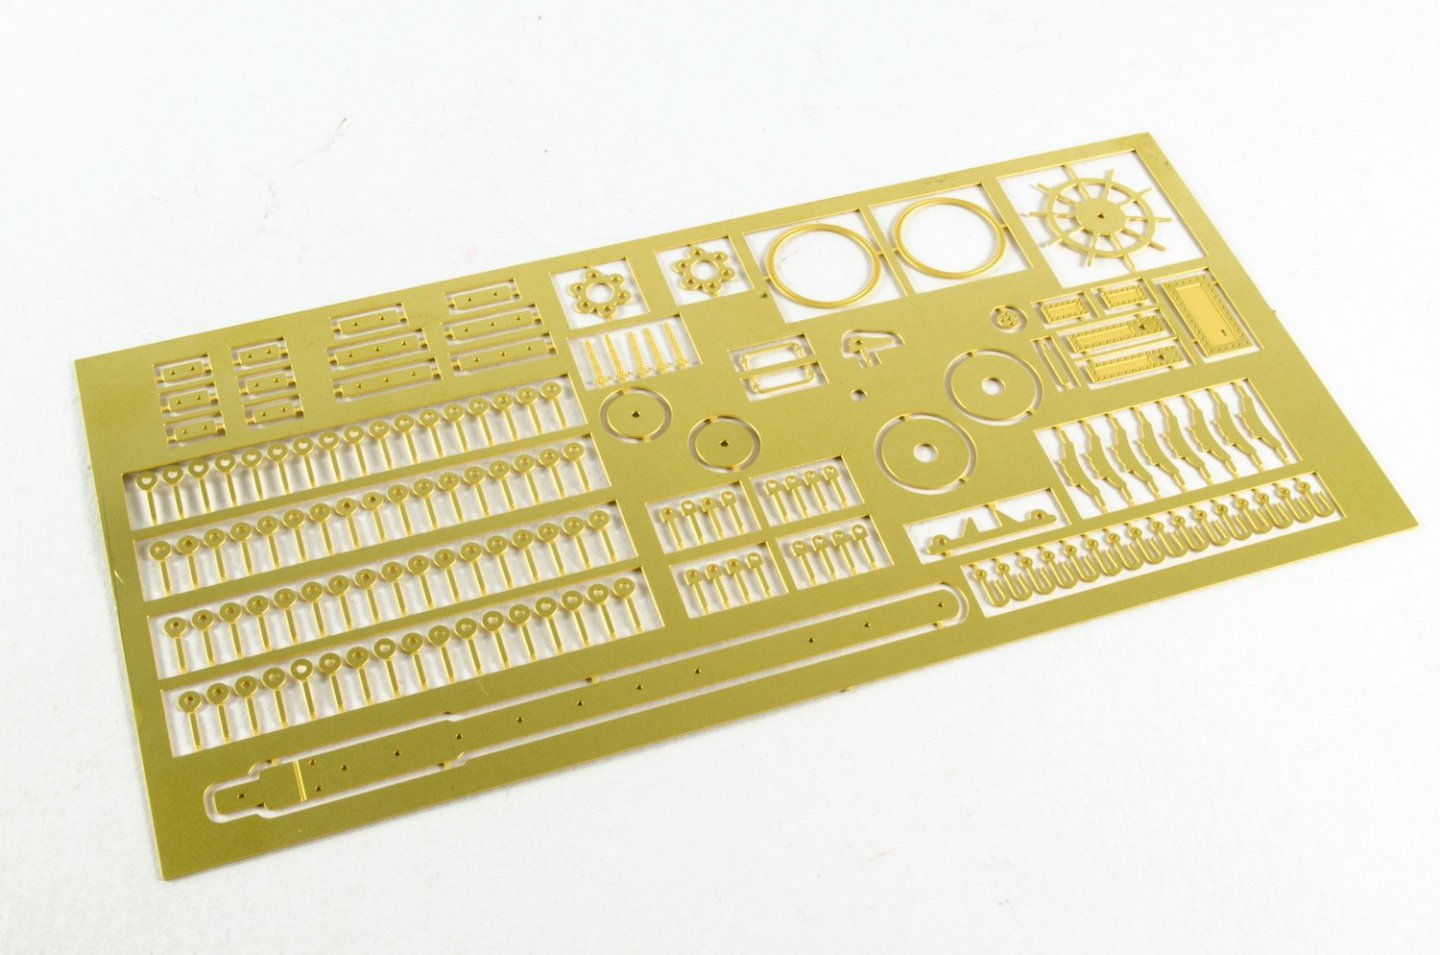
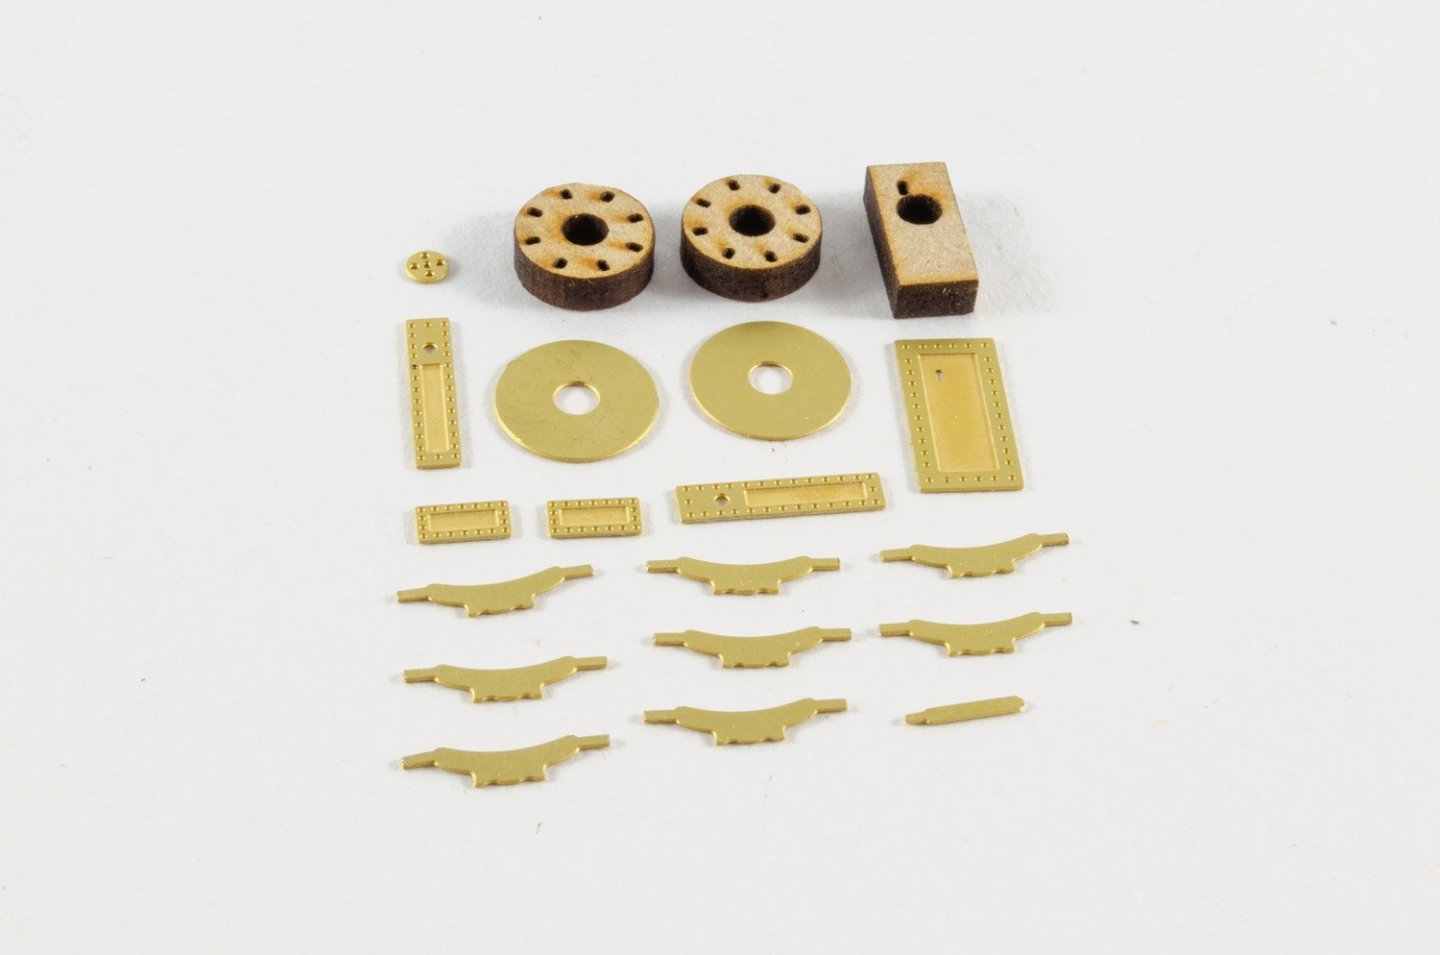
One sheet of PE is included. Here you will find parts for the winch (plates, mechanism box and whelps), rigging points, boat wheel and keel plate for the bow.Timber strip
All timber is high quality. Here you will find both layers of planking and the rubbing strakes.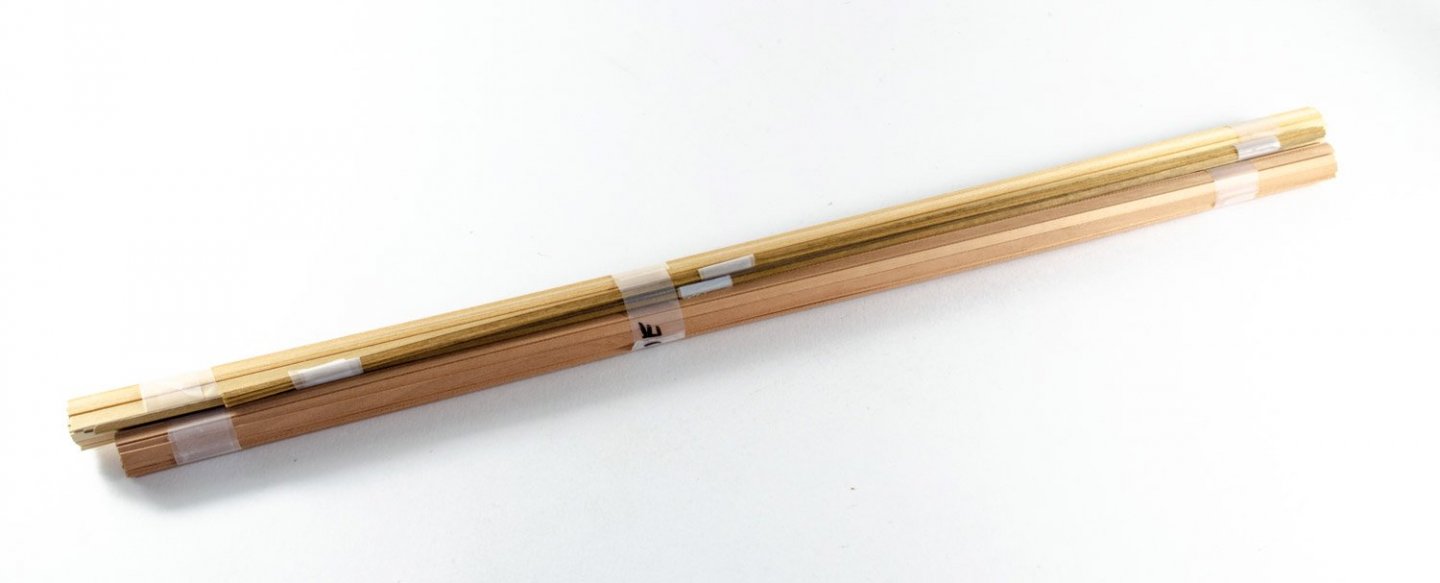
Rigging cord, parrel beads, rigging blocks
0.25 and 0.5mm natural cord is included, as are the various blocks and fittings etc. Please excuse the inaccurate number of blocks in these photos are my Zulu blocks are also in there and not yet separated.
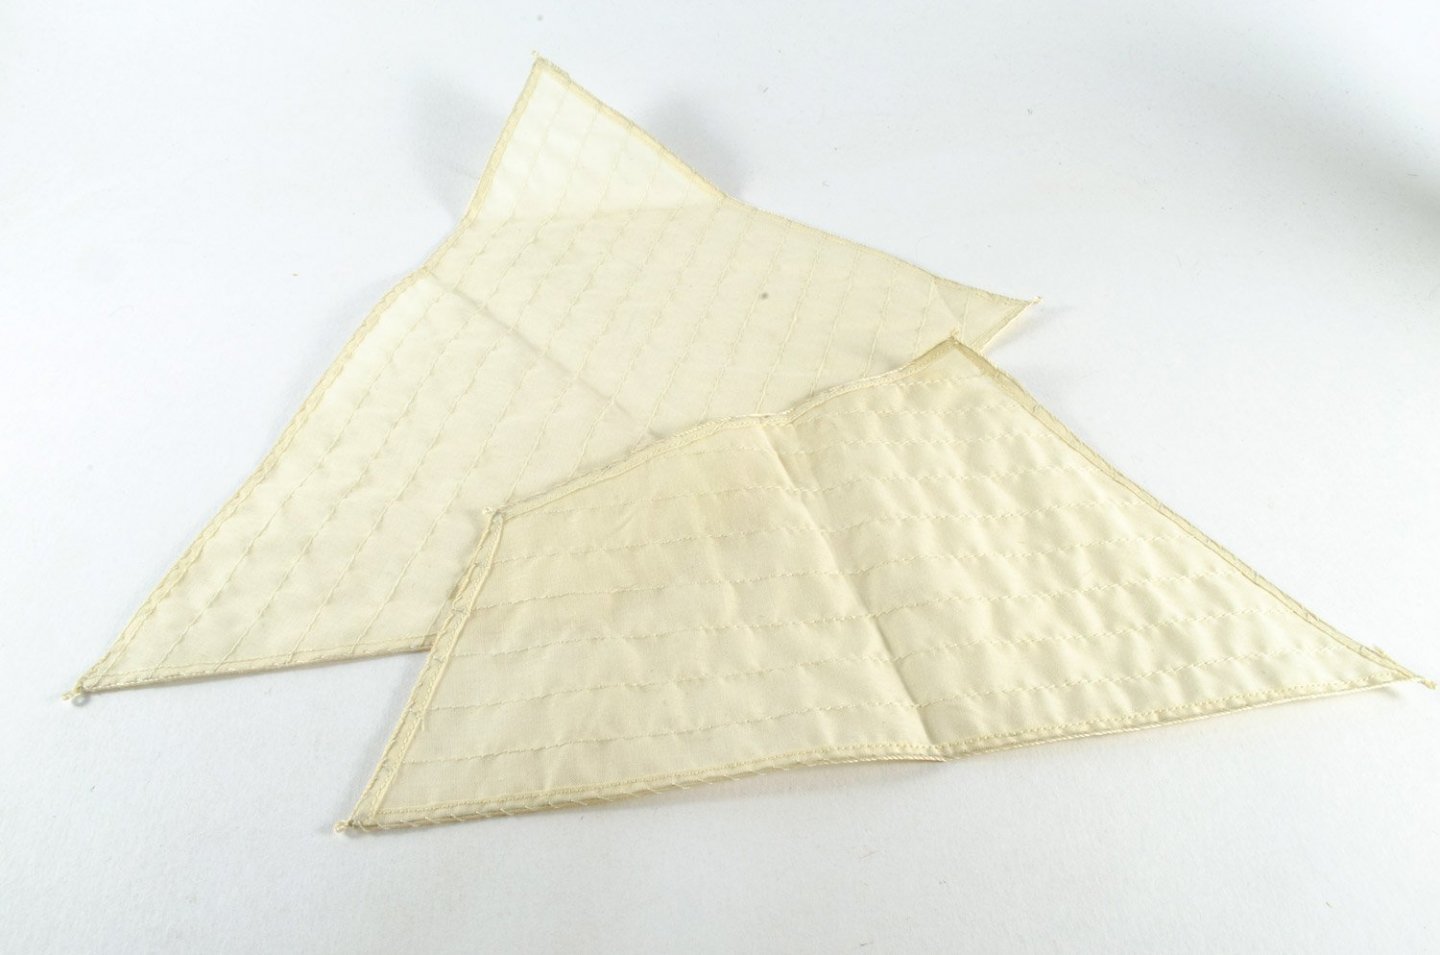
Optional sails
If you want to finish your fisher with sails, and they do look great on this type of model, then they will be available as an optional extra. These are cotton-based and pre-made with a bolt rope etc.Lastly, here's a photo of Chris's prototype Fifie.
I'll be starting mine tomorrow.
- mtaylor, mugje, Ryland Craze and 14 others
-
 17
17
-
Welcome to MSW, Romulus.
You'll love the Santa Maria. That was one of the first models I built and you shouldn't find it too difficult. The Lady Nelson and the other Amati/Victory Models kits were designed by @chris watton so hopefully you'll be able to follow this up with one of those too, or one from his new range.
Time to hunker down while this virus thing is raging. Hope you have plenty of toilet paper 🤣
-
10 hours ago, BobG said:
I'm loving this build, James!
Do you need to prime or somehow prepare the brass parts before you paint them? Would acrylic paints work just as well also?
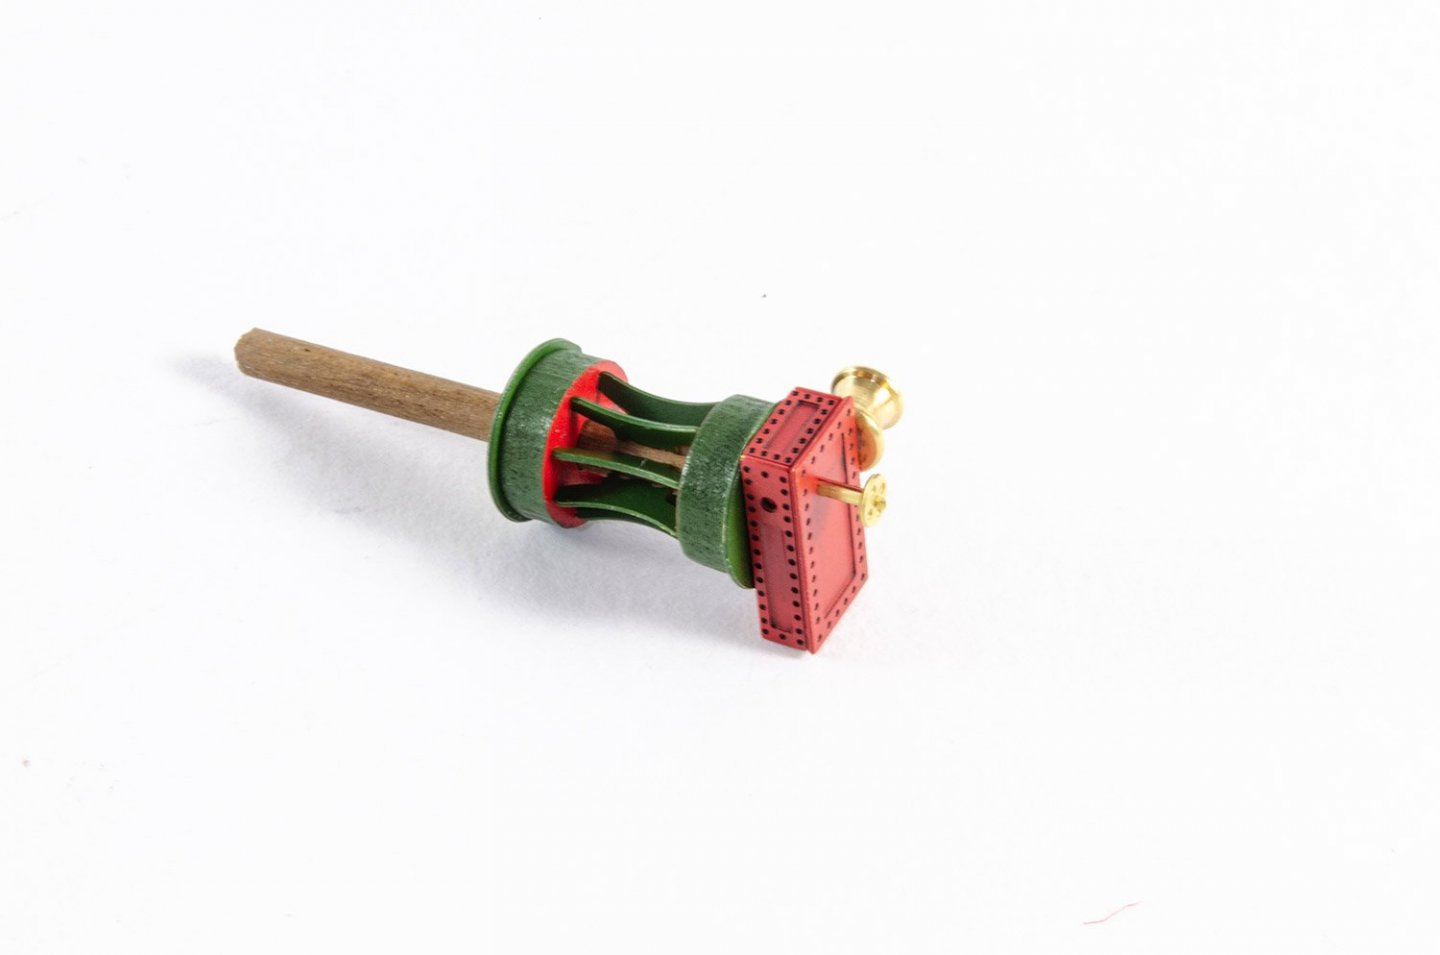
If you mean on the winch, then you don't really need to. I rarely prime metal, but as I was also wanting to seal/prime the MDF discs, I also sprayed the brass parts.
- mtaylor, popeye the sailor and BobG
-
 3
3
-
23 minutes ago, yvesvidal said:
Beautiful little model. Again, I wish it was offered in 1/32nd scale.
I love the shape and curves of the hull. So typical.
Yves
You should give it a try. You'll love it.
- BobG, mtaylor and popeye the sailor
-
 3
3
-
36 minutes ago, Suzdal said:
I suspect that you and I are not the only ones.
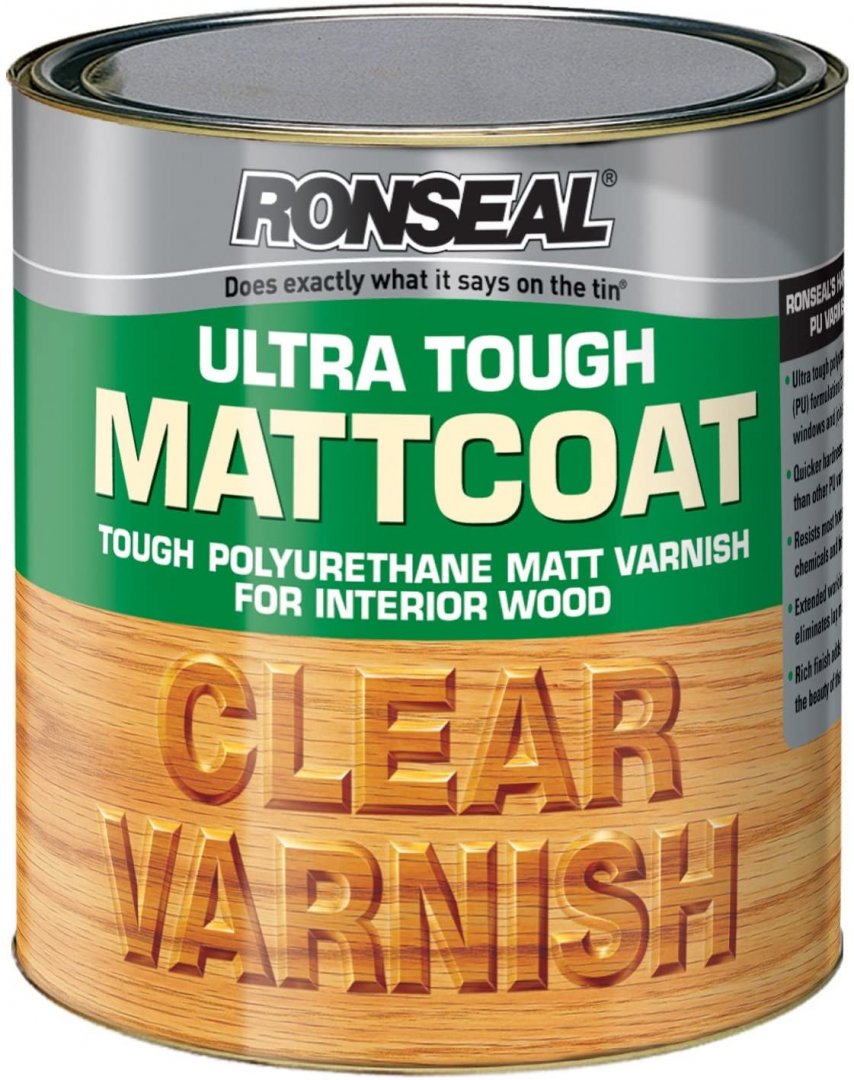
One problem I'm having is to translate all the technical terms in to products I can buy in France/Internet. Such as "matt polyurethane varnish".I did a google search and came up with
I hope that is what James was talking about. Operating in a non english speaking country, things get lost in translation and purchasing.
Richard
This is what I used:
- BobG, popeye the sailor and mtaylor
-
 3
3
-
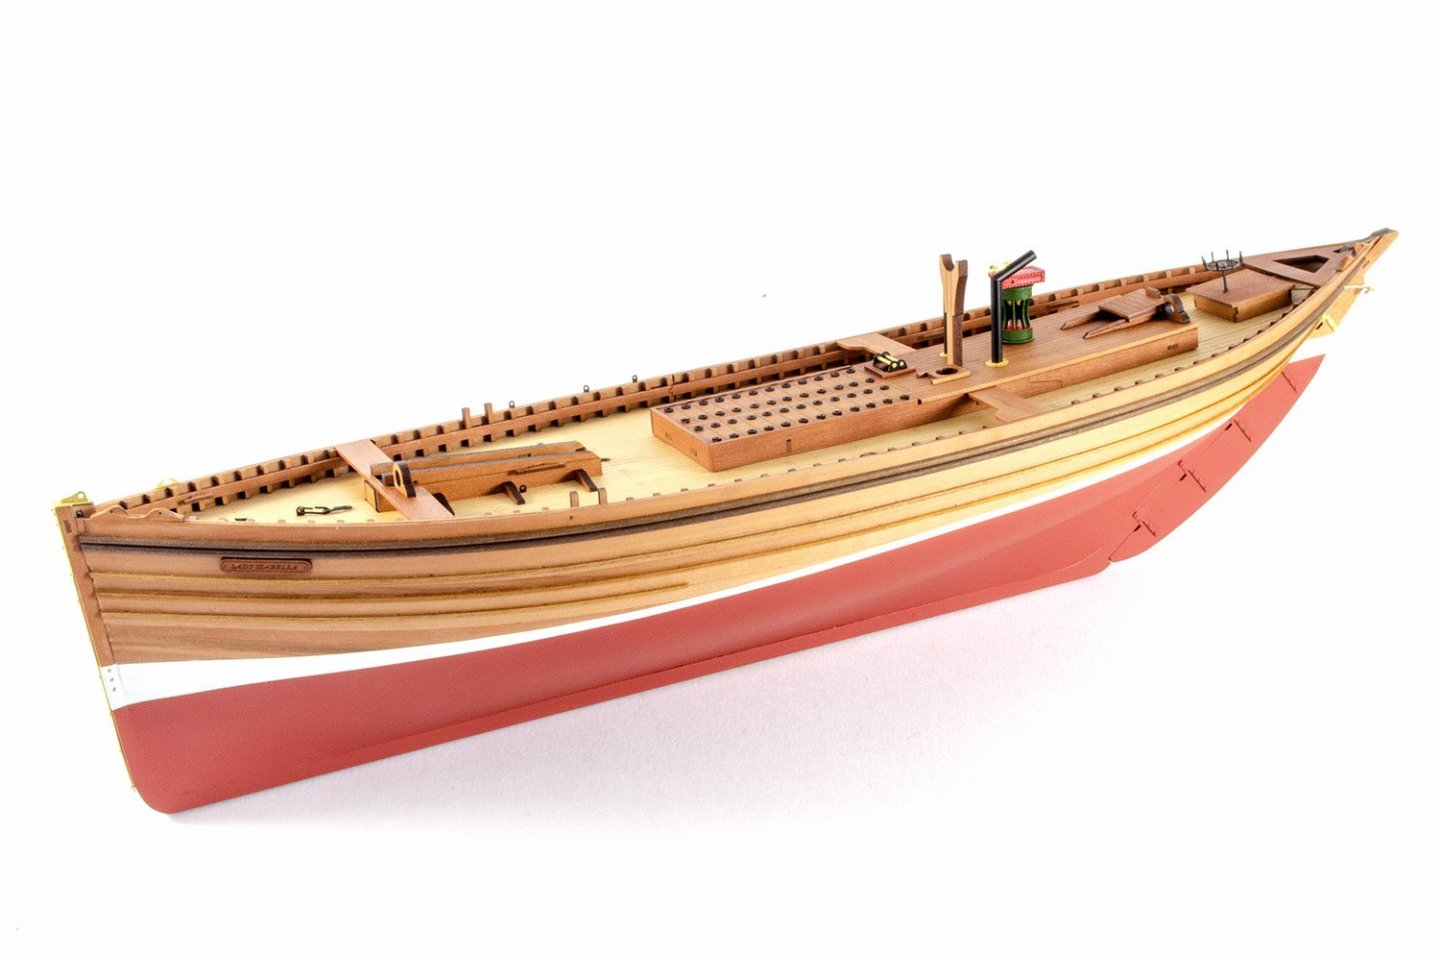
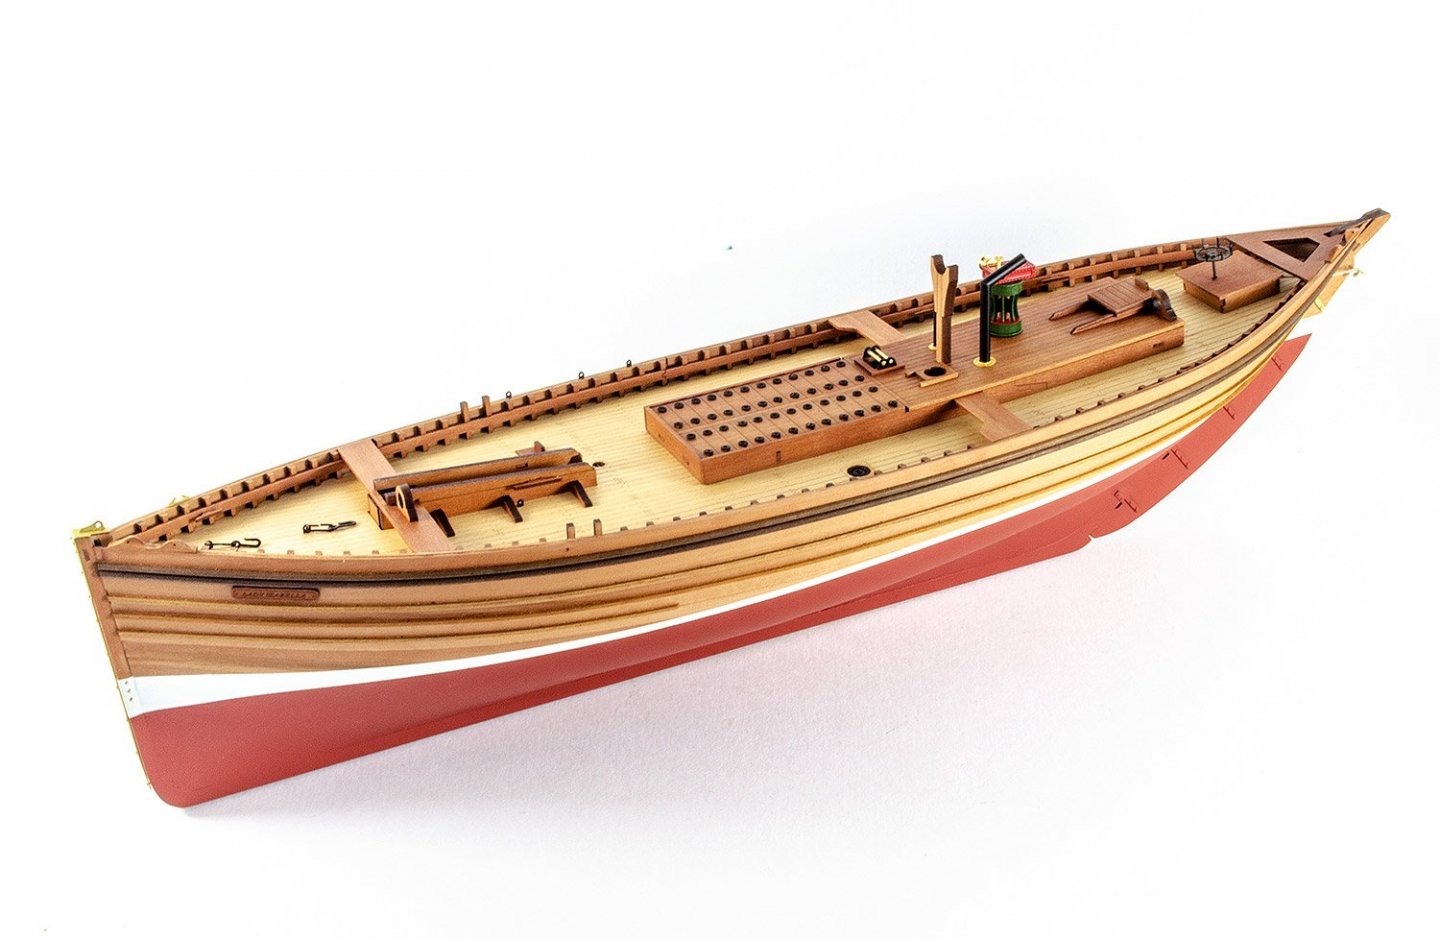
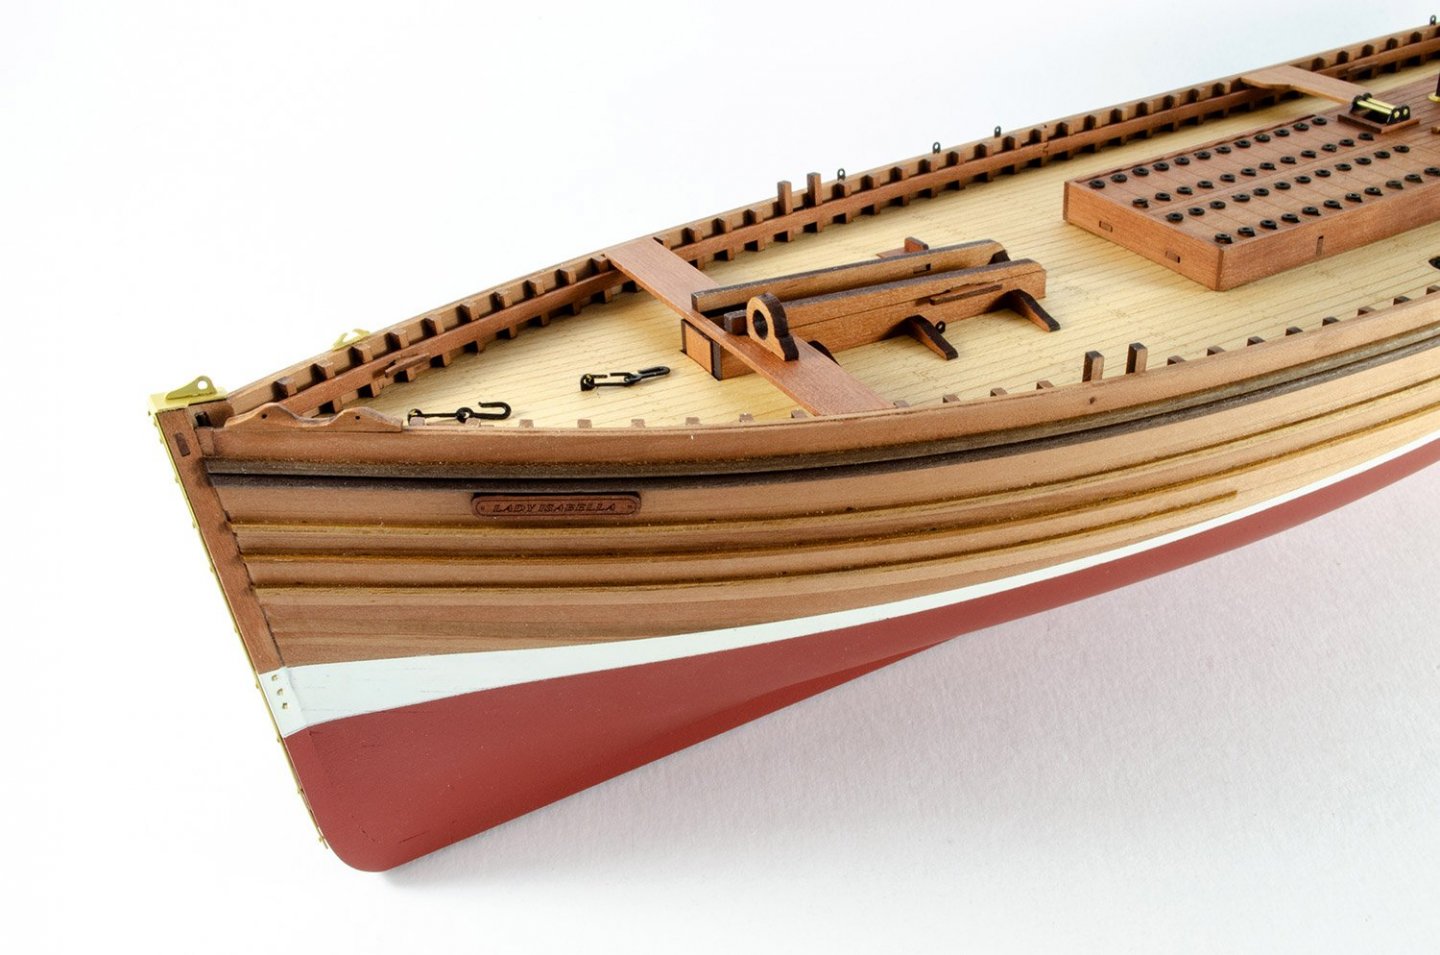
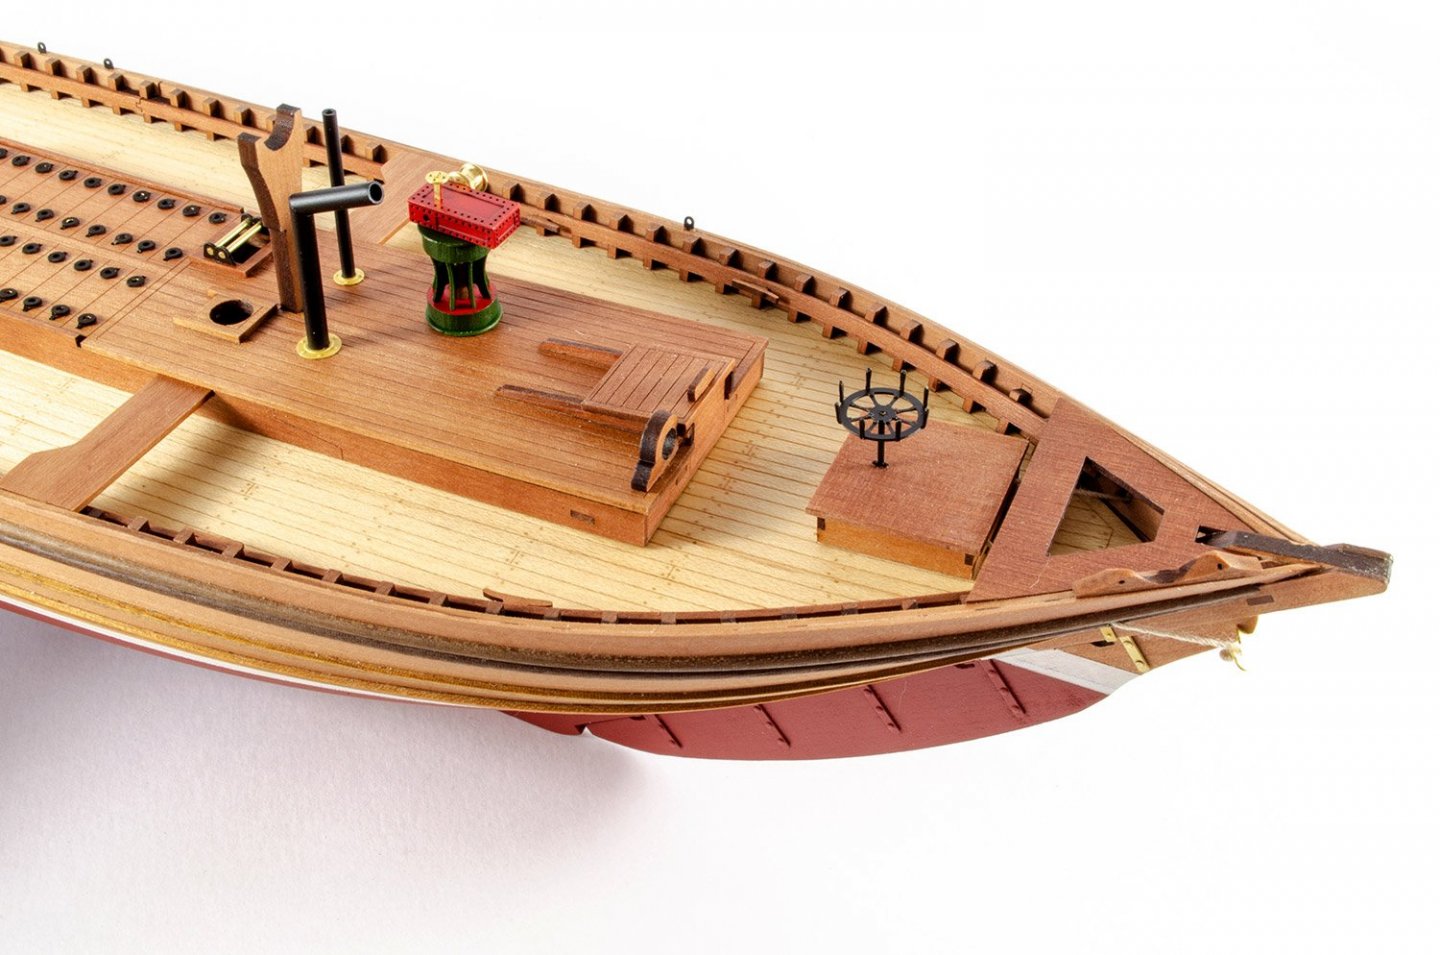
Ok, this is the last update before I start making the masts. The hull is now complete.
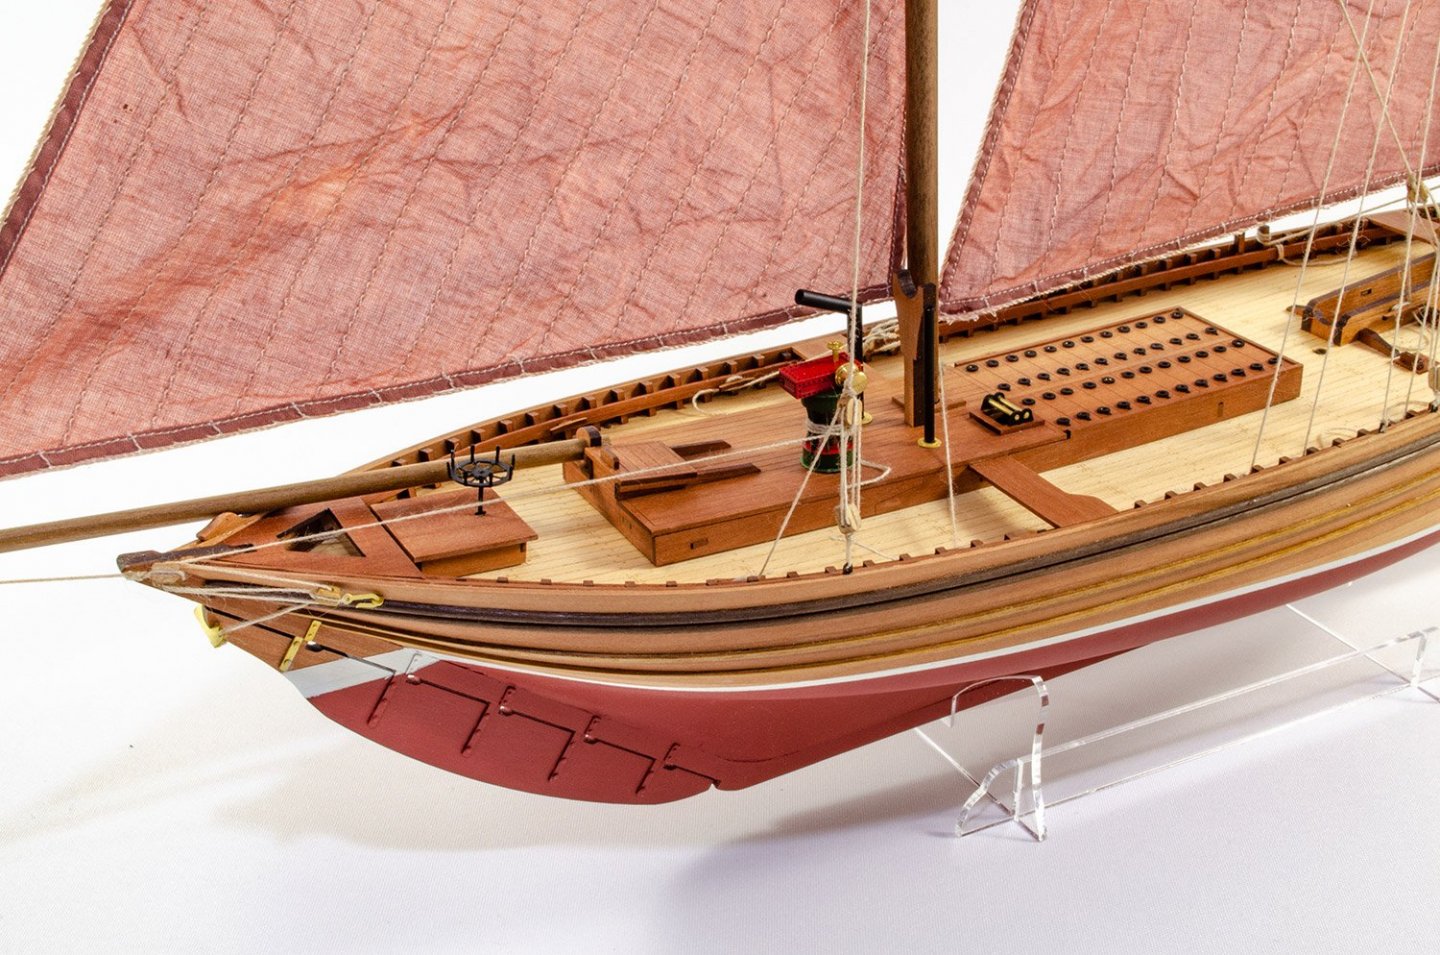
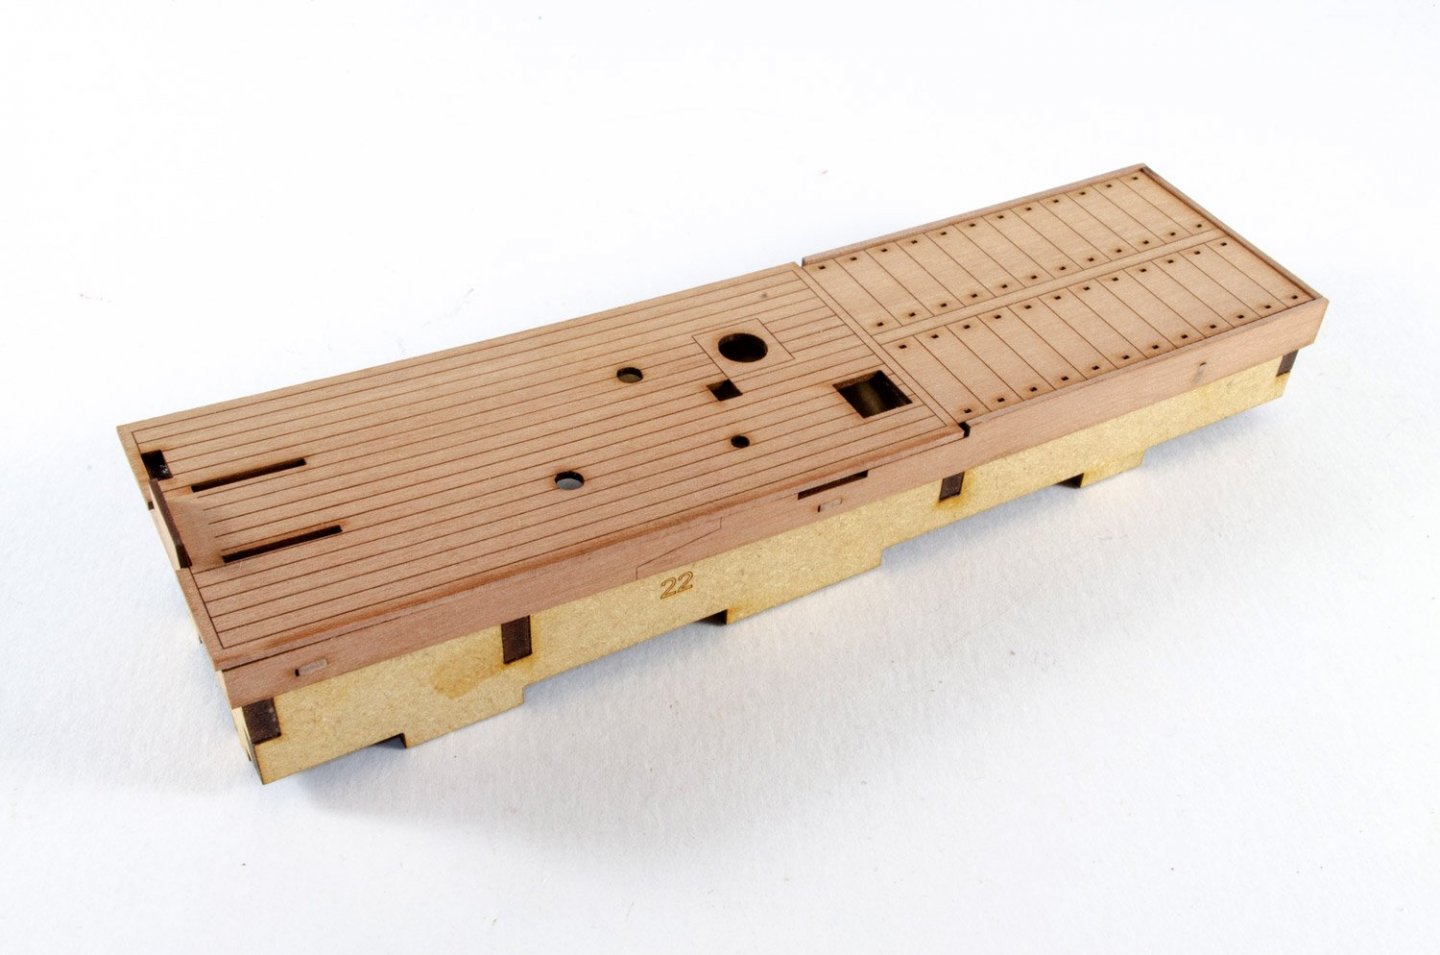
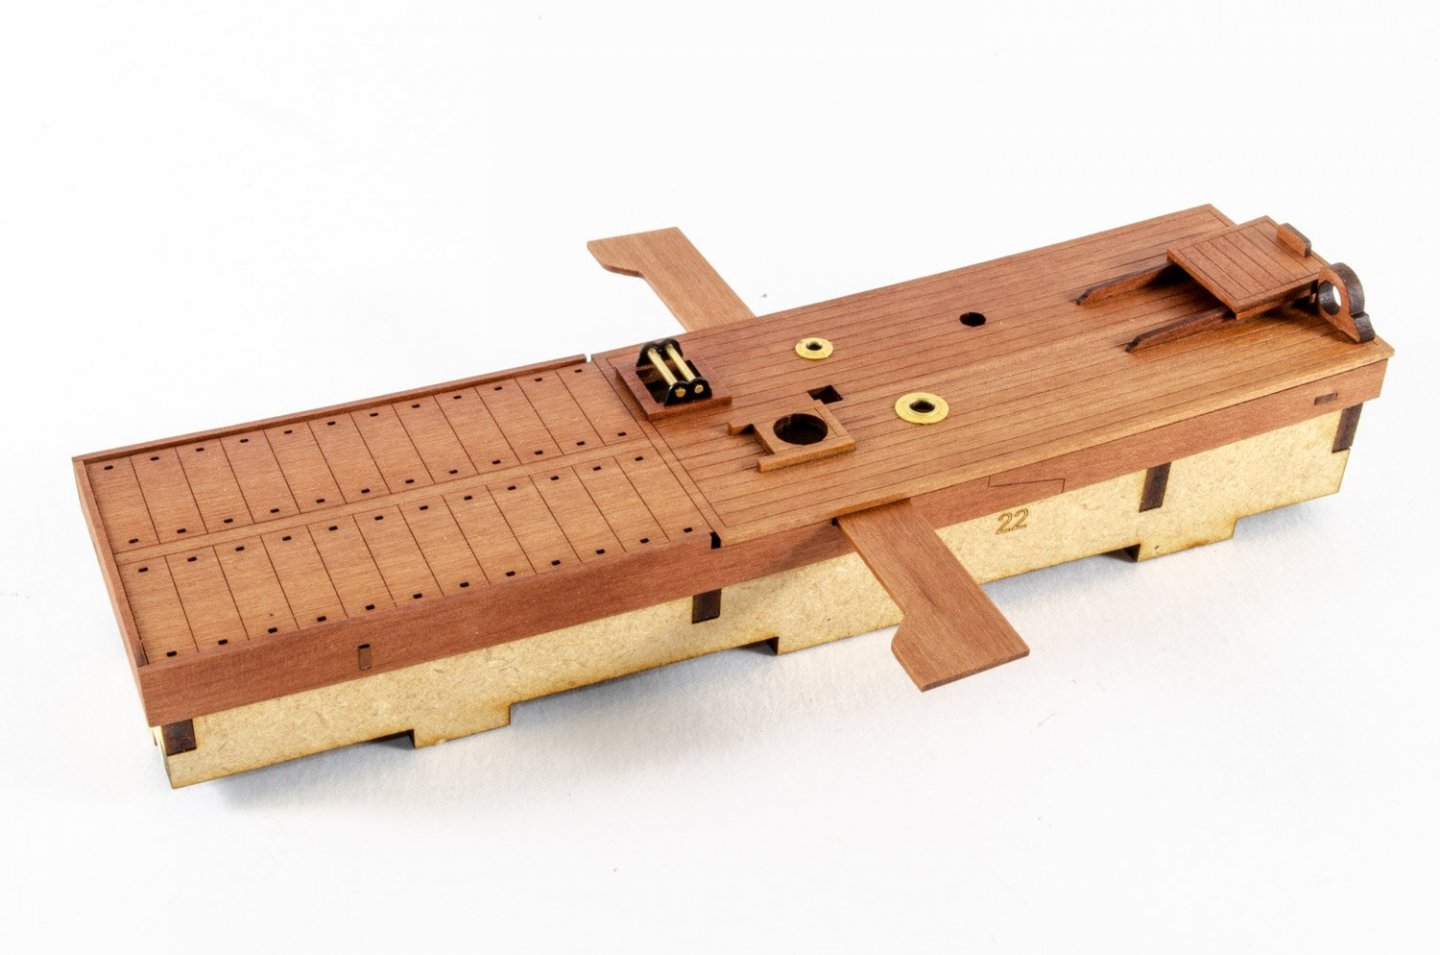
First up, I fit the roof to the main superstructure. This is a single, laser-engraved piece, and I glue with CA gel because of the slight curve across the grain. This takes about 10 seconds with Gorilla Glue CA gel.
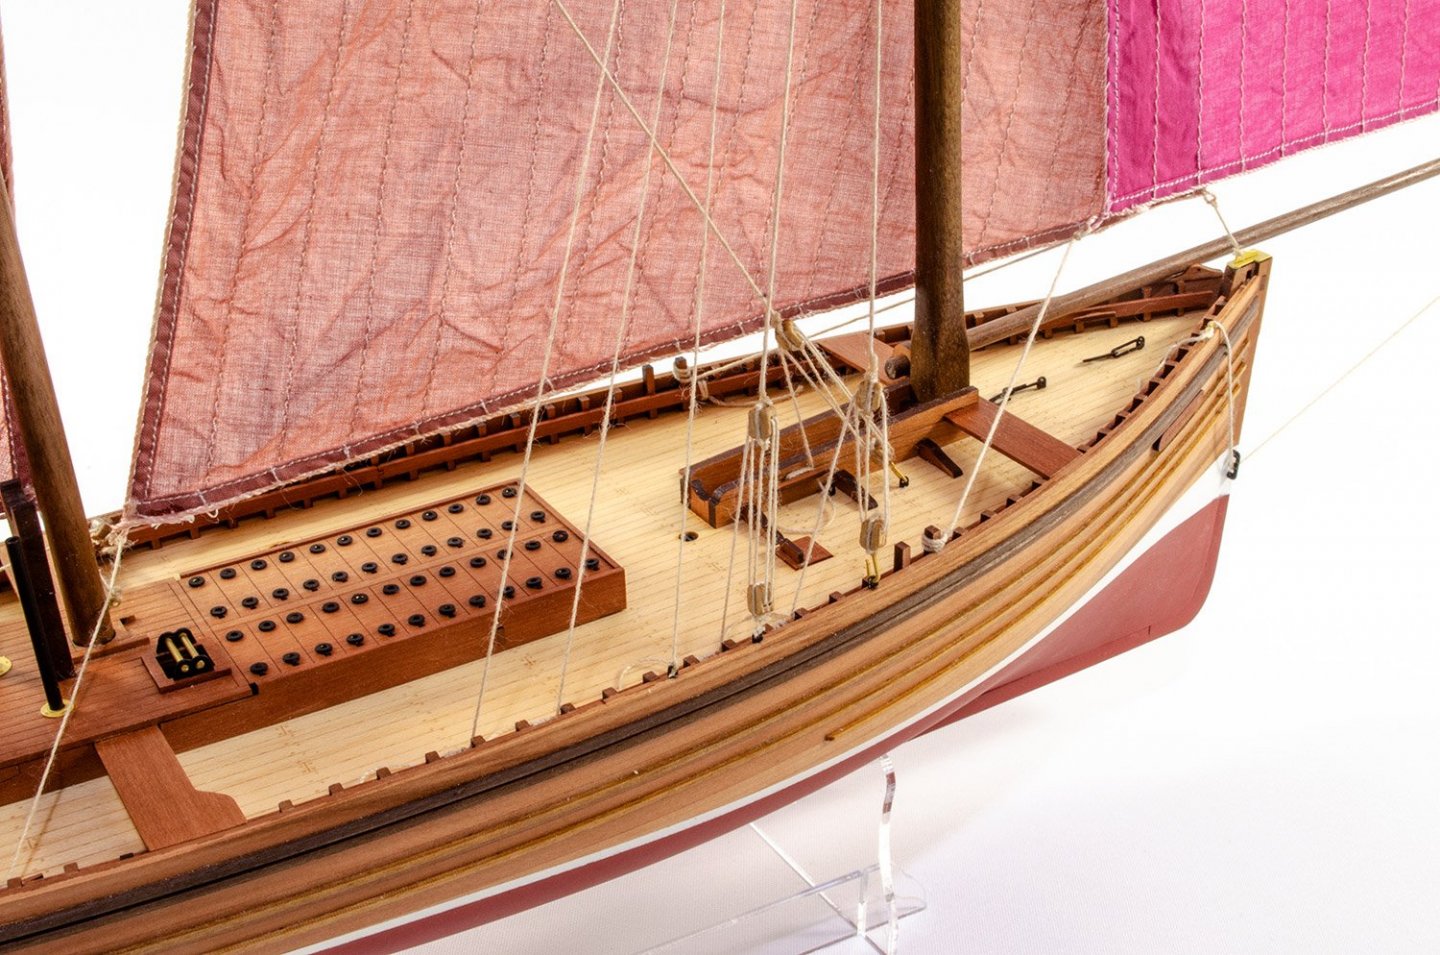
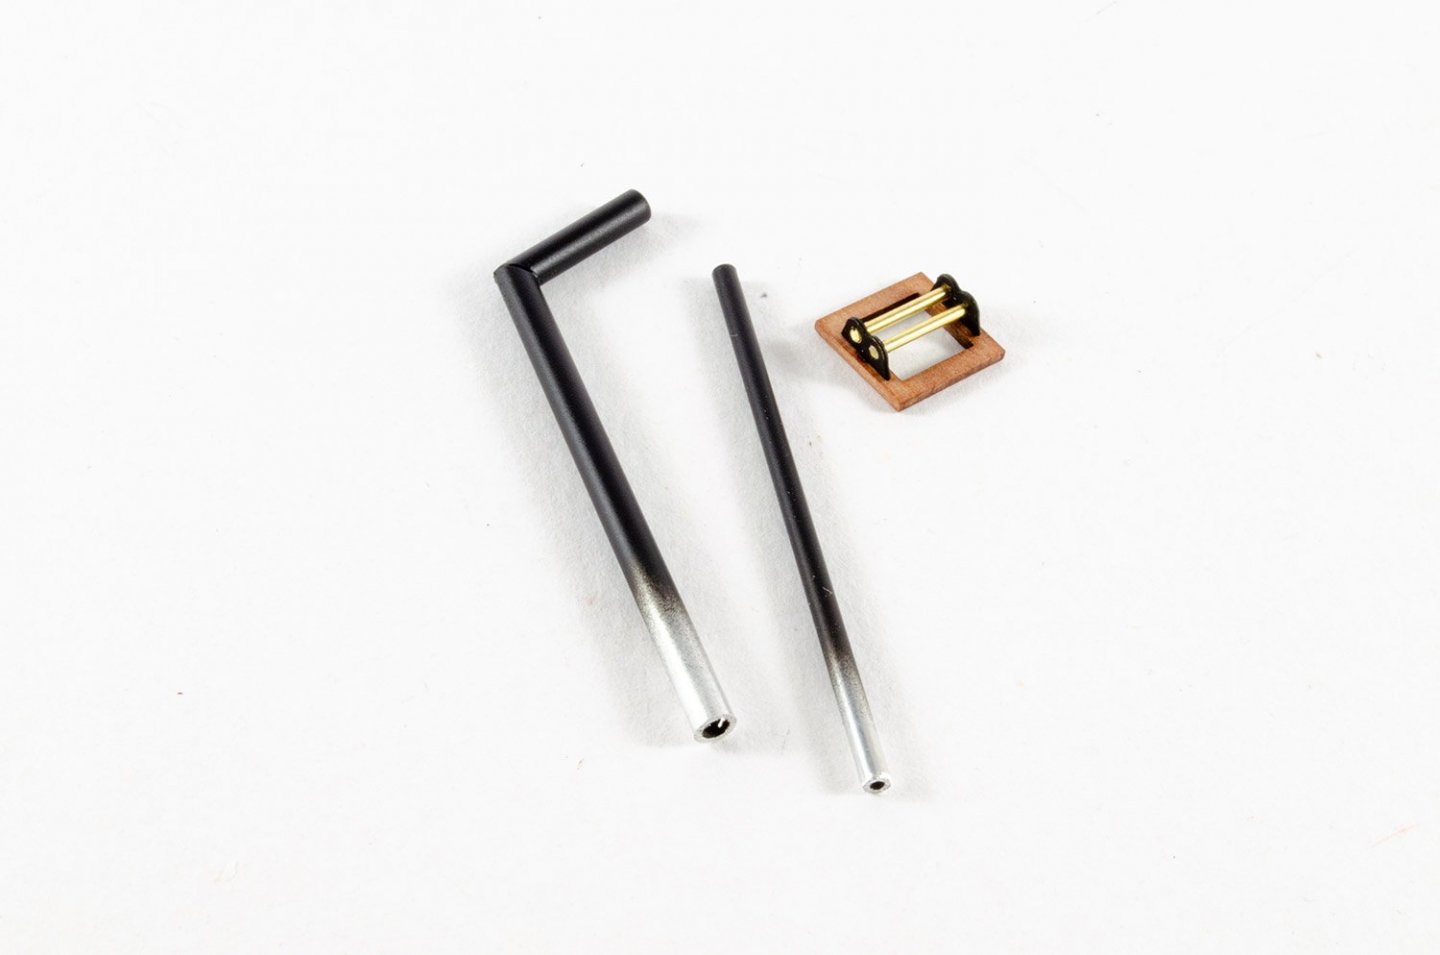
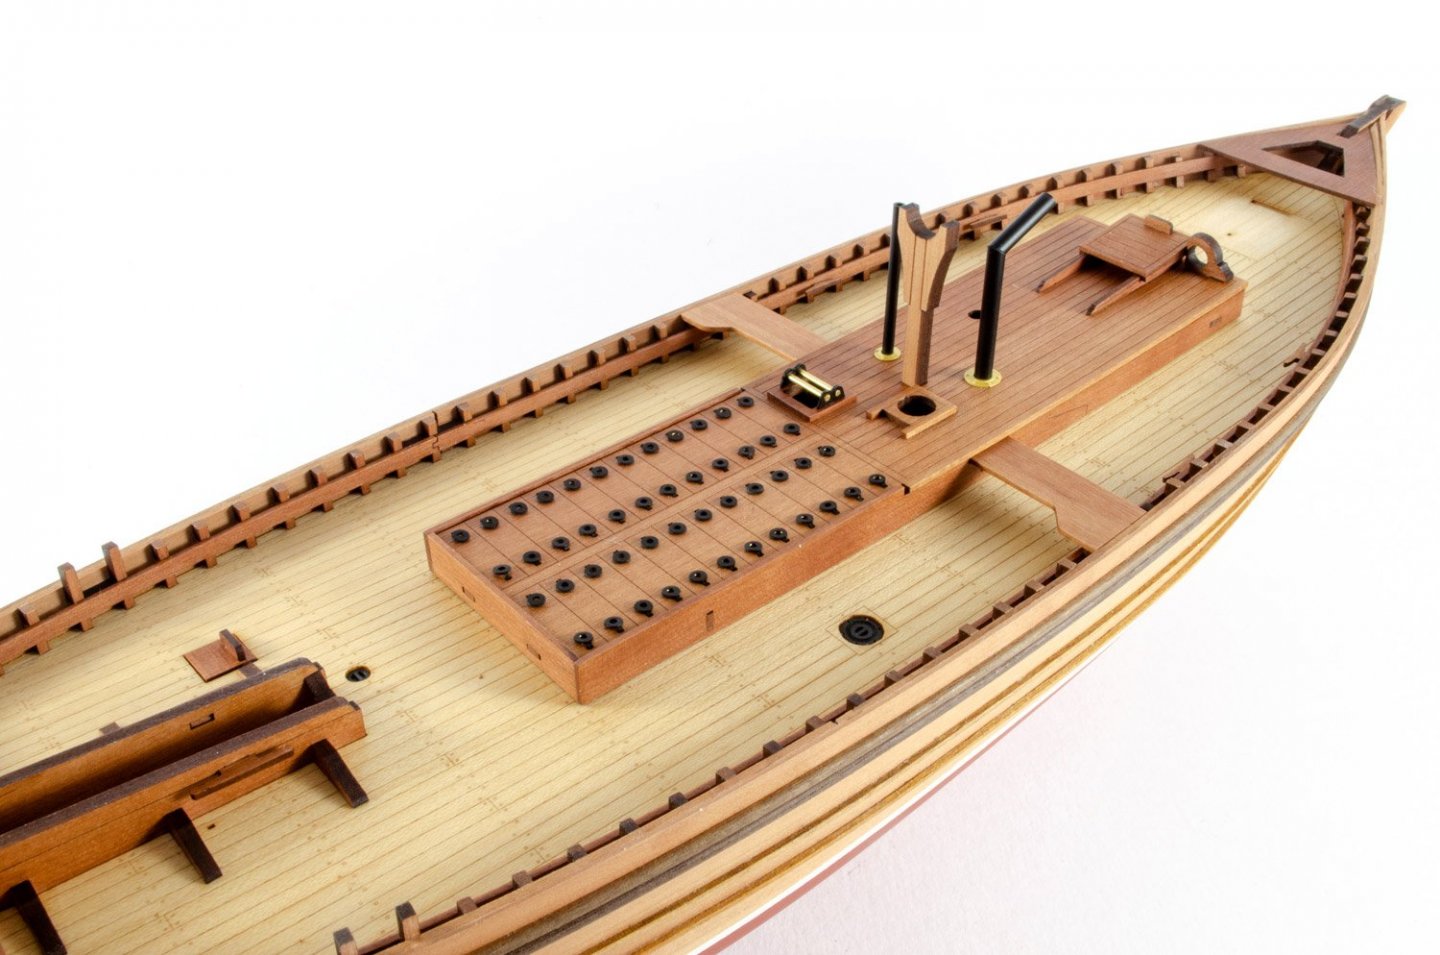
This isn't too bust a deck, but the details are very nice. Aluminium tube is supplied to make the two stacks. One of these is cut and glued back together at an angle before they are both airbrushed in satin black paint. I don't know what the other little item is, but it was fun to make!
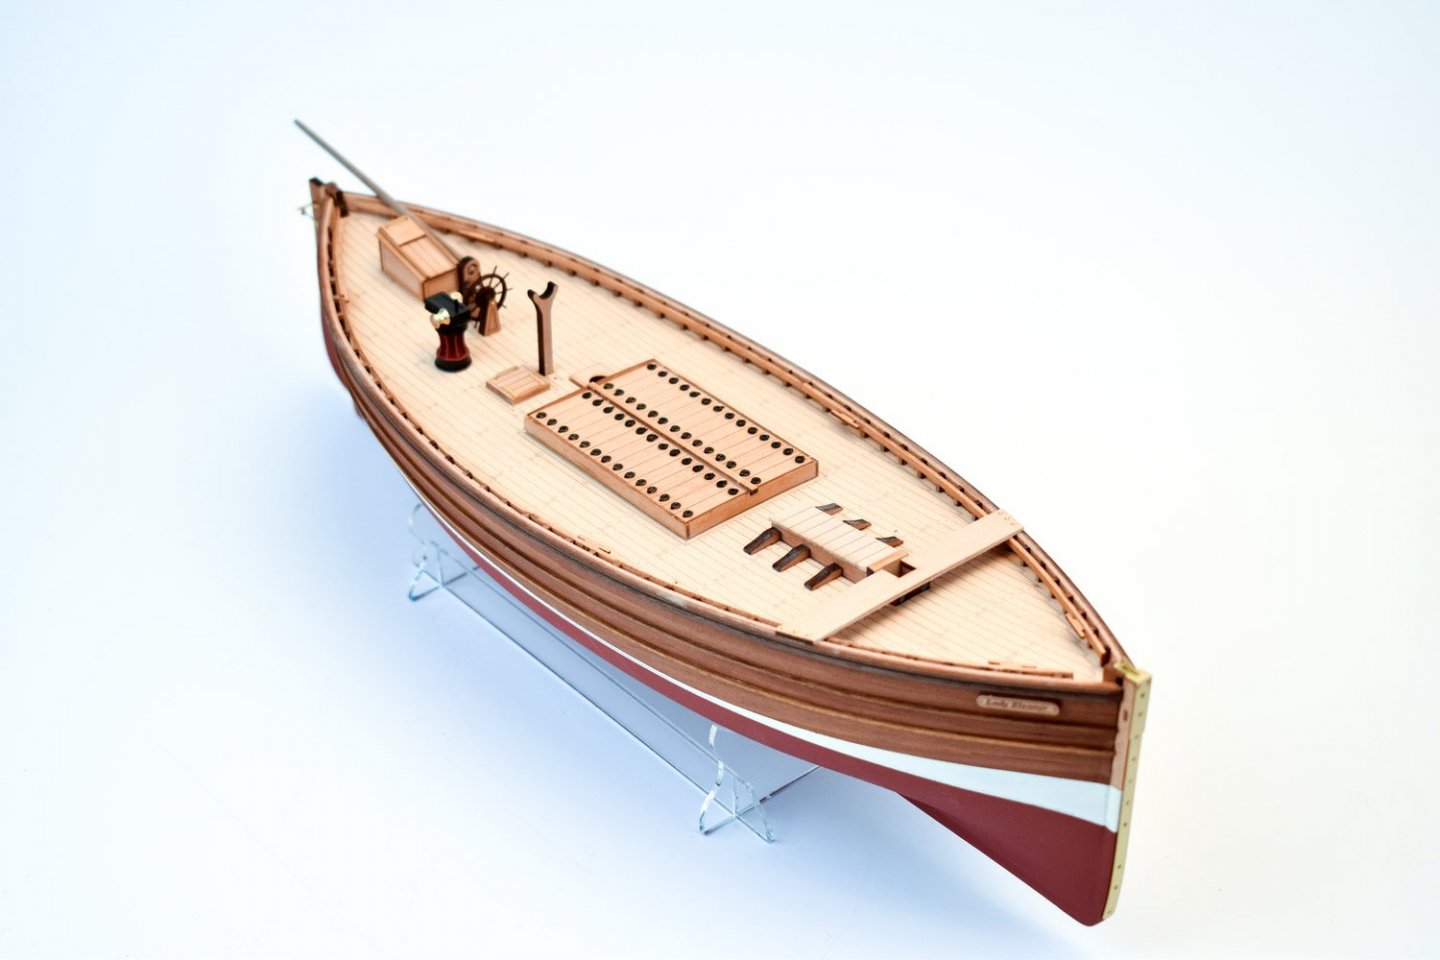
Whilst the pear and maple deck look great, it has a real warmth to it when a light coat of matt polyurethane varnish is applied. I do the first layer mostly with a brush, but them an airbrush is used for the final couple of light coats, especially in those areas where things are a little hard to reach, like the areas around the timberheads. I'm also careful not to get any varnish into the foremast step as this is suited to fit the mast quite tightly.
The bow also has this plate. I could've blackened it for more realism, but for the purpose of this build for the kit box art, I thought I would leave it bright as it's quite attractive. Nails are also cut down somewhat and applied into the holes I marked and drilled.
The last of the MDF core is now hidden under the superstructure as it's now finally glued into place with CA gel. I have also added the PE eyebolts to the cargo hold lids, plus other roof details such as the mast crutch. Some edges have been left in char simply for the contrast with the rest of the timber.
One thing (amongst many) that I like about this kit is the superb winch! Two laser-cut discs hold the whelps, and these are flanked with PE discs. The winch box is a PE-plated piece of MDF. The whole lot takes minutes to build. Tamiya paints were used to paint this.
The rudder is now rigged to the steering box and the wheel added. Here's the finished hull.
Onto masting and rigging now!
- BANYAN, druxey, hollowneck and 24 others
-
 27
27
-



Chris Watton and Vanguard Models news and updates
in Traders, Dealers, Buying or Selling anything? - Discuss New Products and Ship Model Goodies here as well!!
Posted
I don't think you'll be disappointed.
As soon as Fifie is finished, I'll open a build log for Flirt.