


James H
-
Posts
5,555 -
Joined
-
Last visited
Content Type
Profiles
Forums
Gallery
Events
Posts posted by James H
-
-
I've actually forgotten to add a little info too.
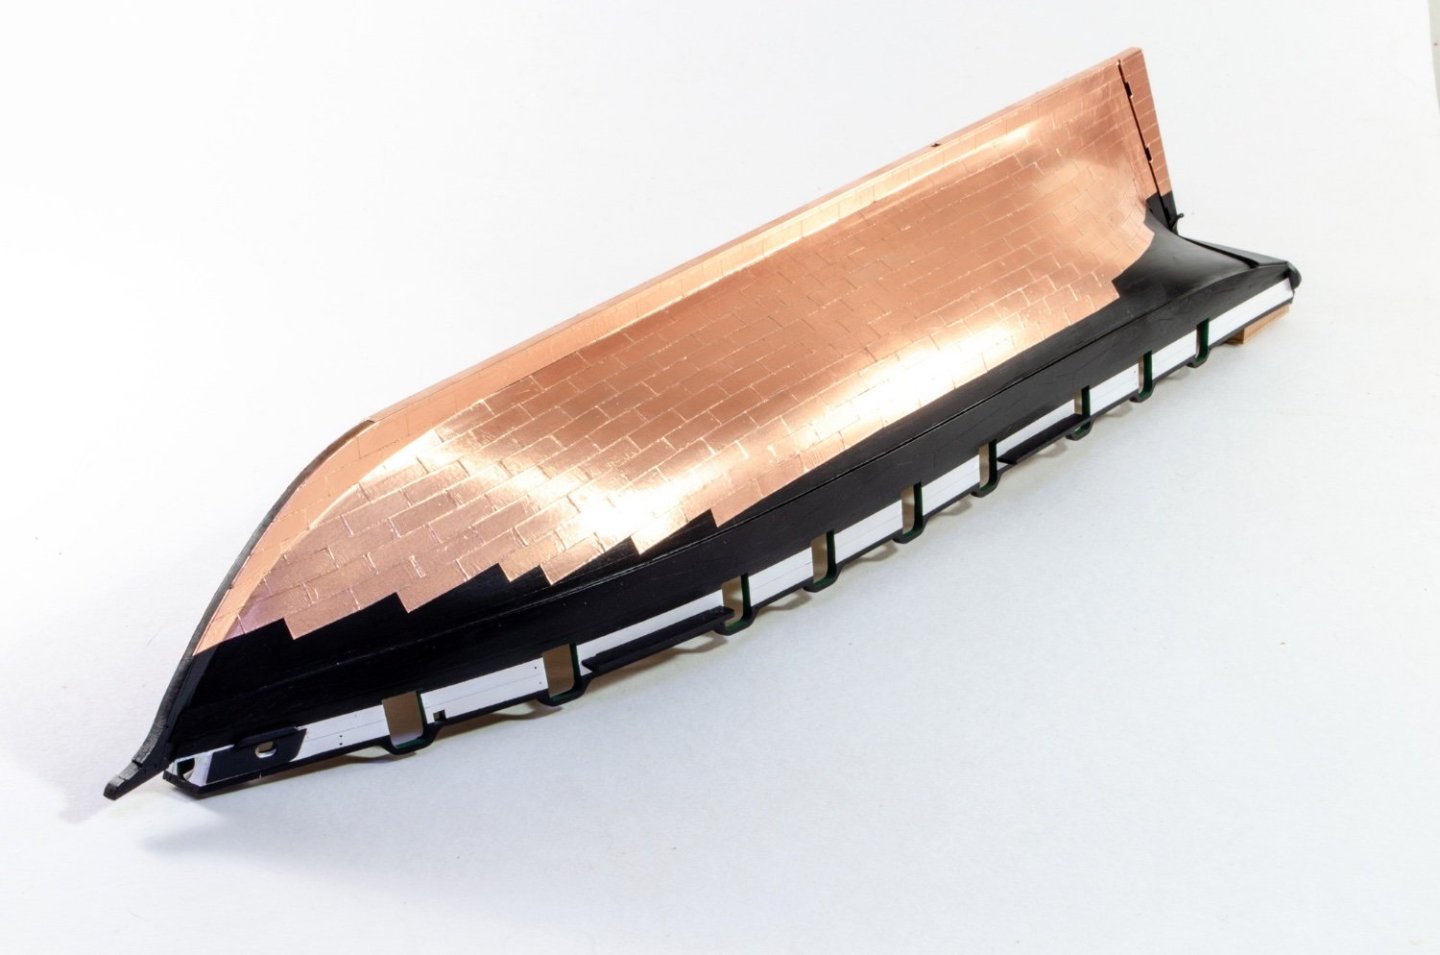
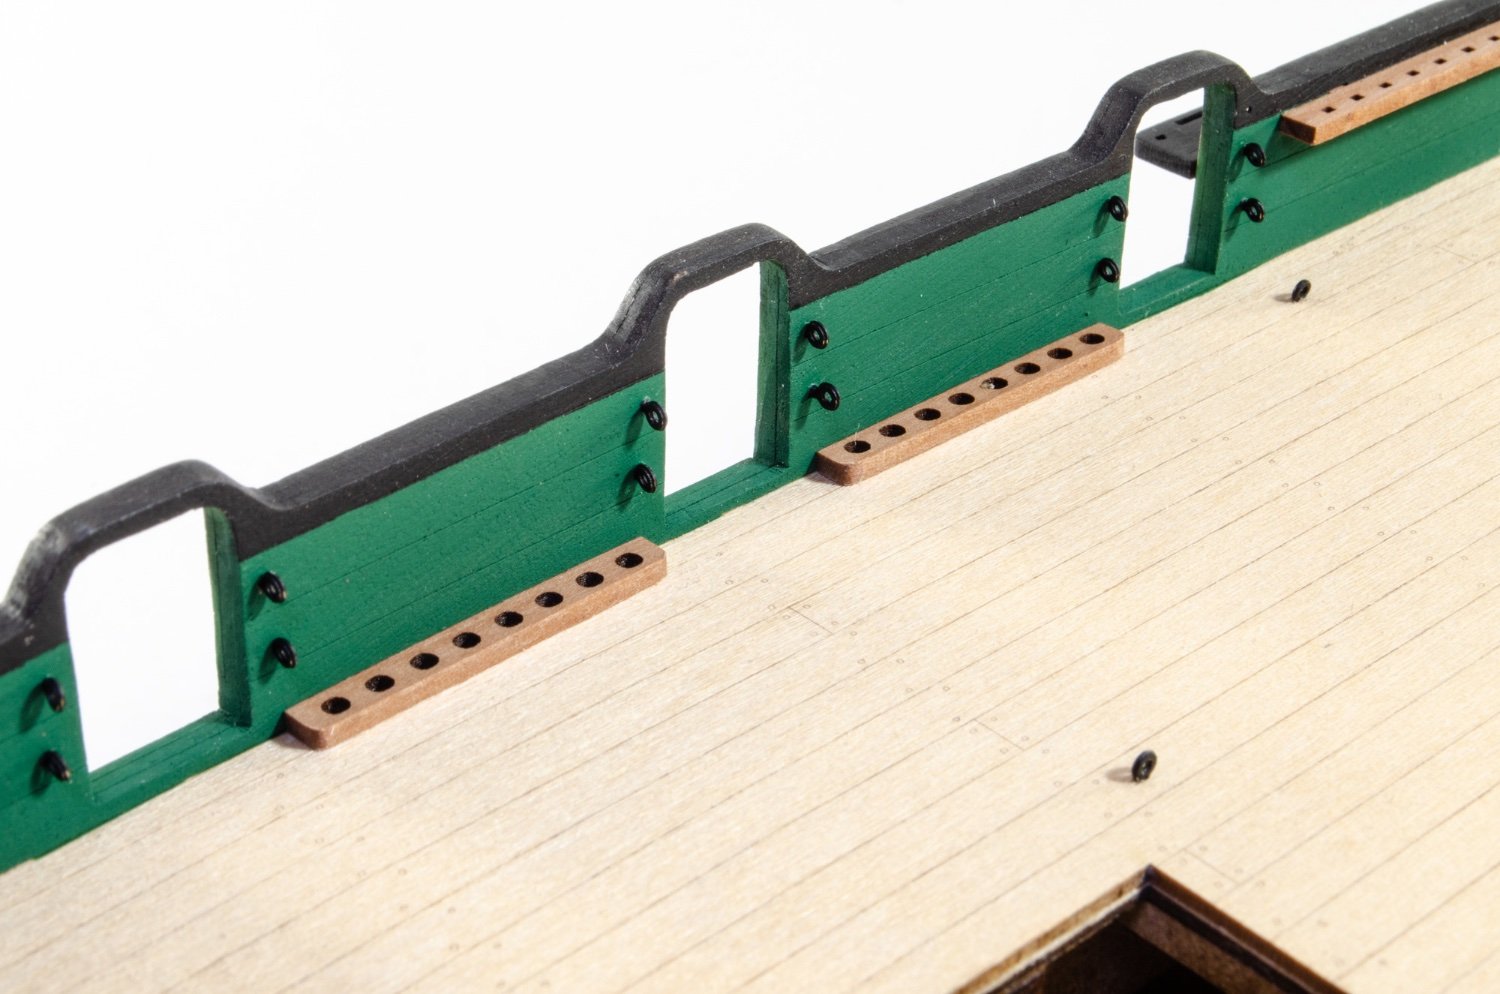
The outside channels have slots into which they fit, so no pinning whatsoever. That also goes for the inner bulwark belaying racks which have a tab and slot thing. I just made sure that I masked the contact area before I painted the bulwarks. Here's some pics of the coppering and the stern.

- KentM, jpalmer1970, realworkingsailor and 22 others
-
 21
21
-
 1
1
-
 3
3
-
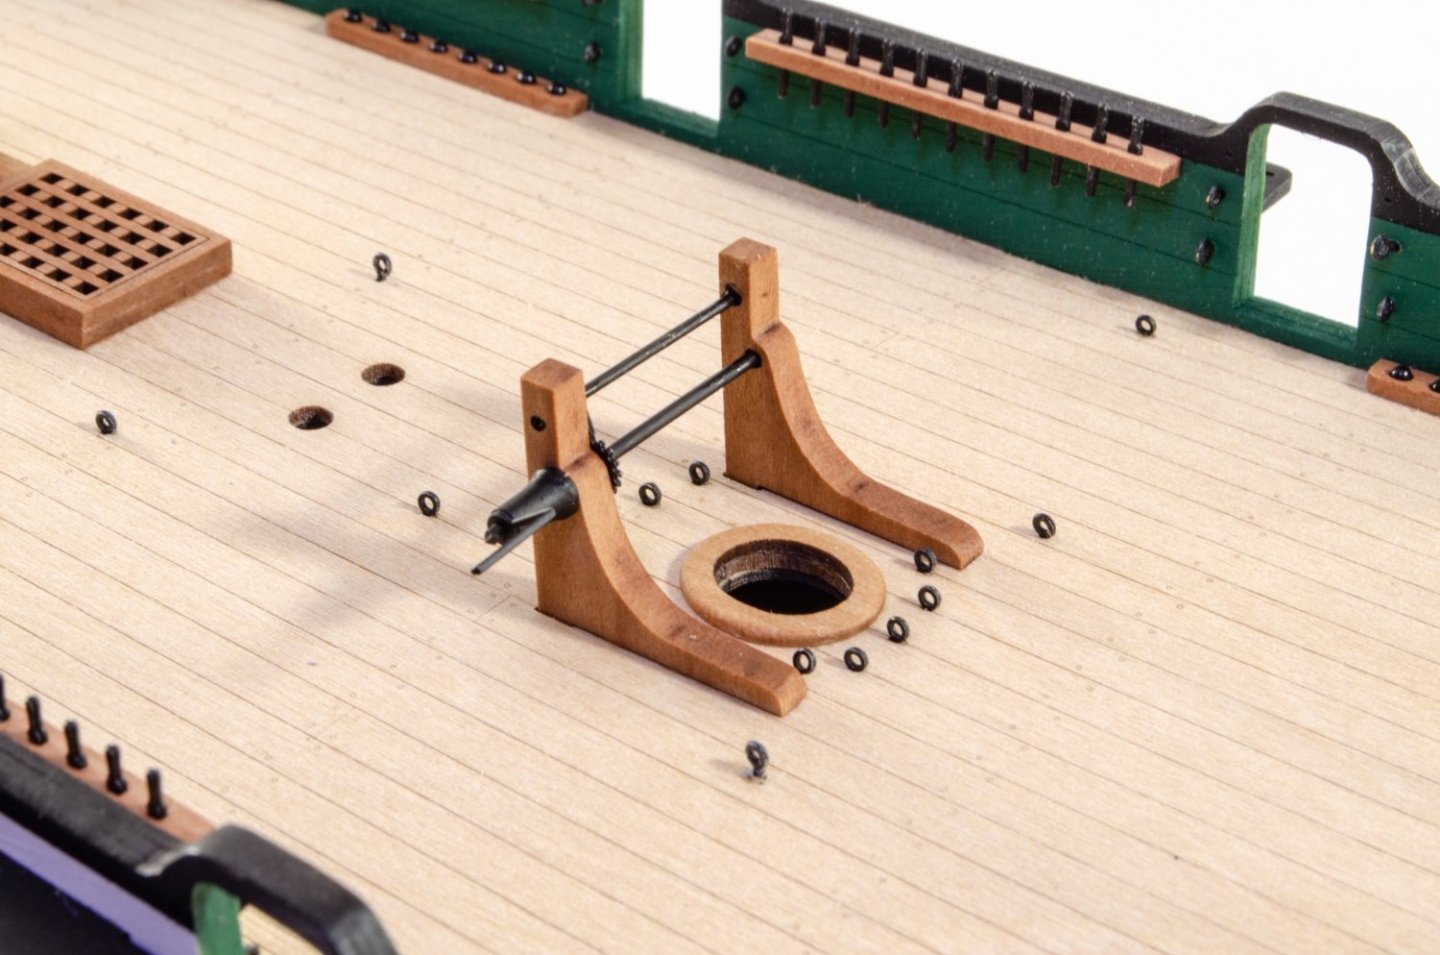
And finally, for today.
Stanchions on ready for cord, which I'll add when I do the next update.
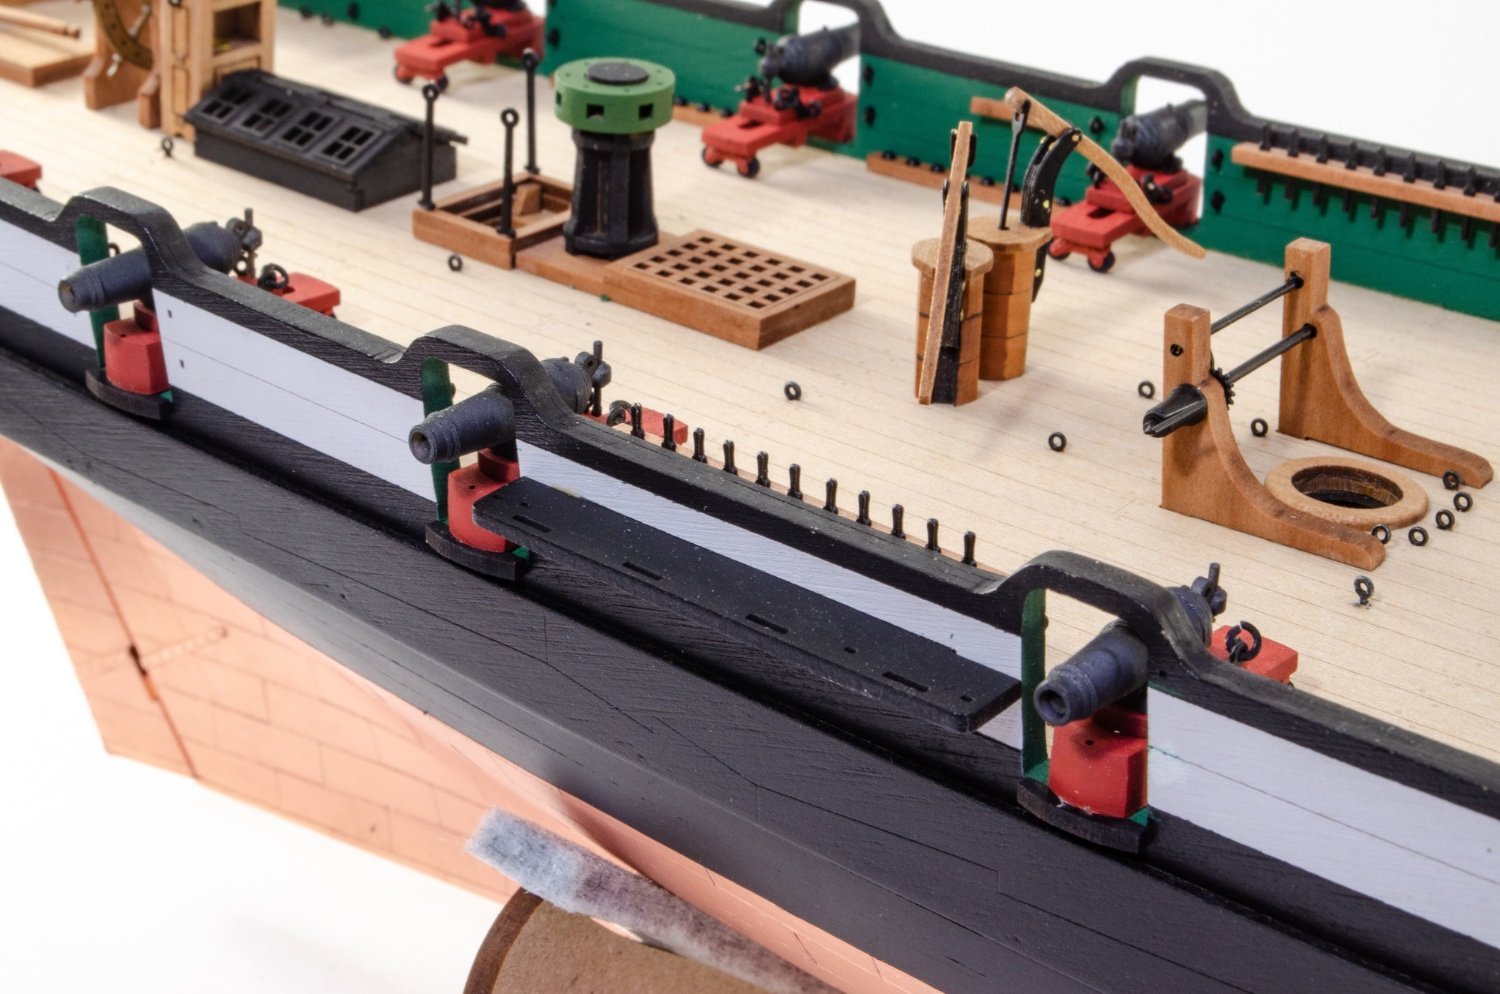
Grecian comes with a LOT of choices for armament. Carronades feature heavily and paint is scraped away from where these are to be fitted. There is a small shelf on the exterior for the carronades, hence the paint removed.


Next two 6 pdrs and two 4 pdrs are added.

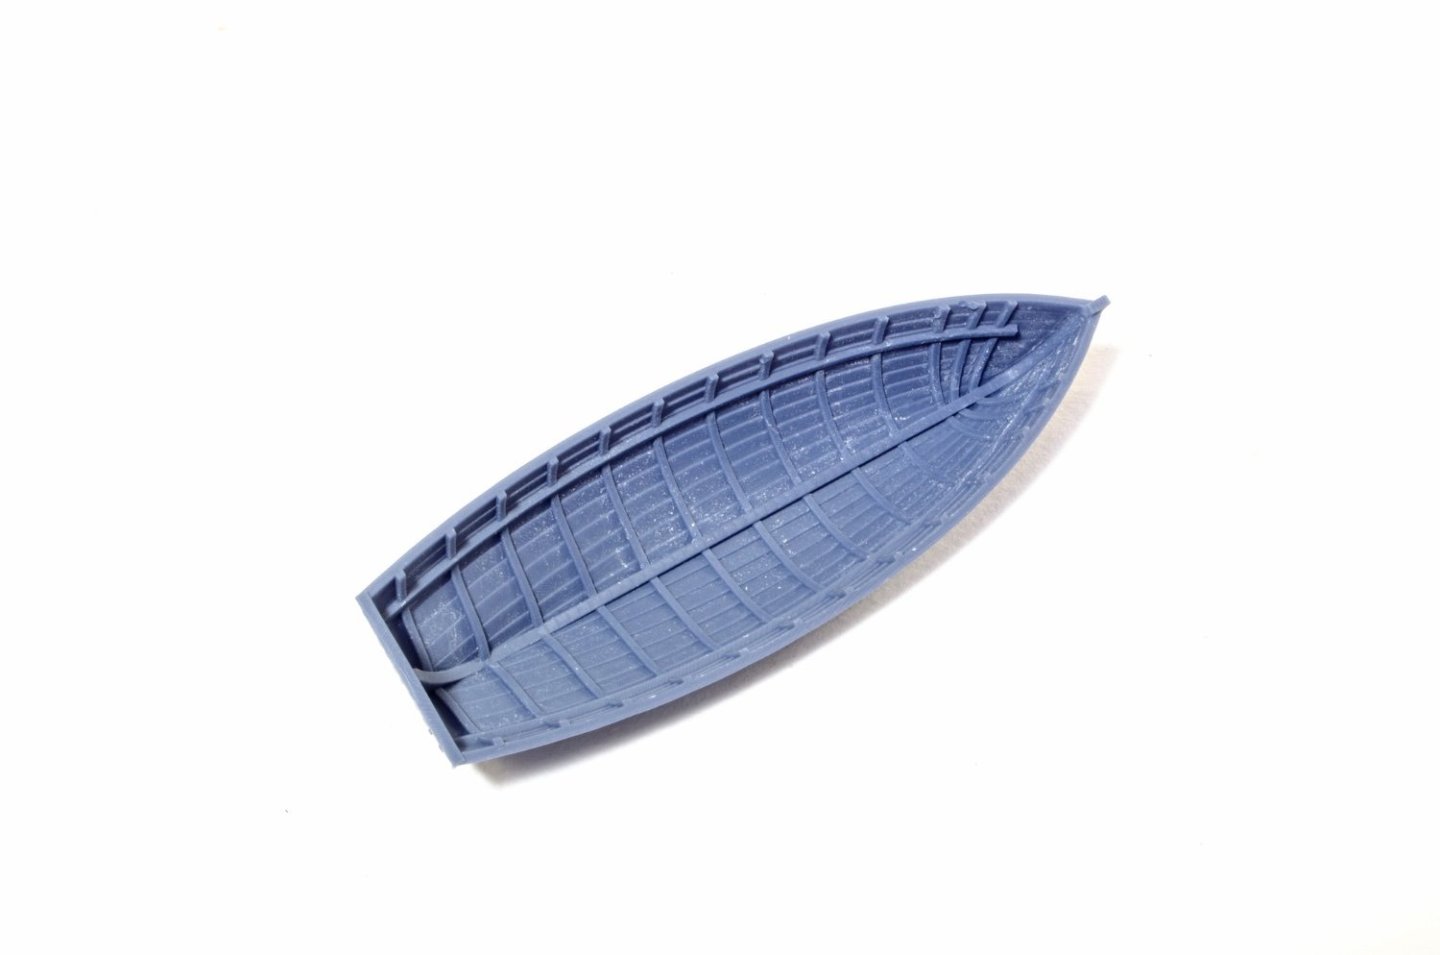
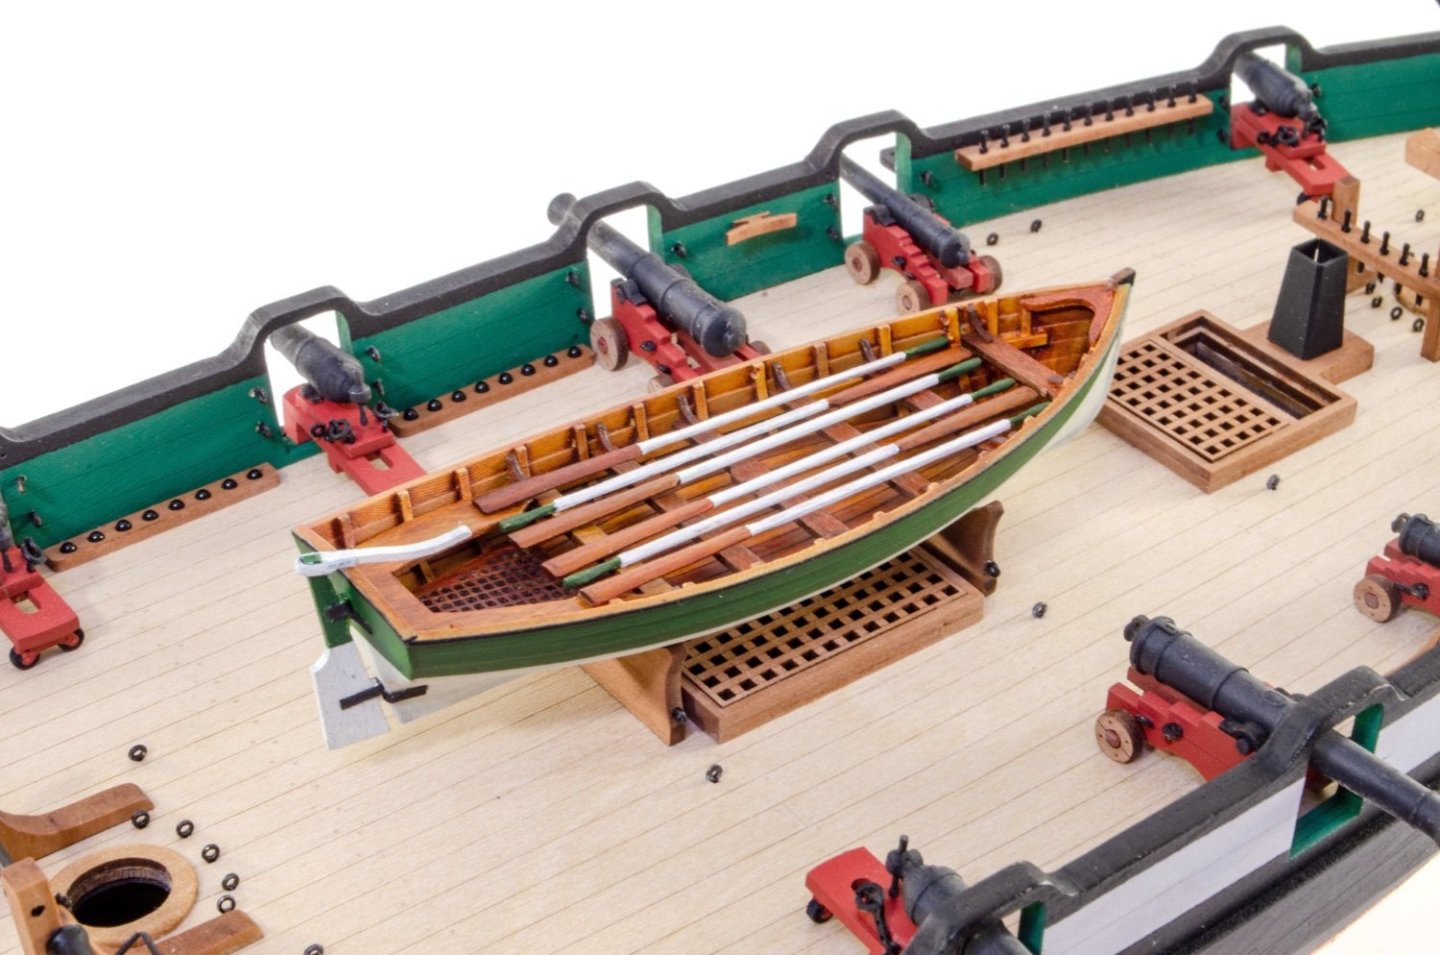
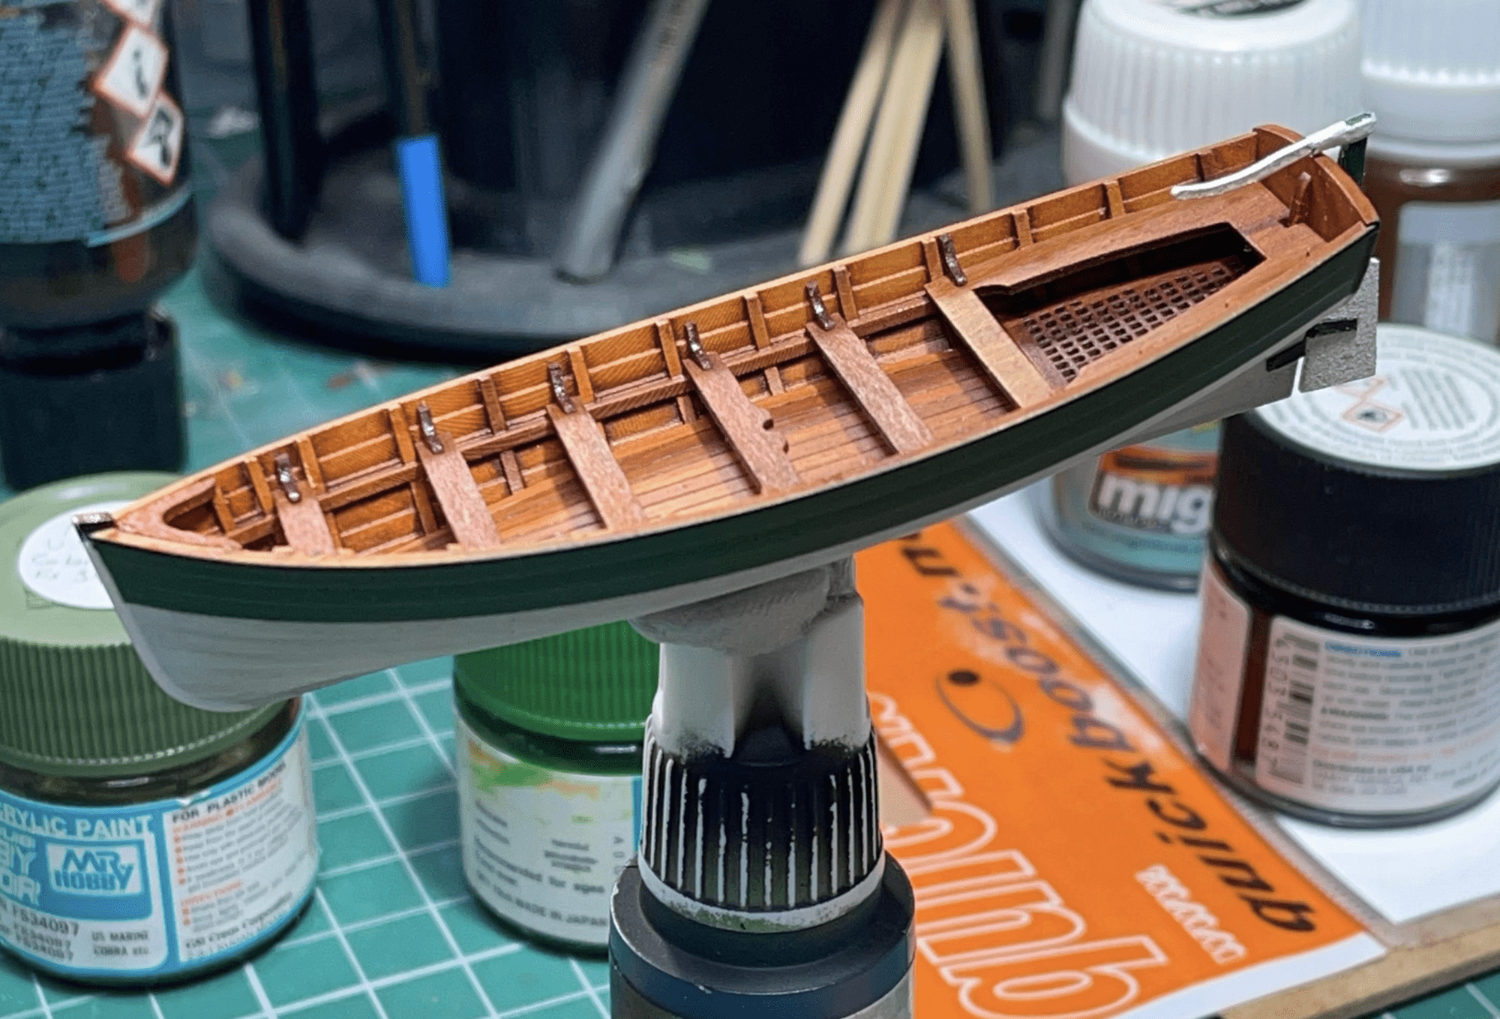
Here is the supplied 3D boat, with timber parts, nicely painted by my friend Mark who does my figureheads and cabin furniture.

And here is what Grecian now looks like!

It's chainplates etc. for next update, and maybe the bowsprit too.
Soon..
-
Continued.
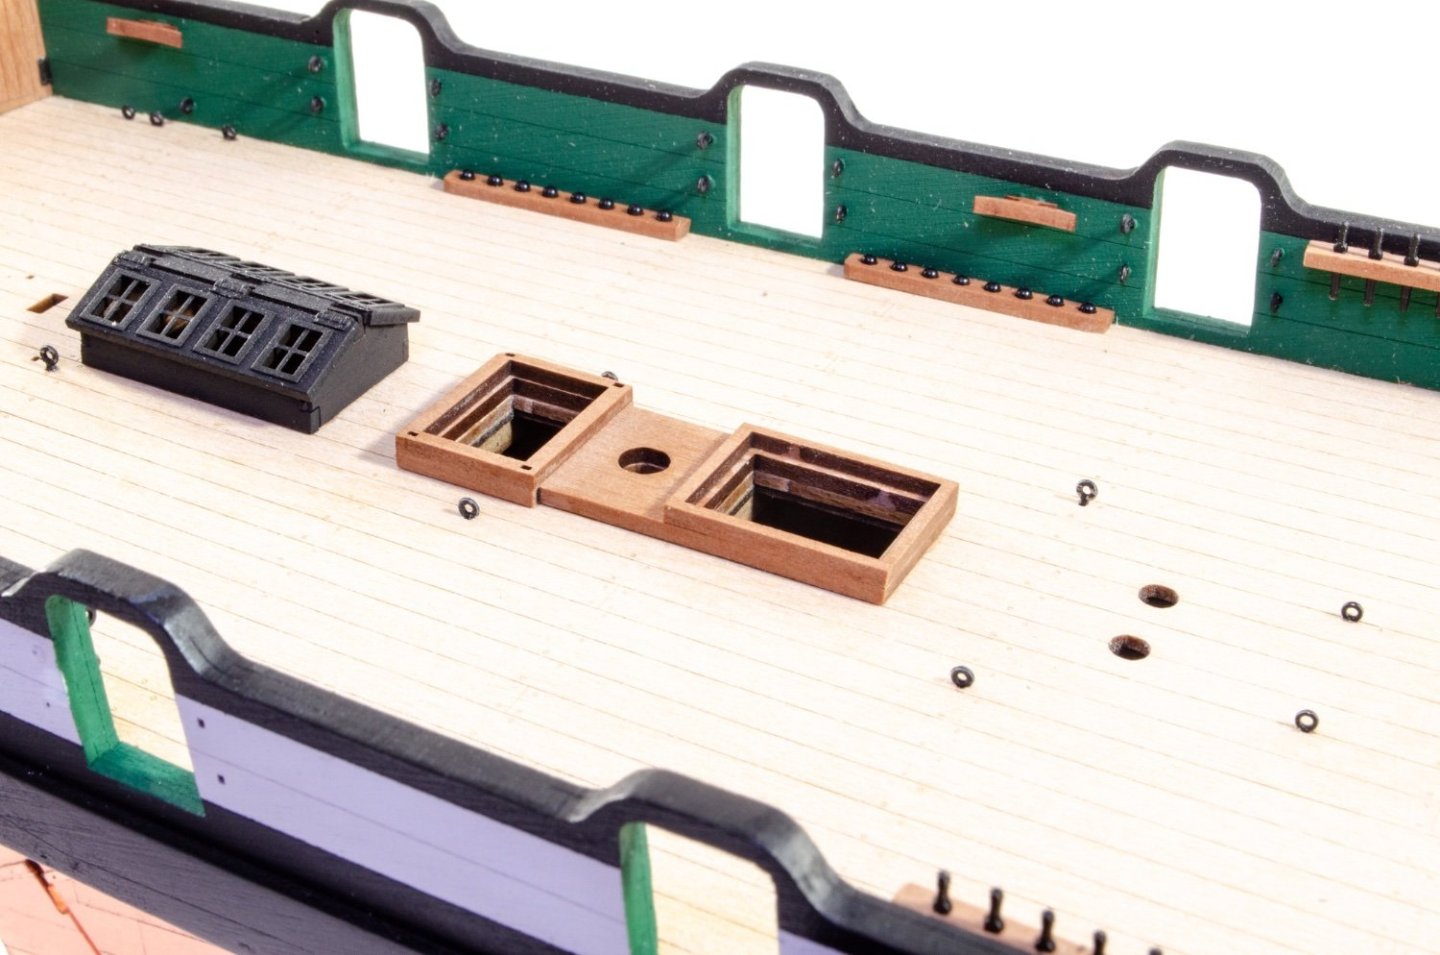
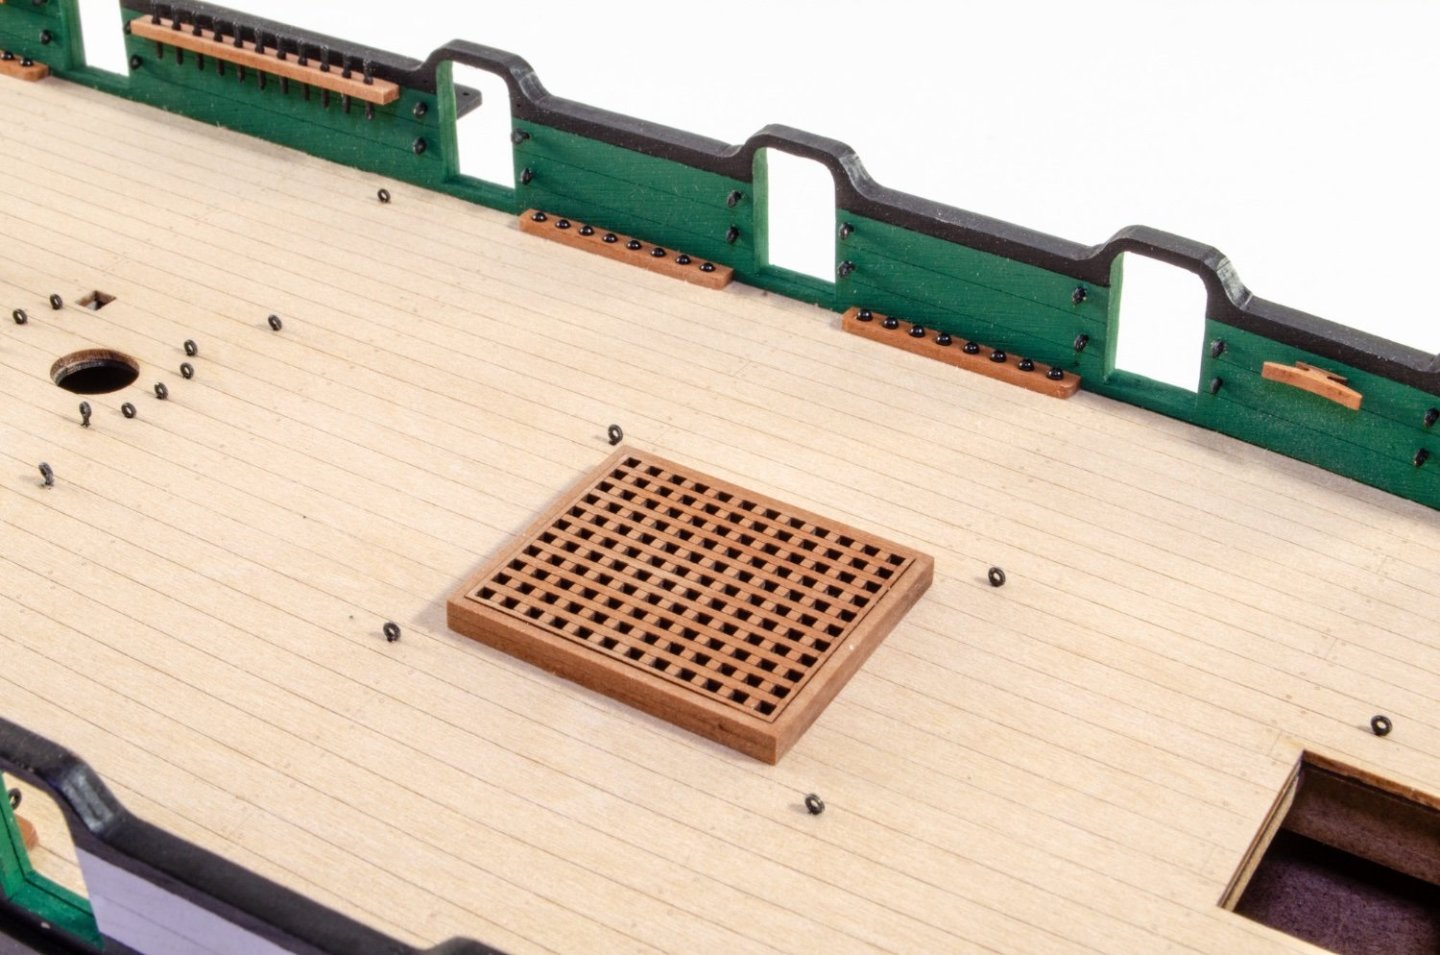
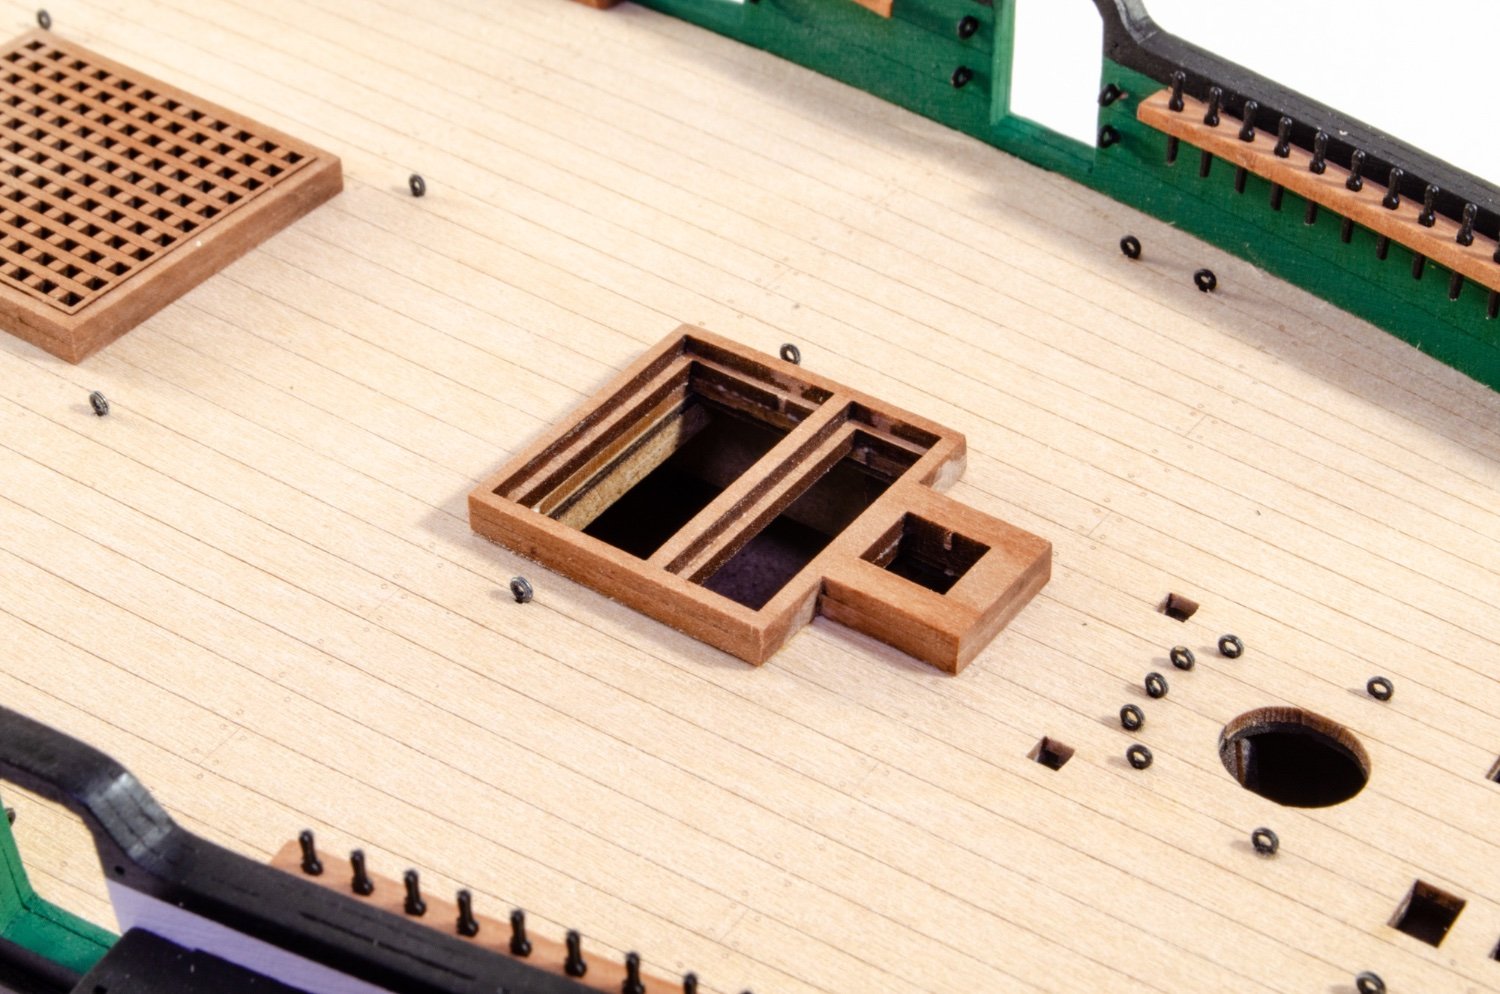
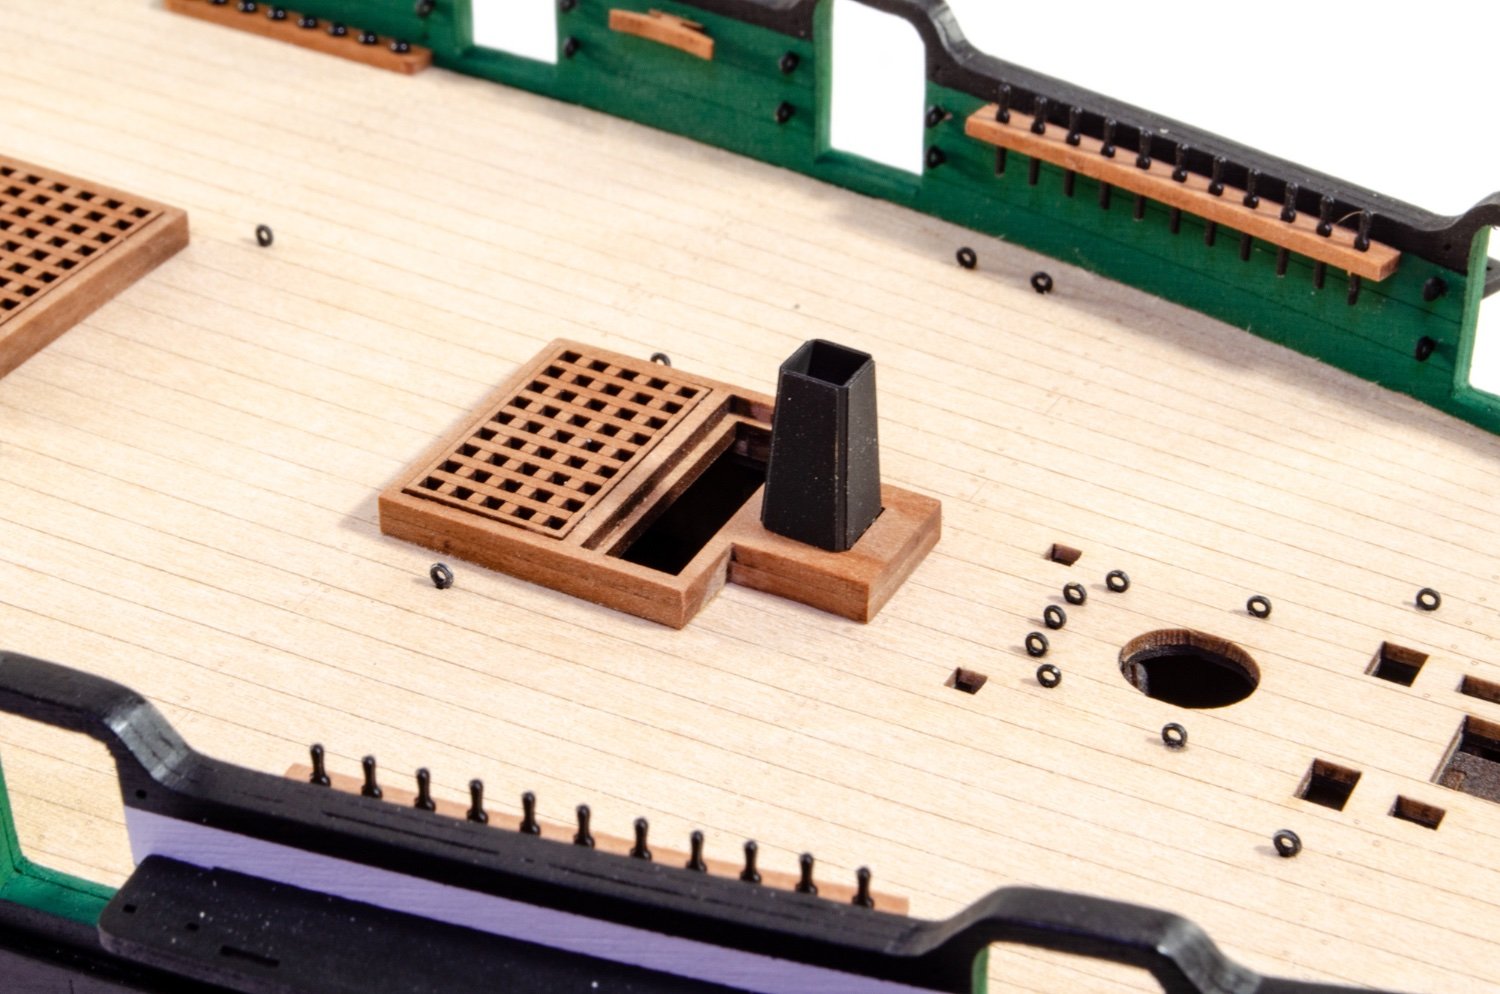
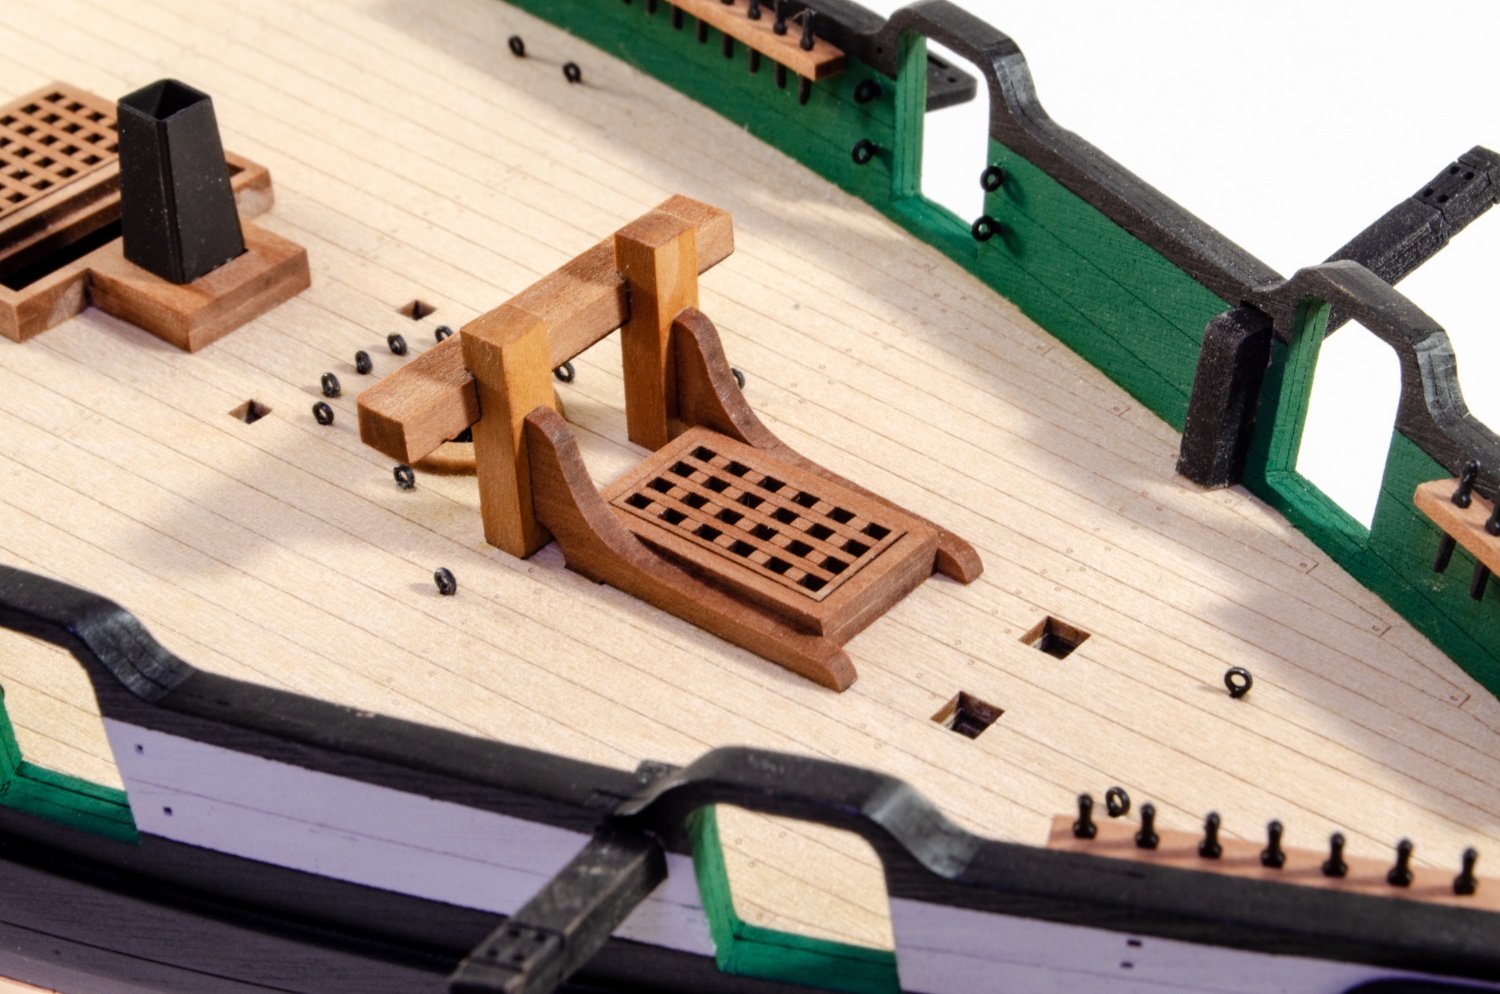
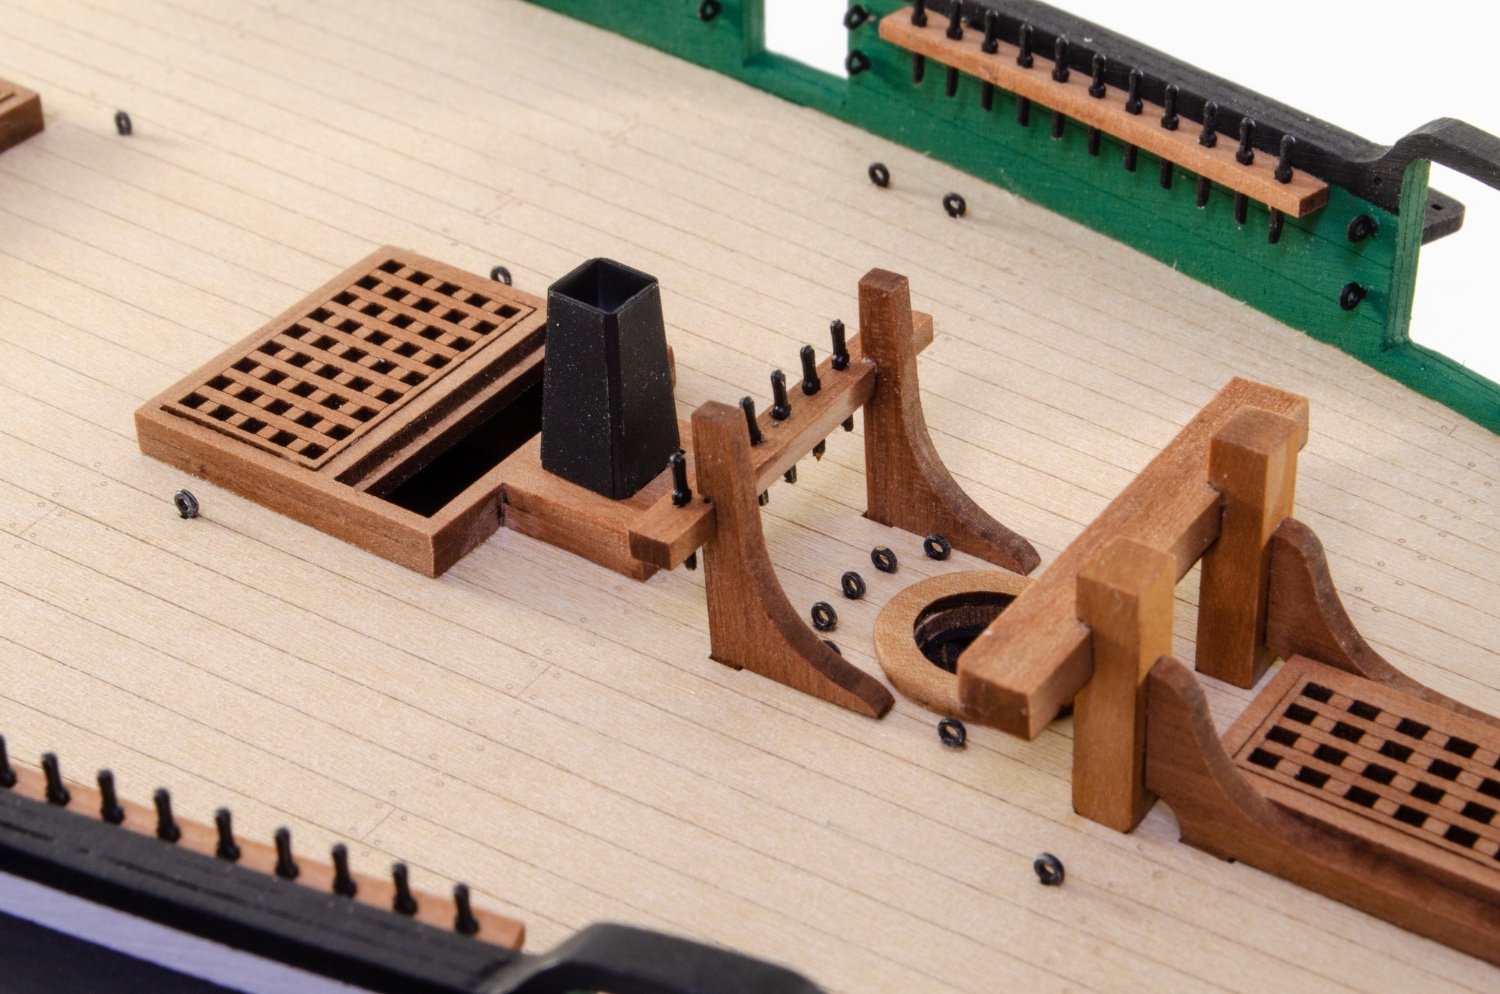
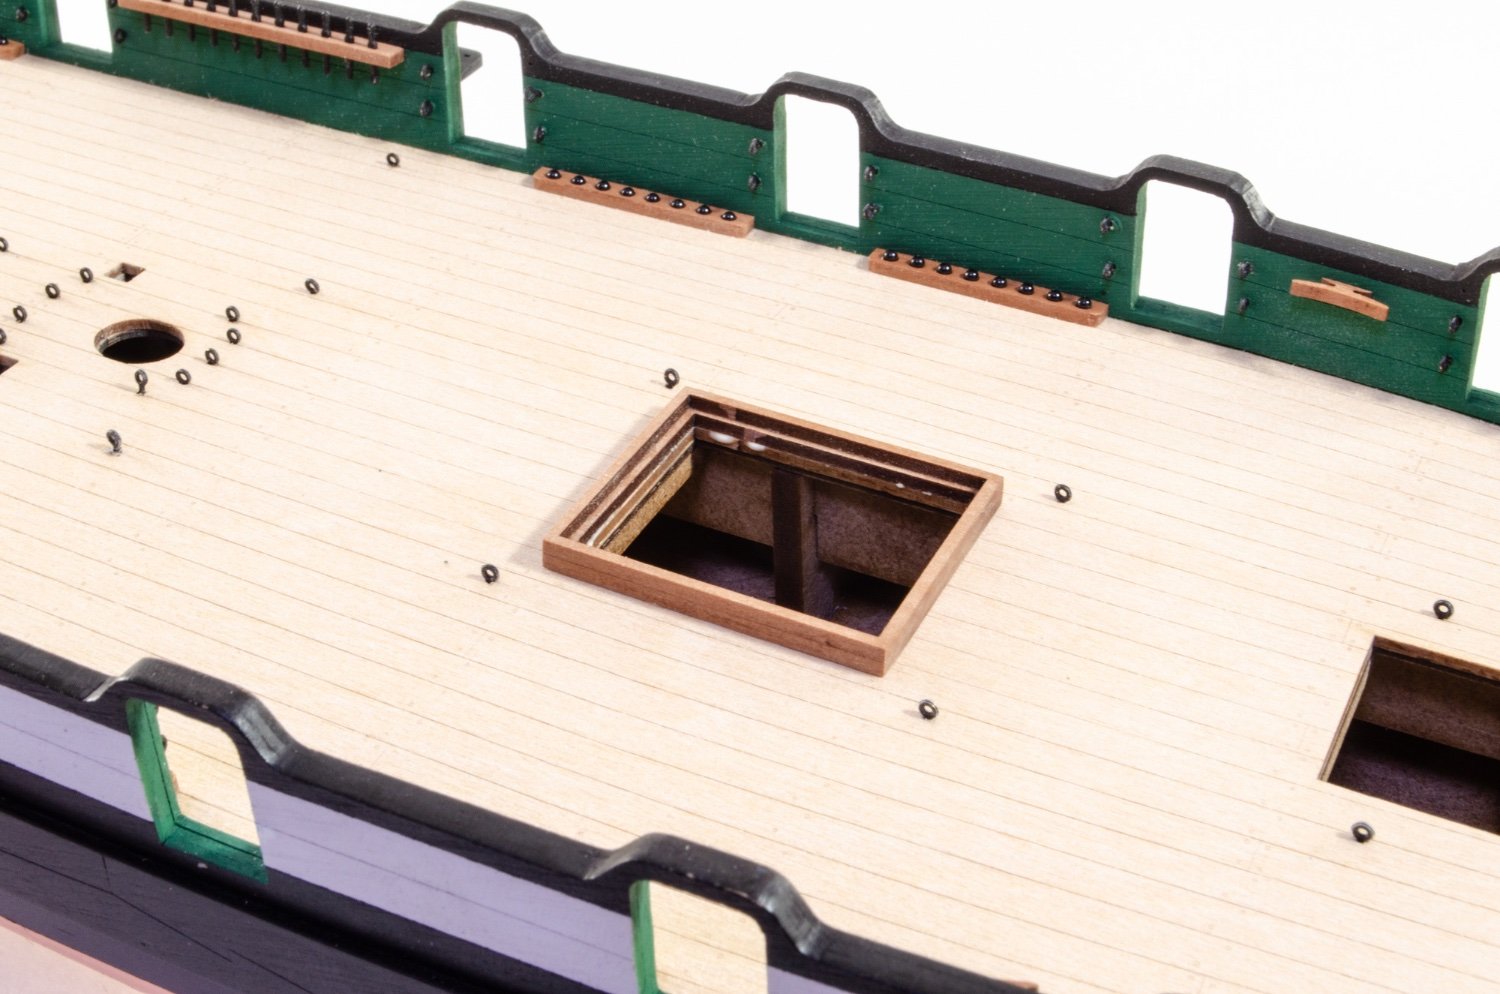
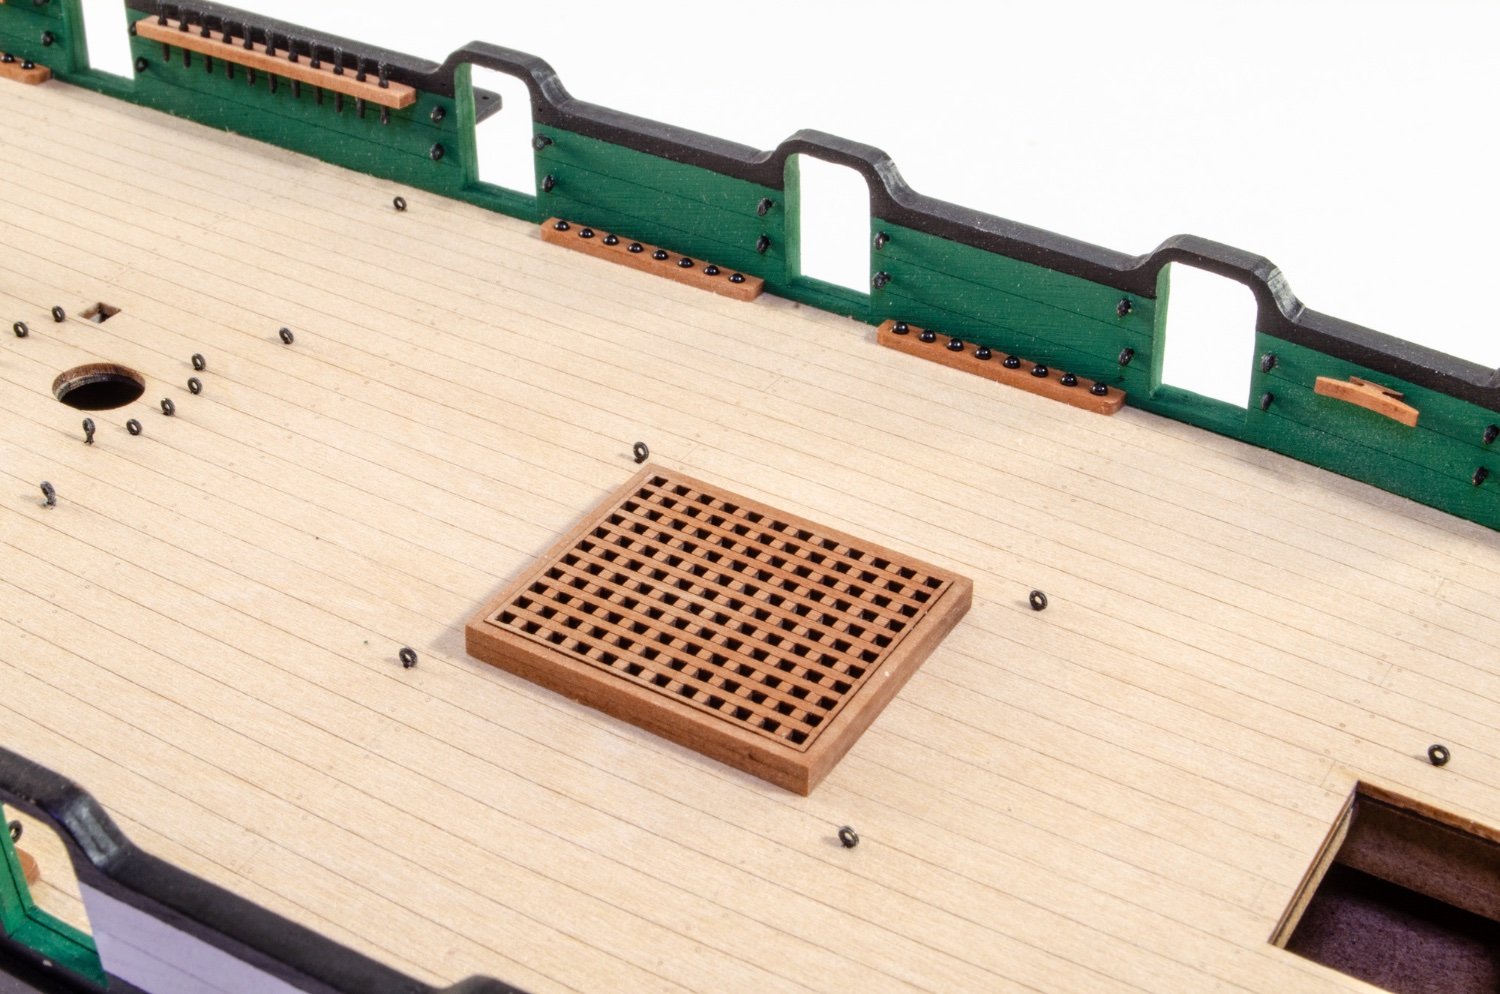
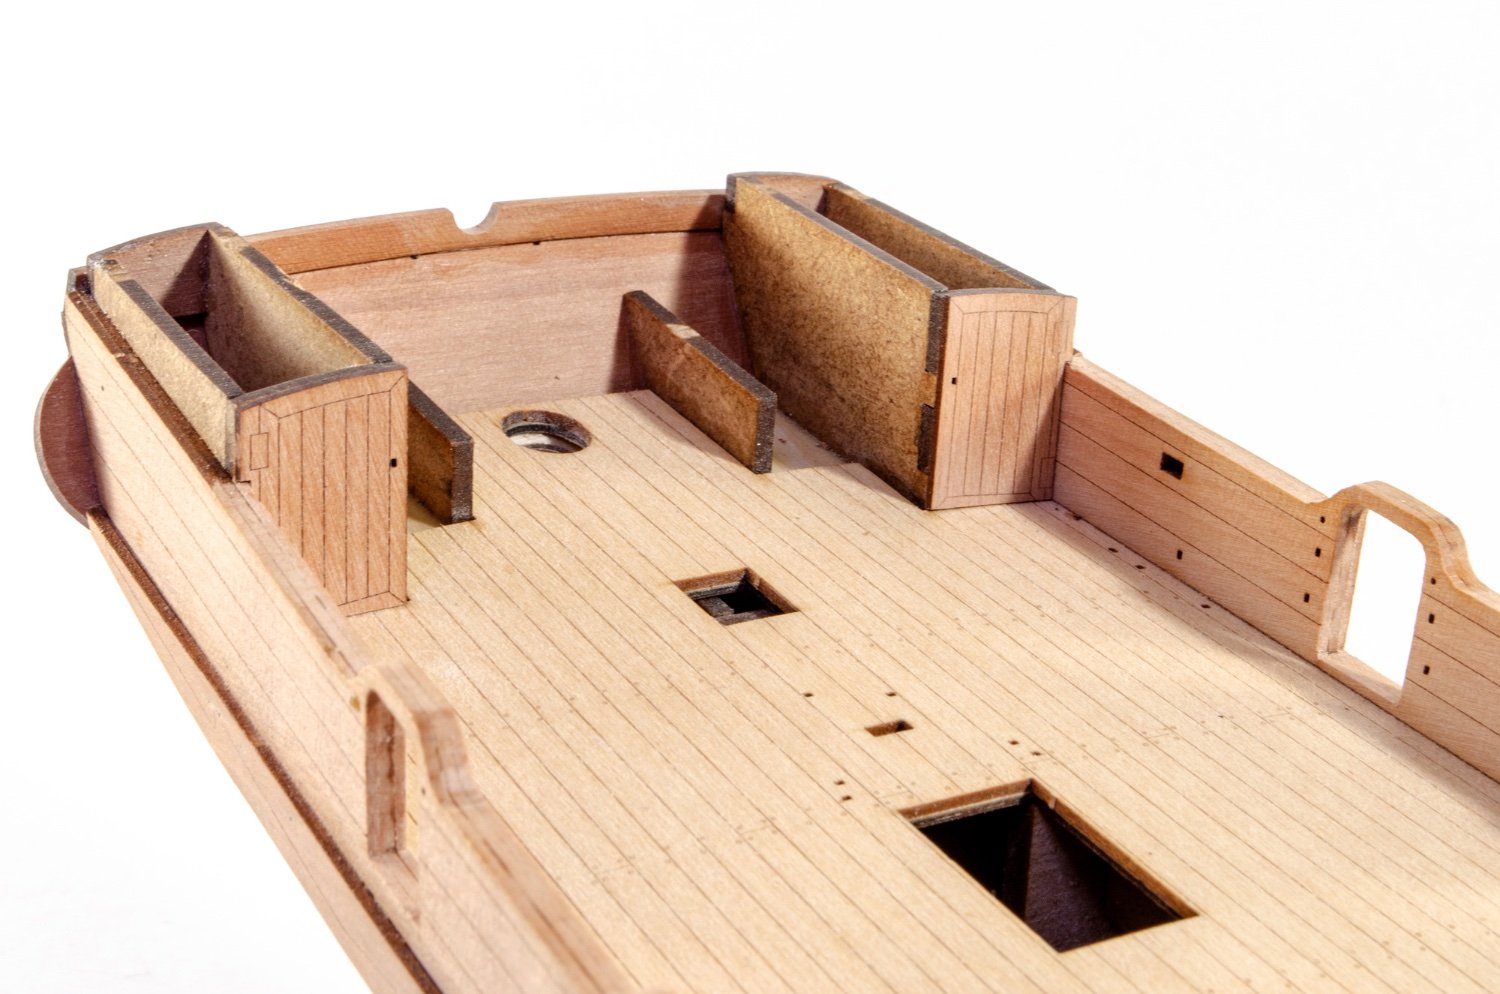
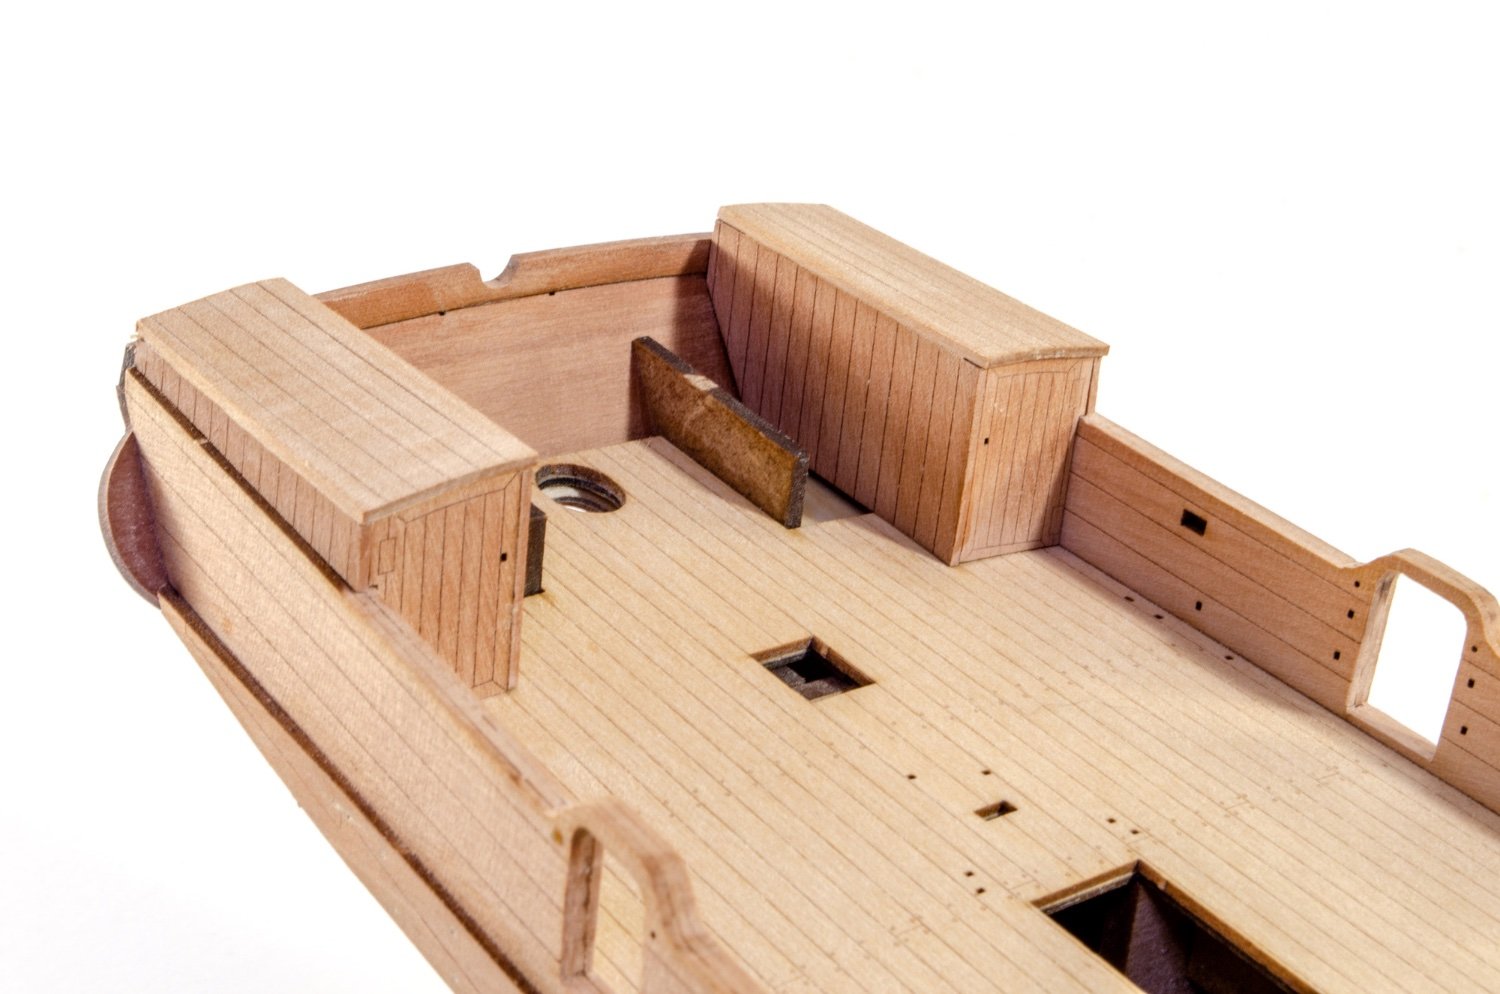
More hatches...

And a small smoke stack.

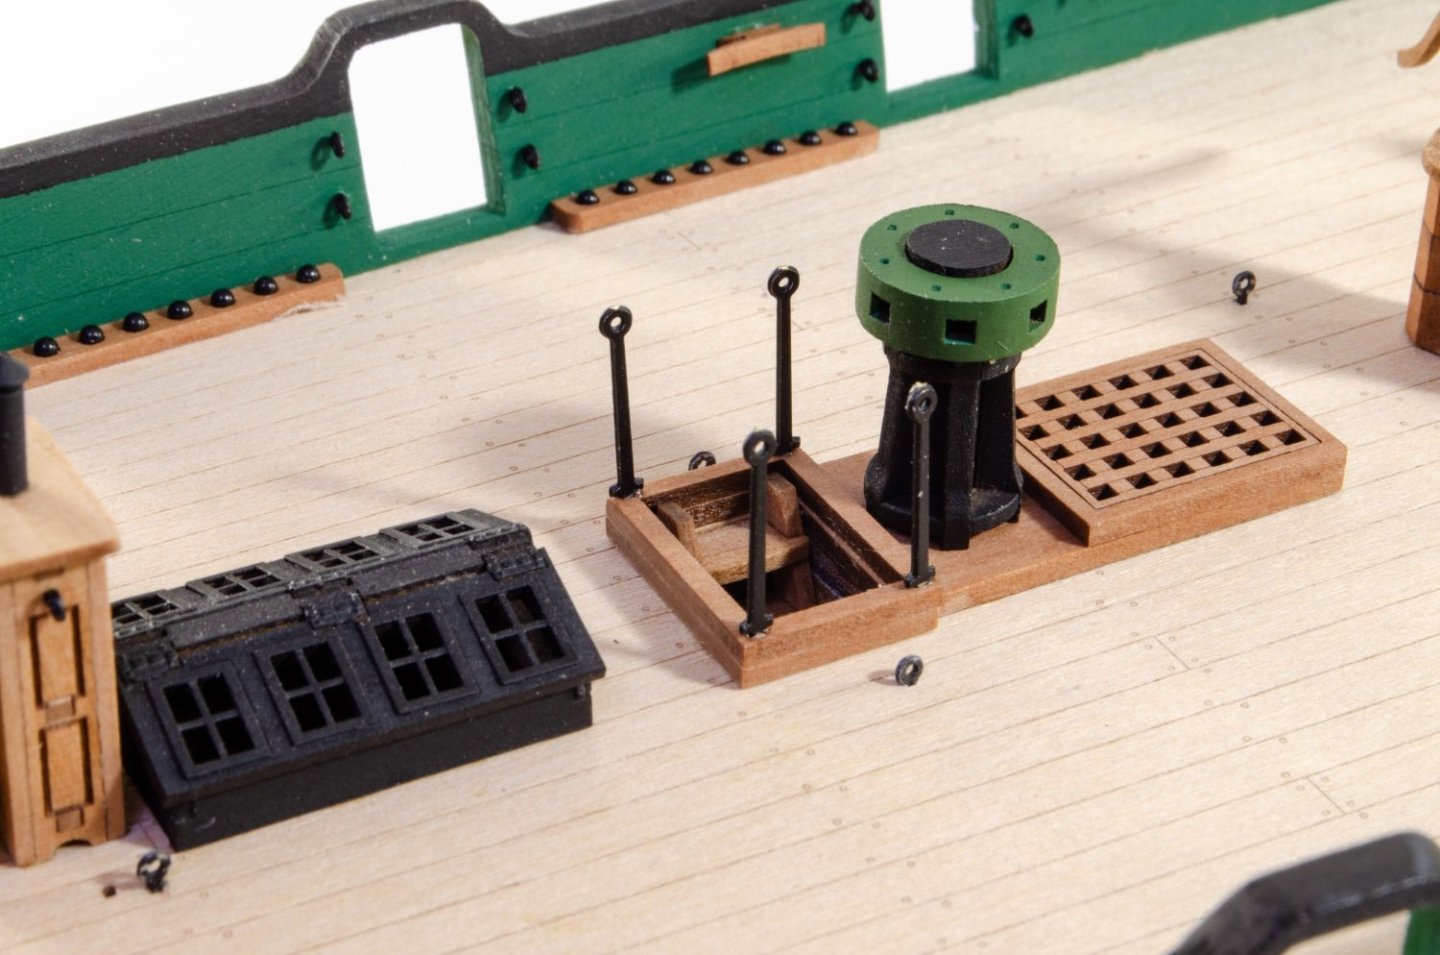
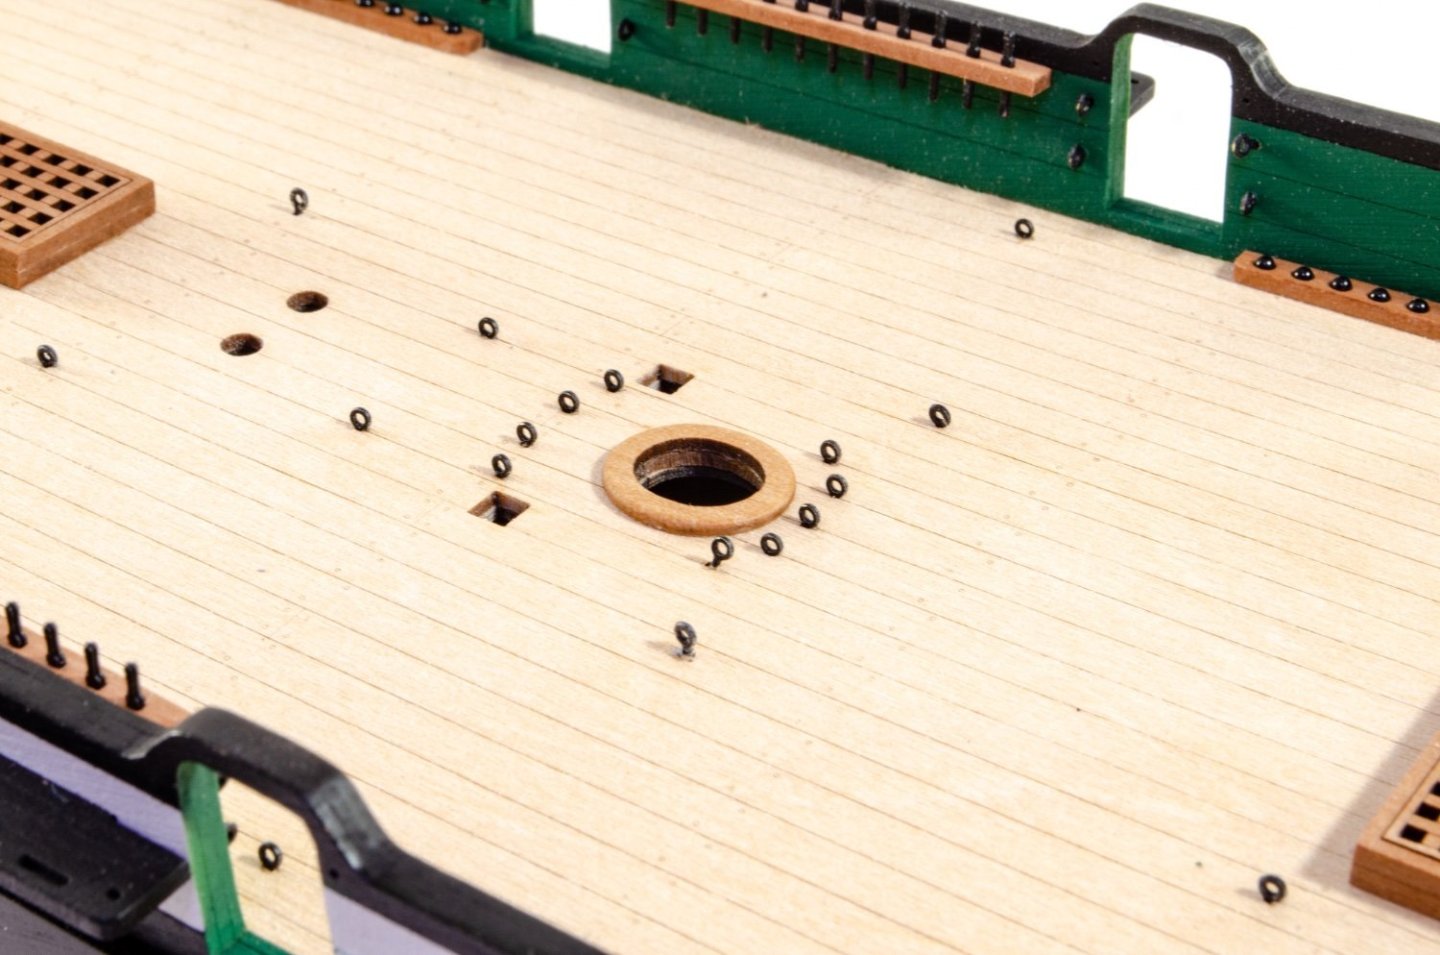
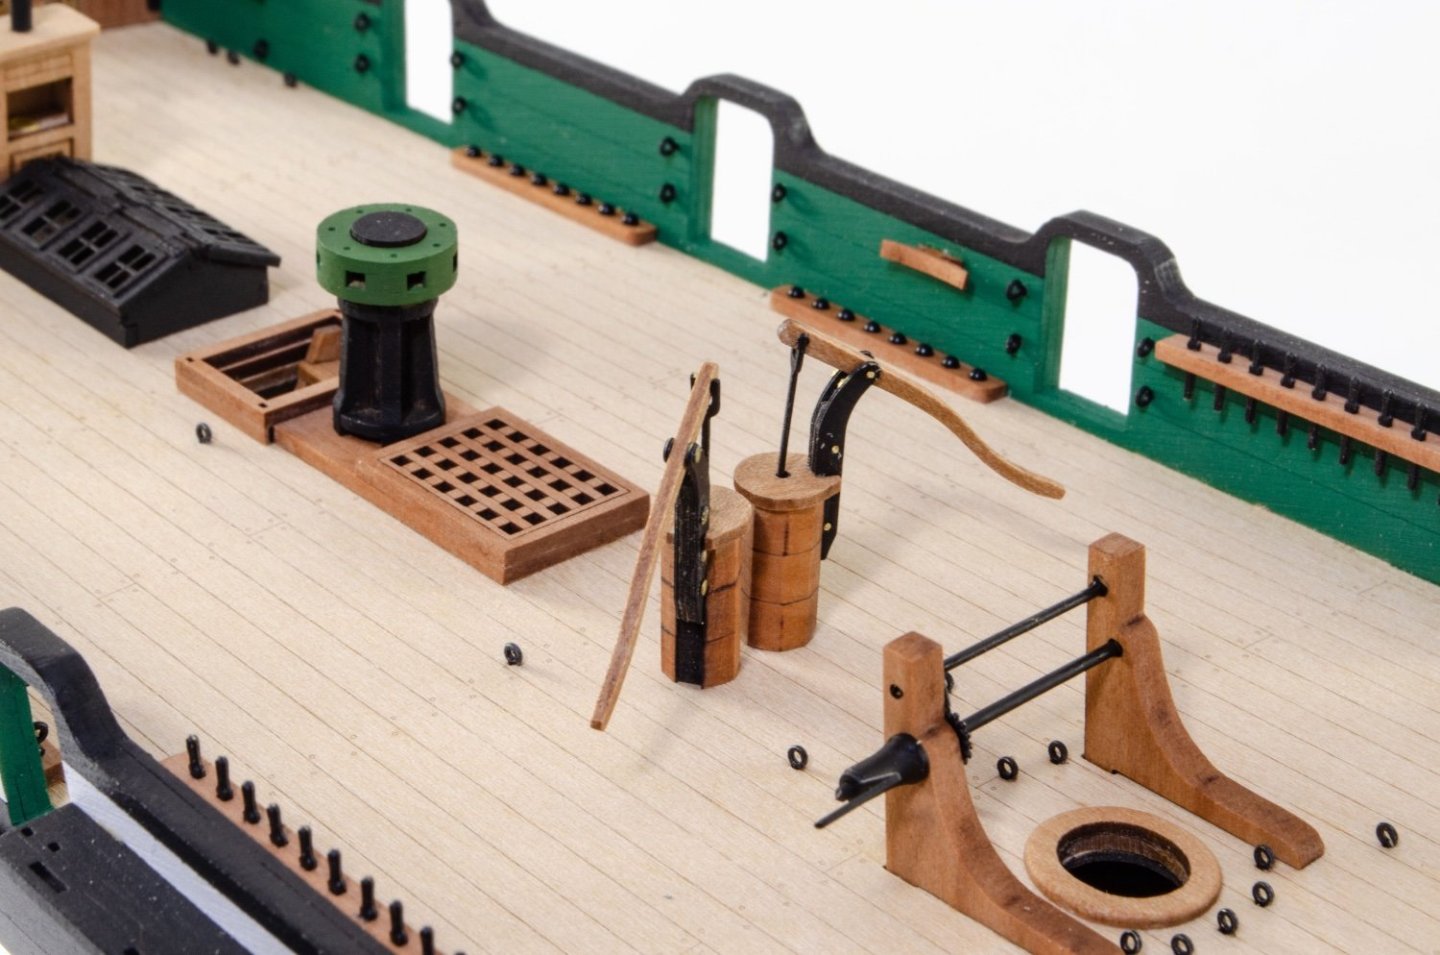
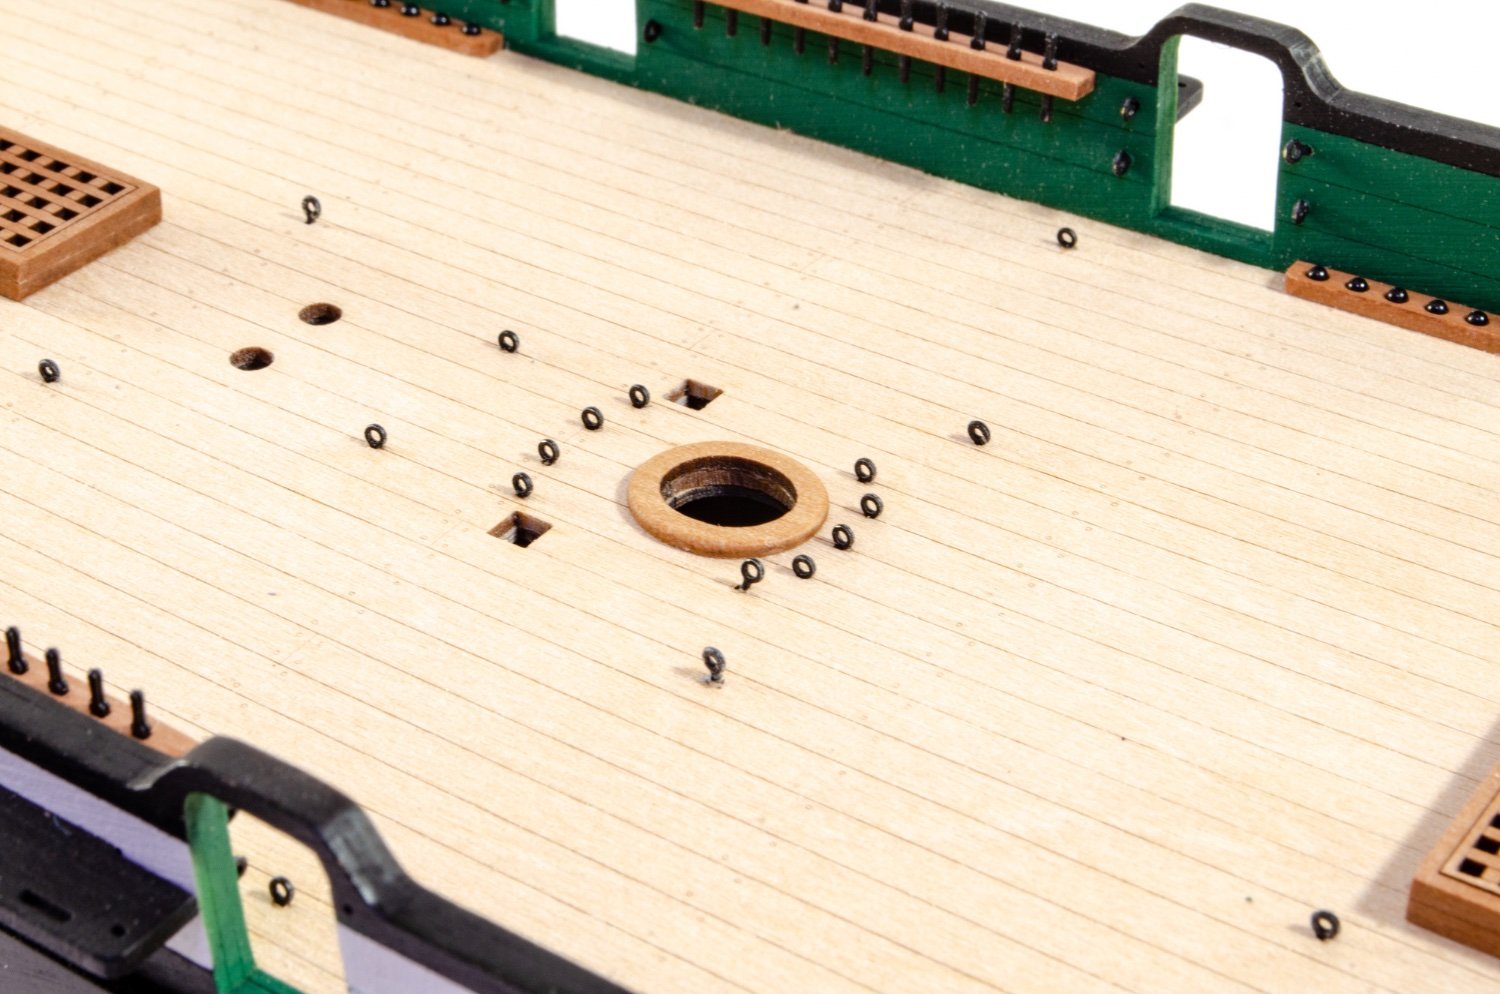
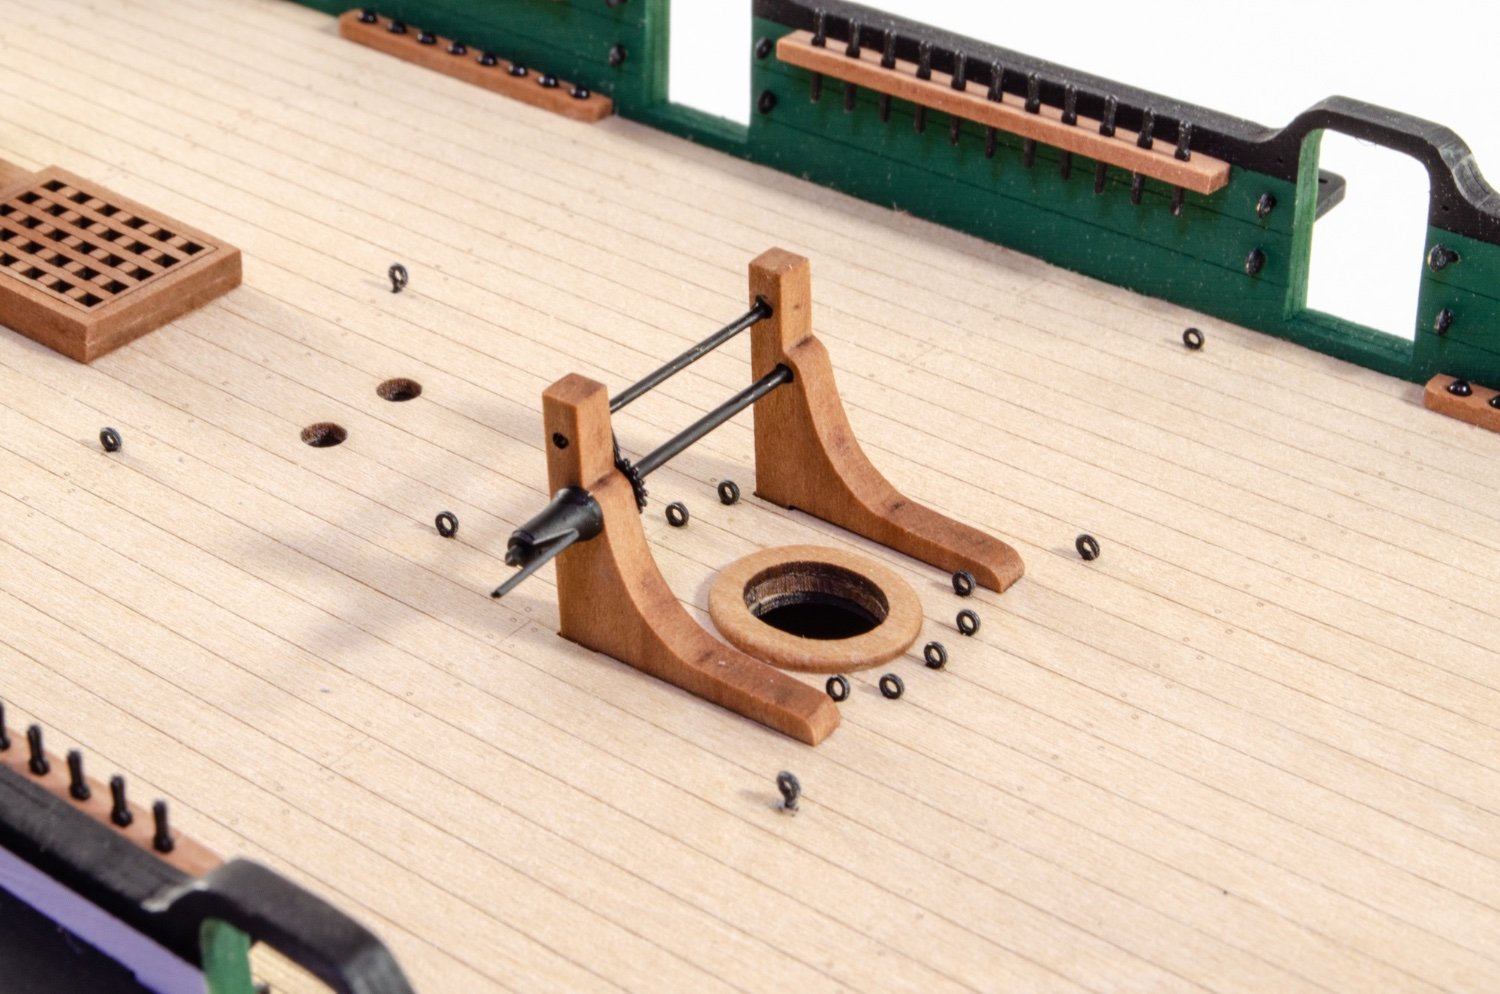
Mast bases now down before the deck gets too cluttered.

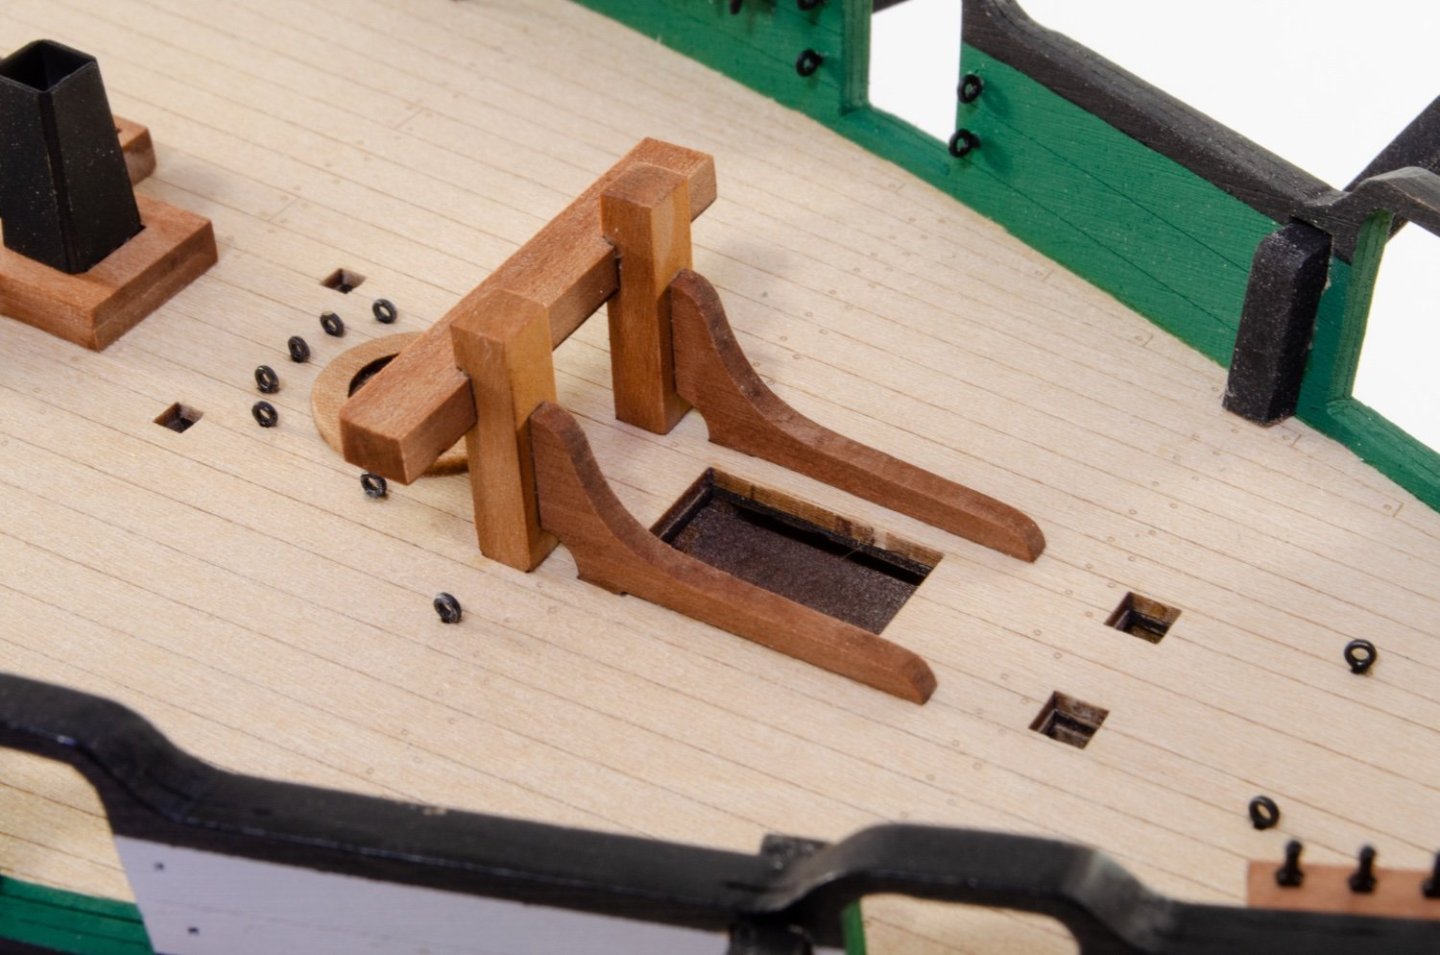
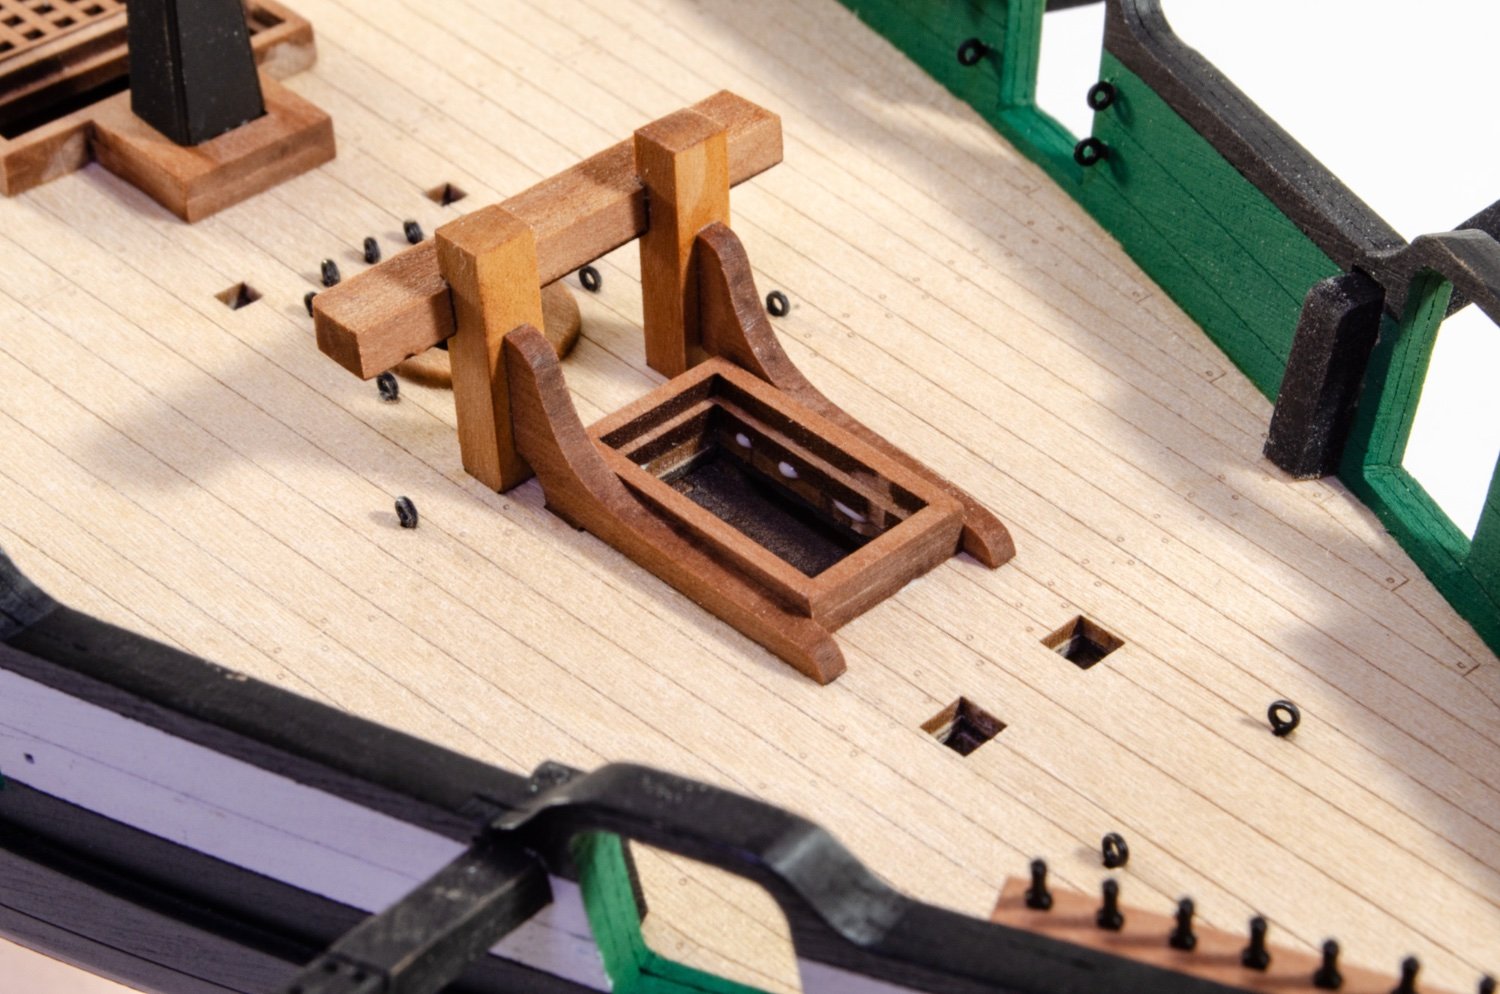
And now some of the other bitts (pun intended 😋)


Grecian has a nicely 3d printed boat and here's the cradle which is now permanently glued in situ.

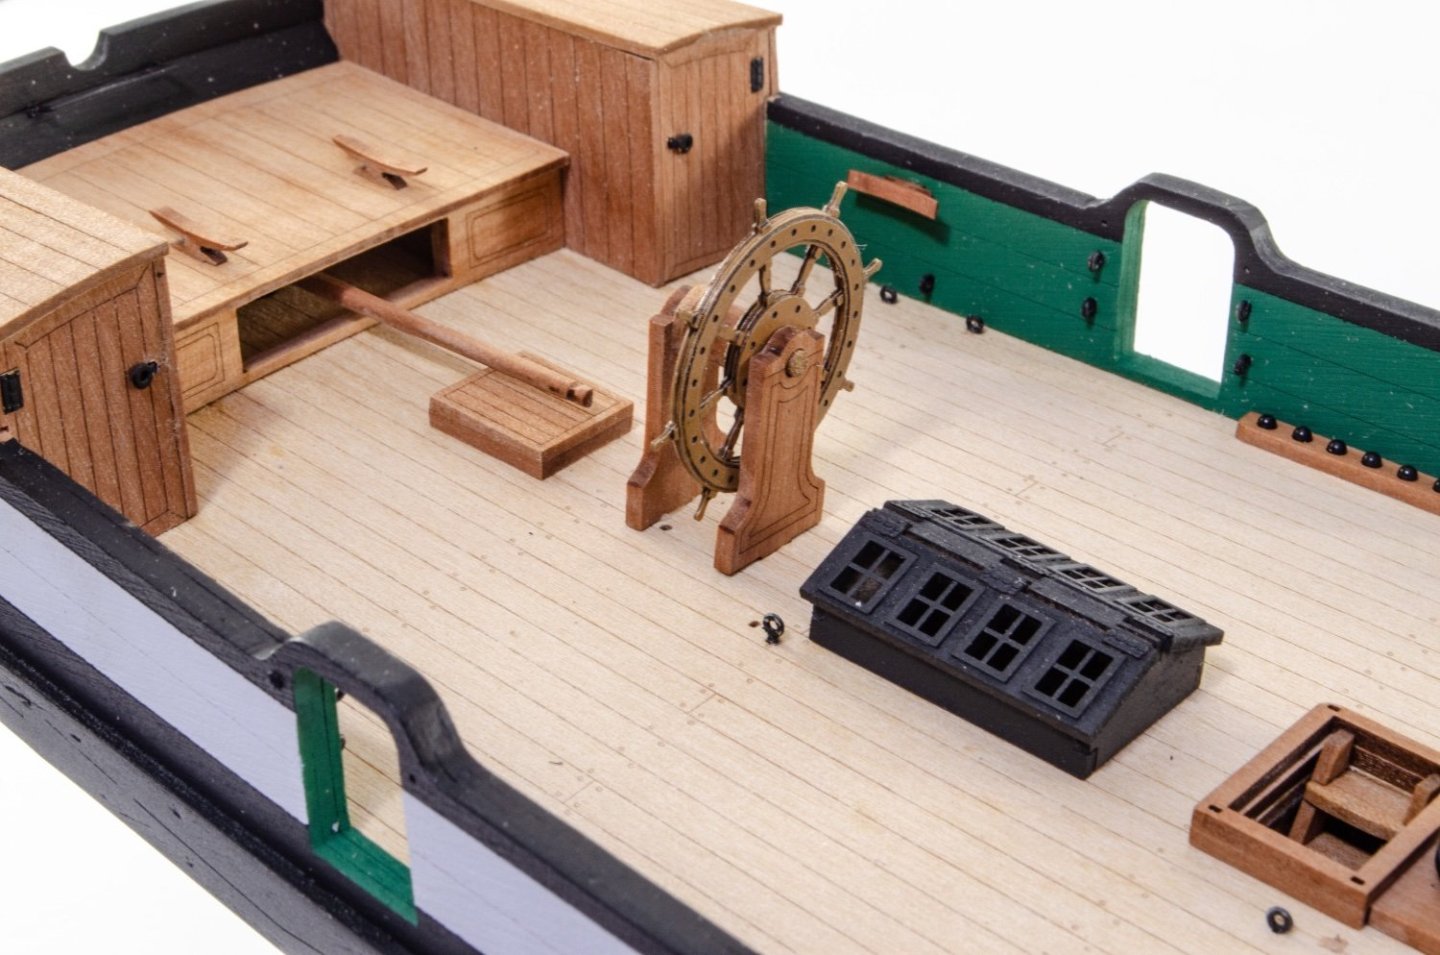
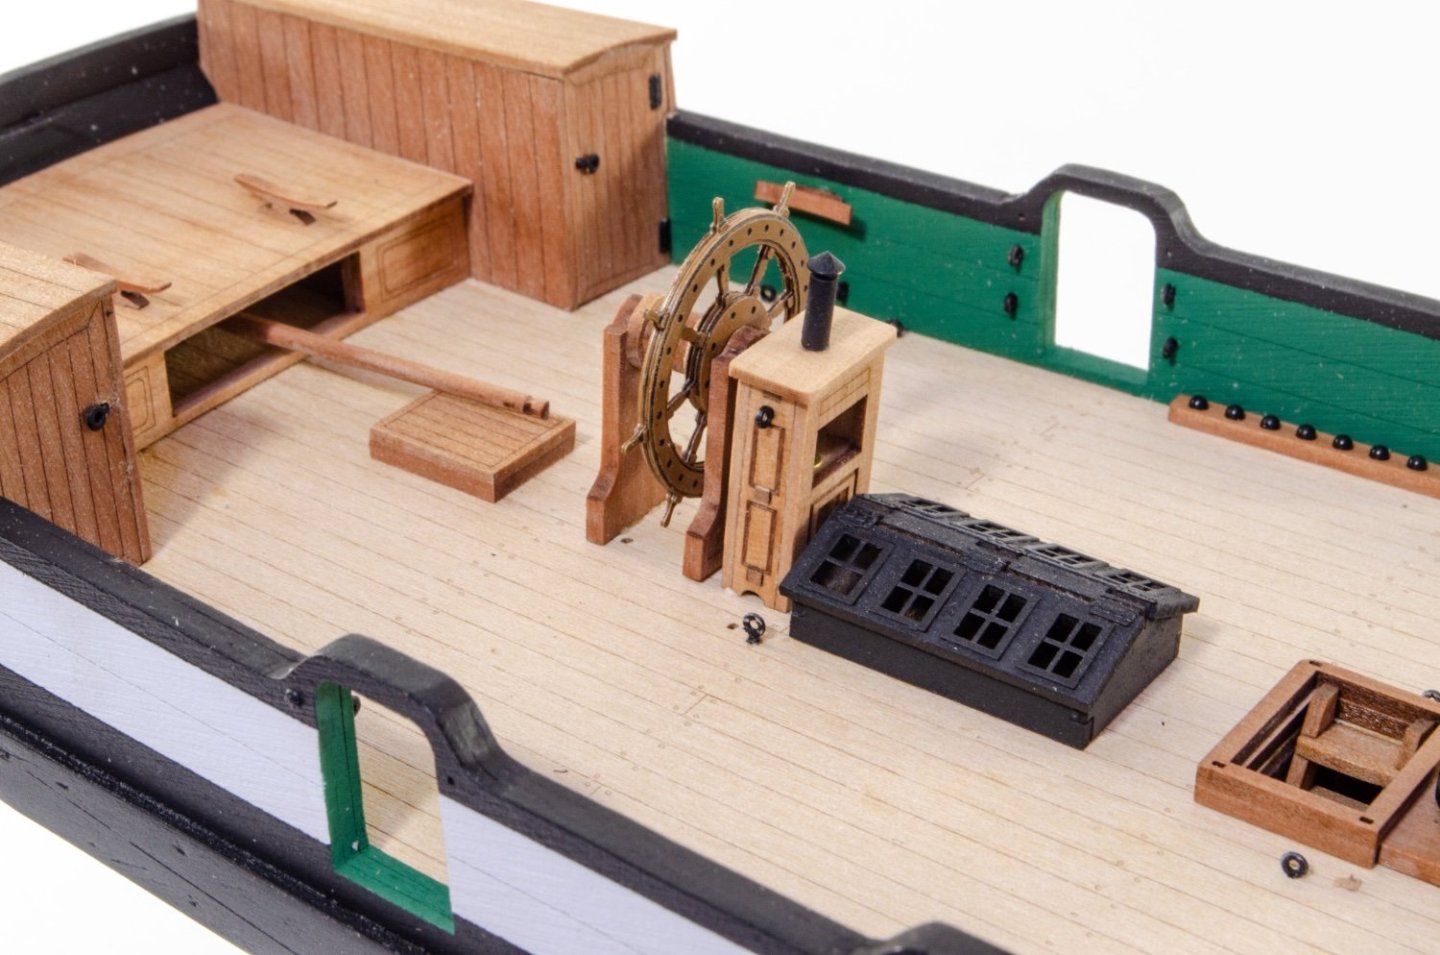
The wheel is in, but the rudder tiller and wheel will be rigged for the next update in a couple of days.
No chain pumps on Grecian
") Hand pumps are now fitted.
Hand pumps are now fitted.
...more in a moment.
-
I'll do this update in 3 or 4 parts due to the number of photos showing the deck and bulwark fittings being added.
Here we go!
Most of these are self-explanatory, but let's take a look. First, as I've processed the pics, I've realised I didn't resize the coppering pics. I'll add those at the end (out of sequence).
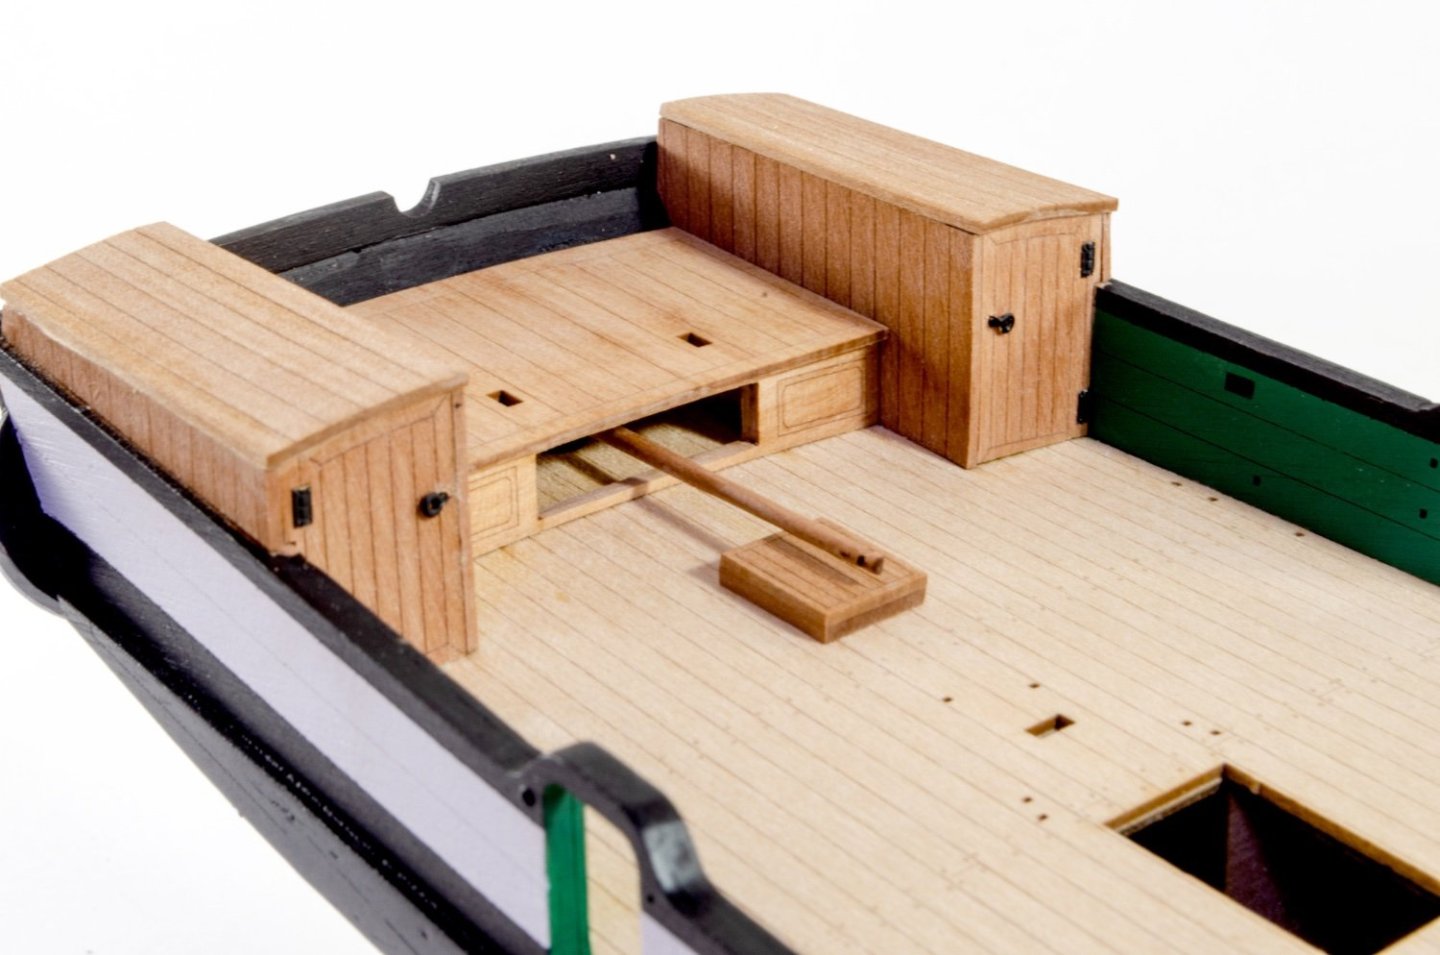
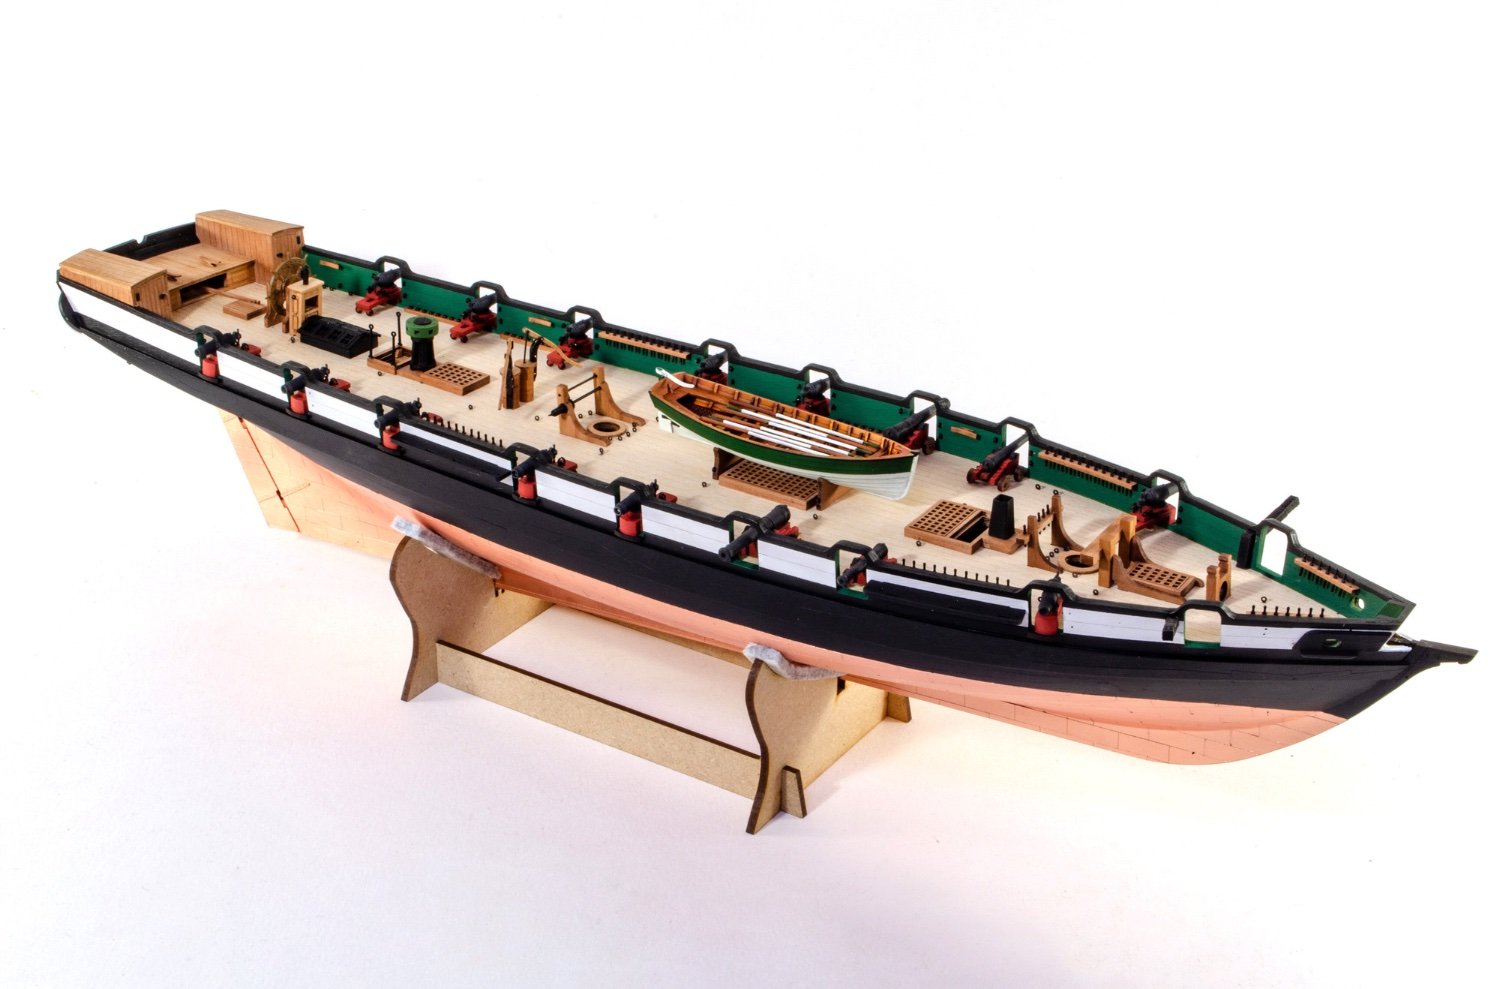
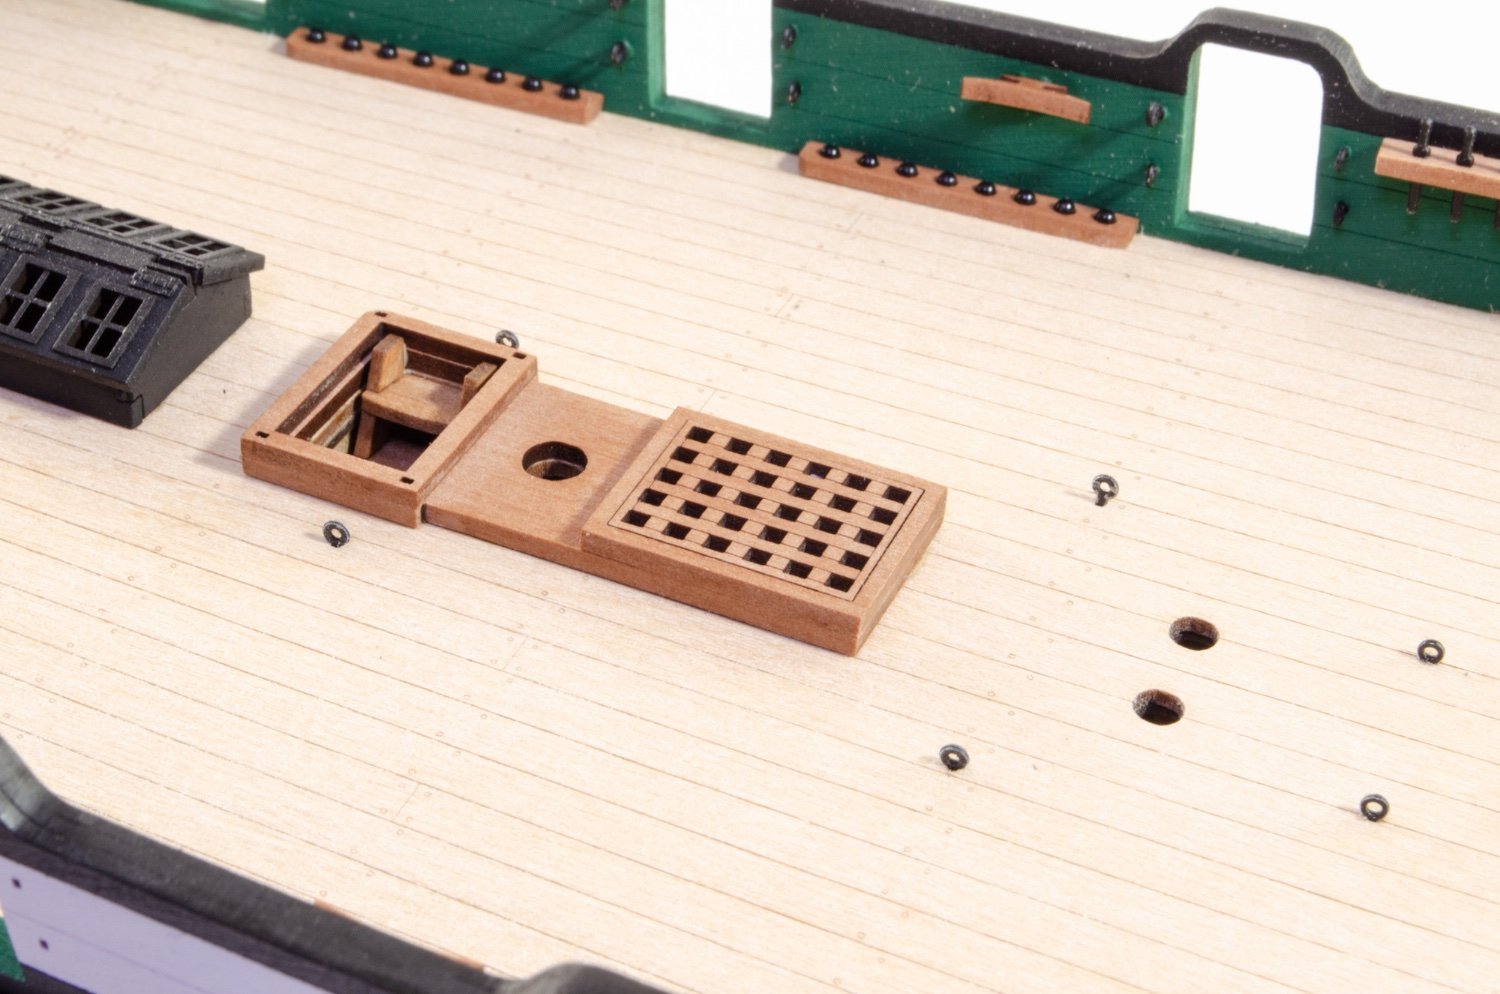
In this photo, the rudder tiller has been added and the small deck section, plus the bread hatch.
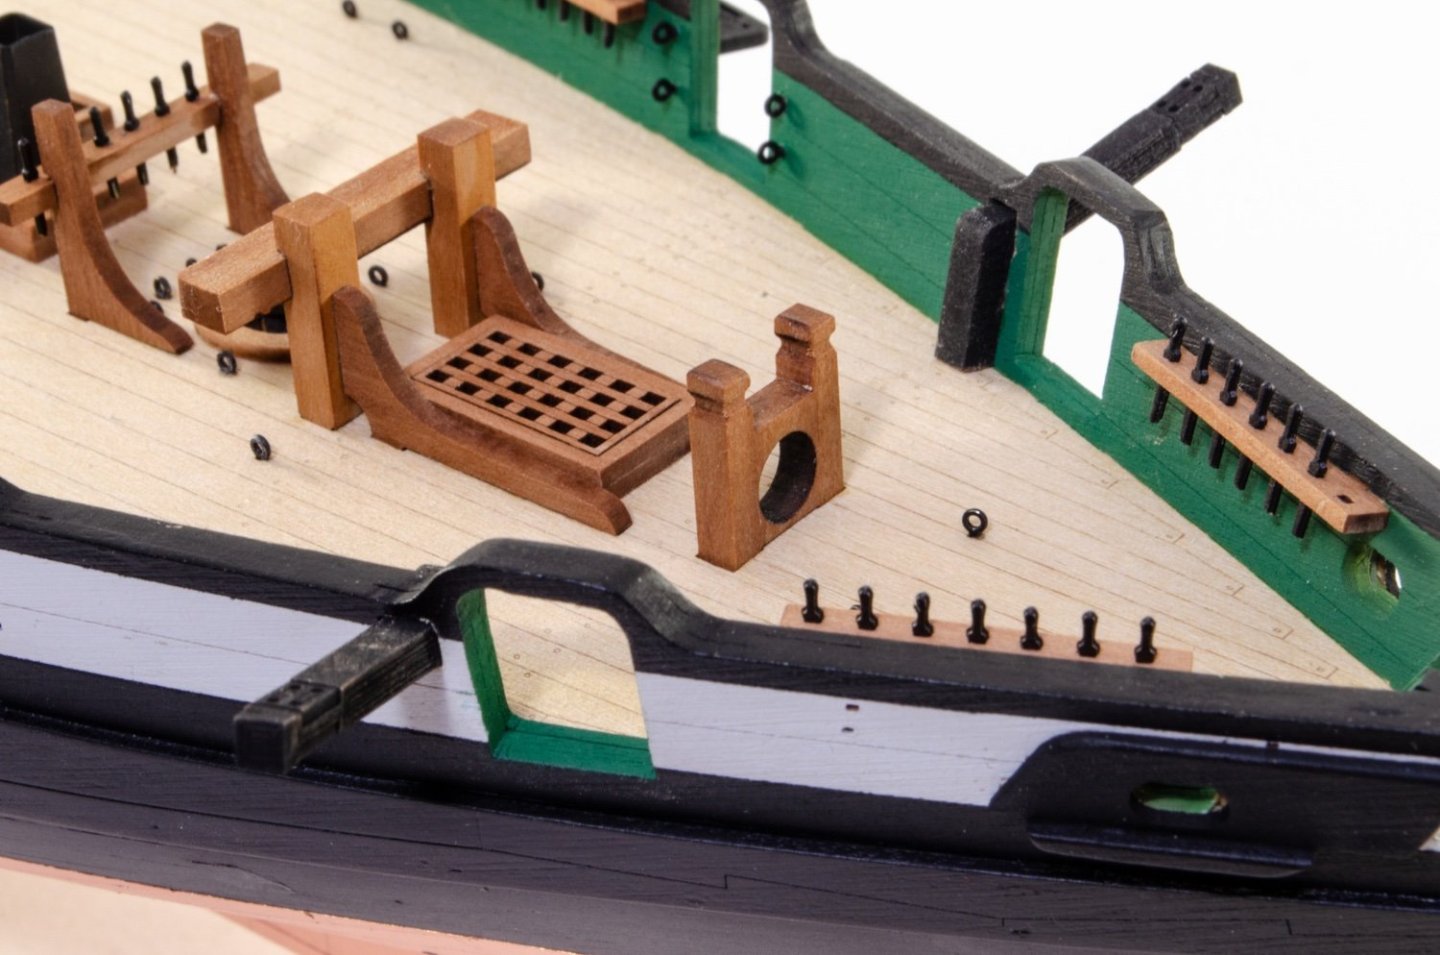
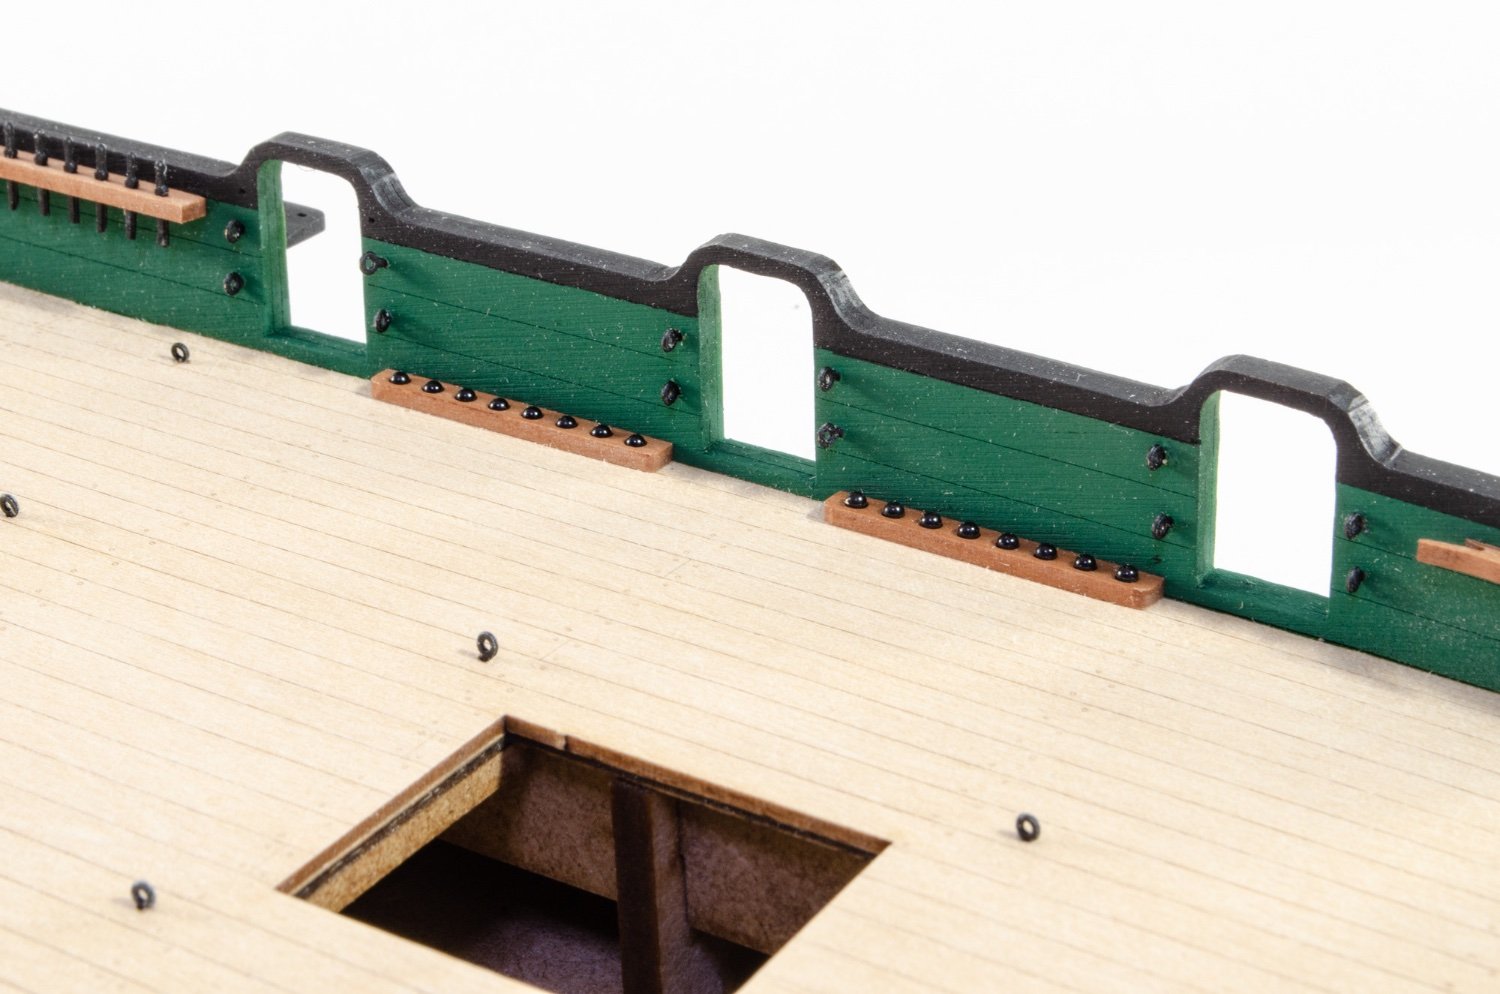
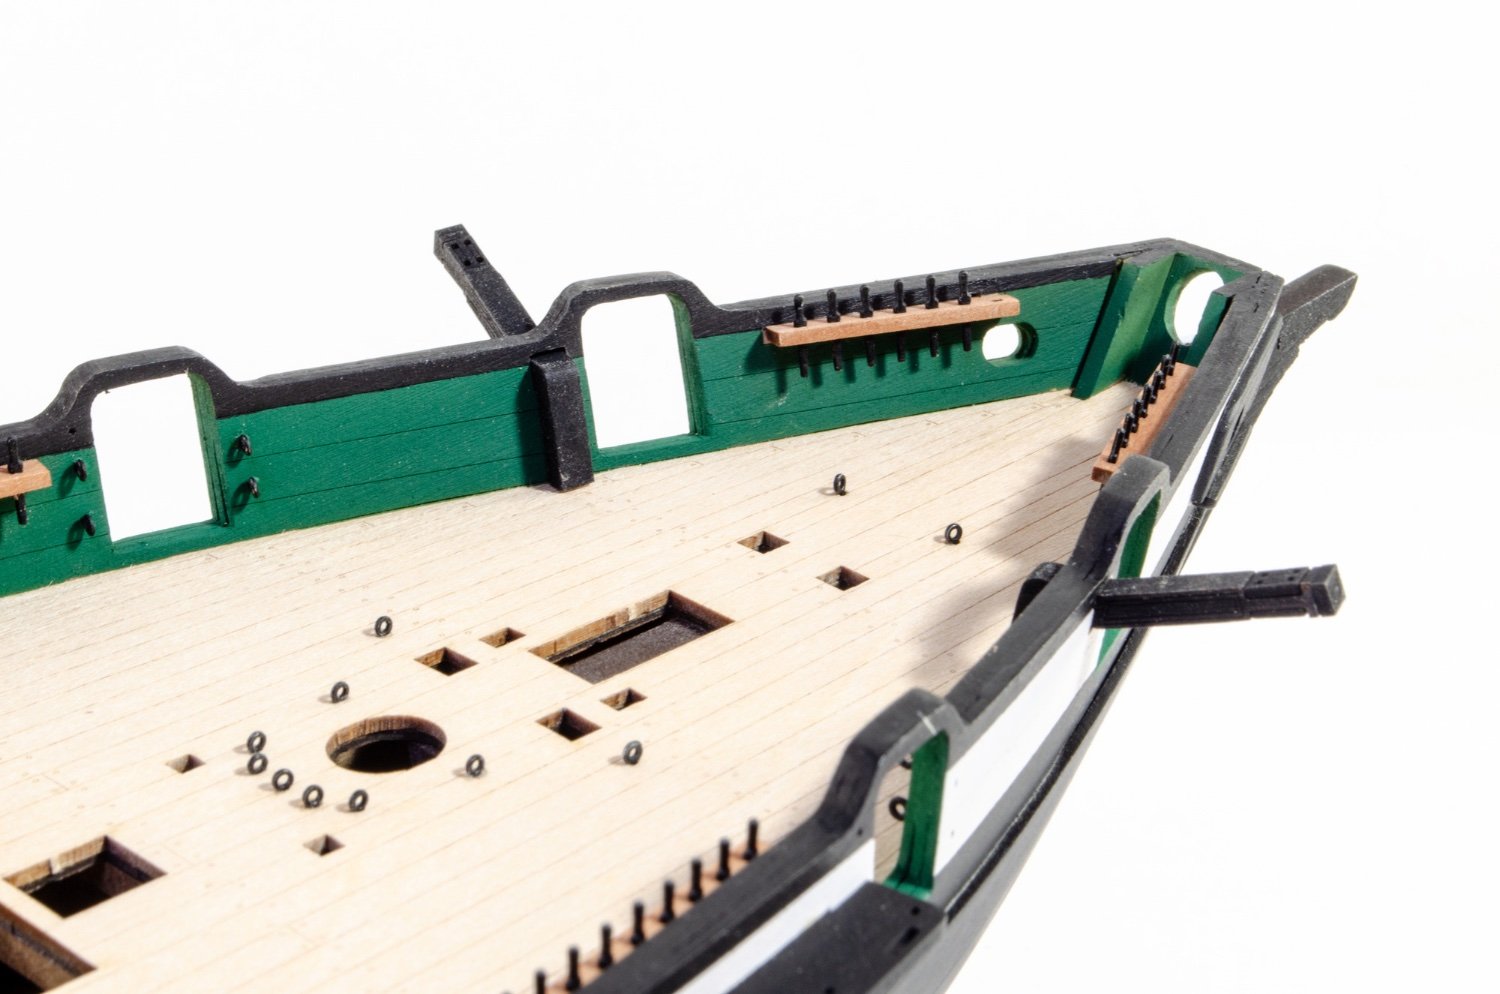
The ironwork is now fitted. This is one of the most time-consuming parts of fitting out. A nicer smattering of these around both the bulwarks and deck.

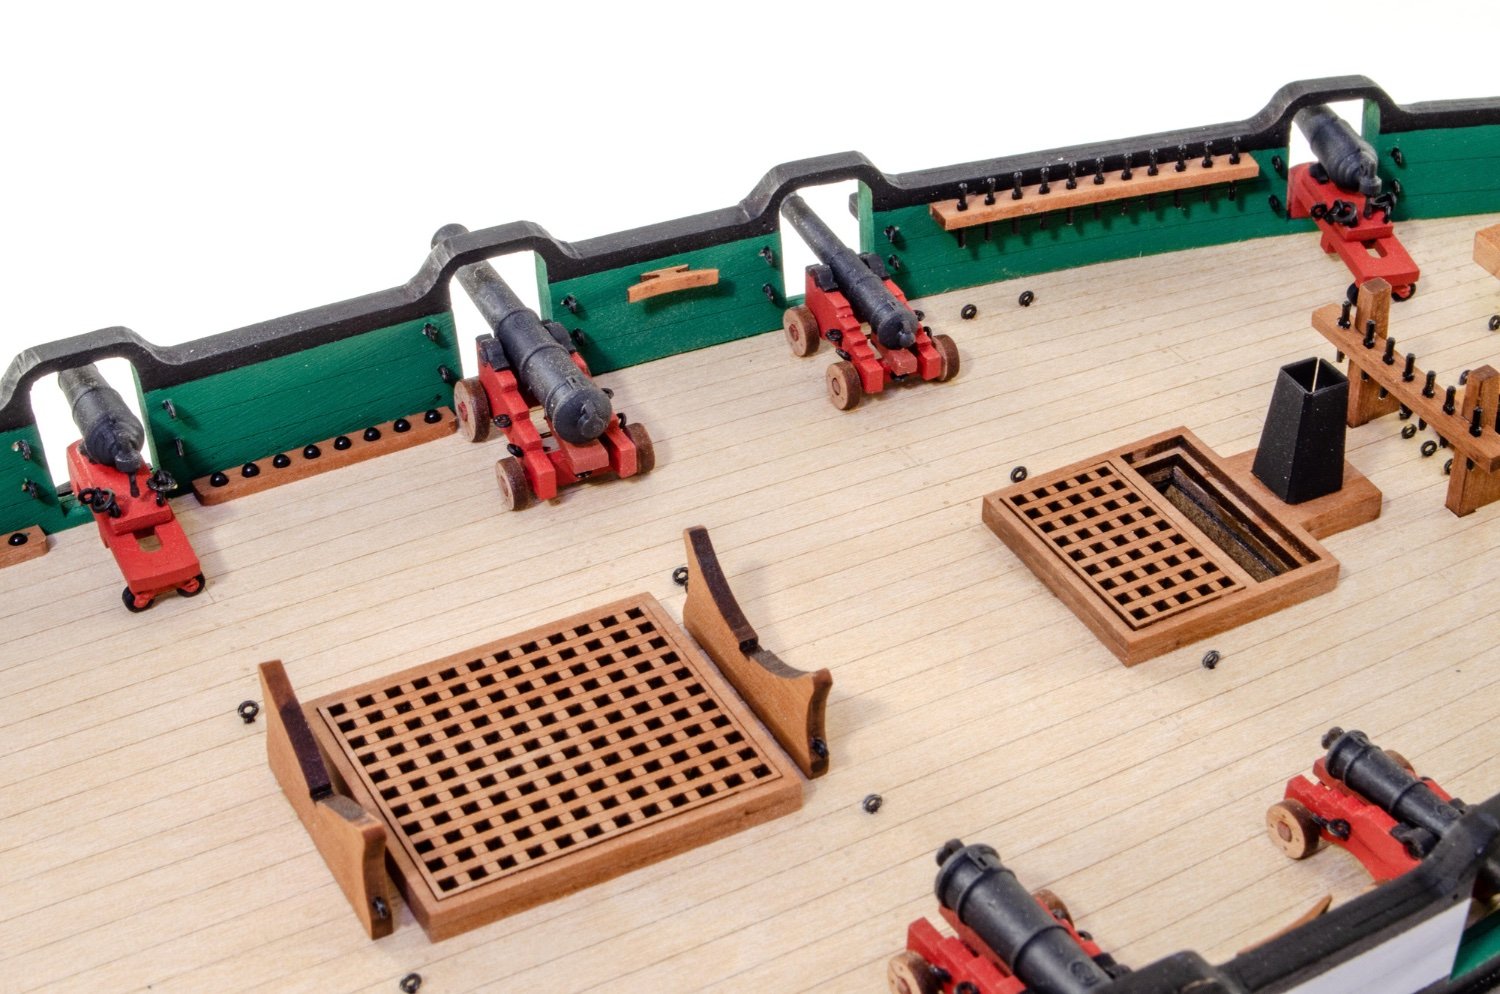
And now the shot garlands.
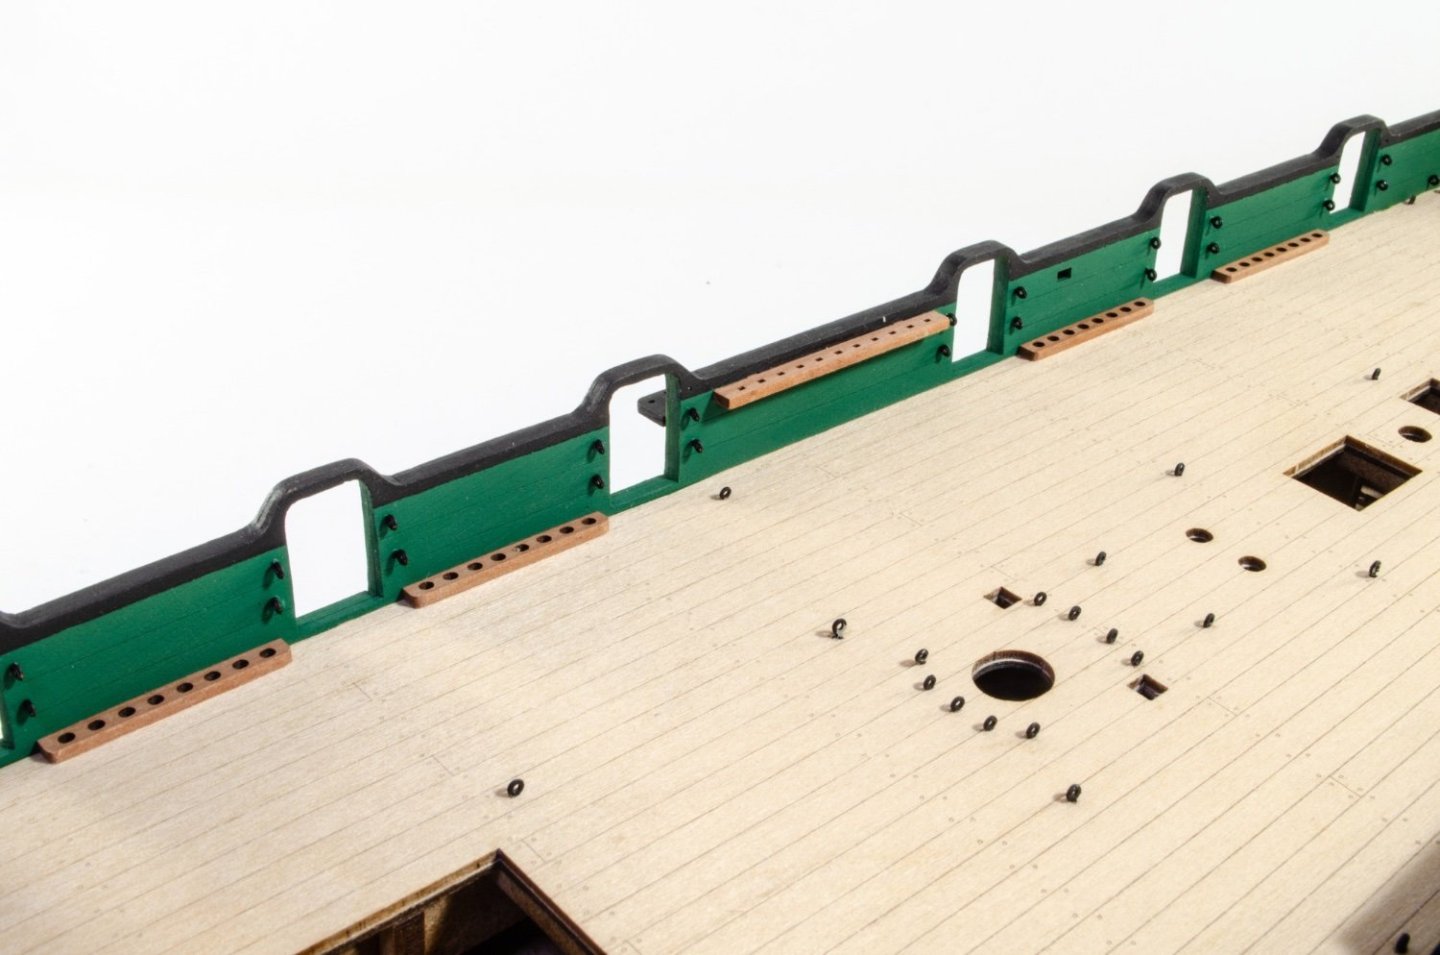

Followed by cleats.

Al those belaying racks need pins. These are PE, painted black and slotted into the racks. A little brushed varnish secures them.

The garlands are now furnished with 1.5mm balls, again, glued into place with a brush of varnish.

The catheads are a multipart assembly that allows for engravings on all faces. Very simple to build and these just slot though the bulwark holes with minimum effort.

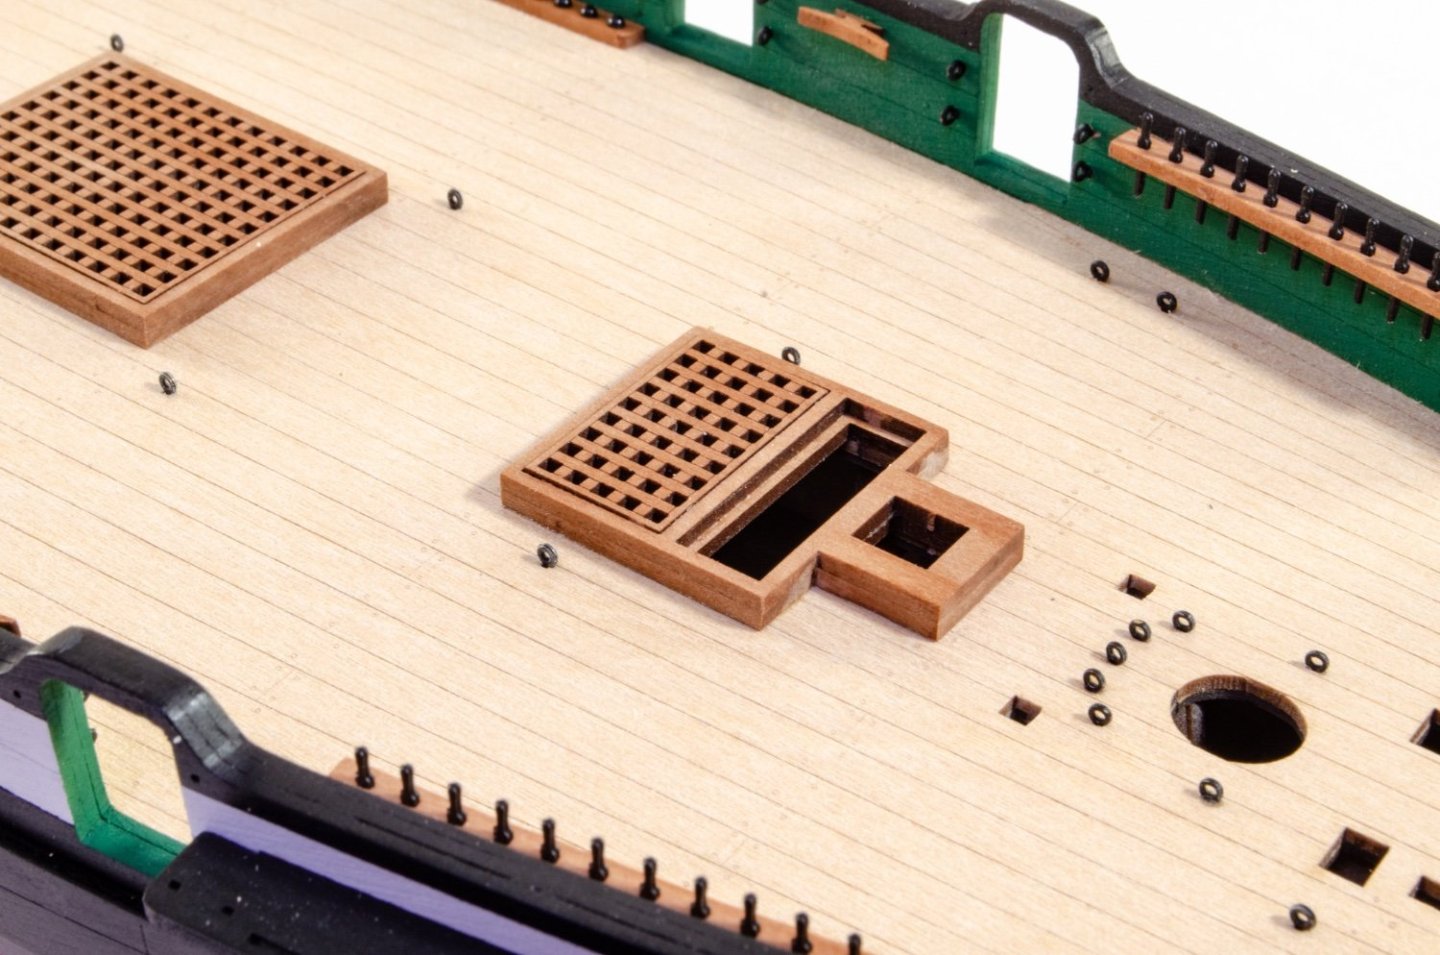
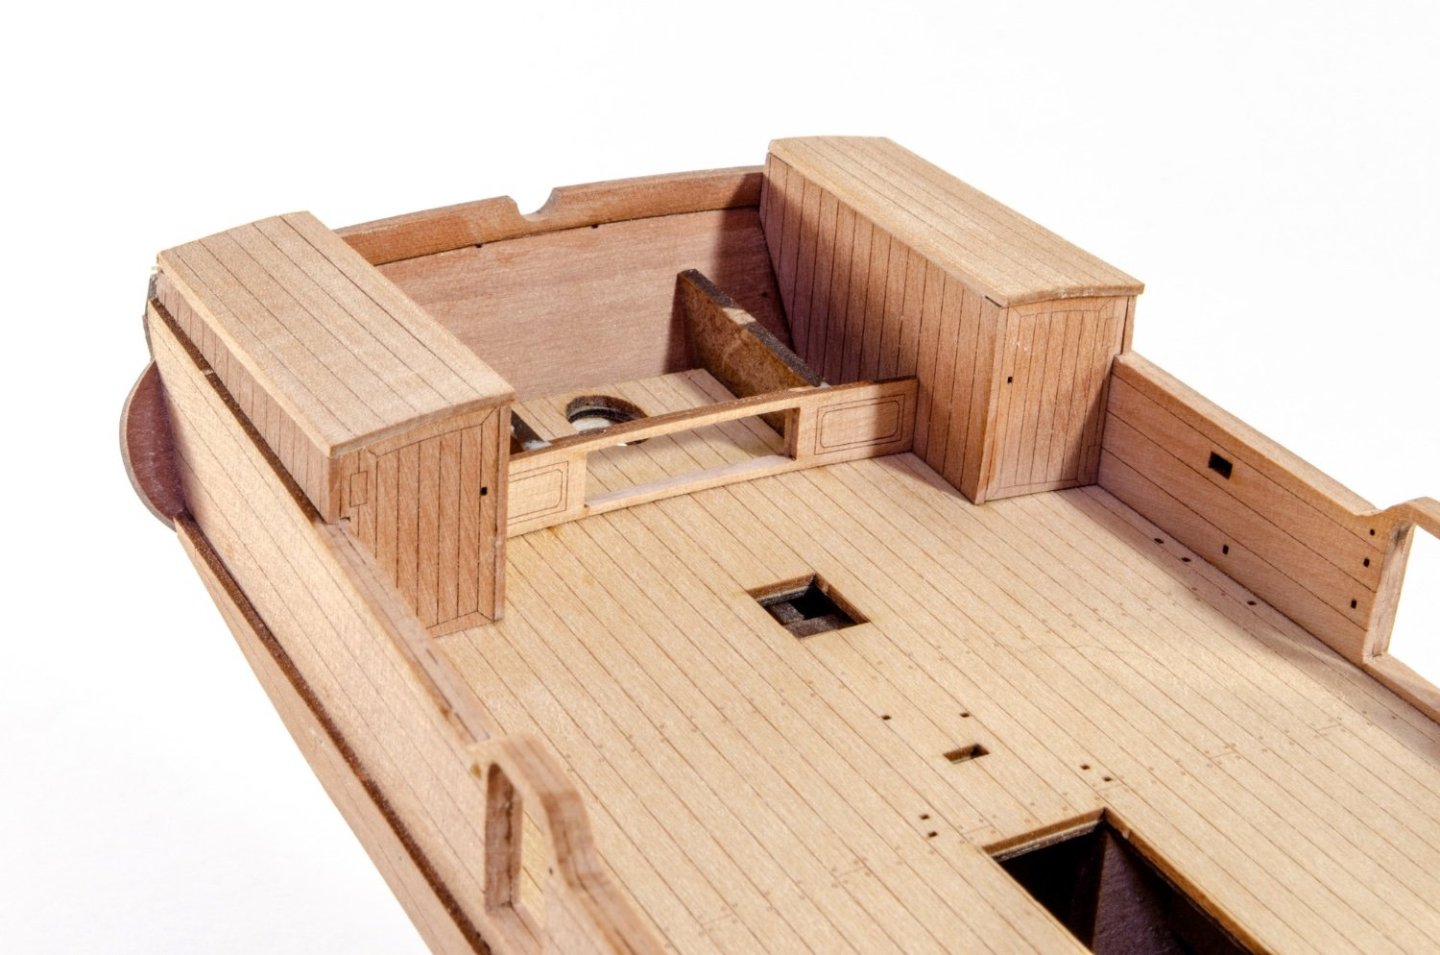
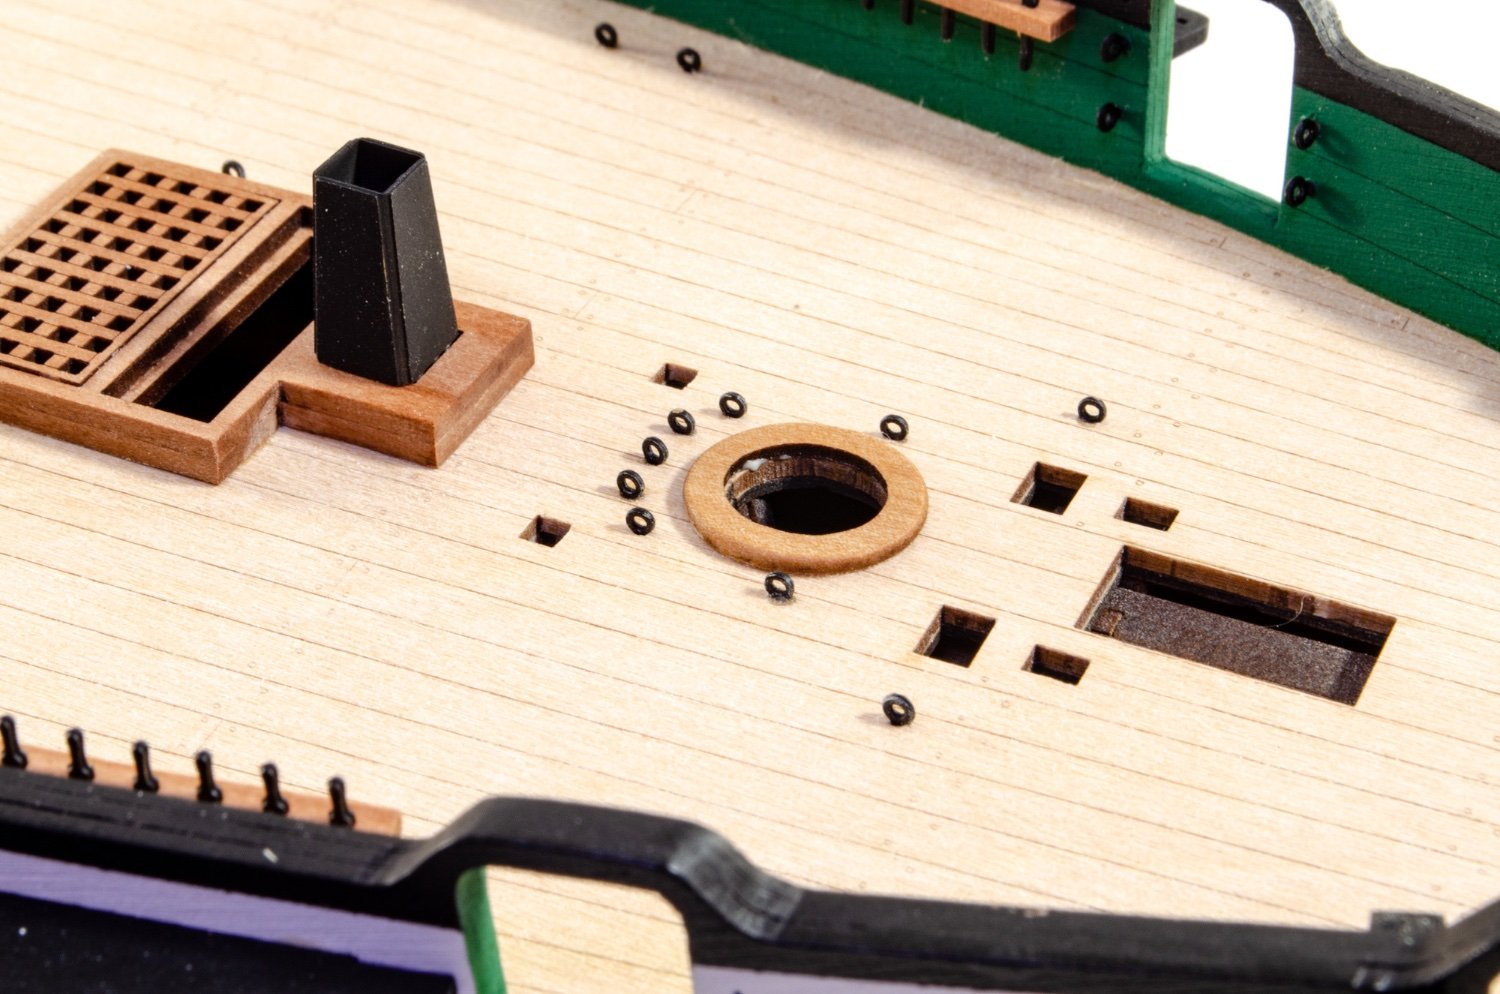
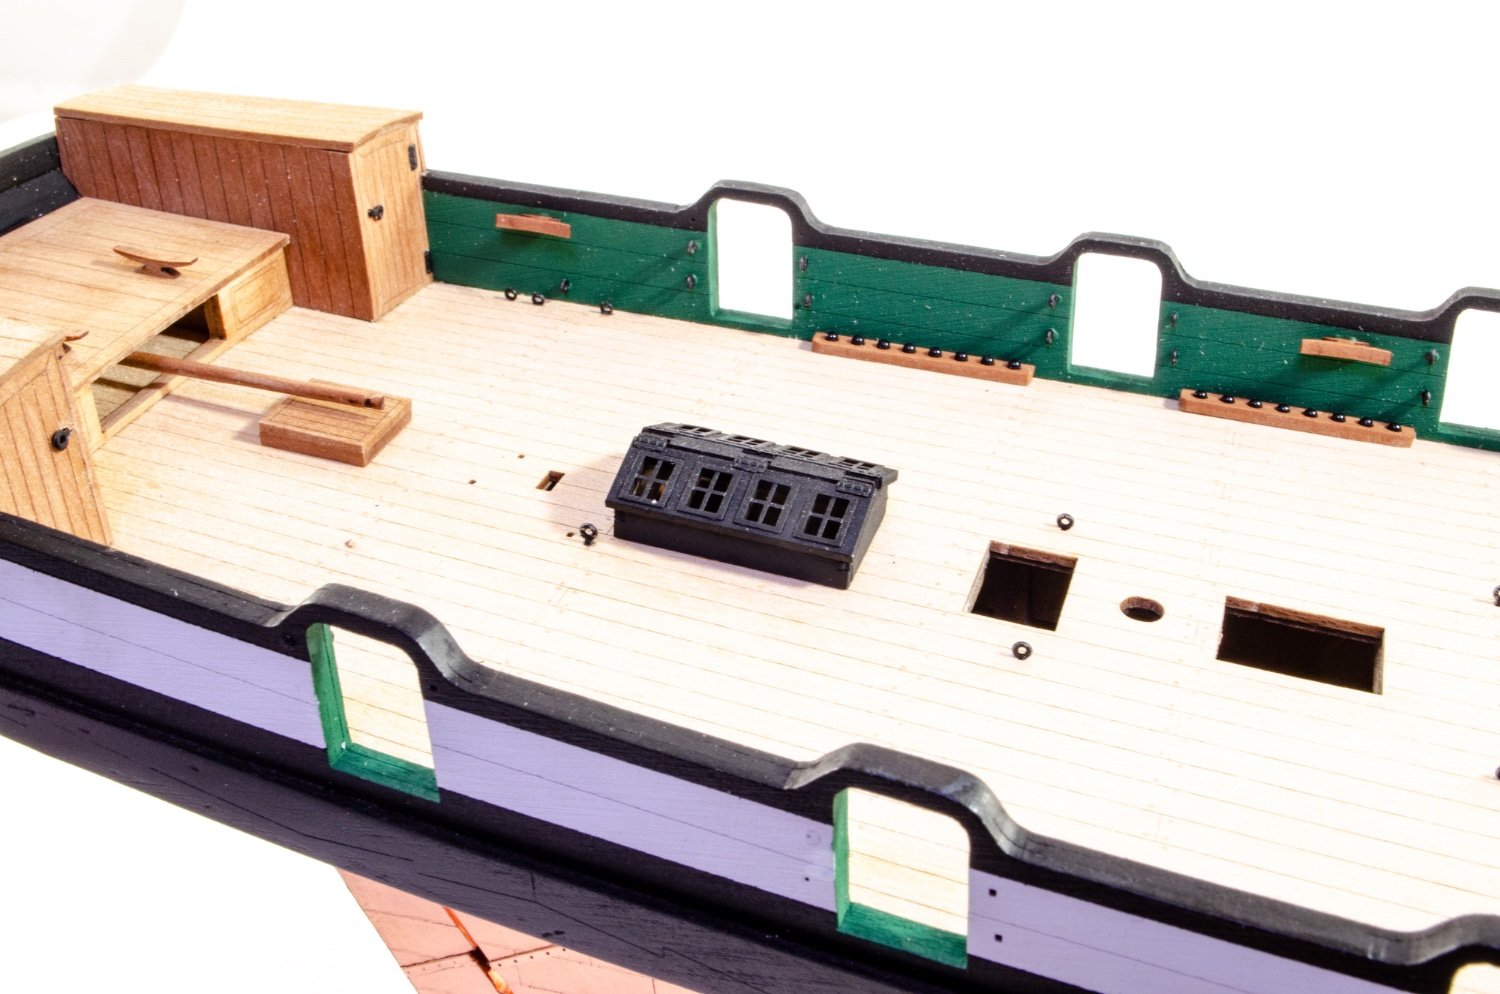
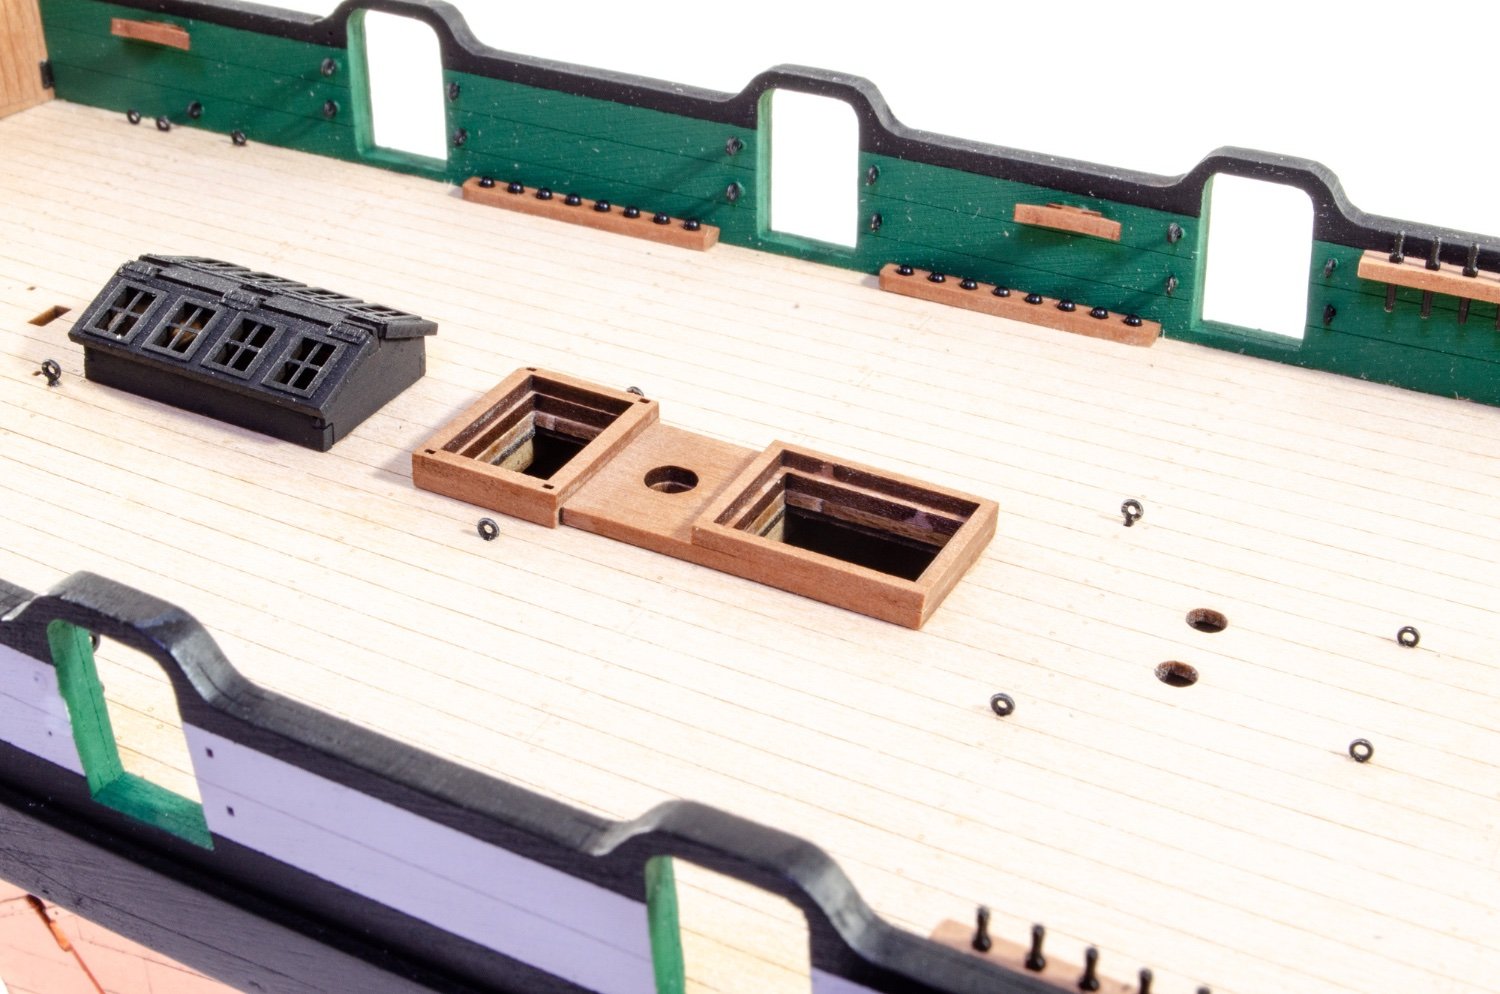
The pre-made fittings can now be added, starting with the skylight.

The the grates/coamings, ladder etc.


Capstan now present....
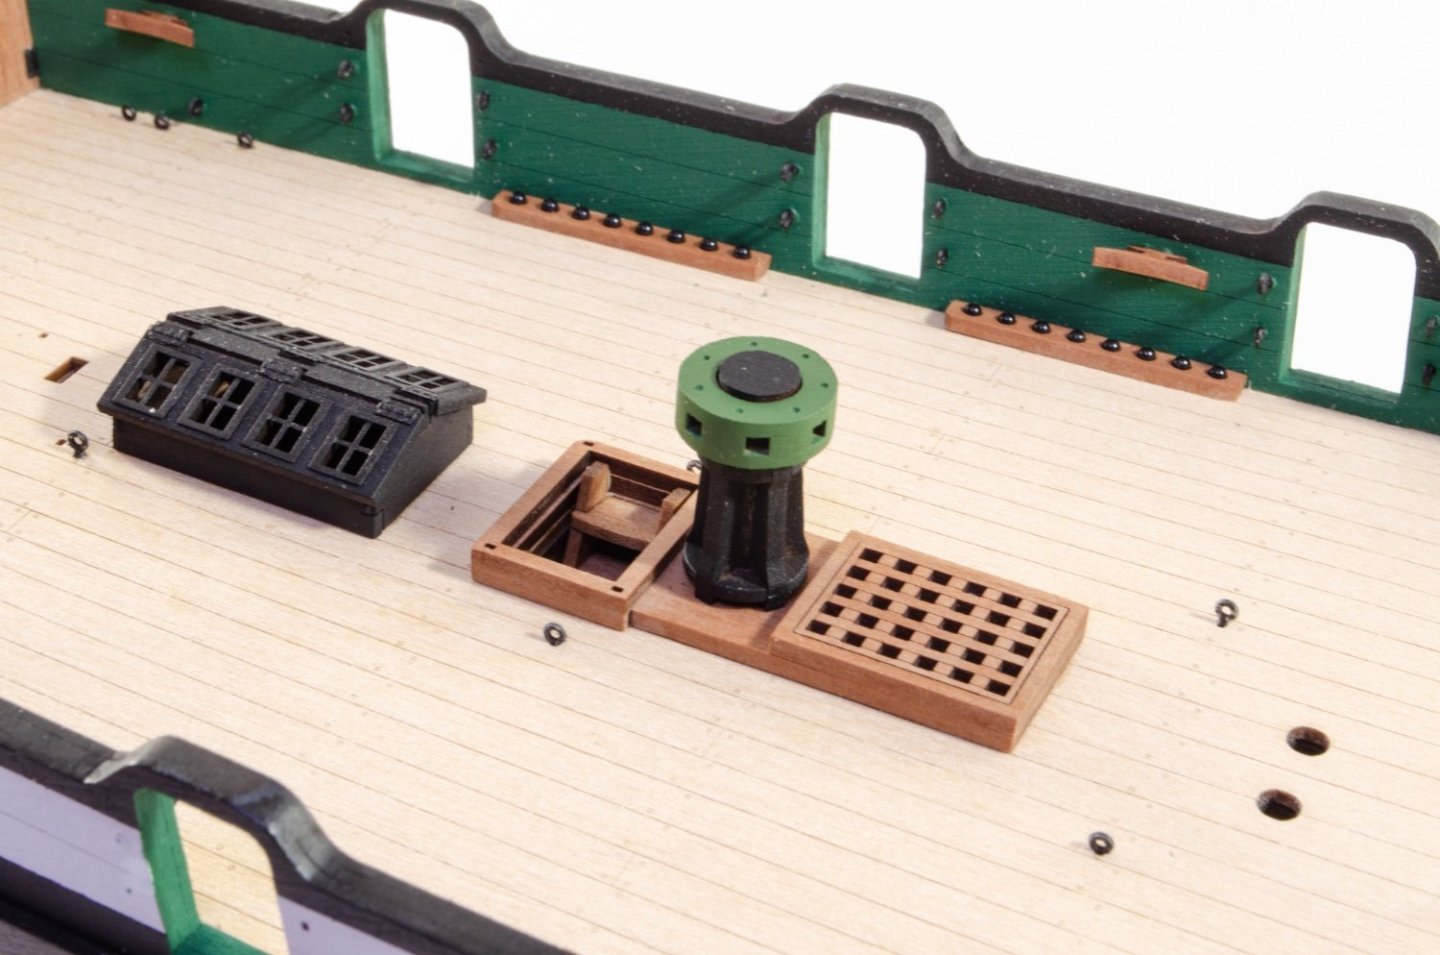

More in a moment....
- BobG, chris watton, jpalmer1970 and 23 others
-
24
-
2
-
Loving this build. Nice work in that gold too.
- mtaylor, aydingocer and Cirdan
-
3
-
Fitting those parts can be nerve-wracking as so much relies on correct positioning. Looks good too me though.
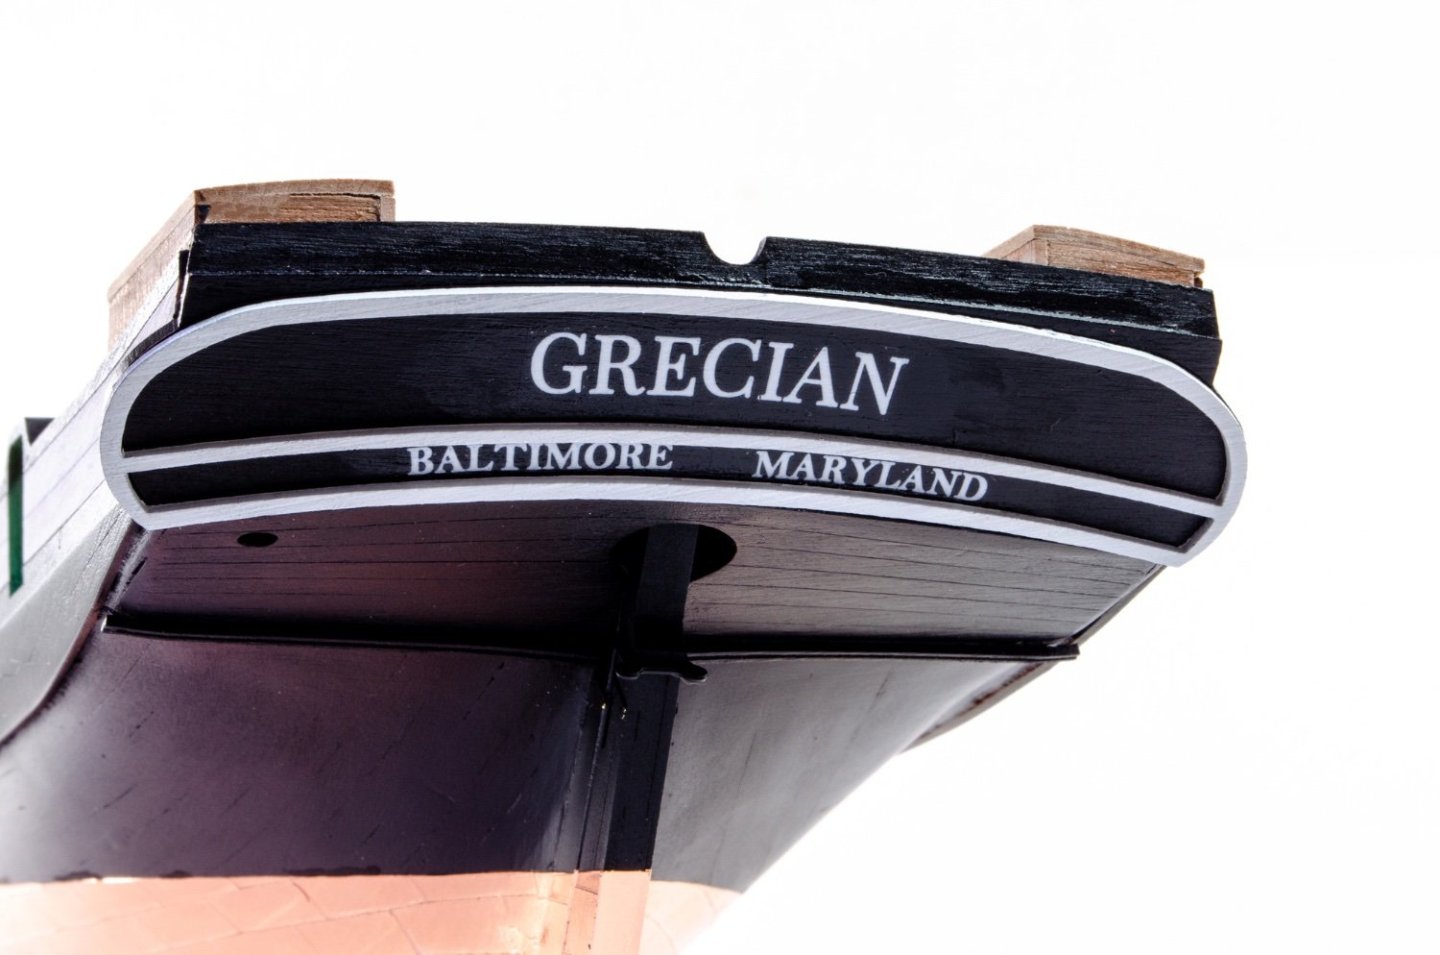
And to see you set the top stern fascia and made sure it sat correctly above the bulwarks too. 👍
- chris watton, mtaylor and Mr Whippy
-
3
-
-
-
2 minutes ago, aliluke said:
I have been following without comment to date. It is a stunning ship and an unusual subject with its shallow bow and deep stern and raffish look. Extremely well done! And model ship builders should be interested in the variety that this model adds. The green hurts my eyes but I think that's because the reds of the English ships is steeped into my mind. USS Constitution has that green but I still struggle with it, even if historically accurate. But no matter - I am fascinated to see how this plays out which I'm sure will be very well!
cheers
A
The green does take some getting used to! We took a lead on the colours from the USS Consitution. The belaying pin racks will be in natural, as will the bitts etc, but with white caps, so quite unusual. I'm coppering this thing at the moment. Well, I will as soon as I've had something to eat 😋
I've gone from liking this build to loving the ships and the appearance with this scheme.
- thibaultron, markjay, hollowneck and 4 others
-
7
-
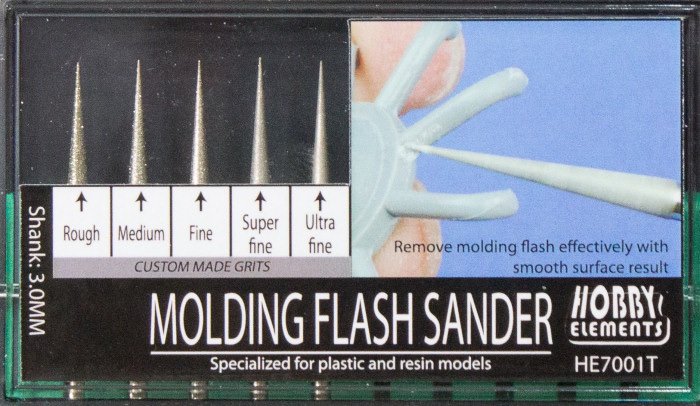
I don't know how these will be with metal.
I use these for plastics and resin and they are unbeatable.
- thibaultron, ERS Rich and mtaylor
-
3
-
-
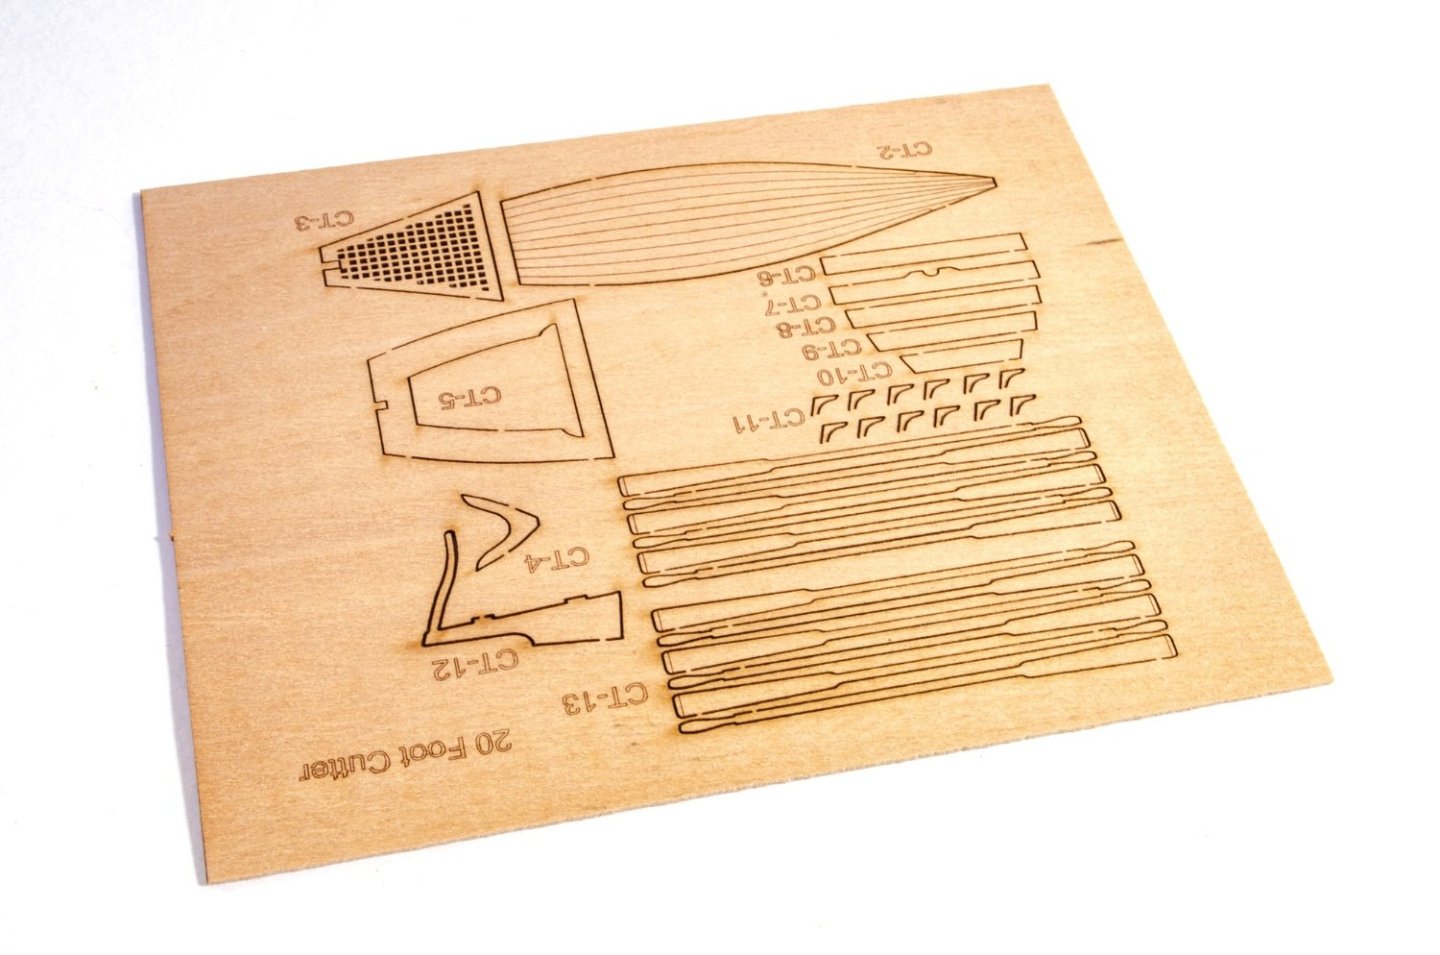
Box is tough and that doesn't look too shabby at all, especially the tuck.
- CaptnBirdseye, Glenn-UK and mtaylor
-
2
-
1
-
Damn, I should let you do my first planking. I don't get within 10% of being that neat!
- mtaylor, Blue Ensign, chris watton and 3 others
-
6
-
Just a quick update before I soon hit the copper.
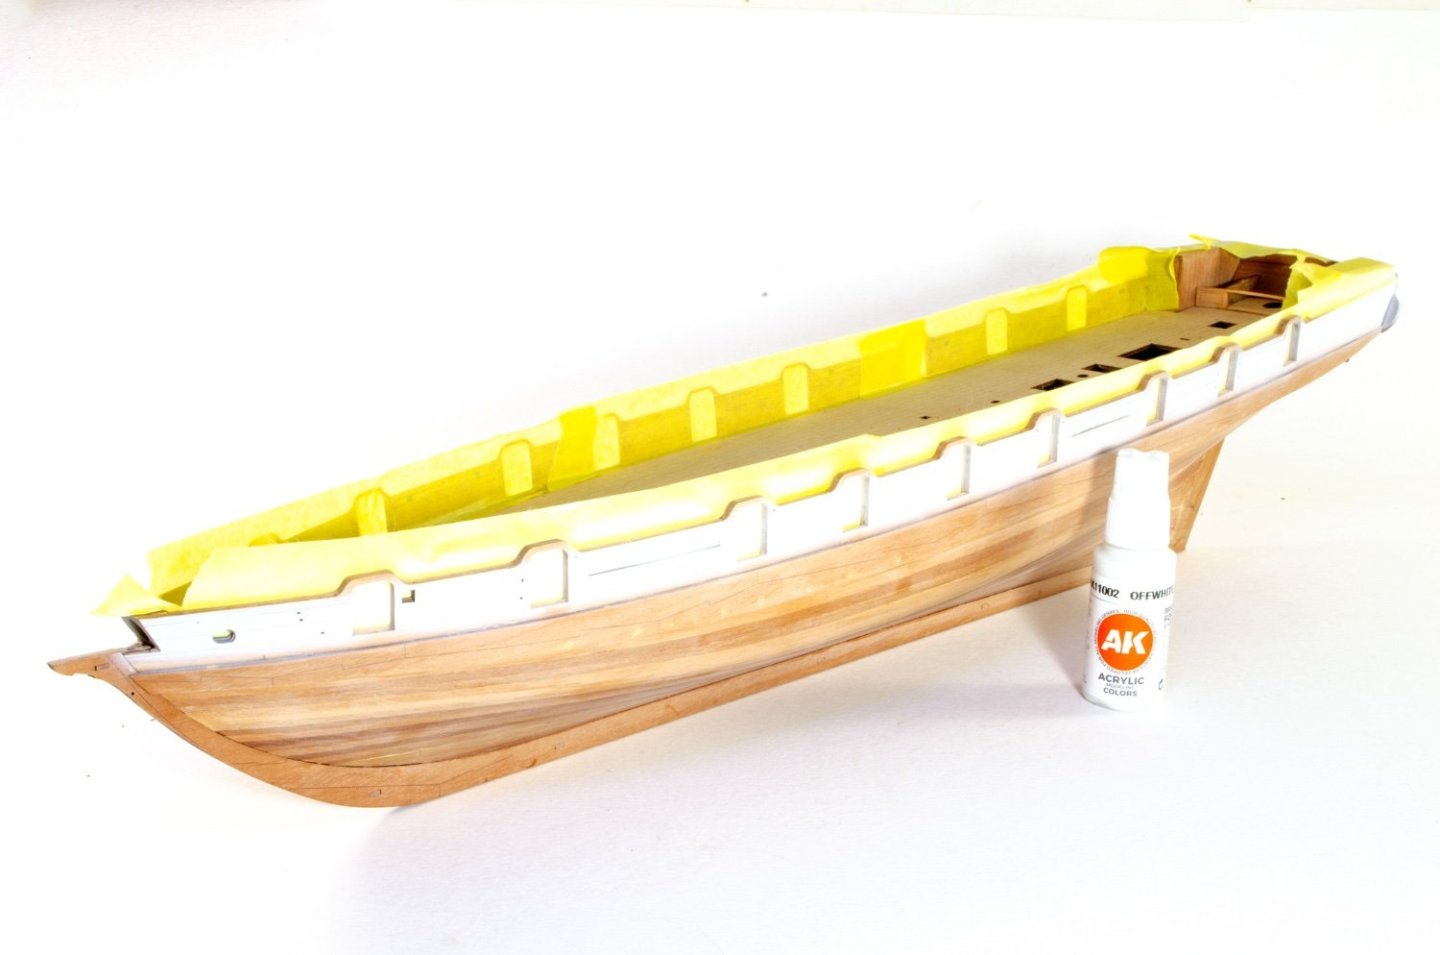
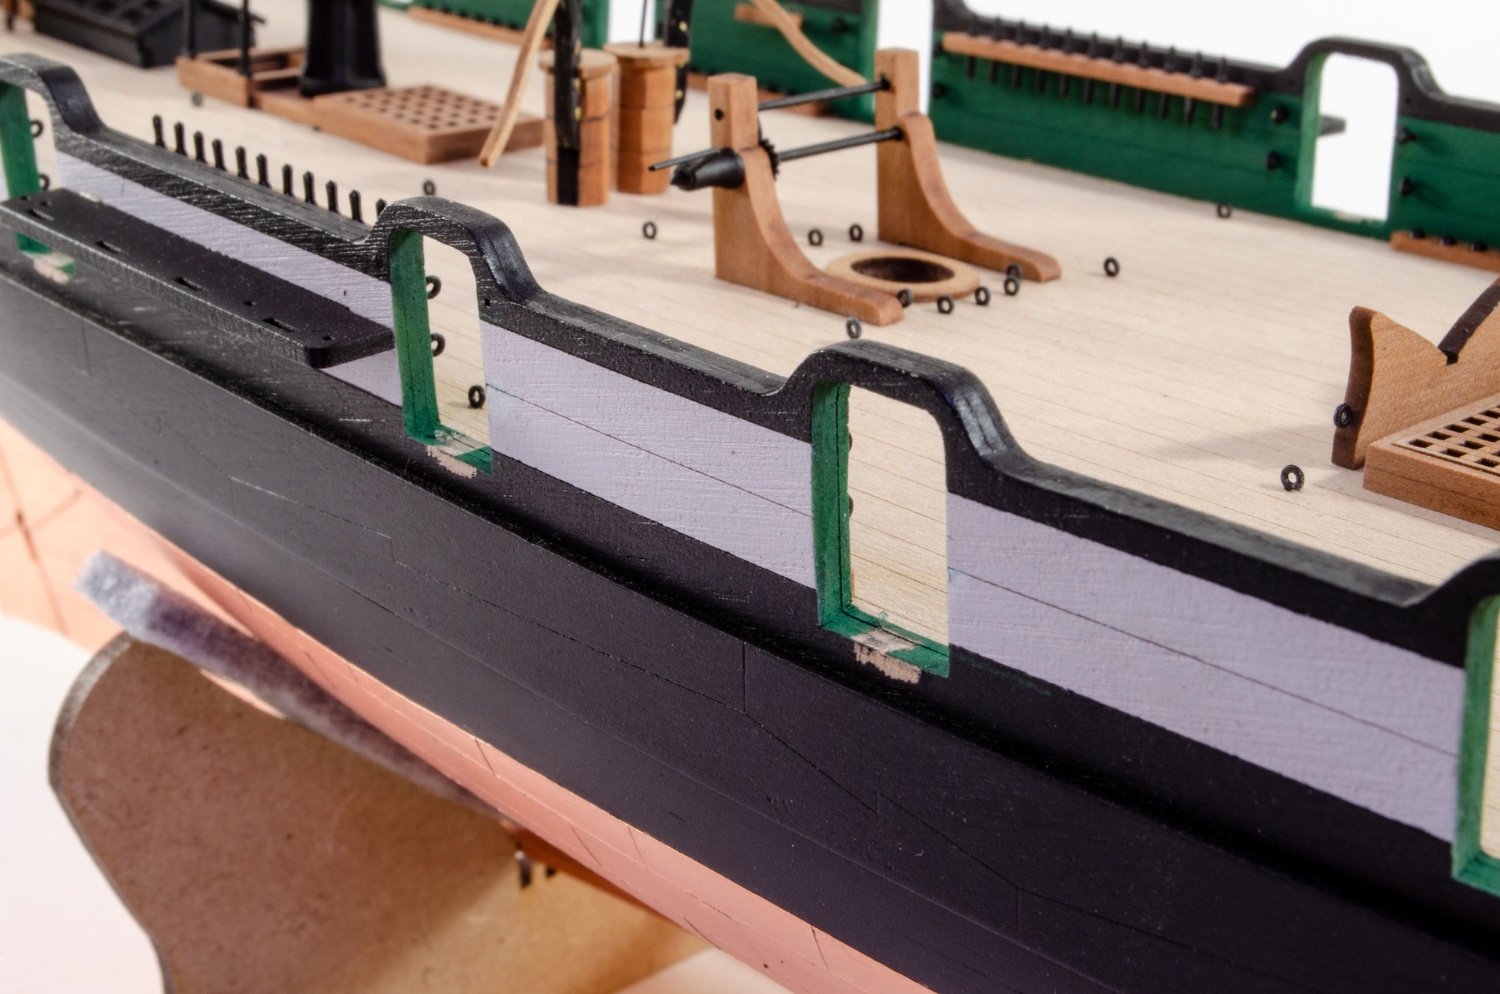
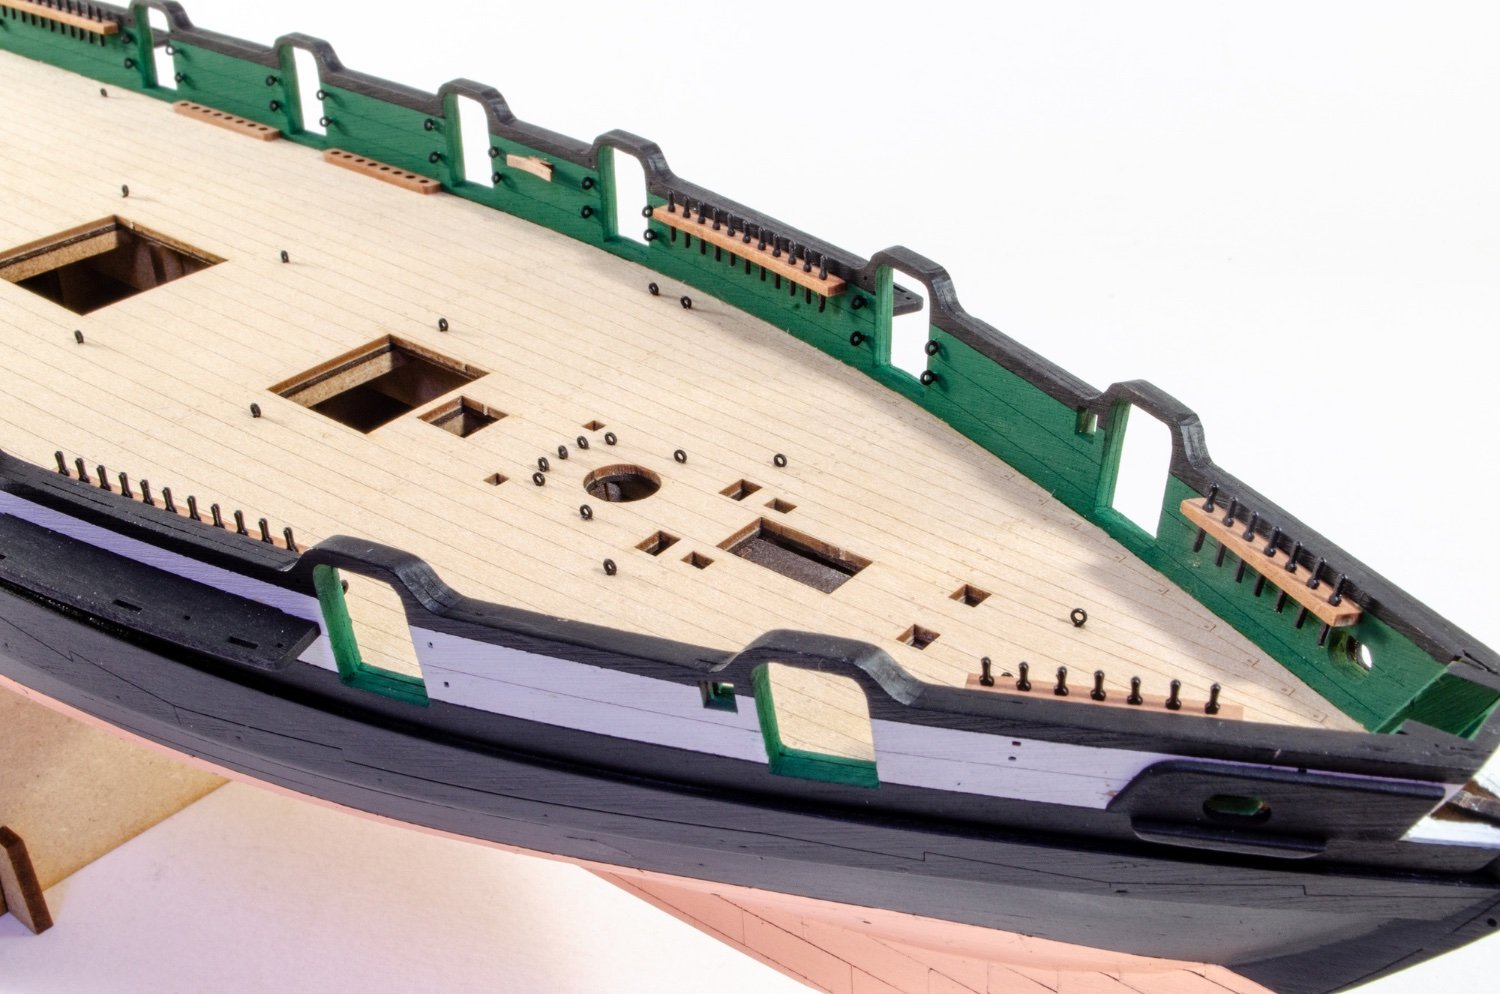
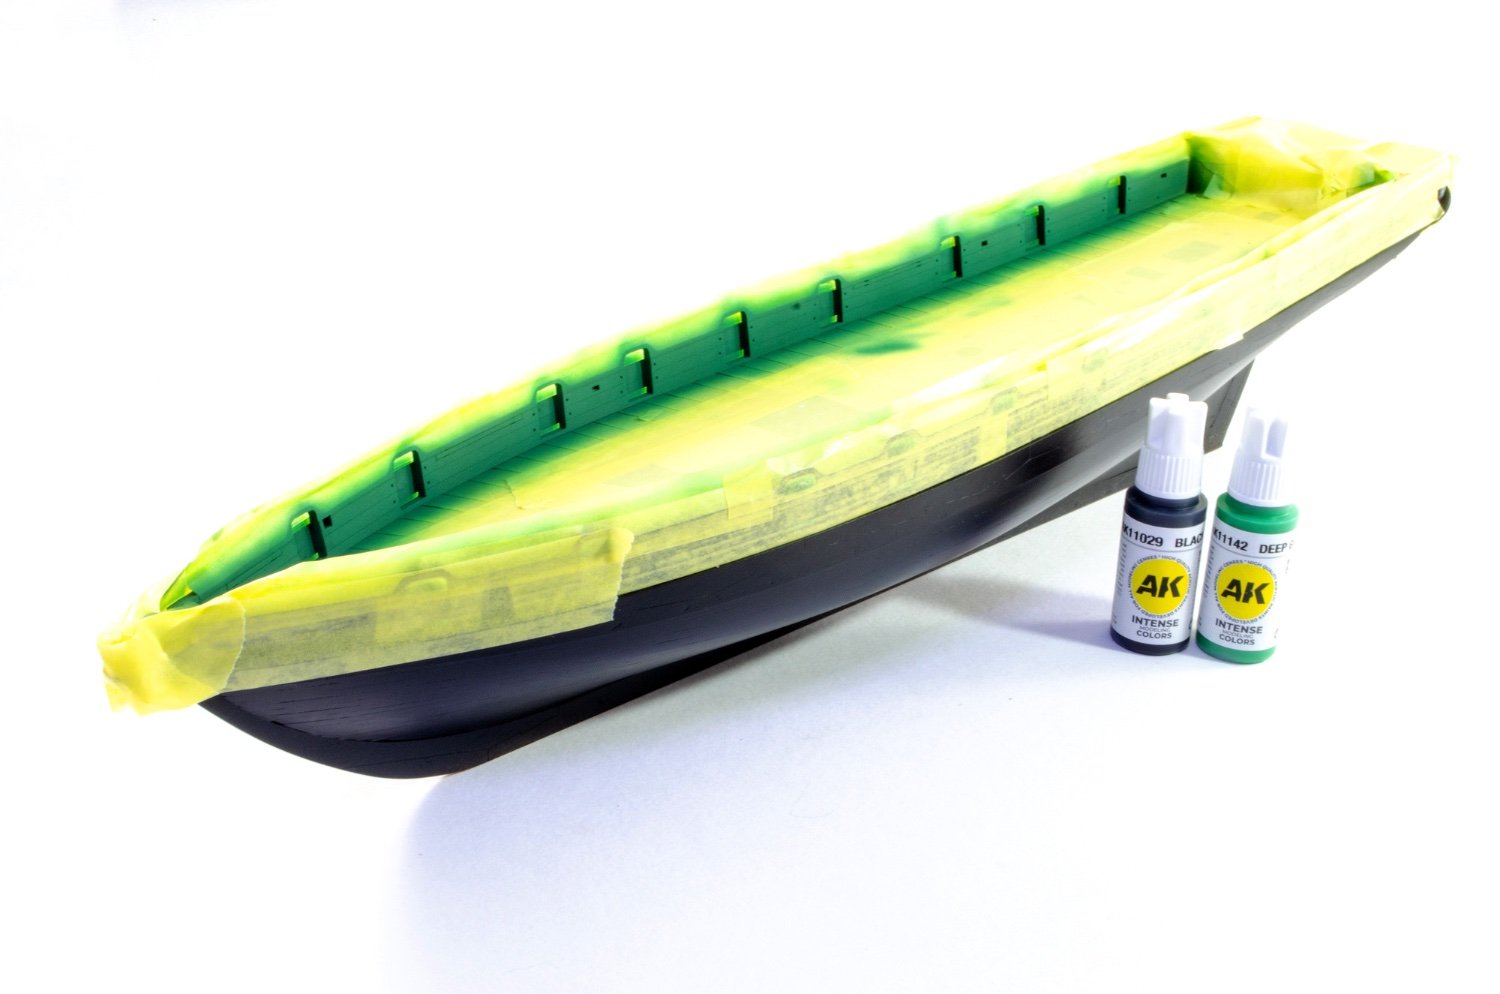
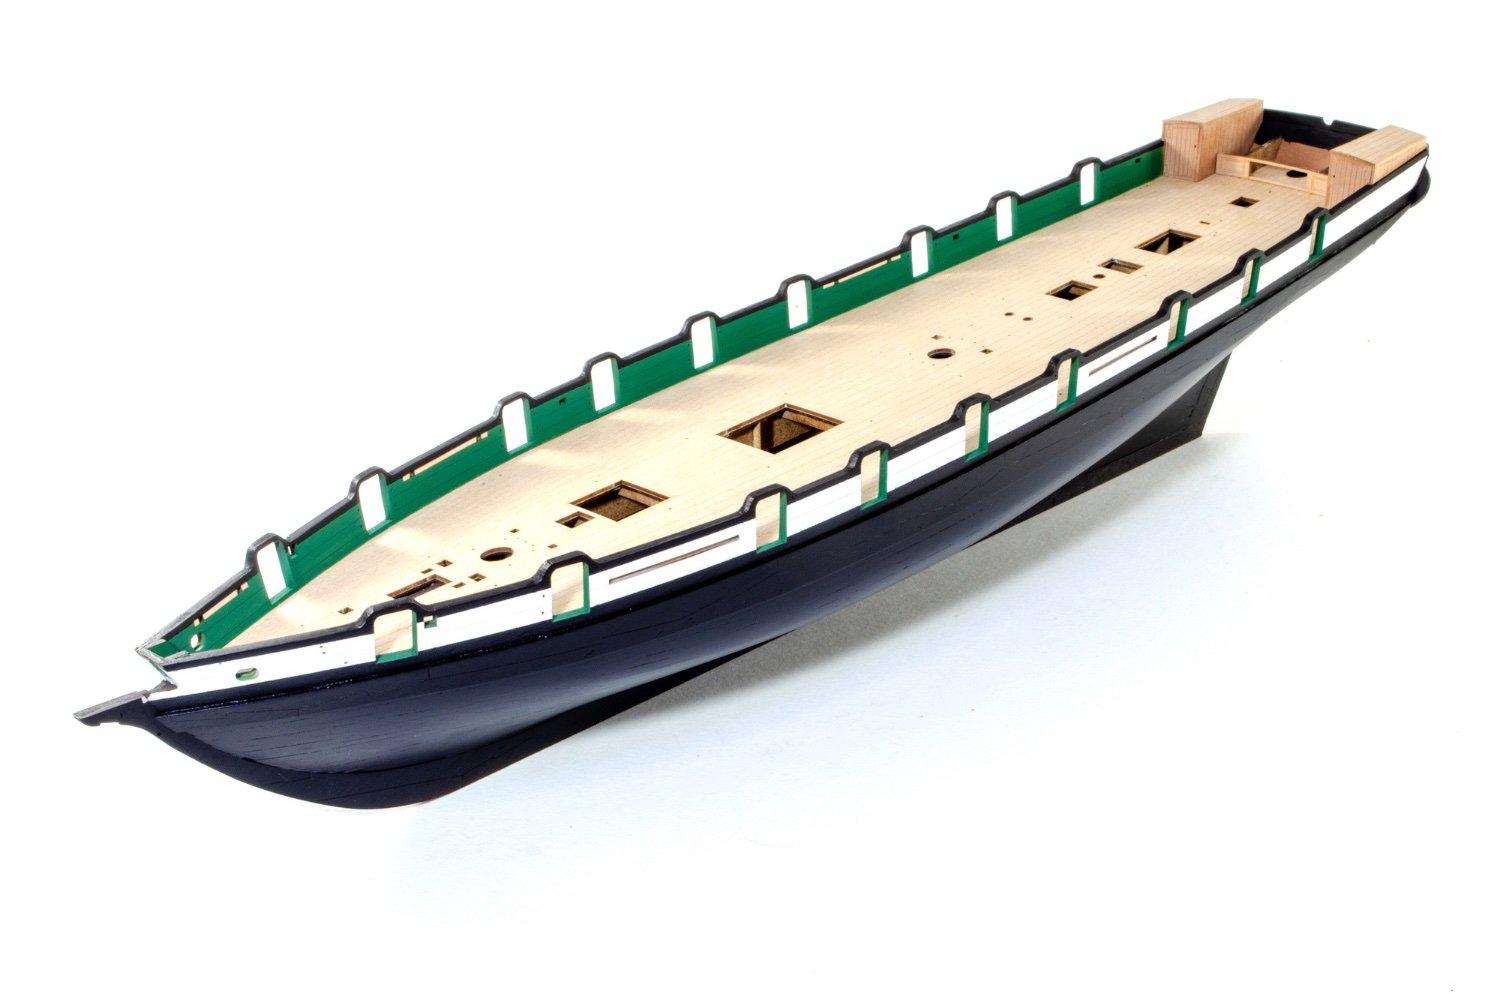
Te hull is now more or less painted. A few touch-ups here and there, and there will be a flat coat afterwards. I added the sheen simply because it's less likely to mark when handling the hull. All paints here are from the forthcoming Grecian paint set.
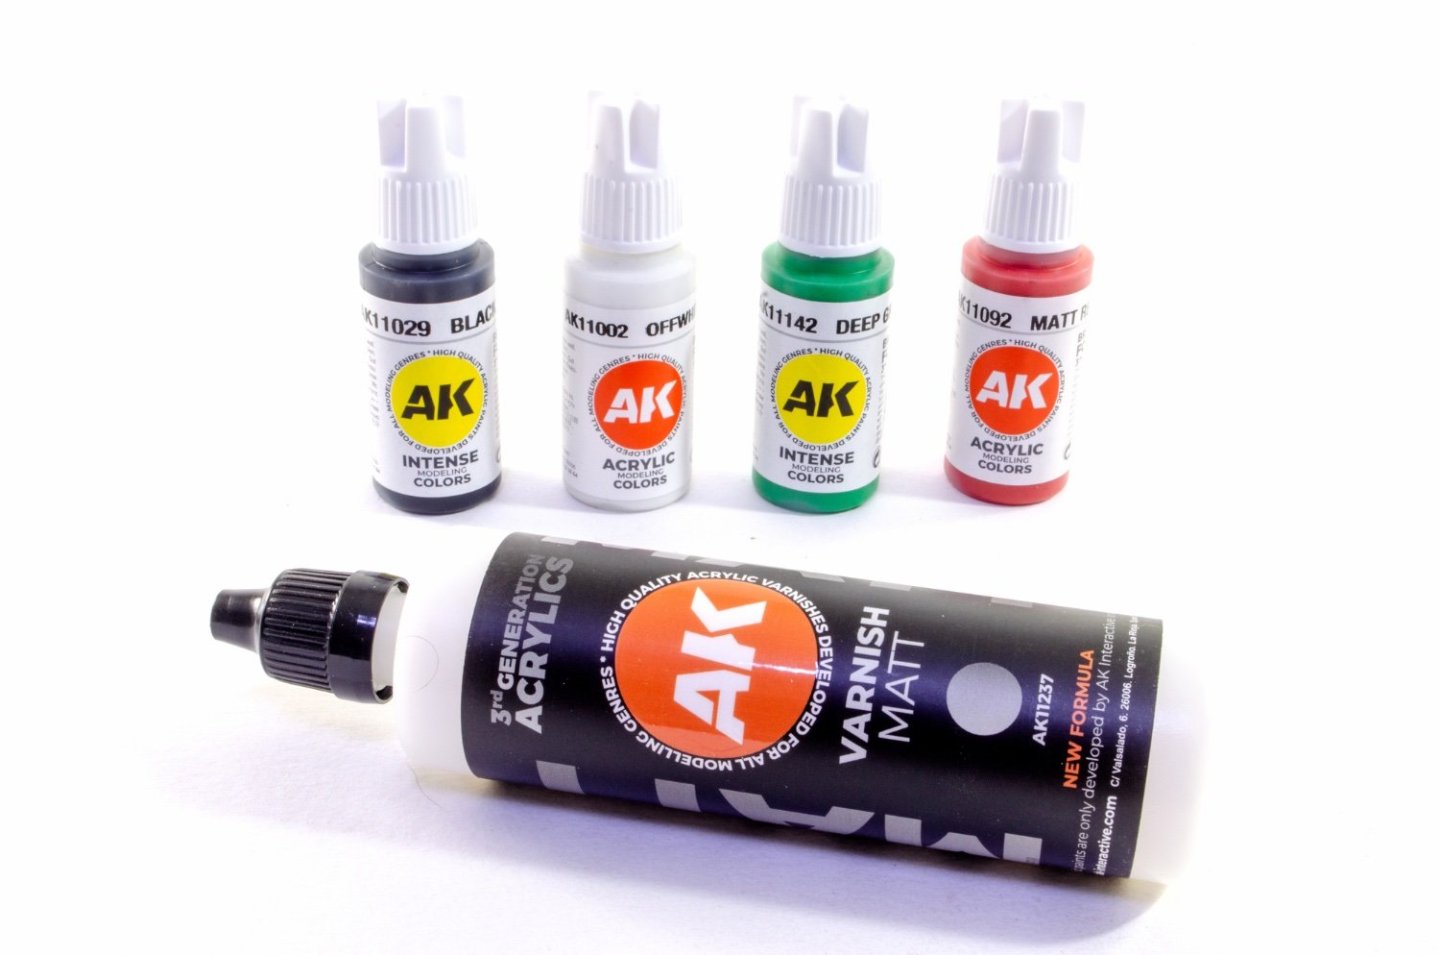
The first task is to paint the outside band in off-white. This was left a while to cure before then masking it to add the black.
Once the hull was painted black, more judicious masking was done so the inner bulwarks could be painted. For this, I mixed about 95% green and 5% black.

The upper edge of the green was then masked and black paint carefully added to the upper section of the bulwark.
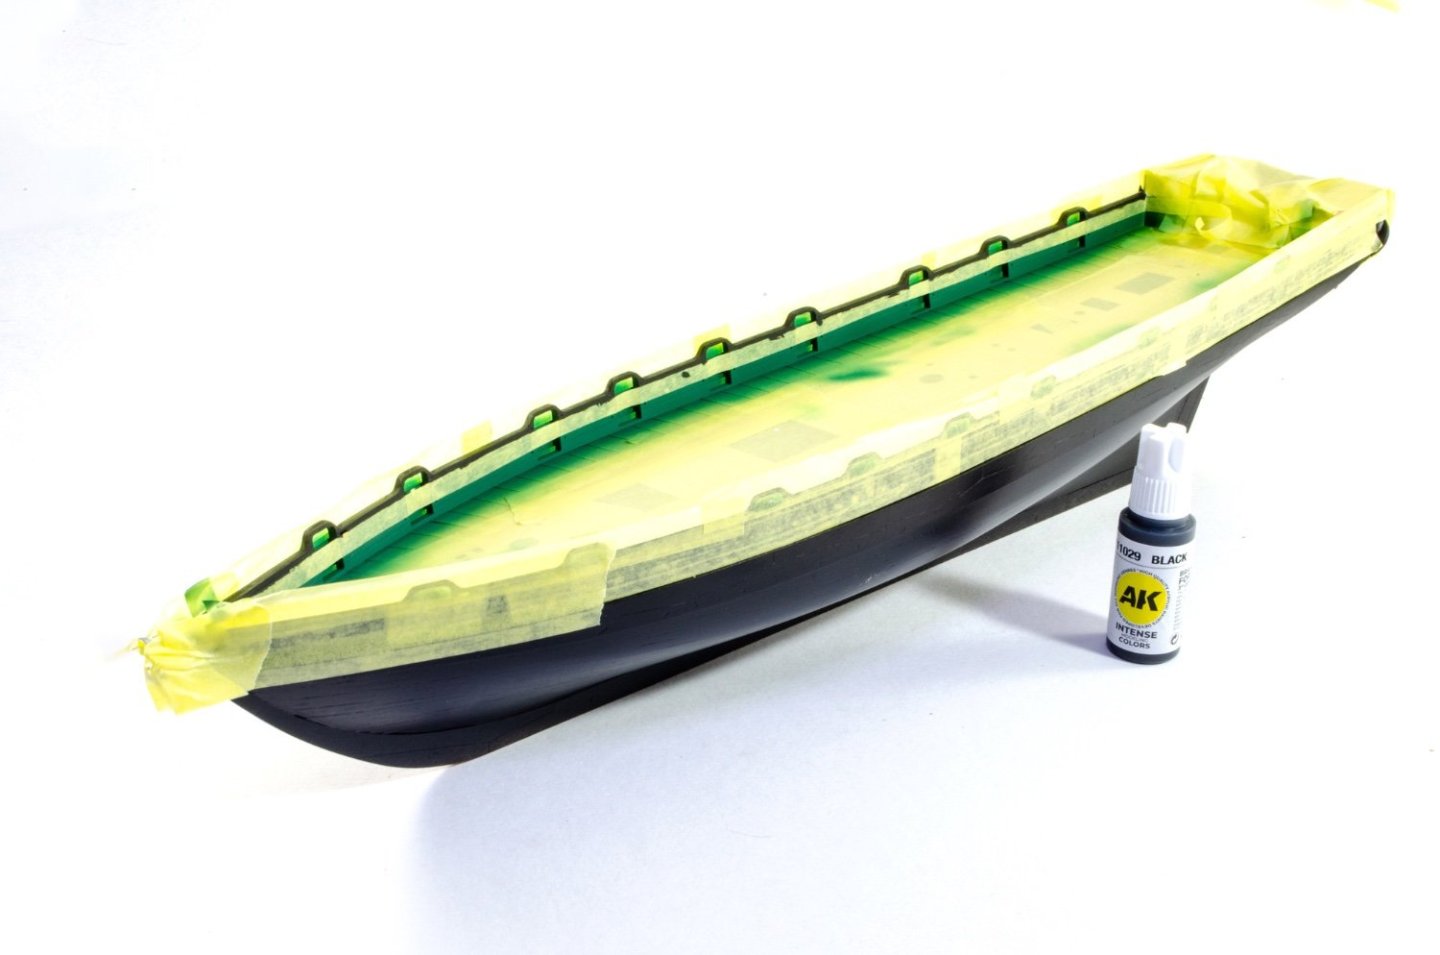
The finished paint job looks like this. Notice that I had masked off the slots for the channels, and also the inner bulwark positions for the various rails.

Off to cut a few more copper tiles!
-
-
-
-
13 hours ago, mtaylor said:
You can check here... https://www.wood-database.com/ It's very extensive and has lots of info including toxicity.
Remember though that EVERYTHING is classed as a carcinogen in California. The air you breathe, the food you eat. Prob even MSW. Hell, even my guitar came with a 'classed as a carcinogen in California' warning.
-
At least if you start with this colour, then it's easier for folks to choose to paint white than it is for someone to replicate the original colour.
- Rustyj, JeffT, jpalmer1970 and 3 others
-
6
-
The second one down as it's a close match to the timber.
- whitejamest, mtaylor and Rustyj
-
3
-
-
...Continued.
All gun ports are now cleaned up and the tops of the bulwarks sanded. The hole for the bowsprit entry is also cleaned up with the bulkheads being cut back to the same position. Also note the single-piece Wales have been installed.
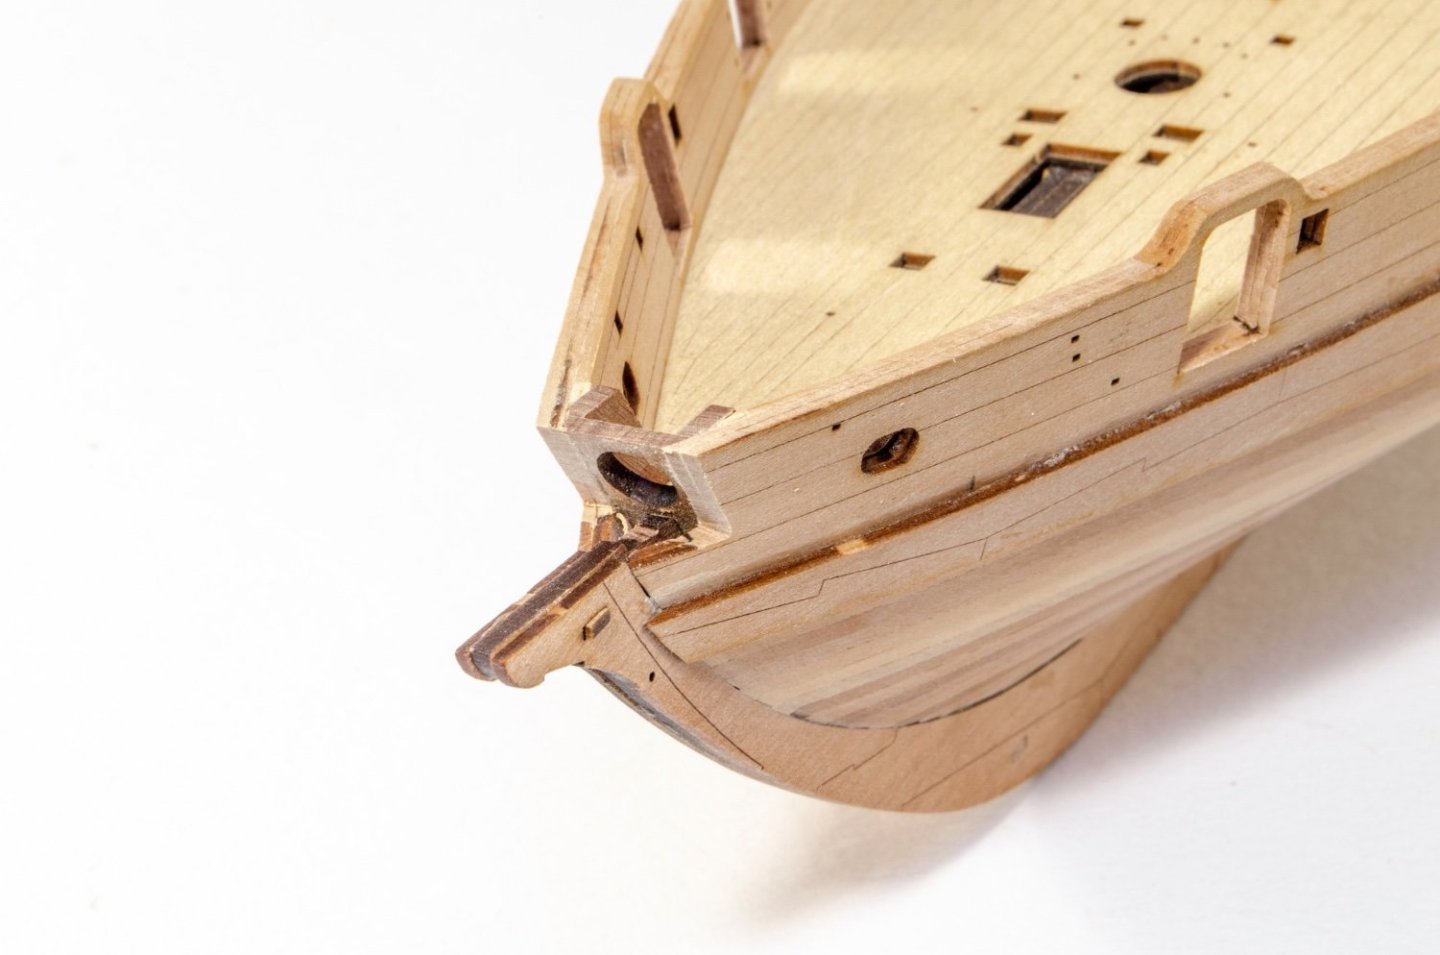
Before the stern can be fitted, the tail end is tickled with a rough stick.

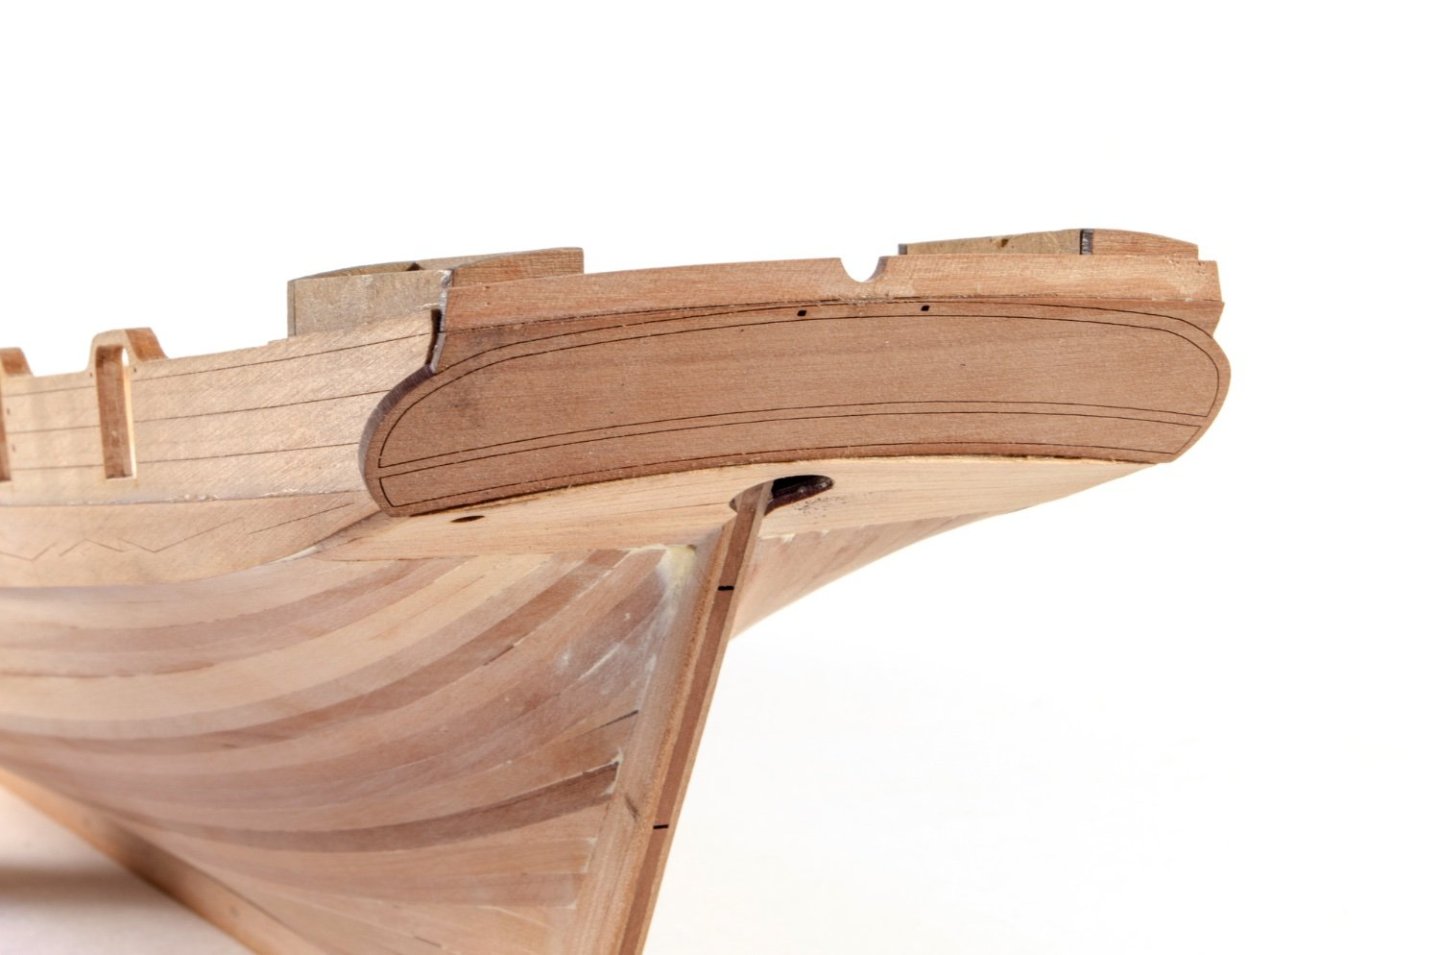
And the MDF structures at the stern can now be sheathed in pear, making them look far prettier.


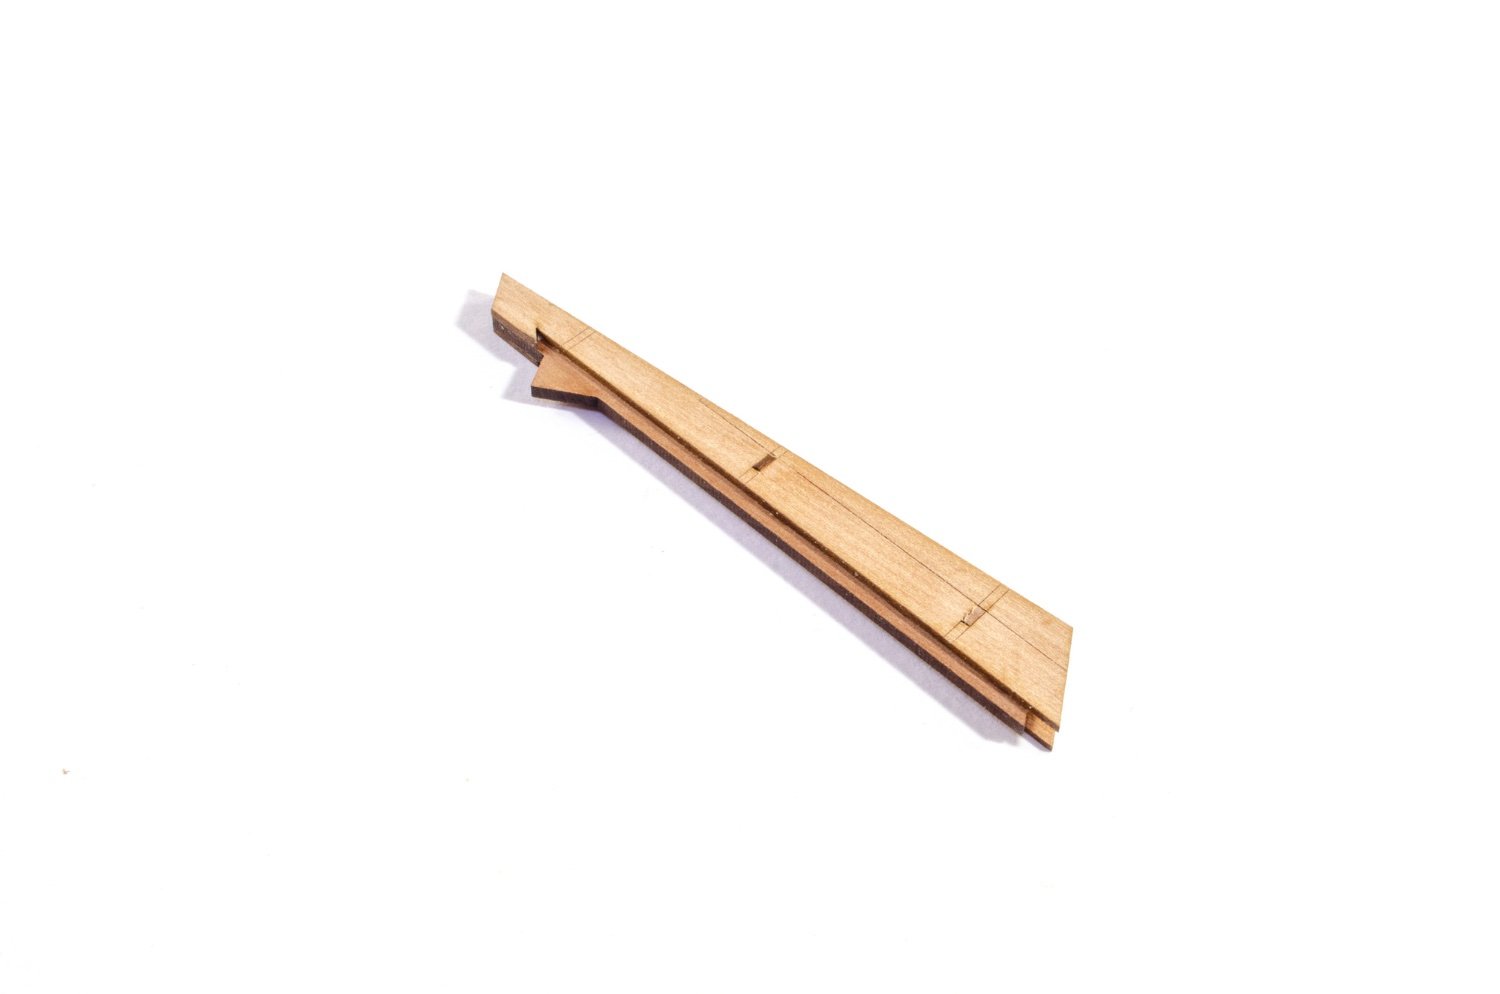
The rudder tiller exit fascia is now built and fitted.
...and Grecian now looks like this. Gorgeous lines.

-
By popular demand...an update!
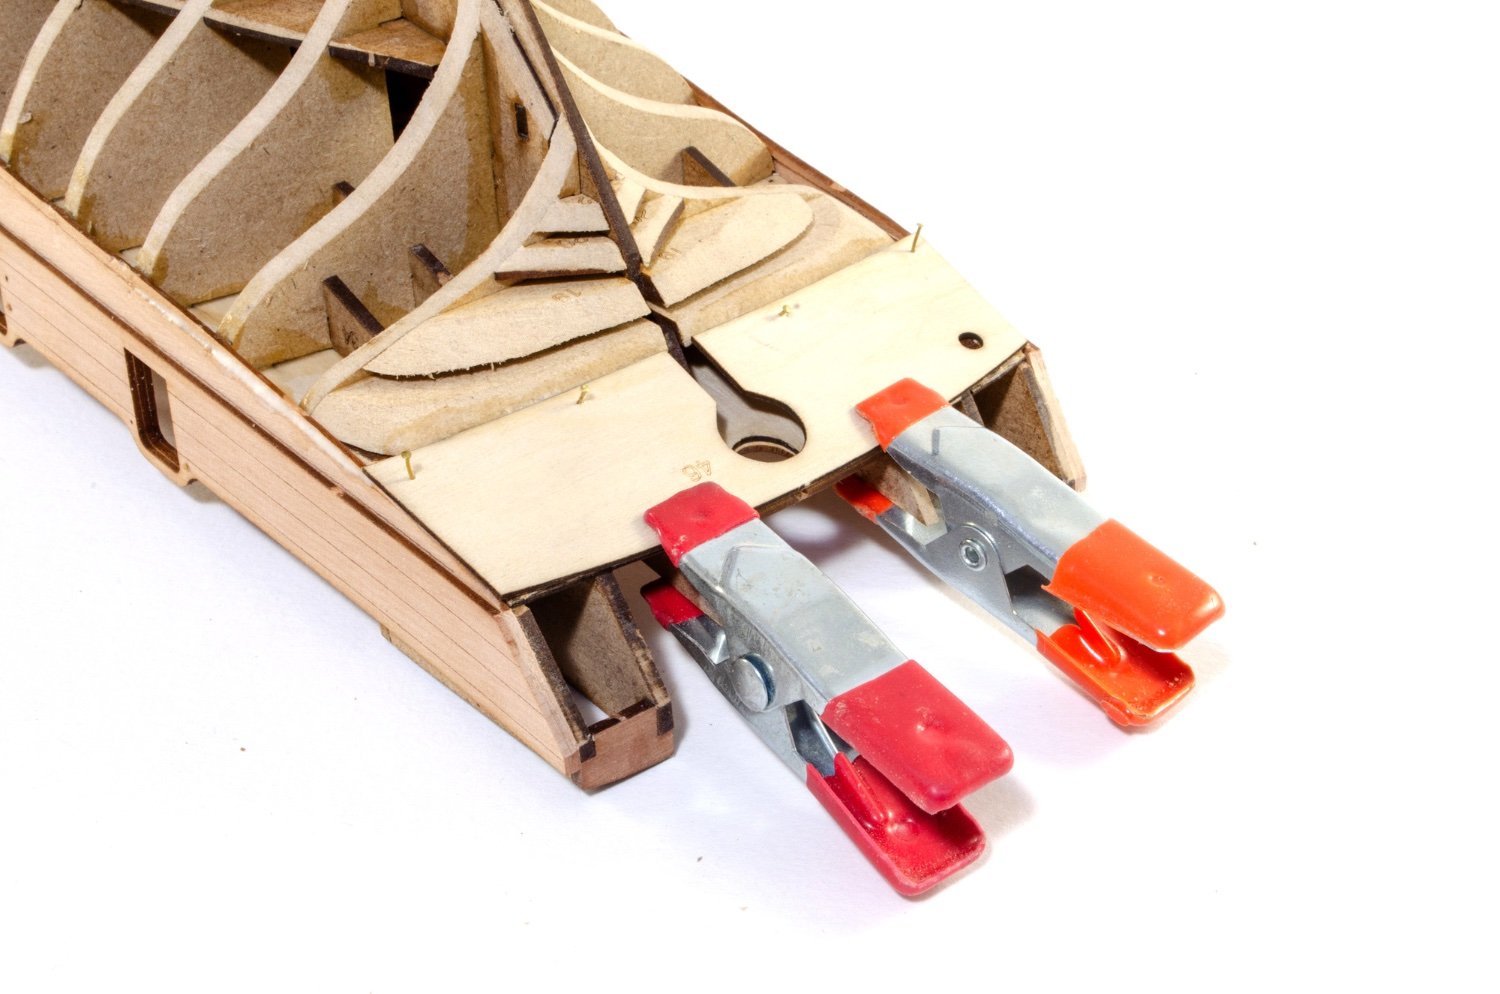
Before the planks could be added, the inner lower counter was glued into place with both pins and clamps holding it until dry. The hole on the left side denotes the ablutionary facilities escape hole.

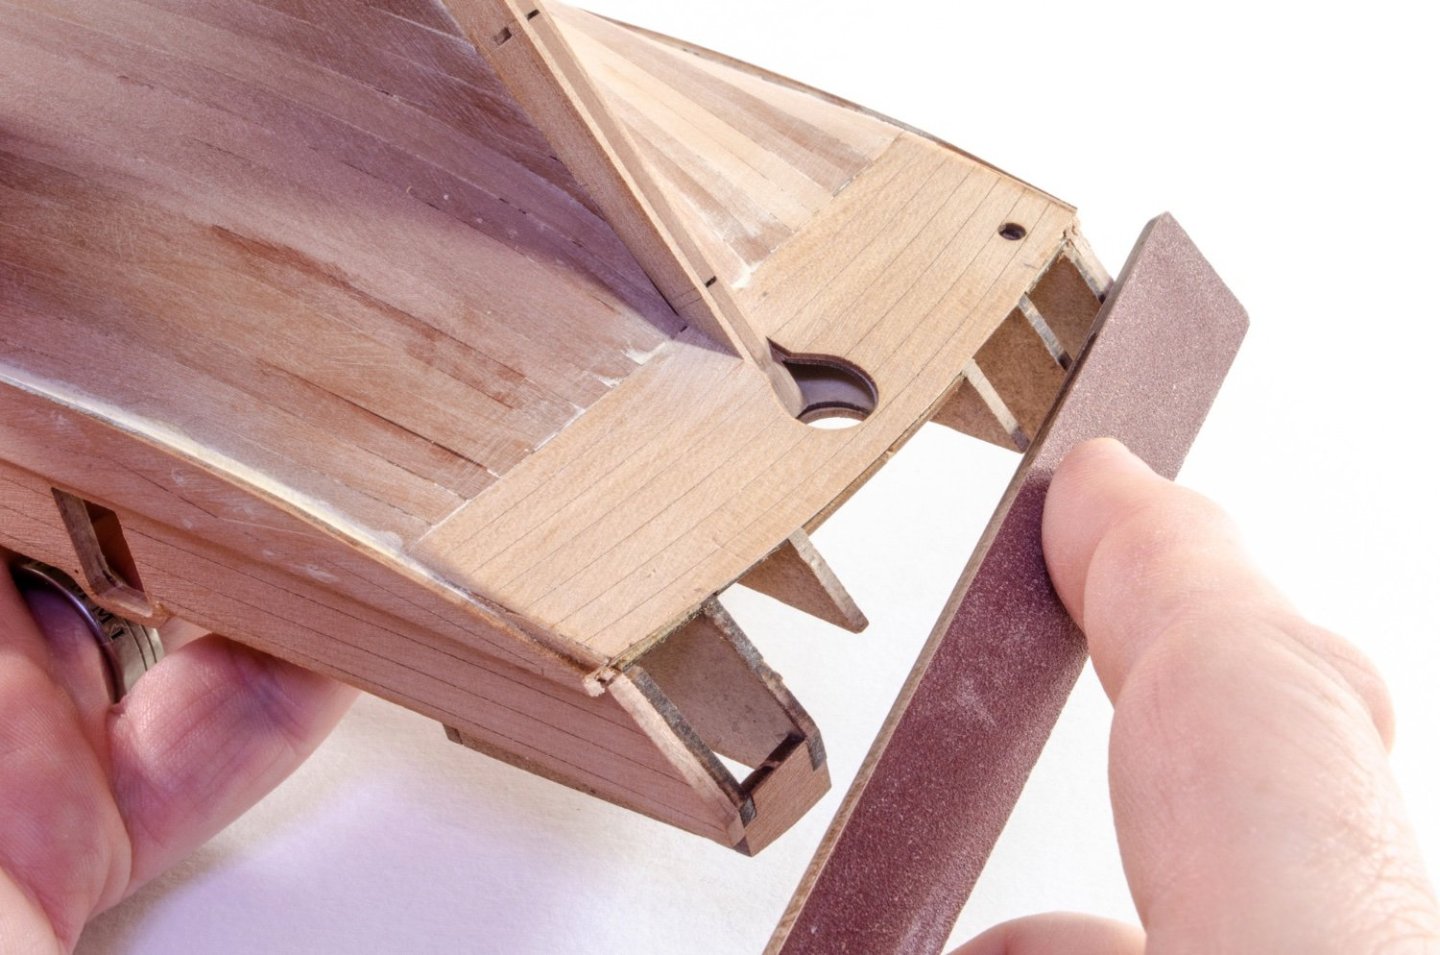
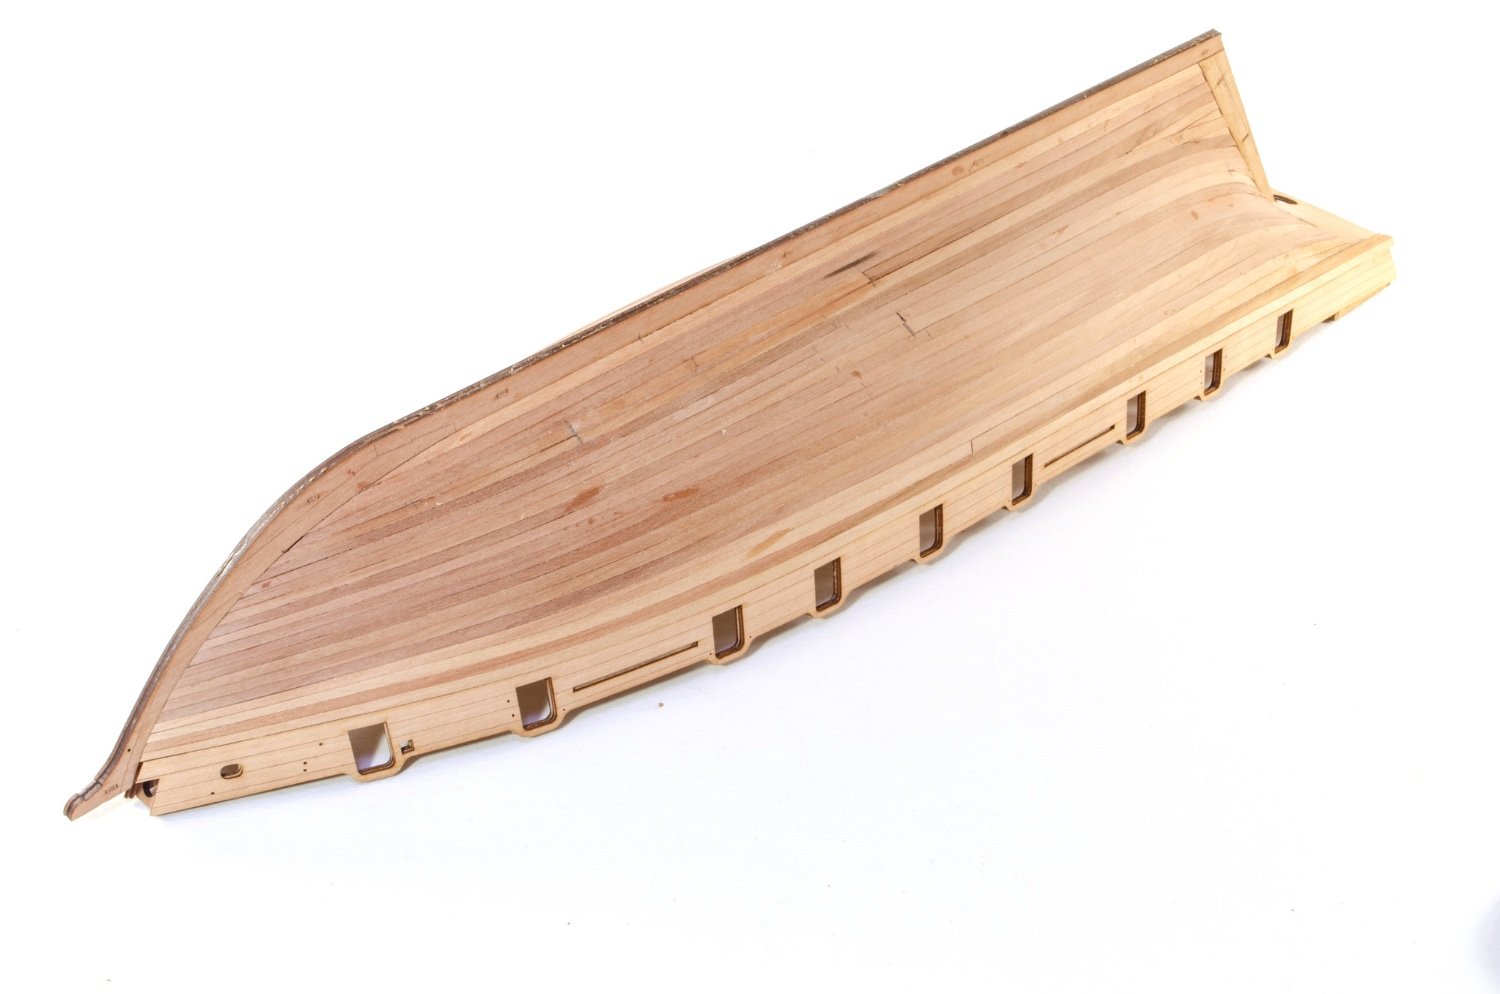
The job of adding first planks could now start. A reasonable amount of taper at the bow, but none at the stern for this one.


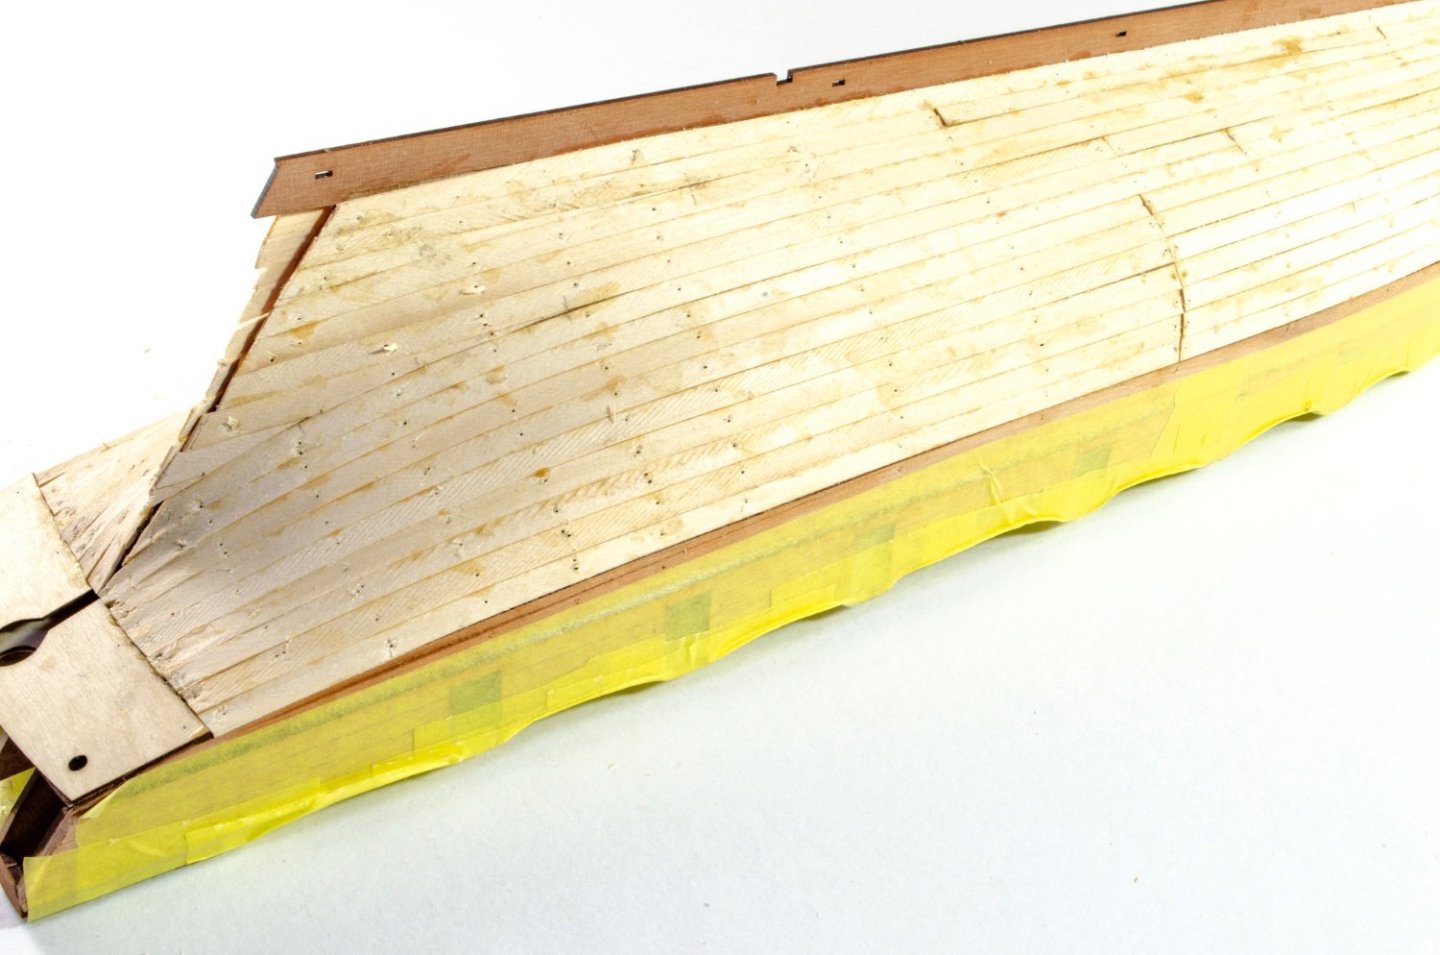
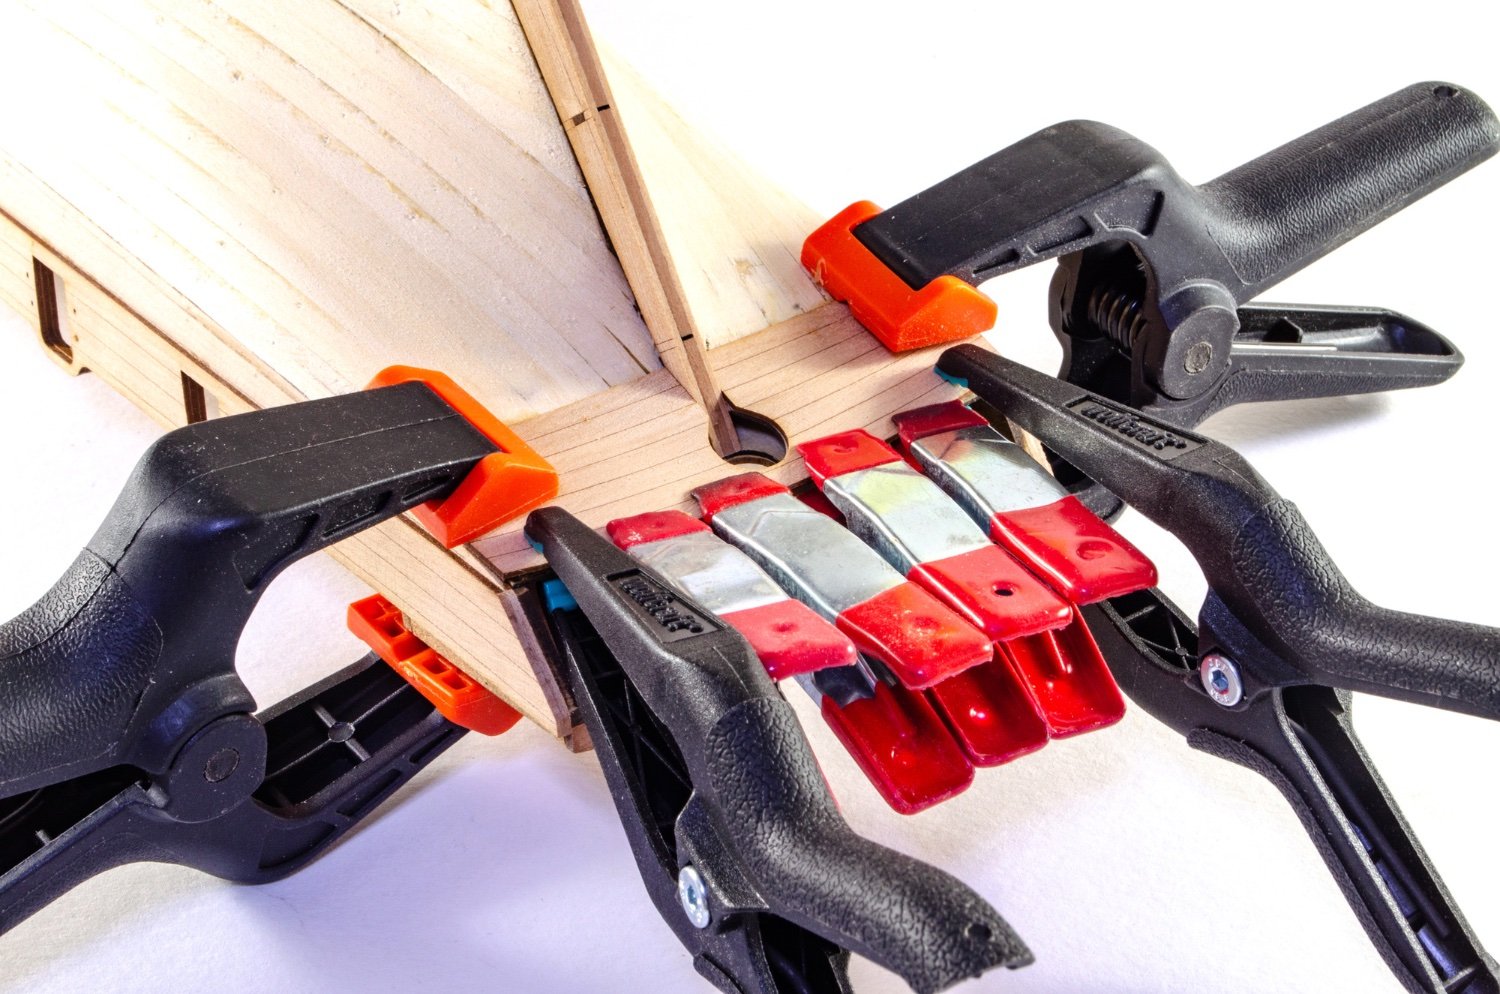
With the lime planking complete, the keel is then faced on both sides with engraved, 1mm pear. Location pegs are there to assist with getting the parts in absolutely the right place. This is all then thoroughly clamped until set. Adding these parts has created a rebate which will help with the second layer of planks.
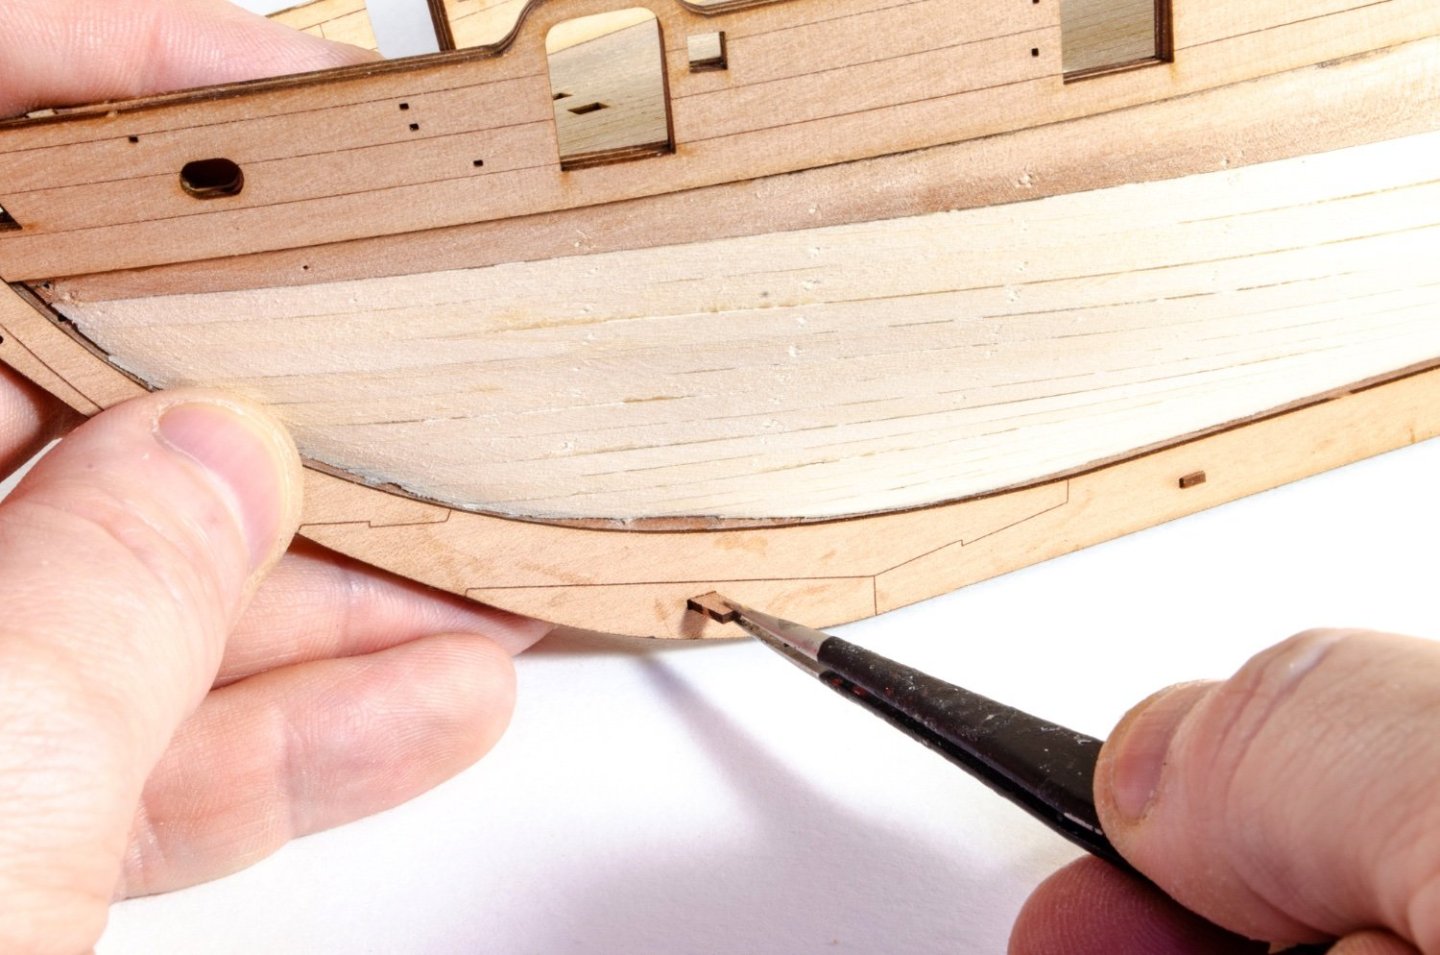
The rudder post is now built up in the same manner, then glued into position on the hull.

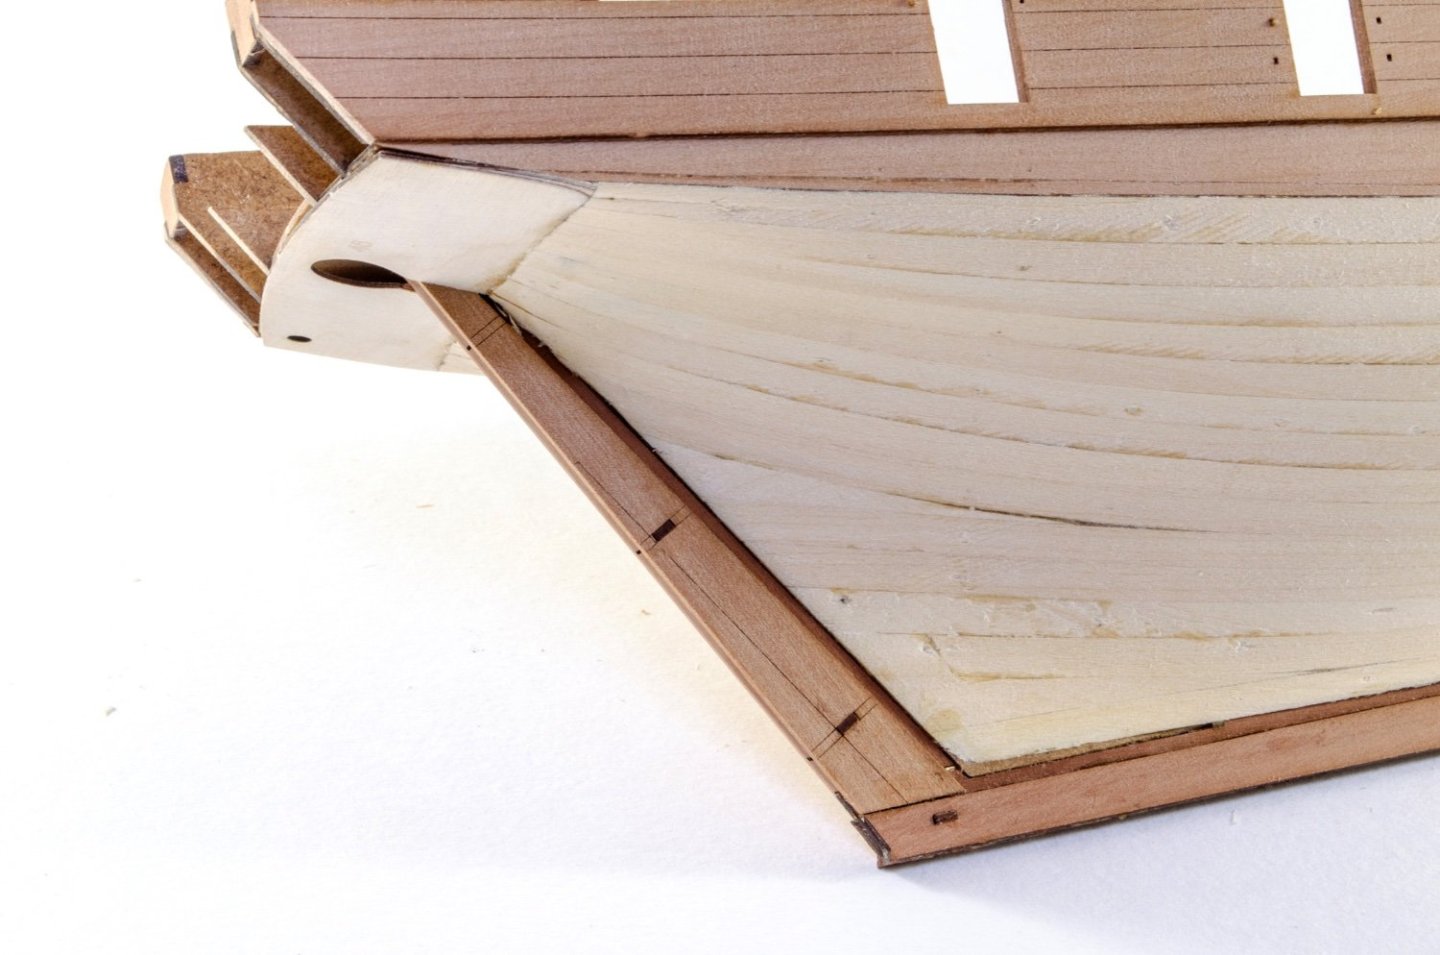
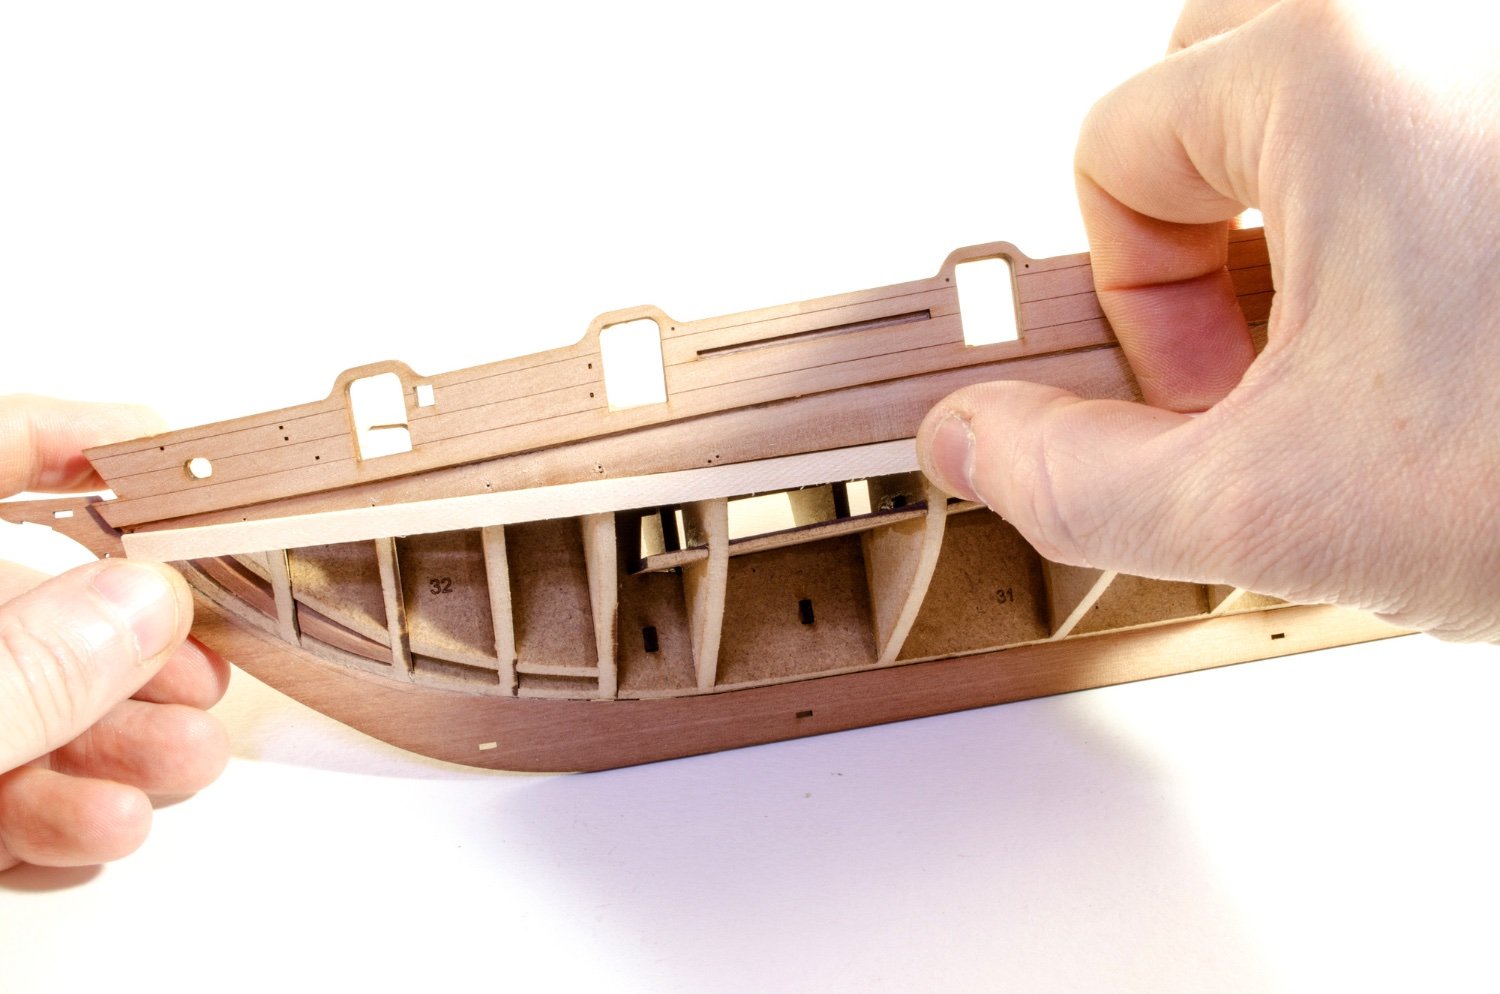
Gluing the post in place allows us to correctly glue the outer lower counter. This doesn't need to be soaked, but just make sure it's thoroughly clamped while the glue sets!

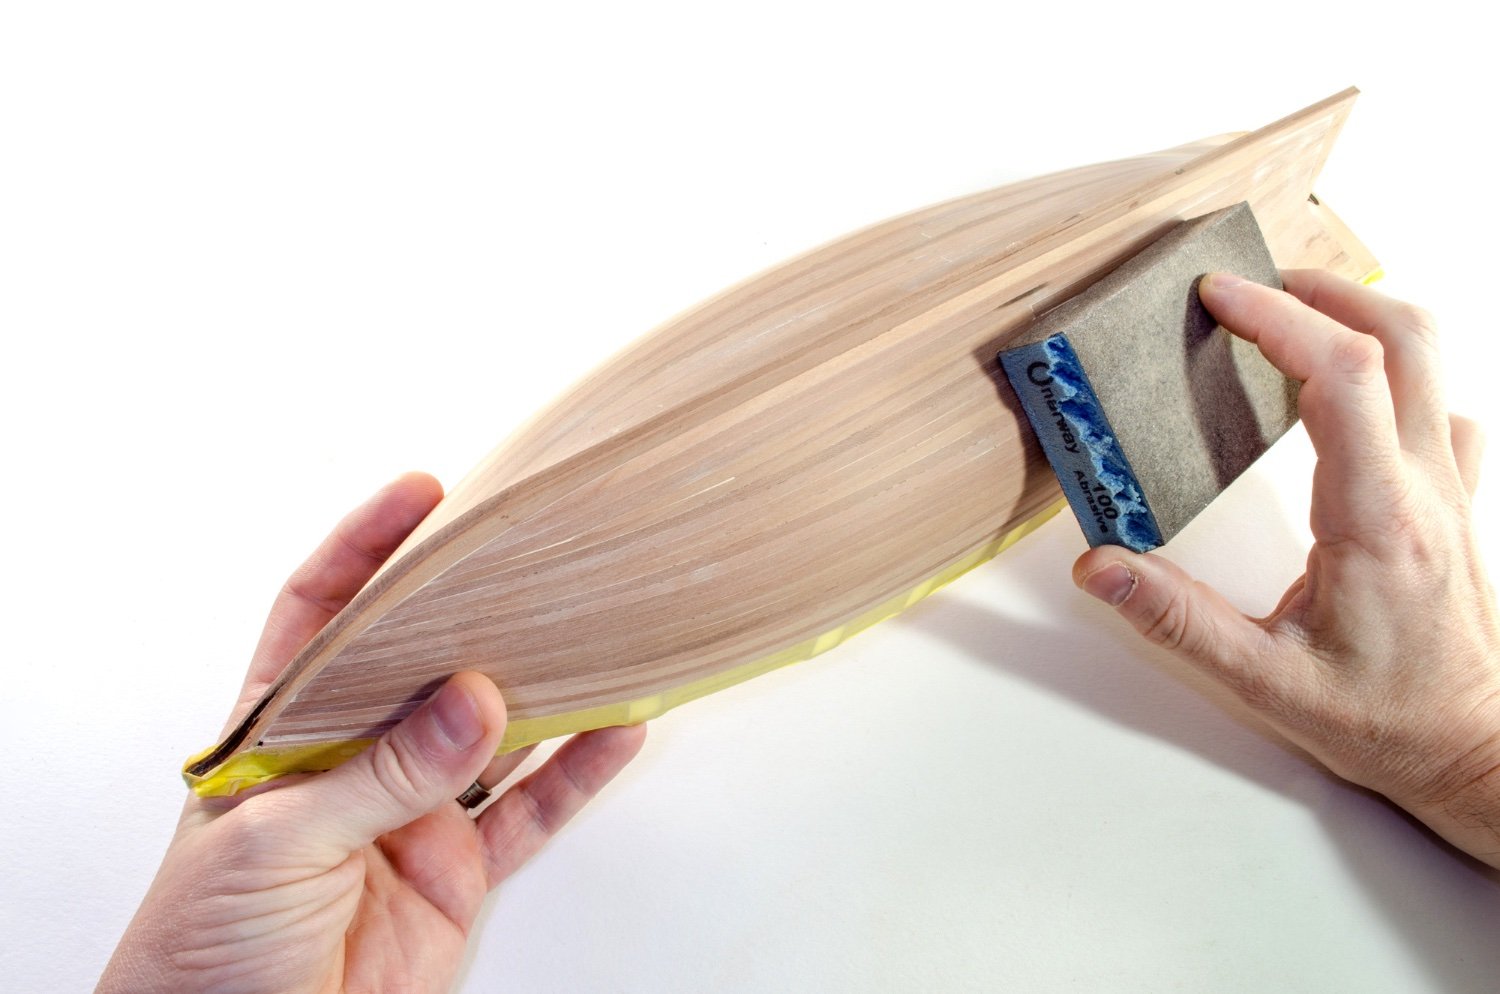
Everybody loves planking, and I'm no exception. I couldn't wait to get all this done and sanded. Now she's looking the part...


- ccoyle, realworkingsailor, chris watton and 23 others
-
24
-
 1
1
-
1
-


copyarticle-2.jpg.0e367324d8c7d17a87c7ed4fcdc21f3a.jpg)


Grecian 1812 by James H - FINISHED - Vanguard Models - 1:64 - protype build of US Baltimore Clipper Privateer Schooner
in - Kit build logs for subjects built from 1801 - 1850
Posted
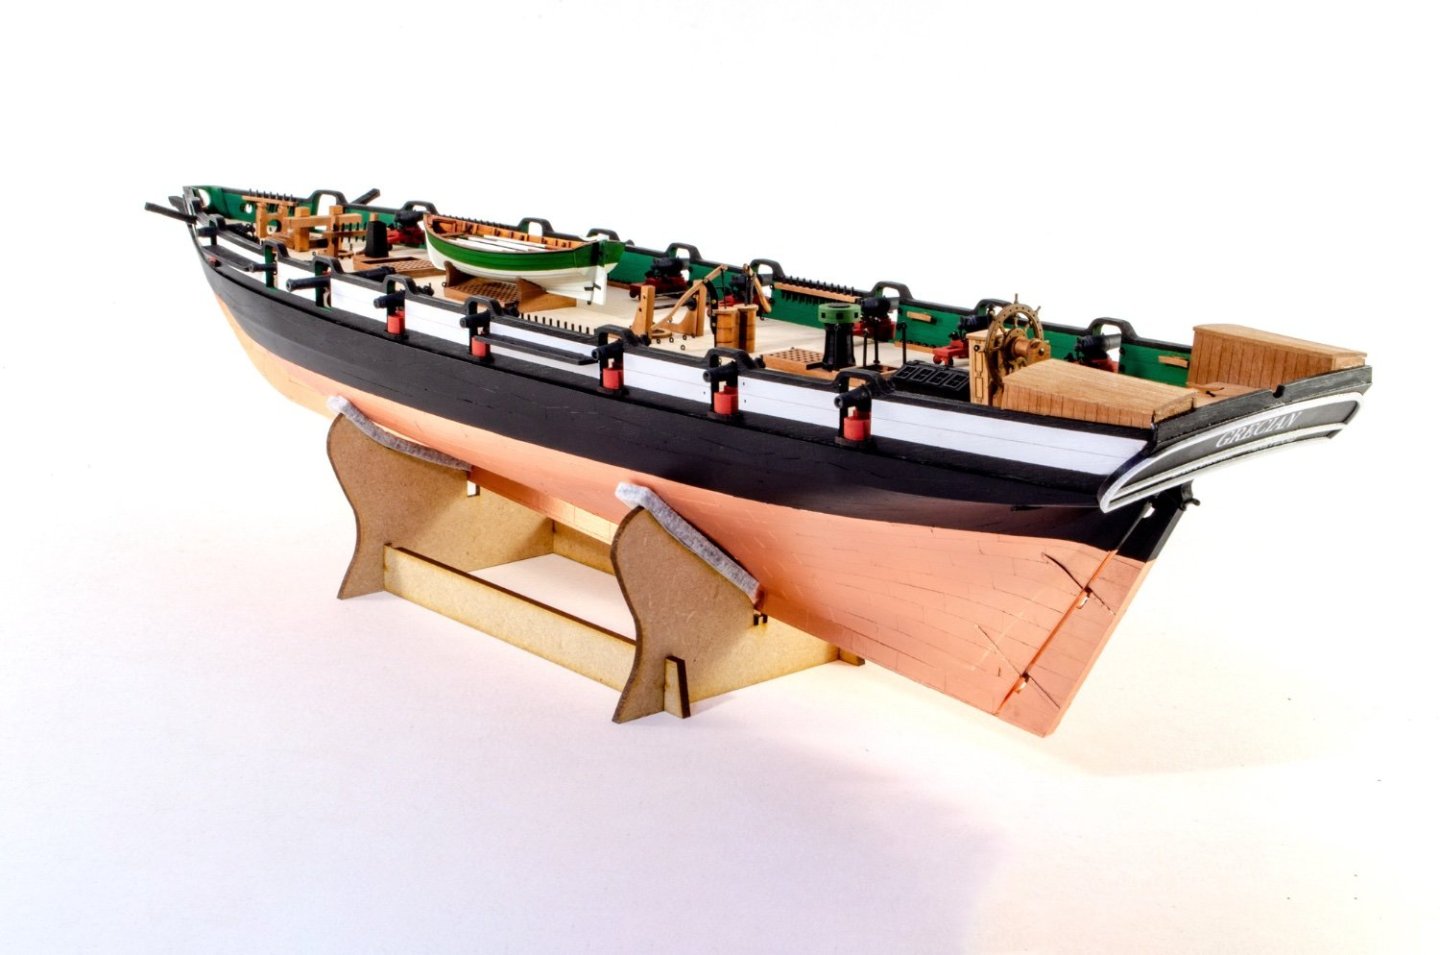
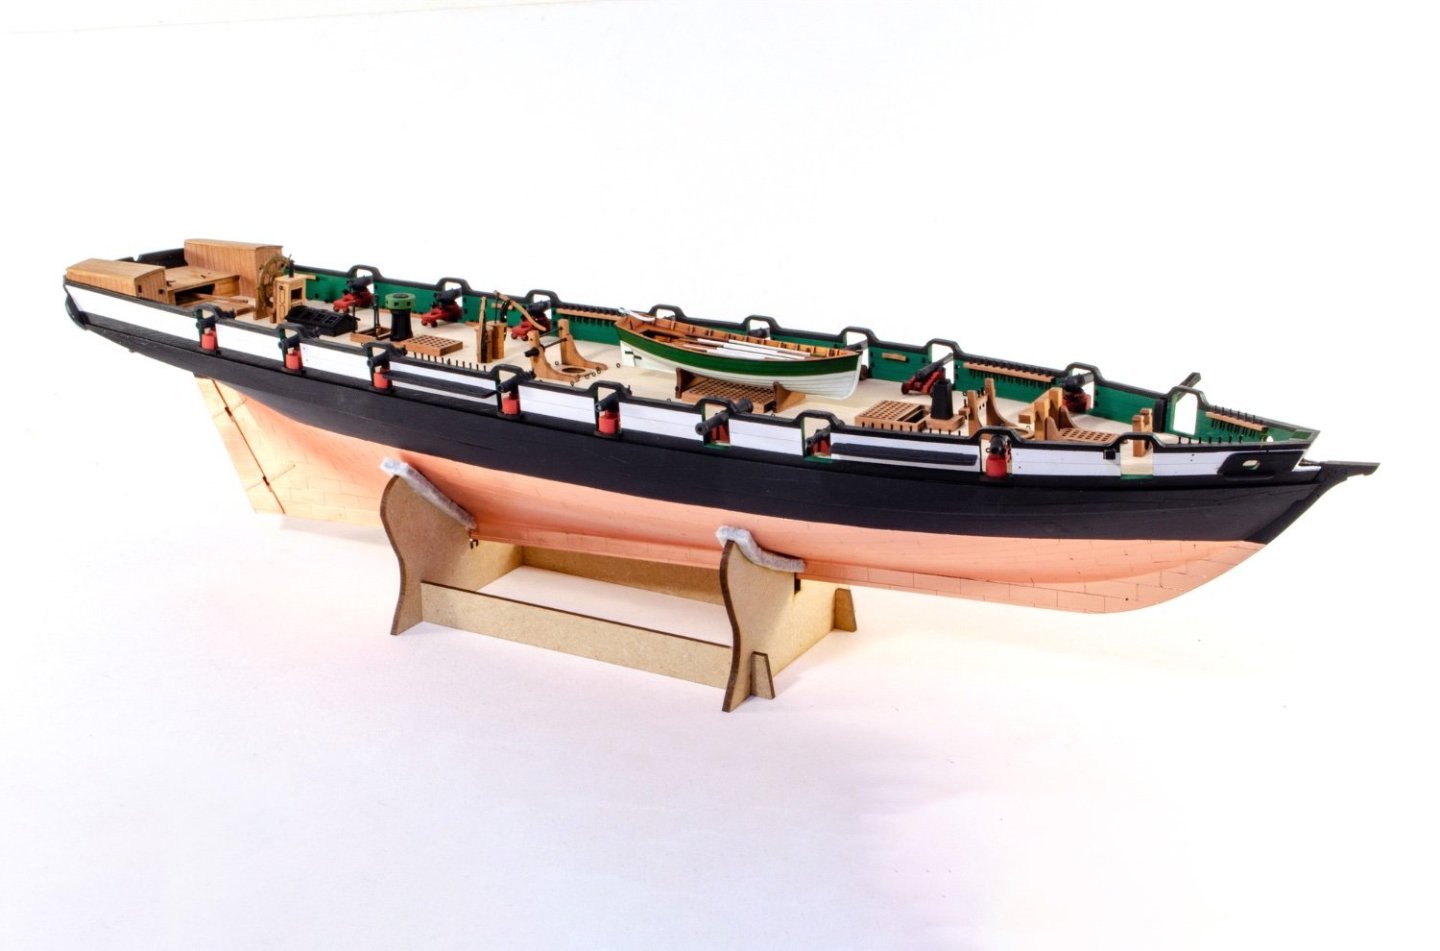
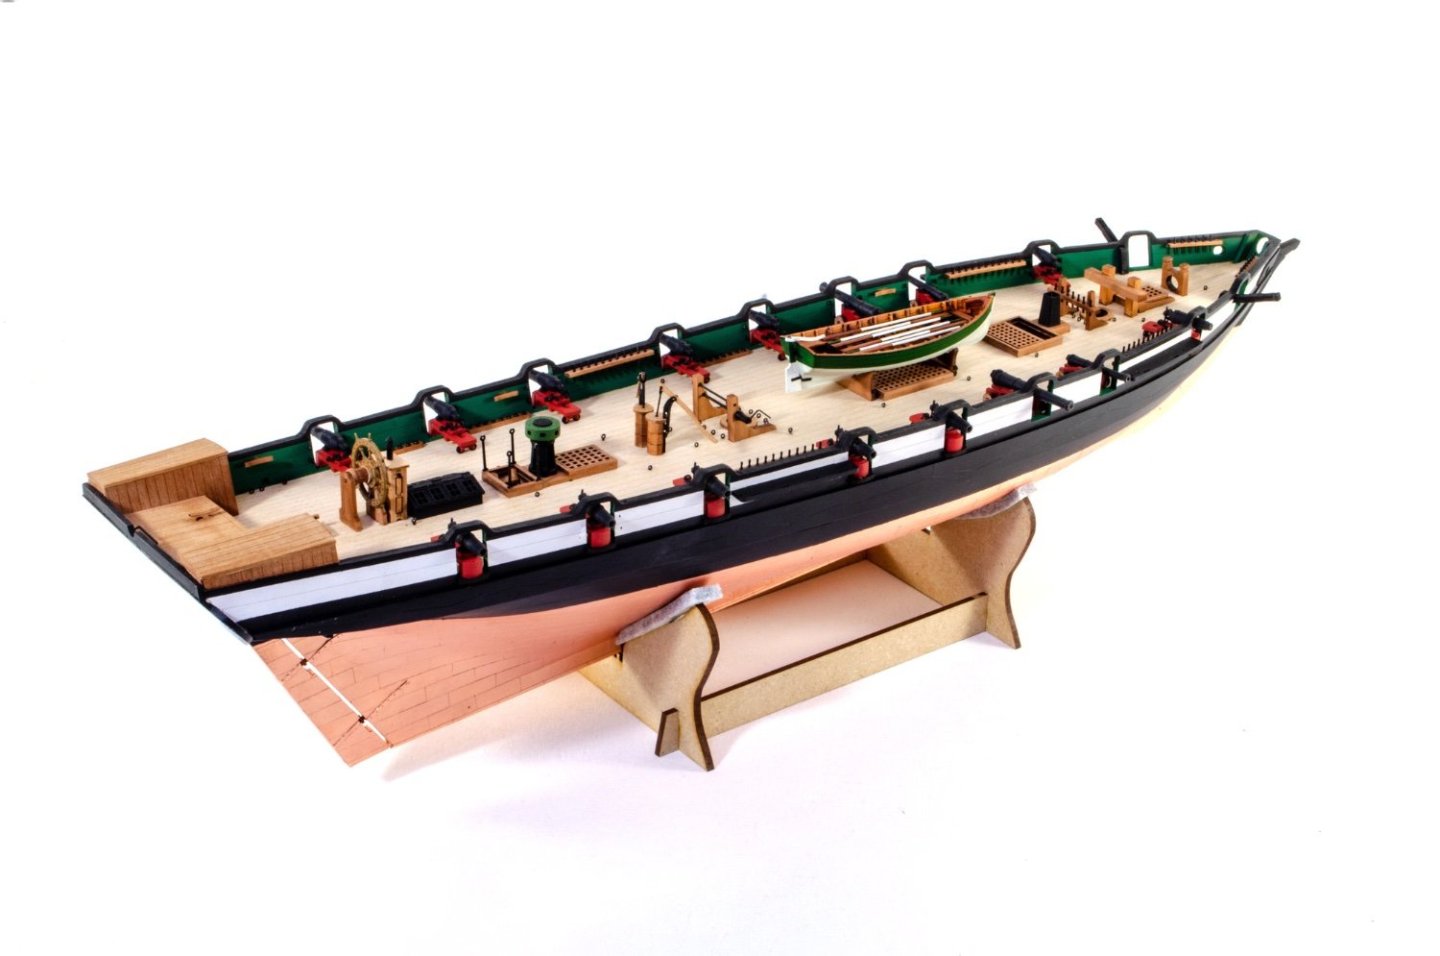
I did promise a small update, so I can. now show the hull completed.
There are a few things on the deck that need a little rope. The main one is the rudder tiller which is wired up to the ship's wheel via a simple block system. Also needing rope are the ladder hatch opening and the ship's boat.
The chainplates/strops on Grecian are single piece PE parts. These are prised apart to pop the deadeye into place before being closed up again with tweezers.
There are only 14 deadeyes/shrouds on Grecian, making it a perfectly simple intro to ratlines. This will be a breeze to rig.
Rudder chain installed...
And now the completed hull photos. Next stage is masting.