clearway
-
Posts
2,240 -
Joined
-
Last visited
Content Type
Profiles
Forums
Gallery
Events
Everything posted by clearway
-
 If doing a small model at a large scale then a couple of quid a pop would be o.k.- however if buying them to rig a full rigged ship then the price would be prohibitive.
 -
Built this about 30 years ago- how time flies by. Interesting take on ye old Airfix kit. Keith
-
Cutty Sark by NenadM
clearway replied to NenadM's topic in - Build logs for subjects built 1851 - 1900
Glad everything seems to be working out ok with the family Nenad- i ordered chain made by mantua for my cutty sark, they do a few different sizes. Keith- 4,152 replies
-
- 3
-

-
- cutty sark
- tehnodidakta
- (and 1 more)
-
I used chain from mantua/sergal for my cutty sark and is readily available from most model shops online
-
Lol Izzy- you cant beat having a few on the go- i think i have around 20 models in various stages of construction from 1/35 tanks, half tracks and armour to ships and 00 gauge model railway wagons! Happy modelling M8 Keith
-
Looks good izzy- strange seeing "will" in a planked finish Keith
-
I thought i was bad for having multiple builds on the go! My admiral says the same about plastic too. Interested in this as i have the academy warspite so curious to see how the academy kits go together. Keith
-
Lol Phil oh yeah- mind you the kit is marked as for the expert builder so billings are assuming you already know all the basics. If you buy their beginners kits they do have more detailed instructions. Keith
-
coming along nicely Phil- them ply hull sides are a pain- i ended up having to cut and shut them and "shave bits off to get them to lay right. Keith
-
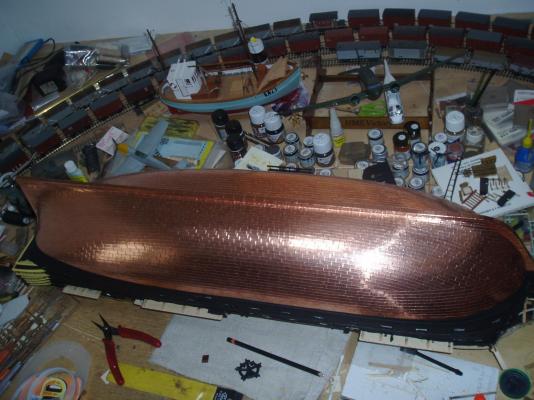
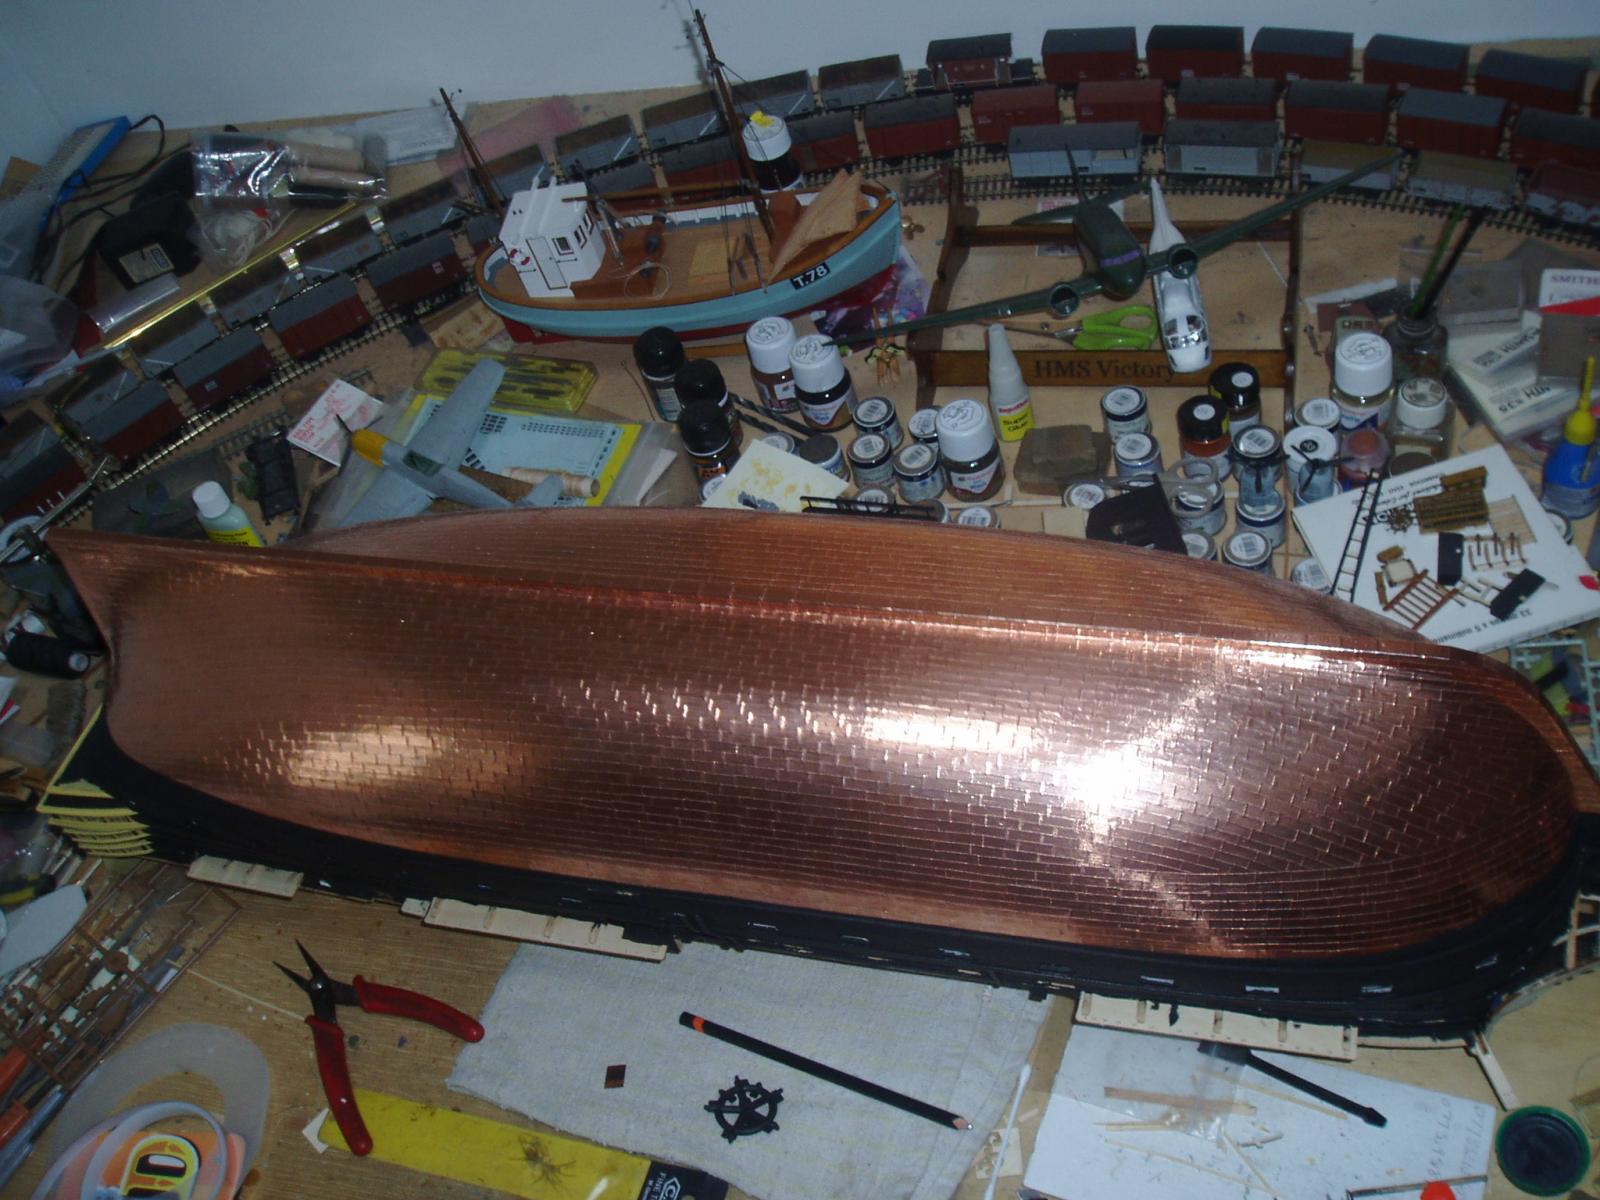
Boyd it is just mentally draining spending two weeks cutting and sticking 15mm x 5 mm copper tiles on while trying to keep your eyes focused lol. Frank i couldn't put it better meself me old mucker Keith
-
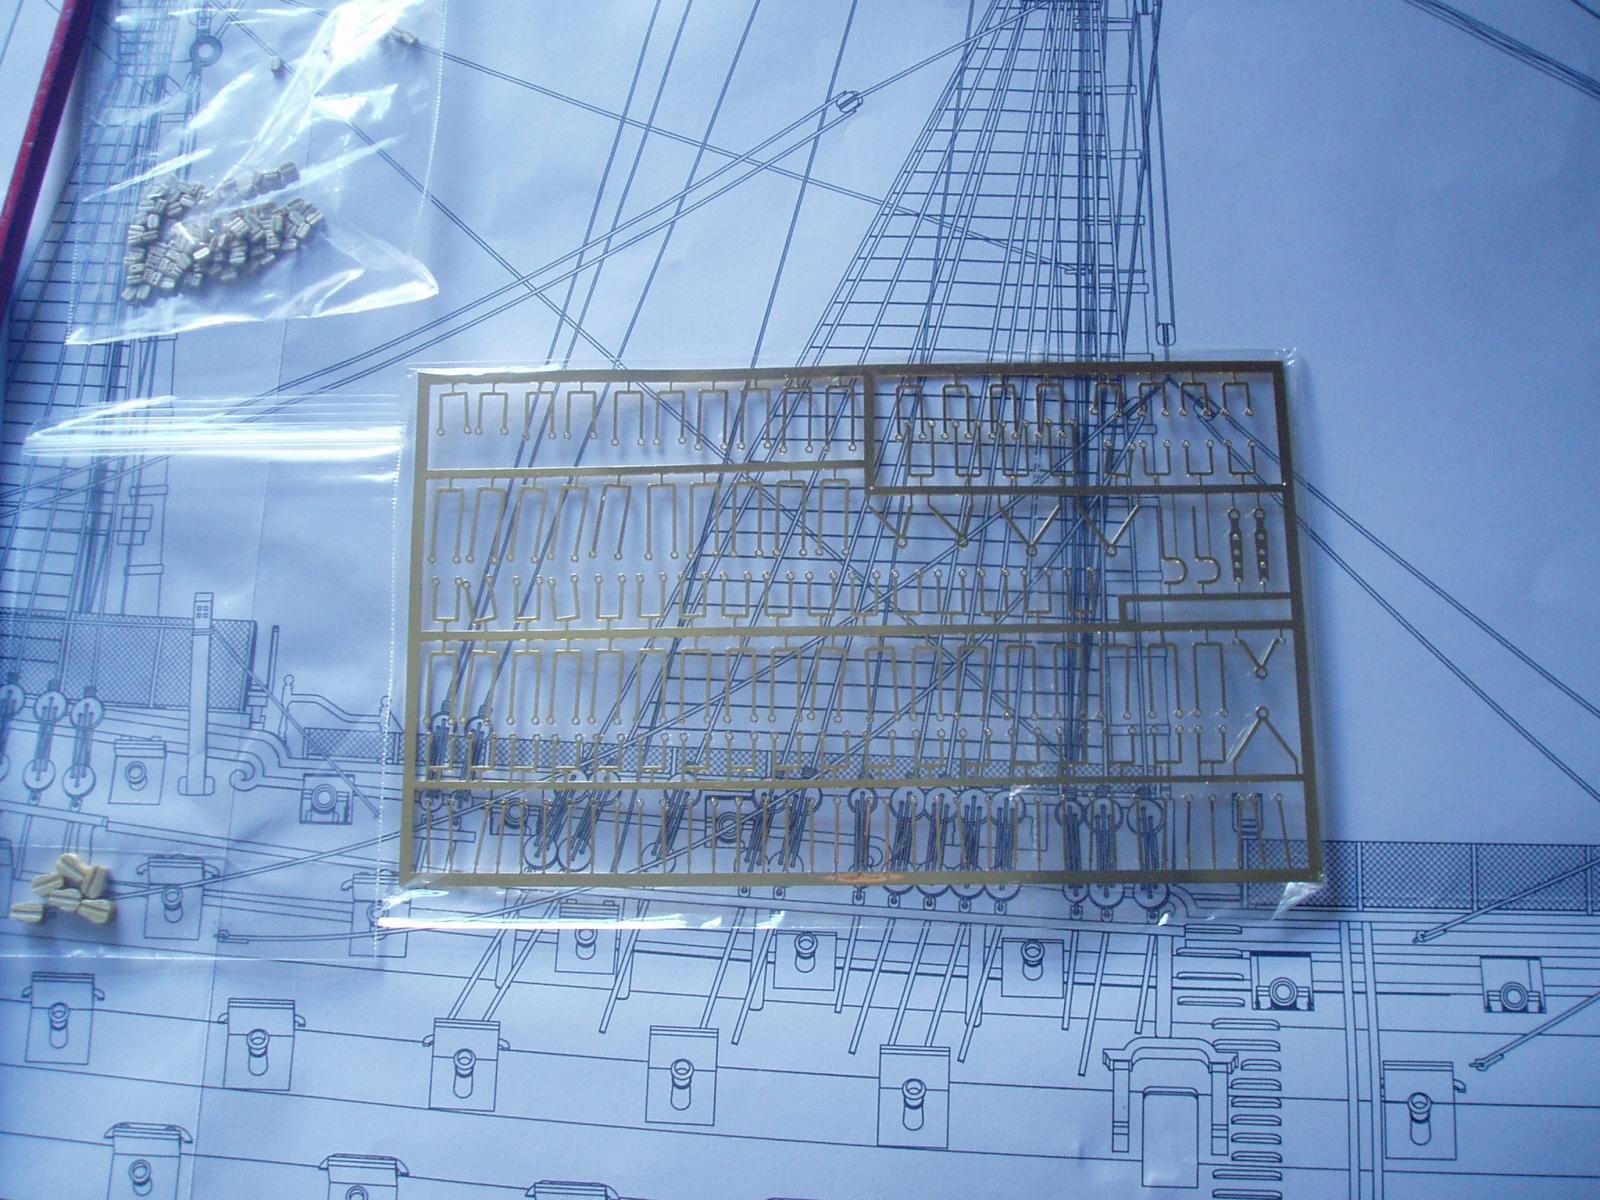
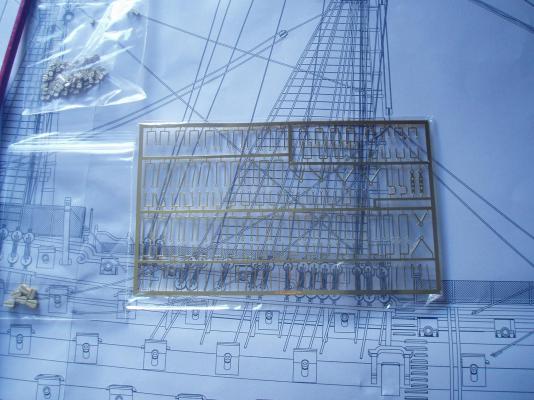
Just a quicky - took delivery of the Mantua 1/78 victory etch. Wierd thing is though it is about 20 hammock cranes and a set of cranes for the stunsail boom fitted to the channels short, but has all the brackets for the lamps!? Will have to order another set when back in stock with C.M.B. Happy building all Keith
-
Looking good Boyd- i cheated and have a set of the mantua 1/78 hammock cranes on the way from cornwall model boats- the fret also has the lamp irons by the look of it. Keith
-
Ty for the likes and comments everyone- i used longridge's anatomy of Nelson's ships for the run of the copper plates. Having a break from Vic at the mo and catching up on some older builds . Keith
-
looks ok Izzy- i use copper or anealled iron wire for strops as well. Keith
-
Hi Jesse- the solid frames are bulkheads, the "walls" above deck level are the bulwarks- the bits that broke off are the bulwark timbers if memory serves me right. Keith
- 1,306 replies
-
- 6
-
-
- syren
- model shipways
- (and 1 more)
-
i use humbrol acrylic primer from a rattle can- however if spray painting i either do it outdoors or in the shed never in the house- the admiral would prolly scrap the fleet if i did - even though i now have a purpose built workshop.
-
Hmm your admiral sounds like mine Izzy
-
i,ve read in some old books where guys would glue the edges of the planks to black rice paper to imitate caulking- never tried it myself but may do one day. Keith
- 1,306 replies
-
- 7
-
-
- syren
- model shipways
- (and 1 more)
-
Cutty Sark by NenadM
clearway replied to NenadM's topic in - Build logs for subjects built 1851 - 1900
Hope it all works out Nenad good luck- we need you to lead Bob astray on his cutty build when he returns to it!- 4,152 replies
-
- 4
-
-
- cutty sark
- tehnodidakta
- (and 1 more)
-
This brings back memories- built this in 1993! I planked the bow and stern then painted the "steel" decks red and used high build primer on the hull to remove wood grain. Will be interesting to see her in wood finish. Keith
-
Coming along nicely jesse. When the planking goes on it will re-enforce the repair job too- we all been there with dem pesky bulwark timbers! Keith
- 1,306 replies
-
- 4
-
-
- syren
- model shipways
- (and 1 more)
-
Nice work on the oars Frank- That keel clamp looks handy- when coppering my Vic i laid her on a folded up teatowel and propped her with offcuts of would to stop her toppling too far over! Keith
-
Ty for the likes everyone- Lawerence the Vic at the top of the page is not mine but a couple of pics someone posted on my log to show their progress. Mine is a long way to go before the chainplates are in place sorry for any confusion caused. Was going to say wont ever copper a hull again, but i said that after my Cutty Sark! Keith
-
Ty Dan- well that is the coppering of the hull finished yeyyyyyyyyyy will have to paint and copper the rudder next- at least its only small Have fun all- going to lay down in a darkened room for a while now! keith